Modern Rodding Tech
1971 challenger rear panel replacement metalwork sparks body shop
1. Our project is to save or replace a missing rear deck filler panel on our 1971 Challenger convertible. Remember, the convertible panel isn’t replicated, so if you don’t have the original to save, then you can take a coupe panel and cut to fit.
Rear Deck Filler Panel Replacement
What if the Panel You Need isn’t Available?
By Mark Ehlen Photography by THE AUTHOR
W

e are probably living in a time like no other before this. Never have there been more parts, services, and expertise available to help with Mopar restorations than there are today. Even if you start with nothing but a basic shell, even the most decrepit E-body can be restored to showroom-new quality. Unless your car has been completely mangled (and sometimes even then, if you know the right shop), most of the sheetmetal you need is available from sources like Auto Metal Direct (AMD).

Fortunately, collision damage isn’t the biggest problem. Rust is. And it’s always worse than it appears. Only after the car is chemically stripped can a proper assessment be made of the metal panels needed.

But there is another issue that many don’t realize can arise until their car is in the bare metal phase. Even with all the parts available, a few are still missing, mainly because there isn’t enough demand for them. Some areas simply don’t rust much. Others are small and easy to fabricate, and some are due to option differences.

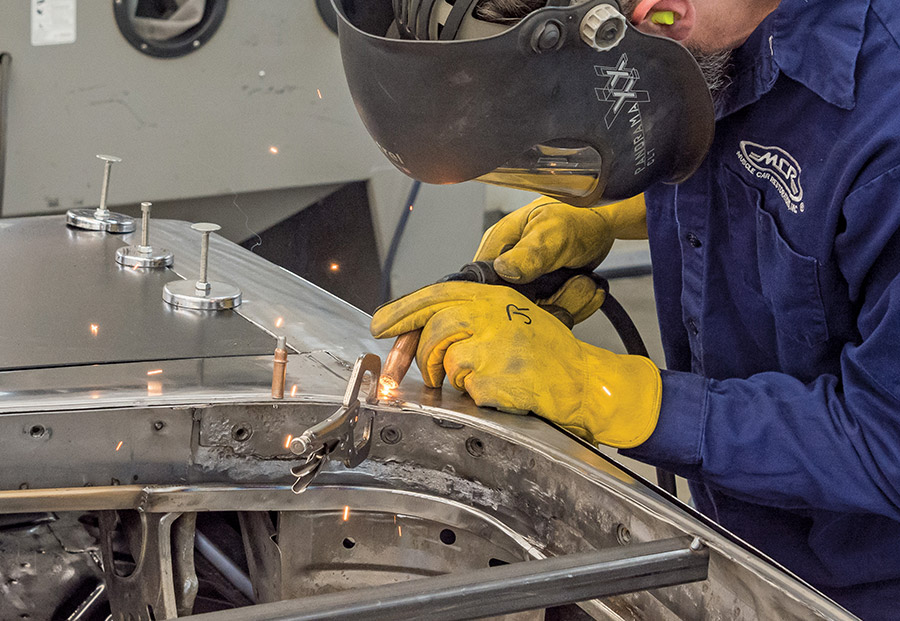
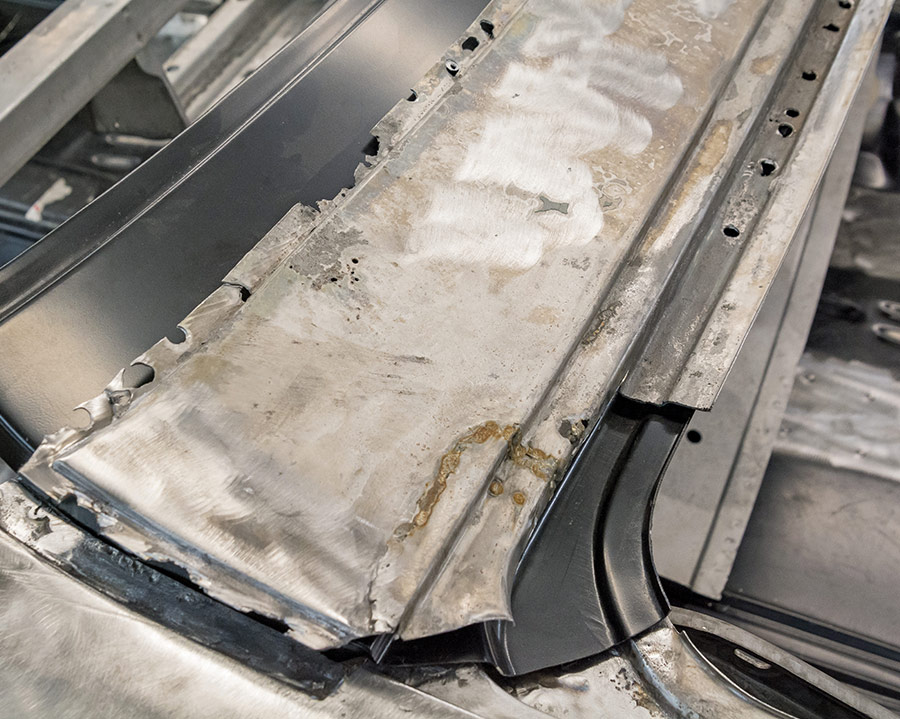
Perhaps the most common issue shops like Muscle Car Restorations (MCR) encounters with hard-to-find parts is limited production options that are specific to certain panels. The most common case is with convertibles. Removing the entire top from the car means some parts will simply need to be different.

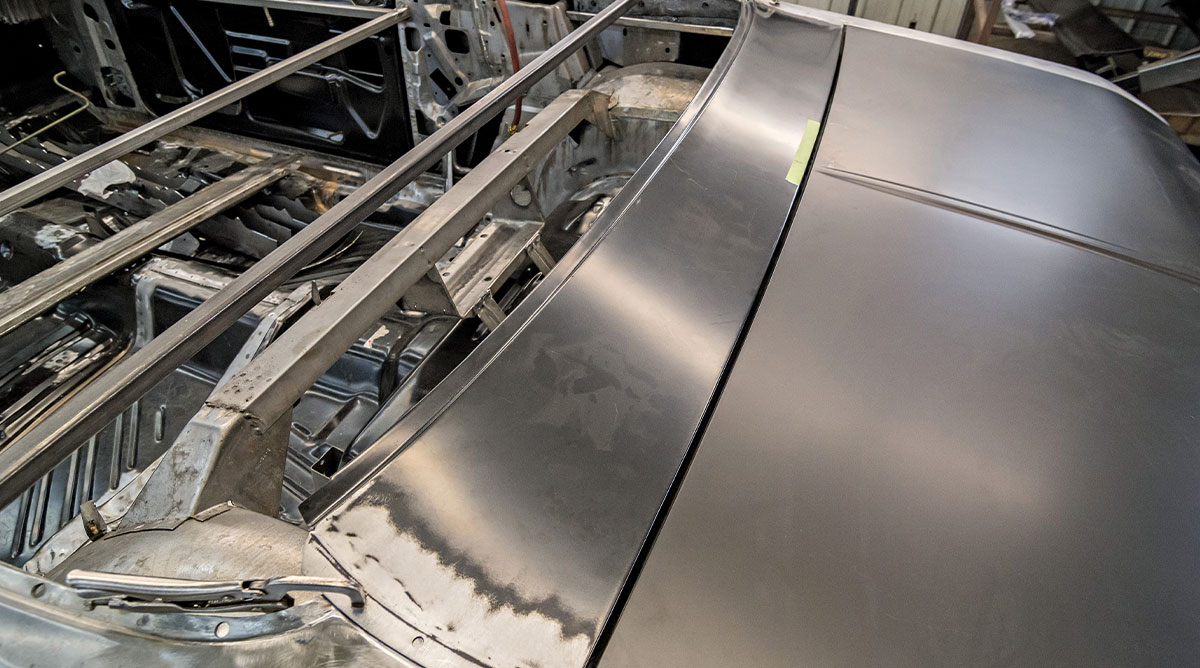
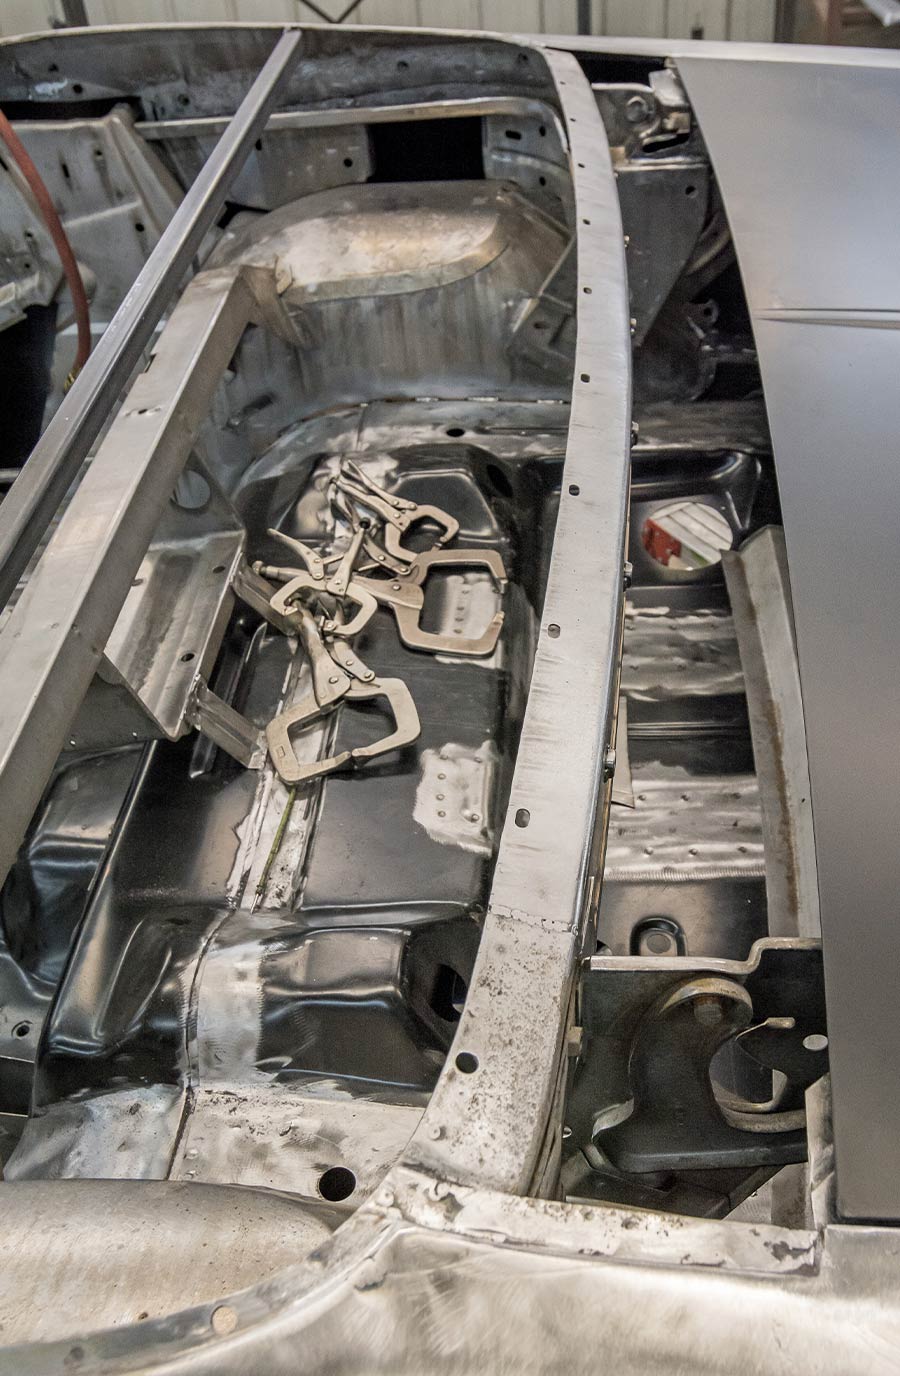
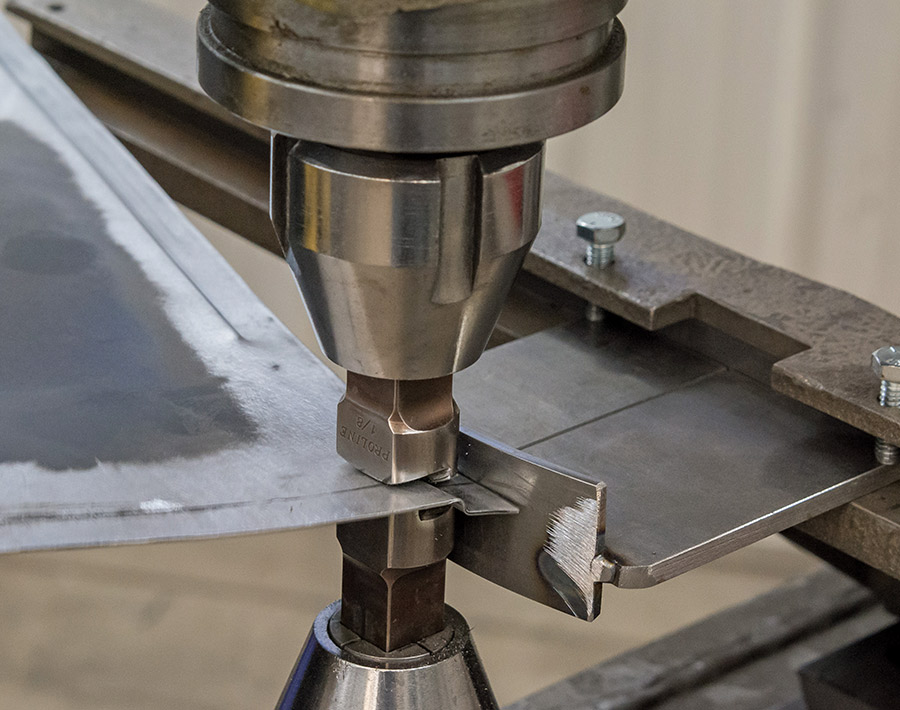
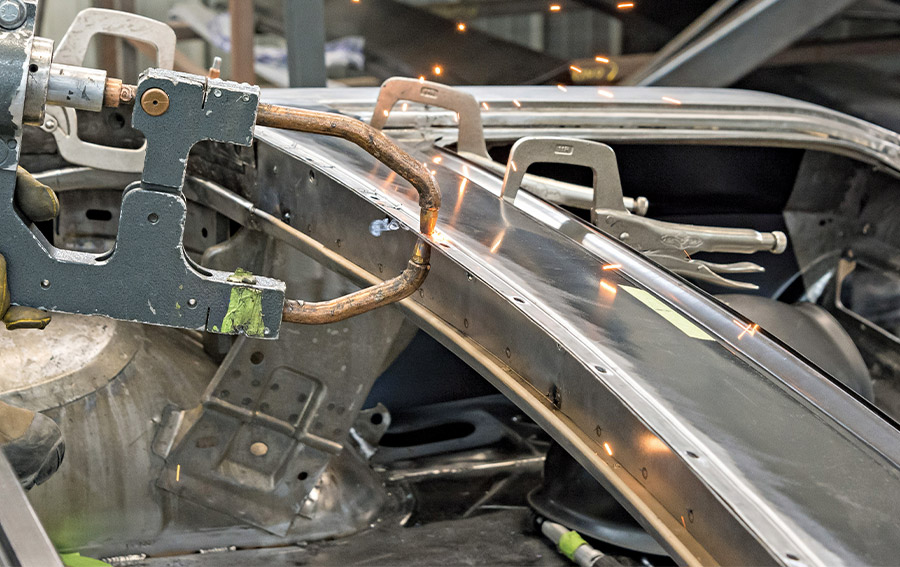
One of the more noticeable differences on E-body convertibles is the flat-topped wheelwells, which make room for the top when it’s down. Another difference is the filler panel in front of the trunk lid. On 1971 Challenger convertibles, this panel is narrower than the standard hardtop version. It’s one of the few parts AMD doesn’t produce for these cars, mainly due to low demand. It seems like AMD keeps expanding their catalog, so maybe one day soon this part will be available. For now, MCR will have to modify a hardtop version, which is relatively easy with common fabrication tools.

1971 challenger panel welding roof section fabrication repair
2. The work for this project was accomplished at Muscle Car Restorations (MCR), where a coupe panel from Auto Metal Direct (AMD) was used but then cut down to fit.
1971 challenger quarter panel weld seam metal shaping closeup
3. The original convertible panel sits on top of the new hardtop section. Clearly, the hardtop version is wider than the original. MCR will trim it to the correct size and reshape the edge to form the proper replacement panel.
1971 challenger metal fabrication hammer edge forming detail
4. If you look back at the previous photo, you’ll see that the convertible panel has a stepped edge on the end. With convertibles, the seam between the filler panel and the quarter is leaded over and finished smooth, where a visible seam exists with hardtop models. MCR will skip the leaded overstep and weld the new panel directly to the quarter. It turns out that folding the lip of the new filler panel outward adds just enough length for it to reach the quarter.
1971 challenger flanging tool panel prep sheet metal work
5. Because this panel is convex, folding out the lip causes some wrinkles that can be easily smoothed with a shrinking tool.
1971 challenger rear panel fitment test body bracing interior view
6. Before trimming the filler panel, it must first be clamped to the car in its precise location. Note that a new trunk lid has also been properly installed. This allows the gap between the trunk and filler panel to be set accurately before welding the panel in place.
1971 challenger trunk floor view clamps bare metal fabrication
7. The filler panel sits on top of and is flush with this brace, so it can be used to mark the new panel where it needs to be trimmed.
1971 challenger new rear panel scribe line cut prep
8. While the panel was clamped in place, this line was marked along with it, using the previous brace as a guide.
1971 challenger beverly shear panel trim bodywork restoration
9. The filler panel can then be trimmed to the proper width. The stepped edge was cut off first to make it easier to cut a precise line.
1971 challenger patch panel fitment test sheet metal restoration
10. Some scrap metal is used to create a test to verify that the stepped edge MCR will make is the correct shape.
1971 challenger panel edge forming metal shaping flanging tool
11. Using a Pullmax metal forming machine, MCR creates a new stepped edge on the filler panel. A quality bead roller could also be used for this.
1971 challenger rear pillar patch panel weld seam fitting
12. Test-fitting the panel again confirms that the panel perfectly aligns with the brace underneath. Note how the folded-out lip nearly completely fills the gap to the quarter. Again, the factory panel had a step there, and they leaded it much like the quarter-to-roof seam was leaded. By welding it to the quarter instead, MCR will eliminate the lead and any chance of the seam showing a crack in the future. Why the factory chose to make this joint seamless only on the convertibles is interesting.
1971 challenger rear panel flange drilled holes sheet metal
13. The new holes in the panel lip are located using the brace underneath.
1971 challenger welding panel edge sparks magnetic clamps
14. A small bit is added to square off this corner.
1971 challenger cutting weld seam angle grinder sparks close
15. The lip must be removed from the quarter-panel before welding the new filler panel onto it. Leaving the quarter lip would create an open area under the valance for water to collect. Additionally, the cleanly cut edge will facilitate a better butt weld between the two panels.
1971 challenger panel weld grind smooth metal finish
16. The welded seam will be significantly stronger than one with any filler material. Once properly finished, it will be invisible and permanent.
1971 challenger spot welding new rear panel clamped tight
17. MCR prefers to spot weld the seams whenever possible to maintain the factory look, but plug welding is a perfectly acceptable alternative, though it requires a bit more work.
1971 challenger rear panel clamped clecos body restoration work
18. The trunk gutter section still needs welding, but the rest of the metalwork is finished. Although the convertible filler panel was unavailable, MCR easily reshaped AMD’s hardtop version into a suitable alternative.

Modern Rodding
VOLUME 7 • ISSUE 66 • 2026