Modern Rodding TECH

InTheGarageMedia.com

Tavis Highlander received the nod from Rodger Lee of Ironworks Speed & Kustom.
1. Tavis Highlander received the nod from Rodger Lee of Ironworks Speed & Kustom.
Modernizing A ’57 Ford Ranch Wagon
Part 1: Ironworks Speed and Kustom Installs a Roadster Shop Chassis
By Ron Covell Photography by Rodger Lee
W

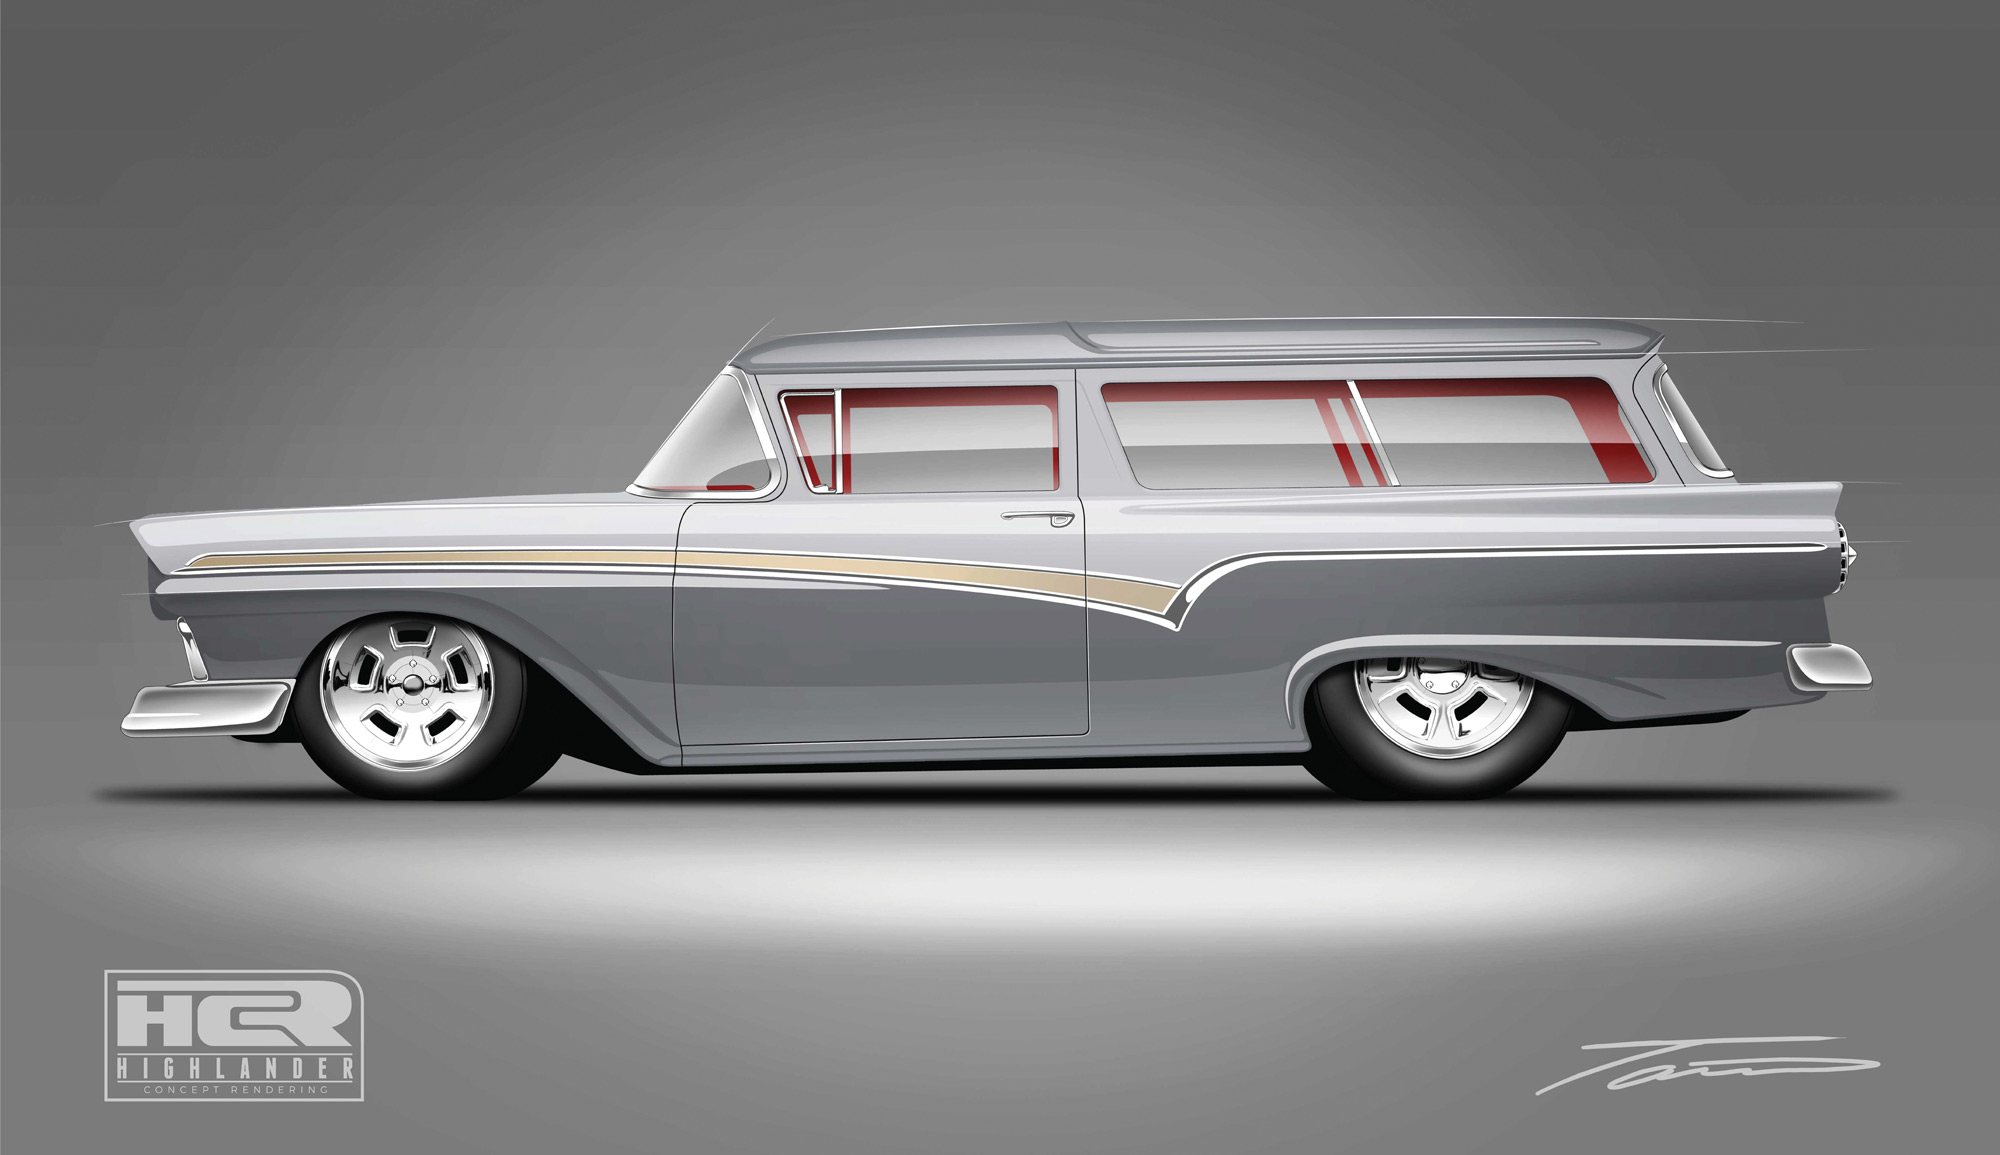
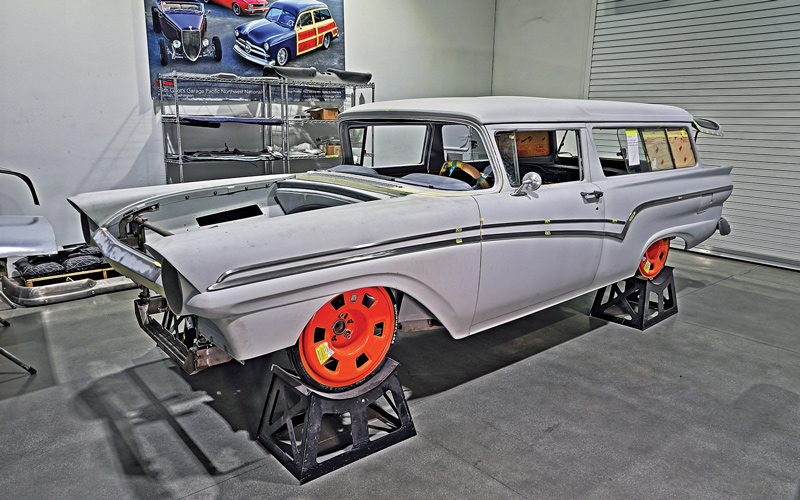
ork continues at Ironworks Speed and Kustom (ISK) on Danny Schaffer’s ’57 Ford Ranch Wagon. The interior of this car has been completely redesigned—from the custom headliner to the numerous CNC-machined components on the dash, doors, and console that are unique but made to have an OEM character. Rodger Lee, the proprietor of ISK, wanted to model the interior styling after a ’60 Ford Thunderbird, an idea inspired years ago by Fat Jack Robinson. While a few Thunderbird components were used, most of the interior was fabricated from scratch, with Tavis Highlander, from Highlander Concept Rendering, making dozens of sketches for details, large and small, before the fabrication commenced. This design utilizes bucket seats both front and back. ISK makes extensive use of 3-D printing to check the fit and style of components before committing to carving them from metal. They will commonly scan a section of the car before the components are designed to ensure precise fitment.

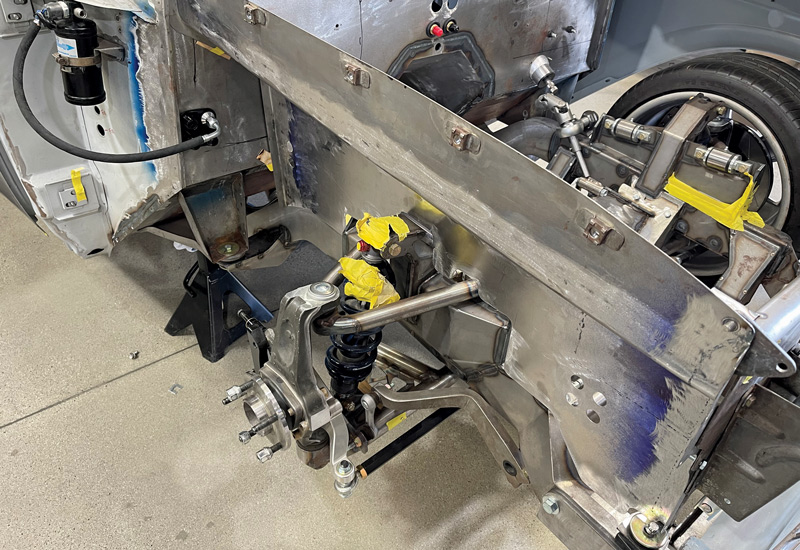
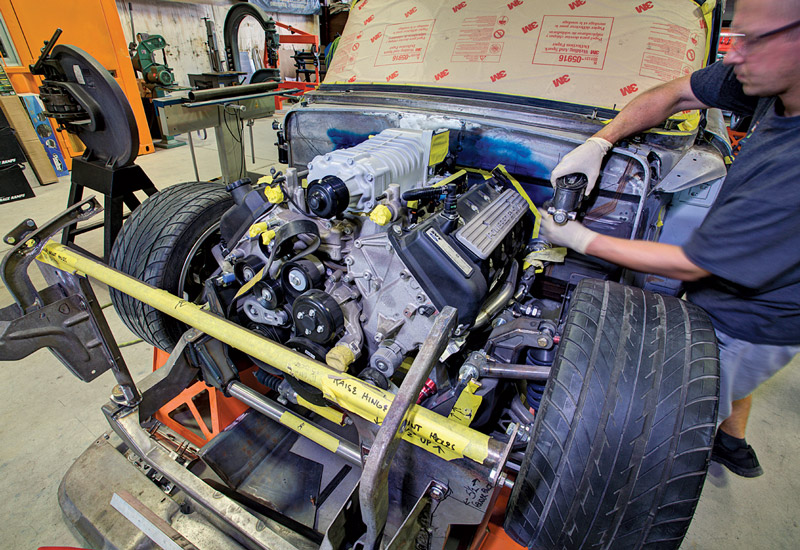
A Roadster Shop chassis was commissioned for the Ranch Wagon, fitted with a Ford 9-inch rearend, a supercharged Ford G.T. 500 5.4L crate engine, and Ford 4R70W transmission. Wilwood brake components are used, and a Woodward power steering rack complements the Roadster Shop–designed independent front suspension.

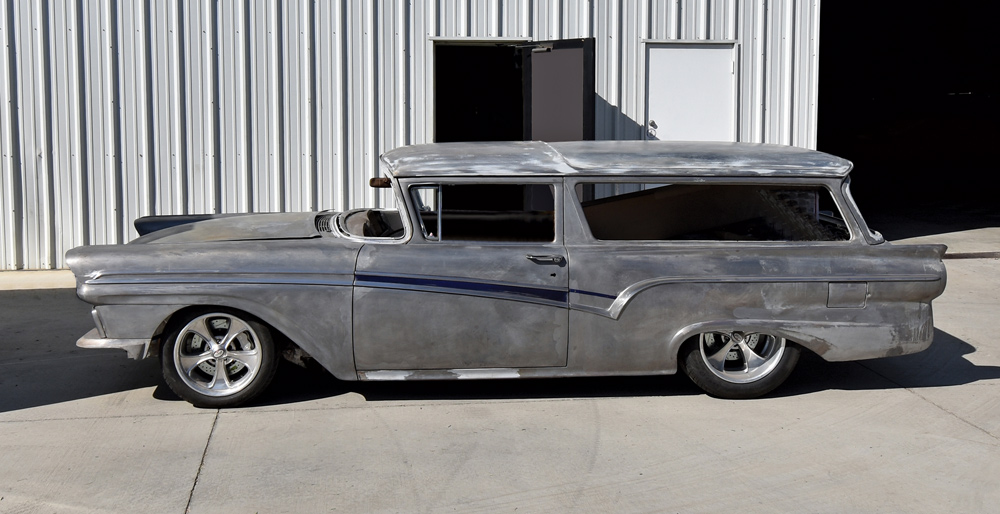
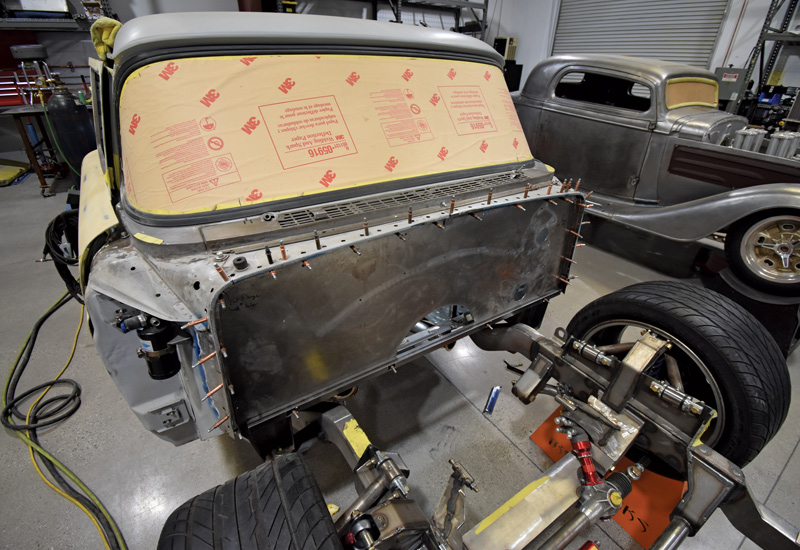
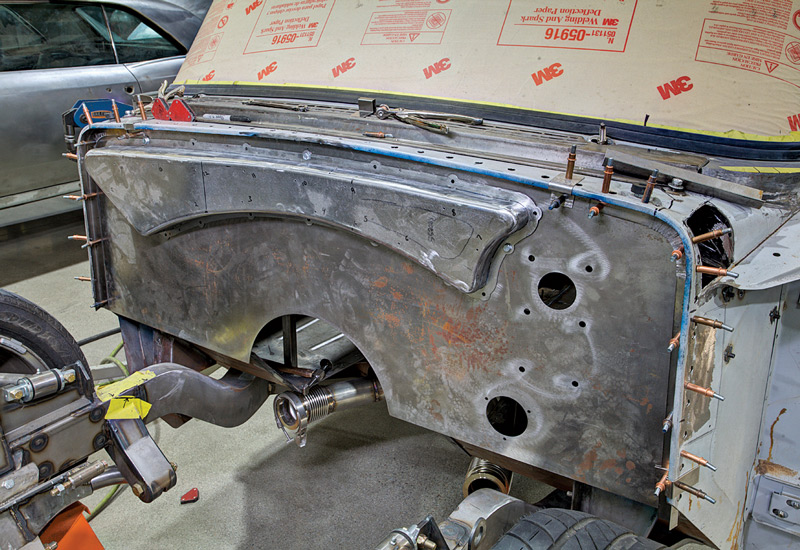
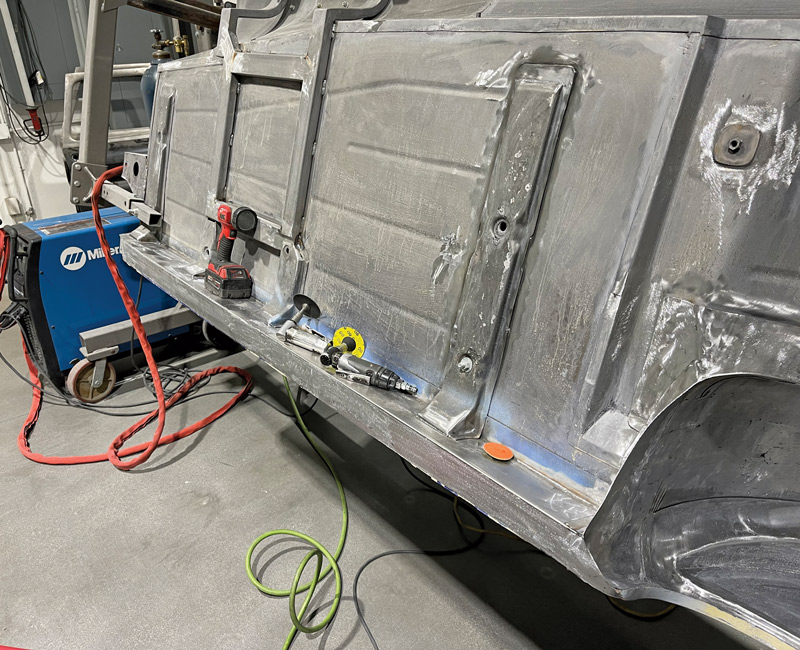
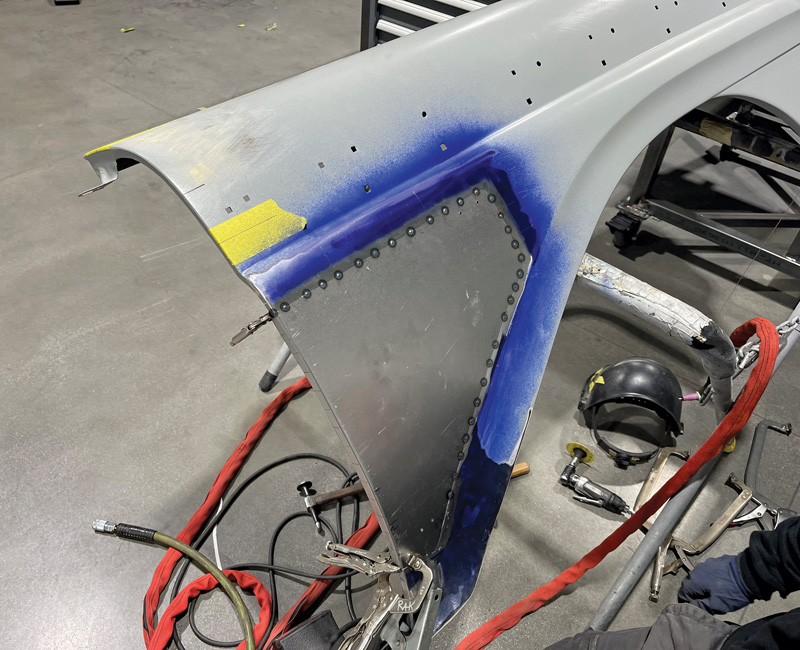
They started with a car in very good condition, but on any car that’s over 60 years old you can expect to find some rust damage and minor body damage. The ISK crew replaced the entire floor, the rocker panels, built a new firewall, and fabricated new patch panels wherever needed. After all the repairs, they straightened every panel to perfection and adjusted the door, hood, and tailgate gaps to precise tolerances.

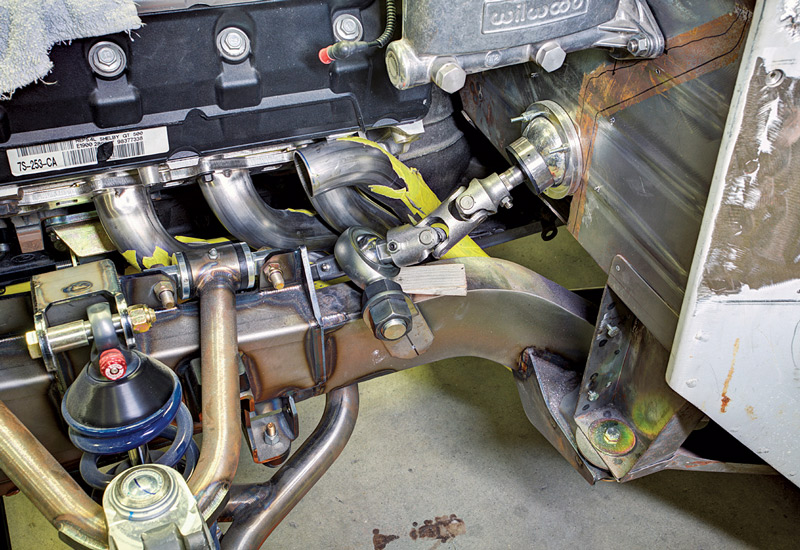
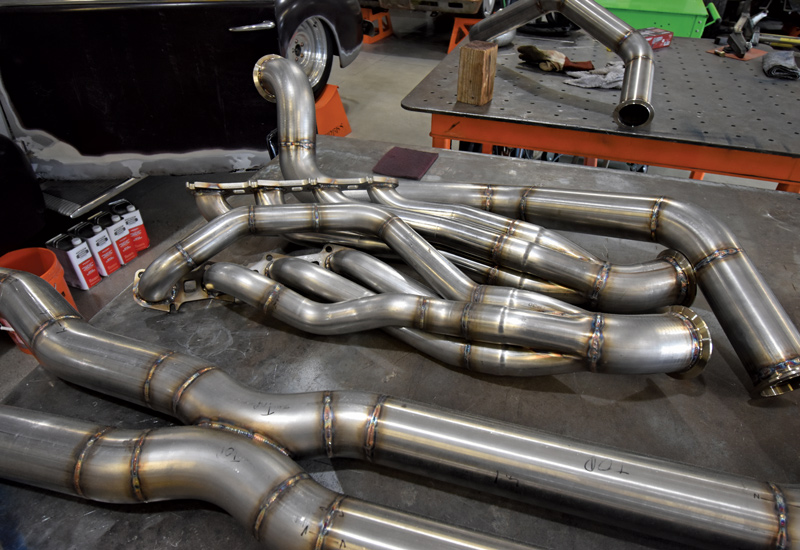
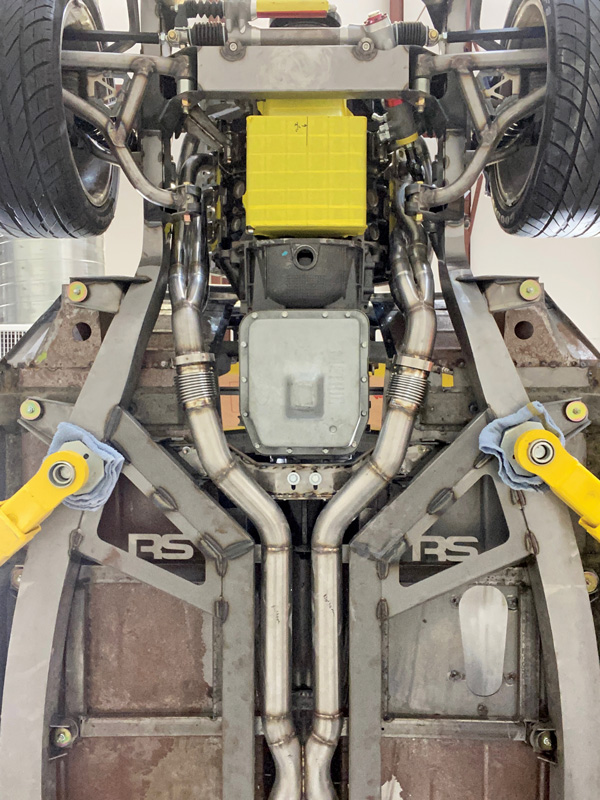
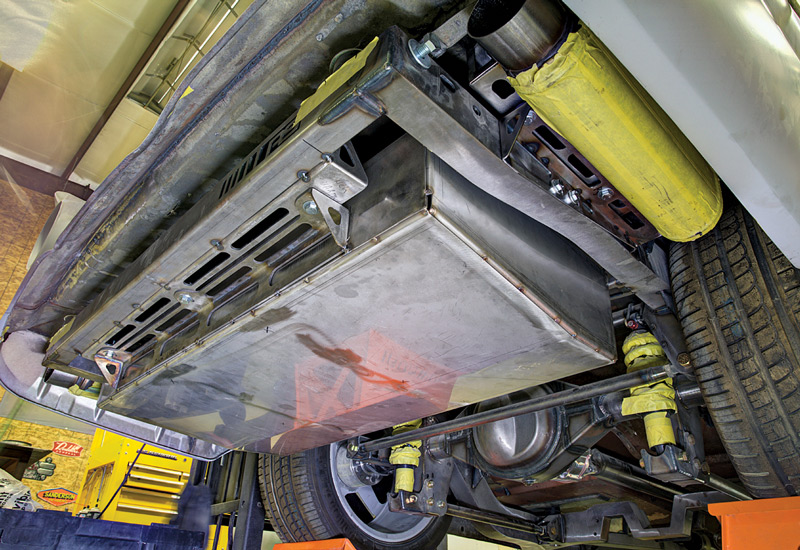
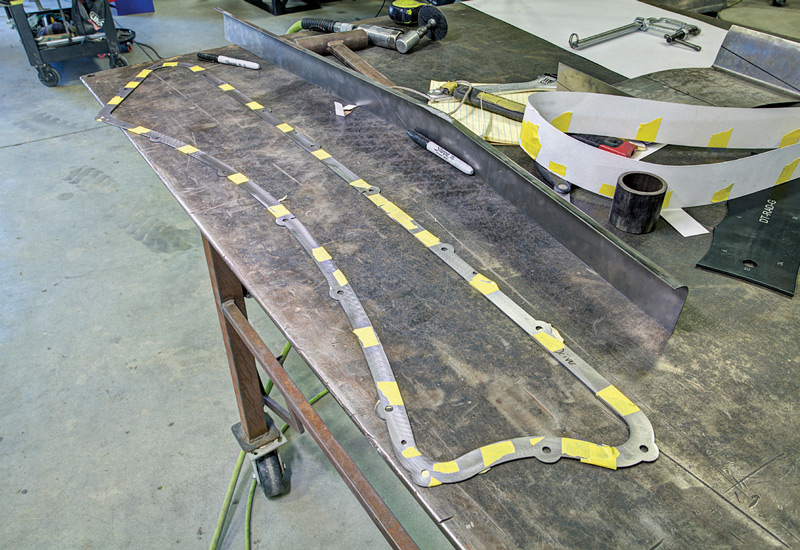
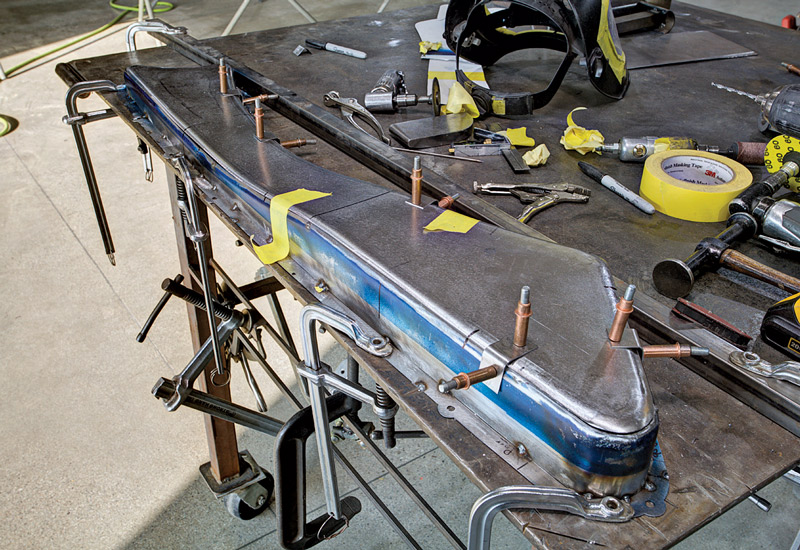
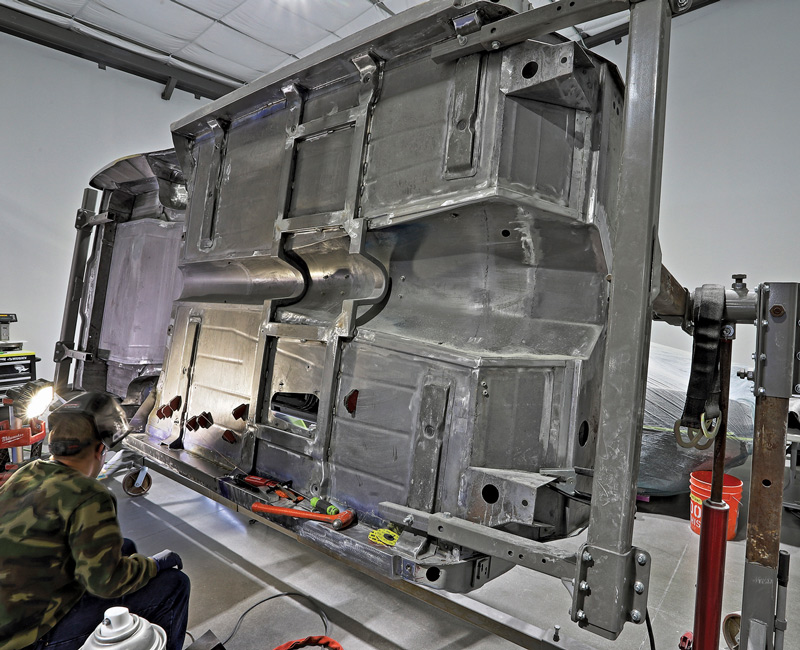
Extensive work was focused on the engine bay, with custom inner fender panels and a scratch-built clearance panel that was fitted to the new flat firewall. A complete stainless exhaust system was built, starting with carefully fitted headers, flowing back to oval mufflers tucked outside the framerails behind the rear axle. Stainless bellows were incorporated to accommodate engine movement or dimensional changes from heat. Note how well the large-diameter tubes fit inside the contours of the center frame members—a testament to the excellent design of the chassis. At the rear of the chassis, a custom-built 18-gallon stainless fuel tank was built in-house and fitted snugly between the framerails.

It will take several articles to just scratch the surface of the extensive work being lavished on this project, and we’ll focus primarily on the chassis and underhood area this time.

The project started with a sound ’57 Ford Ranch Wagon that was stripped to bare metal at the start of the project.
2. The project started with a sound ’57 Ford Ranch Wagon that was stripped to bare metal at the start of the project.
The beautiful and capable chassis was built by Roadster Shop.
3. The beautiful and capable chassis was built by Roadster Shop.
This frame needs a lot of contours to pick up all the original body mounts. Note that plenty of space has been left for a free-flowing exhaust system.
4. This frame needs a lot of contours to pick up all the original body mounts. Note that plenty of space has been left for a free-flowing exhaust system.
The Ford 9-inch rear axle, with a polished aluminum centersection, is located by a fully adjustable four-link system.
5. The Ford 9-inch rear axle, with a polished aluminum centersection, is located by a fully adjustable four-link system.
A flat firewall was made from 16-gauge steel to replace the original.
6. A flat firewall was made from 16-gauge steel to replace the original.
The supercharged Ford G.T. 500 engine was positioned as far back as possible.
7. The supercharged Ford G.T. 500 engine was positioned as far back as possible.
Double universal joints were used to offset the shaft going to the steering rack, providing the necessary clearance for the custom-built stainless headers.
8. Double universal joints were used to offset the shaft going to the steering rack, providing the necessary clearance for the custom-built stainless headers.
The free-flowing headers and exhaust system are a work of art.
9. The free-flowing headers and exhaust system are a work of art.
From underneath the car you can see how smoothly the exhaust system follows the contours of the chassis.
10. From underneath the car you can see how smoothly the exhaust system follows the contours of the chassis.
A custom-made 18-gallon stainless fuel tank fits behind the rear axle, and the mufflers are tucked between the framerails and the rear fenders.
11. A custom-made 18-gallon stainless fuel tank fits behind the rear axle, and the mufflers are tucked between the framerails and the rear fenders.
New inner fenderwell panels were made from 16-gauge steel. Note how nut plates are used on the top edge for the fender attachment bolts.
12. New inner fenderwell panels were made from 16-gauge steel. Note how nut plates are used on the top edge for the fender attachment bolts.
Here the Wilwood dual brake master cylinder is located on the firewall.
13. Here the Wilwood dual brake master cylinder is located on the firewall.
A removable clearance panel is being built to attach to the firewall. This is the mounting flange that the panel will be fitted to.
14. A removable clearance panel is being built to attach to the firewall. This is the mounting flange that the panel will be fitted to.
Here the mounting flange is positioned on the firewall and the contours and clearances are checked.<br />
15. Here the mounting flange is positioned on the firewall and the contours and clearances are checked.
The front surface and perimeter of the panel are built while the mounting flange is clamped securely to the workbench, keeping everything flat and true.
16. The front surface and perimeter of the panel are built while the mounting flange is clamped securely to the workbench, keeping everything flat and true.
Here’s the finished clearance panel, temporarily bolted to the firewall.
17. Here’s the finished clearance panel, temporarily bolted to the firewall.
All the floor panels of the car were replaced with new metal. A rotisserie really helps at this stage of the construction.
18. All the floor panels of the car were replaced with new metal. A rotisserie really helps at this stage of the construction.
New rocker panels were made from<br />
heavy-gauge metal.
19. New rocker panels were made from heavy-gauge metal.
Most of the body was in good shape, but there were a few areas where patch panels were required. Here a large patch is being fitted to the front fender.
20. Most of the body was in good shape, but there were a few areas where patch panels were required. Here a large patch is being fitted to the front fender.
Once all the exterior sheetmetal was smoothed to perfection the body was primered and the trim pieces were straightened, then carefully fitted and adjusted.
21. Once all the exterior sheetmetal was smoothed to perfection the body was primered and the trim pieces were straightened, then carefully fitted and adjusted.
SOURCE
Ironworks Speed and Kustom
(661) 399-8999
ironworksspeedandkustom.com
Modern Rodding

VOLUME 4 • ISSUE 36 • 2023