Modern Rodding TECH

InTheGarageMedia.com

’36 Ford Roadster
1. We saw the latest on the ’36 Ford roadster being built at Rad Rides by Troy while walking the aisles at this year’s Grand National Roadster Show. It’s everything and more than we thought.
’36 Ford Roadster title
Part 5: Apron Panels, Lower Hood Panels & Door Construction
By Ron CovellPhotography by Adam Banks
I

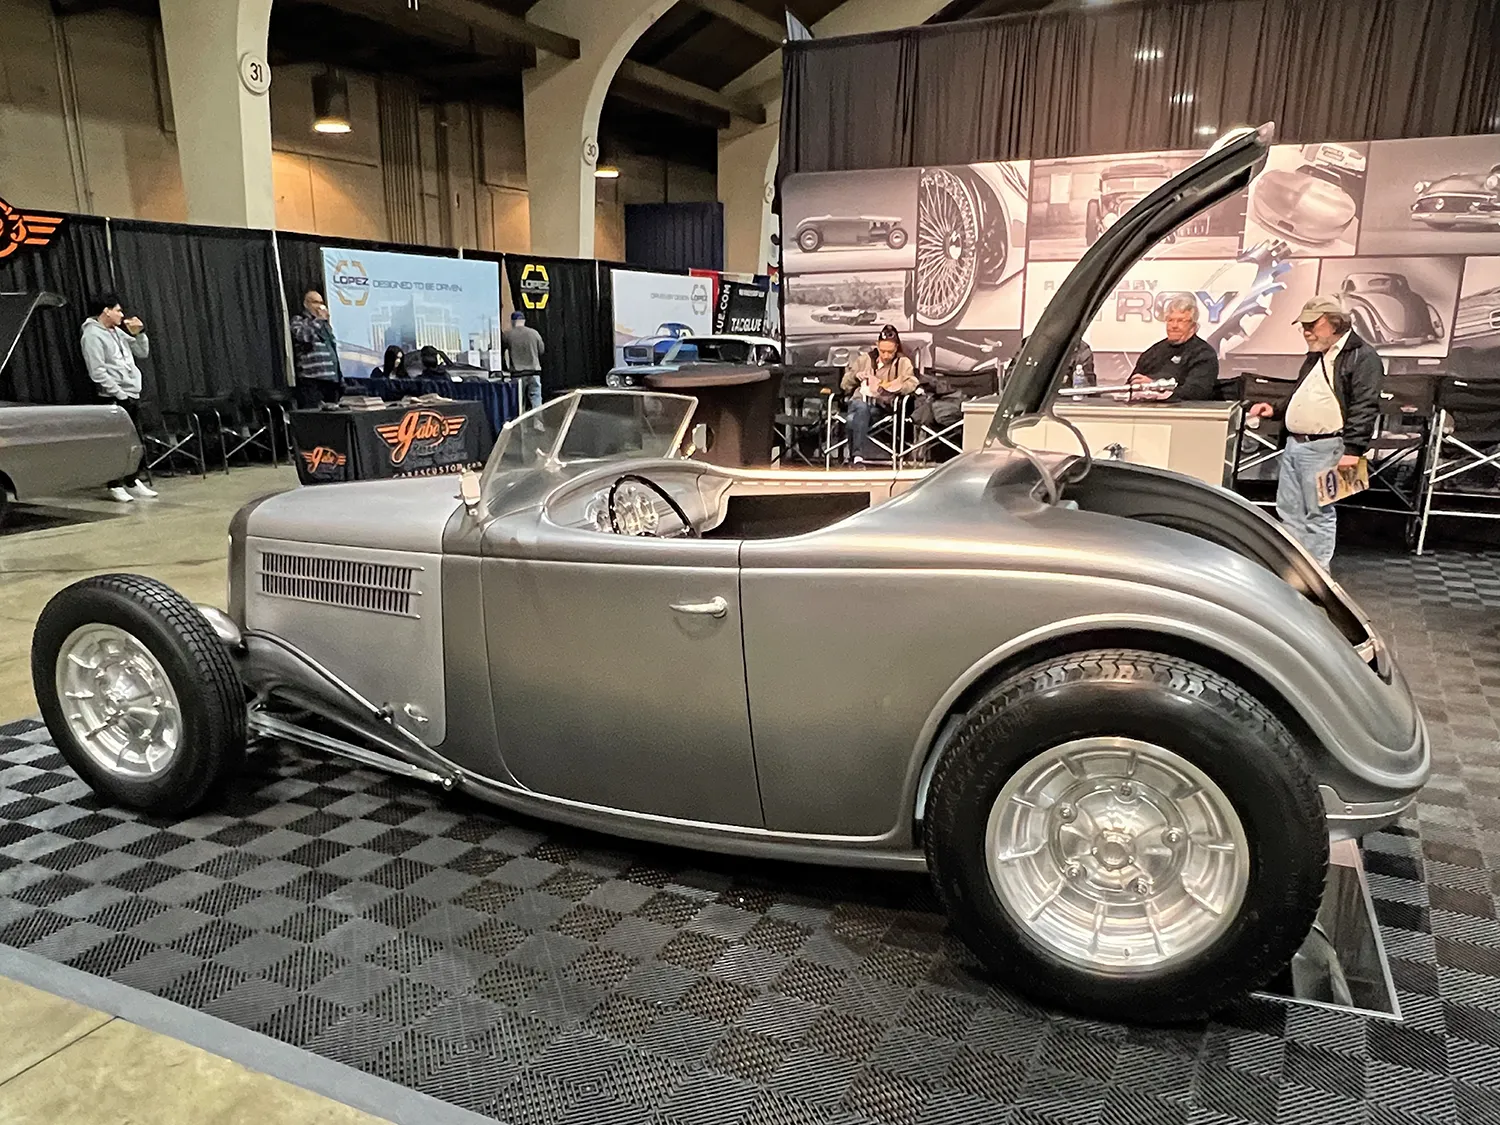
n past issues, we covered much of the metal fabrication done by the Rad Rides by Troy crew on the Ross Myers fenderless ’36 Ford roadster. This time, we’ll take a deep dive into the apron panels that fit under the lower hood panels and the construction of the doors.

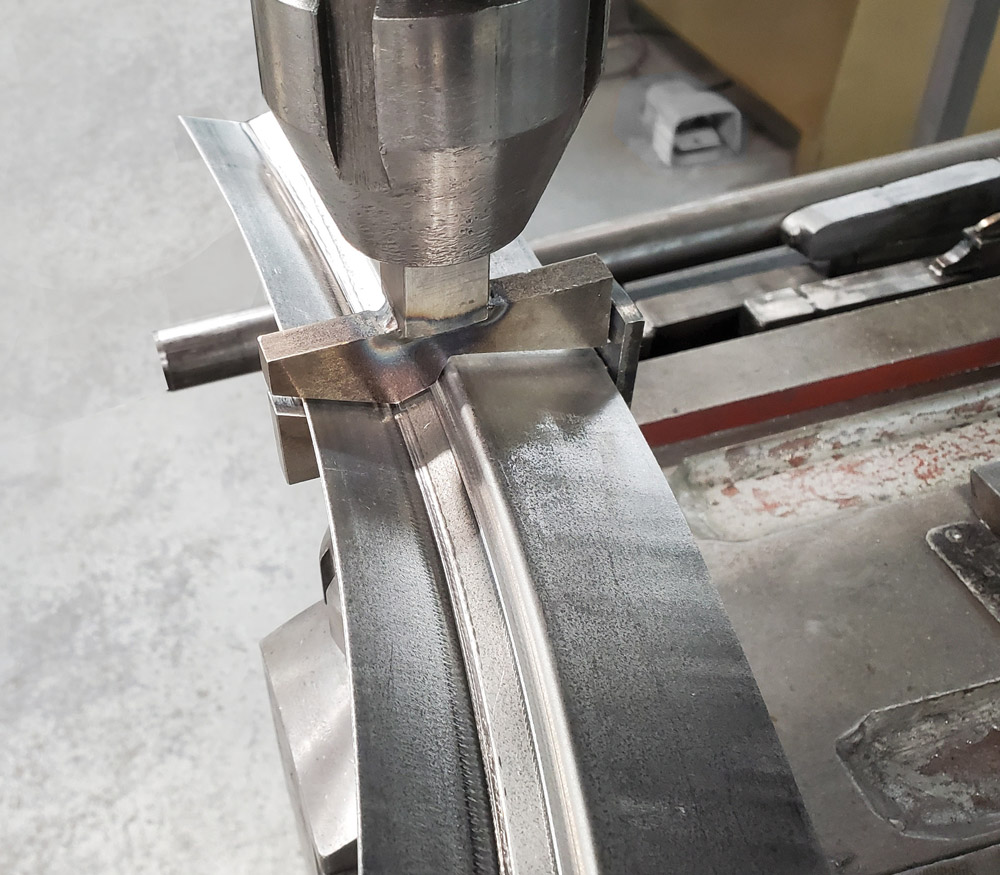
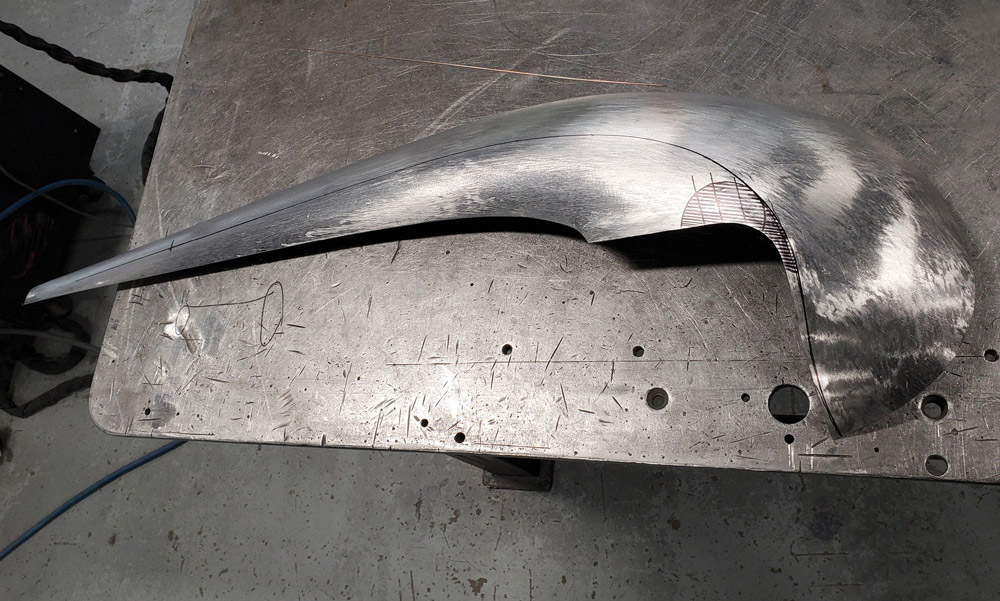
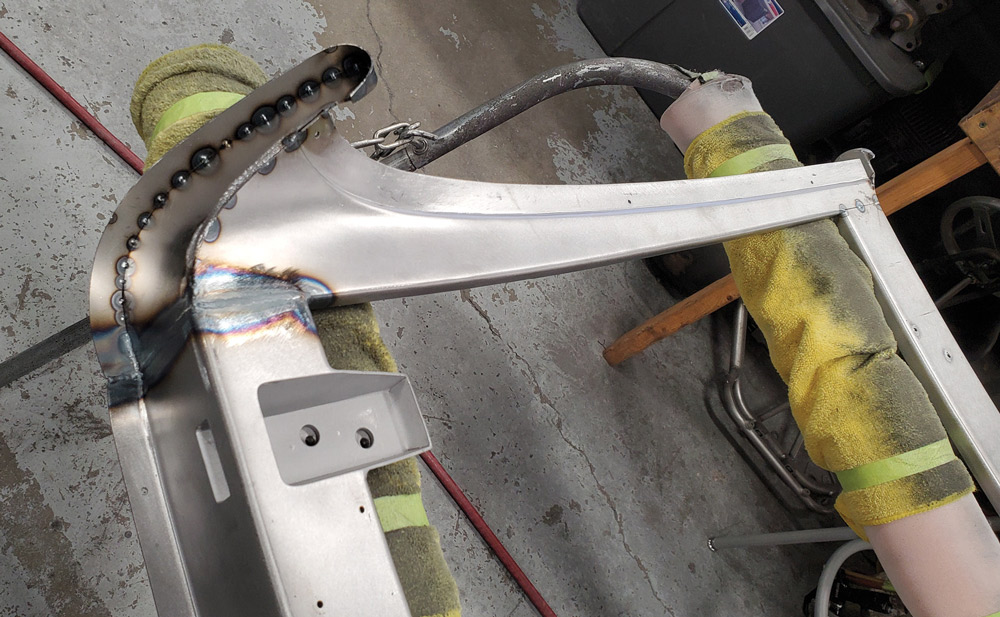
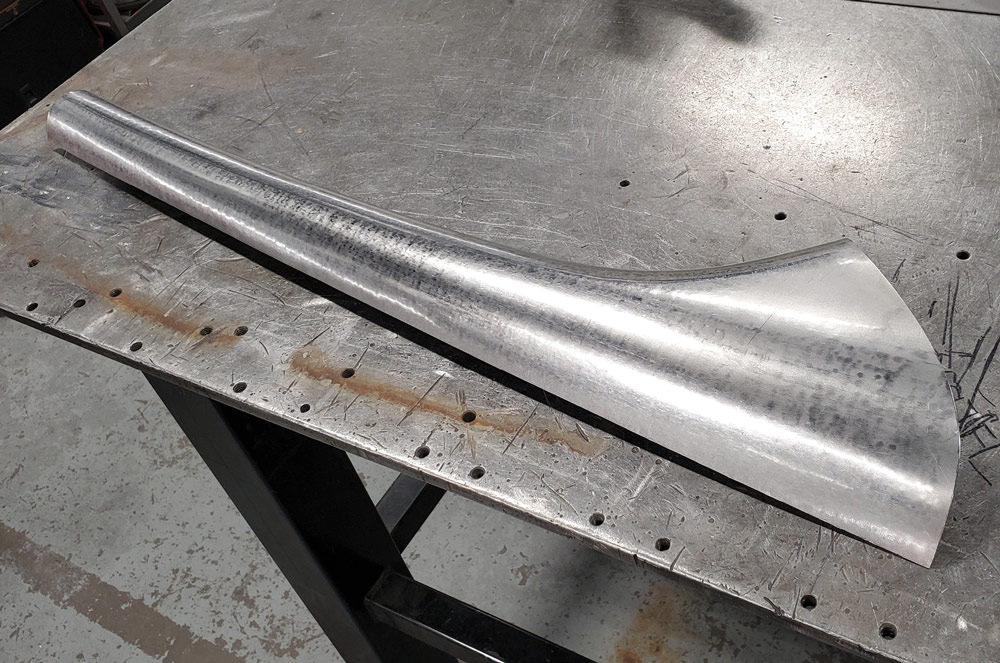
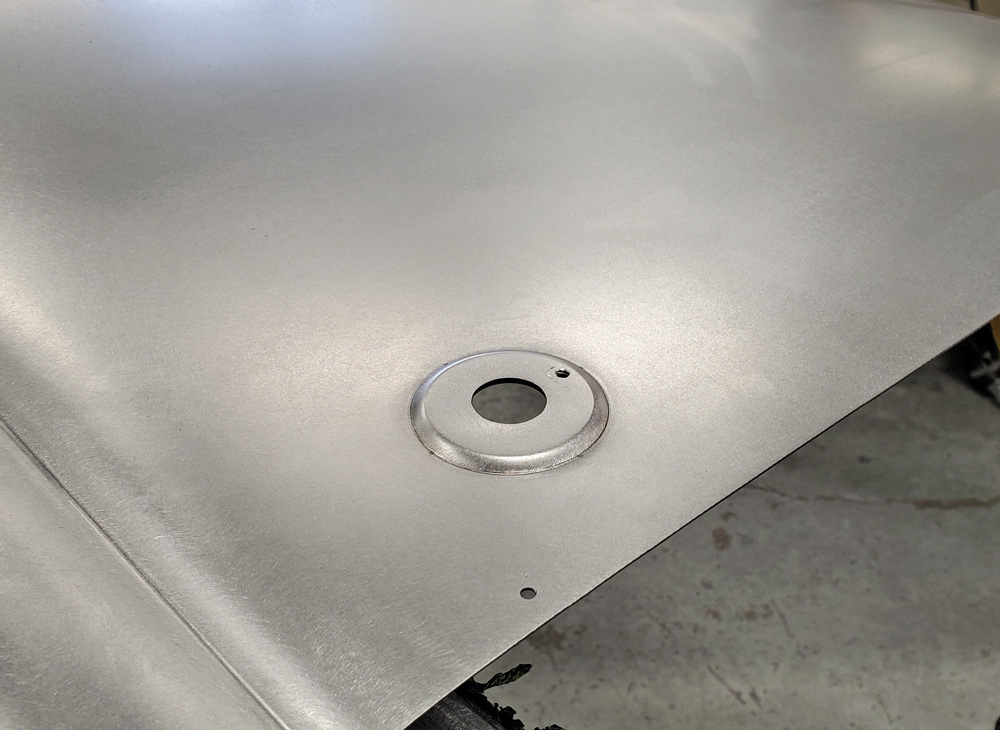
The team at Rad Rides uses shrinking dies on a powerful Eckold machine to do much of the forming of large, low-crown panels, along with an English wheel and a planishing hammer for the final smoothing. A Pullmax machine is used for many of the steps and beads; they metal finish and carefully sand each panel to perfection as it nears completion.

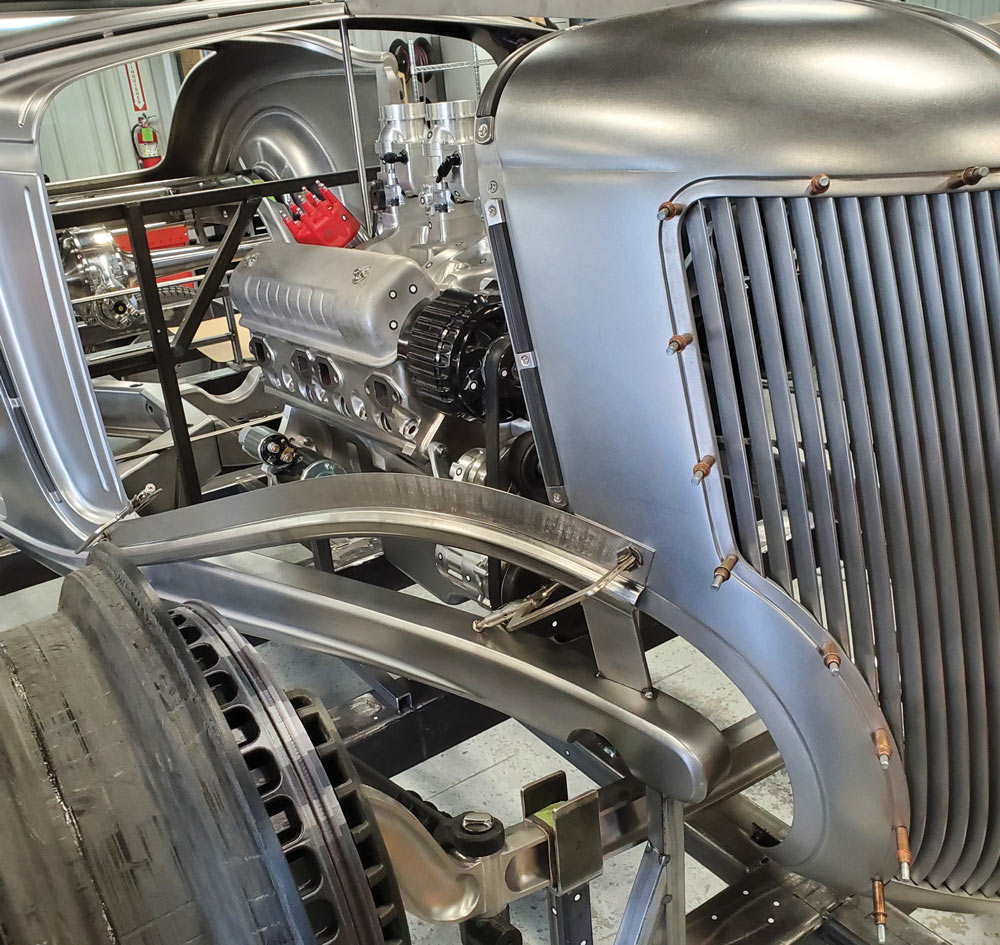
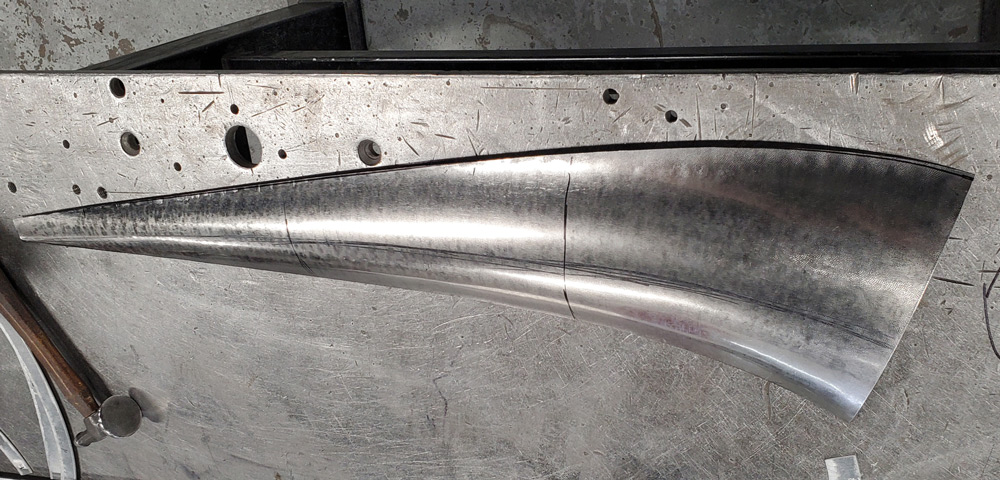
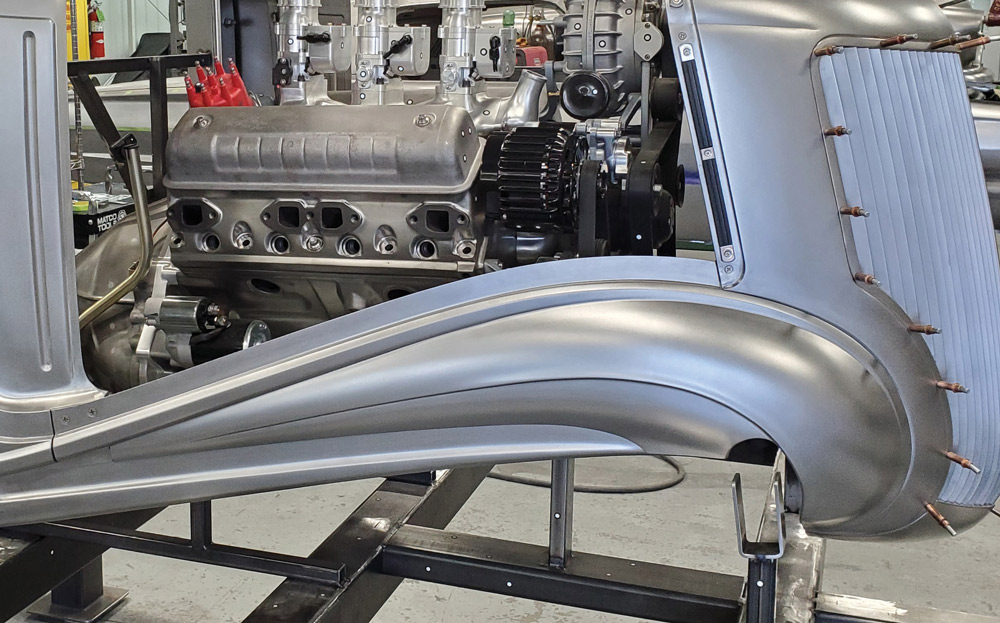
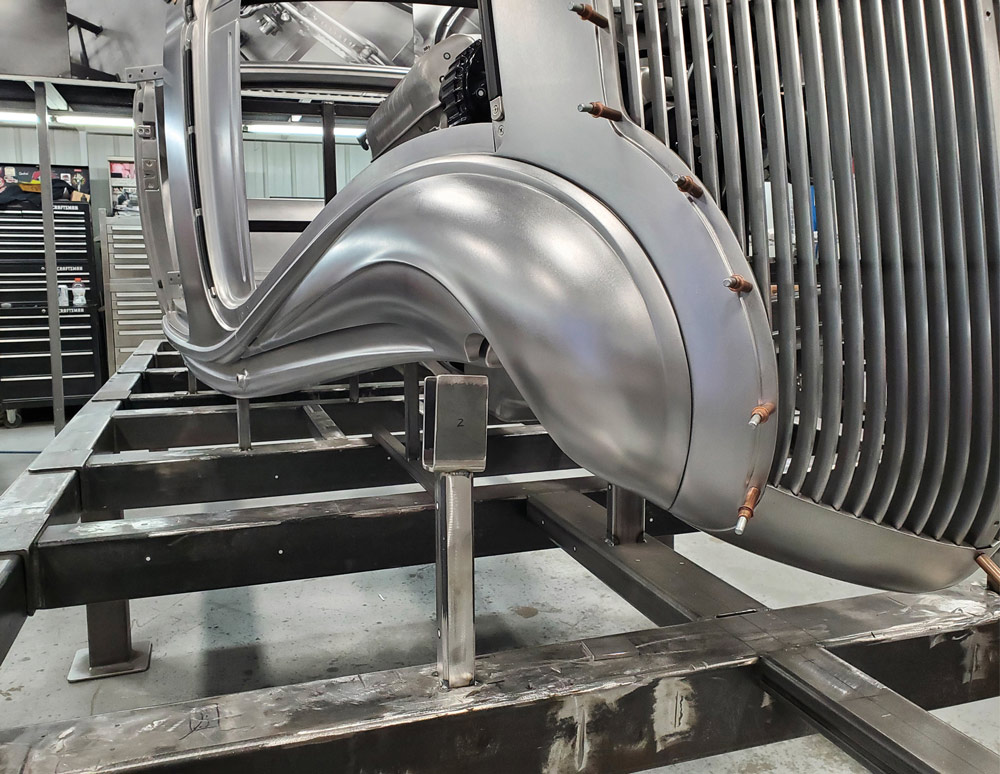
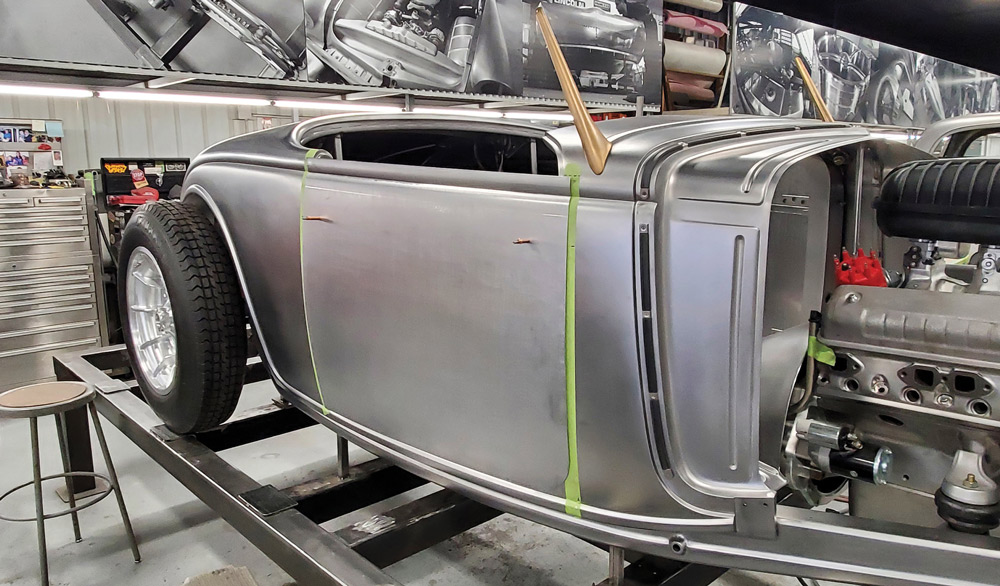
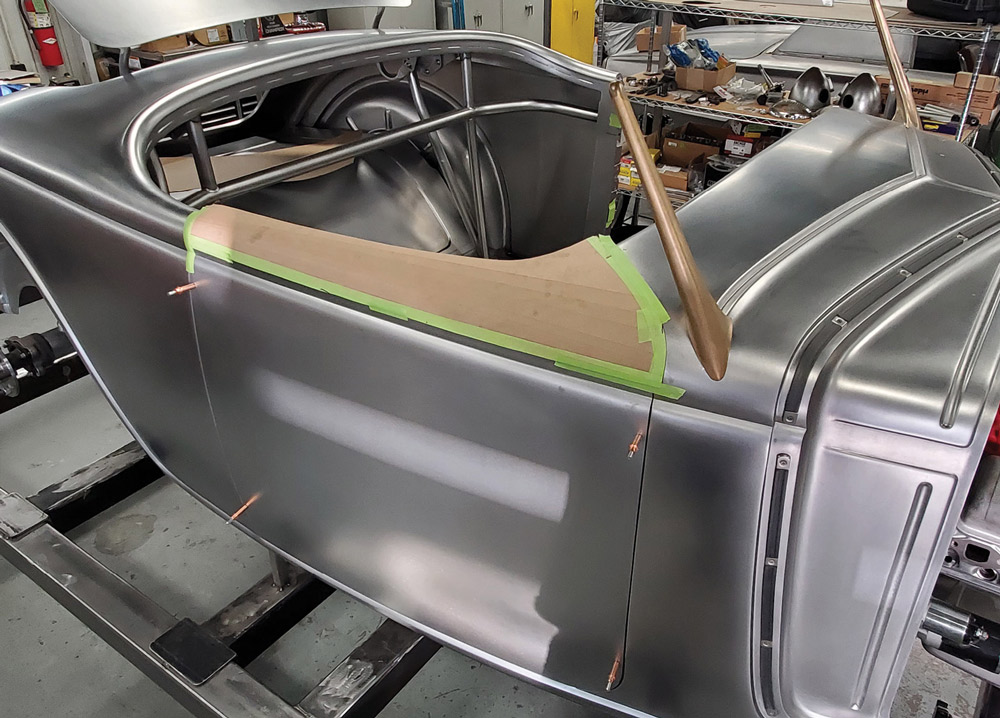
They are charting new territory by making a fenderless version of a ’36 Ford roadster, a task few have attempted because of the complications involved. It’s quite a challenge to make the large areas previously covered by the “fat” front fenders look good when exposed for all to see. By incorporating a masterful blend of steps, sweeps, ridges, and creases, the aprons that fit under the hood sides have become a real focal point on the car, and they blend nicely with the custom-made framerails, which also have a stepped detail done in the style of the ’32 frame.

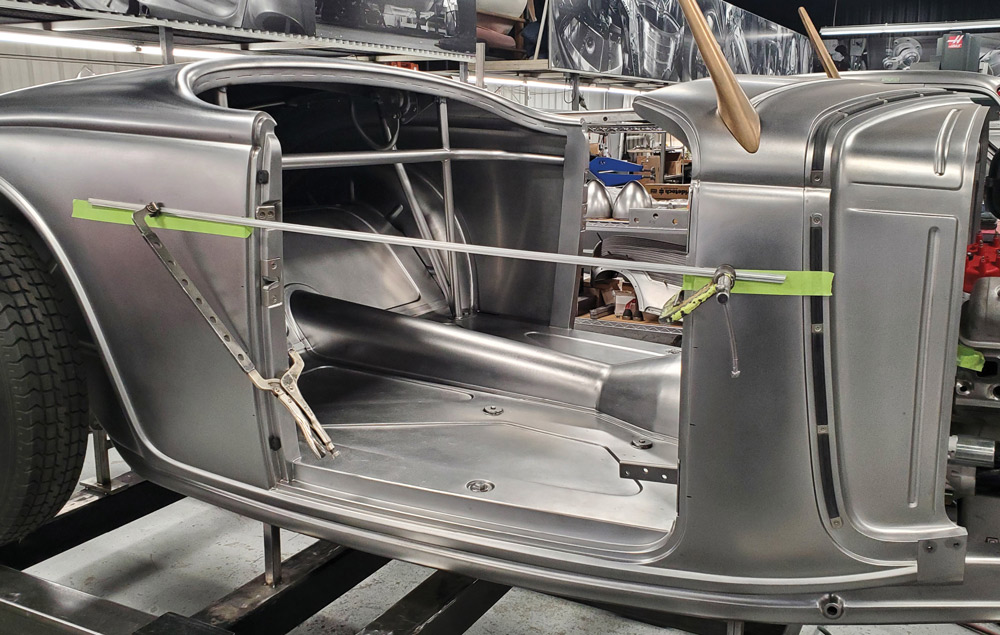
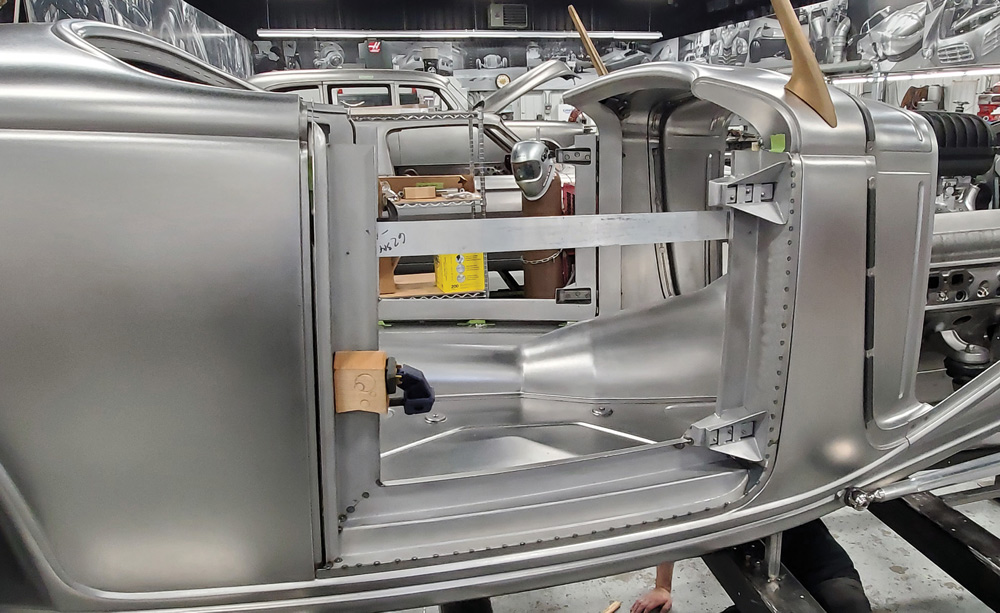
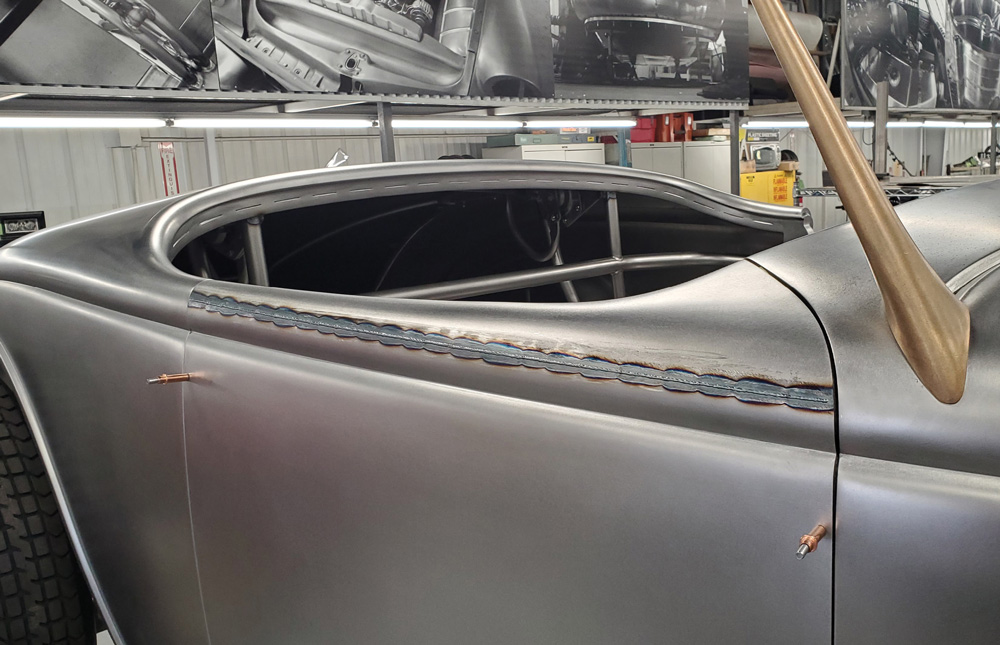
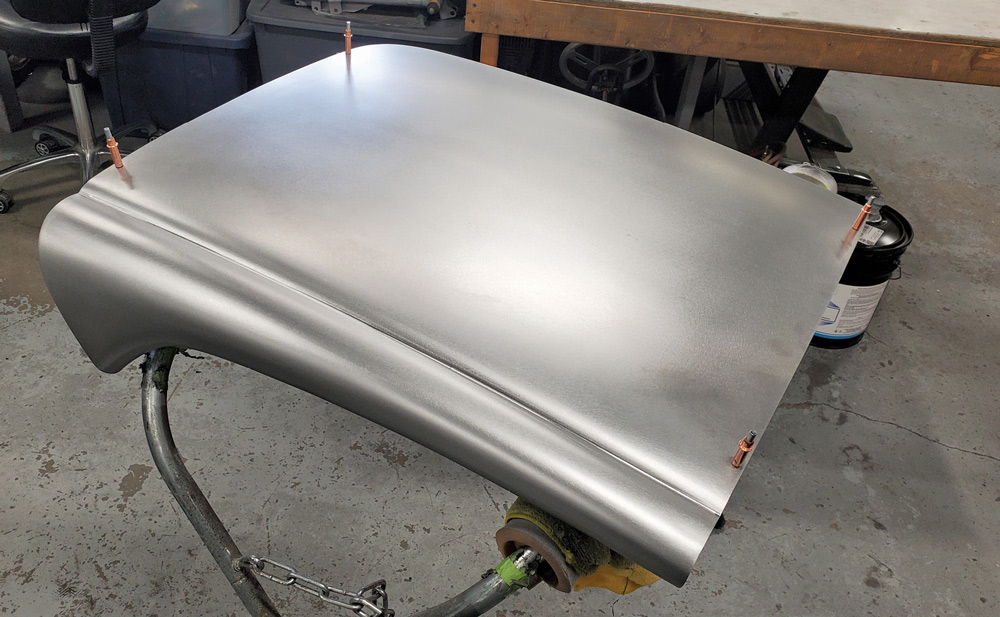
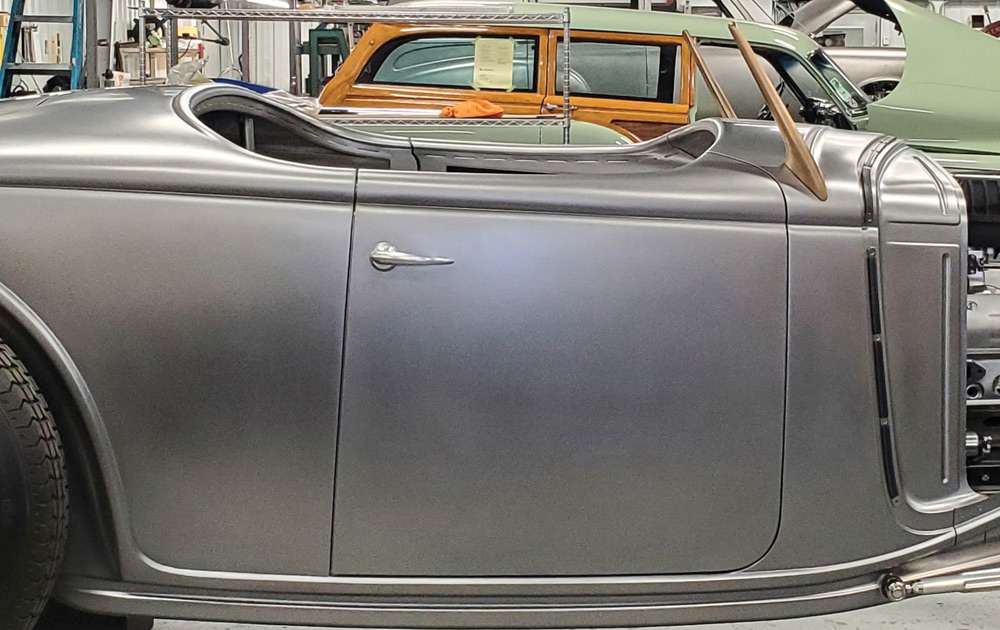
Every bit of the door is custom made. The doorskins were made from 18-gauge cold rolled steel sheets, but they selected 14-gauge steel for the inner panels. The heavier-gauge steel is more difficult to work with, but it ensures that the doors will be massively strong and will close with a solid “thud.” These doors will hold their shape very well over the long haul. A tremendous amount of time was spent perfecting the fit and gaps around the doors and the end result was striking.

The door hinges are from a production car, but they were extensively reworked, allowing the doors to open to nearly 90 degrees, a much wider angle than on most cars of this era. Most of the other details on the door were custom made, including the dovetails and door handles. All these details were finished to perfection since the owner made it clear that he wanted the finest quality achievable for this groundbreaking project.

Pullmax machine forming the proper contour
2. A special set of dies was made for the Pullmax machine to form the proper contour on the top edge of the apron panels.
test fitting freshly formed panel
3. The freshly formed panel is test-fitted to the car and adjusted as needed. You can see that the shape flows nicely into both the cowl and grille shell.
testing fit against the grille shell
4. The front edge of the panel is shaped in a similar manner, and the fit is tested against the grille shell. Just a couple more tweaks will get the part dialed in perfectly.
1/4-inch-diameter steel bar stock being bent to represent the shape needed for the lower panels
5. With the first two pieces of the apron fitted and joined, 1/4-inch-diameter steel bar stock is bent to represent the shape needed for the lower panels.
chipboard pattern for the front portion of the lower panel and a sheet of 18-gauge cold-rolled steel sheet cut to size
6. A chipboard pattern is made for the front portion of the lower panel, then a sheet of 18-gauge cold-rolled steel sheet is cut to size and contoured to fit the form.
rear portion of the lower panel
7. The rear portion of the lower panel is shaped in a similar manner and planished smooth.
parts being held in place with clamps
8. All the parts are held into place with clamps and Clecos to check the fit.
lower panels welded together
9. The lower panels have been welded together here and metal finished. Note the line drawn for a feature to be added near the center of the panel.
svelte bead formed from lower panels
10. A svelte bead was formed in the lower panels, then the assembly was welded to the top strip. After welding and metal finishing, all surfaces were smoothed with a random orbit sander, leaving a smooth, lustrous finish.
beautiful flow of the steps, beads, and linework
11. A front view shows the beautiful flow of the steps, beads, and linework and the impeccable fit and finish on all parts.
temporary form clamped to the cowl and quarter-panel
12. The doors were completely scratch built. A temporary form is clamped to the cowl and quarter-panel, representing the shape the doorskin needs to flow smoothly into both surfaces.
panel filed in two directions to reveal any tiny deviations that need correction
13. A slightly oversize piece of 18-gauge sheet was shaped by using radial shrink dies on an Eckold machine, followed by smoothing with an English wheel. After the contours are refined, the panel is filed in two directions to reveal any tiny deviations that need correction.
file marks removed with an orbital sander
14. After the final smoothing, the file marks were removed with an orbital sander. The crease in the top of the doorskin was done with the same custom-made Pullmax dies used on the quarter-panel and cowl.
stout inner doorframe
15. A stout inner doorframe was made from 14-gauge steel. Hinges from an English car were used, allowing adjustment as needed. The hinges were heavily reworked, increasing the opening angle to nearly 90 degrees.
welded top portion of the inner doorframe
16. The top portion of the inner doorframe was a complex construction. You can see how each piece was meticulously fitted into place.
chipboard pattern for the outer portion of the door top
17. A chipboard pattern was made for the outer portion of the door top.
18-gauge steel door top
18. Here’s the 18-gauge steel door top shown after rough shaping and planishing.
inside the panel
19. Looking inside the panel, you can see how smoothly this convoluted shape was formed.
door top clamped into place
20. After being metal finished, the door top is clamped into place in preparation for scribing and trimming the doorskin.
door top has been TIG welded into place
21. Here, the door top has been TIG welded into place. You can see very little distortion due to the precise fit and the crown of the panels.
smooth doorskin
22. After grinding the weld smooth, metal finishing the joint, and orbital sanding, the doorskin looks like it was made from one piece of metal. The doorskin was joined to the inner frame by edge-welding.
special die made to emboss the feature around the exterior door handle
23. A special die was made to emboss the feature around the exterior door handle.
completed door panel handle detail
24. Here’s the completed door panel handle detail.
completed door, hinged and latched
25. And here’s the completed door, hinged and latched. As you can see, the door gaps and the overall fit and finish are done to extremely high standards. This is a testament to the fine-quality work done at Rad Rides by Troy.
SOURCE
Modern Rodding
VOLUME 5 • ISSUE 44 • 2024