Modern Rodding Tech
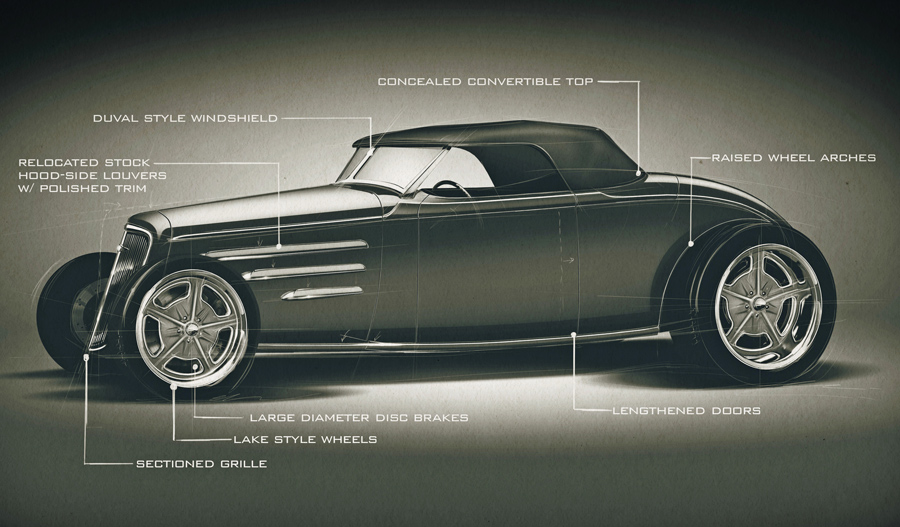
1. This is the profile that designer Eric Black sketched out for the Lucille roadster. The Chevrolet styling cues were left intact, but many areas were “nipped and tucked” for a more graceful look.

ne of the highest honors in the indoor car show circuit is being named America’s Most Beautiful Roadster at the Grand National Roadster Show in Pomona. In the show’s 72-year history this is only the second time this prestigious award has been given to a Chevy (non-Ford), but once you see the details of this spectacular car you’ll understand why it is very deserving of the honor.
Jeff Breault commissioned Devlin Rod and Customs to build his ’34 Chevy roadster “Lucille,” which was a multi-year project. While the allover appearance is of understated elegance, Tim Devlin and his dedicated crew put an inordinate amount of time into refining every detail and bringing them together into a tightly orchestrated final product. Designer Eric Black was brought on early in the process, and his drawings set the tone for the entire build.
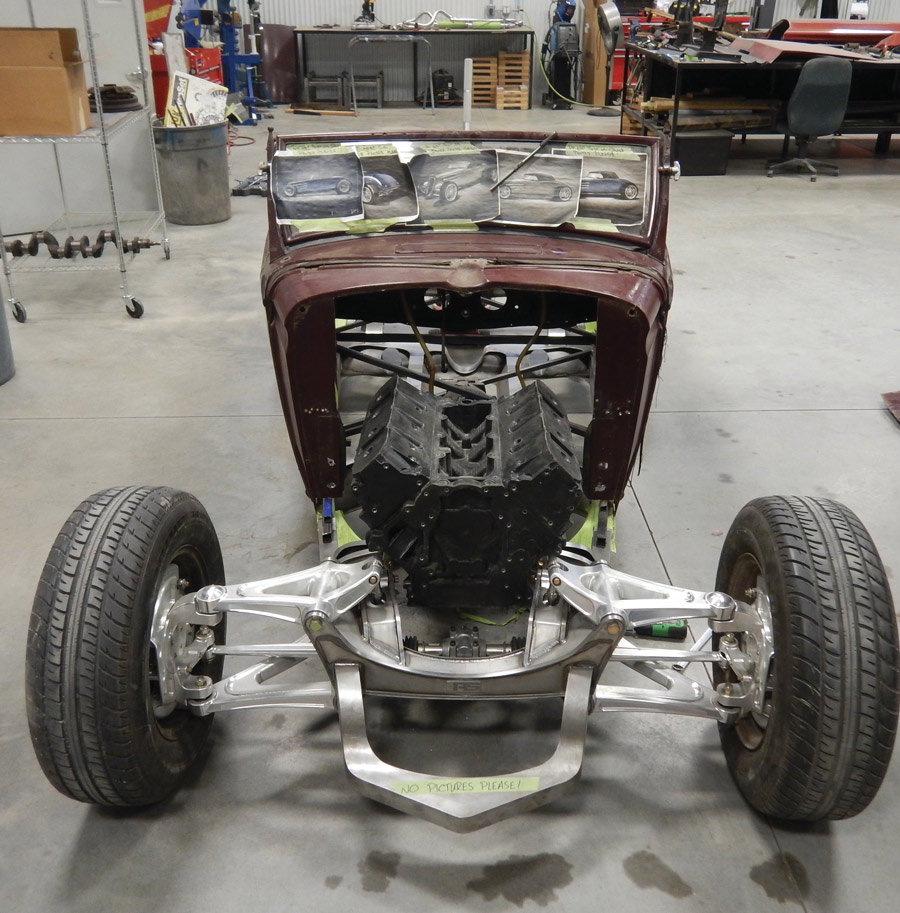
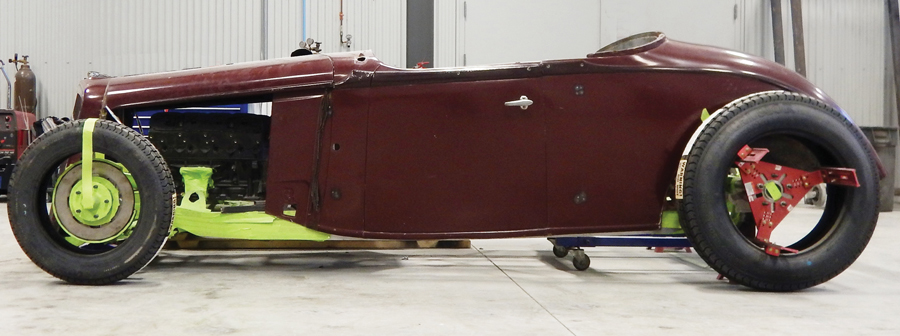
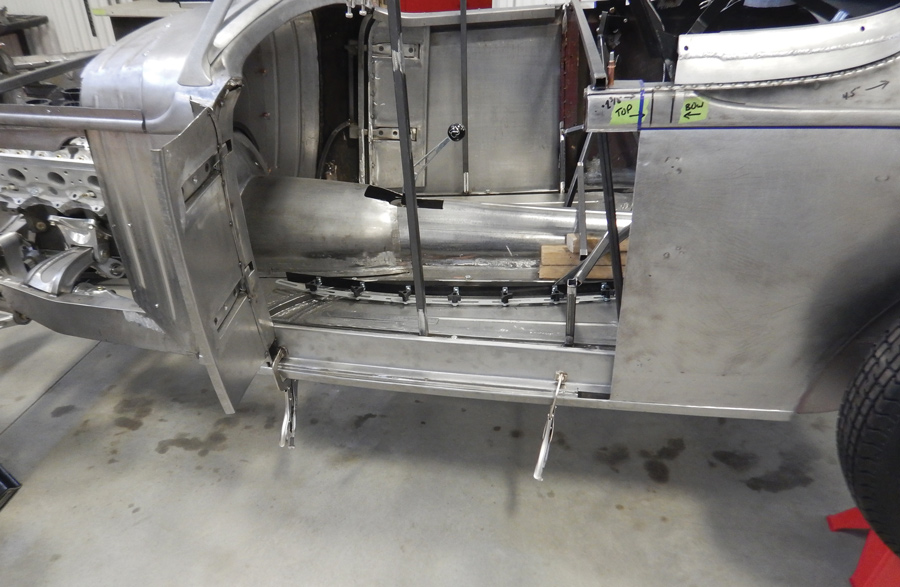
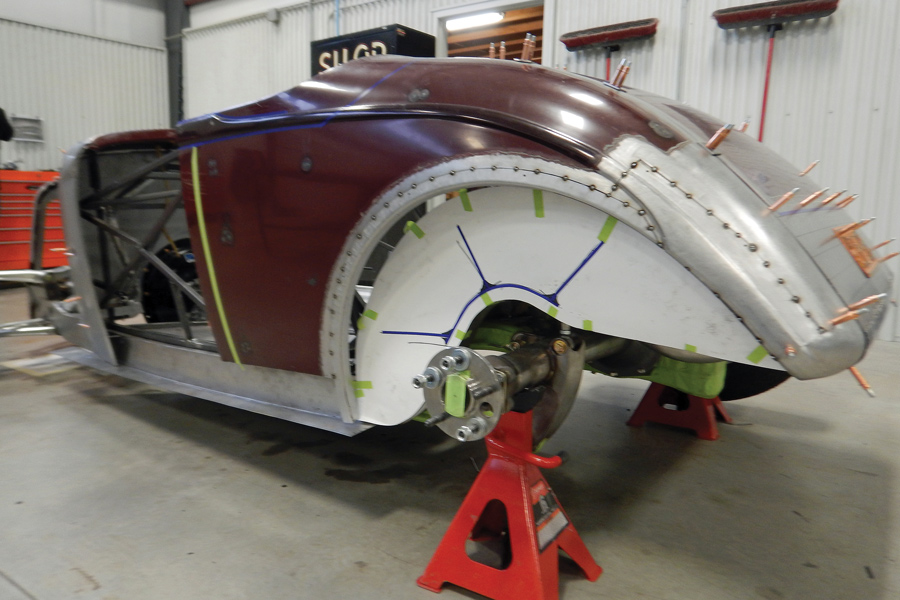
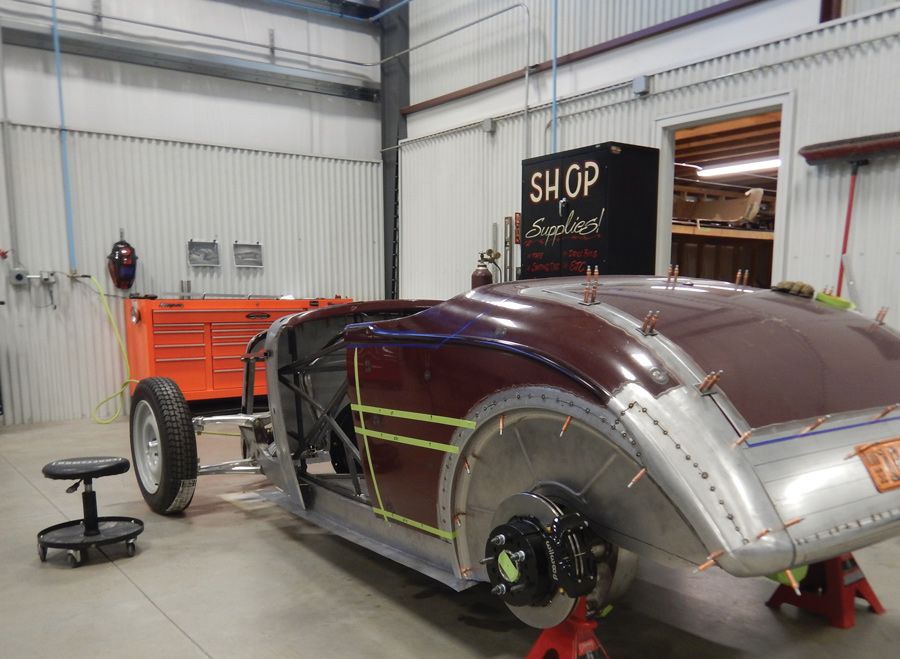
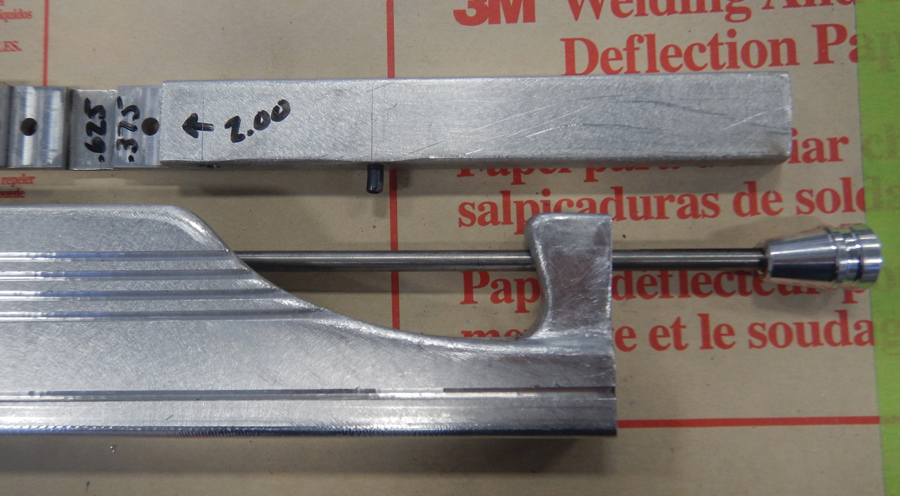
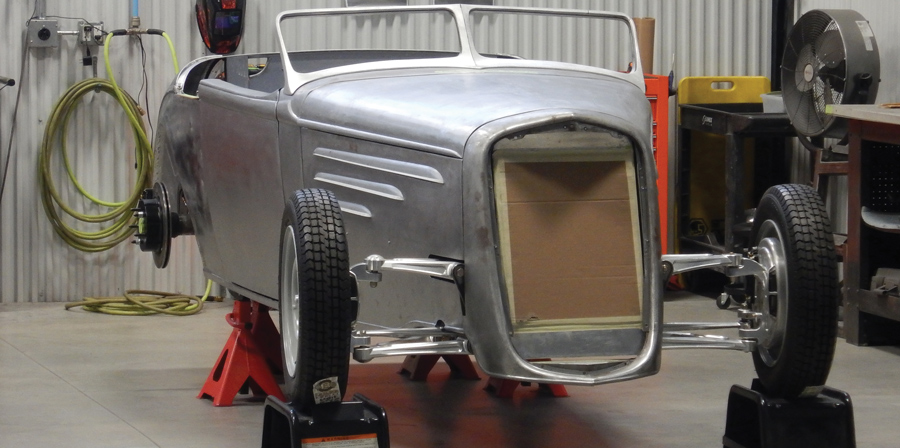
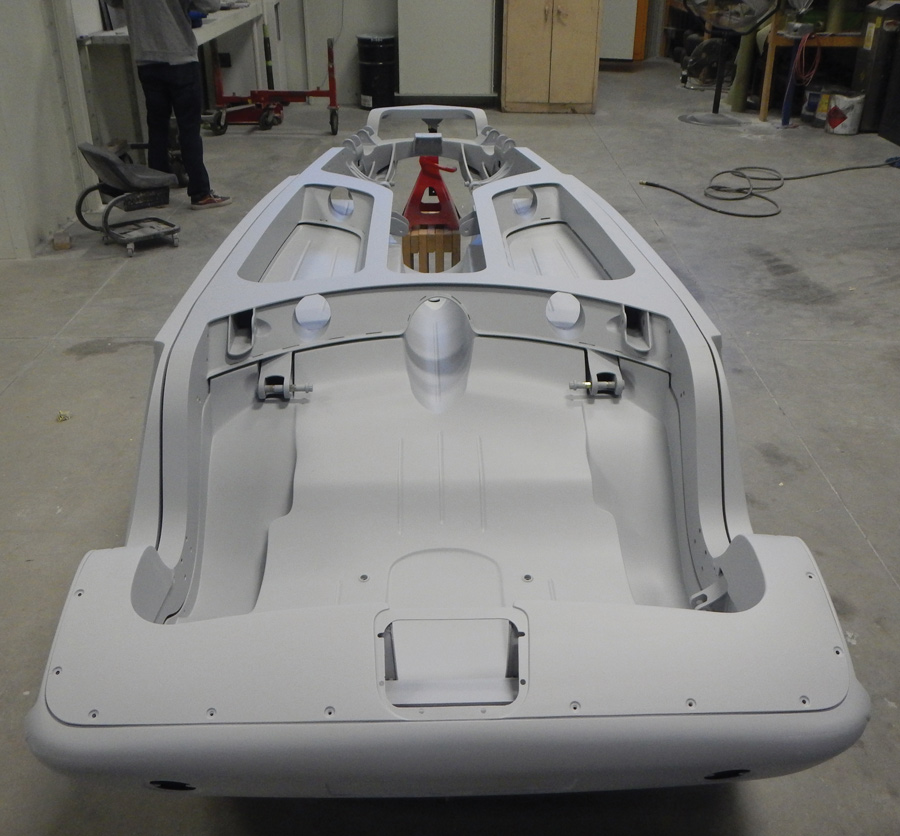
Chevrolet made very few roadsters in 1934, so finding a good car to start with was the first obstacle. With patient dedication, Breault found a donor car in decent condition. One of the first major decisions was to have Roadster Shop custom build a chassis; they did a spectacular job. Knowing the car would be fenderless and channeled, they built framerails to match the curvature of the body while kicking up enough in the rear to accommodate full suspension travel at the desired ride height.
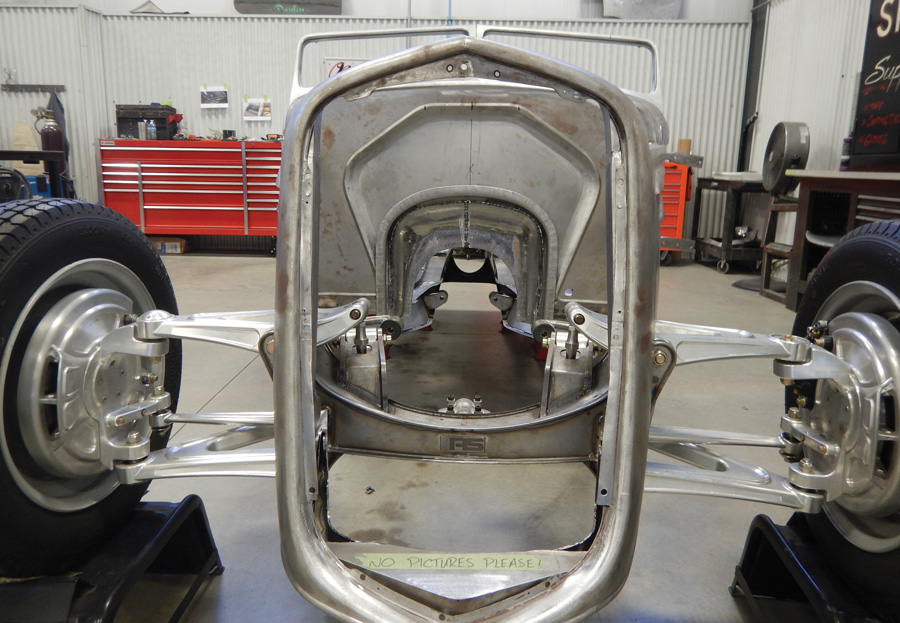
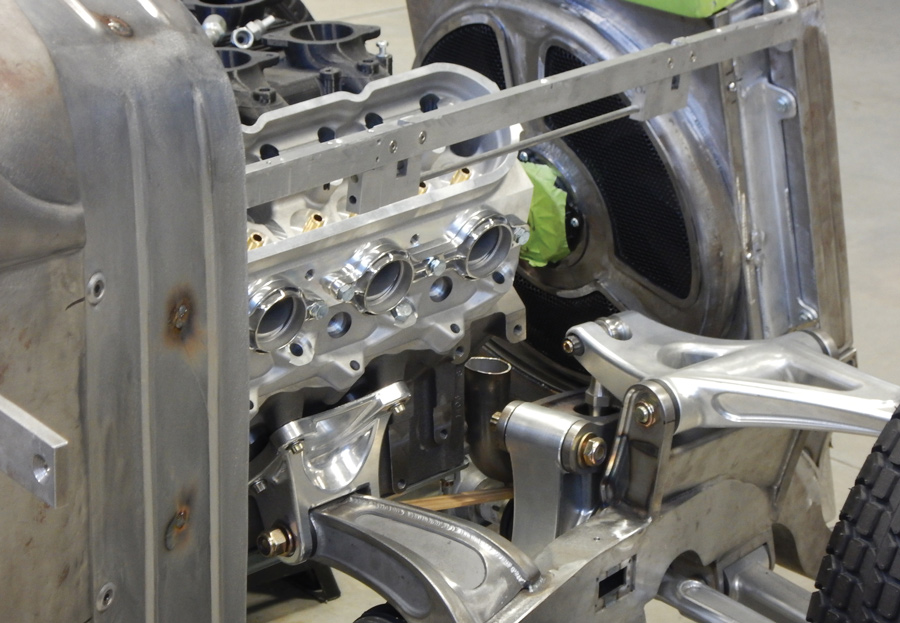
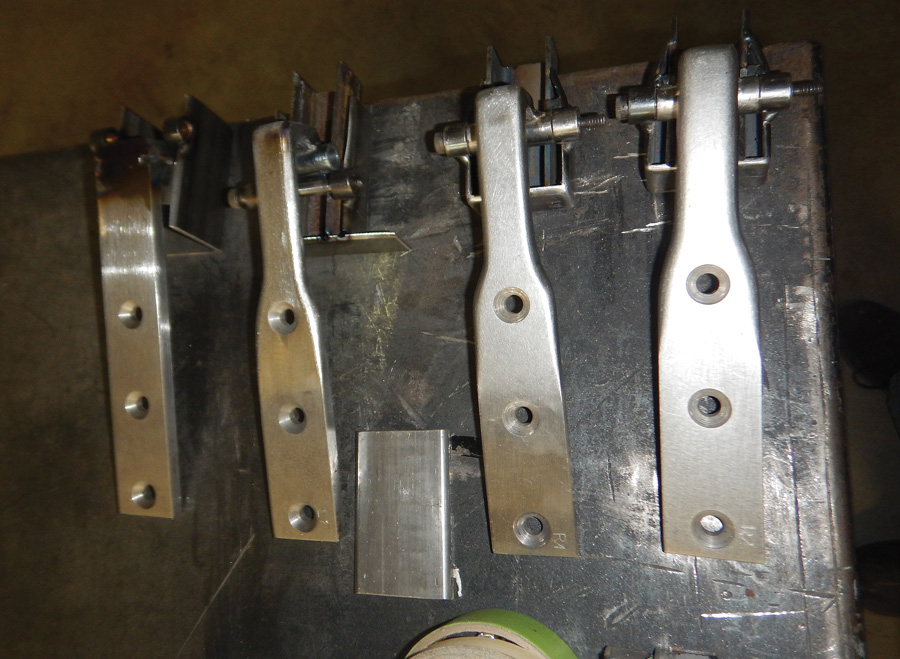
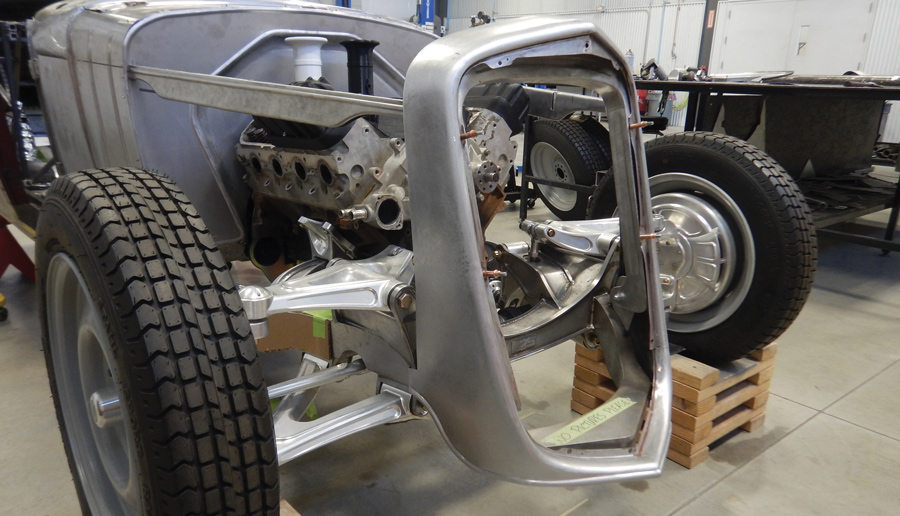
There are some notable parts of the chassis build, and one that most people see right away is the custom-fabricated independent front suspension. The design features uniquely ribbed outlines and pockets on each of the control arms. The coilover suspension units are mounted horizontally, carefully fitted inboard of the framerails and operated by a pushrod and bellcrank. This gives the front of the car an exceptionally clean look—similar in function to Formula 1 cars but with styling appropriate for a modernized ’30s vehicle. The brake discs run behind a beautifully machined component that resembles a backing plate with a scoop on the front edge. The caliper is tucked in at the rear edge, nearly out of sight.
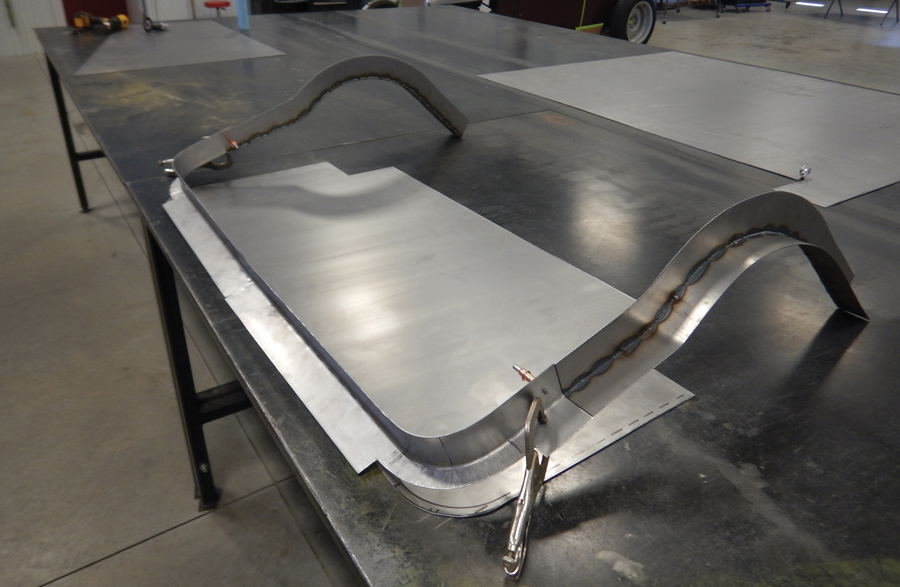
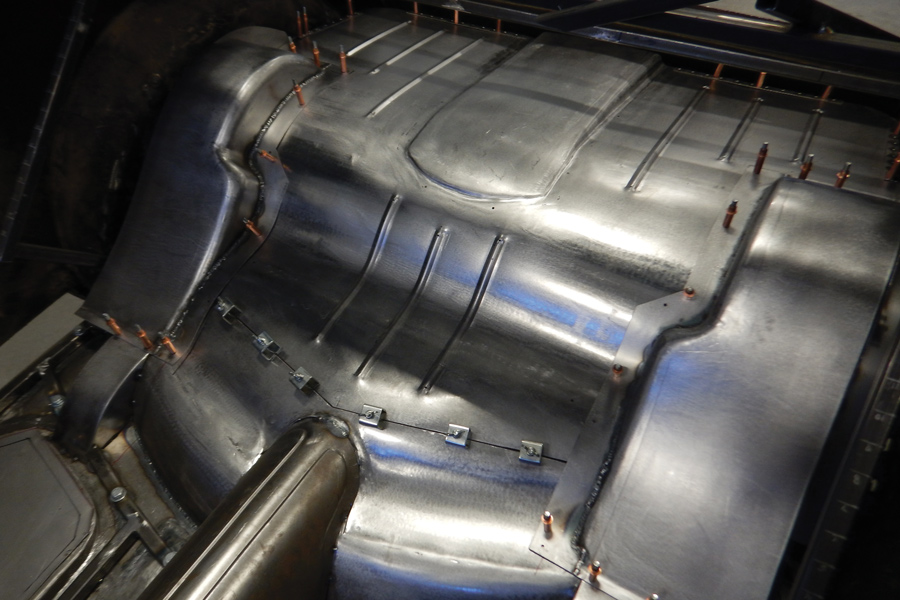
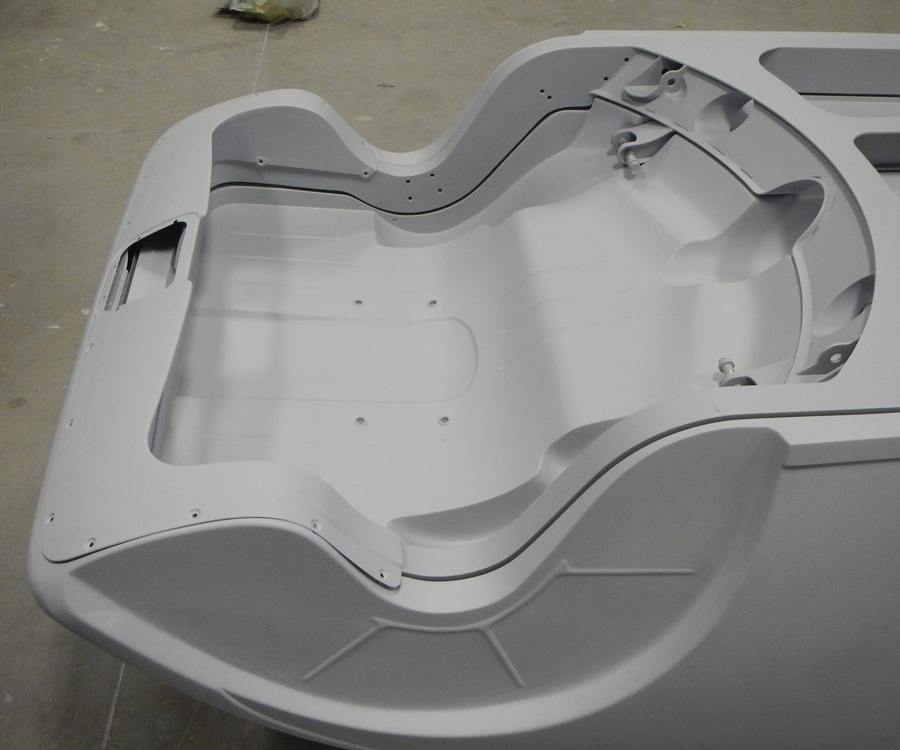
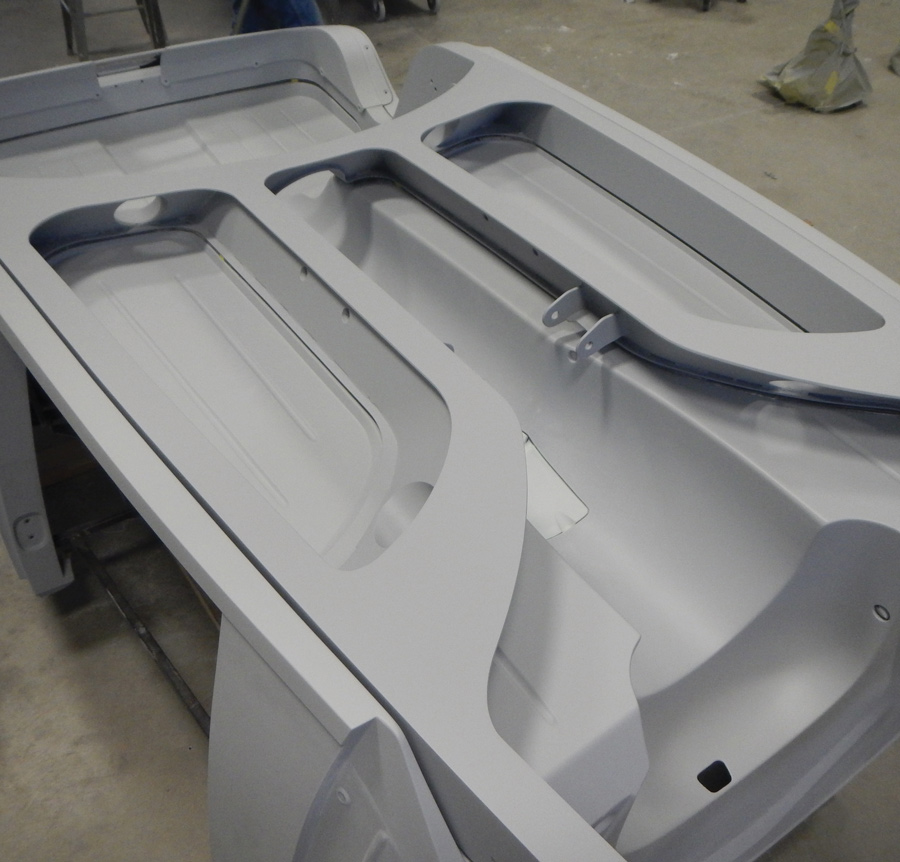
The design of the crossmembers on this chassis is unlike any we have seen, with curves and angles that lead into the gorgeous, complex floorpan built for the body.
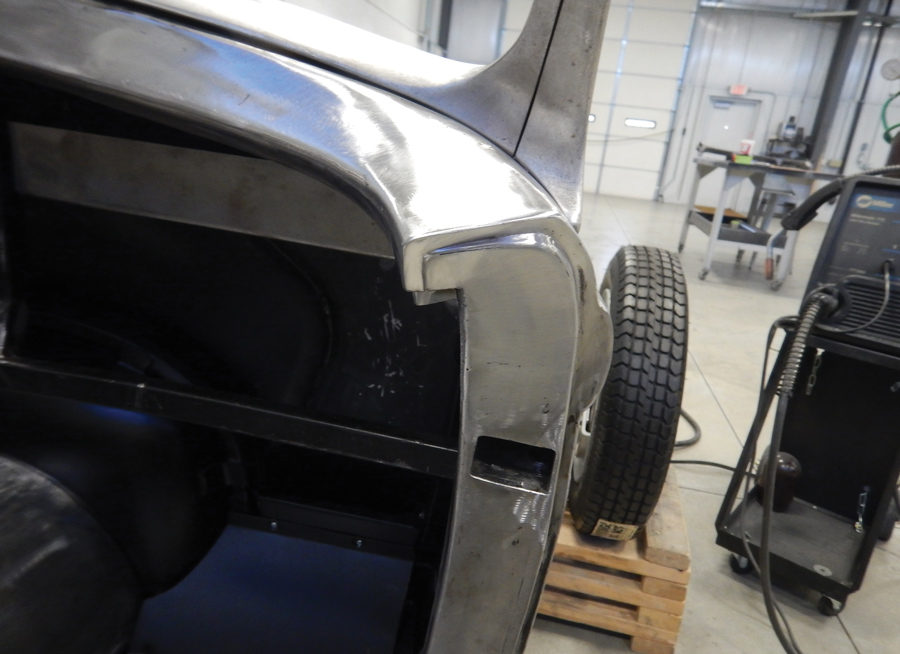
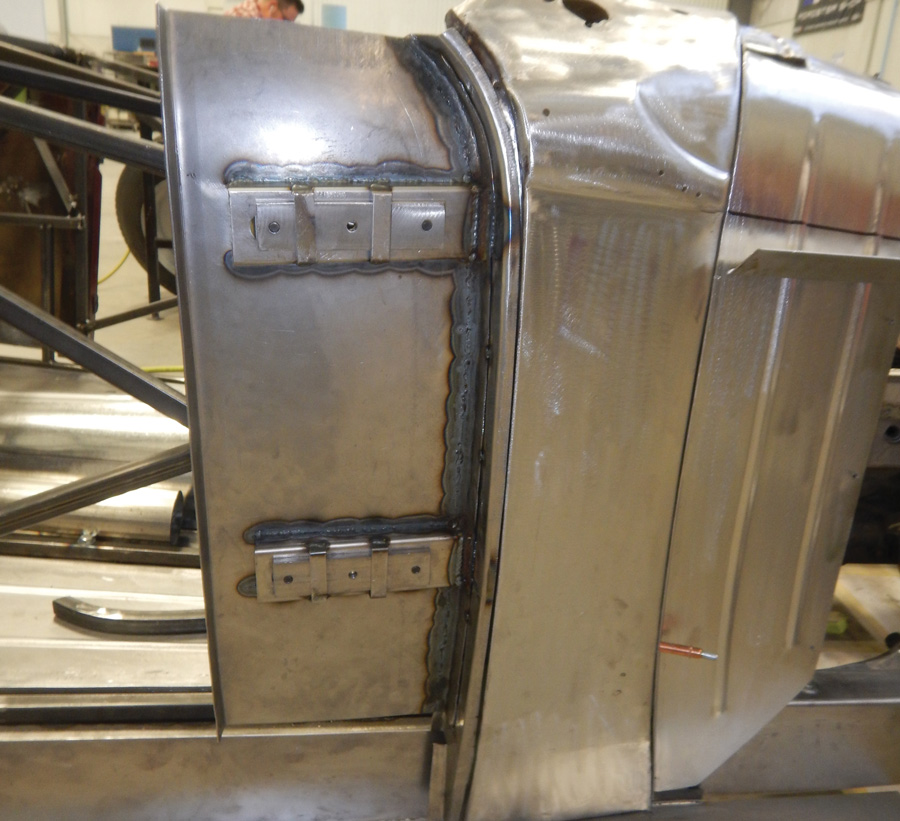
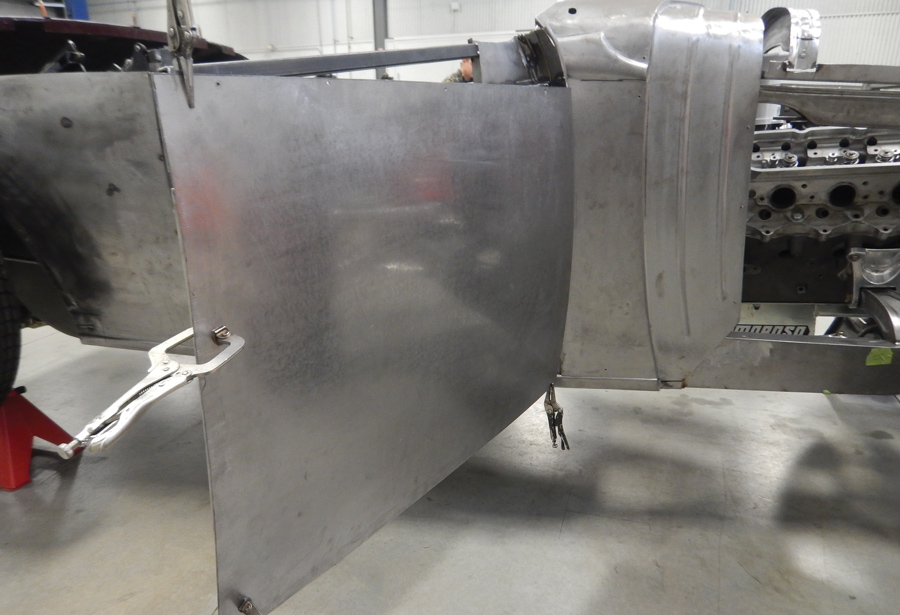
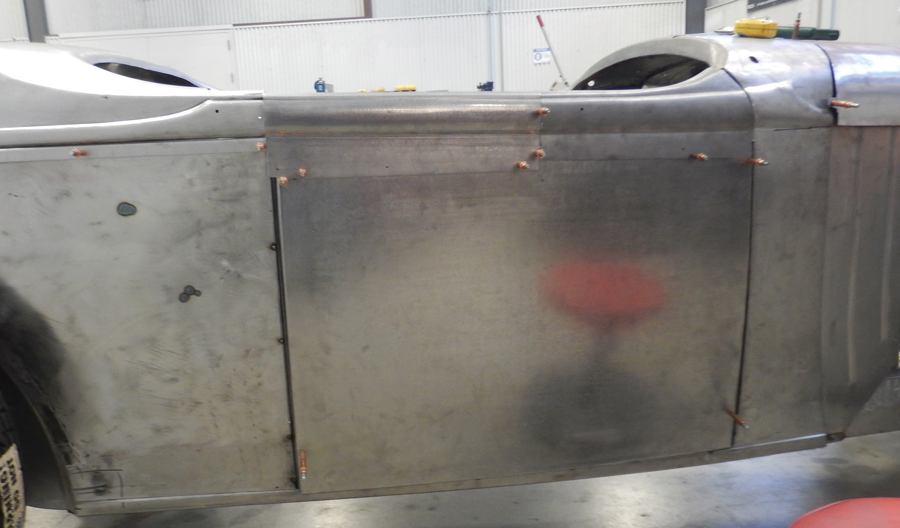
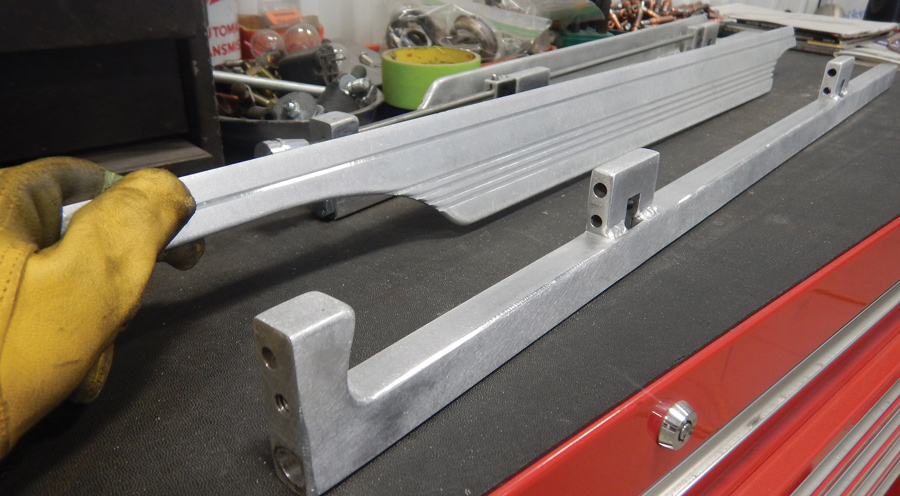
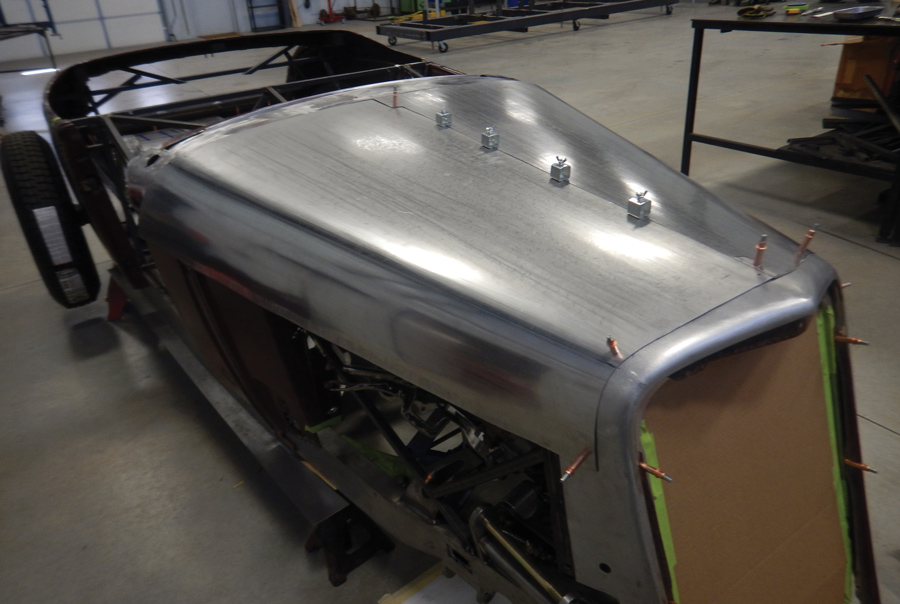
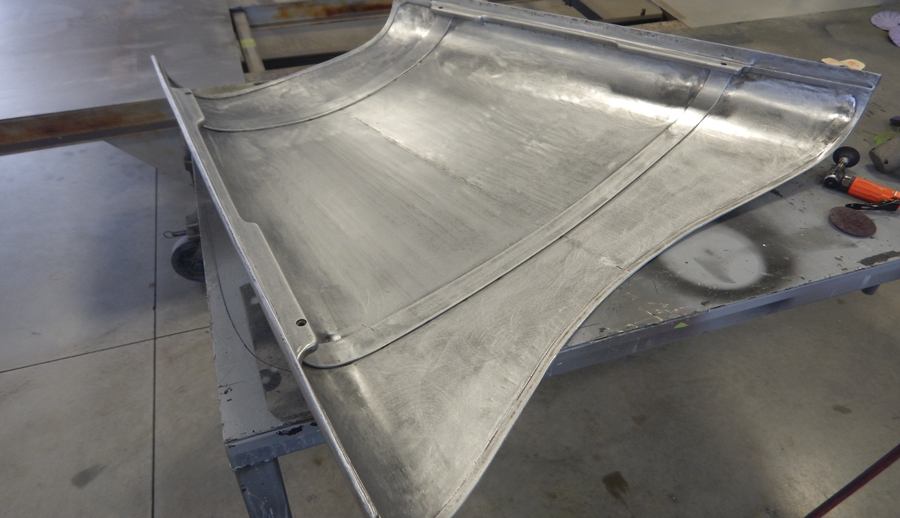
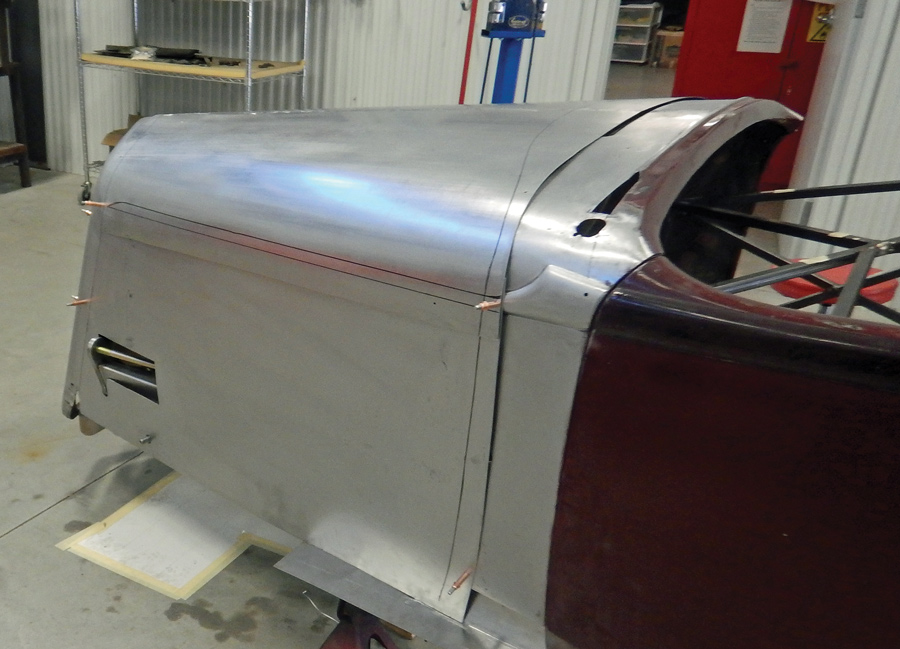
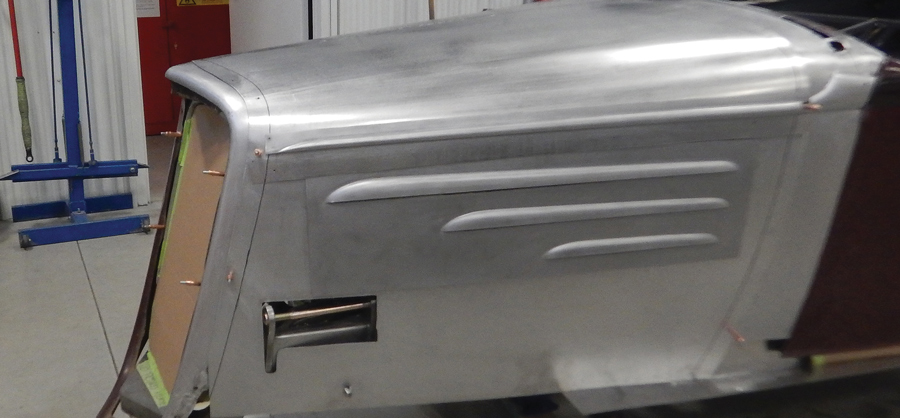
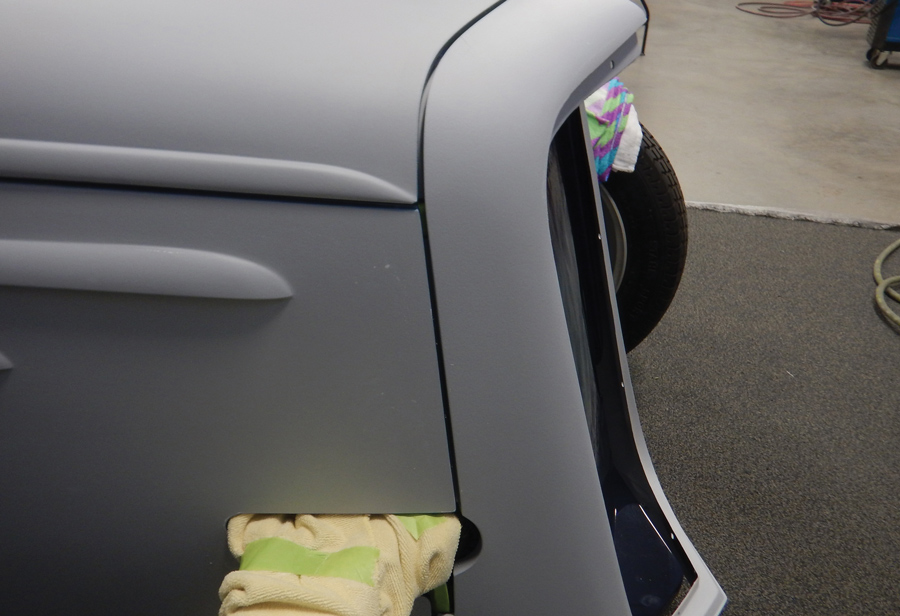
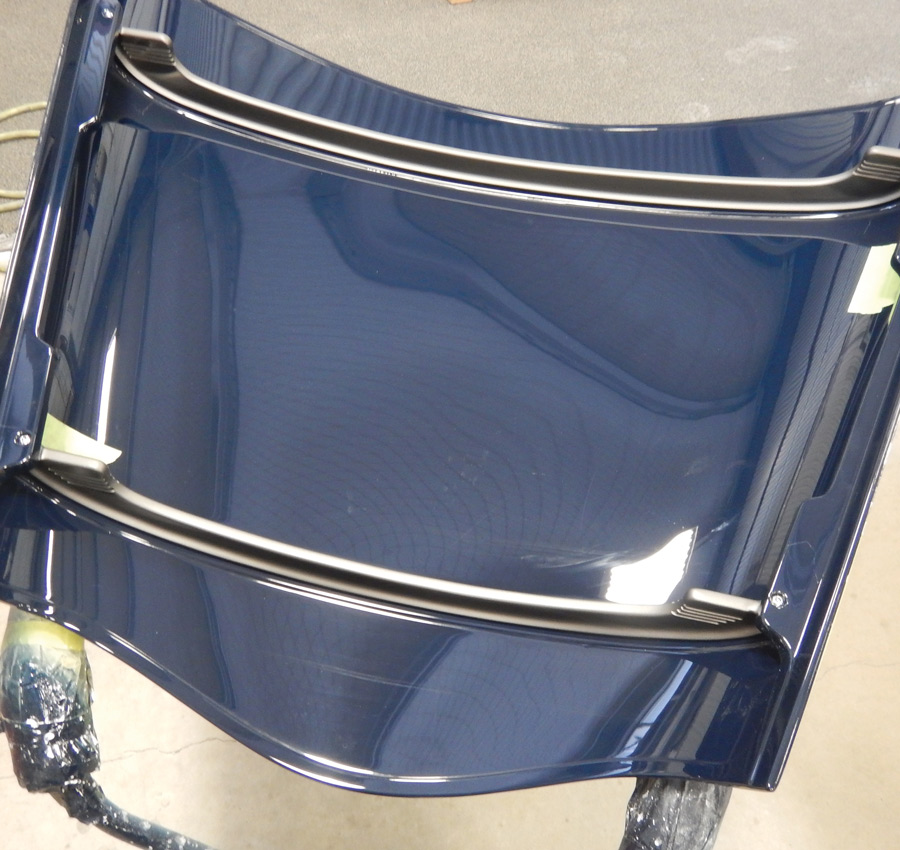
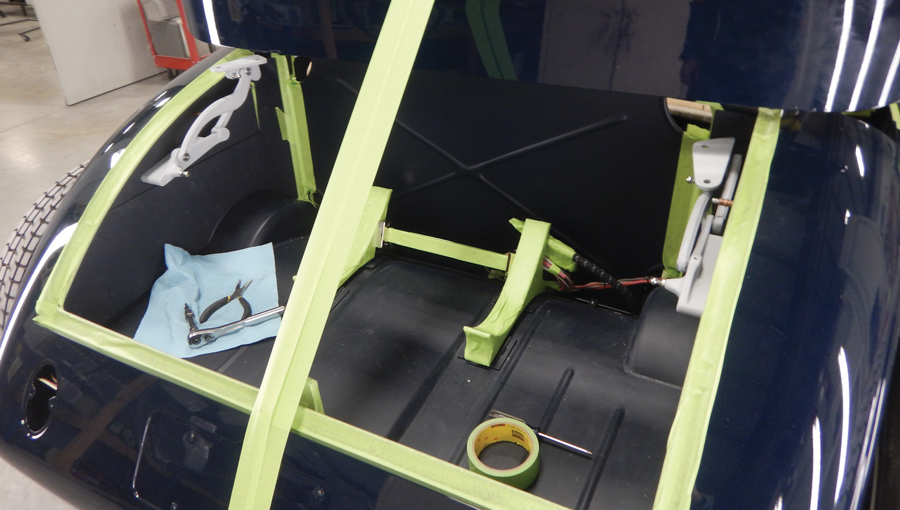
The body modifications are extensive, with virtually no panel left untouched, yet the allover appearance retains the core styling of a ’34 Chevrolet but with more grace and elegance. Countless hours were lavished on unique details like the hood hinges, custom DuVall-style windshield frame, hideaway convertible top, and the gorgeous upswept tail pan, which allows a peek at the Winters quick-change rearend. The hood is lengthened, but it retains the original side vents with custom-made trim. The grille shell is chopped, raked, recontoured, and extended. The doors are lengthened, and a special hinged panel was constructed to conceal the convertible top when it is retracted.
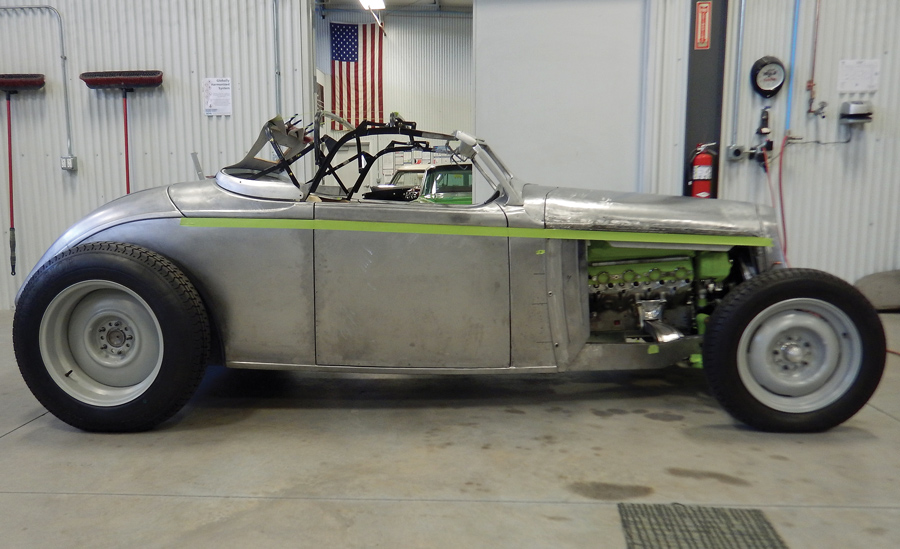
The Chevrolet LS3 engine is heavily detailed, too, with Alan Johnson–built injector stacks. These have the traditional Hilborn-style look but incorporate hidden electronic injectors. Johnson also made a special set of valve covers with more traditional styling. The exhaust headers were custom fabricated, but they have the fully rounded look of a detailed casting.
There is more incredible work than we have space to cover, but look through the photos and you’ll gain a new appreciation for what it took to do the body modifications on this stunning roadster.


VOLUME 3 • ISSUE 20 • 2022