

 By Brian Brennan
 here’s an old expression that states: “You shouldn’t drive faster than you can stop.” Notice we wrote, “shouldn’t,” given the fact many rodders don’t always do what they should do when they should do it! But the smart ones realize getting out in front of a problem is the best way to avoid a problem. Something all of us should always closely watch is our hot rod’s braking capacity. Knowing this we thought it a good idea to take a look at what’s offered from Classic Performance Products (CPP) in the way of stopping power for one of the most popular brake systems used in our world.
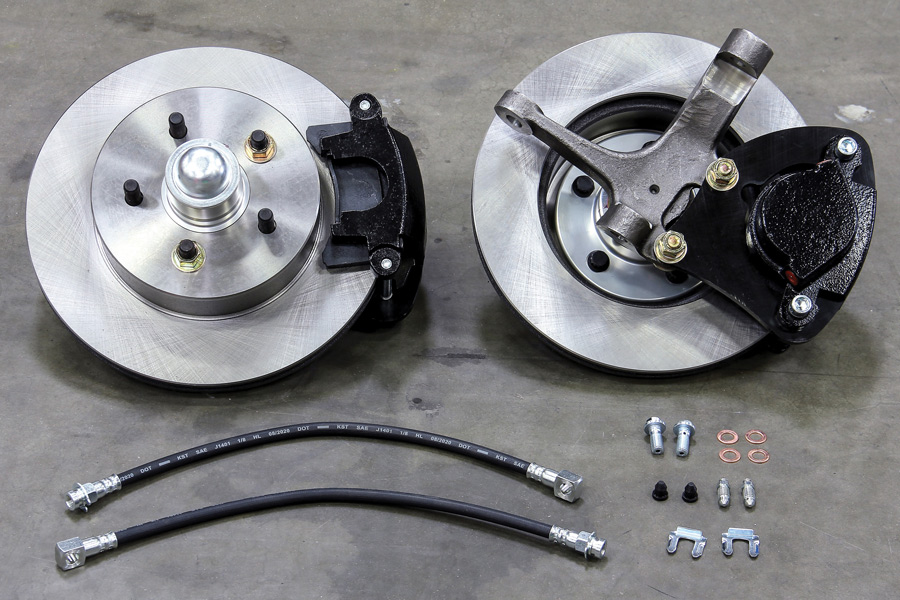
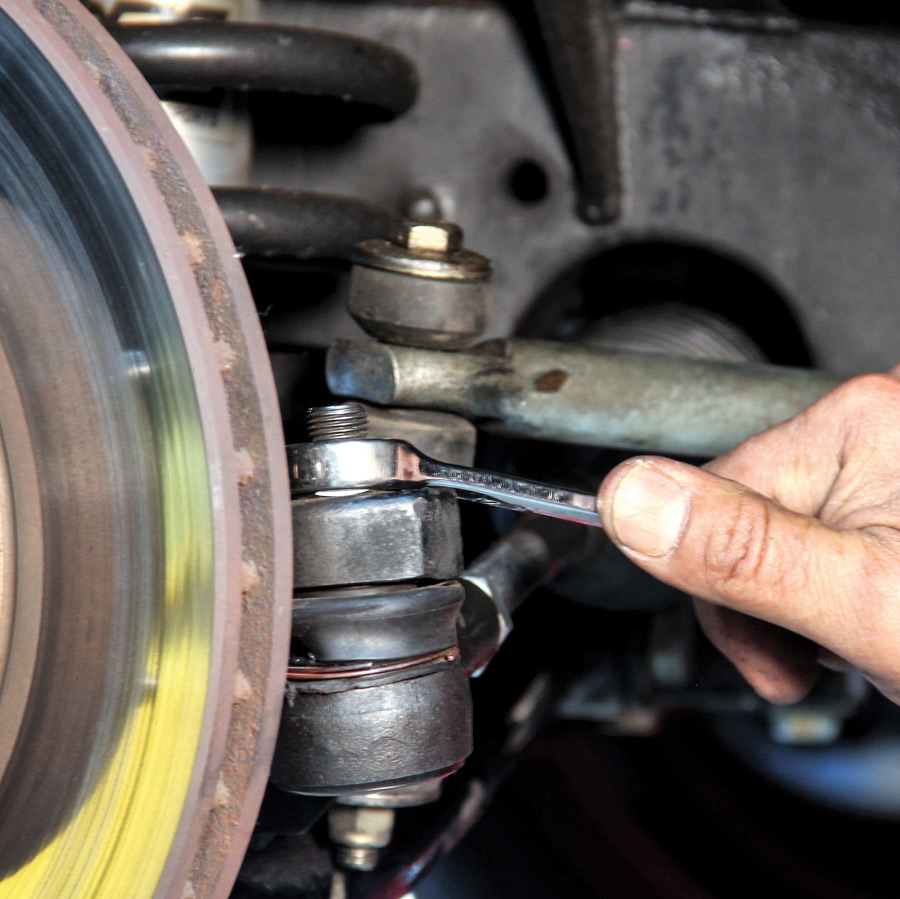
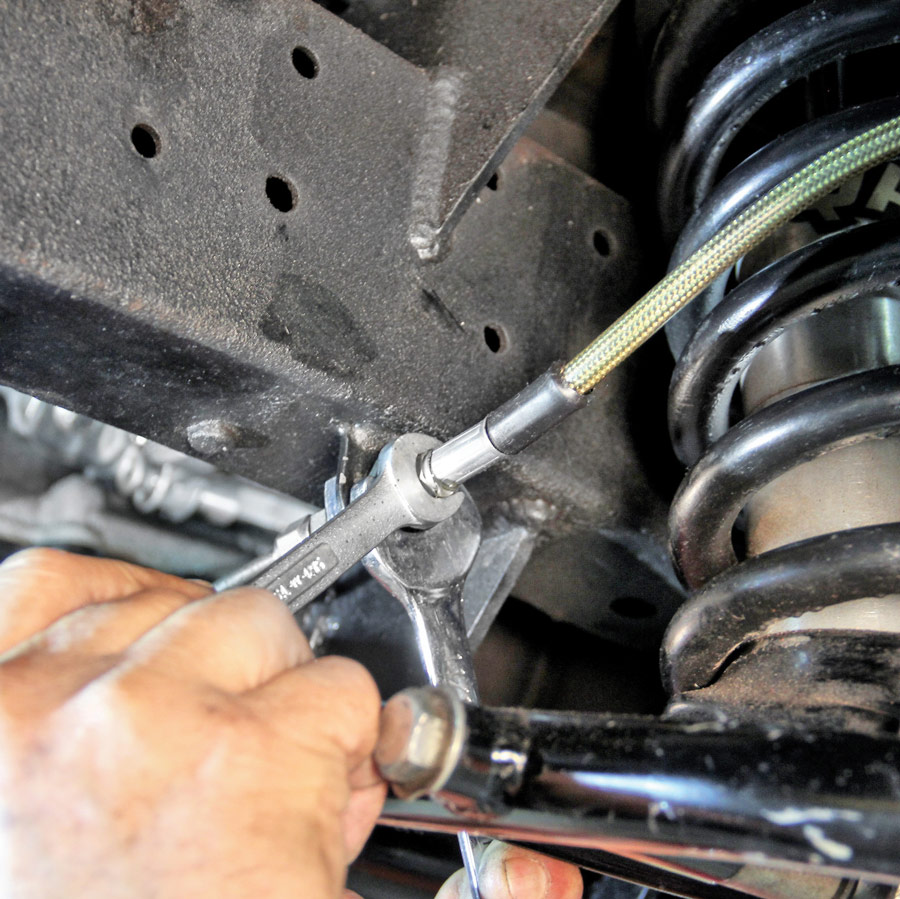
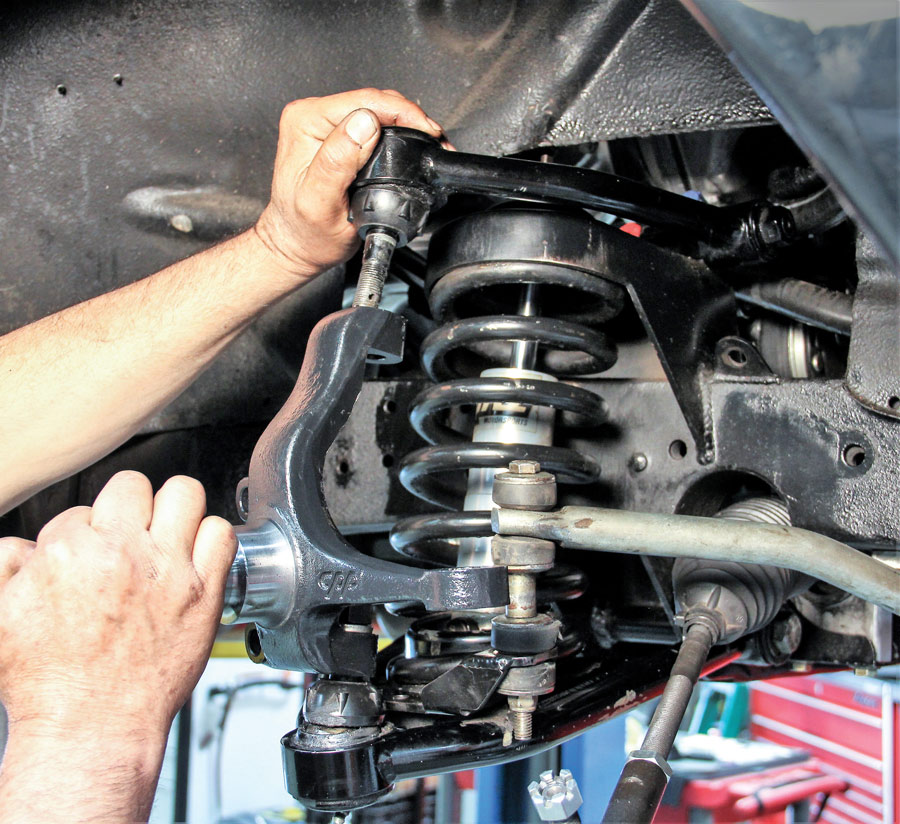
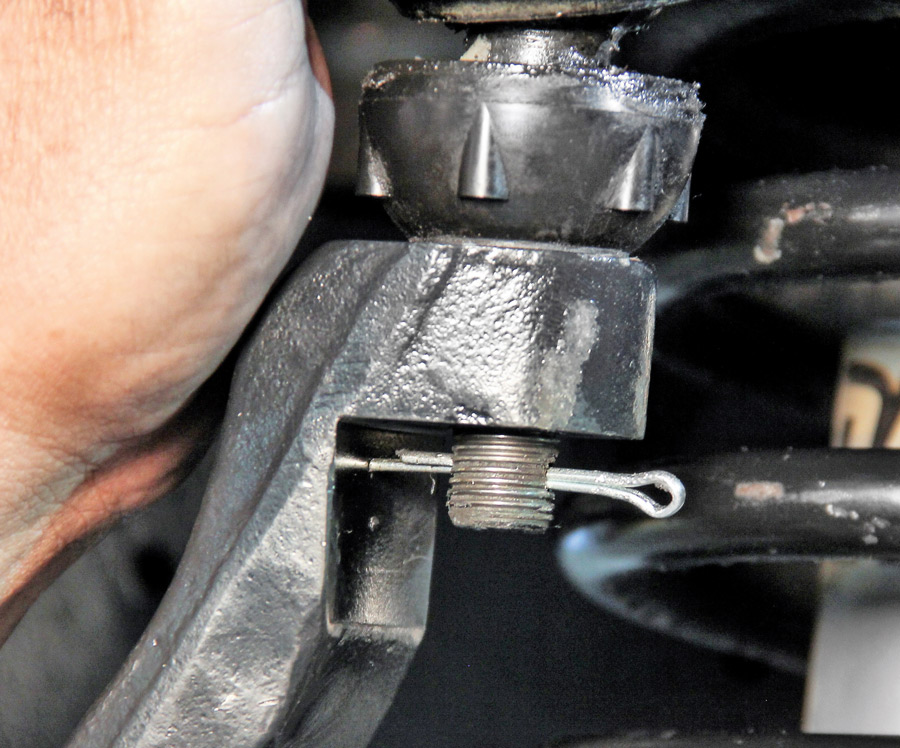
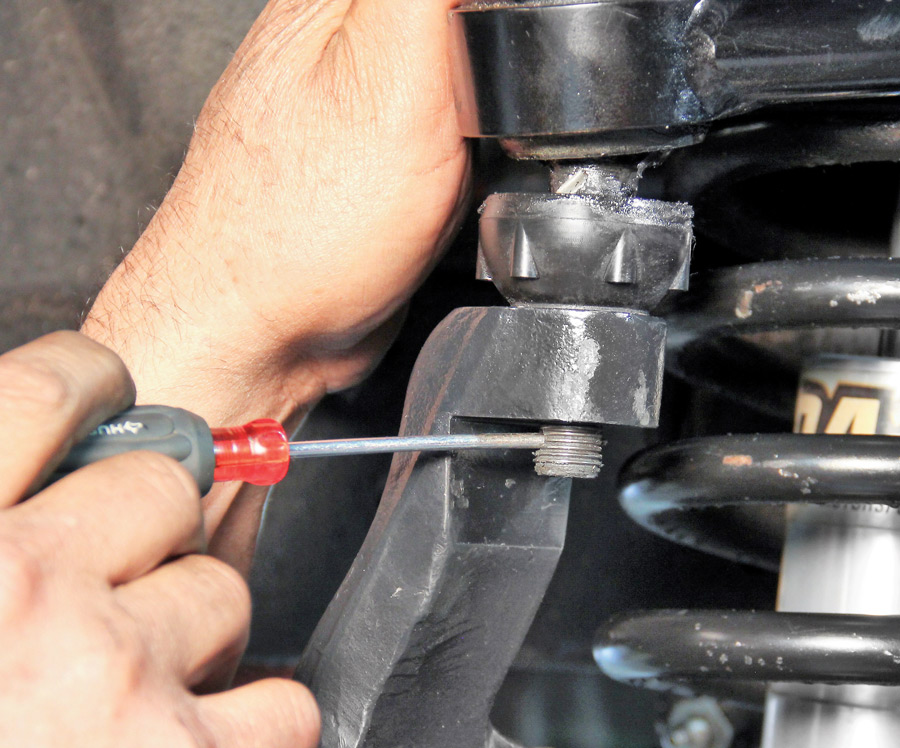
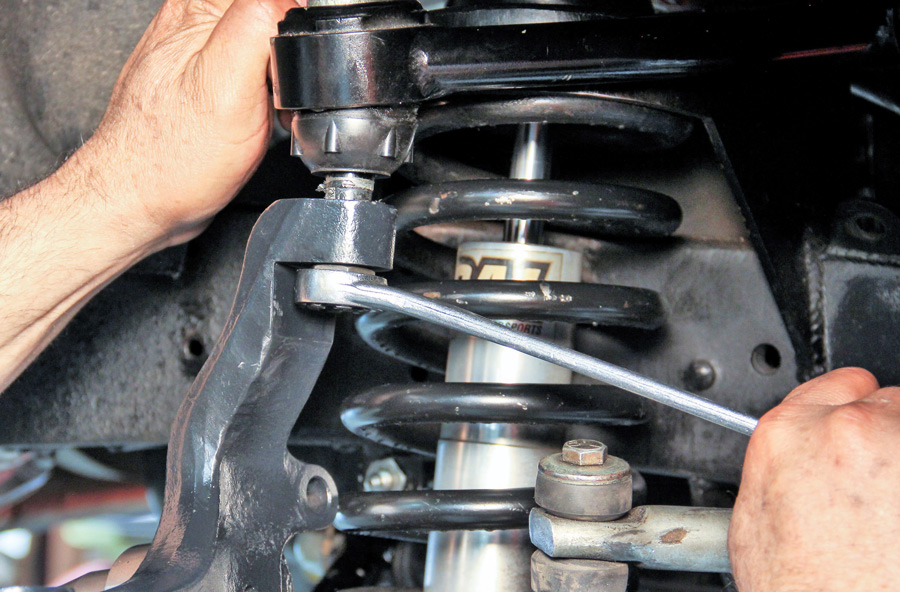
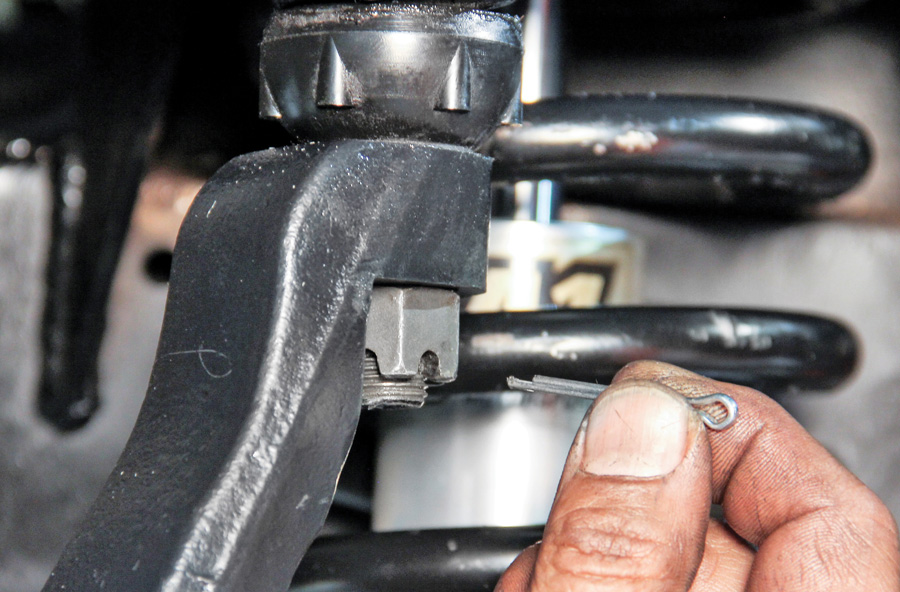
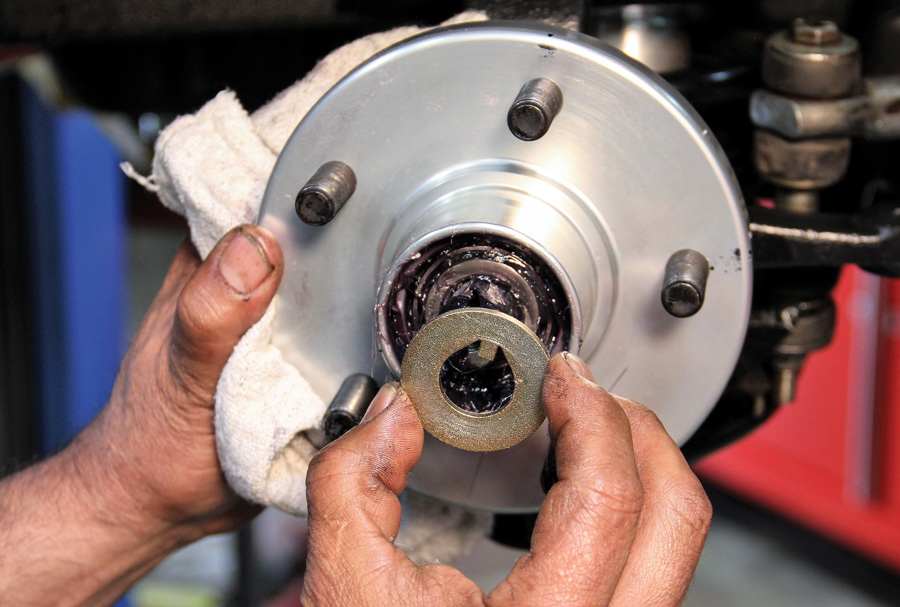
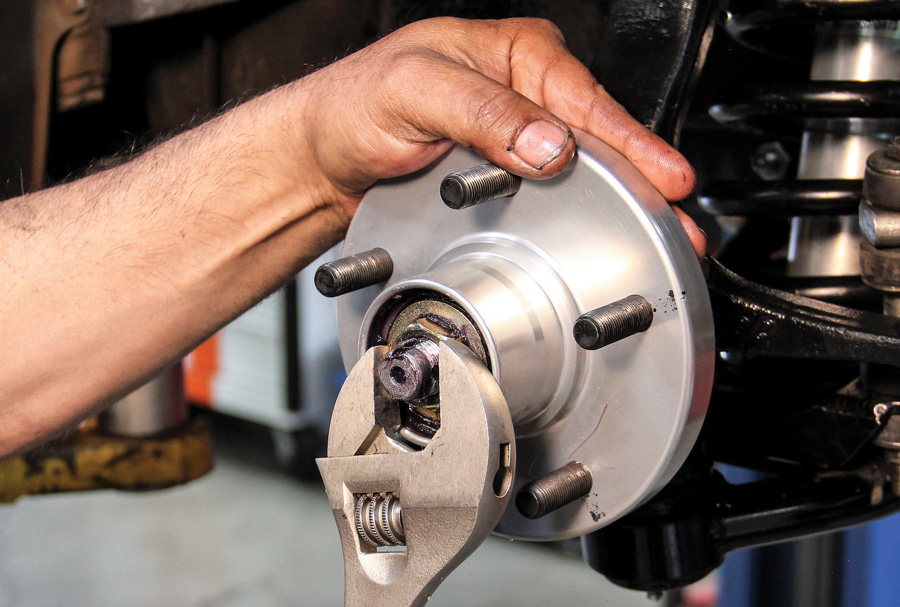
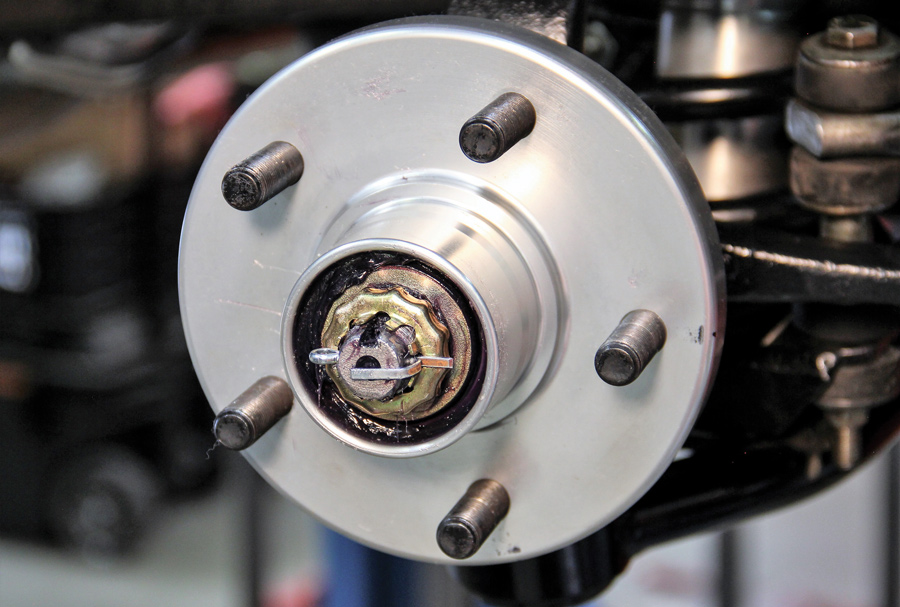
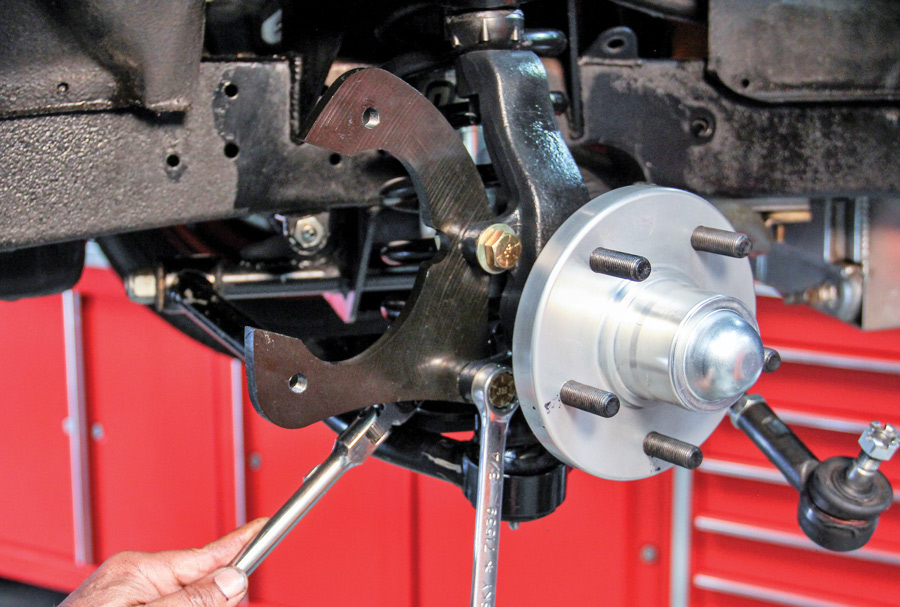
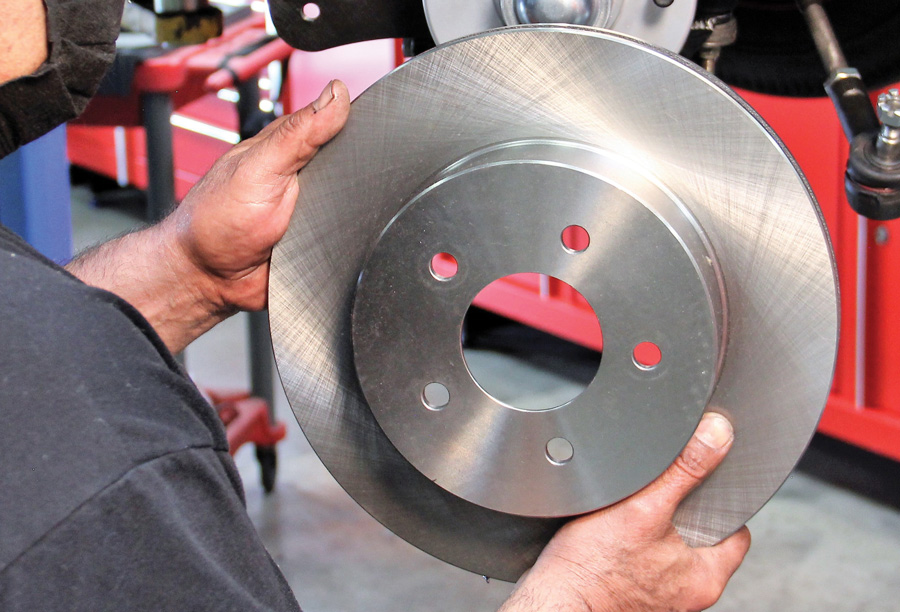
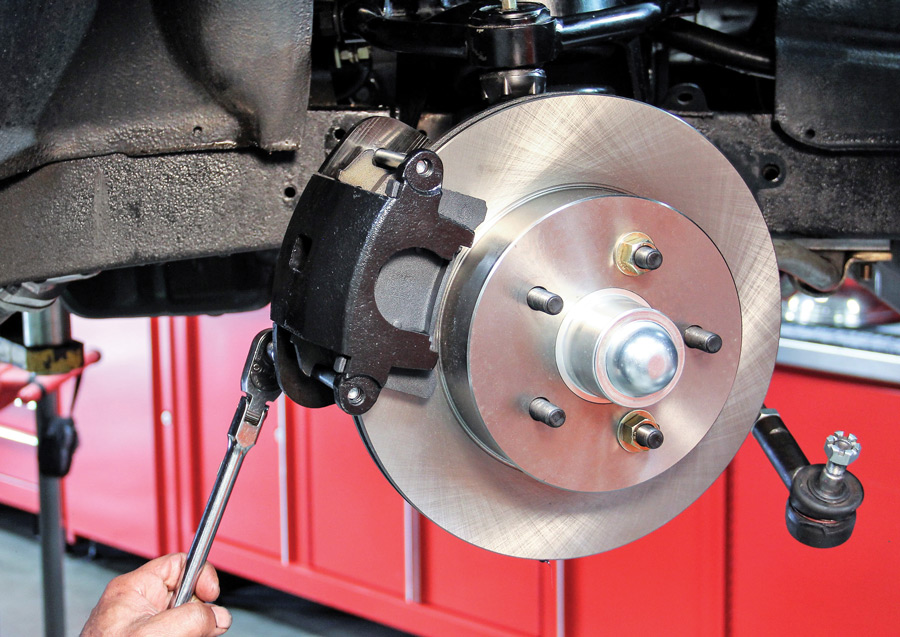
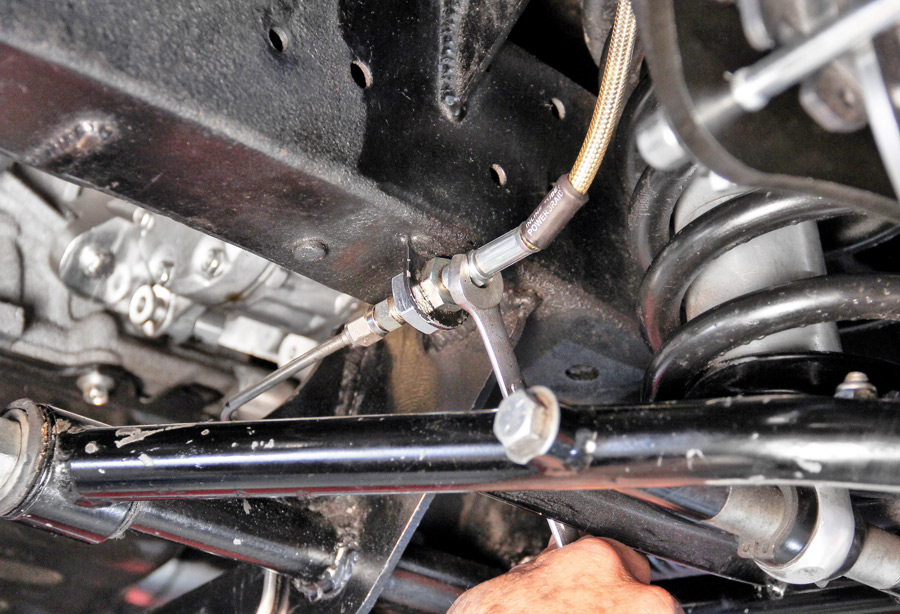
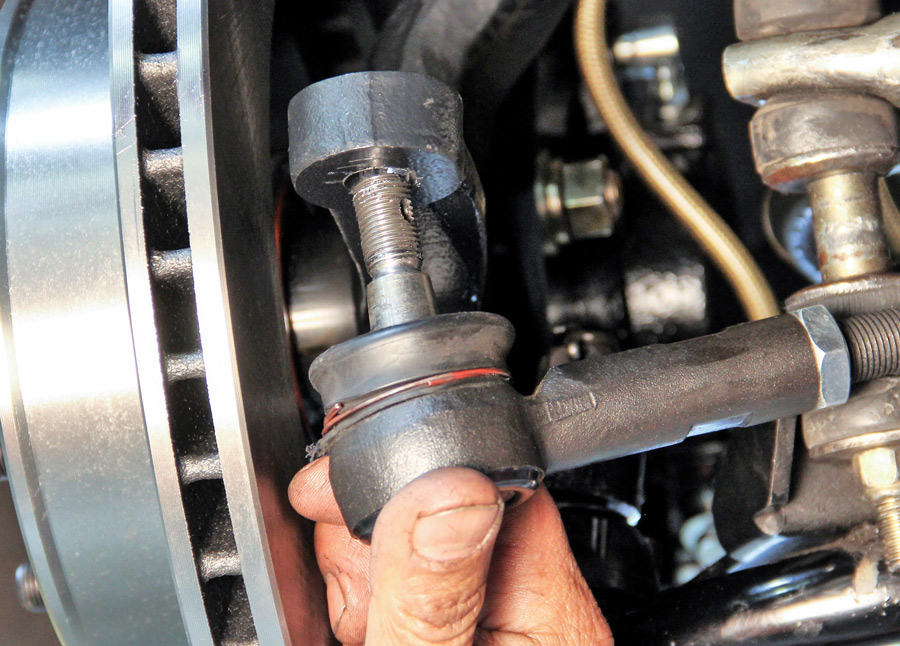
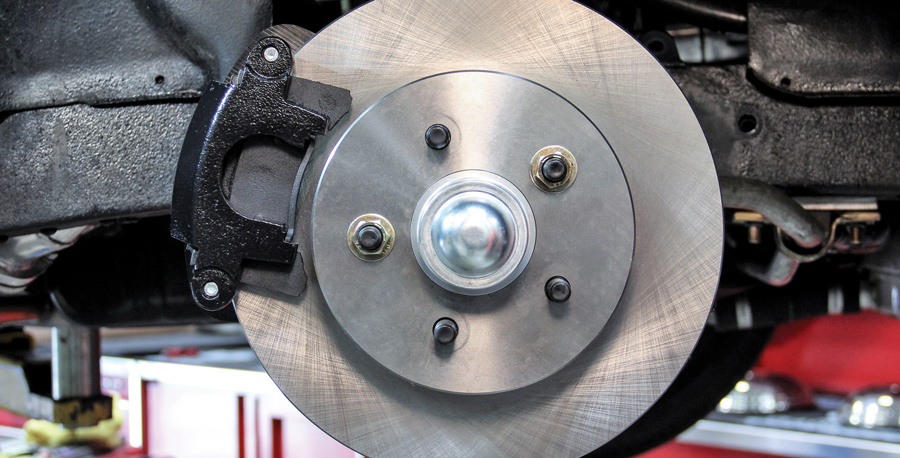
One of if not the most popular swap in our hobby is the Mustang II front crossmember with IFS. It has shown up under every kind of hot rod imaginable and for good reason—it works. But you can always improve on a good thing if you know what to look for and how to accomplish the swap. That brings us to the CPP Mustang II Modular Spindle Wheel Brake Kit (PN M2SWBK-MOD-S) for stock height spindles that will fit the popular Mustang II IFS. CPP also offers a 2-inch drop one-piece forged spindle for this same kit (PN M2SWBK-MOD-D) that will work in the same applications. Should you go for the 2-inch drop spindle you will want to make sure that you have the proper wheel and tire clearance within the front wheelwell area for both suspension travel, turning, and ground clearance for the undercarriage.
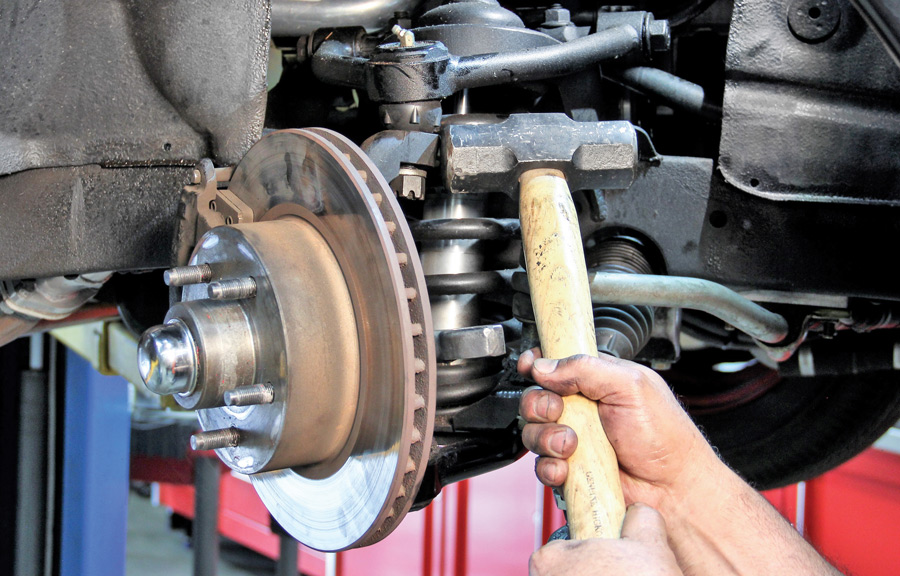
To show off the CPP Mustang II Modular Spindle Wheel Brake Kit we used this 1941 Ford. The front suspension is the ever-popular Mustang II IFS that rolls on Coker Classic Firestone rubber mounted to Wheel Vintiques steelies.
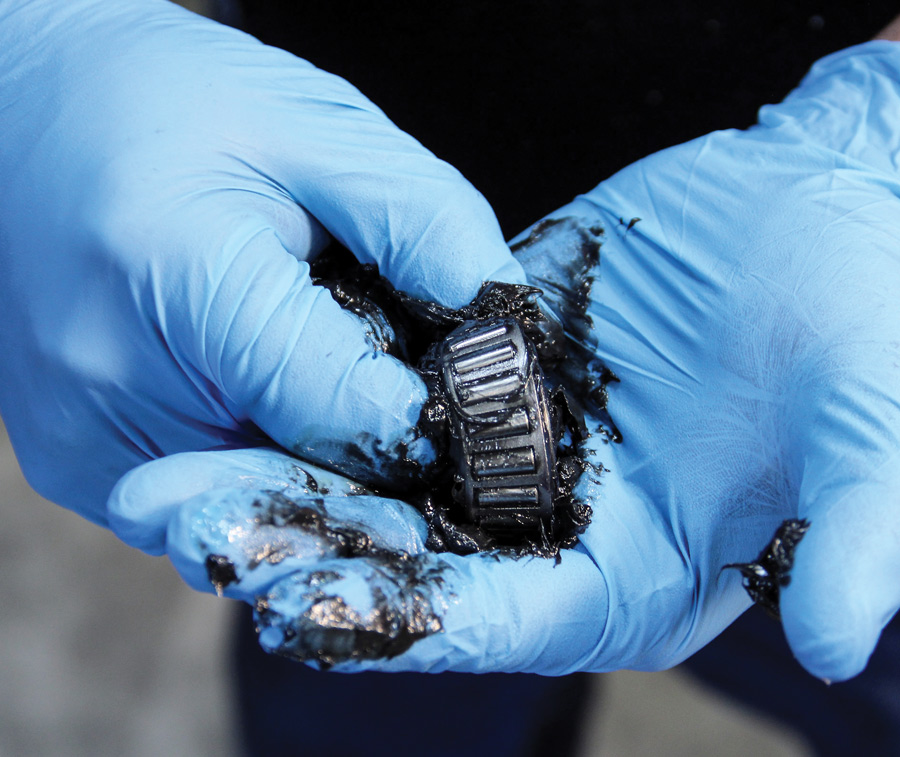
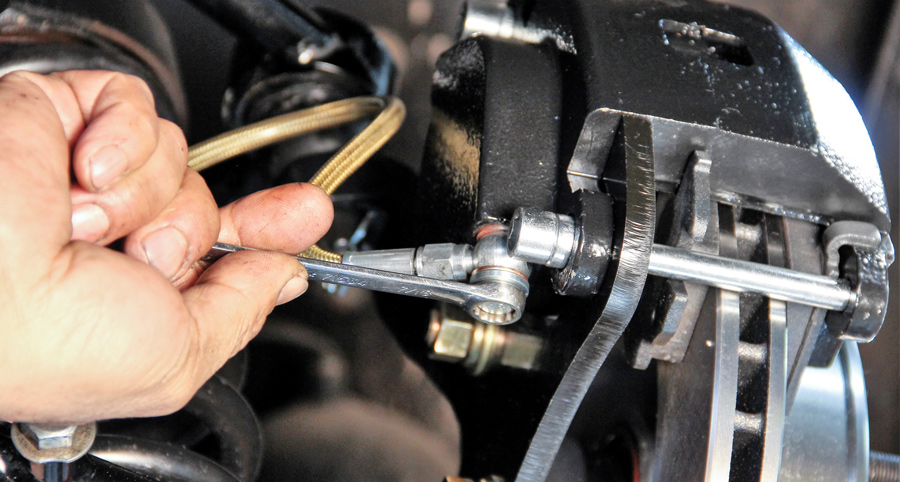
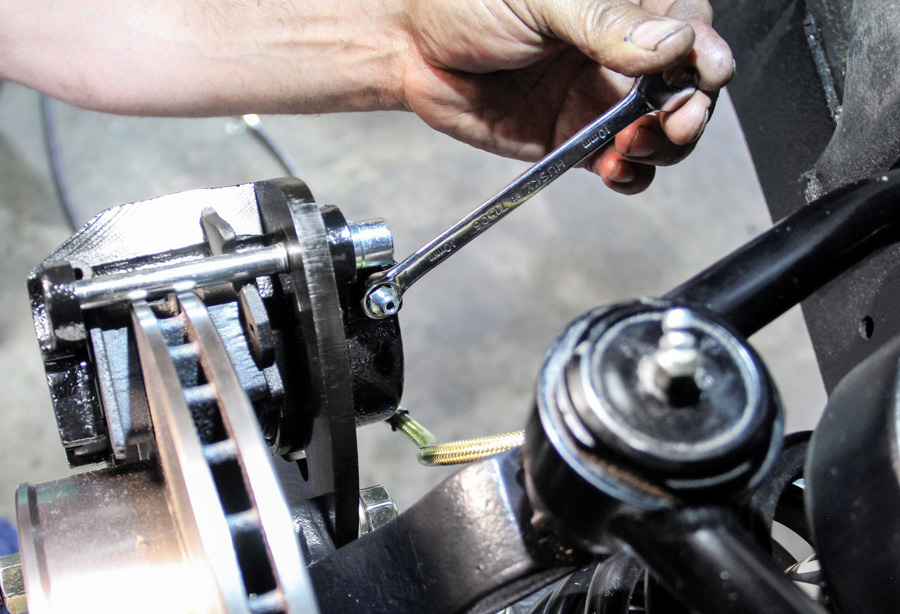
It should be noted that over time with exposure to the elements heat braking generates and the rubber hose can become expended. Hence, it’s always a good idea to replace the brake lines you have with the fresh set provided in the CPP kit. In our everyday cars a rubber brake line is designed to last for up to six years (yes, all of us have much older on our daily drivers) so be on the lookout for cracks, tears, or even loose-hanging threads—this all means the hose is on the verge of developing leaks or failing.
You can always upgrade through CPP to braided stainless steel brake hoses. Historically, the braided hose will withstand the pressure associated with the brake system and it doesn’t swell. As a result, the lifespan of braided hose is much longer than rubber hoses. Again, for the most part, we don’t drive our hot rods that often or subject them to the trials and tribulations as that of our “daily drivers.” However, the use of braided hose is more of a “it looks good” accessory rather than necessity, but that’s OK.
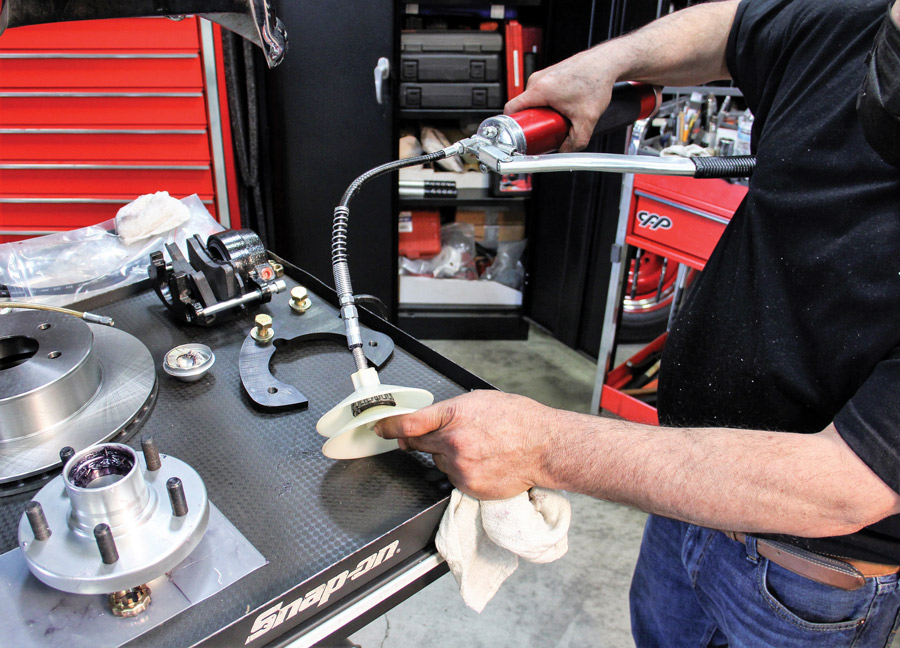
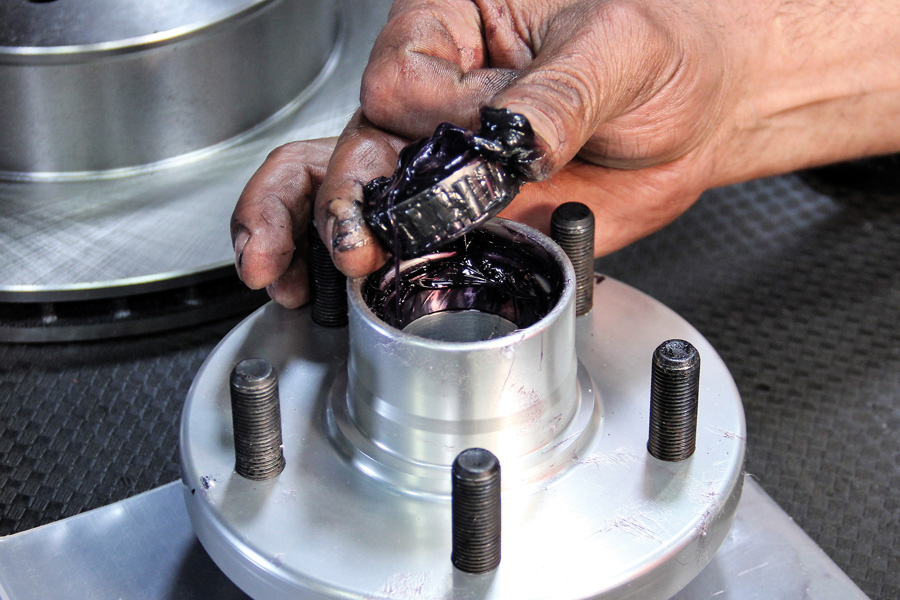
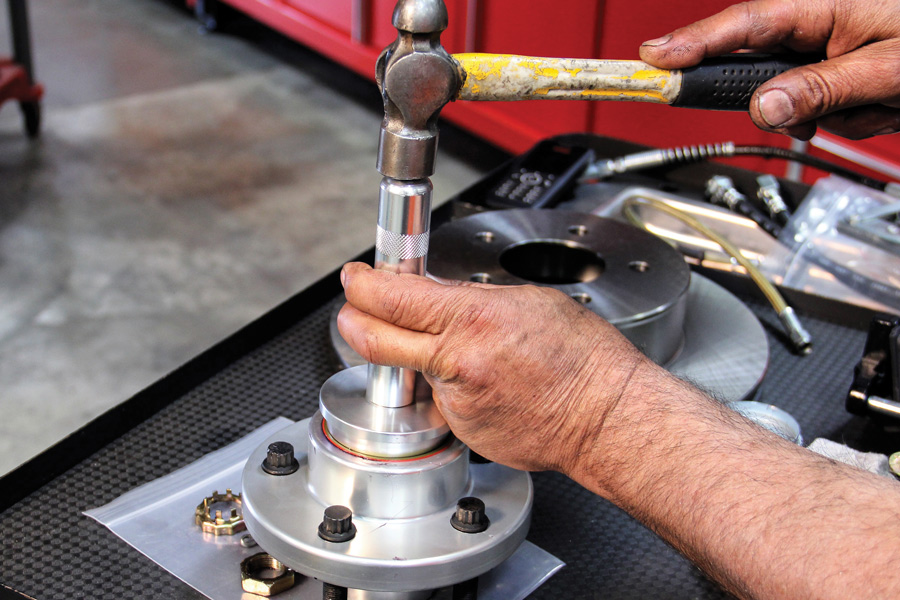
Follow along with the photos to see how we performed the swap to the latest from CPP. In the meantime, let’s take a look at several important areas of service when it comes to properly functioning brake systems.
What to use? Odds are you are familiar with either DOT 3 or DOT 4. What’s the difference? DOT 3 brake fluid will absorb less water than DOT 4 from the air over time, meaning you’ll change the system’s fluid less frequently. DOT 4 brake fluid has higher dry and wet boiling points, making it safer for higher operating temperatures.
Are they compatible? Yes, DOT 3 brake fluid is compatible with DOT 4 brake fluid. However, you should really never mix brake fluids, thereby avoiding dilution and contamination of the braking fluid properties. (Do not mix DOT 5, synthetic, brake fluid with any other, especially DOT 3 or 4.) Something else to keep in mind: Never reuse brake fluid and never mix old with new. Flush your system of the old before installing fresh fluid.
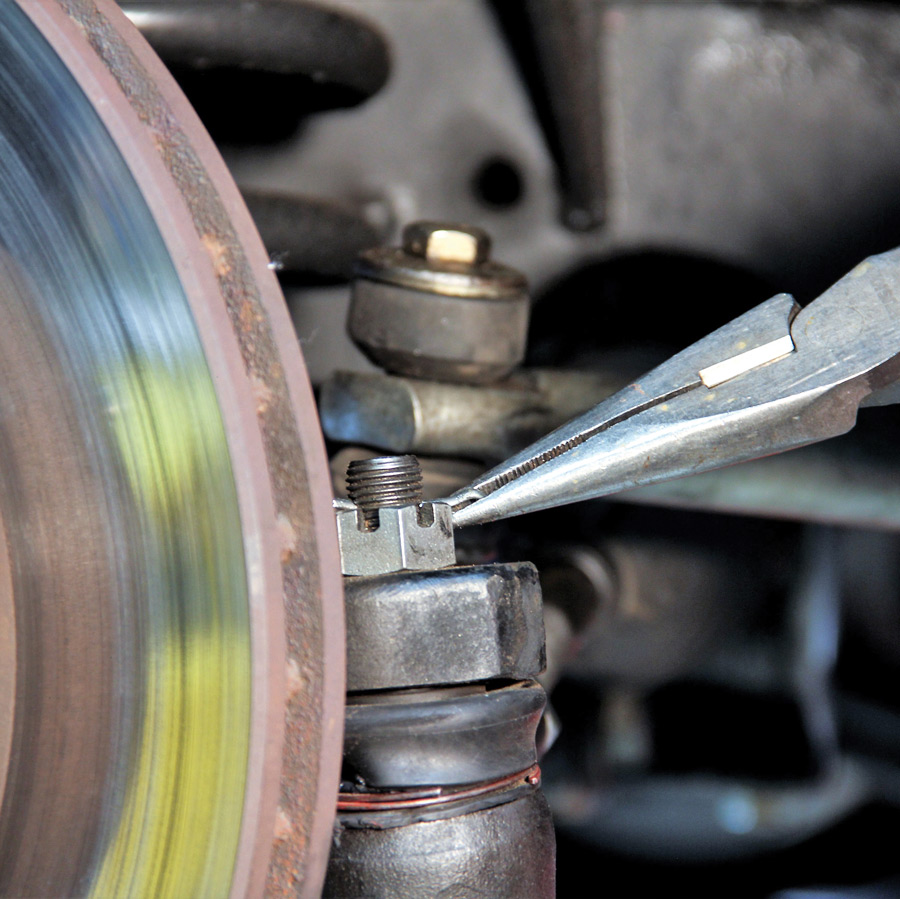
They typically work in this fashion. Instead of forcing air and fluid out of the caliper via the brake pedal, it is sucked out with a vacuum pump hooked to a bleeder bottle (container). Next, fill the master cylinder, suck out the old fluid and any air, and close the bleeder. Then move onto the next wheel.
What order should I bleed the brakes? It’s common in cases to begin with the wheel furthest away from the master cylinder. Typically, this is the passenger rear. From here you move to the driver rear, then the passenger front, and then the driver front. Check the brake fluid after bleeding each corner.
If there is air in the line that will be readily noticeable because you will have the sensation of a soft or spongy pedal. It’s the bleeding of the brakes that removes this air and gives you back the firm pedal feel.
Given we were changing just the front brakes on the 1941 Ford that was by no means an excuse to not fully bleed the system and remove the old brake fluid and then refill with fresh DOT 3 fluid. You have now accomplished two projects: You have brand-new front brakes and you have performed brake maintenance by flushing out the old brake fluid from the system and replacing with fresh fluid.
You will want to accelerate up to 35 mph and while using moderate brake pressure slow down to 5 mph. You will want to repeat this process two to three times. Next, you will speed up to 55 mph and then use “strong” brake pressure to slow down to 5 mph, repeating this step four to five times.
Lastly, while driving moderately for 10 minutes plus this will allow the brakes to slowly cool down. After you have accomplished this then you can park your hot rod for at least an hour or so until the brakes fully cool. After this you should have bedded pads and rotors and you are “good to go.”
Experience has taught us that having new, high-quality brakes, is an immediate “feel good” situation. You don’t have to go out and get yourself into a “panic” situation as even the most mundane of driving will allow you to immediately feel the value of quality brakes. Remember, you really shouldn’t be driving any faster than you can safely stop!


 SOURCE