
Modern Rodding Tech
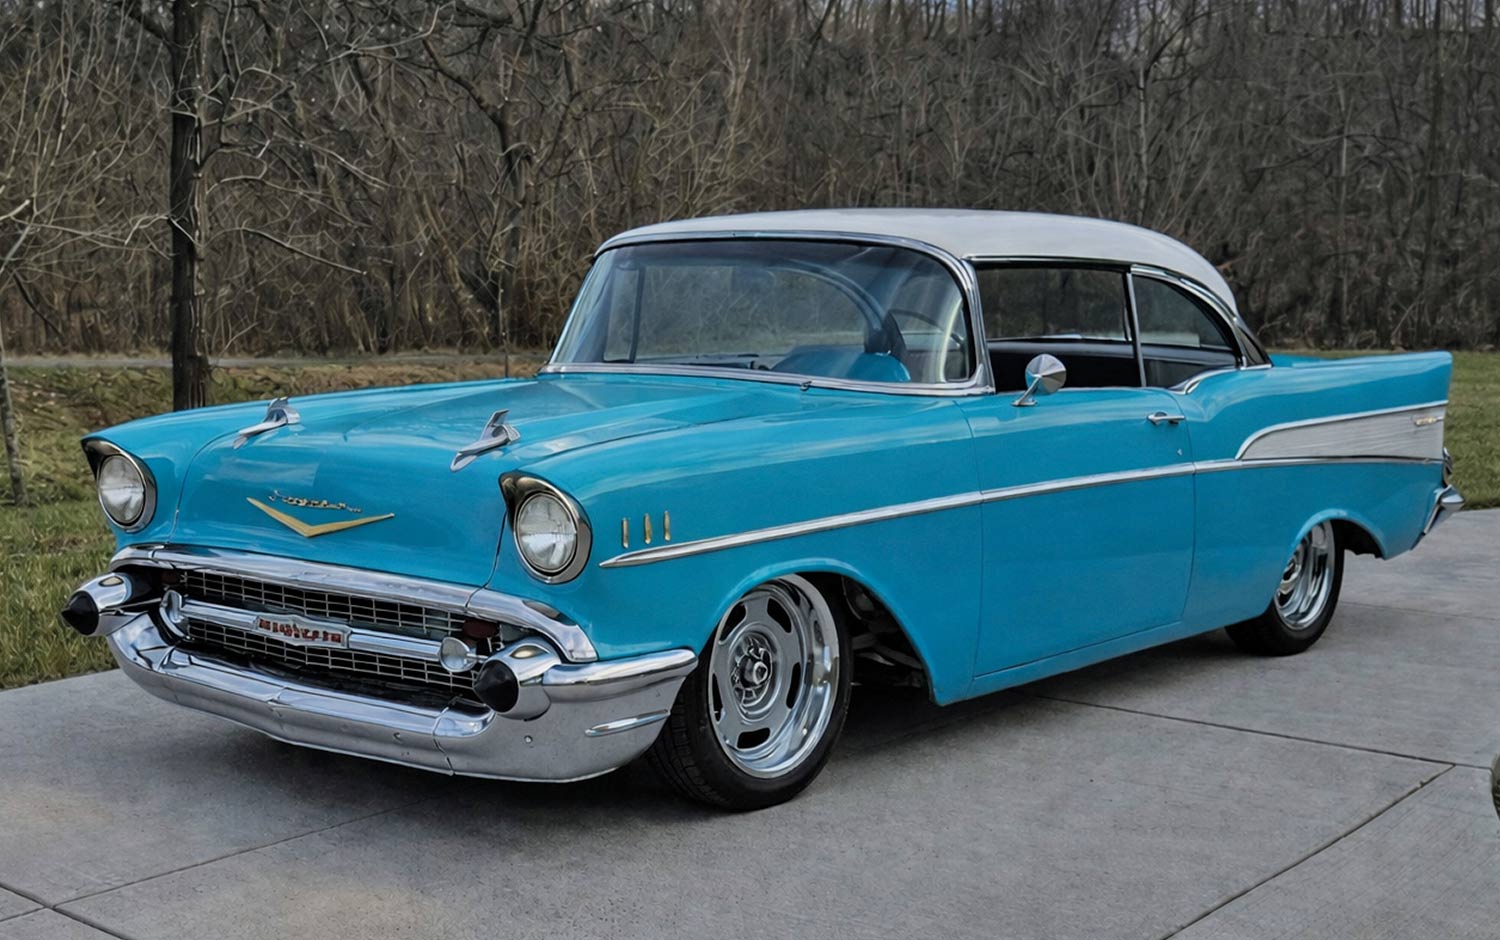
Blue 1957 Chevrolet Bel Air front three-quarter view
1. The project began with a seemingly solid 1957 Chevrolet Bel Air, with plans to outfit it with a modern chassis and drivetrain.
Fits and Gaps
Making Sheet Metal Fit Before Body- & Paintwork
BY RON COVELL PHOTOGRAPHY BY CAMREN BEATIE & SHAWN HOLLOWAY
S

heet metal work and fitting of body panels are integral to the metalwork process. Time and patience here lead to superior paintwork and gap consistency. A tremendous amount of work goes into building a car at the highest level, and we’re going to take a deep dive into the recent build of a 1957 Chevrolet Bel Air at Scott’s Hotrods ’N Customs. As with many cars approaching 70 years of service, a few gremlins lurked beneath the surface of what appeared to be a solid car. Fortunately, the team at Scott’s thrives on challenges like this, so they rolled up their sleeves, dug in, and did what had to be done.

The rocker panels on both sides showed signs of rust, so all compromised metal was cut away and replaced with new steel. One key detail that separates a top-level build from an average one is the fitting of body panels, ensuring uniform panel gaps around the hood, fenders, doors, and decklid. Each of these areas was carefully reworked until the gaps were perfectly straight and consistent, and any other minor panel imperfections were corrected at this stage. Once the bodywork appeared complete, the body was media-blasted inside and out in preparation for paint.

Of course, with vintage cars, you never quite know what may be hiding beneath the surface. As it turned out, both quarter-panels were perforated with rust beneath the trim. Once corrosion reaches this level, replacement is often a better choice than repair, so the original quarters were removed and new panels from Golden Star Classic Auto Parts were ordered. With the quarter-panels off, the team was able to media-blast areas that had previously been inaccessible. The entire body was then sealed with PPG CRE321 epoxy primer.

The new Golden Star quarter-panels were then carefully installed, followed by additional work to perfect the fitting of body panels around the decklid and the rear edges of the doors. Once this phase was complete, the body received another coat of epoxy sealer. After it was cured, high-build polyester primer was applied to all surfaces.

What truly separates an exceptional paintjob from an average one is the level of preparation completed before the color coats are applied. Every square inch of the body was meticulously block-sanded to ensure that all contours and surface transitions were absolutely perfect. This step is crucial.

After all the painstaking preparation, the PPG Deltron color coats were applied in the paint booth using Sata paint guns. Smaller panels, such as the hood, doors, and decklid, were attached to dollies so they could be held at favorable heights and angles.

Once the paint had fully cured, each panel was carefully wet-sanded with guidecoats to reveal even the slightest imperfections. Those areas were worked and reworked until every square inch of the body was perfectly smooth.

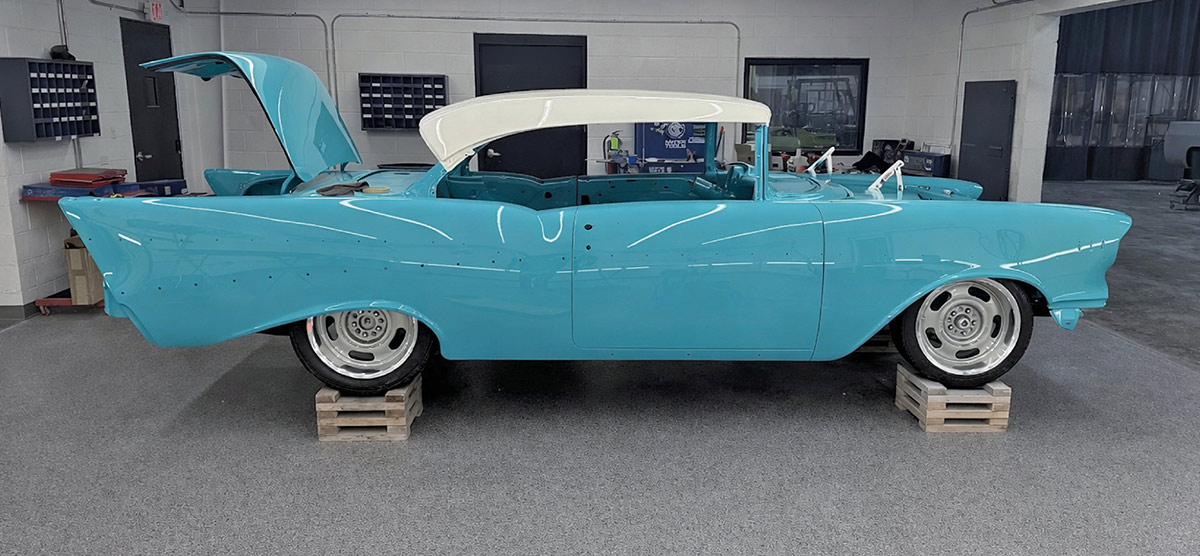
With the final sanding complete, each panel was buffed to a deep, glossy luster, and the assembly of all components could begin. As you look through the photos, you’ll gain a better appreciation for the painstaking attention to detail required to complete a build at this level.

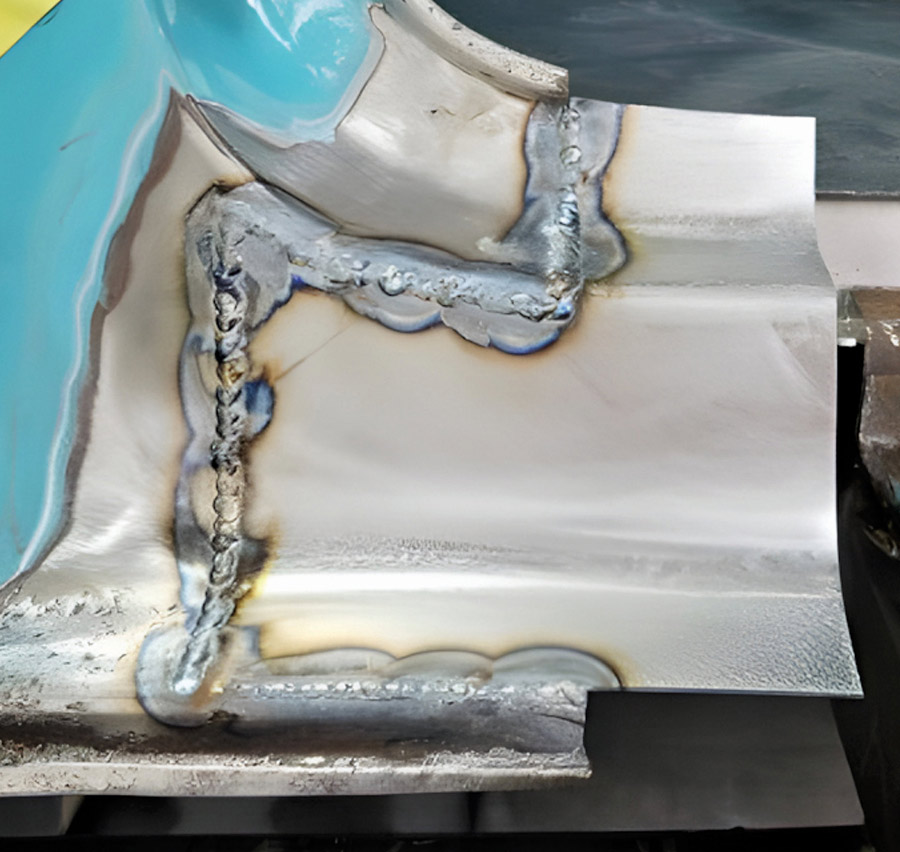
Disassembled 1957 Chevy showing rust in rocker panels
2. During disassembly, rust was discovered in the rocker panels, so all the damaged metal was cut away.
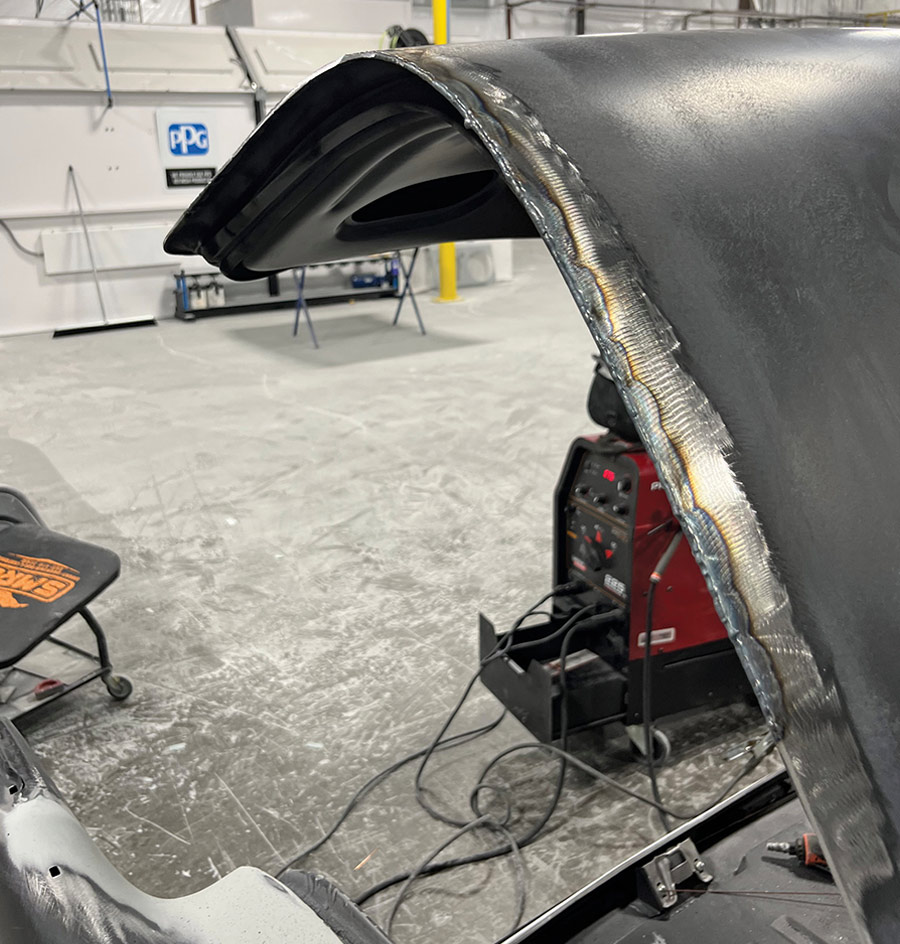
Welding a new metal patch onto a rocker panel
3. Careful fitting of body panels to the rockers and adjoining door pillars is important.
Reworking door gaps for uniform alignment on Bel Air
4. Next, the door gaps were reworked to achieve straight, uniform panel alignment.
Perfecting hood gaps and body panel fitment
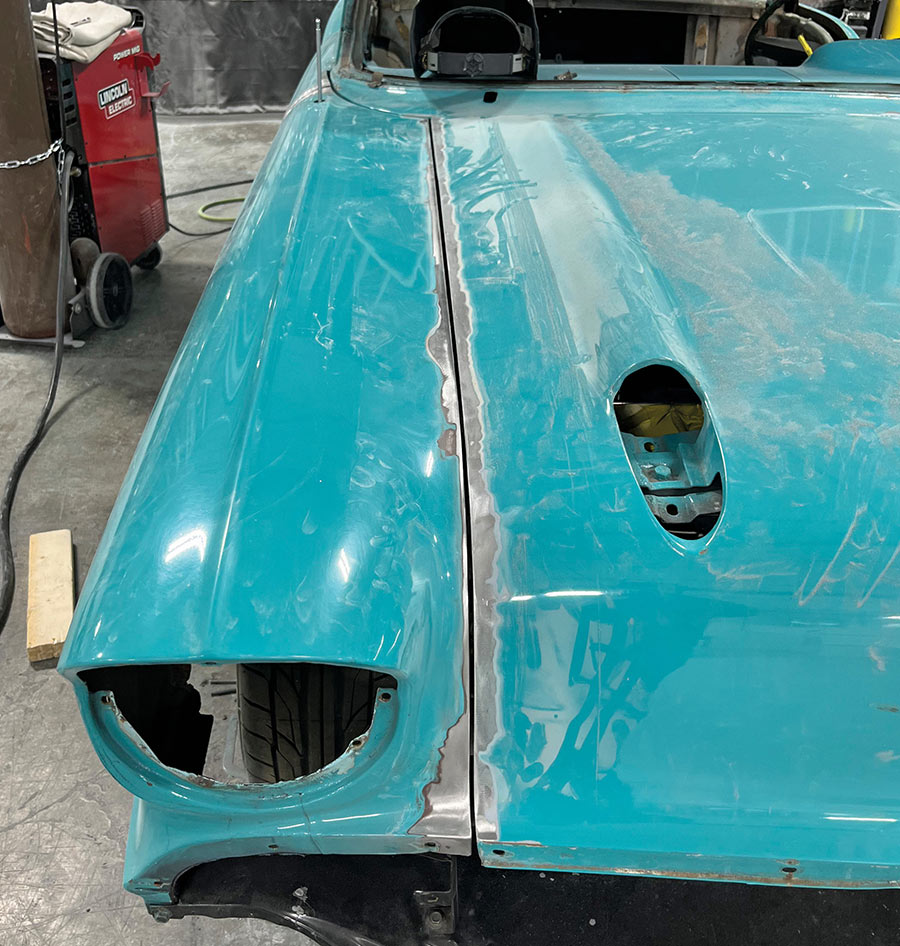
5. The hood gaps were perfected, as well as the fitting of body panels. Work of this nature is labor-intensive, but it is essential for a top-tier result.
Fabricating a new metal floor panel for the trunk
6. Much of the floor was replaced, too. Shown here is a new panel being fabricated at Scott’s Hotrods for the forward area of the trunk.
Installed replacement rear trunk floor metal
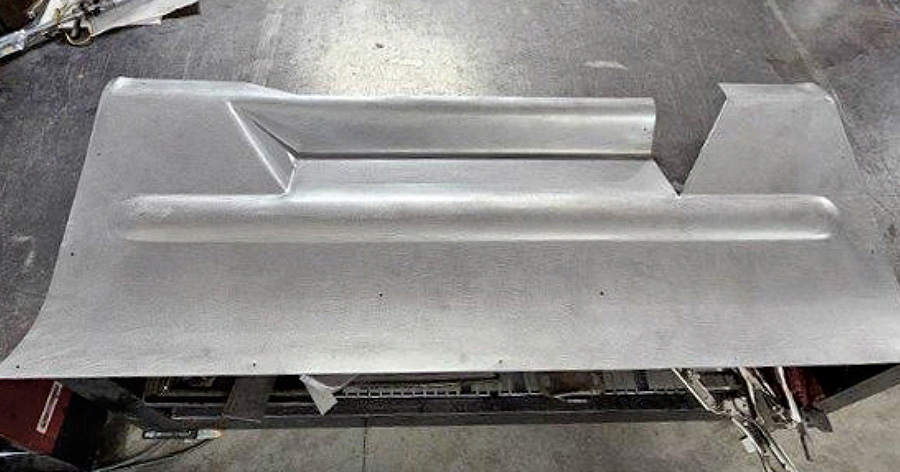
7. The rear trunk area was also replaced. Note the uniquely shaped channels embossed into the metal, adding both strength and style.
Fabricated underhood panels joining inner fenders
8. Considerable effort went into refining the underhood area. These elegant panels were fabricated to join the inner fenders to the core support.
Installed underhood panels with concealed fasteners
9. Here, the panels are installed. Note that all the fasteners have been concealed for an exceptionally smooth appearance.
Custom metal induction system cover tack-welded
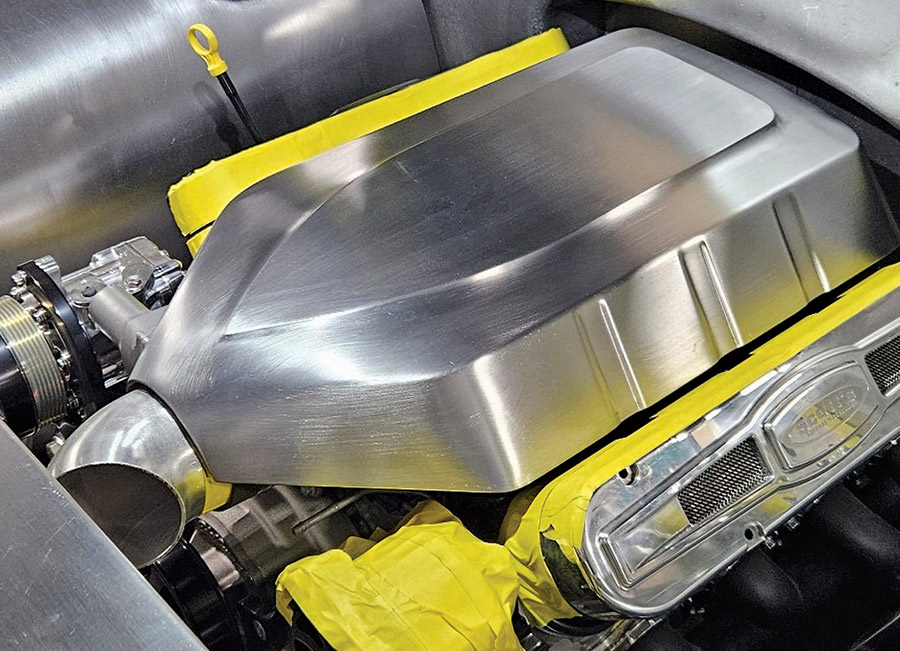
10. A special cover was fabricated for the induction system. Here, the two main components are tack-welded together.
Completed induction system cover with superb craftsmanship
11. The fabrication is nearly complete at this stage, and the craftsmanship is superb.
Trial-fitting Bel Air body onto new Scott's chassis
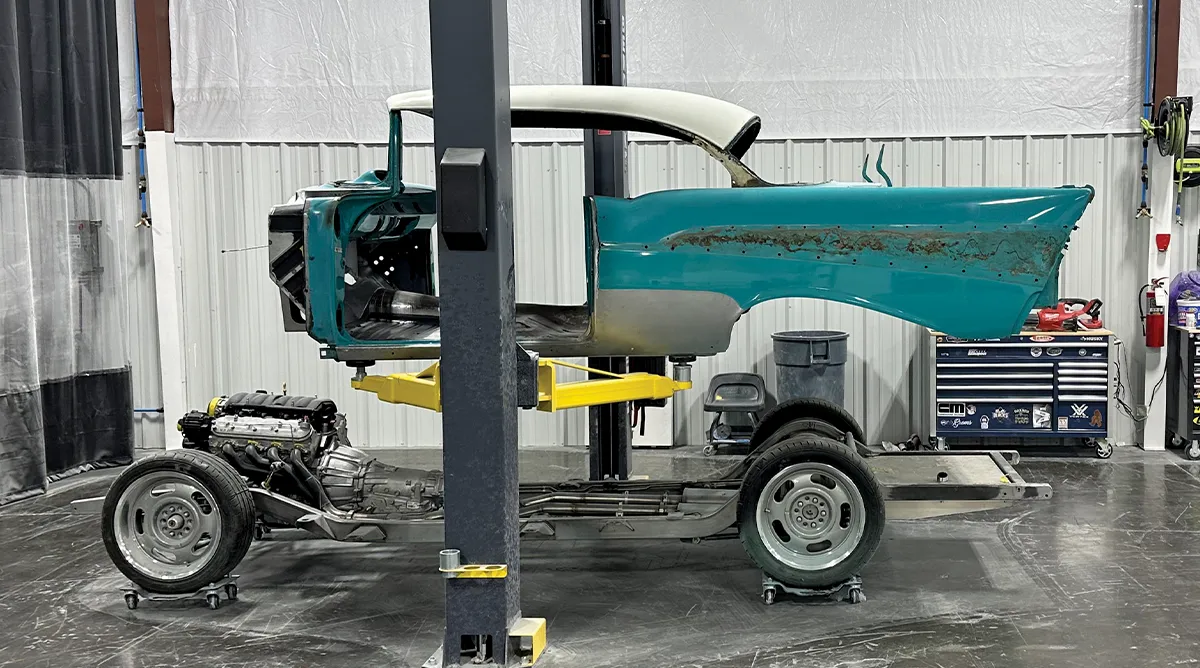
12. Here the body is being trial-fitted to the new Scott’s chassis, constructed from mandrel-bent 2×4 tubing, and equipped with their proprietary independent suspension system.
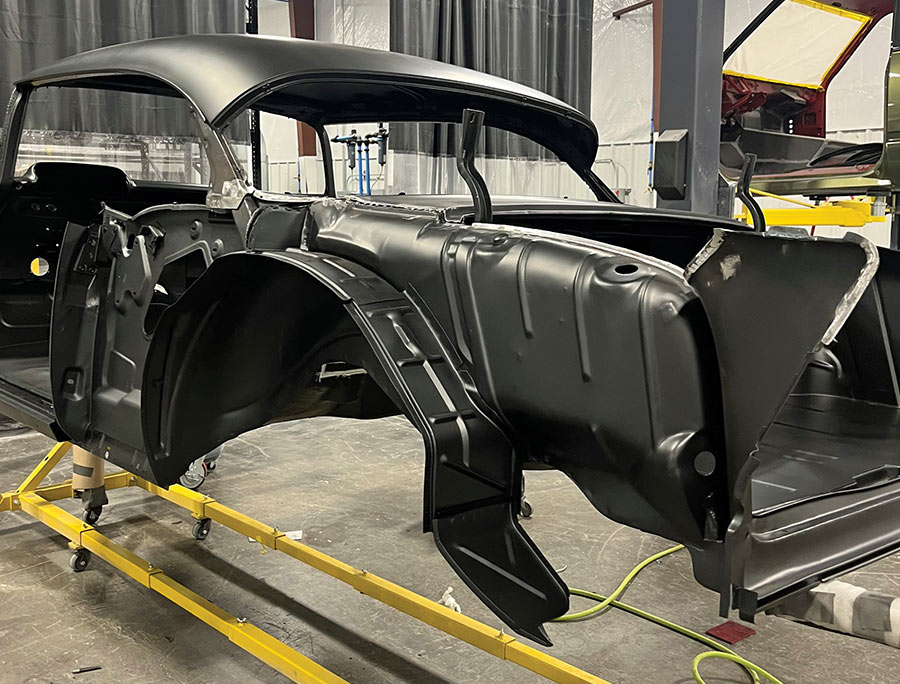
Fit body on rotisserie after stripping to bare metal
13. Once the fit of the body to the frame was verified, the body was mounted on a rotisserie and stripped to bare metal, inside and out.
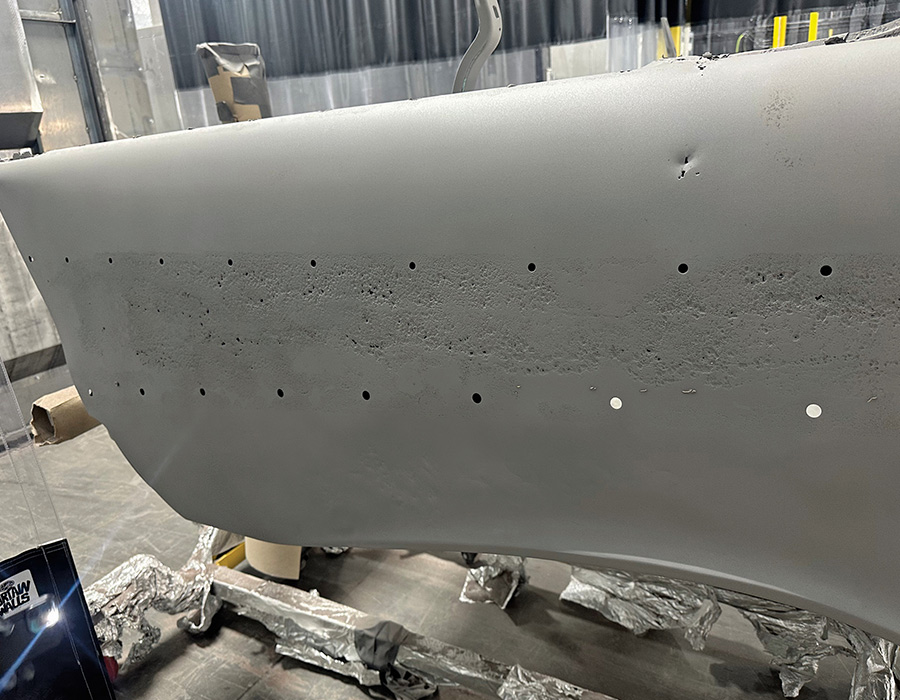
Stripping reveal rust perforation in Bel Air quarter-panels
14. Stripping revealed some unseen damage in the quarter-panels, which were perforated by rust. The original quarters were removed, and all exposed metal was sealed with epoxy primer.
New Golden Star quarter-panels ready for installation
15. With damage this extensive, the best solution was complete quarter-panel replacement. A quick call to Golden Star had new replacement panels on their way.
High-quality replacement quarter-panels for 1957 Bel Air
16. Fortunately, high-quality replacement panels are available for the Bel Air.
Body reinstalled on chassis to check panel fitment
17. The body was then reinstalled on the chassis to double-check the fit of all the panels.
Adjusting metal to perfect uniform decklid gaps
18. Some adjustments were required to perfect the decklid gaps.
Ensuring clean, uniform panel gaps before painting
19. Clean, uniform gaps are essential to a first-class build.
Finalizing door gap fit with new quarter-panels
20. The door gaps were tweaked to finalize the fit with the new quarter-panels.
Block-sanding the smooth firewall for a flat finish
21. The new smooth firewall was block-sanded to ensure a laser-straight finish.
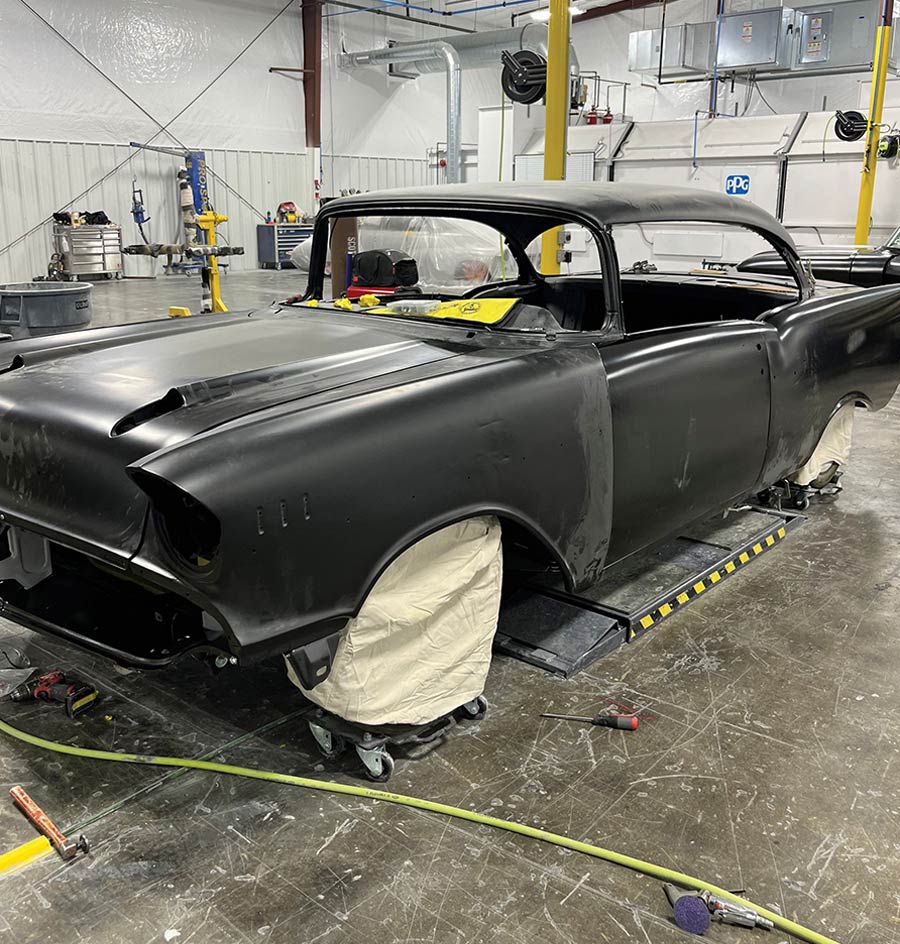
Bel Air body sealed with epoxy primer
22. After all the bodywork was completed, the entire body was sealed with epoxy primer.
Block-sanding high-build polyester primer on every panel
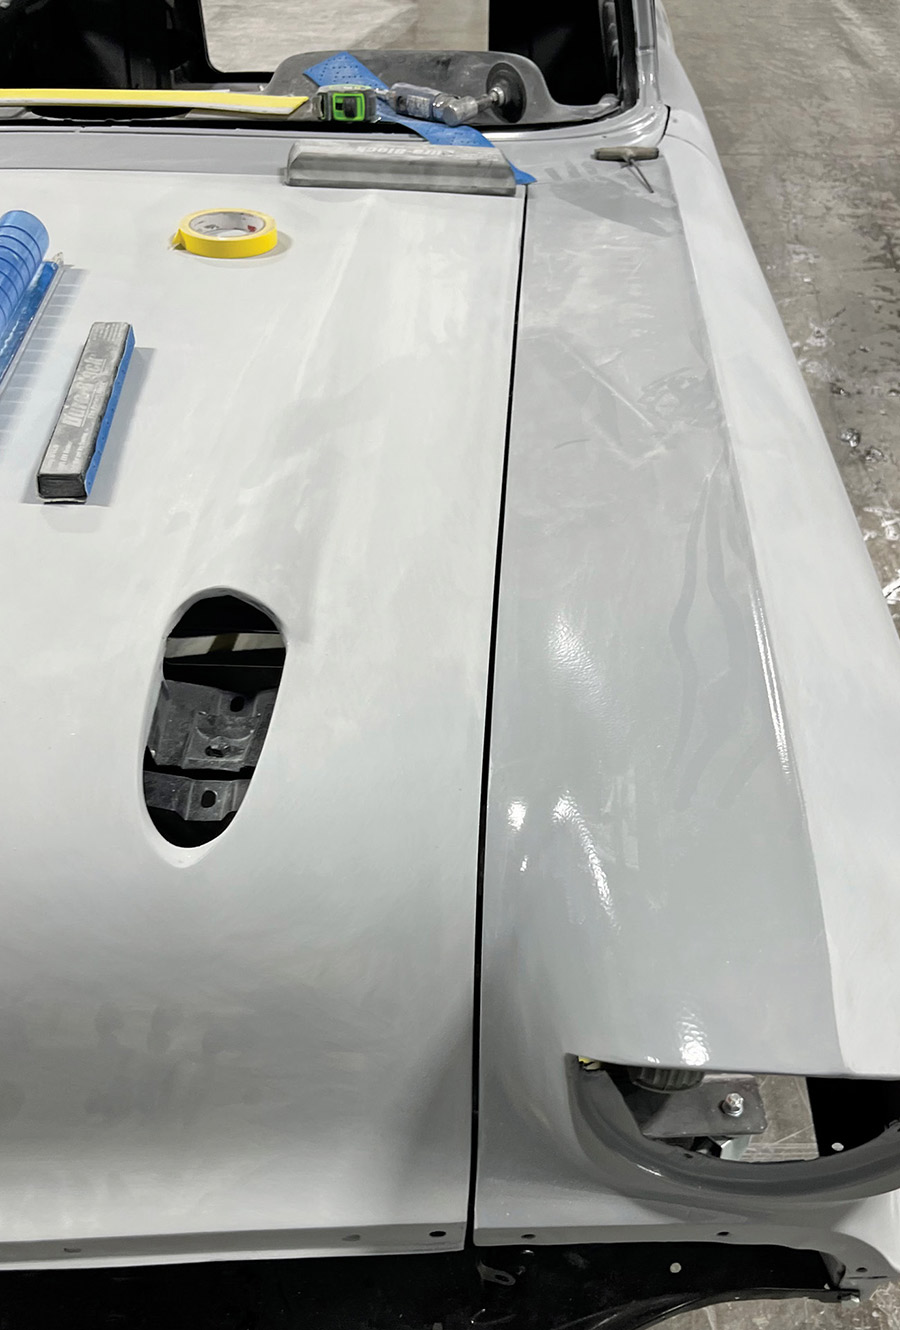
23. To perfect the surfaces, several coats of high-build polyester primer were applied, followed by meticulously block-sanding every panel.
Removable panels mounted to portable racks for detailing
24. All removable panels were mounted to portable racks, which greatly eases the detail work.
Masking panel insides to protect from overspray
25. Once all surface preparation was complete, the inside of each panel was carefully masked to protect it from overspray.
Body openings masked before applying color coats
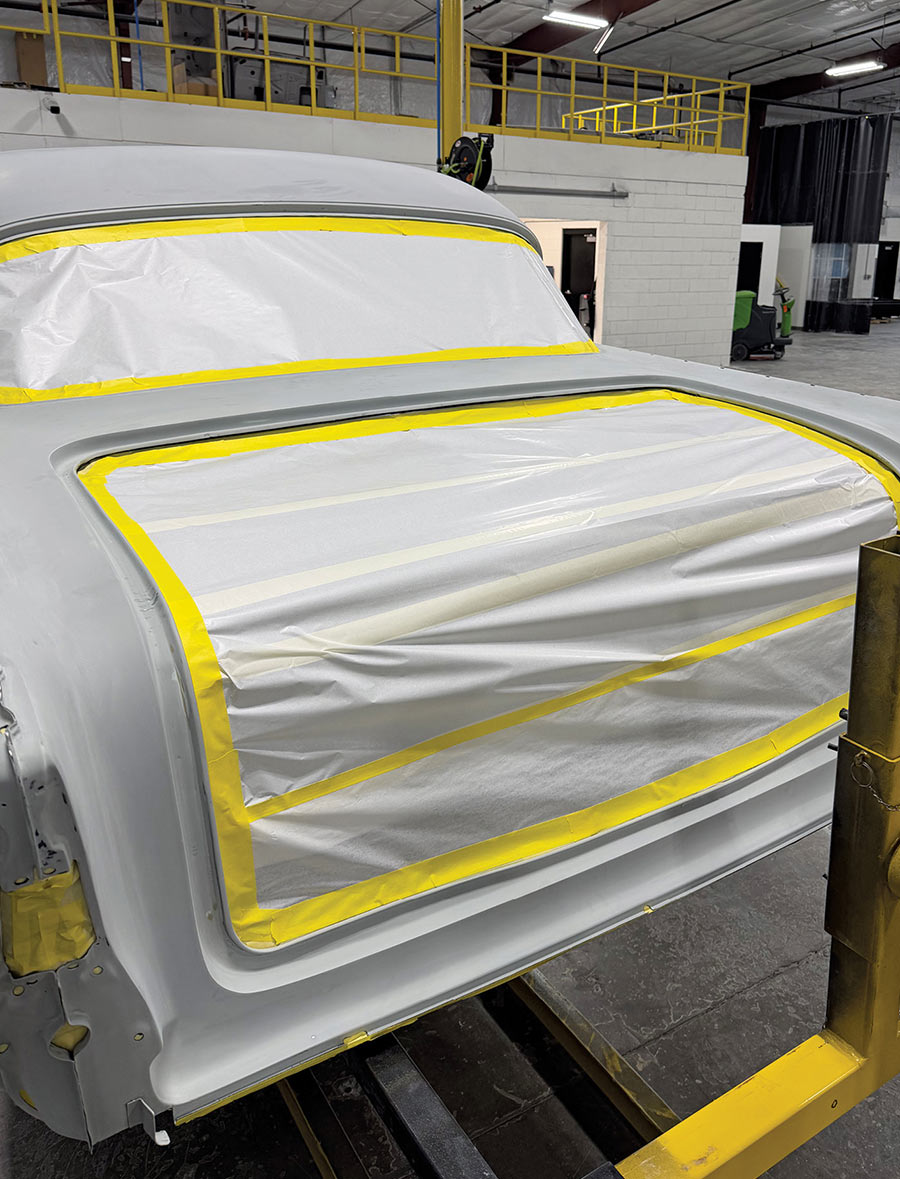
26. All body openings were masked off prior to applying the color coats.
Body on rotisserie rolled into paint booth
27. The body, still mounted on the rotisserie, was then rolled into the paint booth in preparation for final paint.
Tropical Turquoise color coat applied to the body
28. Several coats of Tropical Turquoise were applied to the body.
Individual body panels painted in the booth
29. Each individual body panel was also painted in the booth.
Matching paint color on engine and transmission
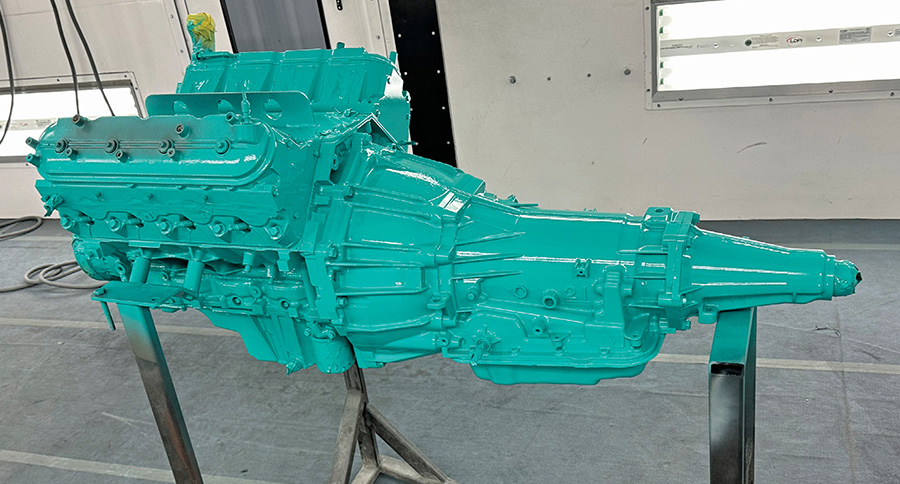
30. For a unified look, the engine and transmission were finished in the same color.
Engine and transmission fitted into the chassis
31. The engine and transmission were then fitted into the chassis. Scott’s team fabricated the entire exhaust system from stainless steel, then had it ceramic-coated with a satin black finish and wrapped it with high-temperature tape to retain heat and keep the exhaust gases moving efficiently.
Masked roof sprayed in India Ivory contrast color
32. The roof was masked and sprayed in India Ivory, providing a nice contrast to the main body color.
Wet-sanding the body to achieve high-quality surface
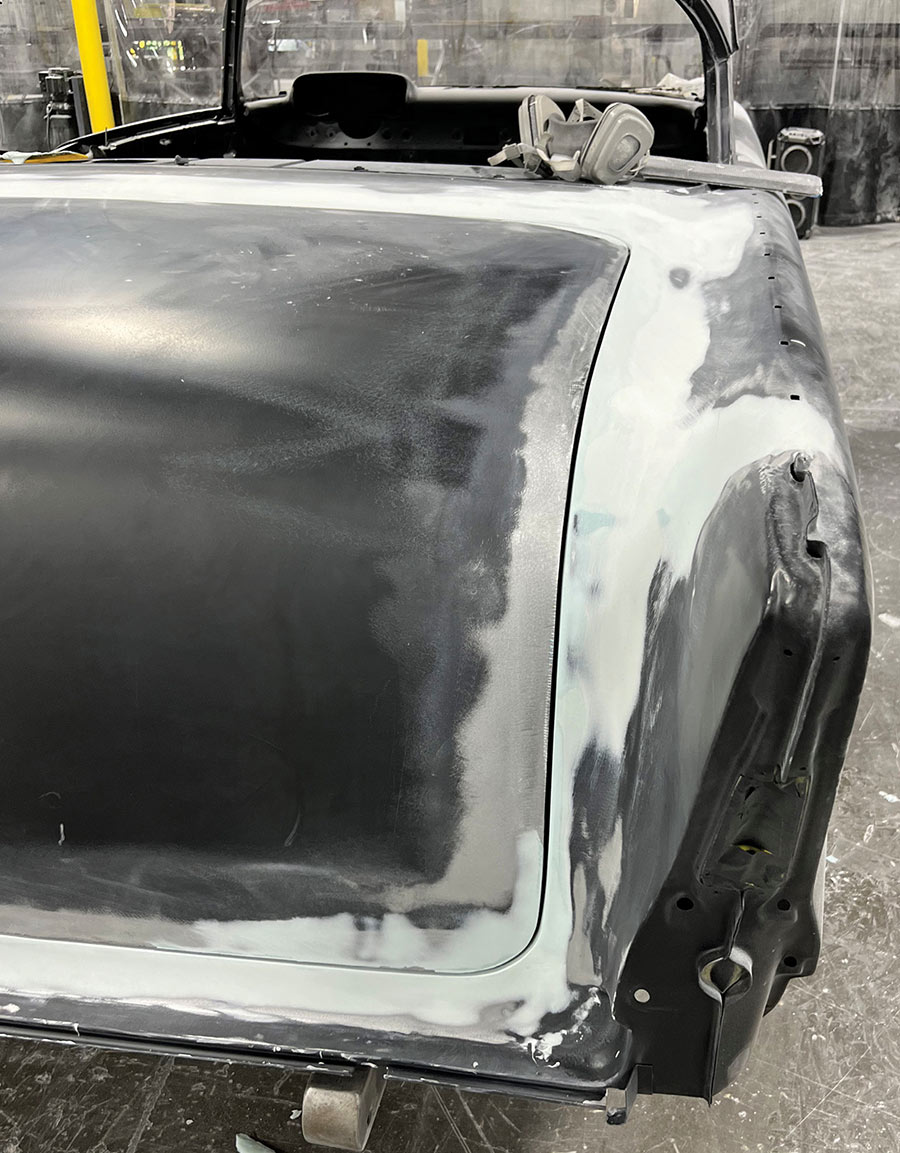
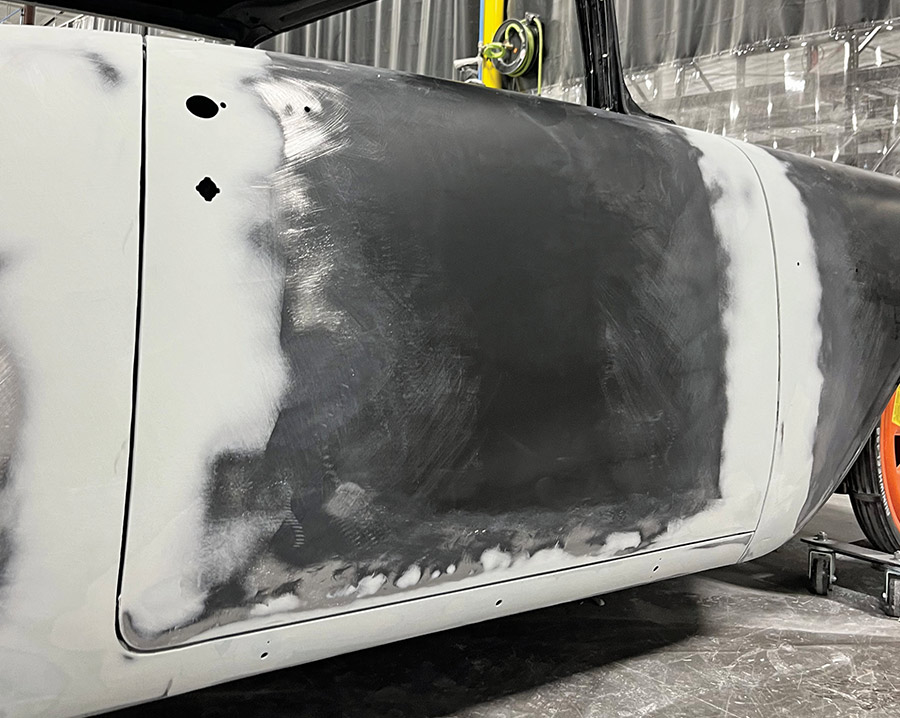
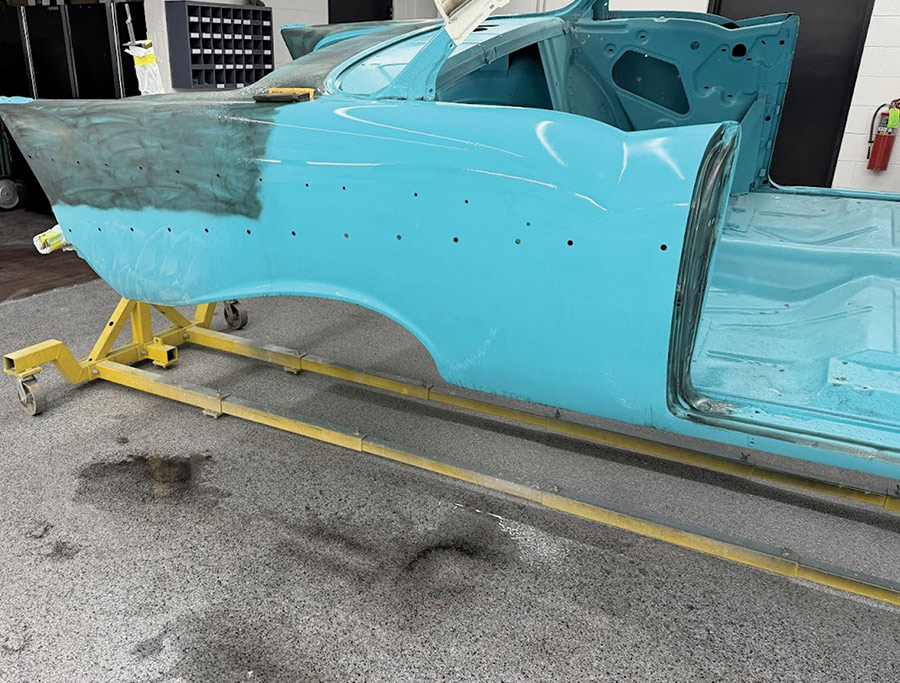
33. Every square inch of the body was carefully wet-sanded to achieve the highest-quality surface finish. Note the dark guidecoat on the upper rear corner of the quarter-panel, showing where additional sanding was still needed.
Smooth, glossy finish achieved after final buffing
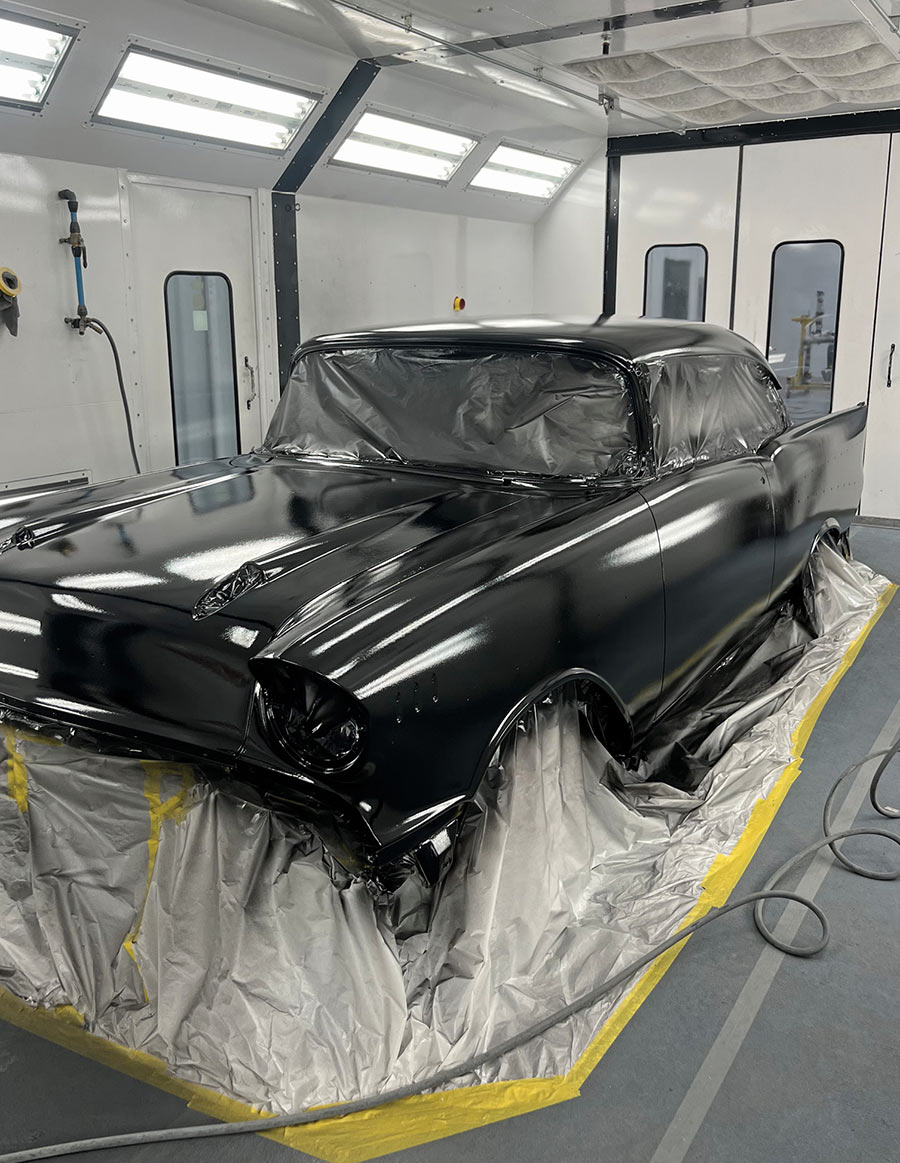
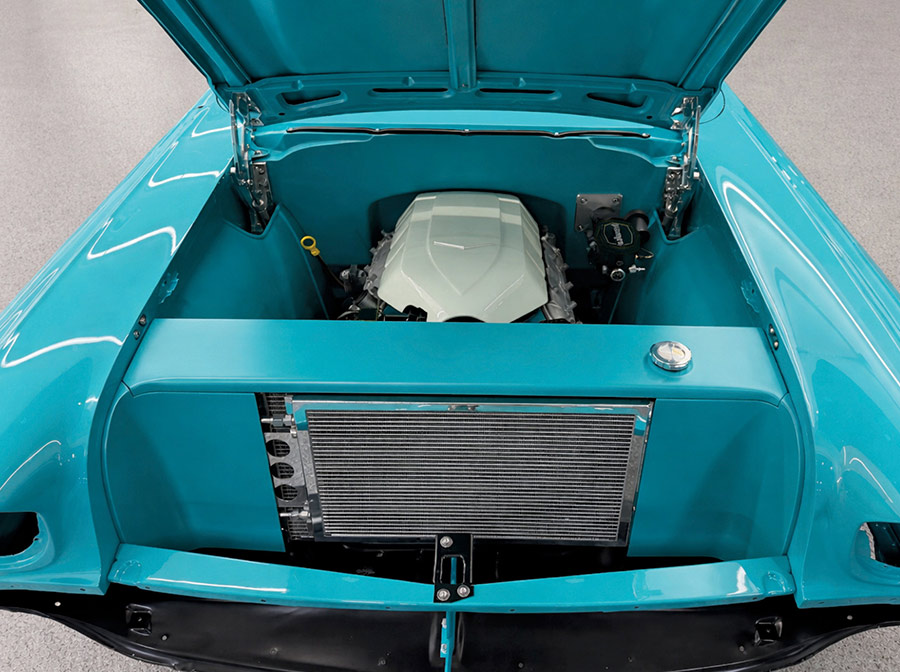
34. After the final buffing, the smoothness and gloss of the paint are spectacular. Note that some of the underhood panels were painted in the same color, but with a flattening agent added to create a subtle contrast.
Flawless final paint finish on 1957 Bel Air
35. With the cut-and-buff process complete, you can fully appreciate the slick, flawless finish achieved on the body and all painted components.
In The Garage Media
Scott’s Hotrods ’N Customs logo

(865) 951-2081
scottshotrods.com
Golden Star Classic Auto Parts logo

(972) 315-3758
goldenstarauto.com
Modern Rodding
VOLUME 7 • ISSUE 73 • 2026