Modern Rodding Tech
InTheGarageMedia.com
1965 Mustang Fastback shell prepped for roof replacement with structural components already restored
Get the Lead Out typography
1. Colin and Tate Radford have rebuilt this 1965 Mustang fastback from nose to tail, with sheetmetal from Golden Star Classic Auto Parts and suspension components from Classic Performance Products. Their latest accomplishment is the installation of a new roof panel and driprails.
Get the Lead Out typography
Replacing a Mustang Roof With Lead-Free Solder
By Ron Ceridono Photography by Tate Radford
W

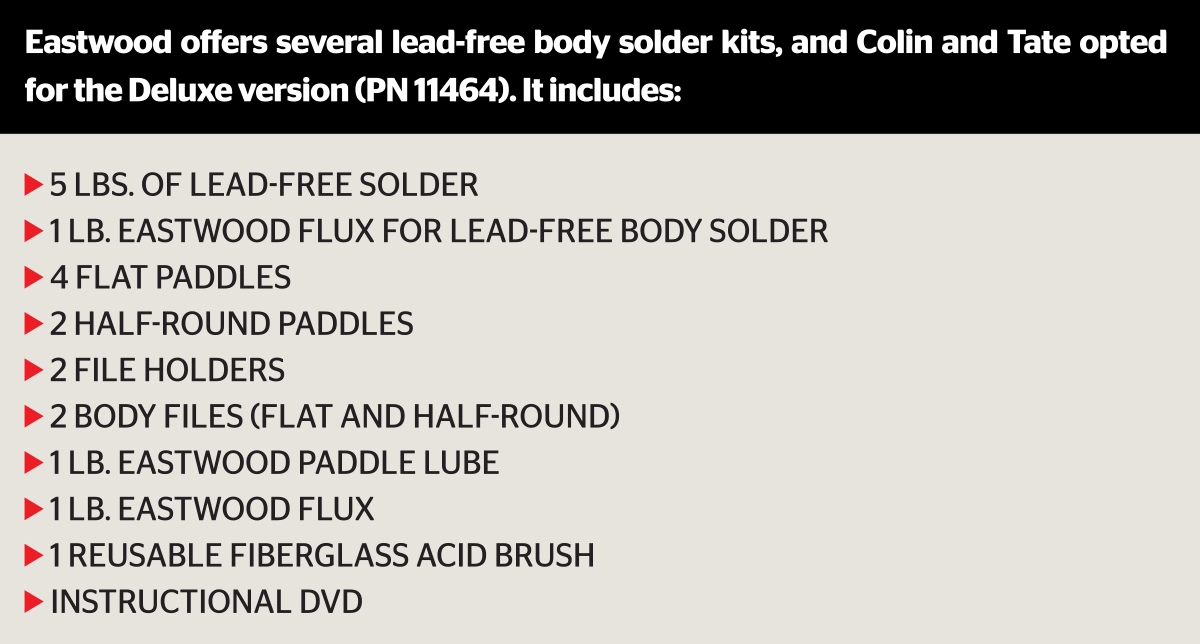
e’ve been following along as Colin and Tate Radford of Radford Auto Body resurrect a 1965 Mustang fastback. When they determined that the roof was beyond repair and needed to be replaced, they turned to Golden Star Classic Auto Parts for the sheetmetal and to The Eastwood Company for a lead-free body solder kit to ensure the installation would adhere to the same basic techniques Ford used so many years ago.

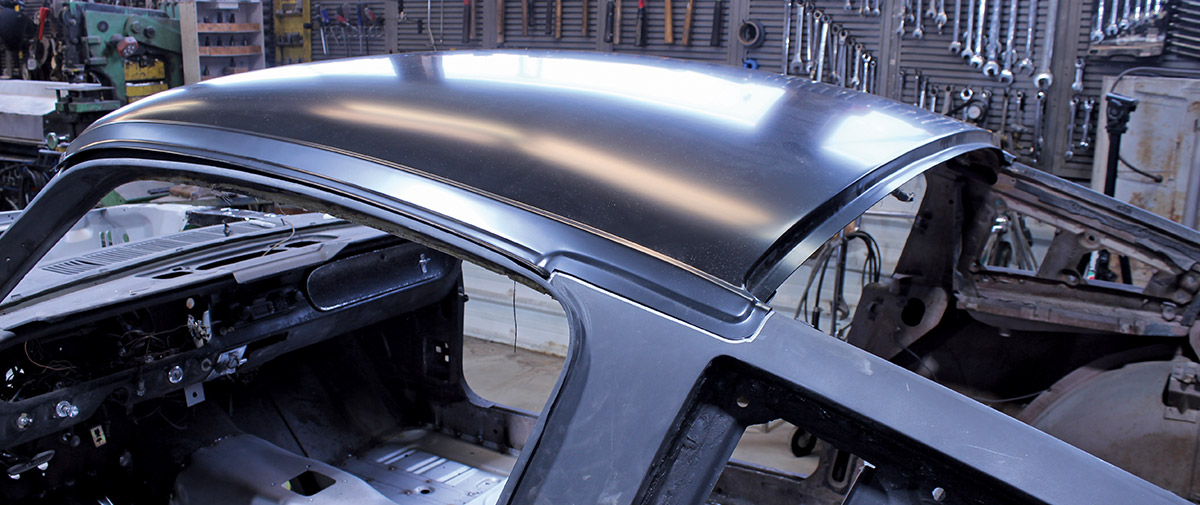
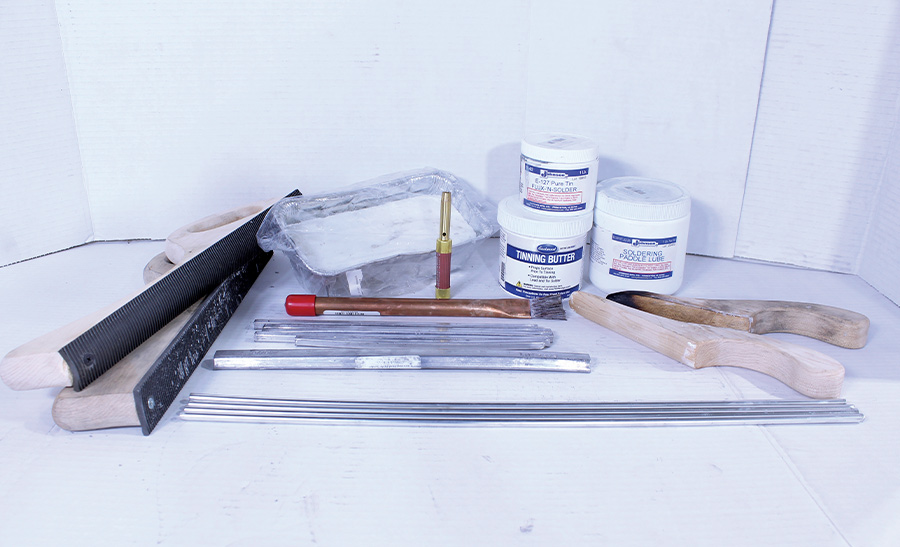
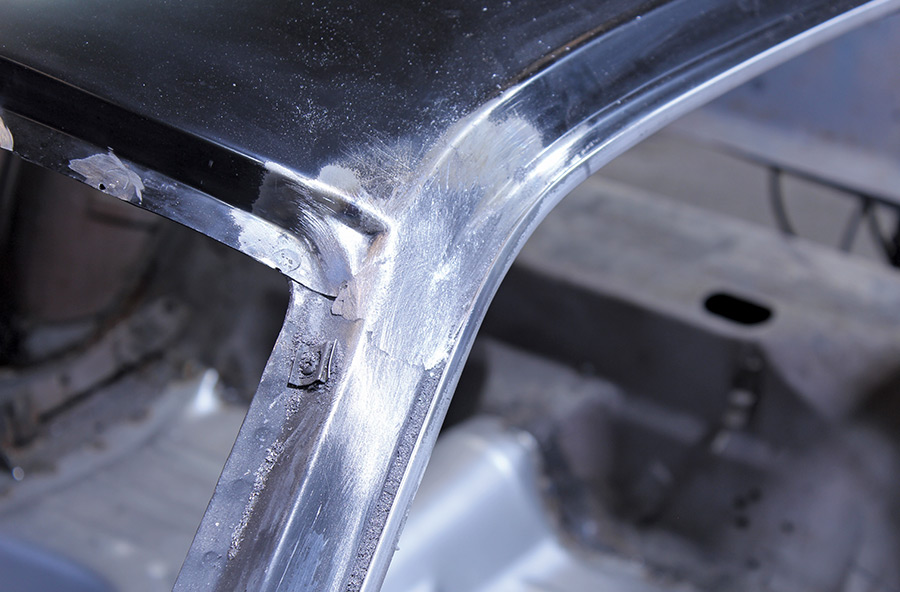
For decades, auto manufacturers used lead (actually a combination of lead and tin) to fill gaps in various body panels, such as the top of the Mustang where it joined the windshield posts and B-pillars. Although lead was easy to form, adhered well, and was flexible enough to resist cracking, it was also used by customizers, giving rise to the term “leadsled. “ Despite all the advantages lead offers, there is a significant concern: lead is toxic. However, for those who want the benefits of lead without any health risks, lead-free solder is now available from The Eastwood Company.

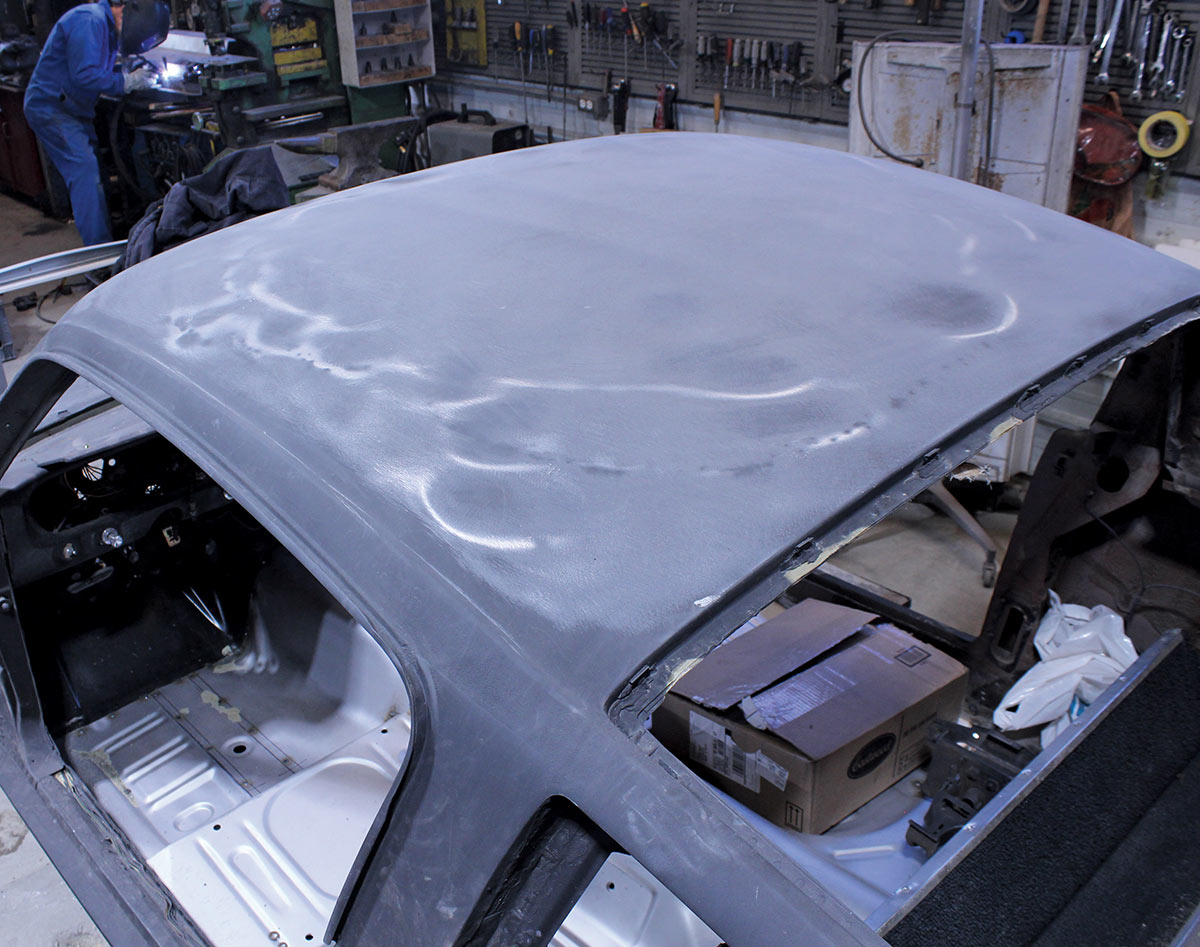
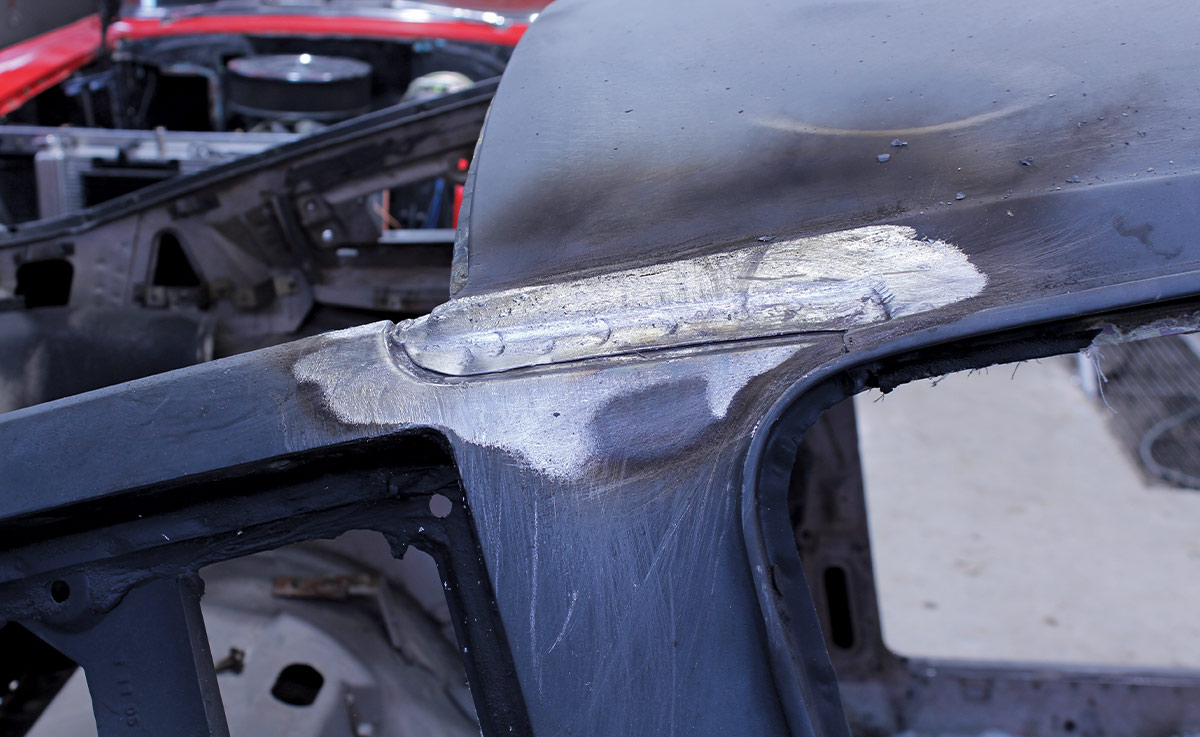
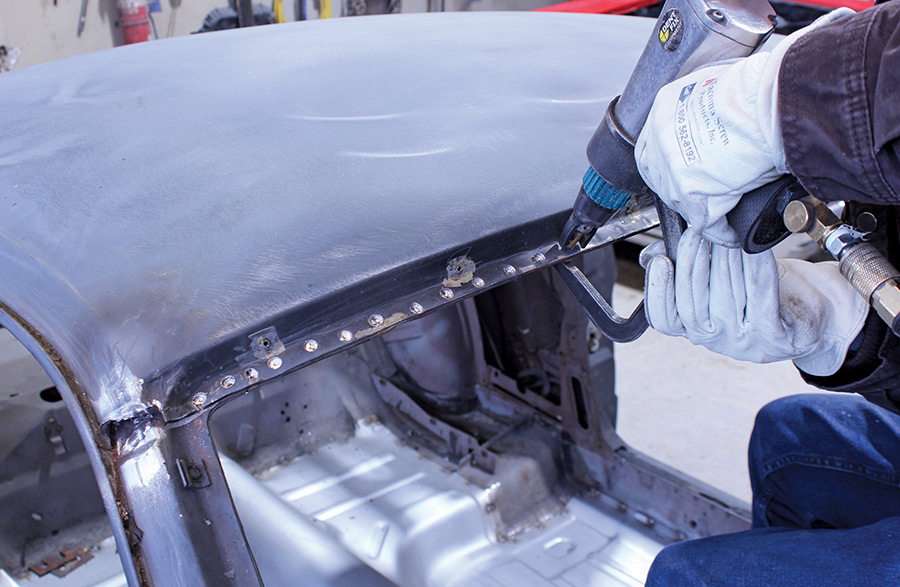
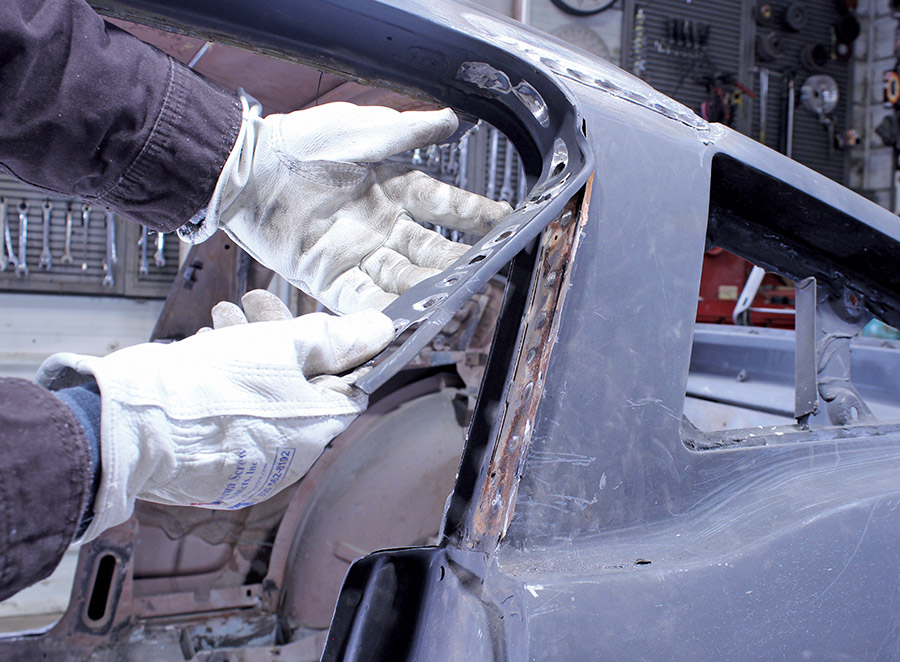
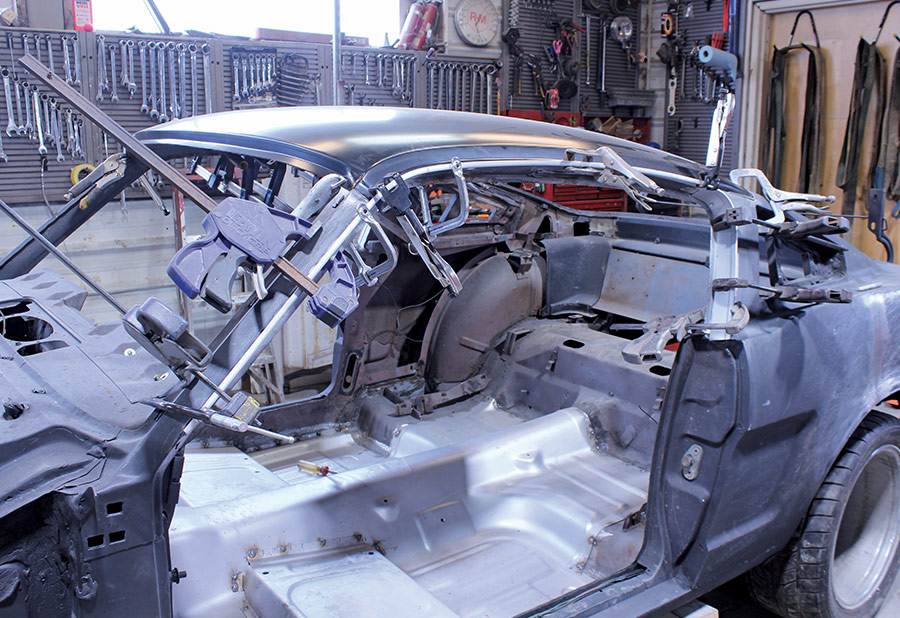
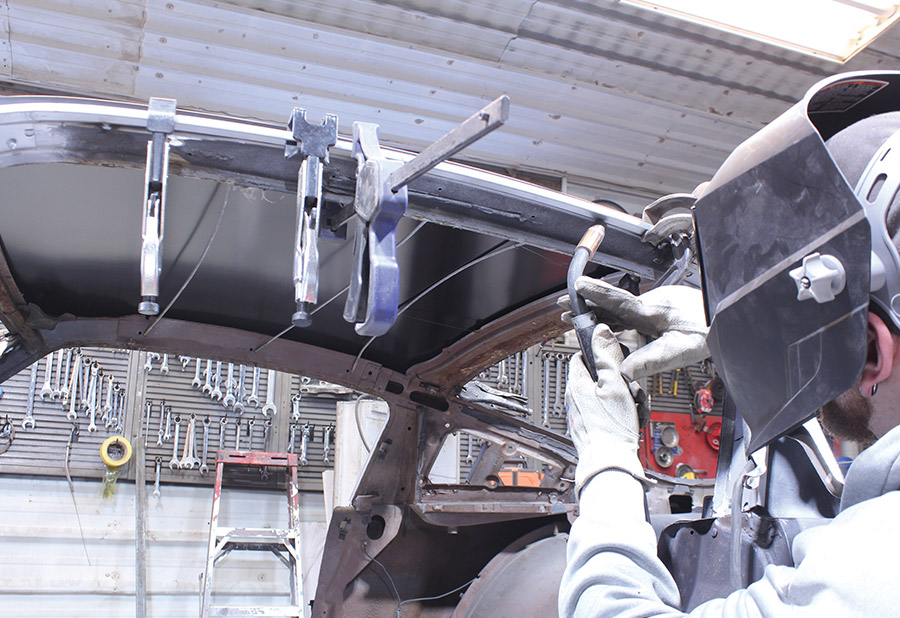
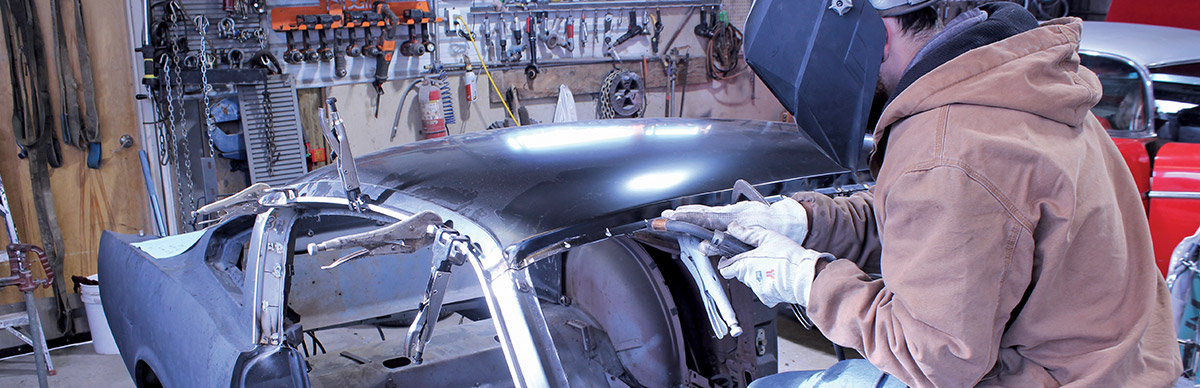
The original top was removed by melting the factory lead with a propane torch and drilling out the factory spot welds. The rusted driprails were removed by drilling out the spot welds. With the support structure prepped and primed, the Golden Star 1965-66 Mustang fastback top panel (PN RF20-65) and driprails (PN DM20-65S) were installed, spot-welded in place, and readied for applying the lead-free solder.

list showing what solder kits Eastwood offers
Like conventional lead-based solder, the surface must be properly prepared by “tinning” for lead-free solder to stick. Tinning chemically cleans the surface while simultaneously depositing a thin coating of material (primarily tin) that the solder will adhere to. After removing any excess tinning compound, the surface is reheated and the lead-free solder applied. While lead-based solder is spread with wood paddles, Eastwood recommends using the paddle to push the solder into the surface. They advise that the “spreading” technique not be used with lead-free solder as impurities may become trapped in the process.

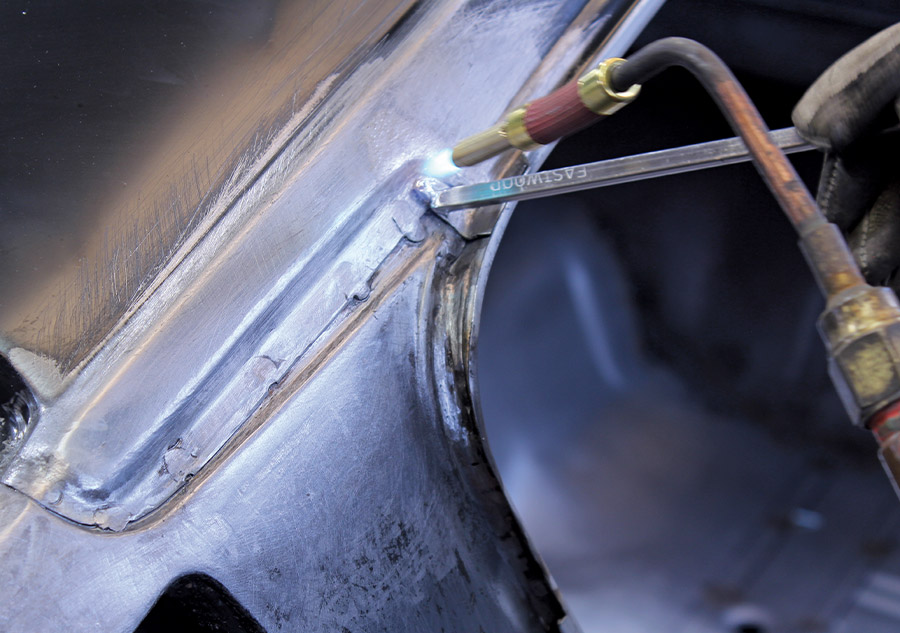
Once the surface has been shaped properly, it should be washed with a baking soda and water solution to neutralize any residual acid from the flux operation. Prior to priming, the surface should be cleaned with a paint prep solution or acetone. And yes, if necessary, polyester body filler can be used on lead-free filler to make minor corrections.

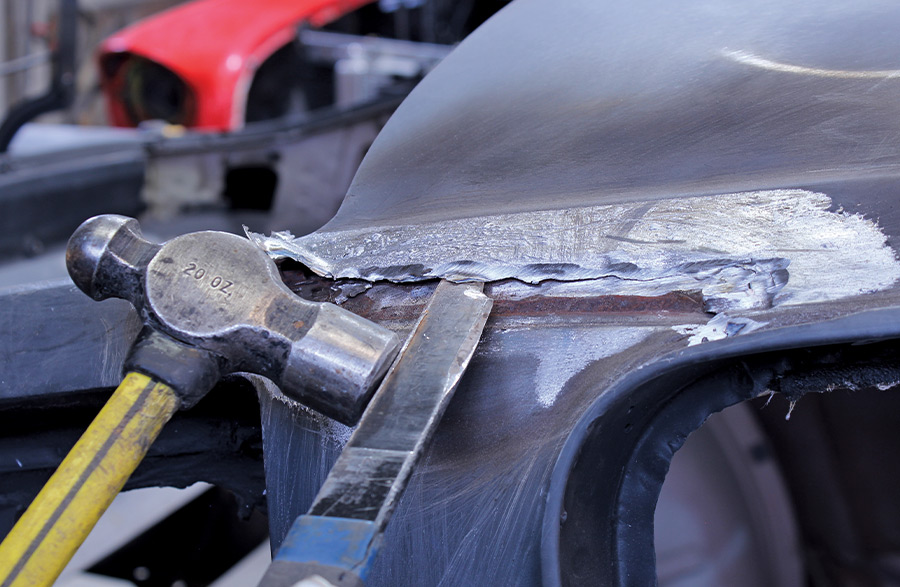
Lead-free body solder offers a number of advantages when compared to lead-based solder. It’s stronger and safer, and it can be sanded and filed without creating toxic dust. It can even be powdercoated with a curing temperature of 400 degrees. And perhaps best of all, think of all the time you’ll save not having to clean up all that sanding dust from doing the same job with polyester filler.

Damaged roof panel on the '65 Fastback shows dents and warping before removal
2. It seems that someone mistook the Mustang’s roof for a trampoline and jumped on it—the metal was stretched to the point that replacement was the best option.
Technician begins trim and molding clip removal from 1965 Mustang roof line
3. The first step in replacing the roof panel involved removing the retention clips for the windshield and rear window trim.
Heat and a wire brush used to soften lead seams during roof skin separation
4. A propane torch and a wire brush were used to remove the factory-applied lead where the top panel met the A- and B-pillars, exposing the spot welds underneath.
Exposed seam along the roof-to-A-pillar joint after grinding back filler and lead
5. Here, the spot-welds at the B-pillar can be seen with the factory lead removed.
Roof joint being smoothed and contoured using a pneumatic angle grinder
6. Lead should never be ground or sanded, as it creates hazardous dust. However, once the lead is removed, abrasives can be used. Eastwood suggests using their nylon cleaning wheel (PN 31095), but be sure to wear a respirator, gloves, and protective clothing.
Detail view of weld bead and joint transition along the A-pillar seam
7. Without the lead, the size of the seam between the top and B-panel is now obvious. Take note of the factory weld that still remains.
Seam is chiseled to separate the spot-welded joint between roof and pillar
8. Tate used a vintage panel separator to finish cutting the top panel away from the structure below.
Spot weld cutter tool removes roof flange welds along windshield frame
9. A spot-weld cutter was utilized to cut the top’s attachment points in the windshield opening—and there were many of them.
Significant rust-through visible in original inner roof structure on '65 Mustang
10. Colin’s fastback suffered from a common malady, rusted driprails. They will be replaced along with the roof.
Rusted drip rail trim is removed from the 1965 Mustang Fastback A-pillar channel
11. After cutting the factory spot welds, the rear portions of the driprails became detached from the body.
Spot welds are cut along roof flange using a pneumatic drill for panel separation
12. Here, Tate removes the spot welds securing the rear of the roof; this photo also reveals the extent of damage to the top.
Original roof skin is lifted off the '65 Mustang, exposing inner structure and bow supports
13. After the lead and spot welds were removed from the seams, the top panel was taken off the substructure.
Inspection of inner A-pillar reveals hidden rust and prior structural damage
14. With the roofskin removed, the rest of the driprails were taken off.
Lead soldering kit includes files, flux, tinning butter, and paddles for metal finishing on classic restorations
15. Once the top and driprails were removed, the remnants of all the support structure’s spot welds were ground smooth.
Roof bows and braces are prepped for the installation of the replacement panel
16. After thoroughly cleaning, the roof supports were coated with weld-through primer.
New black EDP-coated roof skin test-fitted on 1965 Mustang Fastback body
17. A test-fit of the new Golden Star roof panel was performed; the mark on the body serves as a guide for the tinning process—it will extend well beyond that point.
New roof panel's inner flange is punched to prepare for plug welds
18. Tate used a pneumatic punch to create holes in the top for spot welds above the windshield and rear window.
Replacement roof drip rails fabricated with pre-punched weld holes and reinforcement plates
19. These are the new driprails from Golden Star; they are pre-formed and fit the door openings perfectly.
New roof panel and drip rails mocked up and clamped for alignment checks
20. With the top panel and driprails in place, they were clamped to the roof’s framework.
Red-handled leadworking solder stick used for body panel seam filling and finishing
21. As if it were done at the factory, the driprails are spot-welded to the door’s framework.
Torch heating lead solder while tinned seam is filled on a 1965 Mustang Fastback roof joint
22. After punching holes in the top panel where it connects to the B-pillars, more clamps were added and spot welds were made.
Heated seam smoothed using copper mesh pad for proper lead solder adhesion and shape
23. Here, the spot welds in the B-pillars have been ground smooth in preparation for tinning and soldering.
Bare roof structure cleaned and prepped for final panel alignment and welding
24. The same procedure applied to the B-pillars was also used to attach the roof panel to the A-pillars.
Replacement roof panel tack-welded in place with panel clamps for accurate fitment
25. Tate clamped the mating surfaces together, added spot welds to the holes punched at the front and rear of the new top panel, then ground the surfaces flat.
Spot welding roof panel to A-pillar using vise-grip clamps to ensure joint tightness
26. Eastwood offers several lead-free body solder kits. The main difference between them is the amount of solder and related products included.
Seam grinding smooths weld joint where roof skin meets A-pillar structure
27. Eastwood’s diffuser tip (PN 50533 included in the lead-free kits) is used on a standard oxy-acetylene torch. Acetylene is used as the tip takes in oxygen from the air, producing an easily controlled “soft” flame.
Plug welds applied to factory roof flange holes using MIG welder for strong bond
28. After cleaning the surface, the area is heated with a torch. Then, the supplied Eastwood Flux-N-Solder is applied using the brush included in the kit.
Technician tack welds roof perimeter, finalizing panel replacement on '65 Mustang Fastback
29. Using a technique borrowed from the late Gene Winfield, a copper cleaning pad was employed to wipe away the excess flux. Eastwood recommends rinsing the area with hot water, followed by scrubbing with a baking soda and water solution, and then another rinse with water.
Wooden lead paddles used for shaping solder on 1965 Mustang Fastback roof seam
30. After cleaning the area, a torch with a diffuser tip (a propane or MAPP gas torch also works) is used to heat the surface and the tip of the solder bar. As the solder melts, it’s applied to the area coated with flux.
Heated lead paddle smooths softened solder on roof-to-A-pillar joint
31. To accommodate the contours of the areas being worked on, Eastwood offers flat and half-round wood paddles to shape the body solder. The paddles are lightly coated with the included tallow or lubricant provided to prevent the solder from sticking to them.
Eastwood body files with curved teeth for leveling solder on roof seam
32. Heat is applied to the solder until it slightly dulls; then, the paddle is used to push the solder into the desired shape.
Body file levels lead-filled seam on Mustang roof, ensuring smooth contour
33. The Eastwood lead-free solder kit includes flat and half-round body files.
Finished leaded seam reveals clean transition between roof skin and pillar
34. After the surface cooled, the flat file was used to smooth the solder. This process goes quickly since the file cuts through the solder faster than the surrounding material.
Baking soda neutralizes acid flux after lead work on Mustang's roof
35. Here, the seam on the A-pillar has been filed. Unlike lead-based solder, lead-free solder can be sanded; however, Eastwood cautions that appropriate eye and respiratory protection must still be used.
Eastwood solder bar applied with torch to reinforce joint and fill gap
36. The final step is to wash the area again with a baking soda and water solution to neutralize any remaining acid from the flux operation that could reappear and cause issues with the paint.
SOURCES
Modern Rodding
VOLUME 6 • ISSUE 61 • 2025