Modern Rodding TECH

InTheGarageMedia.com

Sew Fine title image
1. John Winter decided to tackle upholstering his hot rods at home with excellent results. It takes time and practice to become a proficient stitcher, but it’s worth the effort.
Sew Fine title image
1. John Winter decided to tackle upholstering his hot rods at home with excellent results. It takes time and practice to become a proficient stitcher, but it’s worth the effort.
Part 1: Stitching Upholstery at Home
By Ron Ceridono Photography by John Winter
L

ike many homebuilders putting a hot rod together on a budget, John Winter received a form of sticker shock when it came time for an interior in his ’32 Ford coupe. The estimates he received were much higher than expected, but Winter is not a man easily discouraged. So, despite never having done it, Winter decided to upholster the car himself. Winter’s latest effort was a full interior in his ’36 Ford Tudor sedan and he was kind enough to show us how he did it. We’re going to start with some relatively easy tasks, like covering flat panels, then we’ll get into more complicated jobs, like seats and headliners, in subsequent installments.

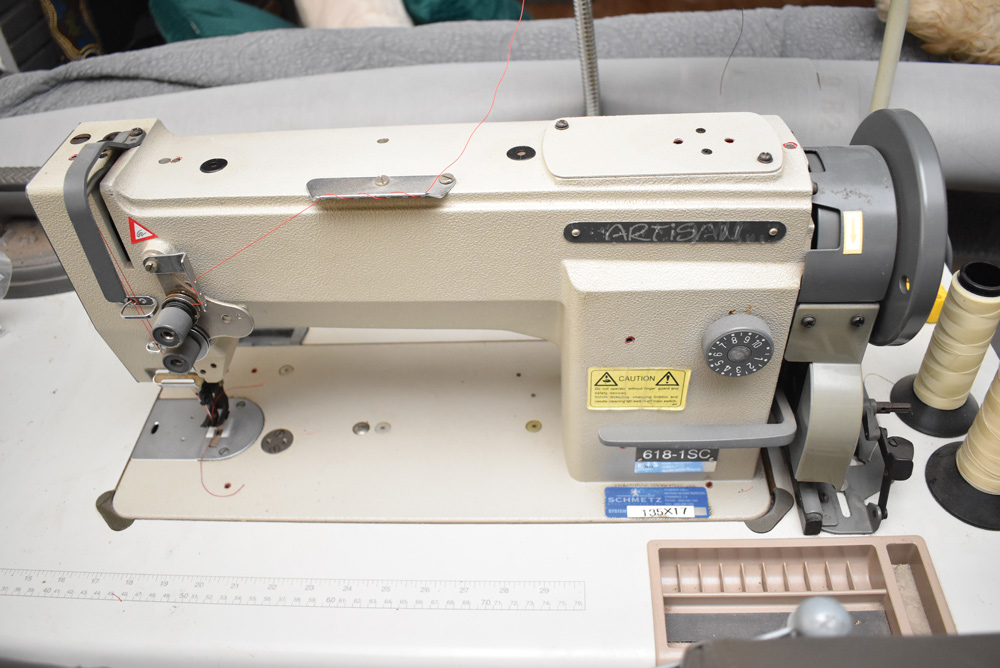
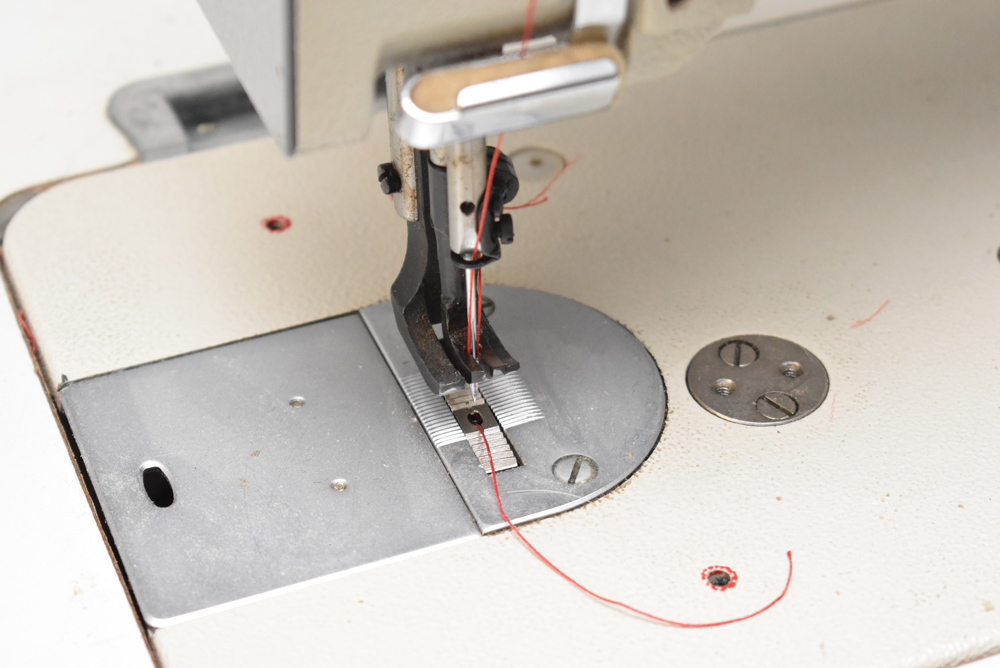
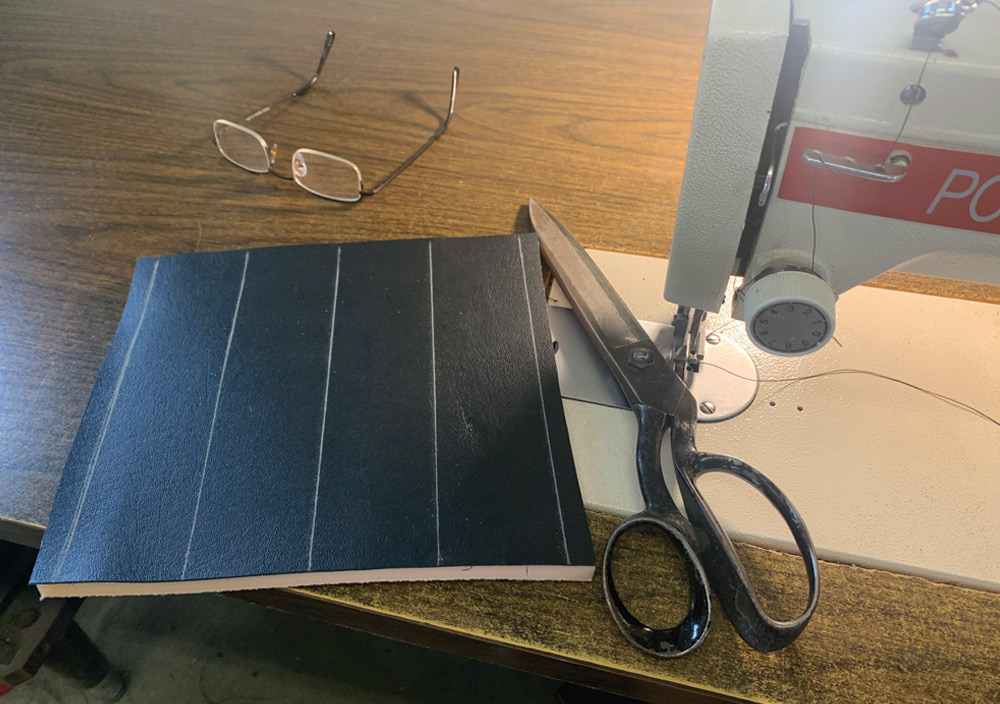
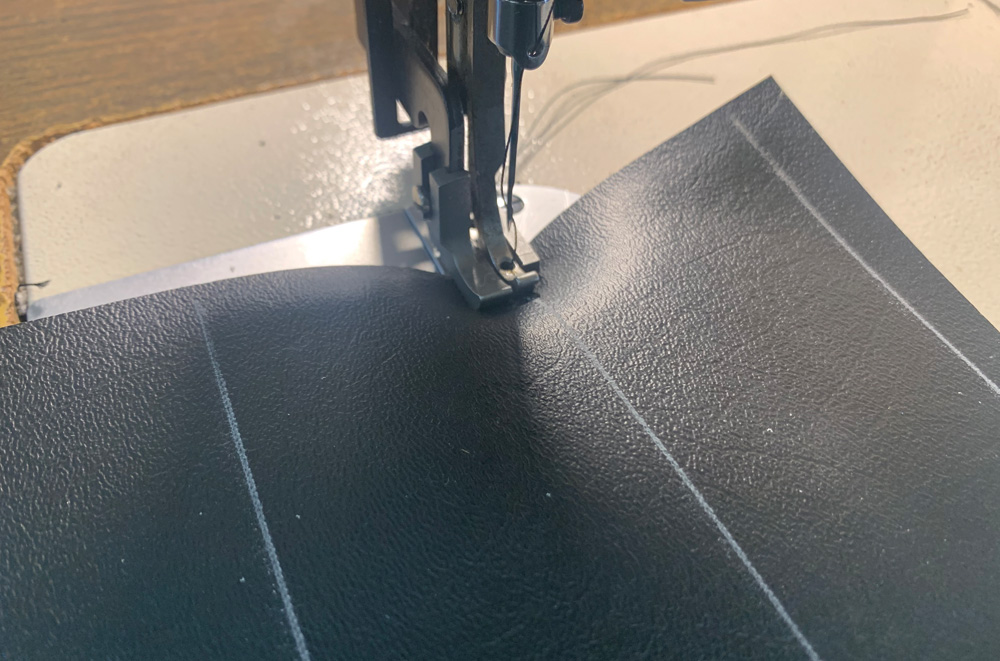
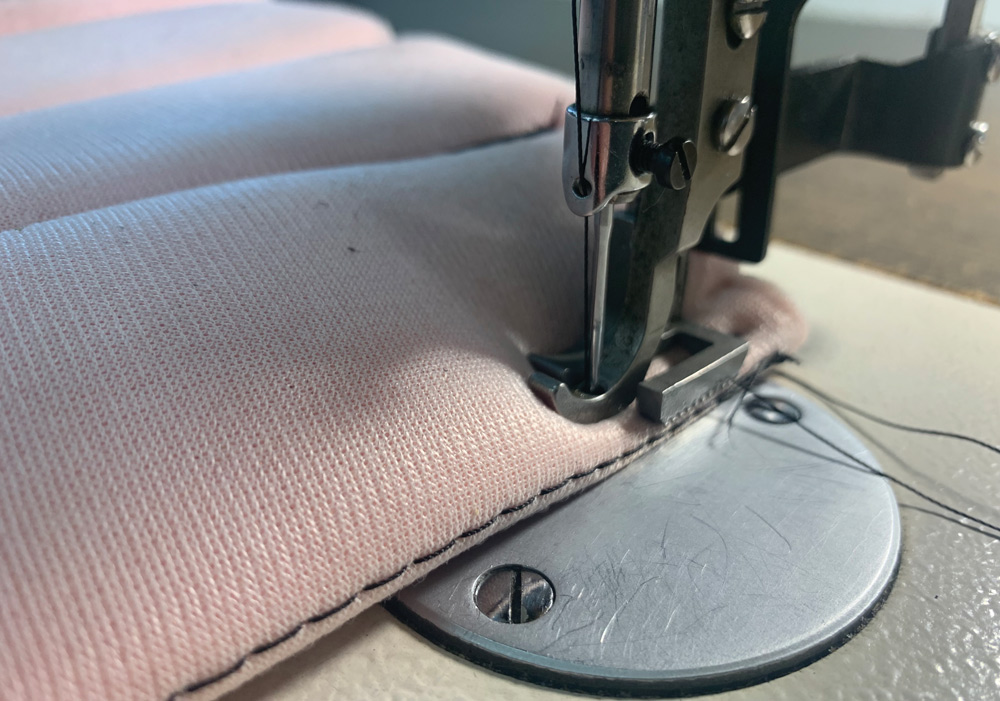
For those who want to do upholstery at home, there are a few things you’ll need, not the least of which is a proper sewing machine. Not to be confused with a common household variety sewing machine, the most common type of machine for upholstery work is the single needle, “walking foot” lockstitch machine. With an ordinary sewing machine, as the stitches are made the fabric is pulled past the needle by what are called “feed dogs.” This mechanism pulls on the bottom layer of fabric only. By comparison a walking foot sewing machine pulls the material through from the top and bottom, feeding multiple layers of material evenly. Like anything else, the best way to learn how to sew straight lines is to practice by making chalk lines on scrap material.

There is a wide variety of automotive upholstery materials available: vinyl, cloth, and, of course, leather—which is probably best left to those with experience. In most cases vinyl is the material of choice as it’s affordable and wears well. When it comes to selecting vinyl there are two common types: standard vinyl and marine vinyl. The difference is marine vinyl has additional UV protection to prevent the color from fading in sunlight (a good choice for an open car). Vinyl comes in an array of colors and textures—there’s even distressed vinyl that looks like vintage leather. When purchasing upholstery materials, the price will be per yard. Most automotive fabrics are 54 inches wide, so 1 yard of material would be 36 inches long by 54 inches wide.

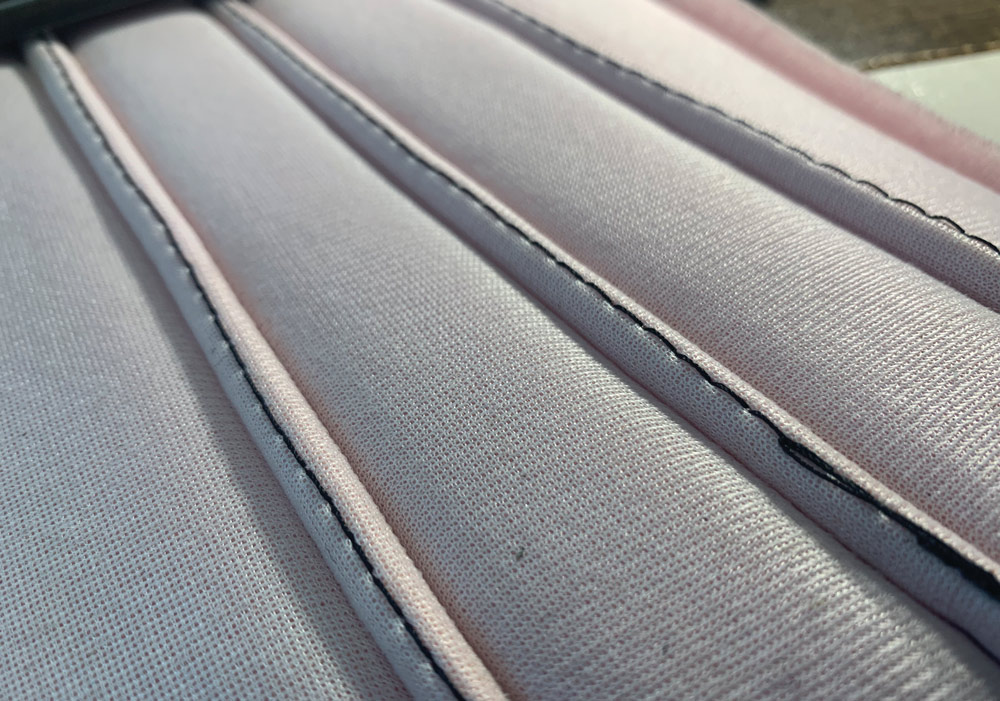
Another material that is used in automotive upholstery is polyurethane foam with fabric backing (called scrim). When creating pleats, the backing holds keep the stitches from pulling through the foam. In addition, the scrim holds adhesives well when the upholstery is glued in place. Foam is available in a variety of thicknesses and densities (scrim backed foam is usually 1/4- or 1/2-inch thick).

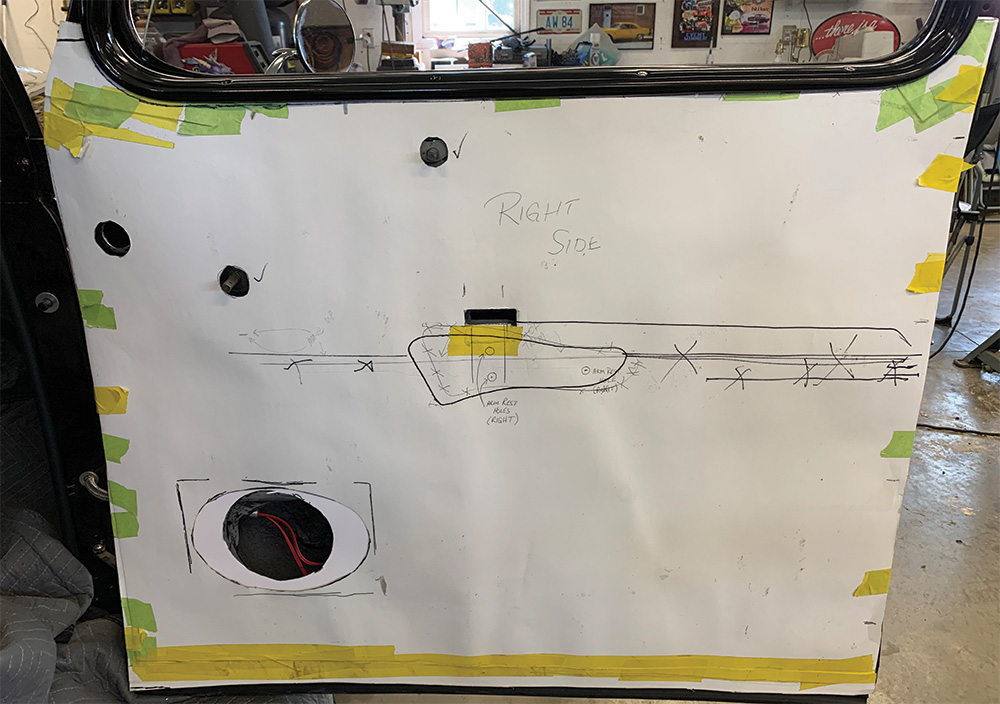
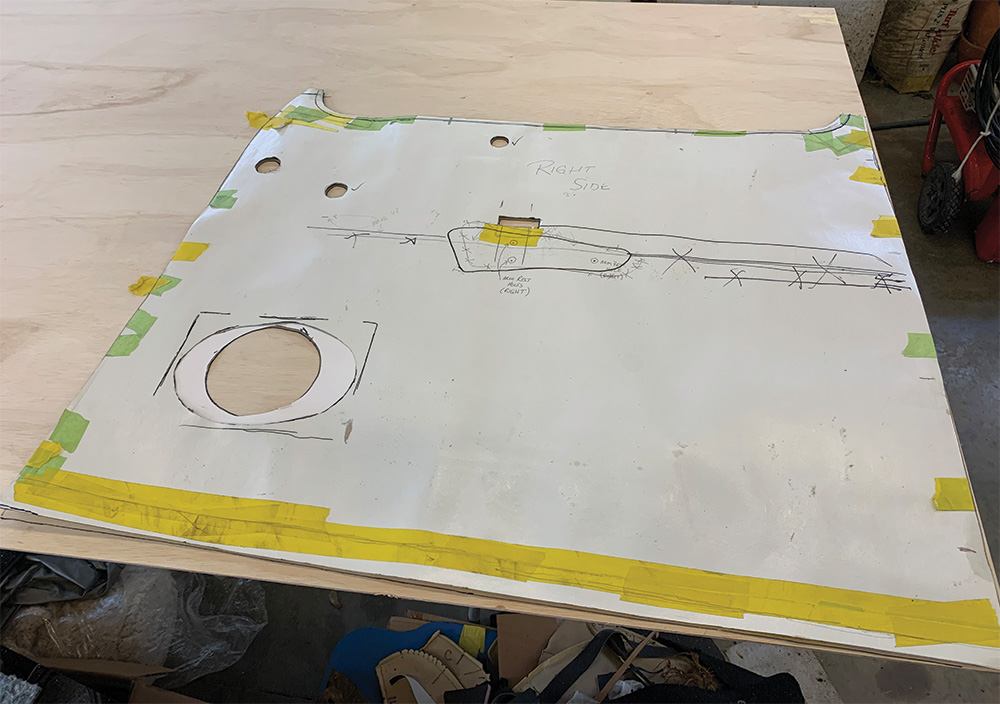
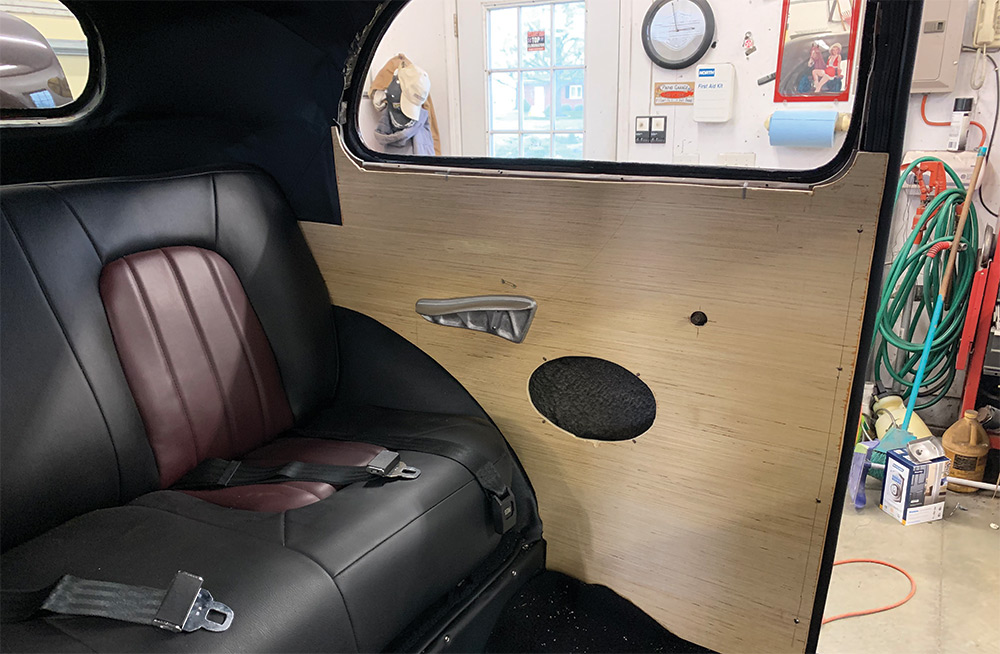
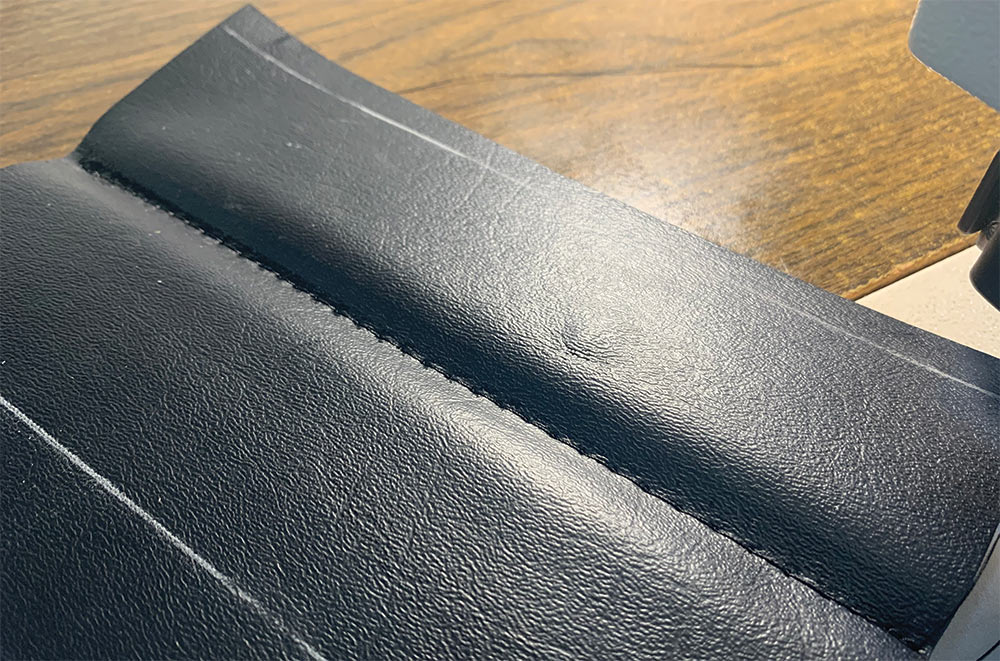
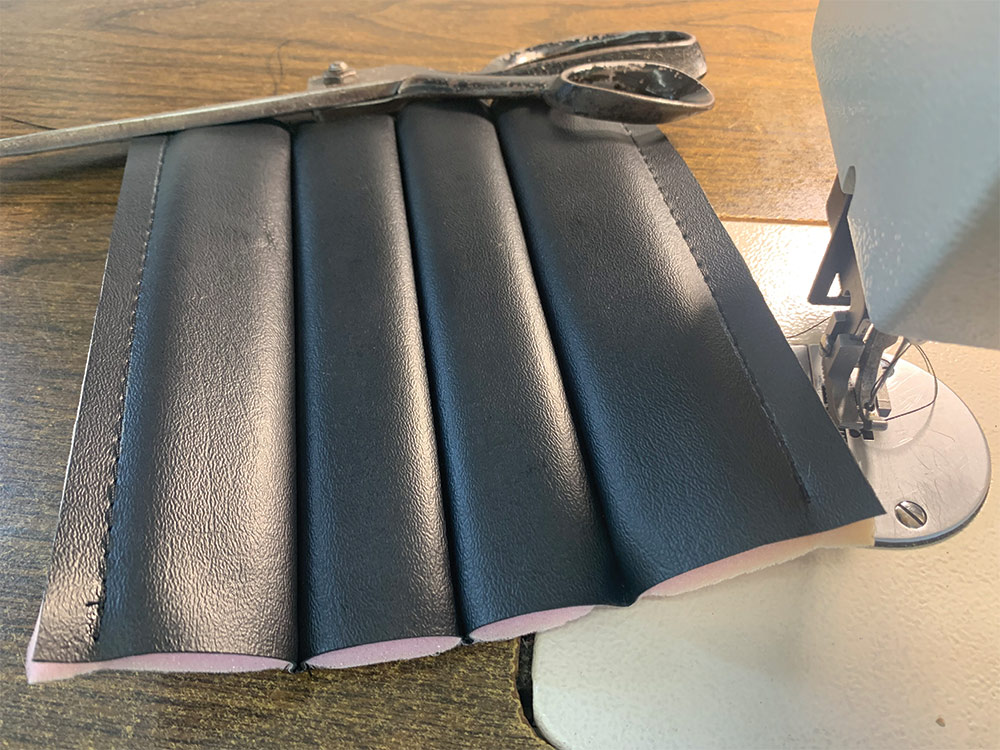
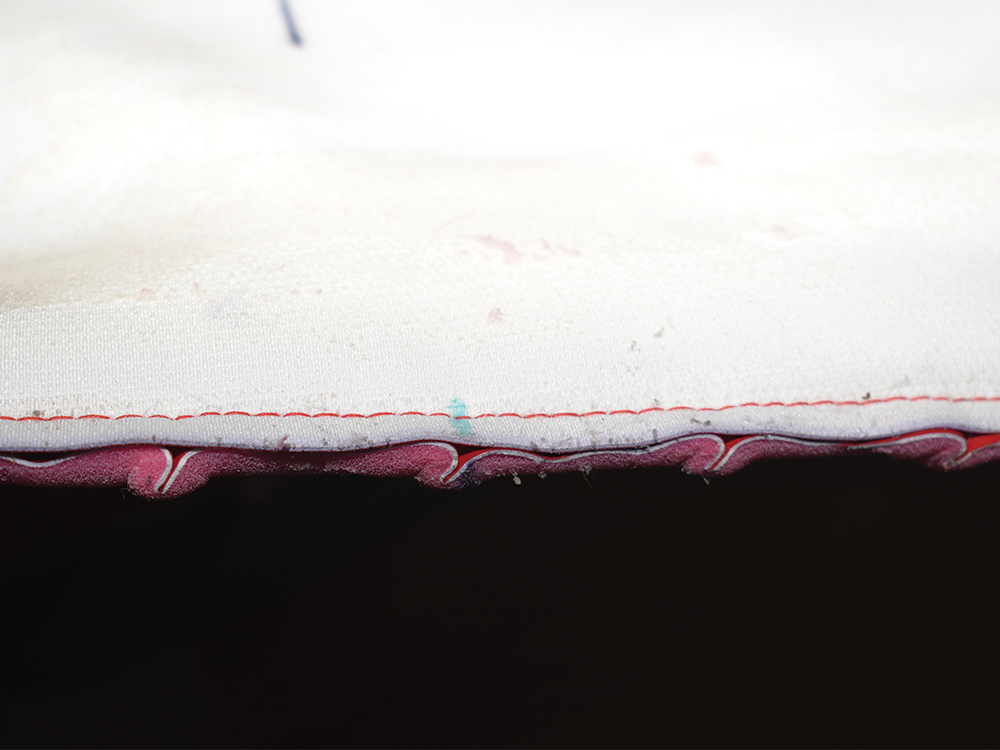
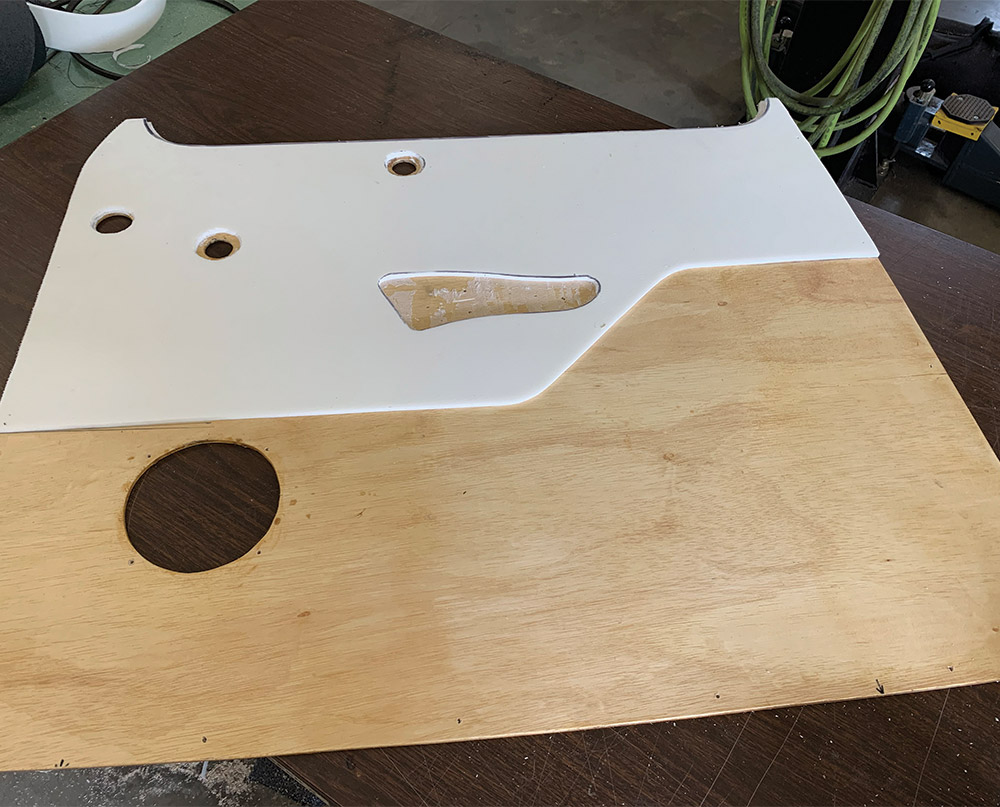
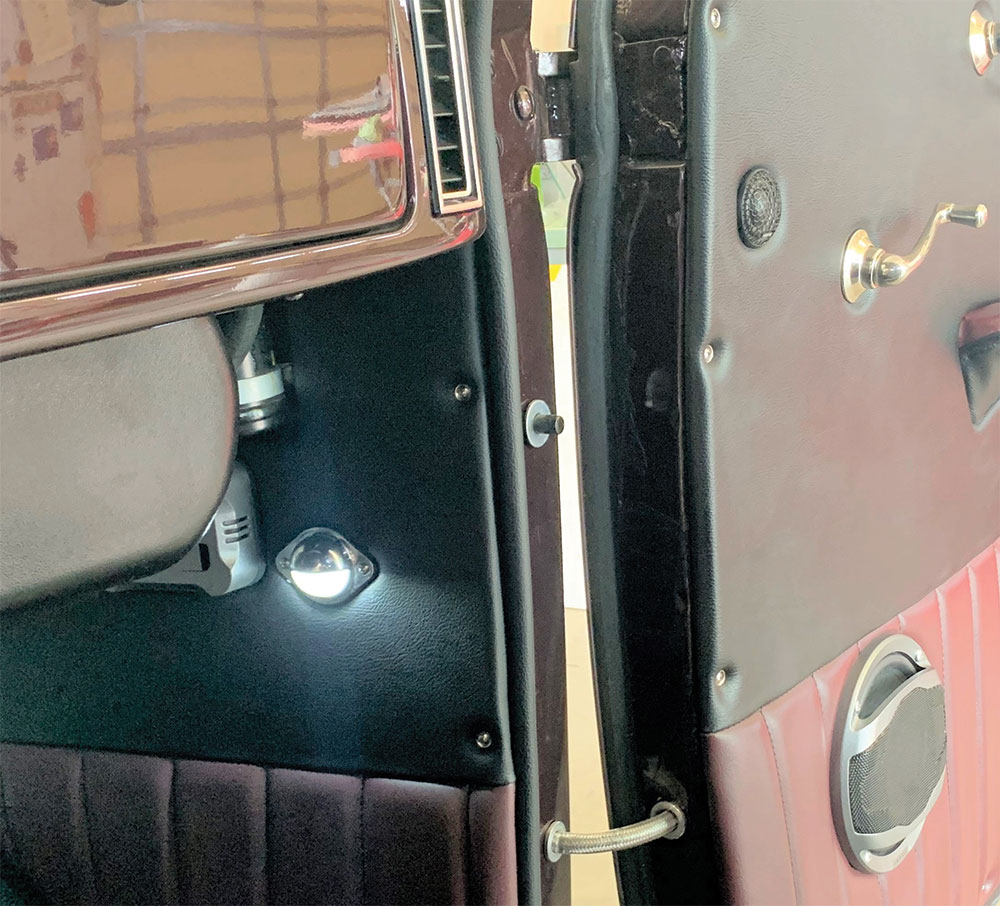
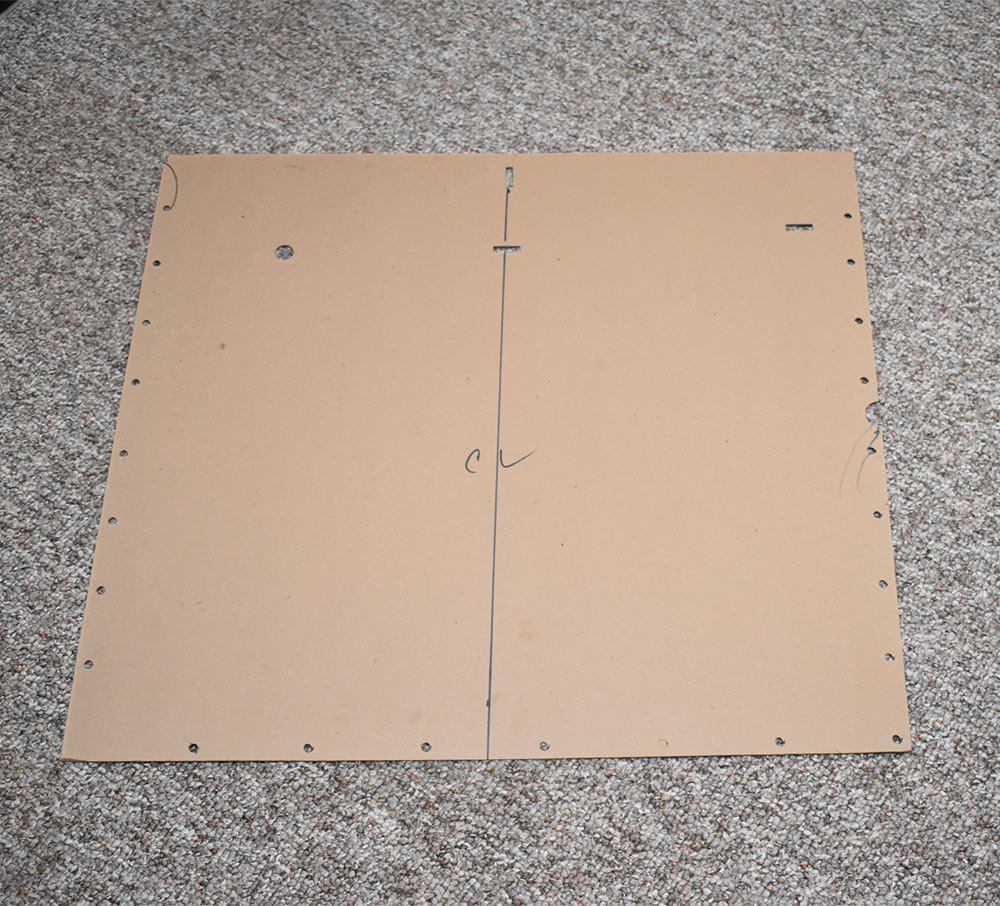
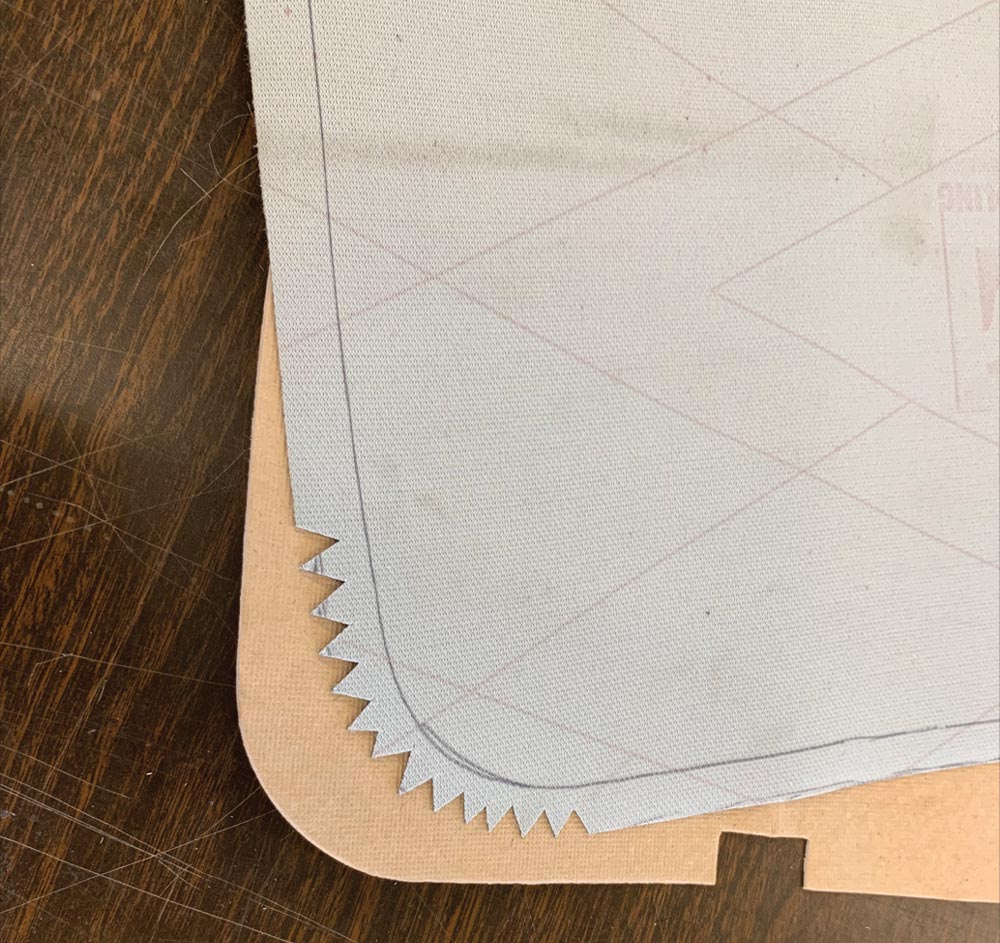
There are two basic methods of fabricating a flat panel, such as the door panel shown here. If the original upholstery is intact, it can be taken apart at the seams and used for a pattern. When making the upholstery panel from scratch, make a paper pattern (plastic also works) off the door, including all the openings for any handles. When measuring material for a flat panel, keep in mind that pleats, particularly the blind type, will “use up” material so make sure there’s enough seam allowance to wrap the upholstery around the backing it will be attached to (normally chip board, heavy cardboard, or Lauan).

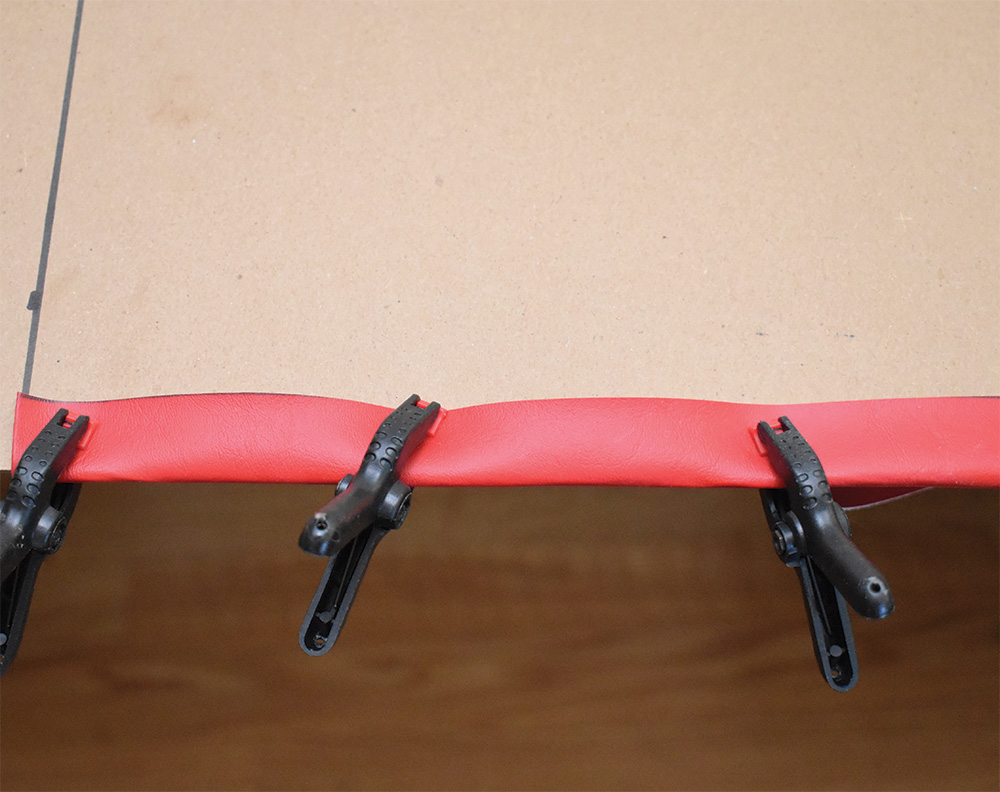
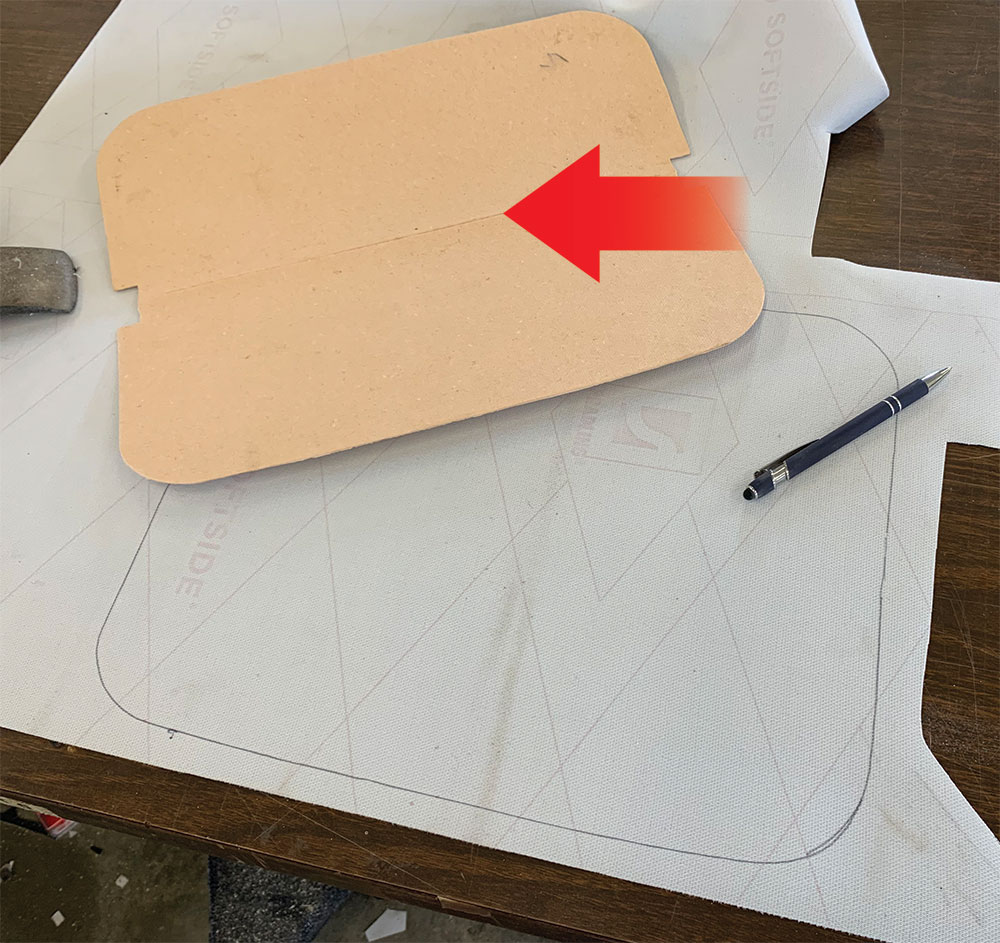
Once the fabric cover is completed, check the fit on the panel it will attach to—it may help to make chalk centerline marks on the upholstery and the panel. If the fit is satisfactory, the back of the fabric and the panel have adhesive applied. Lay fabric for the door panel on a worktable and spray adhesive to the back of it. With the material face down, lay the panel in place. Press firmly. Turn the panel over and smooth out any wrinkles. Finally, turn the panel over, wrap the material around the edges of the backing, and secure it with adhesive and staples, if appropriate. Cut any necessary holes, then trim away any excess material.

Upholstering your hot rod is rewarding in a variety of ways—you can be creative and let your imagination run wild, you’ll save a bunch of money, and perhaps, best of all, like John, you can say “I did it myself.”

Artisan sewing machine
2. This is a walking foot sewing machine. A good used machine can often be had for $500 or less; new machines go for around $700 to several thousand.
Closeup of needle mechanism
3. What makes a walking foot machine special is that it feeds material from the top and bottom, particularly beneficial when working with heavy fabrics and leather.
Paper mockup on door panel
4. Winter’s first step in making a door panel was to create a paper pattern. Note the location of the window cranks, door handles, speakers, and armrests are marked.
Paper template on wood sheet
5. The paper pattern is transferred to a sheet of 1/8-inch Lauan, often referred to as Mahogany doorskins at lumberyards.
Cut wood template test fit on door panel
6. After sanding the cut edges, the wood panel was attached to the door for a test-fit.
Wooden mockup of rear door panel
7. The sedan’s rear side panels were made with the same procedures used to make the door panels.
Coating wood panels with sealant
8. To protect the wood panels from moisture they were coated with polyurethane sealer.
Spool of bonded nylon thread B69
9. Bonded Nylon thread, B69, is perfect for most upholstery situations, 4-ounce spools have approximately 1,000 yards of thread.
Roll of scrim-backed 1/2" foam
10. Winter used scrim-backed 1/2-inch foam to make the pleats in the door and side panels.
Mocking up pleat lines on panel material
11. The first step to making pleats is laying them out on the material. Chalk is normally used to mark the lines to be sewn and quality shears are a necessity.
Stitching foam to vinyl
12. With the scrim side down, the vinyl is stitched to the foam.
Example of top stitching on vinyl
13. This is an example of a top stitch, which means the threads are visible in the pleats.
Pleats folded over and stitched together
14. Blind stitching is a little more complicated. From the back side the top stitched pleats are folded over then stitched together.
Closeup of pleats sewn together
15. Here the pleats have been sewn together. The visible thread is the bottom of the original top stitch that is now hidden.
Pleated foam with vinyl cover
16. The result of a blind stitch is the thread forming the pleat isn’t visible. Keep in mind, this procedure does use more material so plan accordingly.
Closeup of stitched edge
17. When a plain section of material is joined to a pleated section, they are placed “face to face” and then sewn together.
Seam between solid and pleated material
18. Unfolded after stitching this is what the seam between the solid and pleated material looks like.
Can of 3M Super 77
19. To attach the upholstery to the Lauan panels multipurpose adhesive is used. Available in spray cans, it’s normally applied to both surfaces.
Non pleated portion of wood door panel covered in foam padding
20. In this case Winter’s covered the non-pleated portion of the door panels with thin closed cell foam for padding. The lower section will have vertical pleats.
Material stretched over panel edge, glued and clamped
21. With the material properly positioned and glued in place on the front side of the Lauan, the material (without the foam backing) is wrapped around the edges, glued in place and then clamped.
Strip of staples
22. When foam is used it is possible to staple the material on the back of the Lauan panels. Just be sure the upholstery is thick enough so the staple doesn’t penetrate the material on the front side.
Panel secured to doors with chrome screws and cupped washers
23. There are several ways to secure panels to the doors and body. Winter prefers chrome screws and cupped washers for that vintage look.
Door panel pattern for Model A
24. This is a door panel pattern for a Model A. Note all the holes around the edge.
Spring clips for doors
25. The holes in the panel are for spring clips that fit into holes in the doorframe. They are hidden under the upholstery on the front side.
Pressboard replacement for new sunvisors
26. To make sunvisors Winter used pressboard replacements that will be folded in half; note the crease (arrow) indicating where this one will fold.
Trimmed material with relief cuts along corner
27. The material is trimmed to fit, leaving enough seam allowance to wrap around the pressboard. Note the relief cuts that allow the corners to be glued down without bunching up.
Can of vinyl top adhesive for sunvisors
28. For longevity Winter recommends using vinyl top adhesive when making replacement sunvisors.
Material pulled over sunvisors, glued and clamped
29. With the material attached, the visor is folded over the mounting bracket, glued, and clamped.
Both sunvisors finished
30. The finished sunvisors with no sewing involved. With the material attached, the visor is folded over the mounting bracket, glued, and clamped.
Finished front door
Finished rear door and seat
31-32. Winter carries the same design theme of using two different materials on the door panels to the rear side panels and the seats as well. The interior is clean, simple, and you can do it, too.
Modern Rodding

VOLUME 3 • ISSUE 25 • 2022