
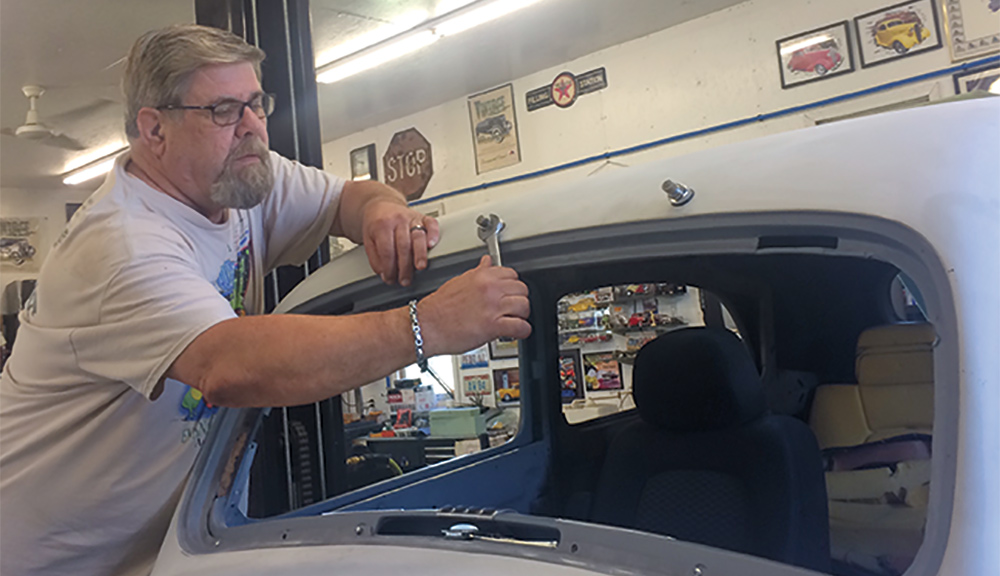
ell, Ol’ Man Winter is at it again. This time John Winter is updating his 1936 Ford with the New Port Engineering (NPE) (Washington, Missouri) Clean Drive Wiper Drive System. Within the original product line is the Clean Wipe System featuring mounting brackets, linkage arms, and wiper transmissions. It’s designed to operate on two wiper arms and blades in vehicles originally equipped with a single vacuum wiper.
There were several shortcomings on prewar American cars, most noticeably was the vacuum-operated wiper. When all things were in good repair the wipers were “OK,” yet should you find yourself in the middle of a “toad floater” or an “Alaskan drizzle,” throw in tired or worn vacuum lines and seeing the road ahead was more of a leap of faith than smart driving. How many times have you tried to drive around a rainstorm rather than drive through it? I’m guessing many of us have experienced the “slow-fast-slow-fast” rhythm of vacuum-operated wipers. It was fun when the wipers weren’t needed but extremely frustrating when you were counting on them.
NPE has served our industry/hobby for 30-plus years. Bob Galbraith, founder/owner, has attended the NSRA Nats since Peoria in 1970 and has not missed one since, followed closely by his wife, Linda, who began attending in 1975. NPE began in 1987 while the wiper motor (Clean Drive Wiper Drive) portion of the business began in 1988 and now offers 180-plus applications, which should translate into any street rodder being able to find a system that will work on his (or her) street rod.
Since street rods are supposed to be built to one’s desires, Winter opted not to get caught “out in the rain” and to make sure he had a modern-day solution for an age-old problem … the poor-performing wiper system. The NPE Clean Wipe Wiper System has a number of desirable features that turn driving in the rain to more about driving safely rather than white knuckling it home from your latest rod run.
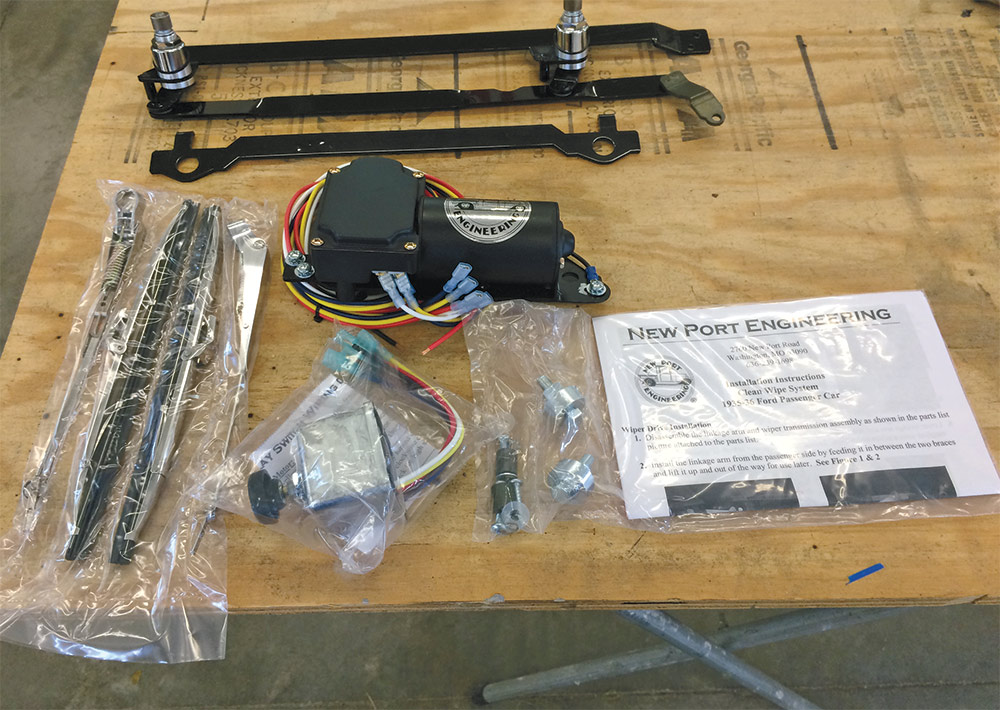
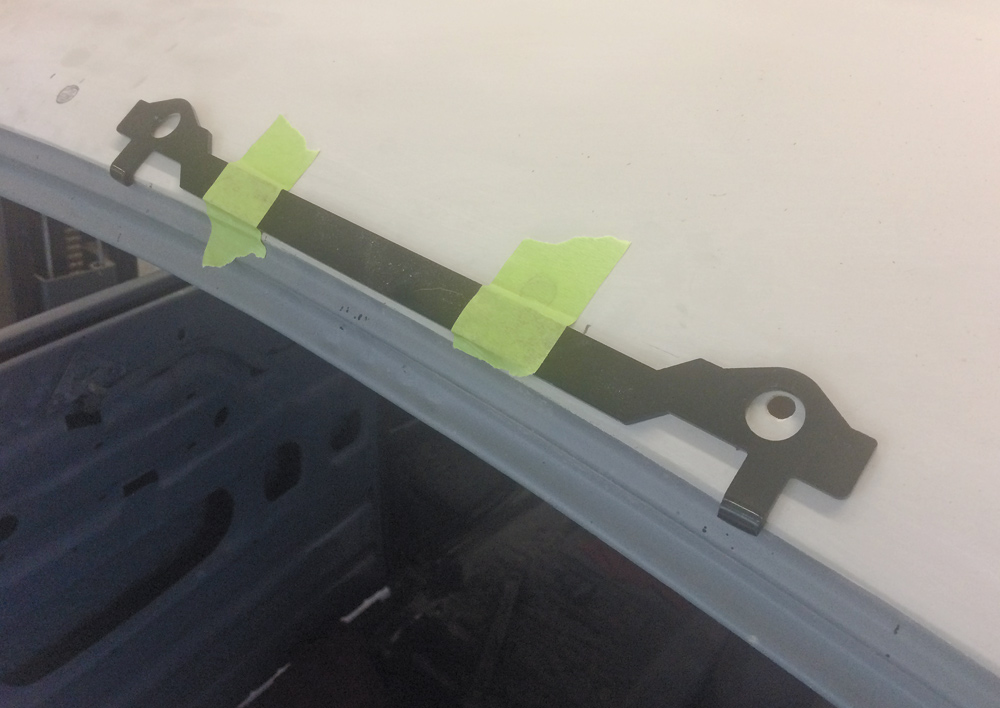
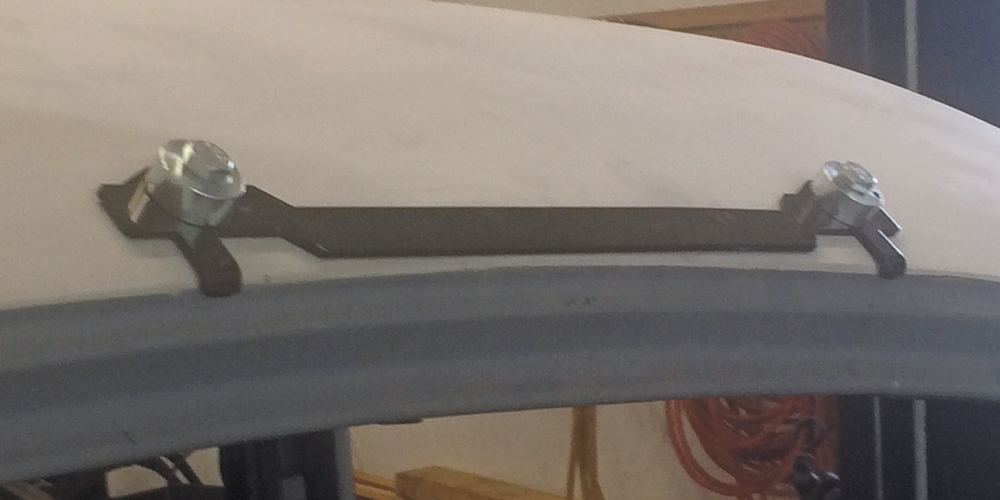
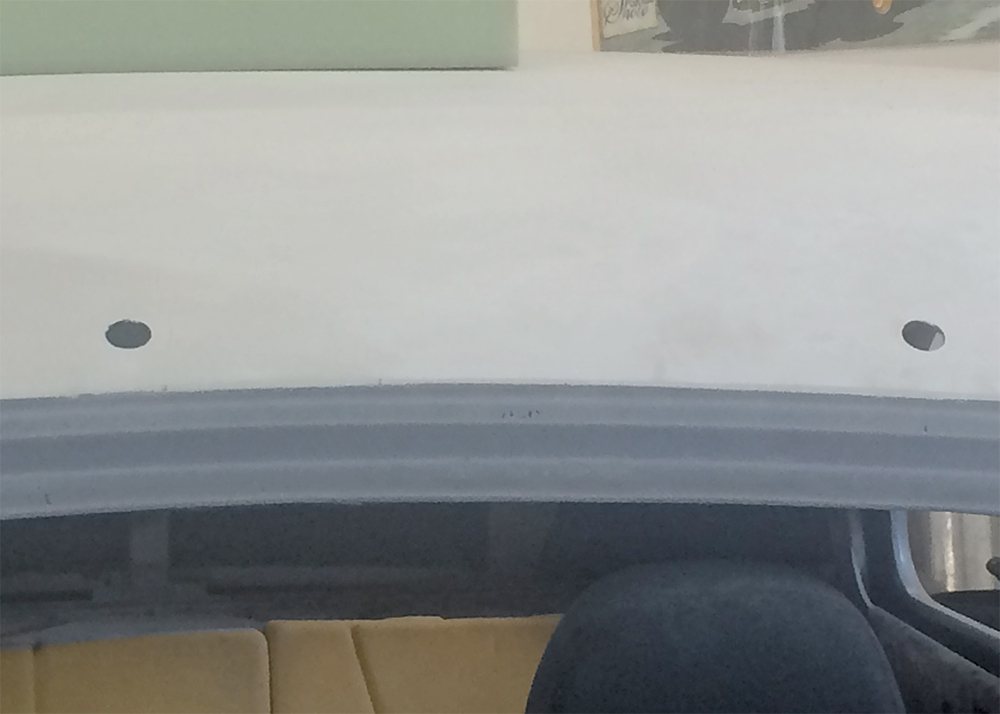
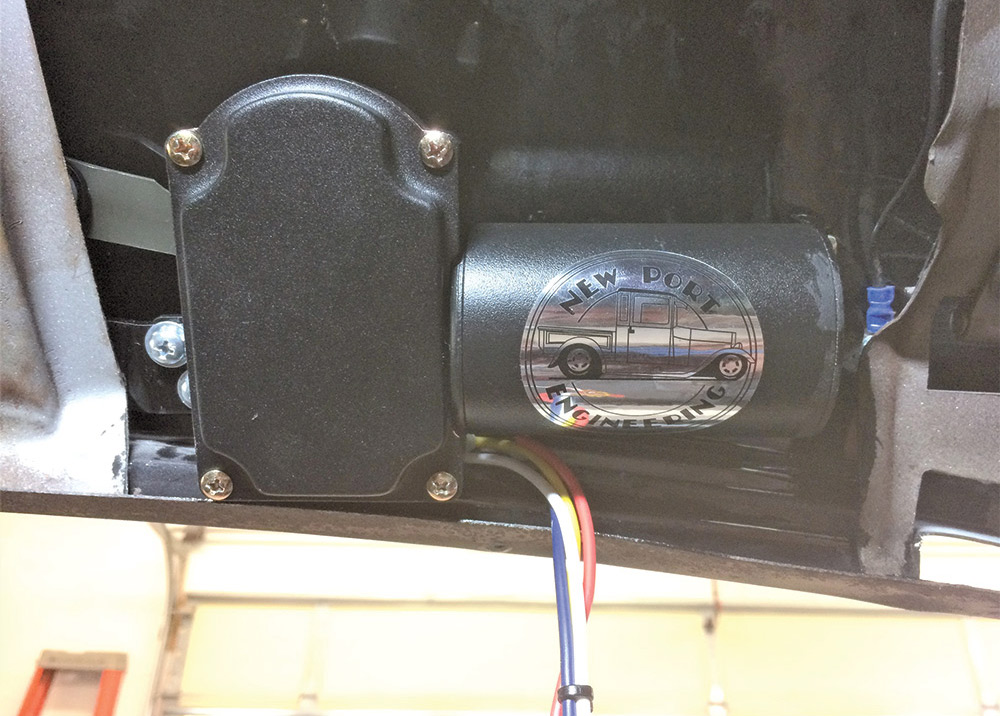
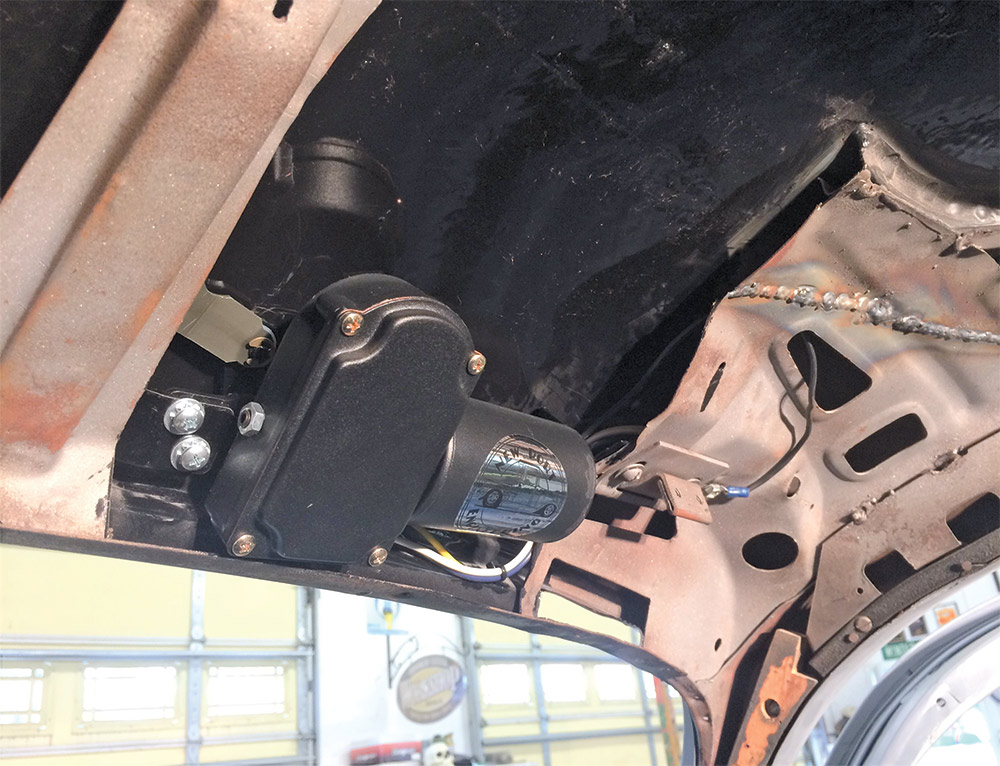
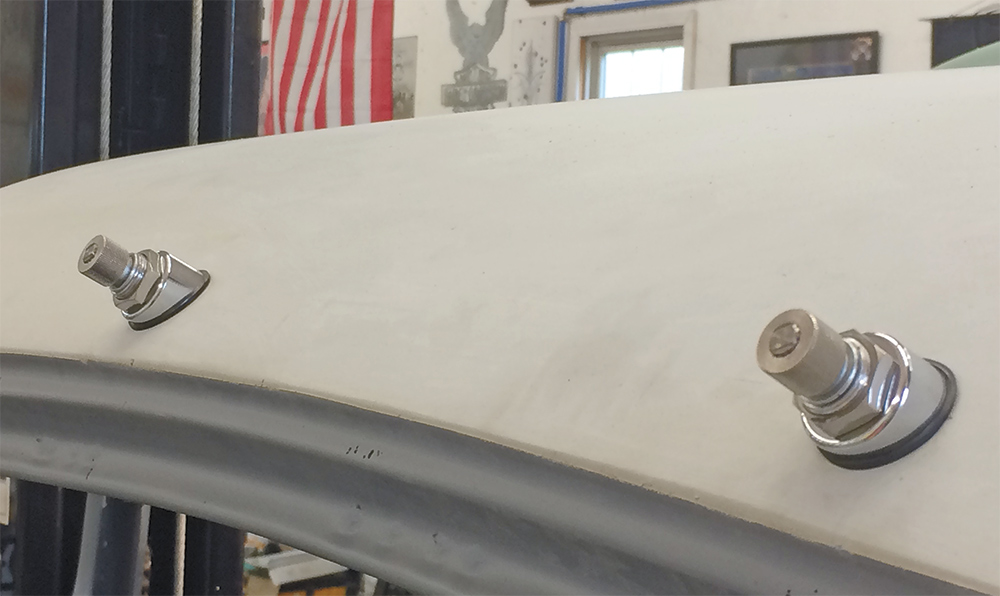
We chose system PN NE3536FP that comes complete with a new heavy-duty two-speed motor, linkage, and transmissions, as well as a pair of appealing polished stainless steel wiper arms and blades. NPE also supplies a drill-jig fixture to enlarge the original driver side hole and locate and drill the passenger side hole for the wiper arm mounting point to pass through the body. (More on this later but NPE will provide you with a T-shirt for returning, for recycling, the drill jig.)
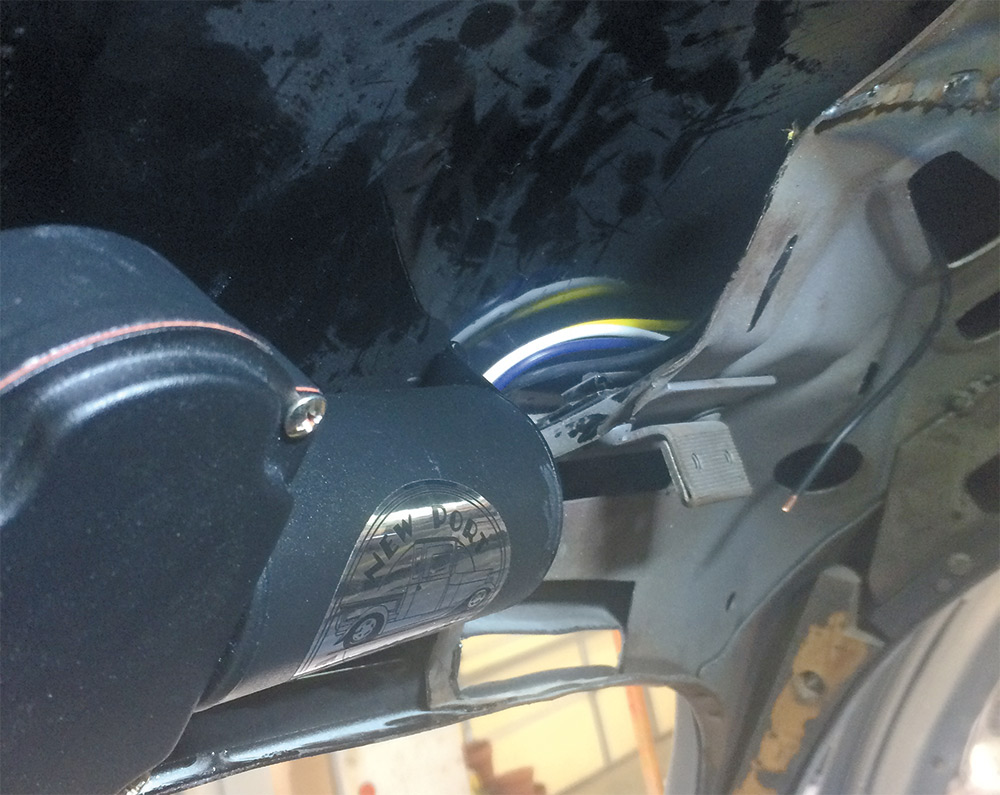
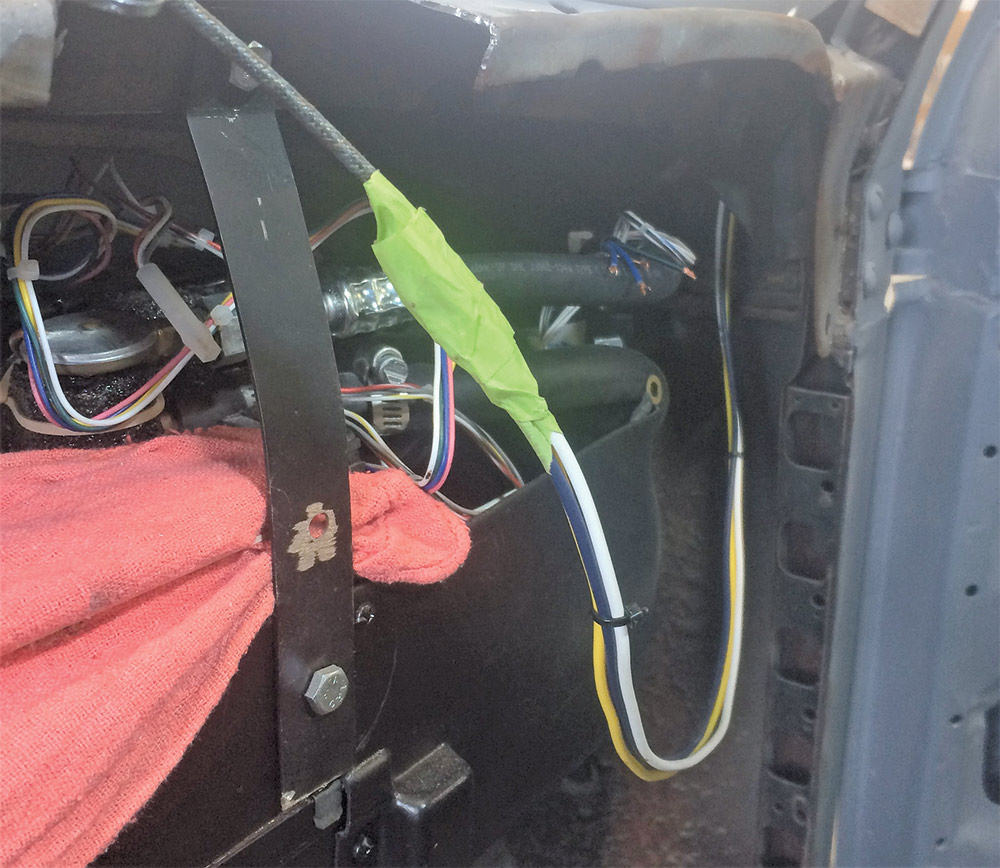
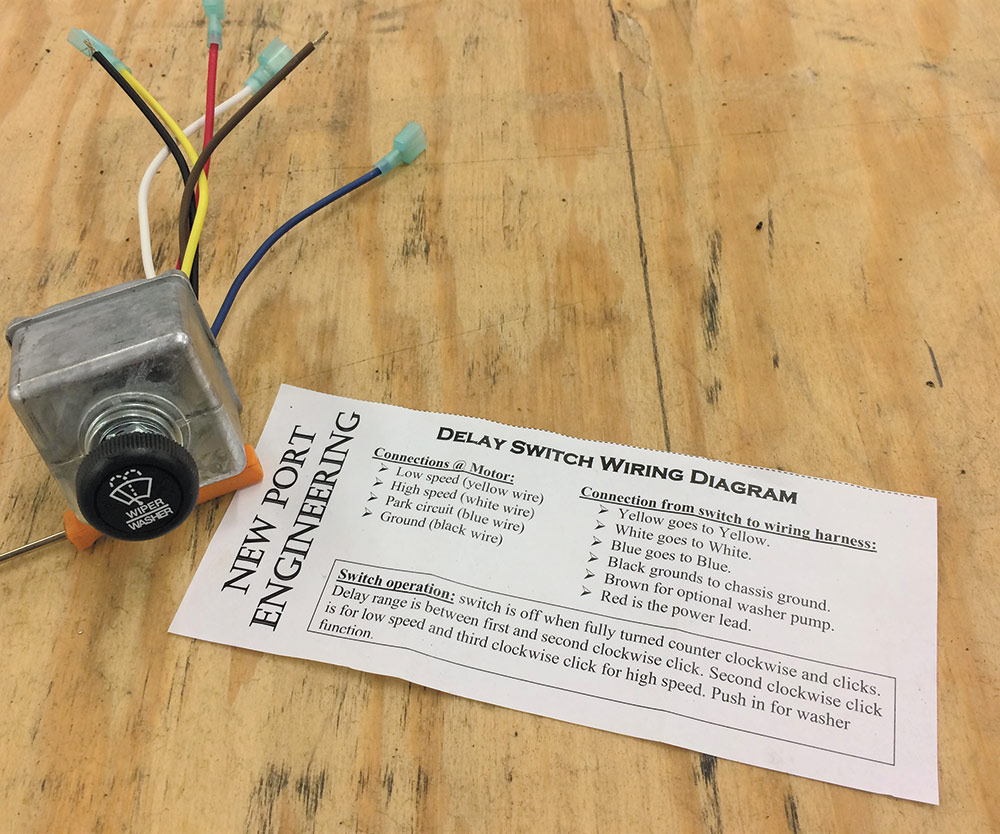
Remember, we have moved away from vacuum-operated so the NPE will require that you tap into your car’s 12V electrical system. Should you be using one of the many popular aftermarket wiring kits there will most likely be a dedicated fuse located in the main panel and the necessary wire for your new wiper motor. You can also take the “red” or “hot” wire from the wiper kit and run it to the accessory circuit breaker; maximum 6-amp fuse. The ground wire, in our case, was sent directly to a ground point on the body near the A-pillar.
In our specific kit for the 1935-1936 Ford it’s designed for a stock-height windshield using 10-inch wiper blades, yet should you have a chopped top there are optional adjustable arms and blade lengths; nice touch. Additional options also include a two-speed washer and wiper switch, intermittent delay wiper switch, and shaft extensions, all adding up to a touch of modern-day wiper operation. The required components are laser cut, CNC machined, and TIG welded in jigs and fixtures to ensure accuracy and consistent fitment for every potential street rod.
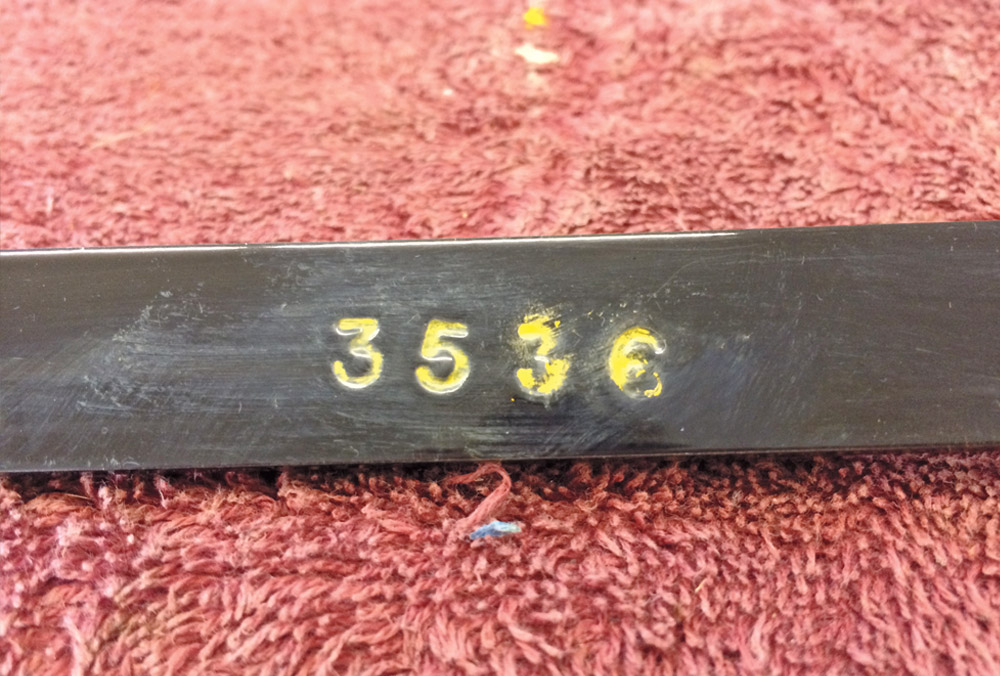
We mentioned earlier that a drill-jig fixture is provided for an accurate means of locating the necessary pair of holes drilled into the sheetmetal of the roof. The drill-jig plate also comes with two drill alignment bushings, two 5/16-18×1-1/2-inch hex head bolts, and two 5/16-18 hex head nuts. In our case since we are working on a specific make and model of car (1935-1936 Ford) make sure your drill-jig plate is stamped with an identification number (in our case “3536”) on the back side of the plate.
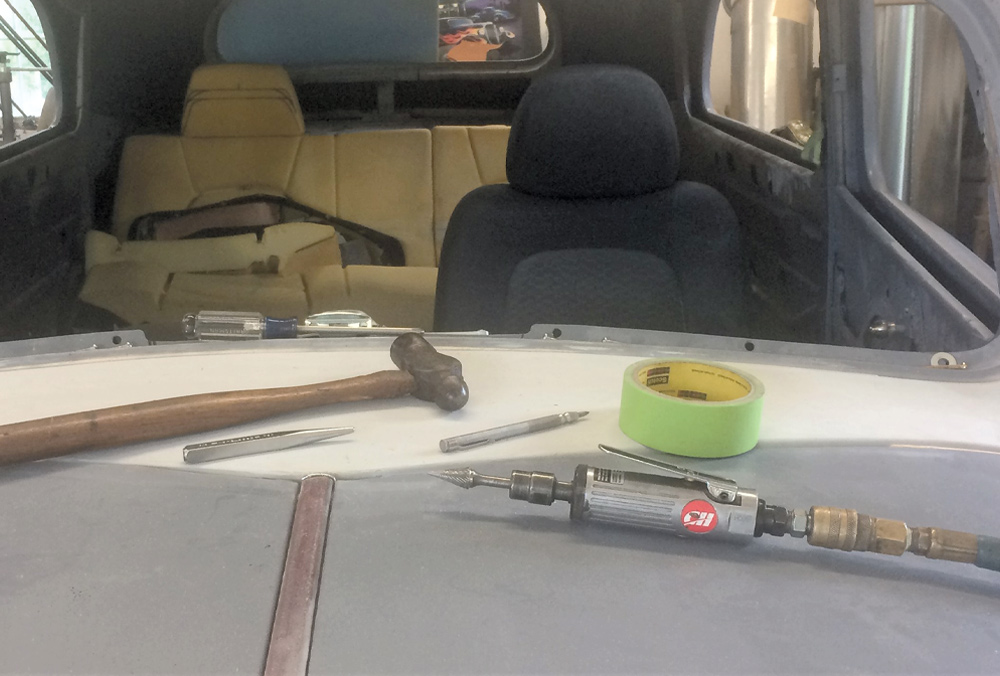
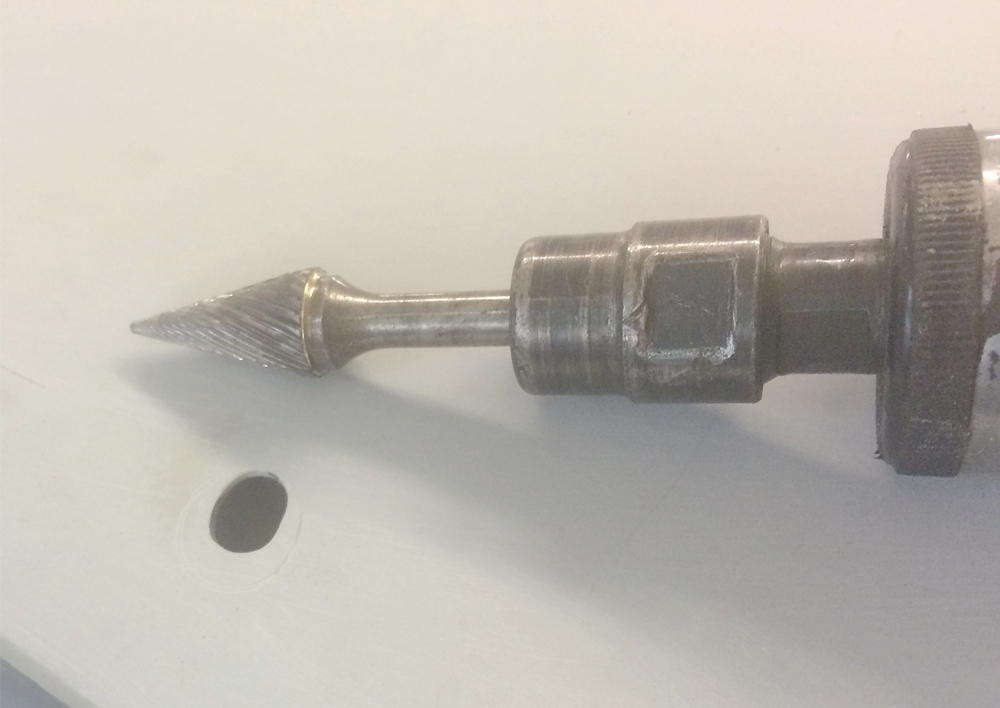
As for tools required to make our transition from vacuum to electric windshield wiper system it’s pretty basic. Break out your Harbor Freight toolbox and make sure you have a 5/16-inch transfer punch, 5/16-inch drill bit, a center punch, handheld drill motor, die grinder with a round file or unibit (step drill bit), and a scribe.
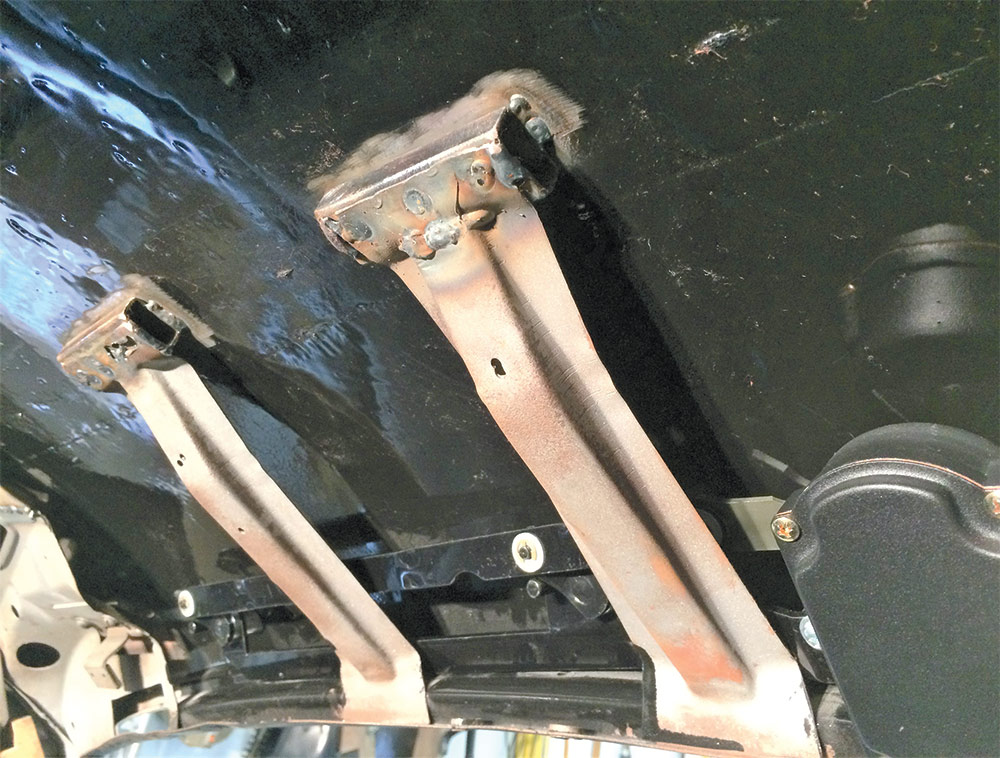
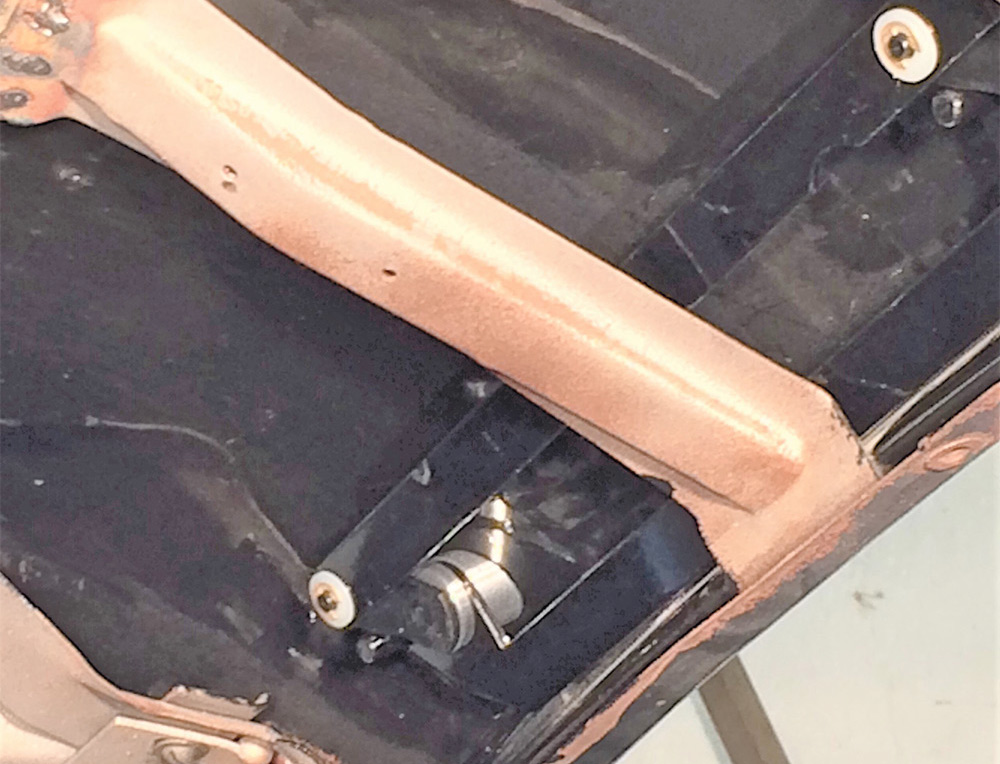
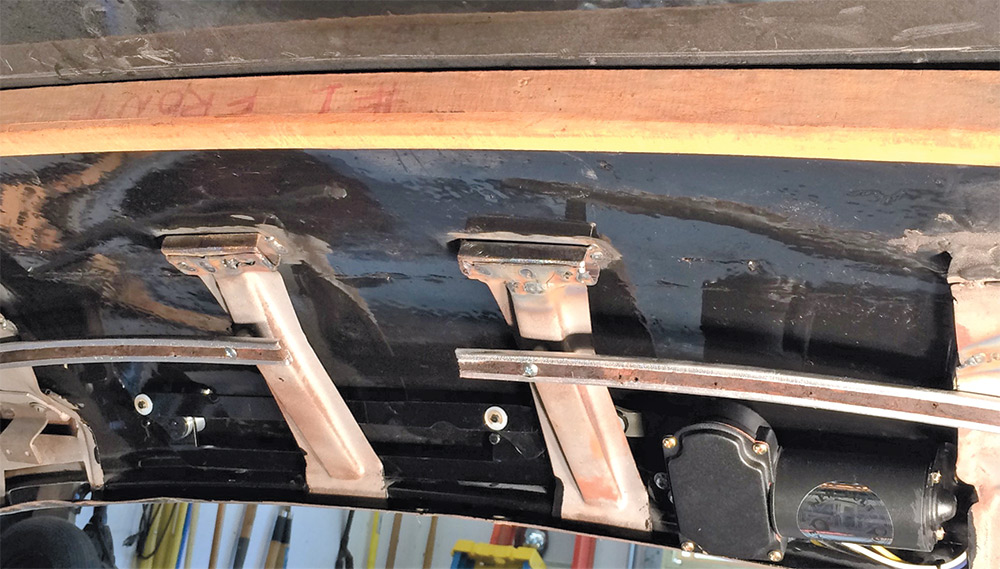
We did find that it makes sense and will save time and frustration to assemble the wiper transmissions and inner support sleeves via a dry run on your workbench. This will get you familiar with how the pieces interact, feel, and how it should operate when assembled. Once in the confines of the car’s header the space is limited and difficult to see and can be troublesome to work. It is helpful for you to be familiar with the components, where they go, how they fit together, and how they feel when you are handling them. We will follow along with Ol’ Man Winter as he installs his NPE Clean Wipe Wiper System on his latest project.
New Port Engineering
(636) 239-1698
www.newportwipers.com