Modern Rodding TECH

InTheGarageMedia.com

green Brookville ’29 Ford roadster
MAKING A MOTOR FIT
Reworking a Firewall and Floorboard can be Part of Making a Motor Fit
By Ron Covell Photography by Jason Scudellari
T

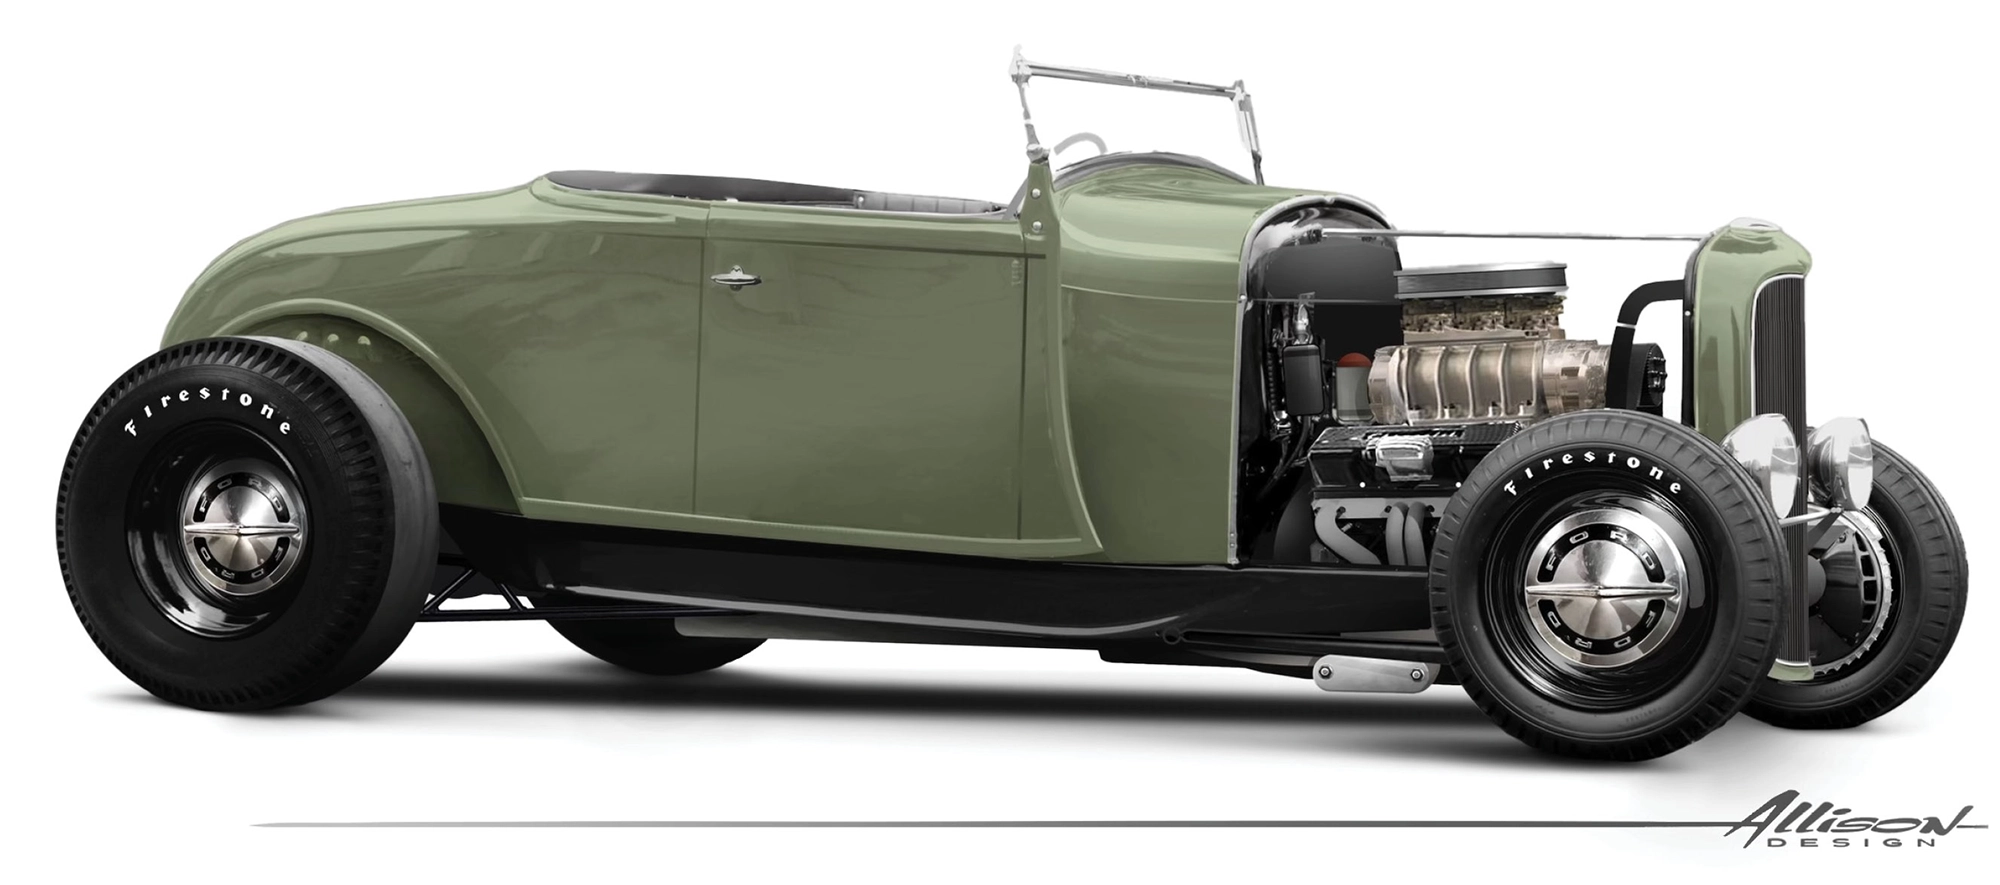
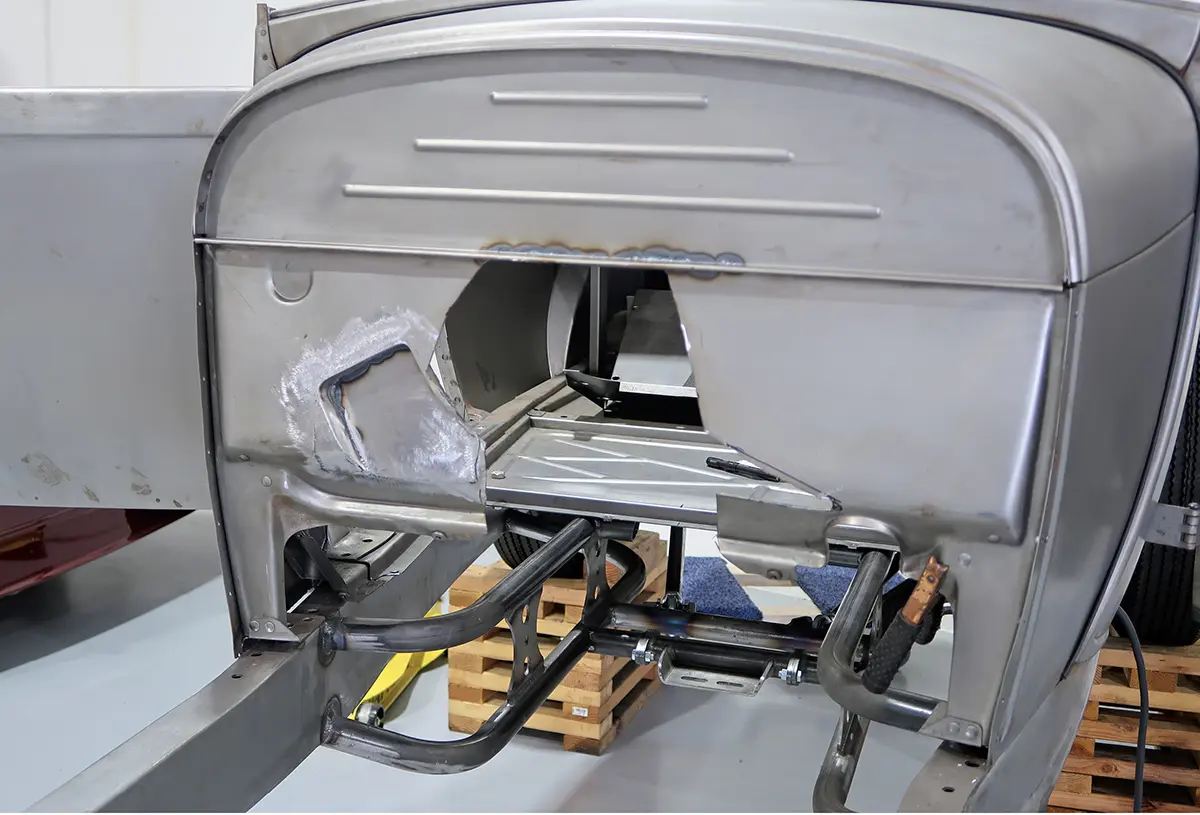
here are often some adjustments needed when cramming modern powerplants into early cars. In this article we will follow Jason Scudellari at the In The Garage Media Tech Center as he modifies the firewall, toeboard, and floor of his Brookville ’29 Ford roadster body (sitting atop a Speedway Motors chassis) to accommodate a small-block Chevy engine and a TREMEC TKX five-speed.

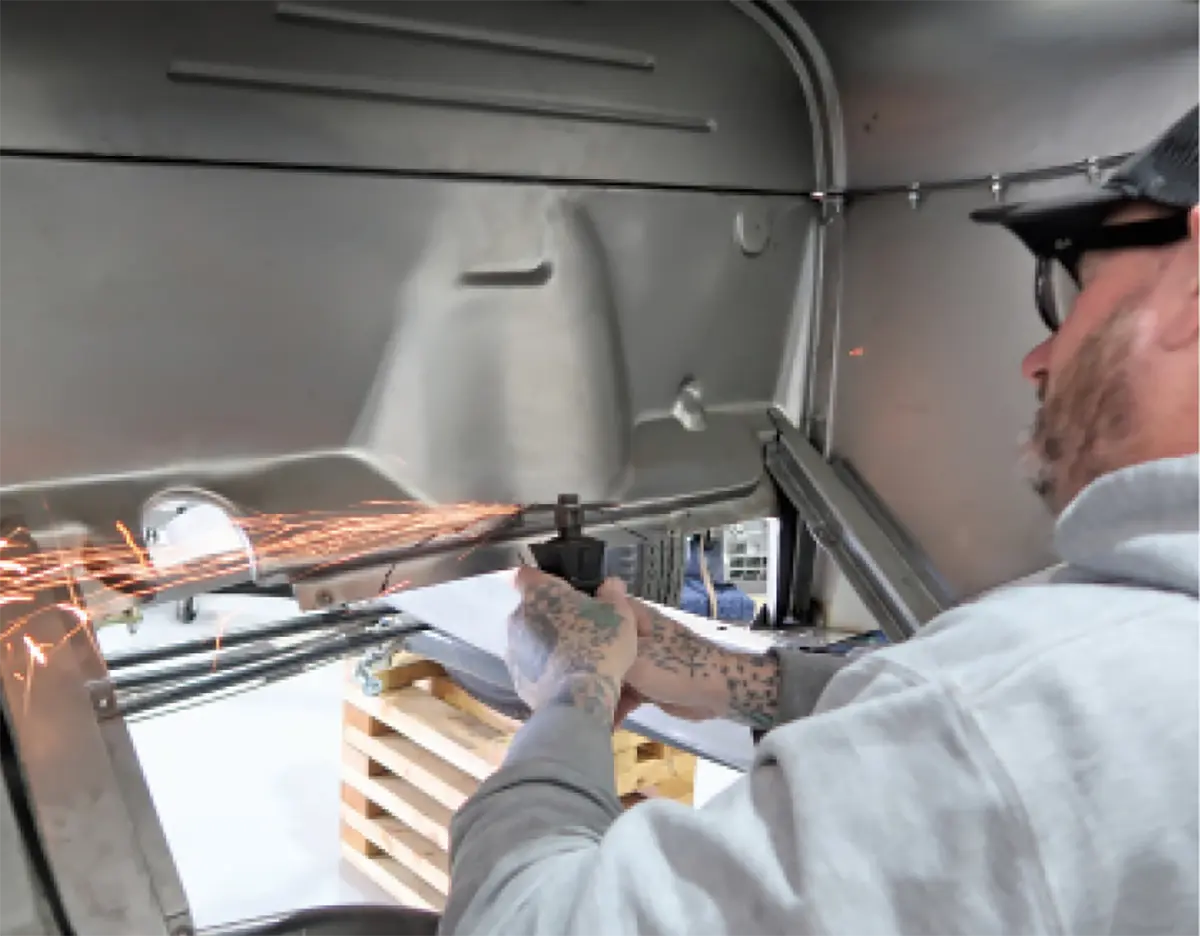
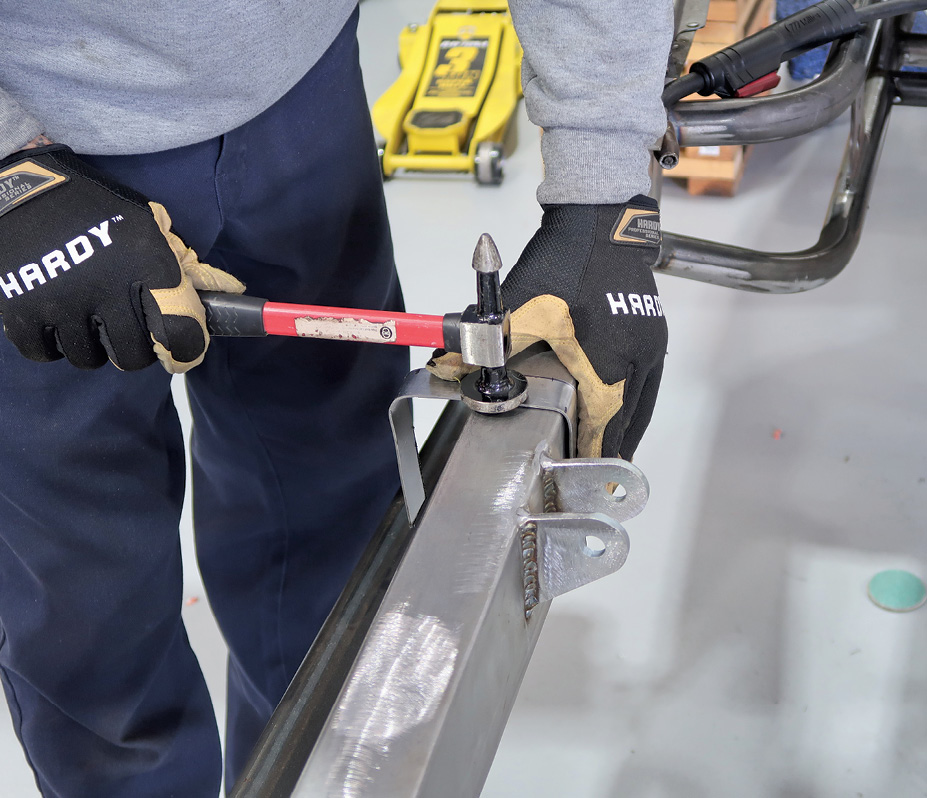
The back of most V-8 engines is knobby and convoluted, so it often makes sense to take an incremental approach, nibbling away at the firewall, toeboard, and floor until sufficient clearance is created. It’s usually a good idea to position the engine as far back as practical. This gets more of the weight transferred to the rear, and on early cars, extra room is often needed between the engine and the radiator so a proper fan can be fitted.

It’s worth mentioning that if you mount the engine back a lot, it does put more weight on the rear wheels, but it will reduce the foot room for the driver and passenger and make underhood engine access more challenging. Usually, finding a reasonable compromise is the best approach.

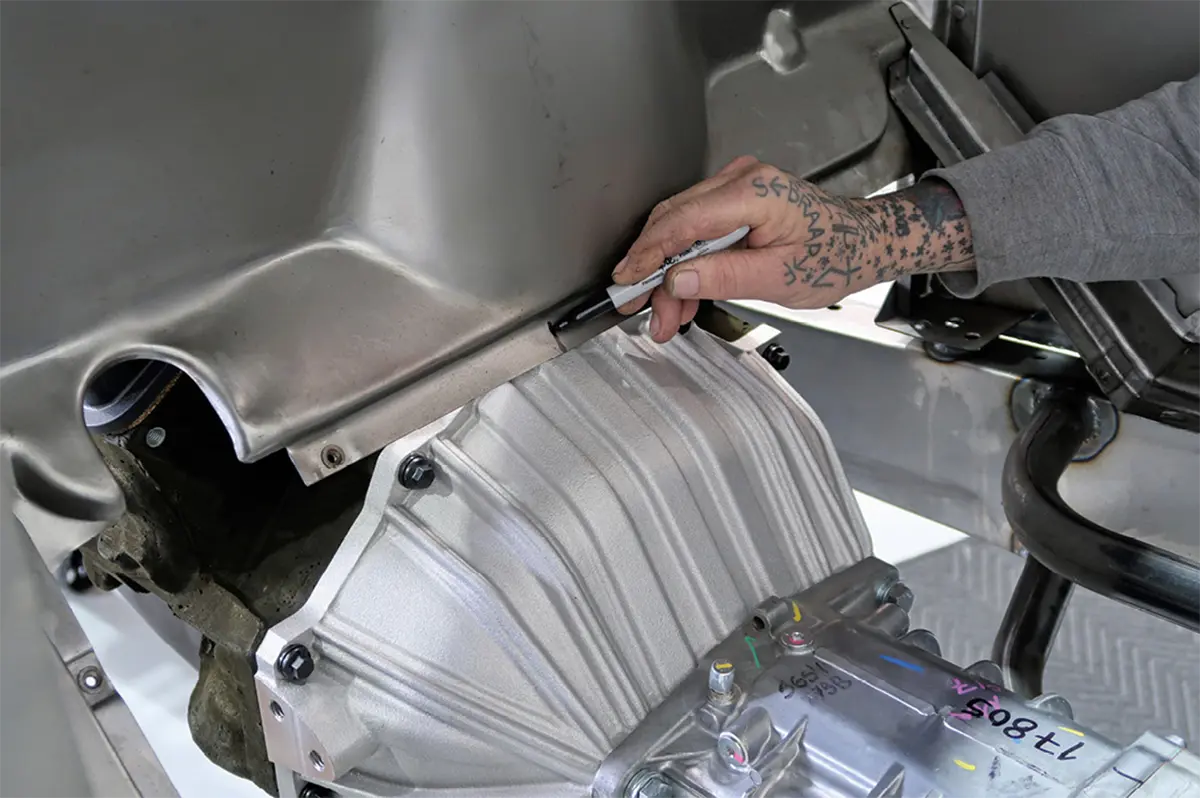
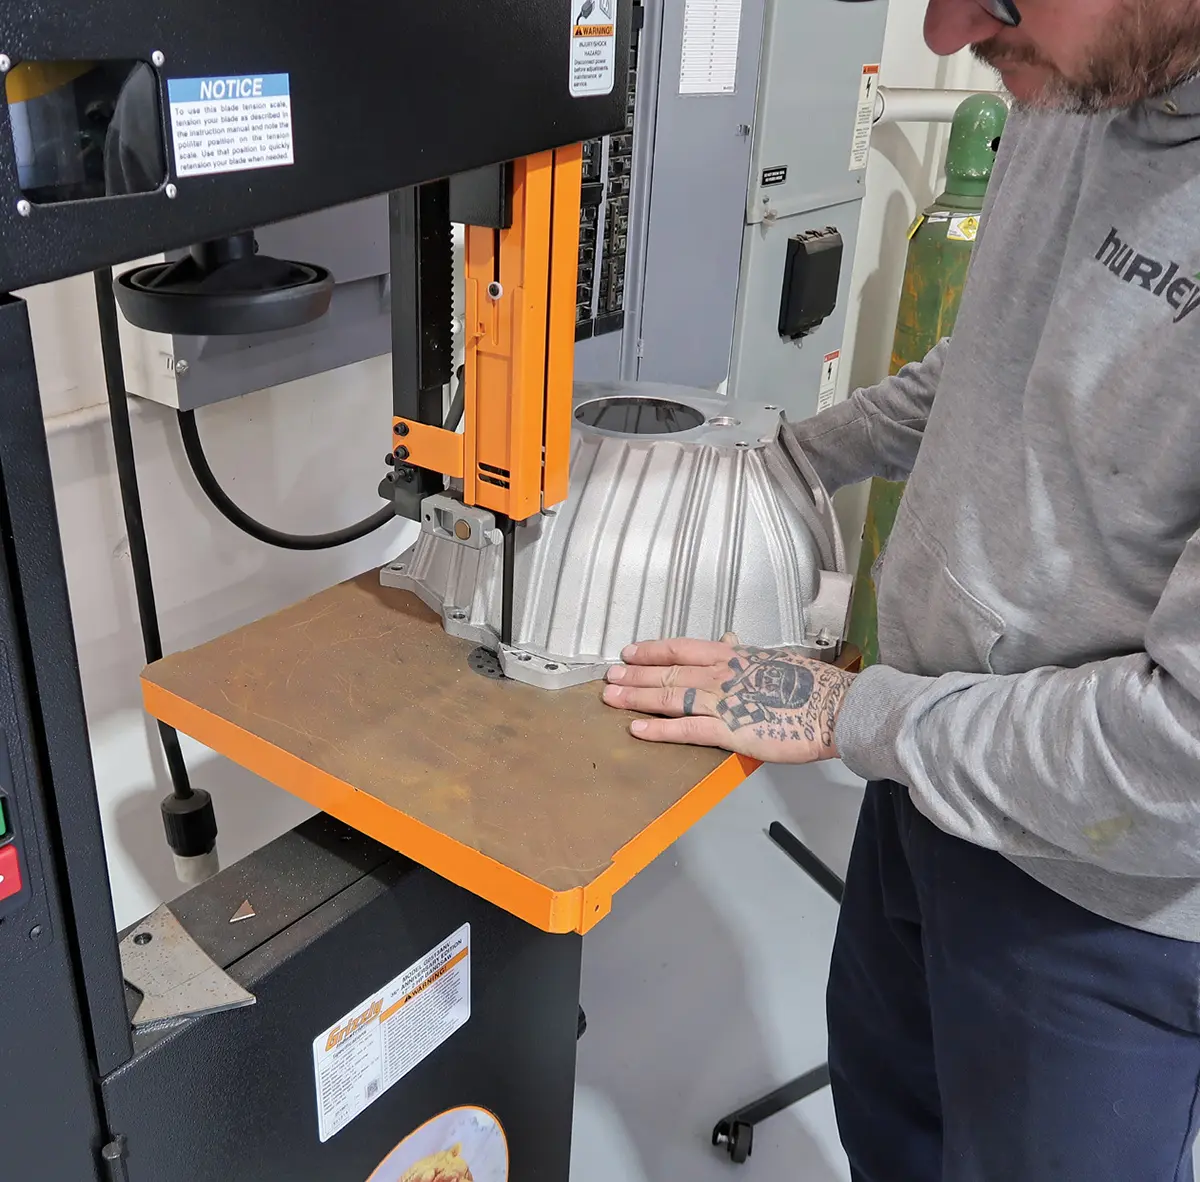
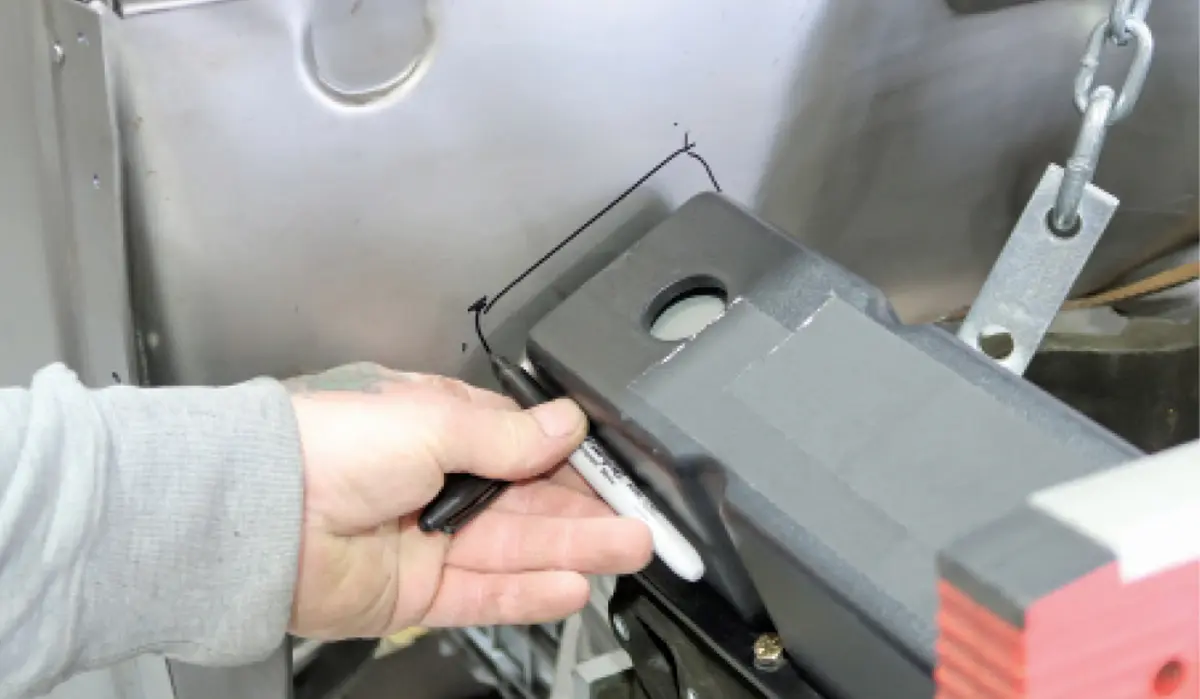
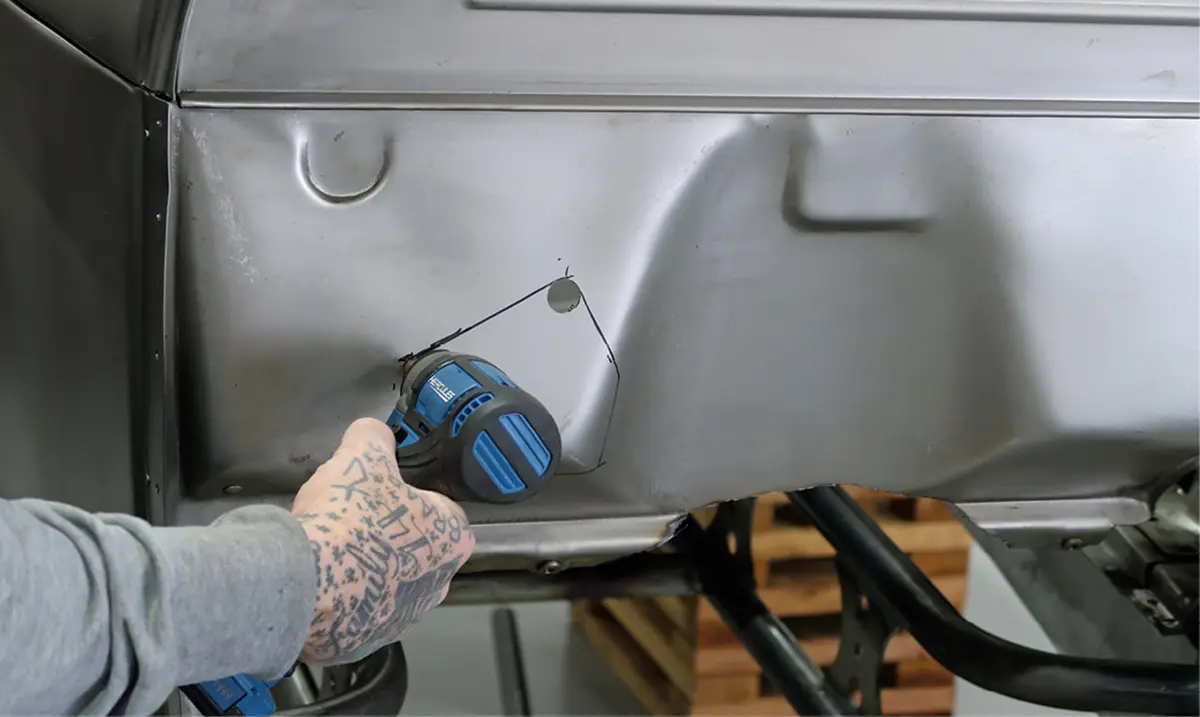
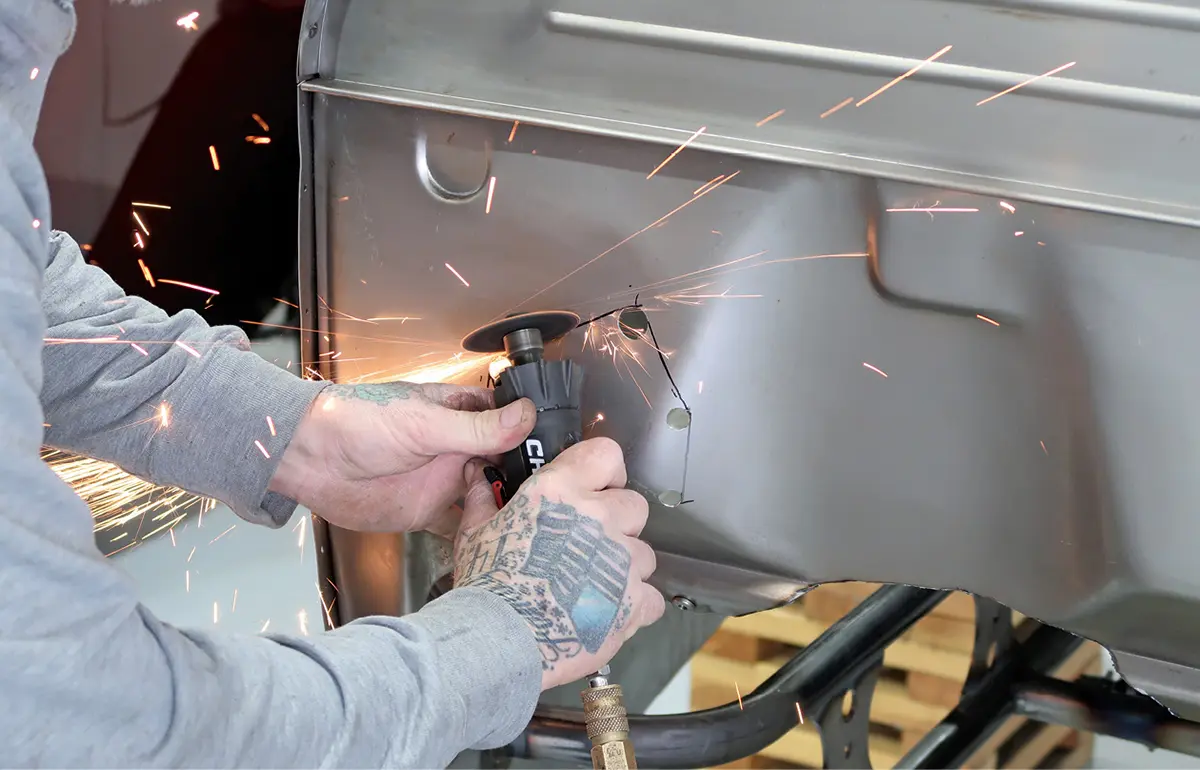
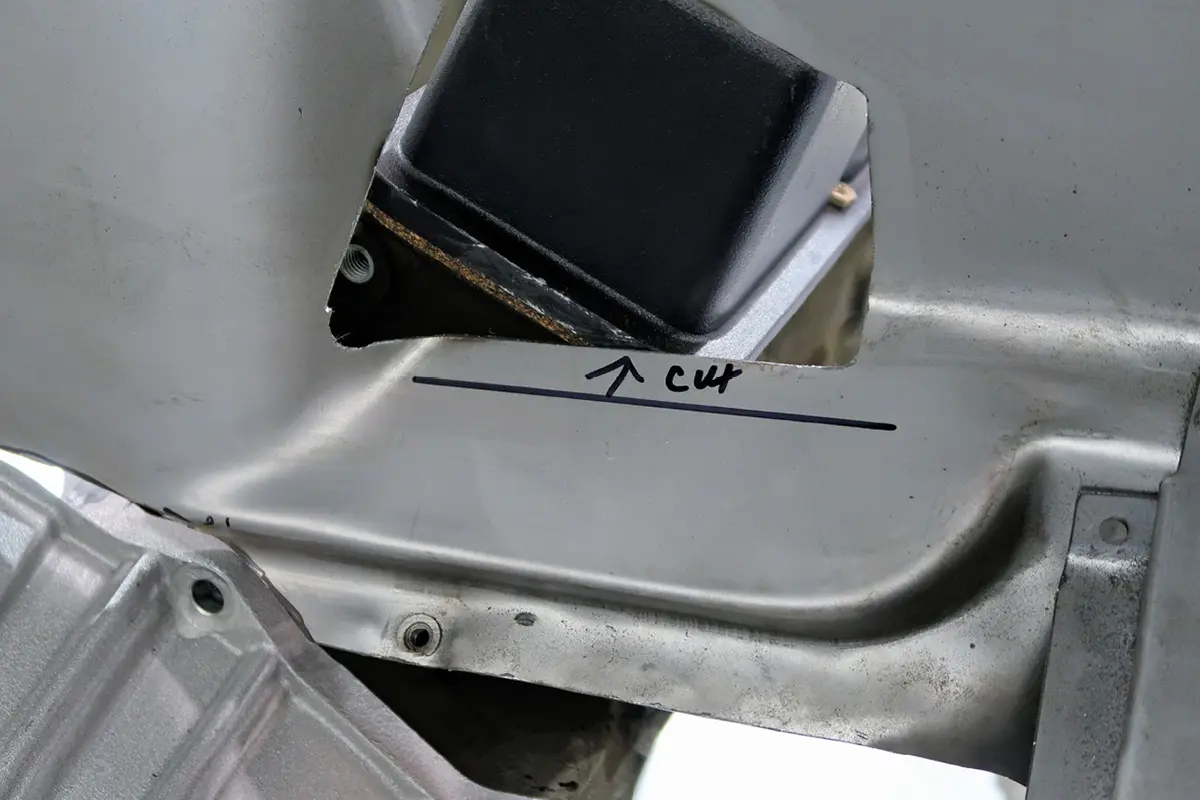
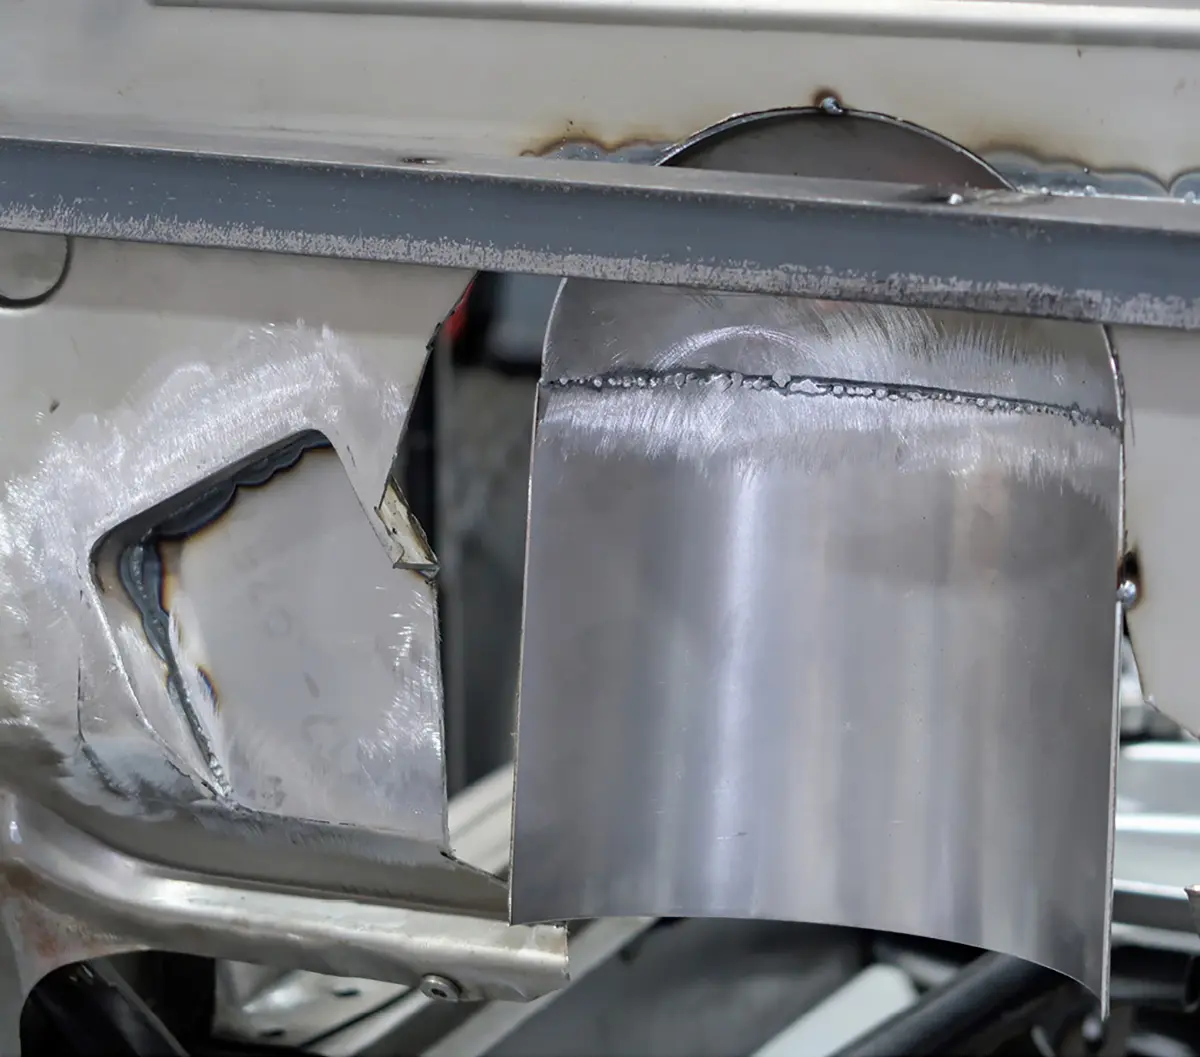
Scudellari had to haul the engine in and out of the chassis several times to get a good fit, and at one stage he removed the bellhousing and cut down the top mounting tab. That allowed the front edge of the bellhousing to be traced against the firewall for one of the first trimming operations. The best results come from going slowly and surely at this stage. You can always fill in any areas that were inadvertently cut oversize, but it’s best if you can get it right the first time.

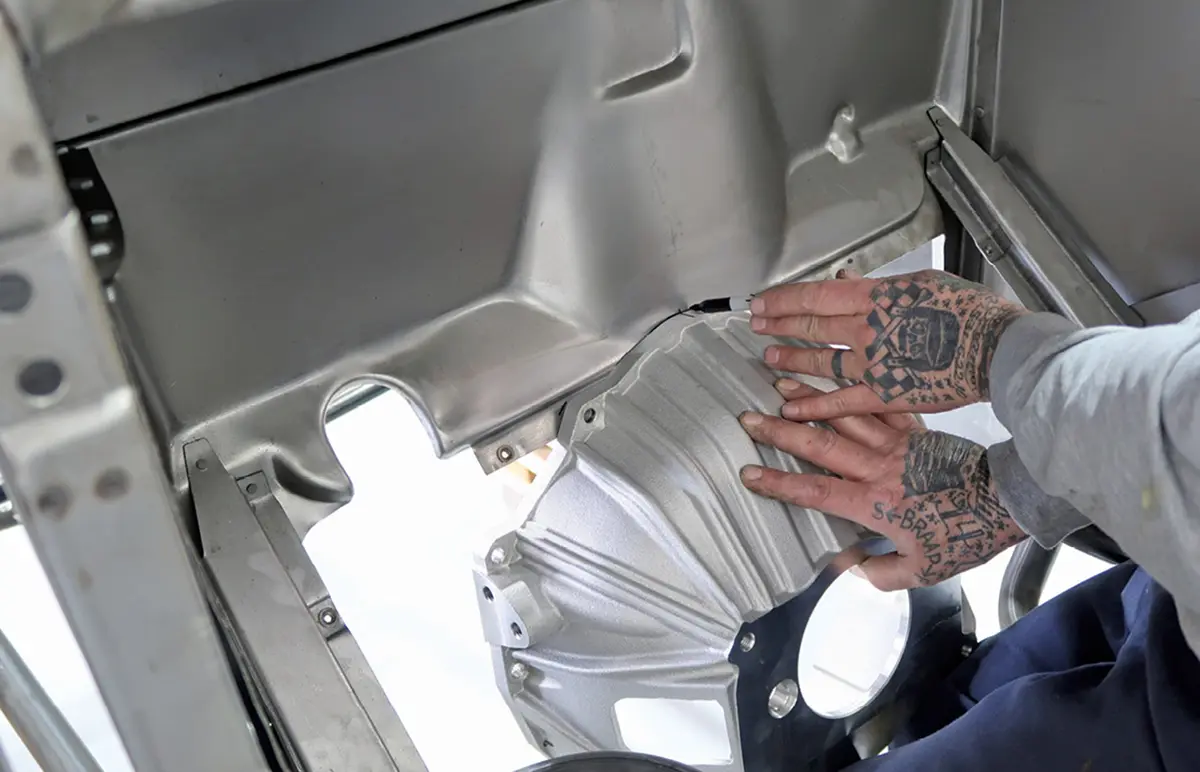
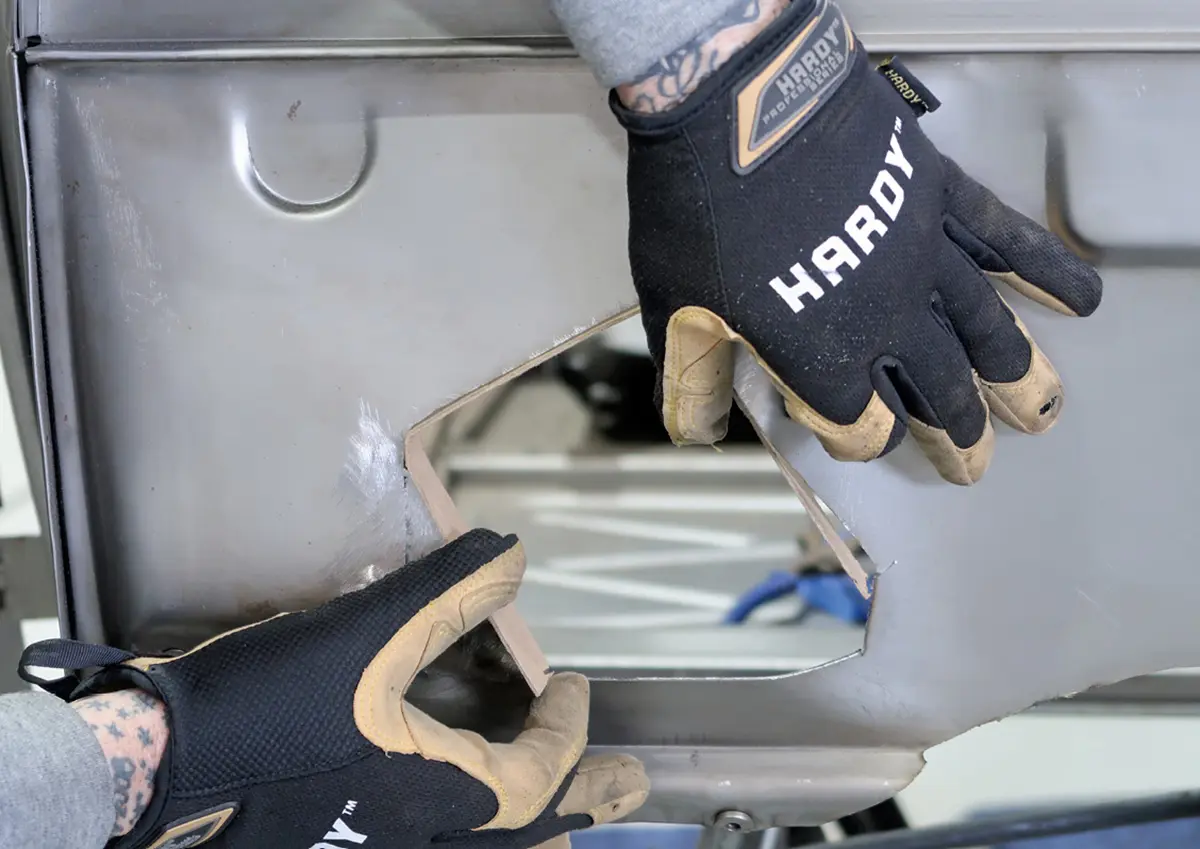
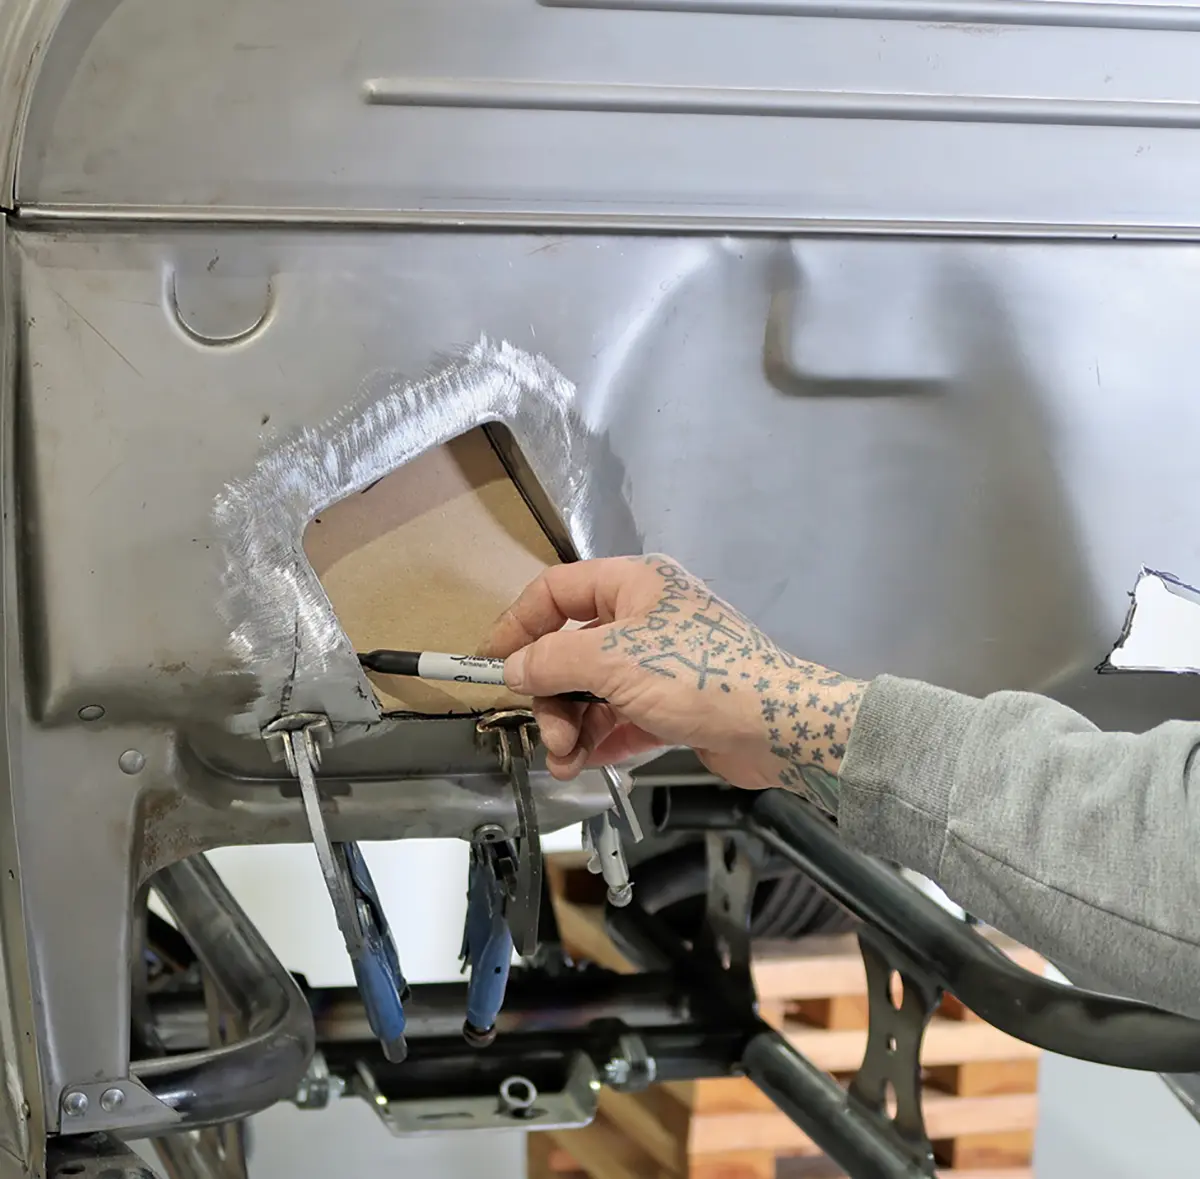
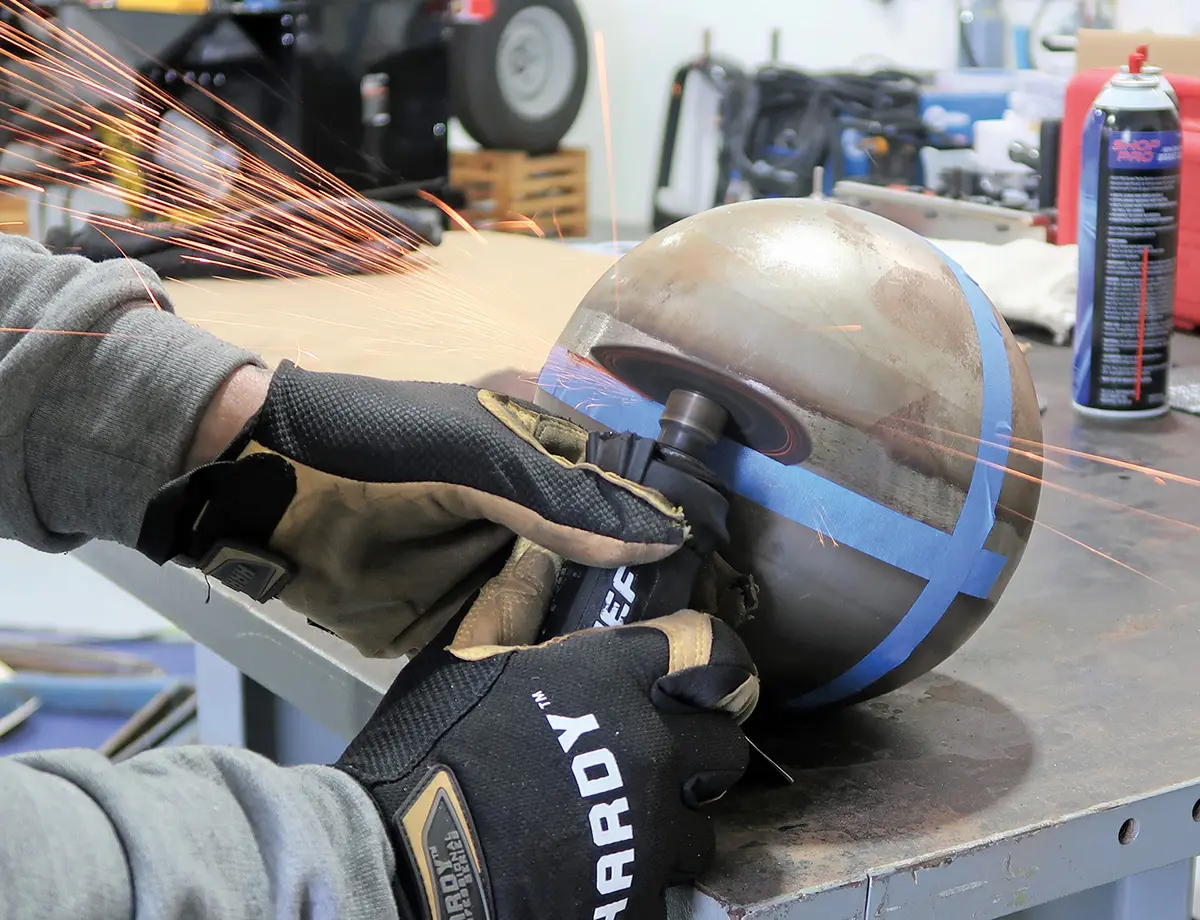
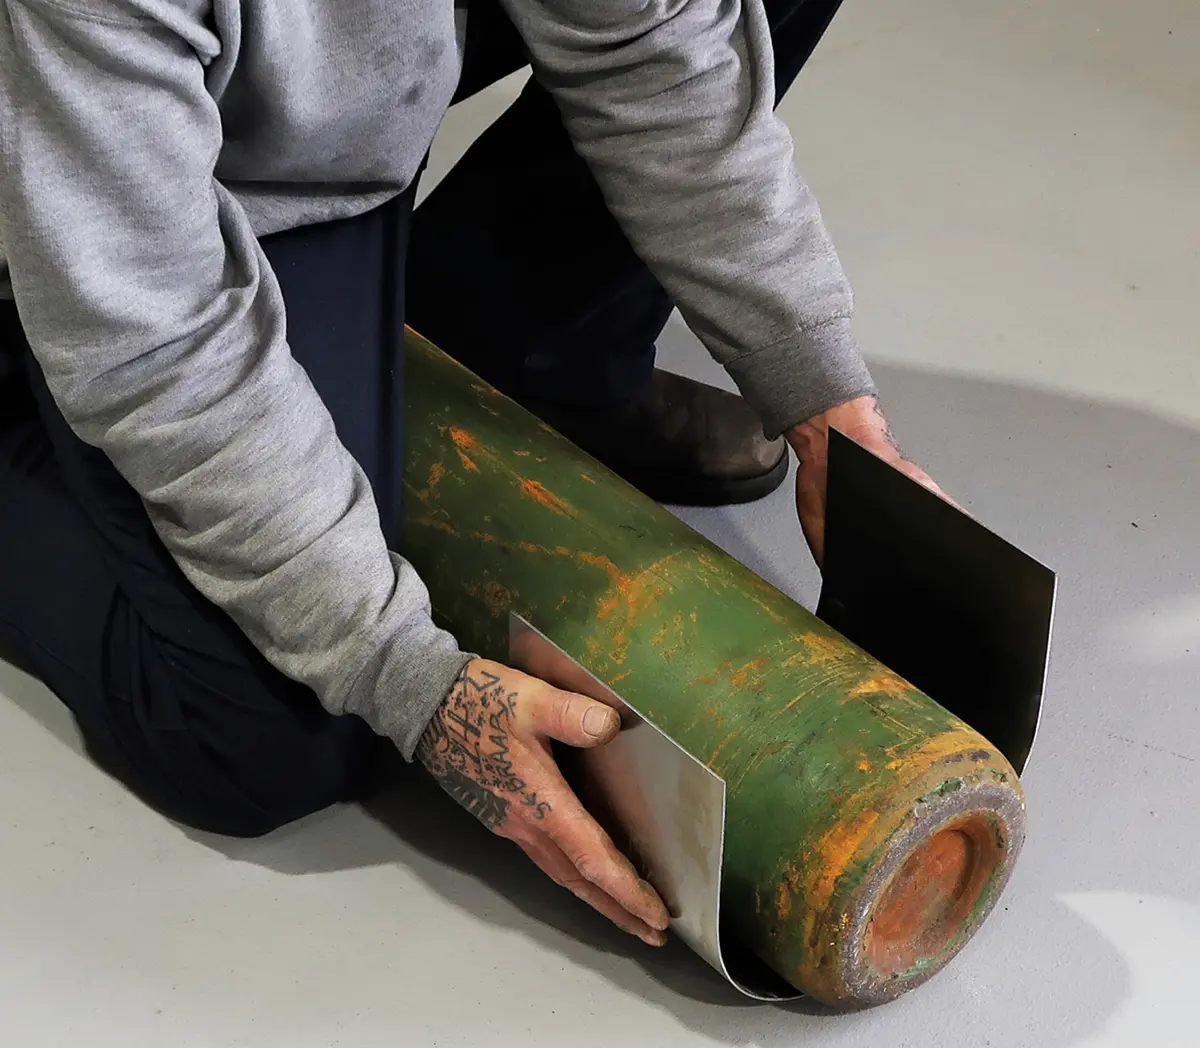
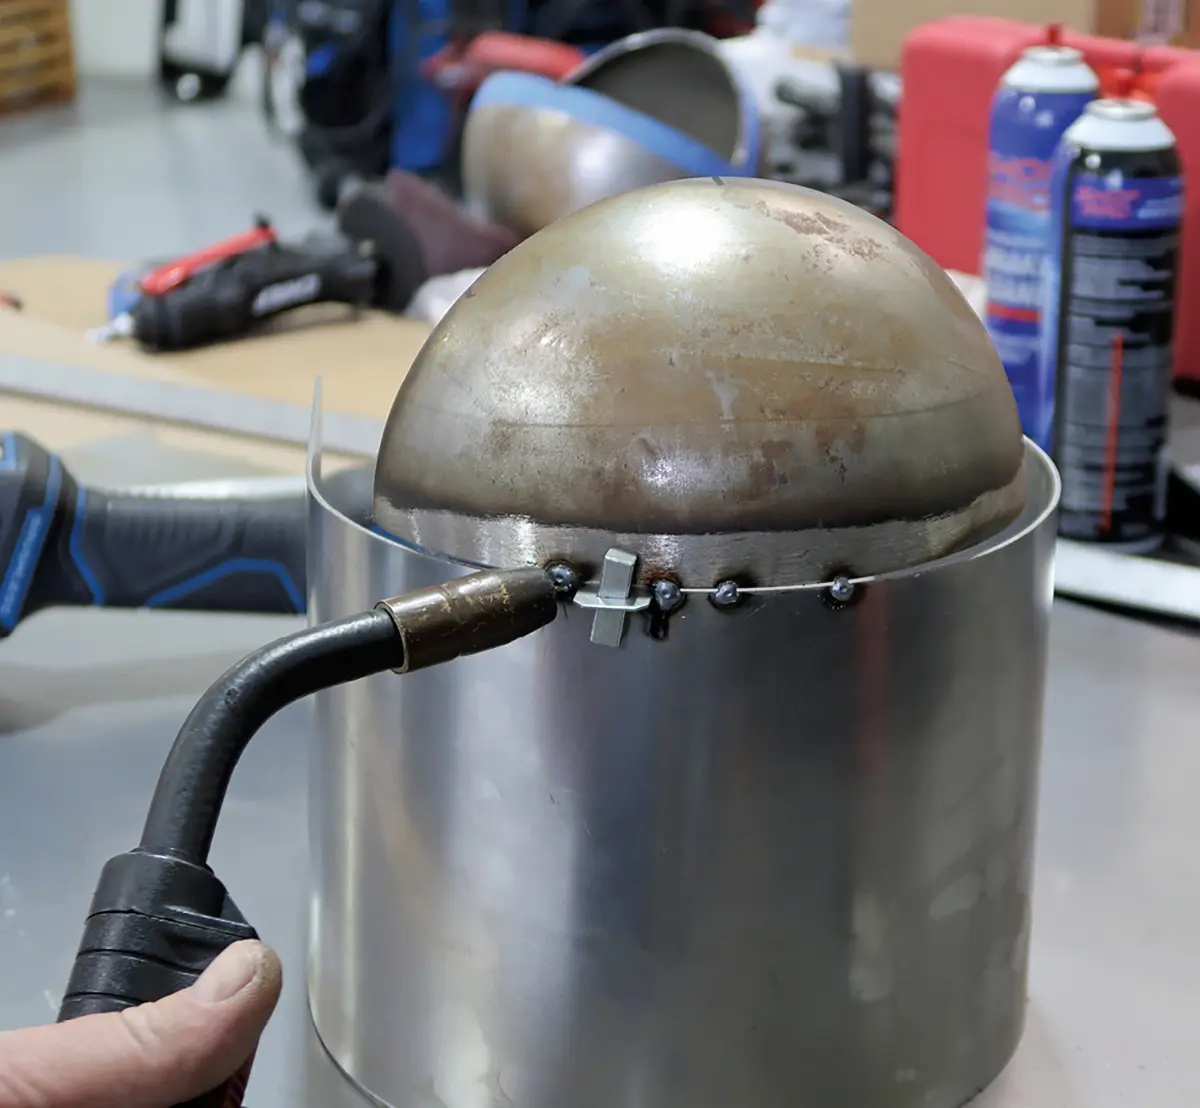
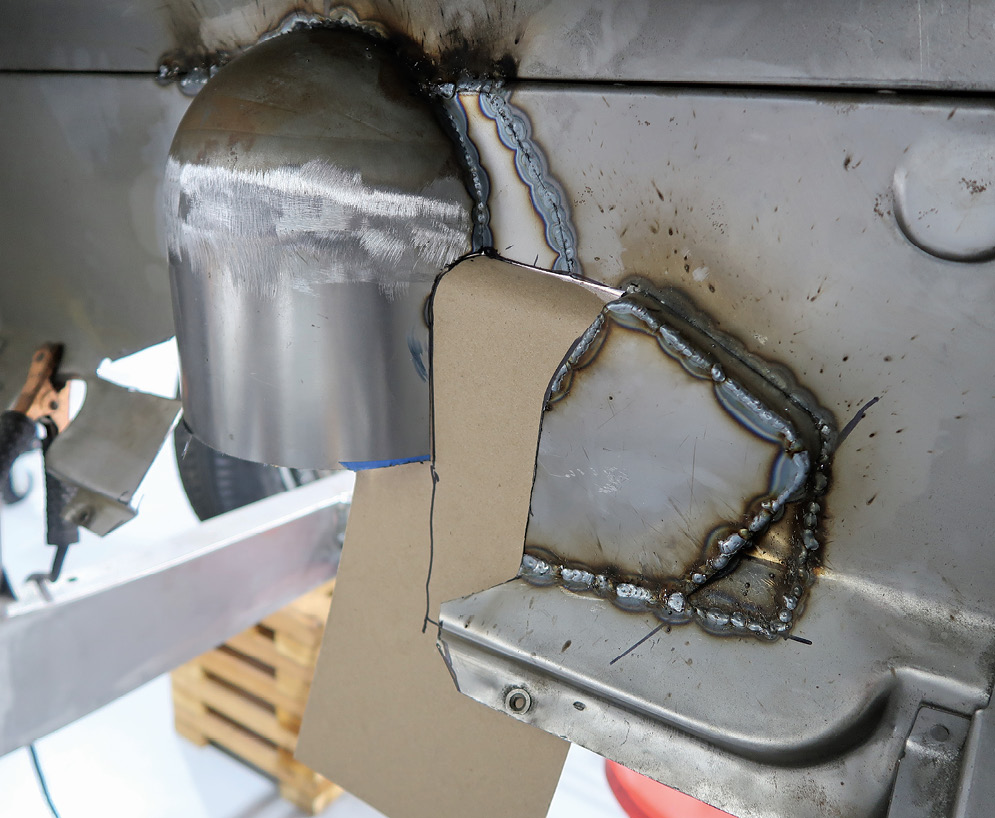
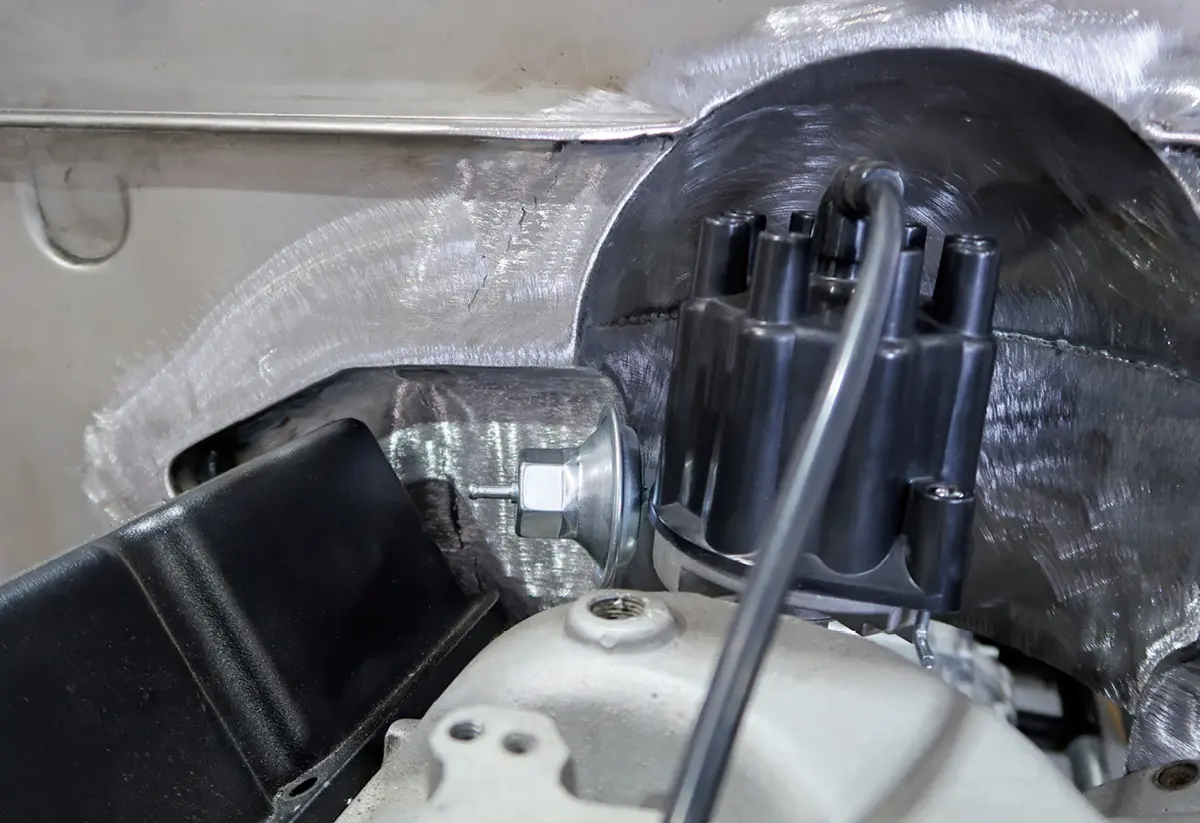
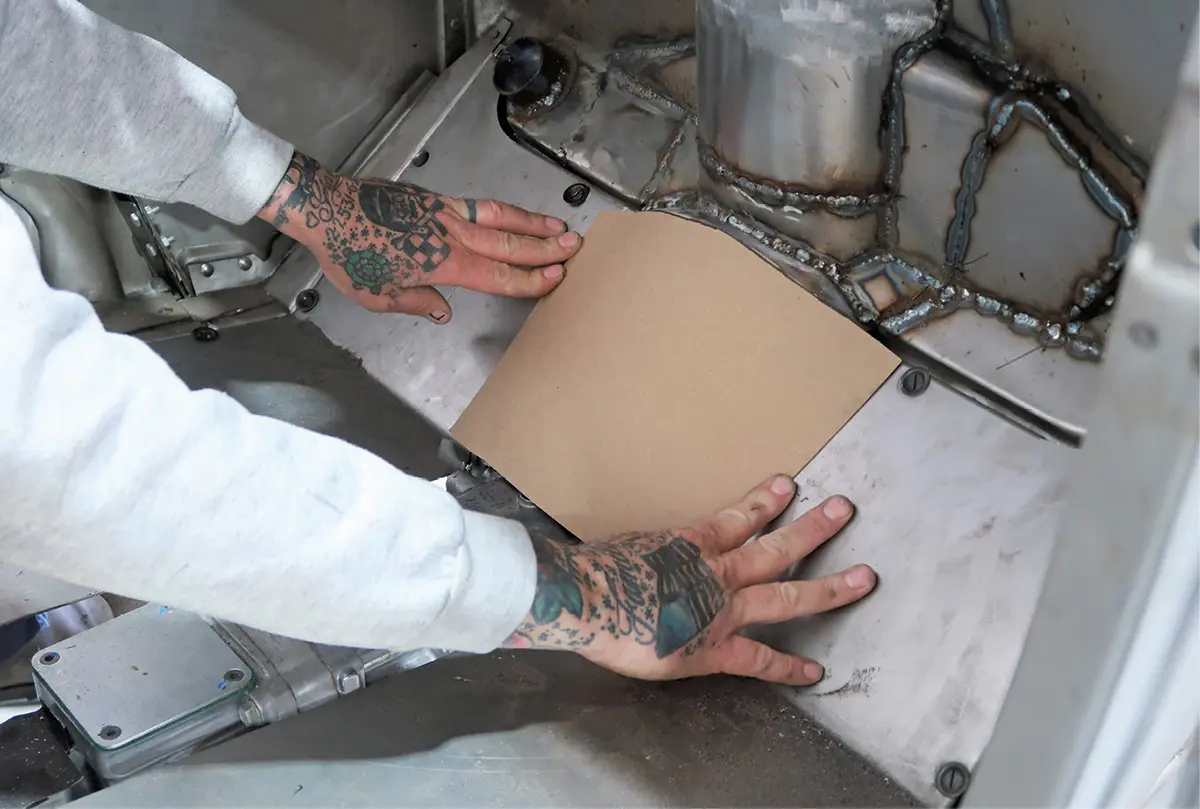
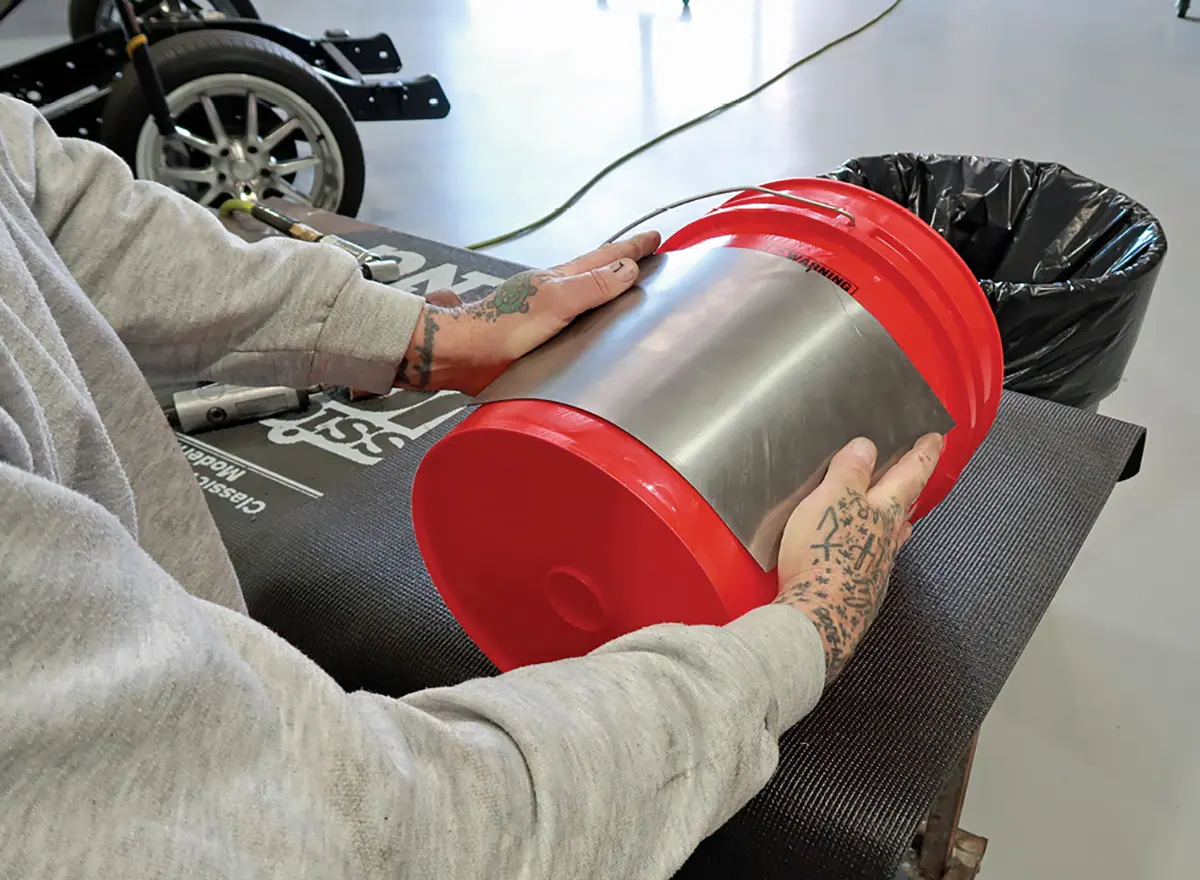
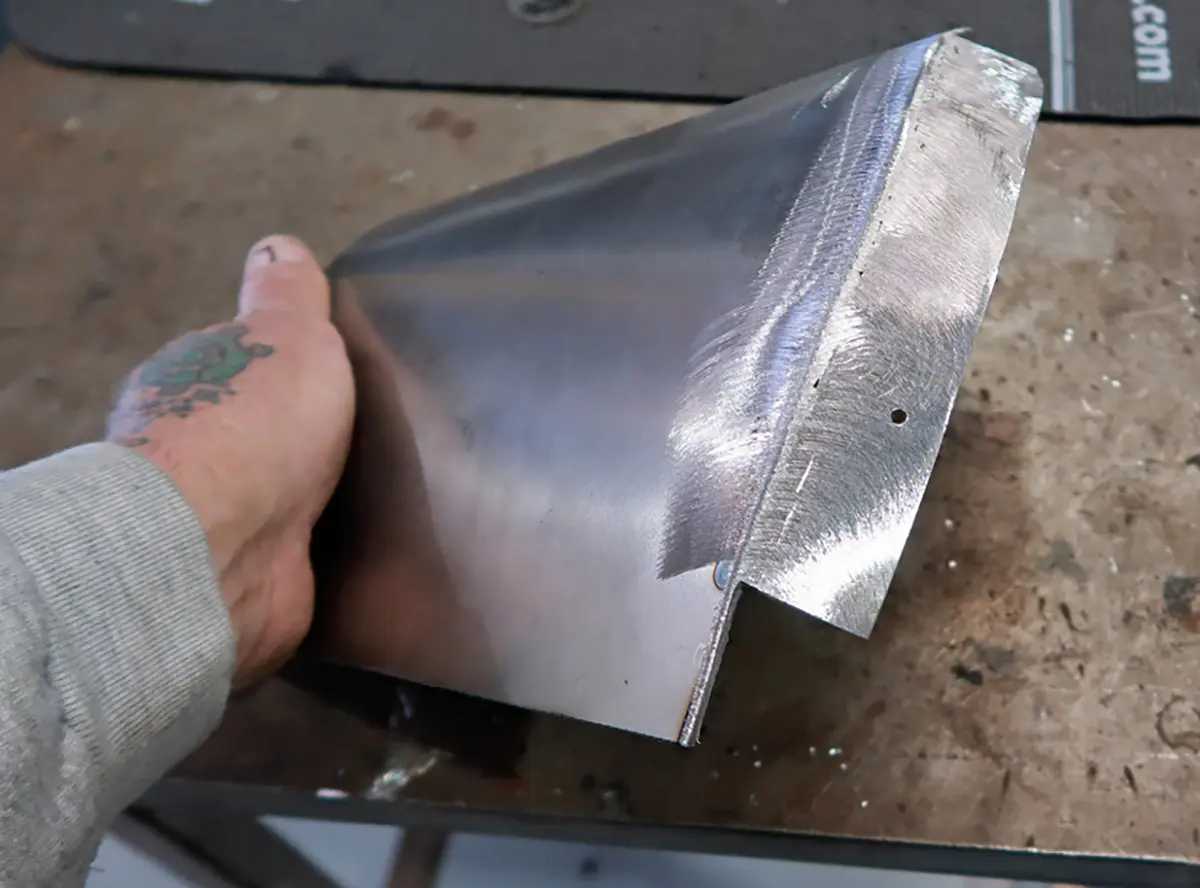
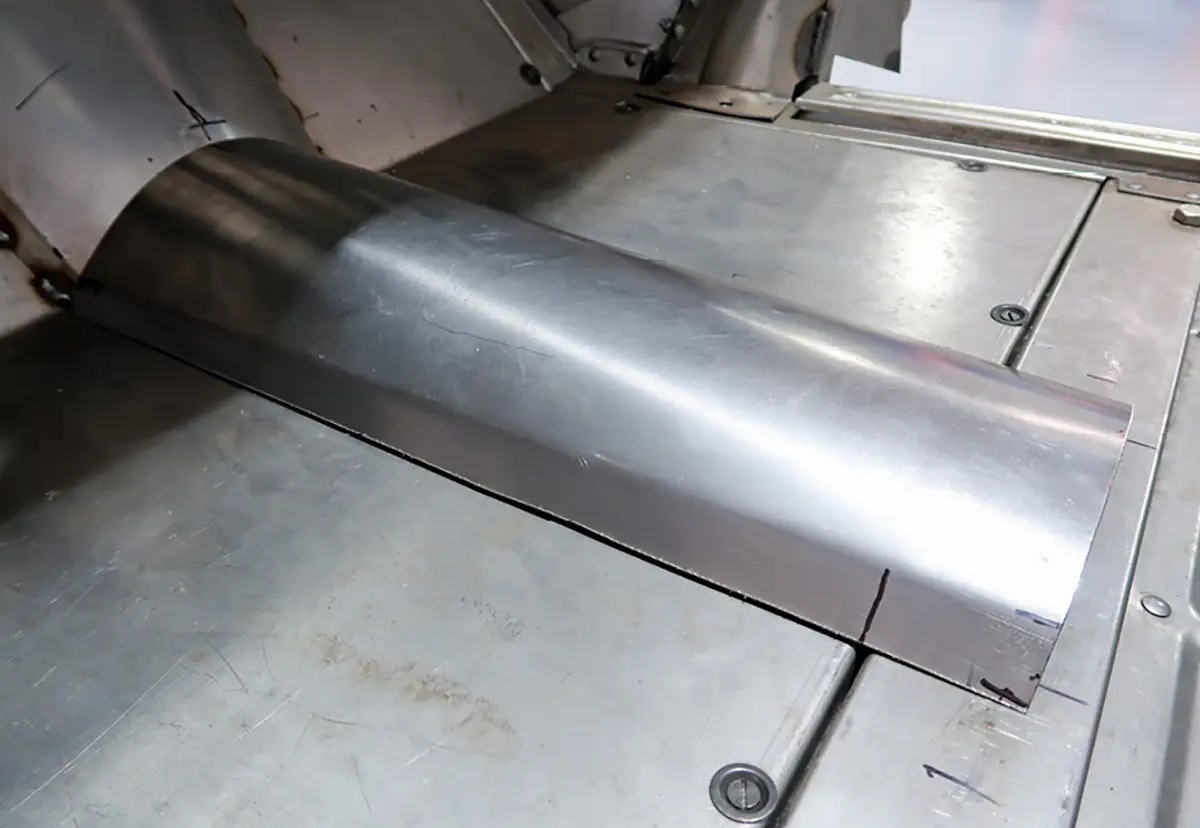
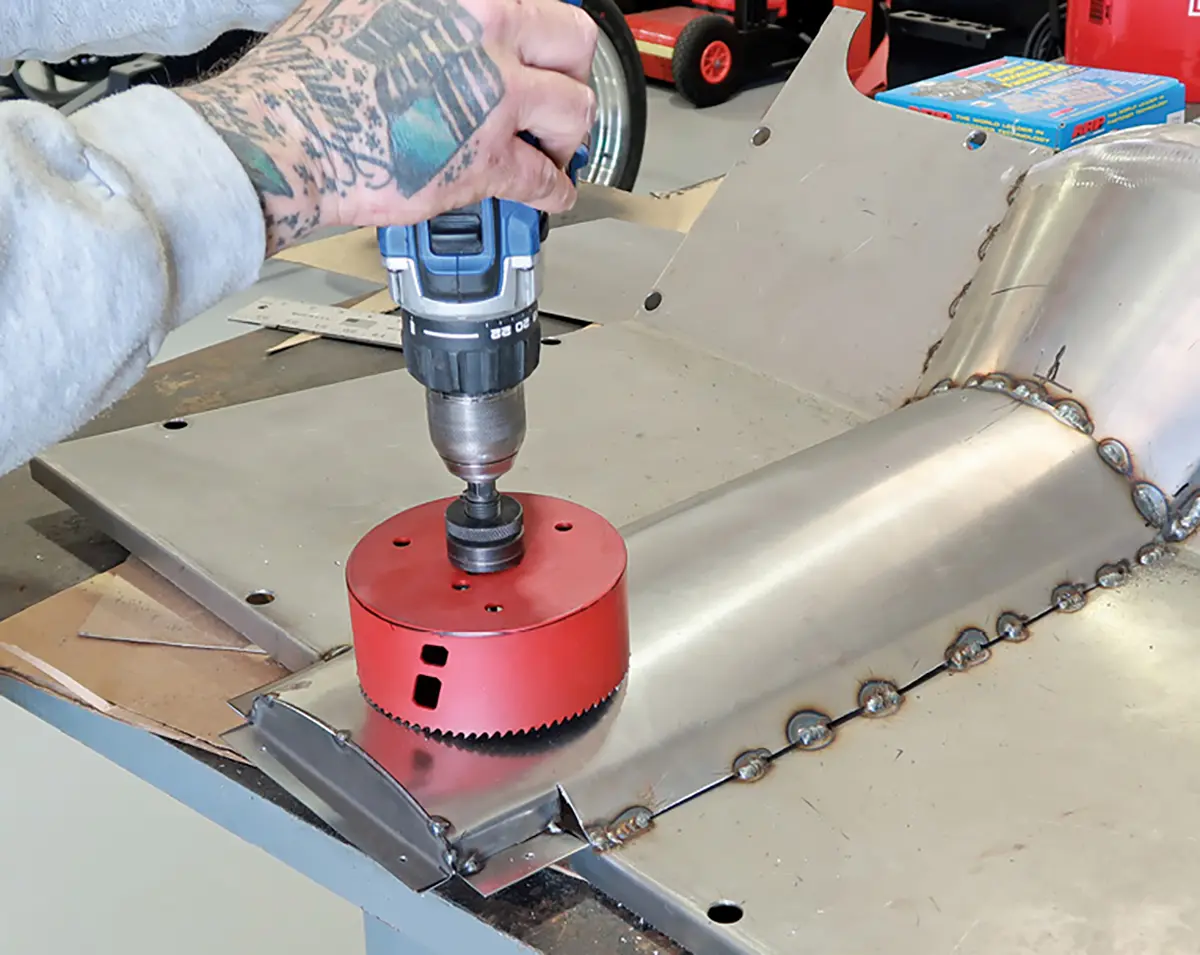
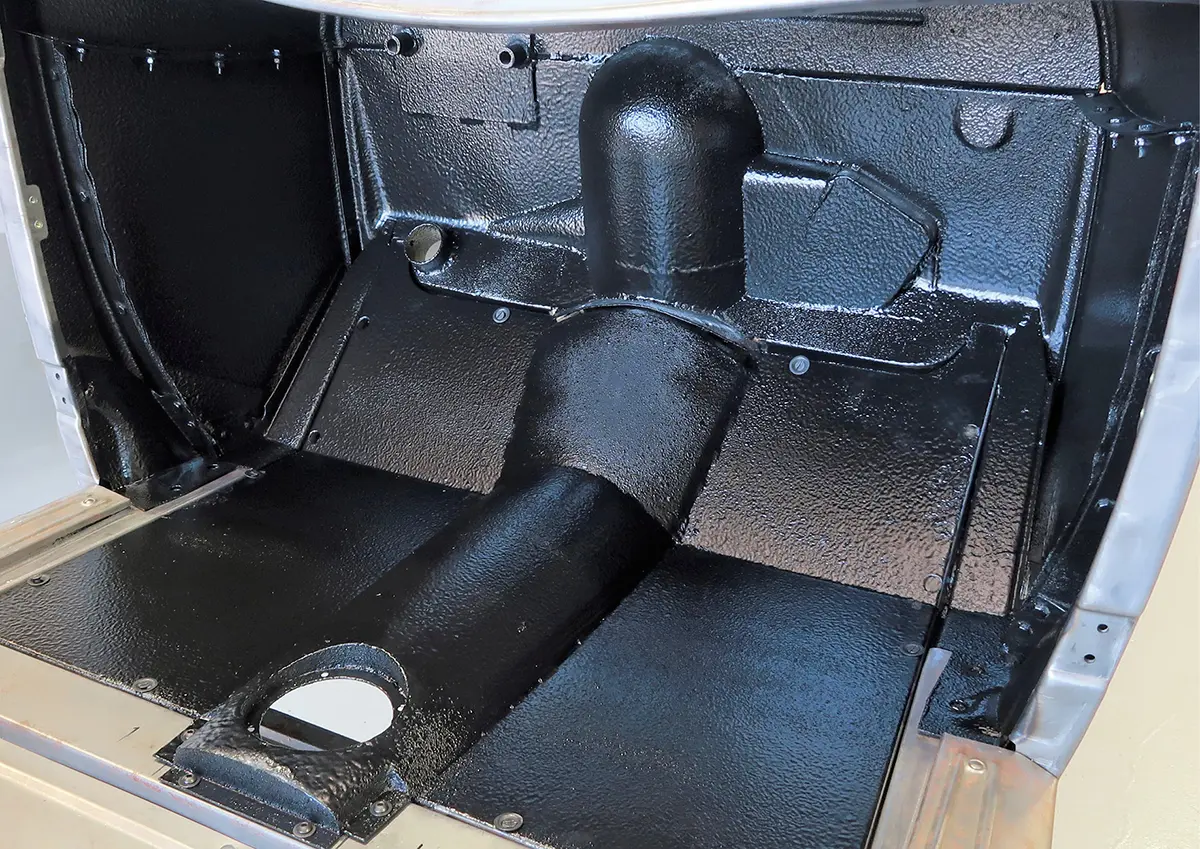
After cutting away enough of the firewall and toeboard the engine could be brought back to its final position and the task of filling the open areas could begin. Most of this is done by making a pattern from chipboard, transferring it to sheetmetal, cutting and shaping the metal, and welding the pieces into place. Scudellari found a steel sphere at Industrial Metal Supply, and he was able to cut a section from it to make a beautifully contoured recess for the distributor.

Every project will have its own unique elements, but the general procedure shown here should work for many cars.

The first step in modifying the Brookville ’29 roadster body for a modern V-8 is marking the center of the bellhousing on the firewall.
1. The first step in modifying the Brookville ’29 roadster body for a modern V-8 is marking the center of the bellhousing on the firewall.
In this case, the upper mounting tab was cut off the bellhousing to minimize the size of the cutout needed on the firewall.
2. In this case, the upper mounting tab was cut off the bellhousing to minimize the size of the cutout needed on the firewall.
The bellhousing is placed over the firewall and the upper edge is marked for trimming.
3. The bellhousing is placed over the firewall and the upper edge is marked for trimming.
An abrasive cut-off wheel is used to slice through the firewall.
4. An abrasive cut-off wheel is used to slice through the firewall.
With the engine positioned close to its final location, the firewall is marked for trimming on the passenger side where clearance is needed for the valve cover.
5. With the engine positioned close to its final location, the firewall is marked for trimming on the passenger side where clearance is needed for the valve cover.
A step drill is used to make holes in the corners of the cutouts. This is a great way to get nicely radiused corners.
6. A step drill is used to make holes in the corners of the cutouts. This is a great way to get nicely radiused corners.
The cutoff wheel is used to make straight cuts between the corners.
7. The cutoff wheel is used to make straight cuts between the corners.
With the engine back in place, a view from the rear of the firewall shows that a little more trimming is needed.
8. With the engine back in place, a view from the rear of the firewall shows that a little more trimming is needed.
With the passenger side of the firewall trimmed, the engine can be slid a little more and the driver side can be marked for trimming.
9. With the passenger side of the firewall trimmed, the engine can be slid a little more and the driver side can be marked for trimming.
A piece of chipboard is trimmed to make a pattern for the recess needed on the passenger side.
10. A piece of chipboard is trimmed to make a pattern for the recess needed on the passenger side.
A strip of 16-gauge steel is cut for the recess, and the bends needed in the corners are formed by hammering over the framerails, a convenient surface with a nice radius.
11. A strip of 16-gauge steel is cut for the recess, and the bends needed in the corners are formed by hammering over the framerails, a convenient surface with a nice radius.
With the perimeter of the recess welded into place, a chipboard pattern is made for the rear surface.
12. With the perimeter of the recess welded into place, a chipboard pattern is made for the rear surface.
Here’s a view of the finished recess for the passenger side cylinder head.
13. Here’s a view of the finished recess for the passenger side cylinder head.
The firewall is trimmed away to make clearance for the distributor and the center portion of the engine.
14. The firewall is trimmed away to make clearance for the distributor and the center portion of the engine.
With the distributor and plug wires installed, it is apparent that a little more room is needed for adequate clearance.
15. With the distributor and plug wires installed, it is apparent that a little more room is needed for adequate clearance.
A clever way to make a nicely curved recess for the distributor is to start with a pre-formed steel sphere. This was cut down to get the needed portion.
16. A clever way to make a nicely curved recess for the distributor is to start with a pre-formed steel sphere. This was cut down to get the needed portion.
The firewall is marked from the inside for trimming to meet the hemispherical indentation.
17. The firewall is marked from the inside for trimming to meet the hemispherical indentation.
The piece of metal that will fit against the dished recess is rough-cut and curved by bending over a compressed gas cylinder.
18. The piece of metal that will fit against the dished recess is rough-cut and curved by bending over a compressed gas cylinder.
A panel clamp is used to align the dished recess with the lower metal piece, and they are tack-welded together.
19. A panel clamp is used to align the dished recess with the lower metal piece, and they are tack-welded together.
After the two parts of the recess are welded together, the front edges are trimmed to fit and the recess is tack-welded into place.
20. After the two parts of the recess are welded together, the front edges are trimmed to fit and the recess is tack-welded into place.
Chipboard is used to make patterns for the remaining filler pieces needed on both sides of the recess.
21. Chipboard is used to make patterns for the remaining filler pieces needed on both sides of the recess.
With all the filler pieces welded into place and the welds ground smooth, you can see just how well the rear of the engine nestles into the firewall.
22. With all the filler pieces welded into place and the welds ground smooth, you can see just how well the rear of the engine nestles into the firewall.
Chipboard is used to make a pattern for the bellhousing cover.
23. Chipboard is used to make a pattern for the bellhousing cover.
This plastic bucket turned out to have just the right curvature for bending the bellhousing cover.
24. This plastic bucket turned out to have just the right curvature for bending the bellhousing cover.
A mounting flange was attached to the cover, allowing it to be screwed snugly to the firewall.
25. A mounting flange was attached to the cover, allowing it to be screwed snugly to the firewall.
The transmission cover was shaped and fitted into place.
26. The transmission cover was shaped and fitted into place.
A recess is needed for the shifter. A large hole saw is used to make a perfectly round hole in the transmission cover.
27. A recess is needed for the shifter. A large hole saw is used to make a perfectly round hole in the transmission cover.
With a coat of textured black paint, the modifications to the firewall, toeboard, and floor are finished in a very professional manner.
28. With a coat of textured black paint, the modifications to the firewall, toeboard, and floor are finished in a very professional manner.
SOURCES
BROOKVILLE ROADSTER
(937) 833-4422
brookvilleroadster.com
INDUSTRIAL METAL SUPPLY
(949) 250-3343
industrialmetalsupply.com
SPEEDWAY MOTORS
(855) 313-9176
speedwaymotors.com
Modern Rodding

VOLUME 4 • ISSUE 38 • 2023