Modern Rodding Tech
InTheGarageMedia.com
Punching Hot Rod Louvers
Jimmy Shine Gives Us the Inside Story
By Tony Thacker Photography By The Author
G

oogle “louvers” and odds are you will find images of Datsuns, DeLoreans, Mustangs, and the like with louvers—plastic rear window louvers not hot rod louvers. Despite their popularity, very little seems to have been written about this aesthetic and functional device.
 
Few, if any, early hot rods, say from the ’30s, had louvers beyond those that Henry Ford punched in the hood sides. Of course over on the oval tracks you can see louvers begin to pop up and down in the hood sides of race cars where they were nothing but functional to get hot air out of the engine compartment.

Of course the legendary American race car builder Harry Miller was not opposed to a row or two but if you really wanted louvers in your race cars you had to look to the German “Silver Arrows” of Auto Union and Mercedes-Benz. They were literally covered with innies and outies.
 
Gradually, the trend filtered down to the hot rod world and after World War II we began to see louvers appear in custom hood sides and hood tops, for example on the McGee roadster that appeared on the cover of the Oct. ’48 issue of Hot Rod magazine. 

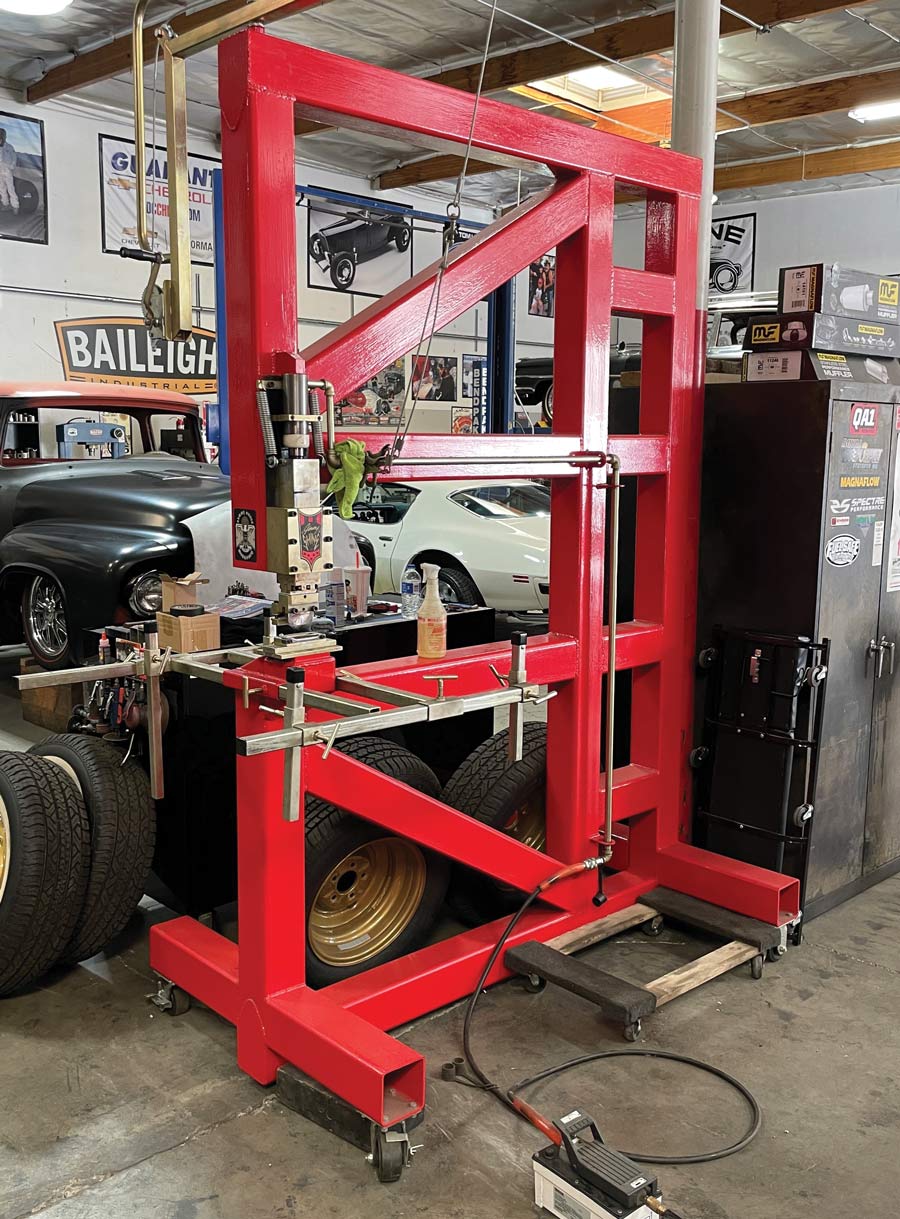
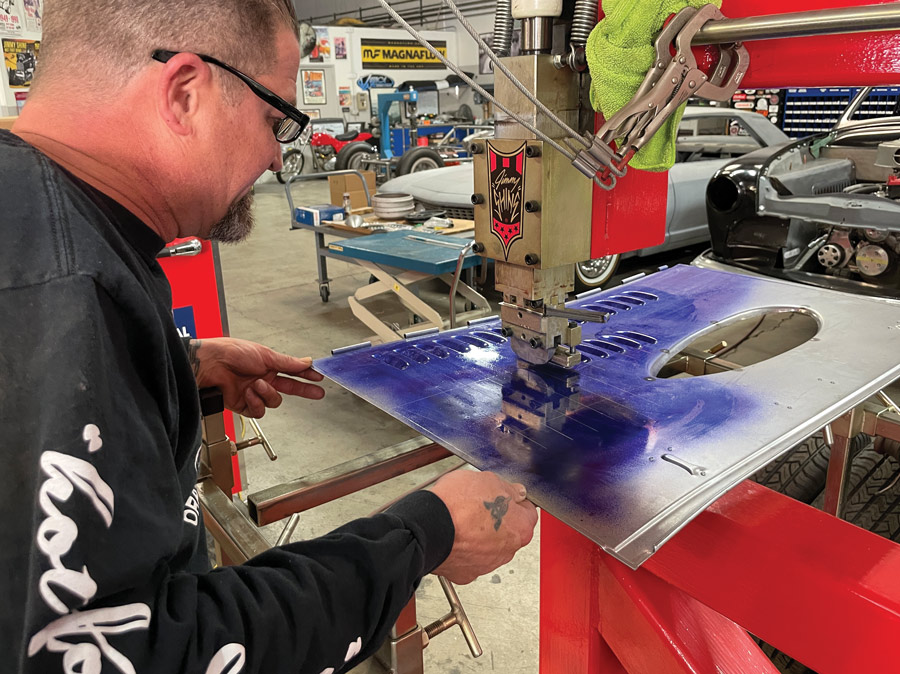
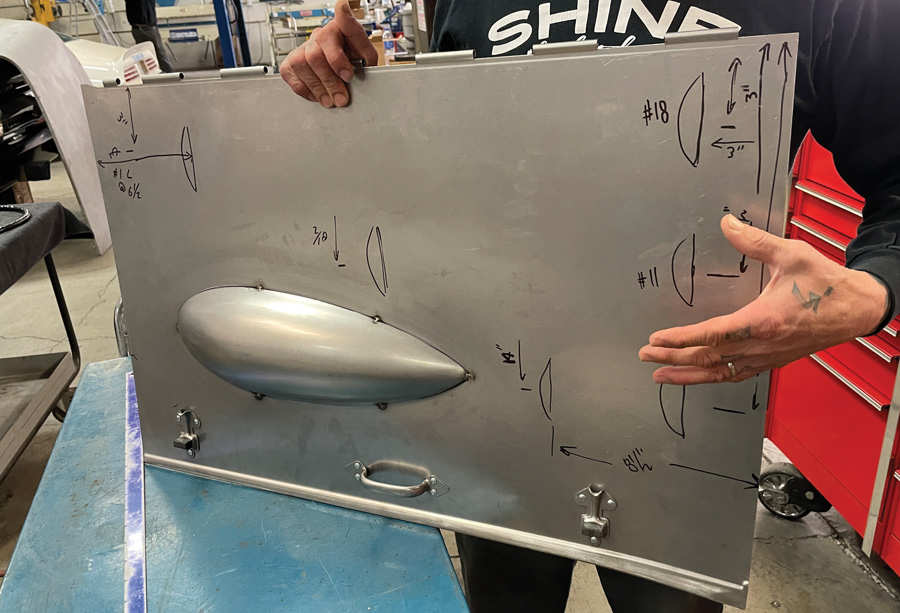
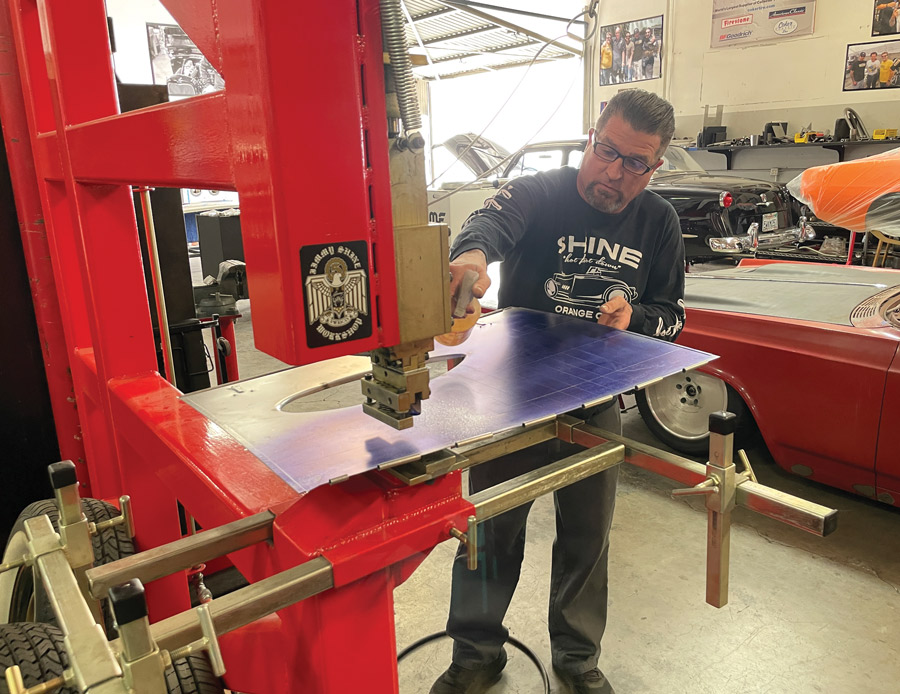
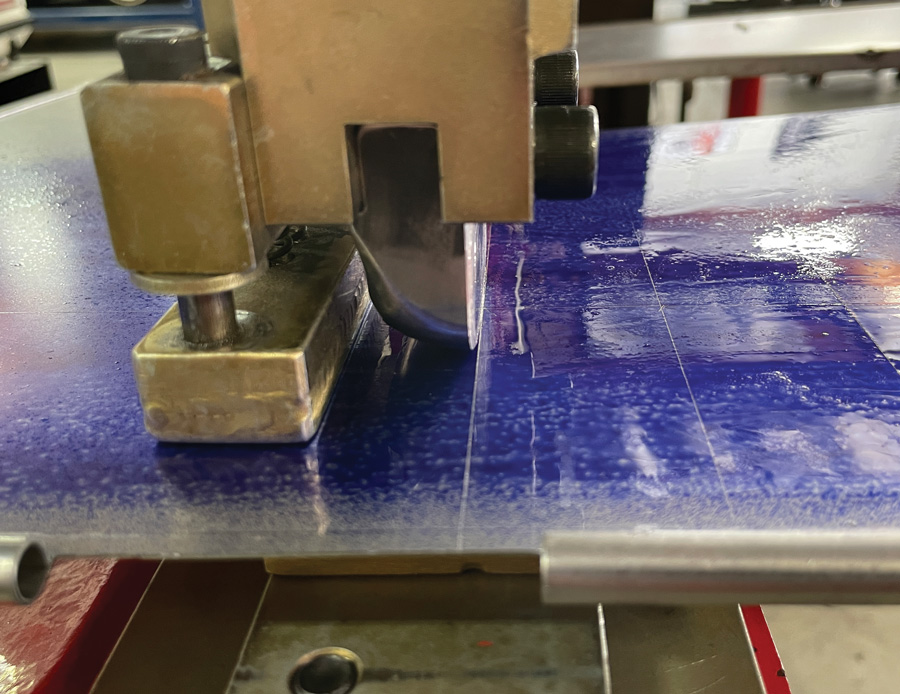
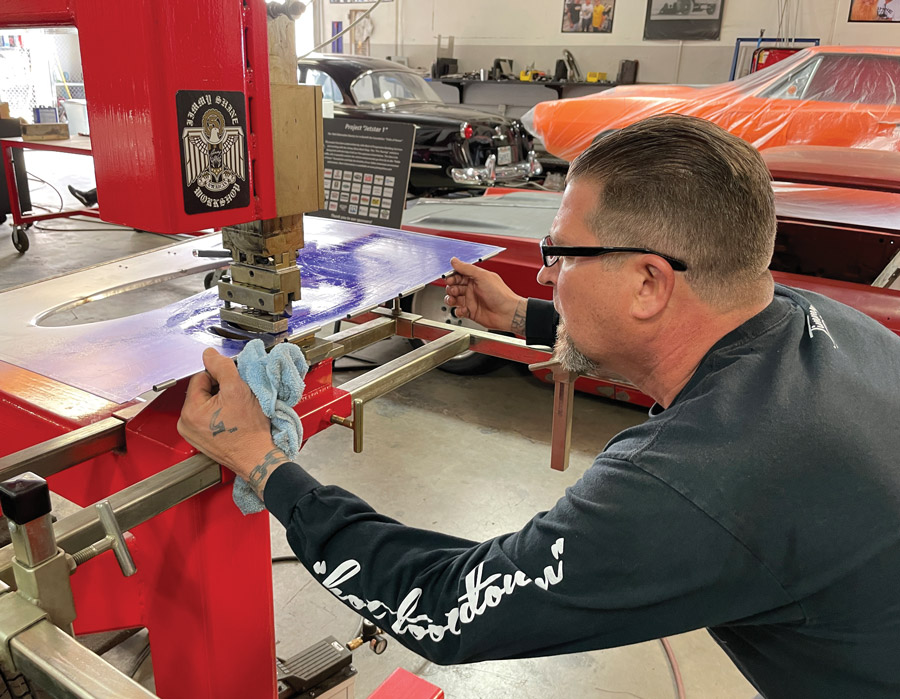
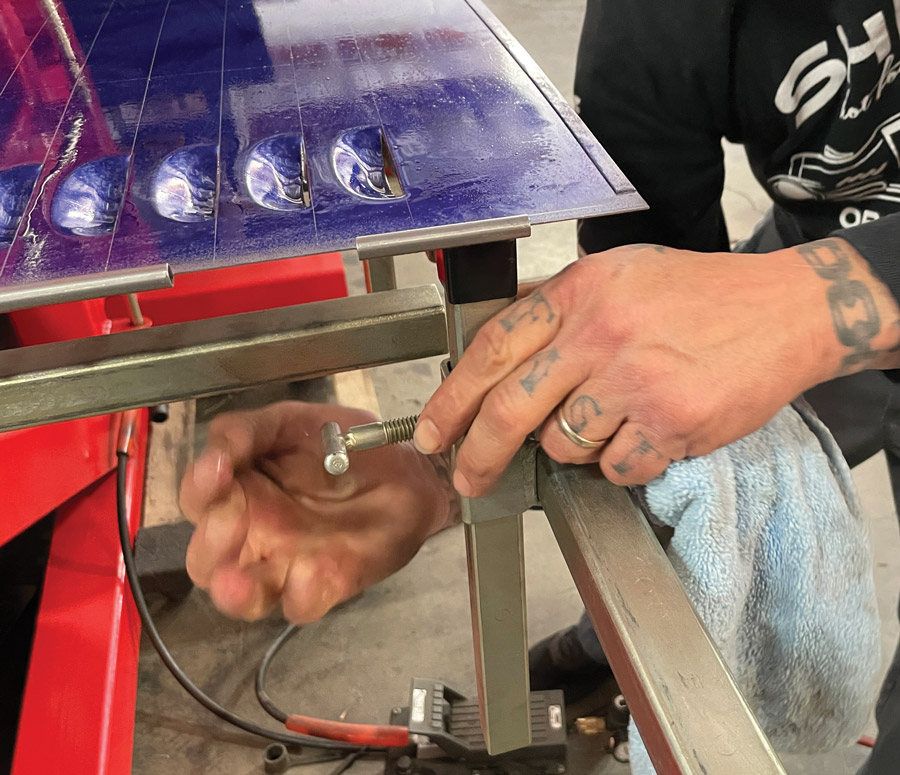
To get the scoop, as it were, on this ongoing trend, we visited several hot rod shops, including Jimmy Shine’s where it just happened he was punching the hood sides of Bruce Forté’s 392 Hemi-powered Deuce coupe being built by the Veazie Bros.
 
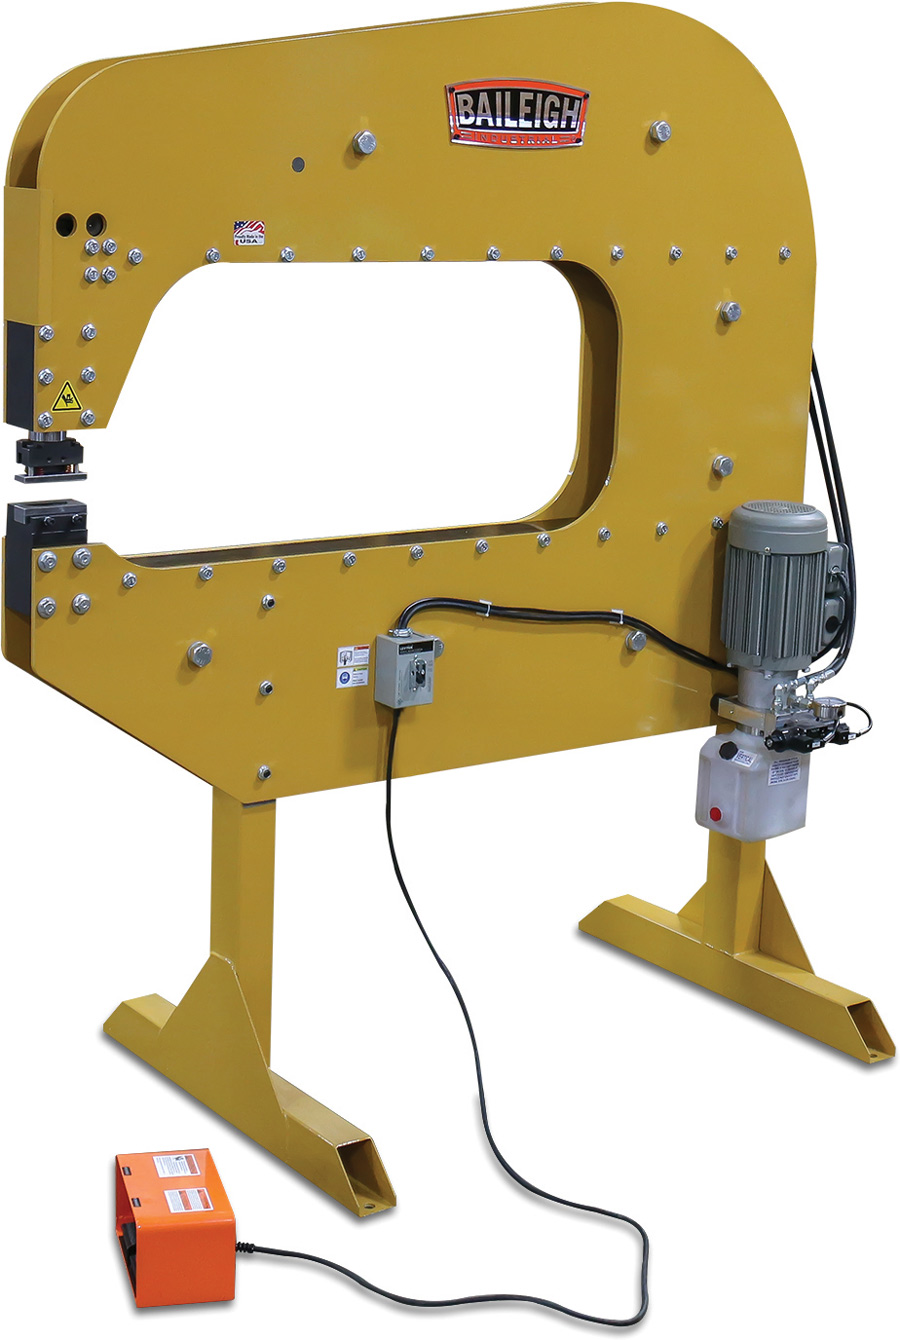
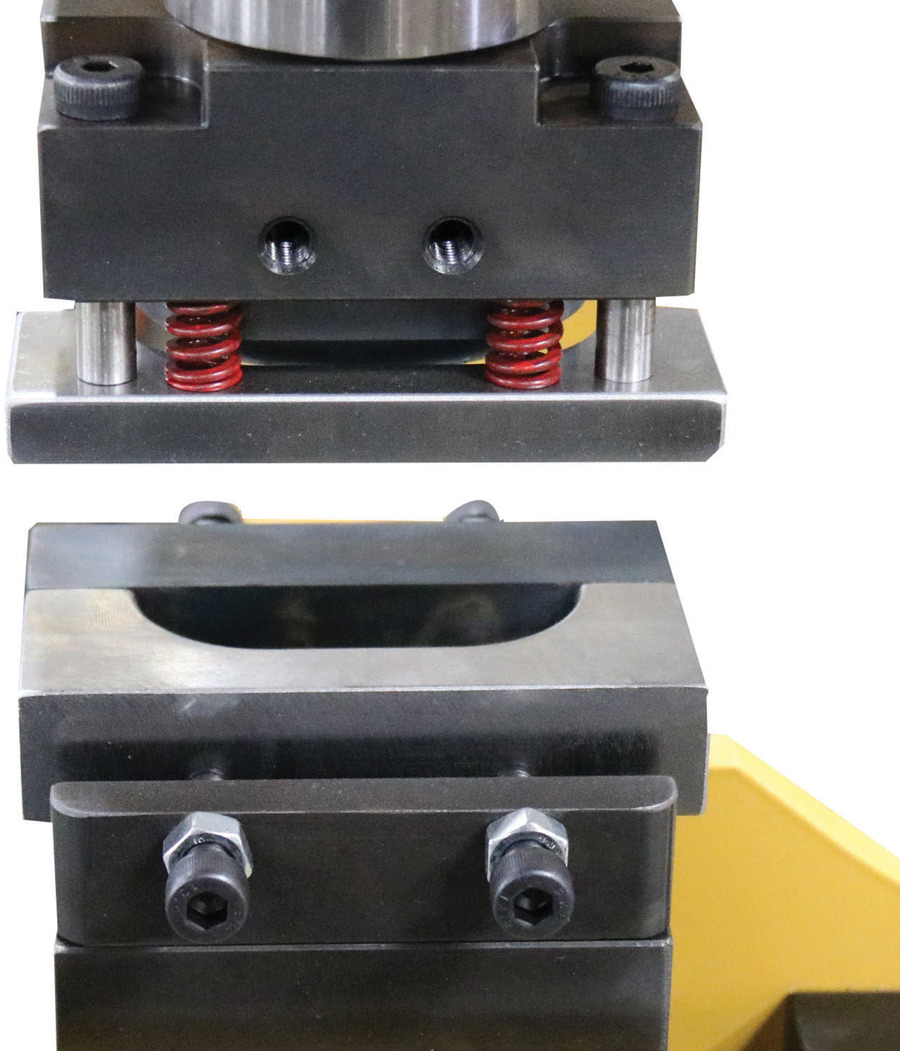
For many years the best hot rod louvers in L.A. were punched by Eric Vaughn but Vaughn has retired and Shine thought he might as well build his own louver press. Such a machine can be purchased used or new from Baileigh Industrial but a 7-ton press starts at over $7,500. Even though he has a great relationship with Baileigh Industrial, Shine wanted to build his own, adding a few features.
 
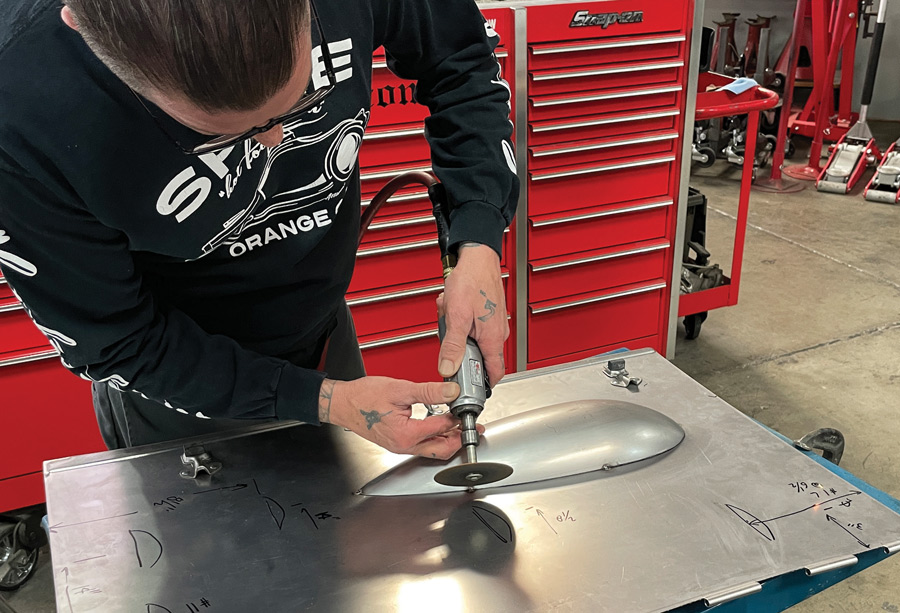
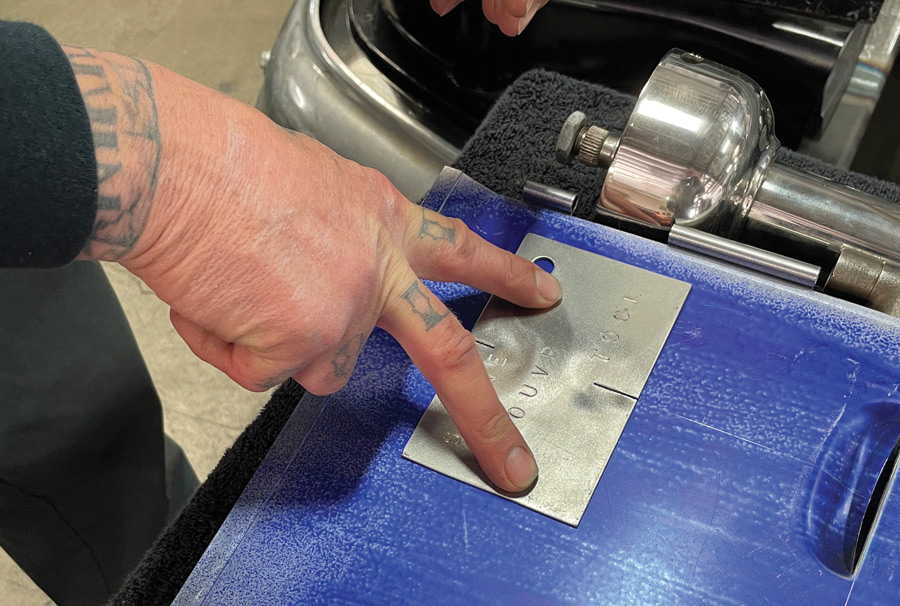
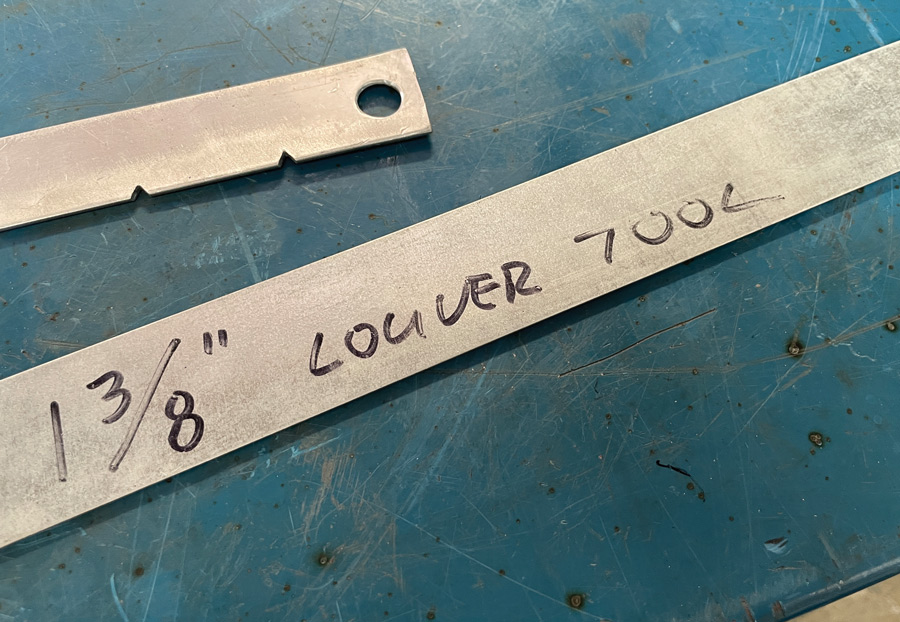
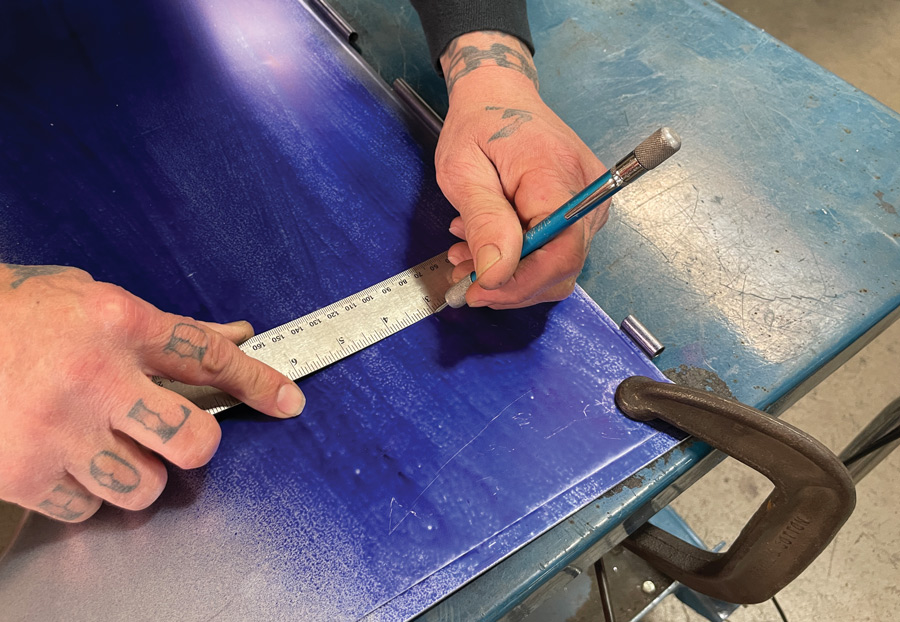
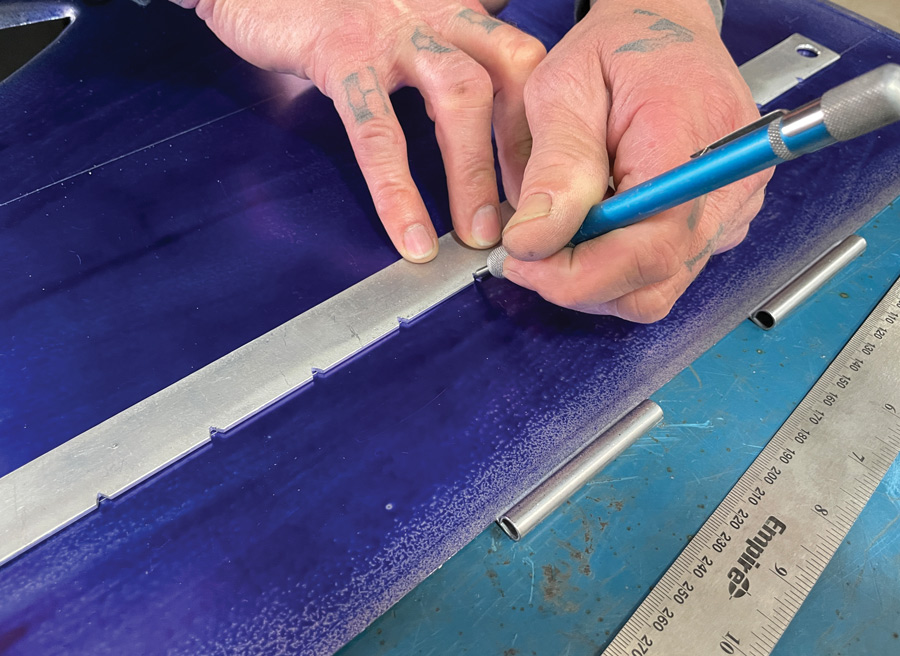
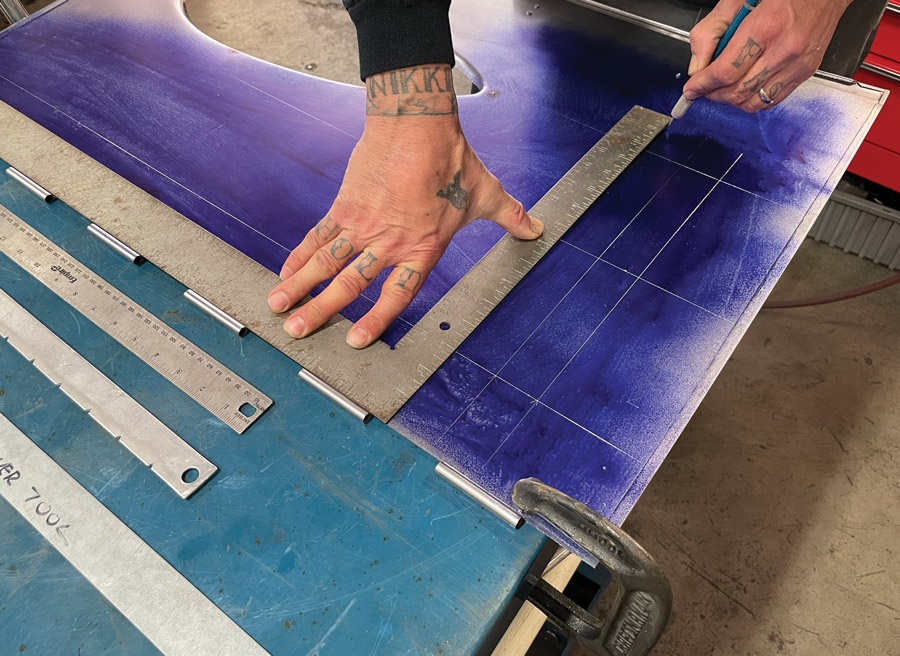
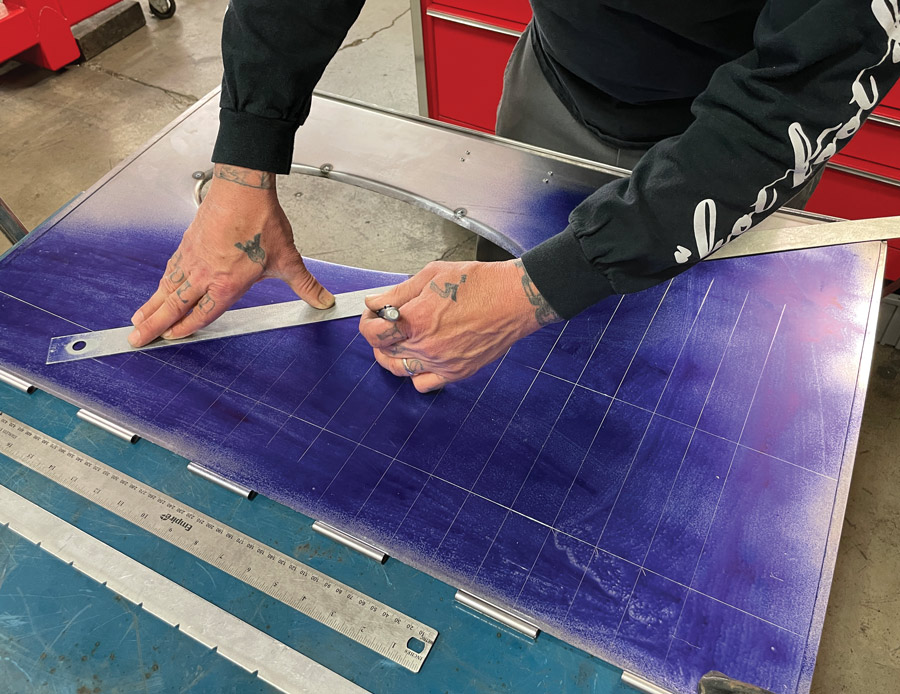
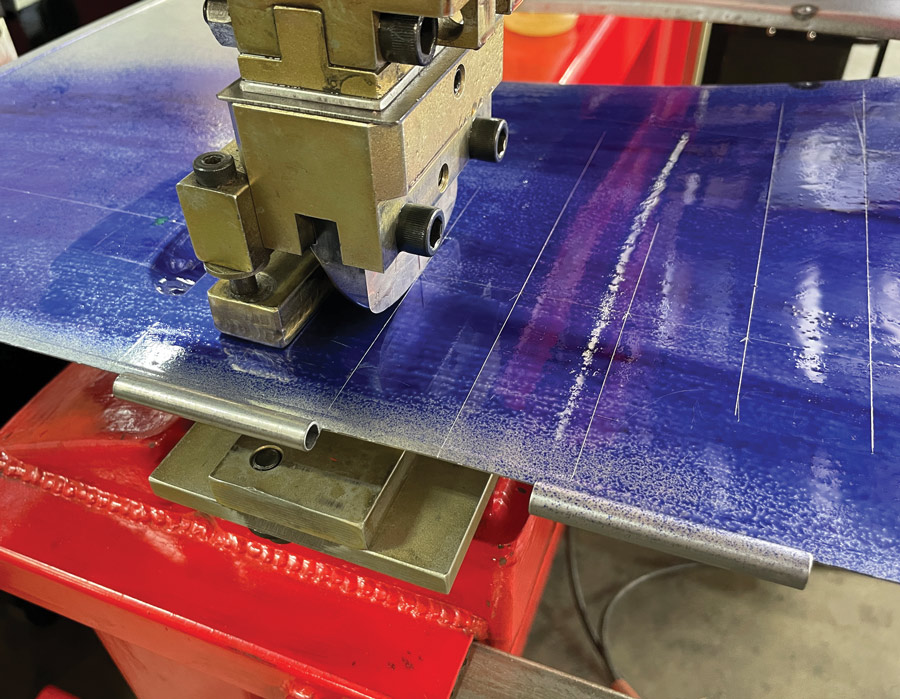
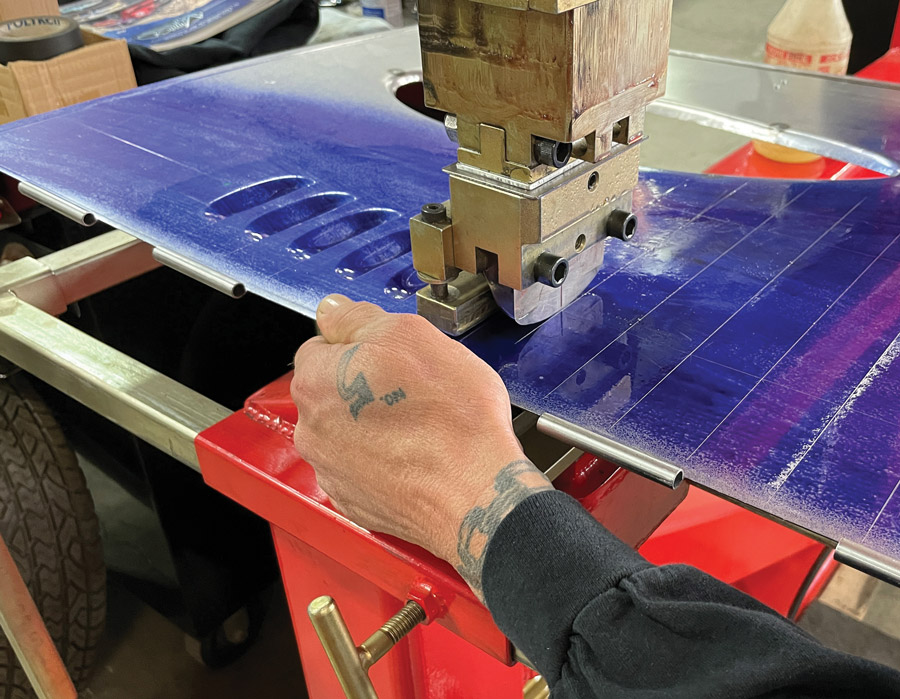
Luckily, Shine had these Rootlieb ’32 Ford hood sides to punch. Whatever the project, be extra careful with the layout before you make a cut. You wouldn’t be the first to punch the wrong way or be a little bit off and make a mess of it—there’s no fixing a wrong-un—you start over—it’s definitely a measure twice cut once situation.

Before You Start
Something to consider before you start is the end game. If you are going to paint the louvered panel then according to Mick Jenkins at Mick’s Paint in Pomona, California, you should do as much pre-prep as possible. Single-skinned panels, such as hoods sides and early Ford hood tops, are not so bad but double-skinned panels, such as late-model hoods and early Ford decklids, need special attention.
 
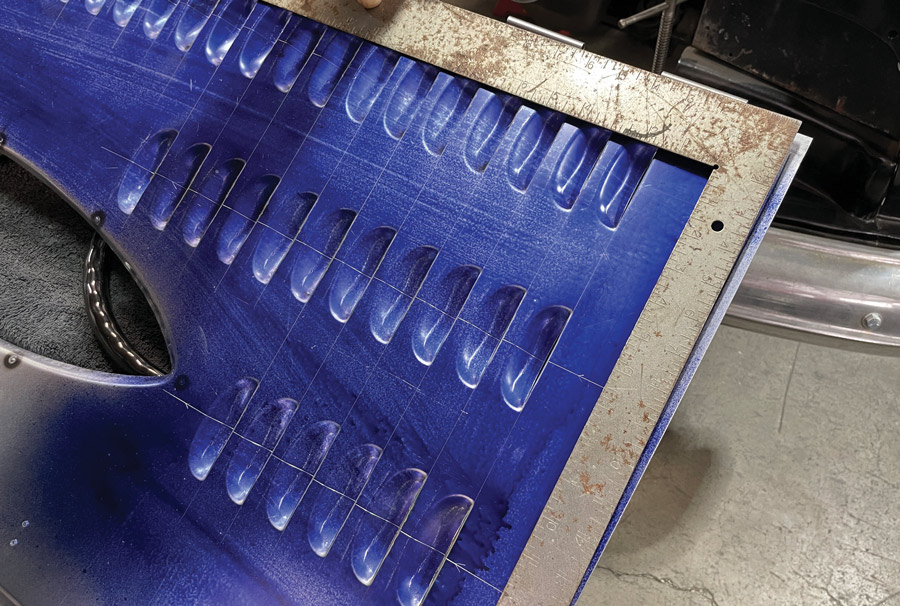
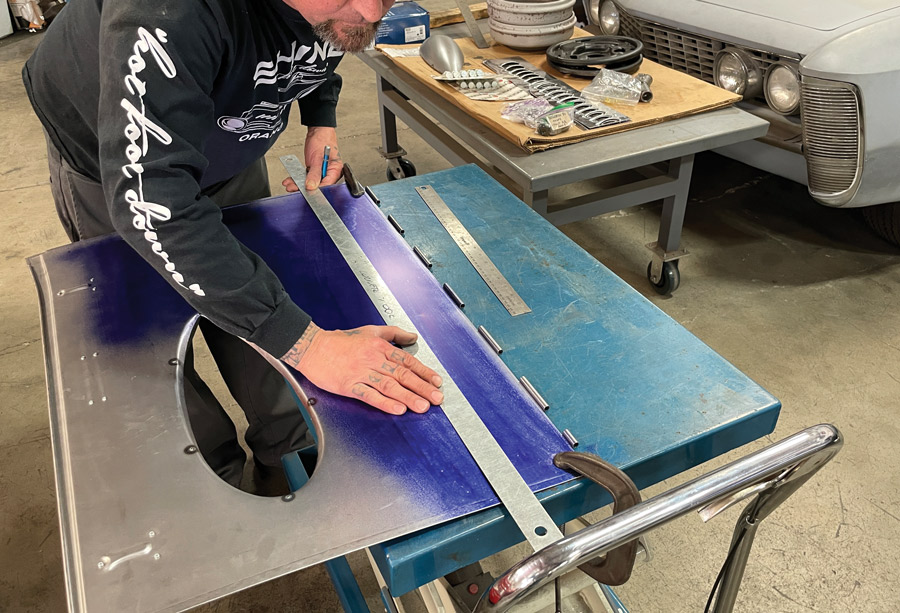
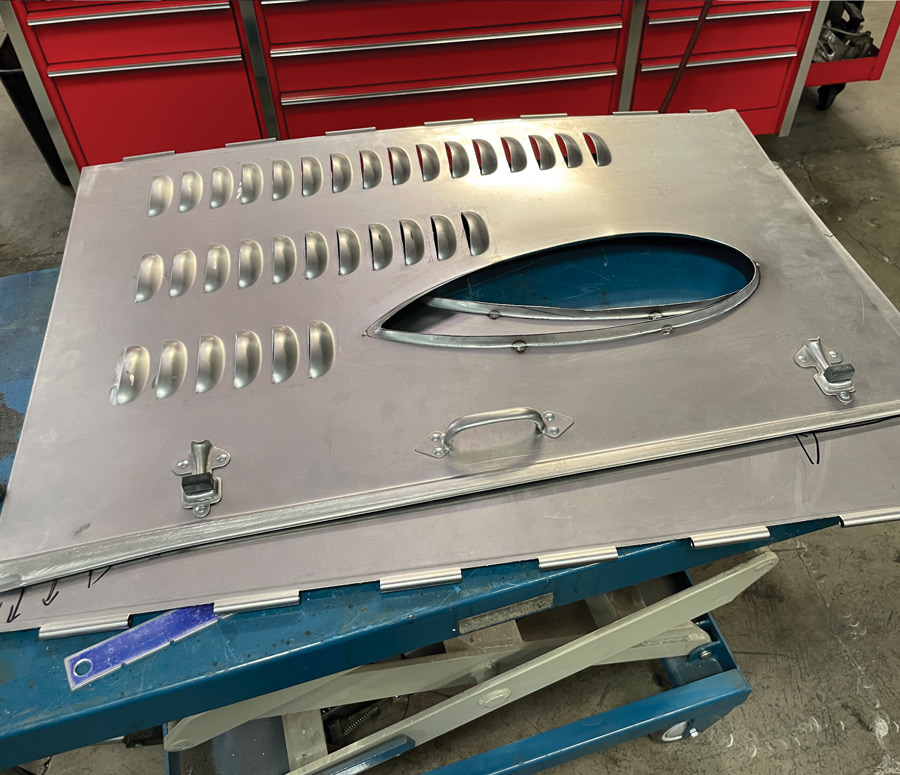
Jenkins says all panels, both single- and double-skinned, should be prepped for paint as far as possible before you punch the louvers because it’s more difficult to do afterward. Double-skinned panels are more complicated and Jenkins has paid the price for lack of attention to the process.
 
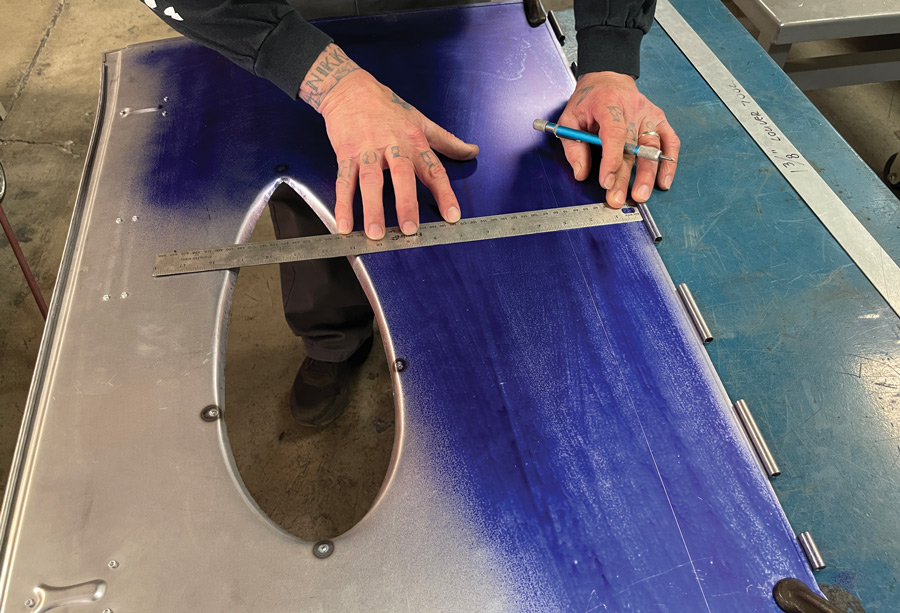
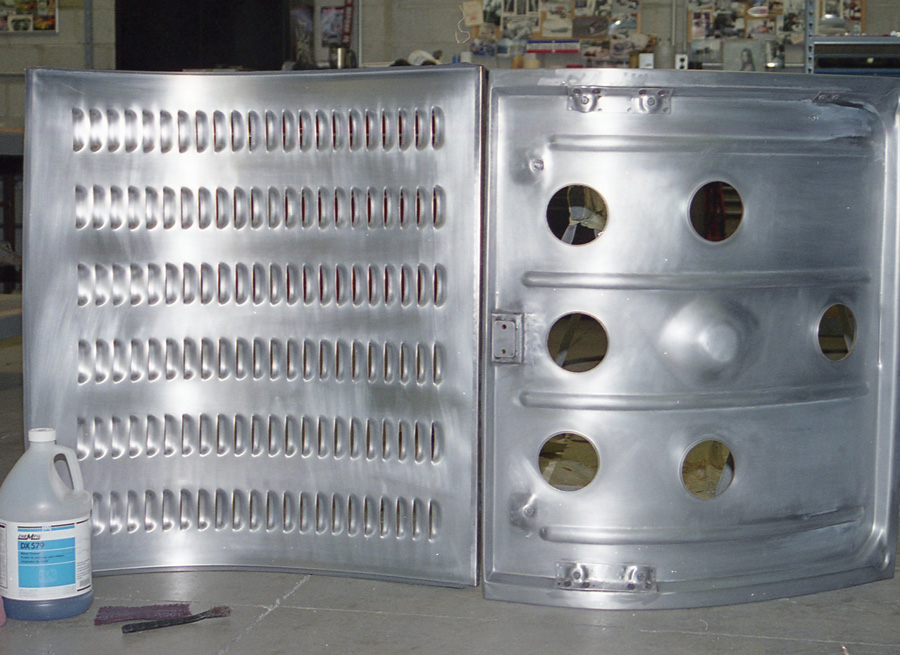
Double-skinned panels have to be split anyway in order to punch the louvers and in the case of Jenkins’ Deuce roadster he purchased new inner and outer decklid skins from Rootlieb. He then cut the middle out of the inner frame so that it could be flanged and re-attached with screws. He then cleaned the inside of the lid, sanded it down, and cleaned it again with metal prep. Jenkins recommends PPG DX579, a multipurpose phosphoric acid-based cleaner and pre-paint conditioner to deep clean a metal surface prior to painting.
 
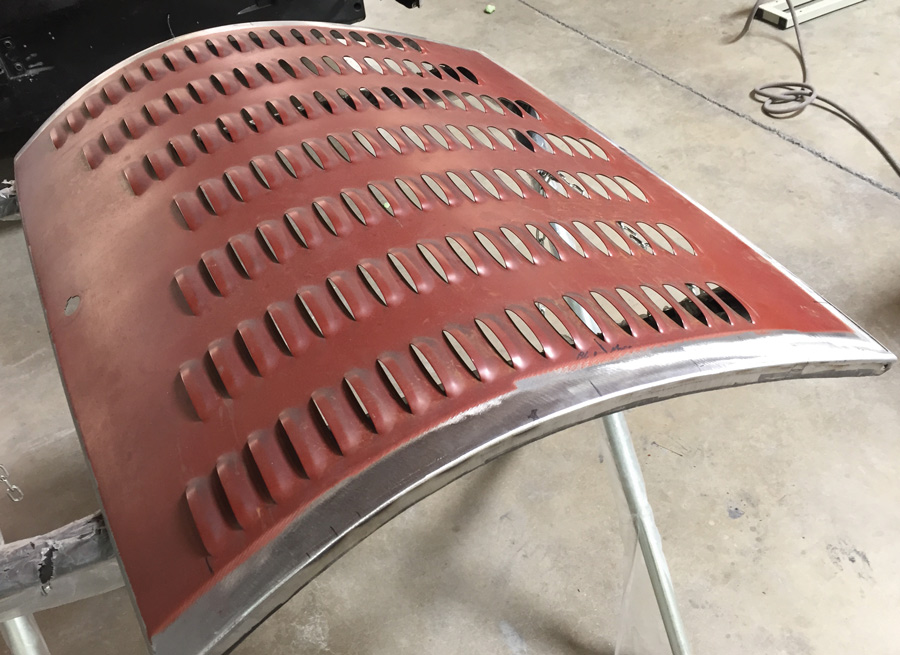
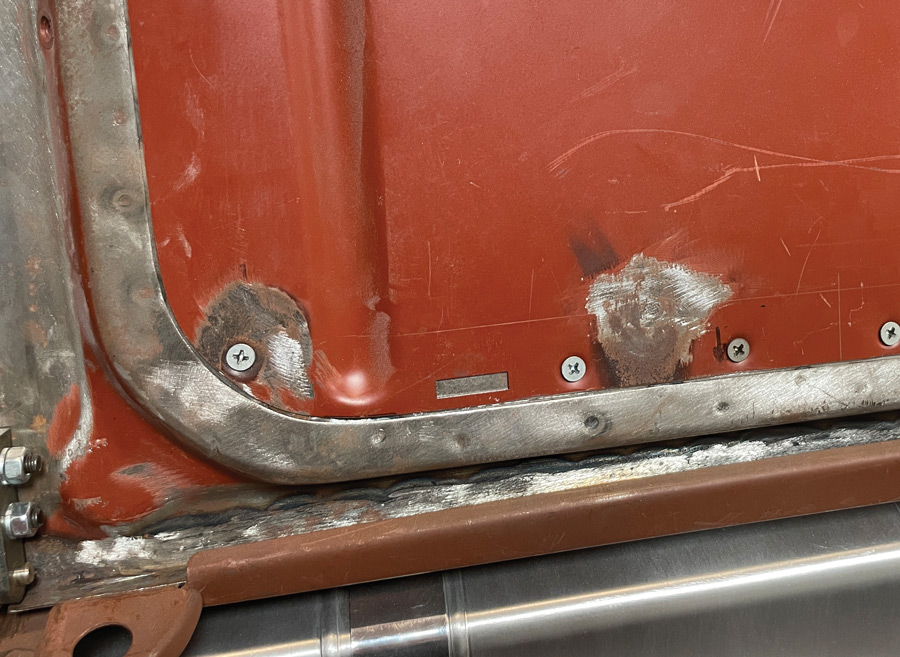
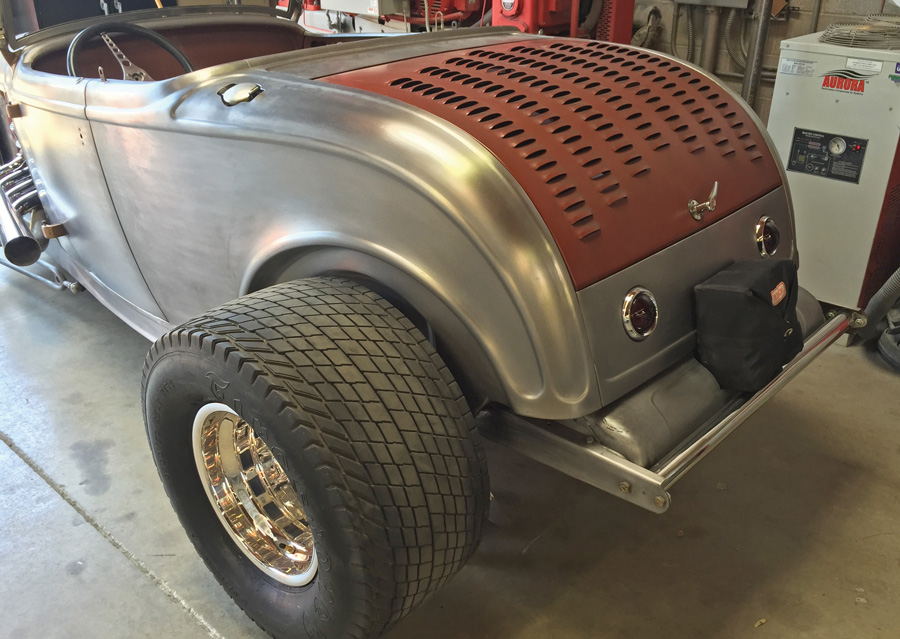
Once the louvers have been punched, the two halves of the panel need to be assembled and again great care needs to be taken to be sure that the louvered panel does not warp, which it did in Jenkins’ case. It warped so much it had to be replaced—a whole lot of work, time, and money.
industrial-size hydraulic louver press
1. Although Jimmy Shine has a great relationship with Baileigh Industrial, he decided to build his own industrial-size hydraulic louver press to accept big hoods and panels. Note the four supports for said panels.
Using punches and dies from Baileigh Industrial
2. Using punches and dies from Baileigh Industrial re-worked by Shine he can punch 3-, 4- or 5-inch louvers. Long gone are the days of a buck a louver, today it’s time and materials.
Baileigh Industrial produced this floor-standing 7-ton 110V louver press that has a 48-inch throat
3. Baileigh Industrial produced this floor-standing 7-ton 110V louver press that has a 48-inch throat. It includes 3-inch louver assembly and will punch 16-gauge steel. However, it does cost $7,600 unless you can find a used one.
Part of the press machine that meets together
4. Baileigh Industrial is also a good source for louver press tooling and they have both standard tooling as well as blanks that you can shape but it’s hard steel that takes some working, according to Shine.
The Rootlieb hood side of Bruce Fortie’s ’32 three-window with some rough markings by Shine to show where the three rows of louvers will go.
5. The Rootlieb hood side of Bruce Fortie’s ’32 three-window with some rough markings by Shine to show where the three rows of louvers will go. Note: A blister to clear the Hemi heads has been tacked into place.
a cut-off wheel to carefully break the welds holding the blister in place
6. The next thing to do is to remove the tacked-in blister. Shine uses a cut-off wheel to carefully break the welds holding the blister in place. And don’t forget the safety glasses.
the top hinge of a Deuce hood
7. Out of sequence but this shot shows that the top hinge of a Deuce hood, for example, is not quite square with the back edge of the hood. Be very thoughtful of situations such as this before you lay out your louvers.
Shine made up this crafty little louver tool that gives him a quick visual reference as to how wide that louver will be
8. Shine made up this crafty little louver tool that gives him a quick visual reference as to how wide that louver will be. Obviously, this one is for 3-inch louvers but you could easily make up a similar tool for any size louver.
Two more quick-reference tools in Shine’s box are the notched spacer at the top that is accurately notched to indicate exactly where the louvers are to be placed.
9. Two more quick-reference tools in Shine’s box are the notched spacer at the top that is accurately notched to indicate exactly where the louvers are to be placed. The plain strap indicates how wide the louvers will be.
After covering the area to be marked with Dykem, Shine clamps the hood side to the bench so that it doesn’t move.
10. After covering the area to be marked with Dykem, Shine clamps the hood side to the bench so that it doesn’t move. Notice that he uses a steel ruler and a scriber for the layout, he does not use a pencil or a Sharpie.
Once Shine has marked his distance from the hinge, he uses a long straightedge to scribe the center line for the first row of louvers.
11. Once Shine has marked his distance from the hinge, he uses a long straightedge to scribe the center line for the first row of louvers. Be careful not to let the straightedge slip.
Once the centerline for the first row of louvers has been scribed, Shine moves onto the second and third rows.
12. Once the centerline for the first row of louvers has been scribed, Shine moves onto the second and third rows.
 Next, Shine uses his pre-notched tool to accurately mark the point where each louver will be positioned.
13. Next, Shine uses his pre-notched tool to accurately mark the point where each louver will be positioned. Again, you have to be careful not to let the tool slip and cause a mistake.
Once the positions for each louver have been marked, Shine uses a big steel square to transfer the lines to the second and third rows.
14. Once the positions for each louver have been marked, Shine uses a big steel square to transfer the lines to the second and third rows.
Once all three rows of louvers have been carefully laid out Shine uses a long straightedge to mark the diagonal so that he can see that the louvers have an even stagger and do not interfere with the blister.
15. Once all three rows of louvers have been carefully laid out Shine uses a long straightedge to mark the diagonal so that he can see that the louvers have an even stagger and do not interfere with the blister.
The hood side is now positioned into the louver press double-checking that you’re punching the right way. It wouldn’t be the first time that somebody punched the louvers the wrong way.
16. The hood side is now positioned into the louver press double-checking that you’re punching the right way. It wouldn’t be the first time that somebody punched the louvers the wrong way.
 It’s very important to align the punch with the scribed line for the louver.
17. It’s very important to align the punch with the scribed line for the louver. Get it cockeyed now and you live with it forever, which is the reason Shine does not use the previous louver to line up the next.
Here you can make out that the centerline of the punch is perfectly aligned with the centerline of the louver. Again, you’ve got to get it right or it will look wrong.
18. Here you can make out that the centerline of the punch is perfectly aligned with the centerline of the louver. Again, you’ve got to get it right or it will look wrong.
Second row same as the first but as always being careful to align the punch both ways. One wrong punch now and you’re out for the count.
19. After setting the centerline, Shine eyeballs it from the side for a second time just to be sure. If you drift off line you get what’s called a “monkey tail.”
Once the punching starts it goes pretty quickly, however, Shine checks the position of the punch every time to make sure each one is square.
20. Once the punching starts it goes pretty quickly, however, Shine checks the position of the punch every time to make sure each one is square.
As the hood side moves through the press, shine brings his supports into play to make sure the panel stays square. These supports are especially important when punching large panels and hoods.
21. As the hood side moves through the press, shine brings his supports into play to make sure the panel stays square. These supports are especially important when punching large panels and hoods.
Second row same as the first but as always being careful to align the punch both ways. One wrong punch now and you’re out for the count.
22. Second row same as the first but as always being careful to align the punch both ways. One wrong punch now and you’re out for the count.
Fortié’s finished hood side with three rows of neatly staggered louvers. Of course, that blister will now have to be replaced and welded in without warping the hood side.
23. Fortié’s finished hood side with three rows of neatly staggered louvers. Of course, that blister will now have to be replaced and welded in without warping the hood side. 
When Mick Jenkins of Mick’s Paint decided to louver his Deuce decklid he purchased inner and outer skins from Rootlieb.
24. When Mick Jenkins of Mick’s Paint decided to louver his Deuce decklid he purchased inner and outer skins from Rootlieb. The outer skin was punched by Bryan Wheeler at Wheeler’s Speed Shop in Huntington Beach, CA.
Before the skin went to Wheeler’s, both the inner and outer skins were prepped for paint all the way to being given a coat of PPG DX579 acid-based cleaner.
25. Before the skin went to Wheeler’s, both the inner and outer skins were prepped for paint all the way to being given a coat of PPG DX579 acid-based cleaner.
Meanwhile, the center of the inner skin was carefully cut out and flanged so that it could be screwed back into place and easily removed when it’s time to work on the inside of the outer skin.
26. Meanwhile, the center of the inner skin was carefully cut out and flanged so that it could be screwed back into place and easily removed when it’s time to work on the inside of the outer skin.
A close-up of the two-piece inner skin showing where it is screwed into position.
27. A close-up of the two-piece inner skin showing where it is screwed into position. The screws are not the ones that will ultimately be used, there are just mock-ups.
Finally, after a huge amount of work, a finished decklid for Jenkins’ Deuce roadster.
28. Finally, after a huge amount of work, a finished decklid for Jenkins’ Deuce roadster.
Modern Rodding
VOLUME 2 • ISSUE 14 • 2021