Modern Rodding TECH

InTheGarageMedia.com

1. Bill Jagenow, at Brothers Custom Automotive in the Detroit area, took us on our trip through the exploits of making an early Ford Flathead look and perform the part.
Force-Feeding Title
1. Bill Jagenow, at Brothers Custom Automotive in the Detroit area, took us on our trip through the exploits of making an early Ford Flathead look and perform the part.
Force-Feeding Title
The Flathead Red Text
Brothers Custom Automotive Pressurizes an 8BA With H&H Flatheads’ Reborn S.Co.T. Supercharger
By Barry Kluczyk Photography by The Author
I

n the early days of forced induction, almost all the blowers adapted by rodders were ingeniously based on compressors not designed for pumping more power out of the Ford Flathead. In fact, not even the famous “Jimmy” Roots-type blowers were designed to increase output of the diesel engines on which they were originally fitted.

The GMC 71-series blowers were developed as air compressors to pull in fresh air and push out exhaust gases on Detroit Diesel two-stroke diesel engines. A 6-71 blower was a compressor on a six-cylinder engine, while a 4-71 was a four-cylinder application. Hot rodders adapted the GMC blowers to their four-stroke engines. It should be noted that the number “71” represents the number of cubic inches per cylinder.

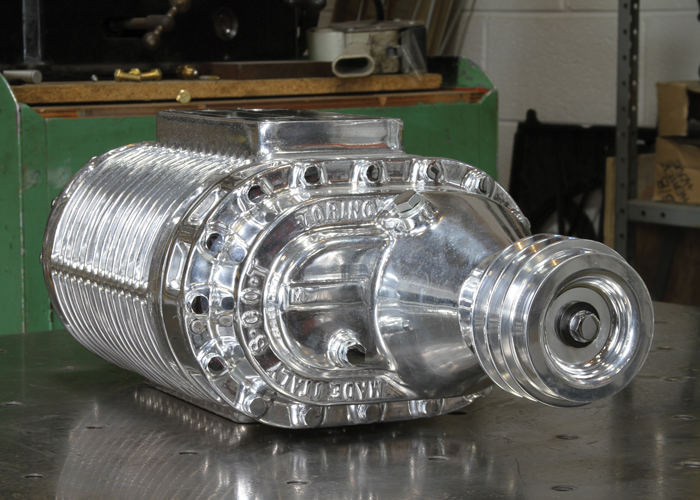
In Italy, however, at the start of the ’50s, fledging manufacturer Italmeccanica Co. developed a Roots-type positive-displacement supercharger specifically for Ford Flathead engines. The original goal was to sell cars with the supercharged powertrains, but while the cars didn’t sell as expected, the blower package drew attention. Kits were developed and exported to the United States.

Interest was strong, but the build quality of the early blowers was lacking, particularly when it came to porosity issues with the case casting and design problems with its one-piece driveshaft. The company dissolved and was reborn as Supercharger Company of Turin (S.Co.T.). The quality of the supercharger improved significantly, but by the time reborn blower kits were hitting their stride, Ford was abandoning the Flathead for the Y-block OHV engine family. Nevertheless, the S.Co.T. and early Italmeccanica blowers have been inextricably linked with Flathead performance.

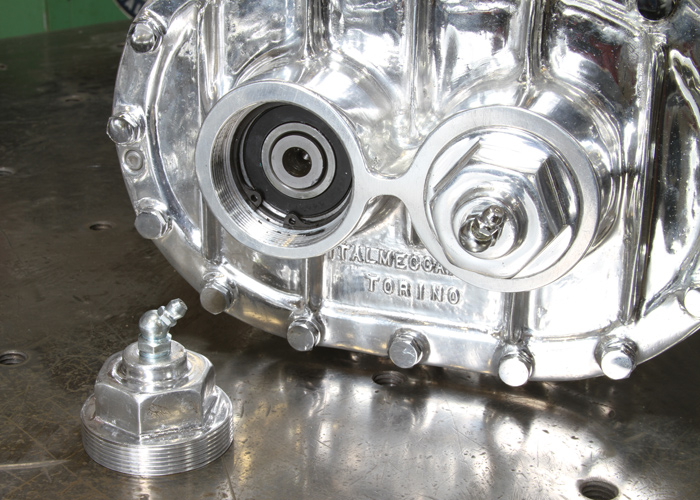
The S.Co.T. blower went out of production but reconditioned compressors remained a popular period speed part for decades. In 2006, California-based H&H Flatheads resurrected the S.Co.T. supercharger with all-new castings and design enhancements that addressed the original’s flaws. The reborn blower looked virtually identical to the original, down to the Italian origin castings in the front and rear plates, but all made in the USA.

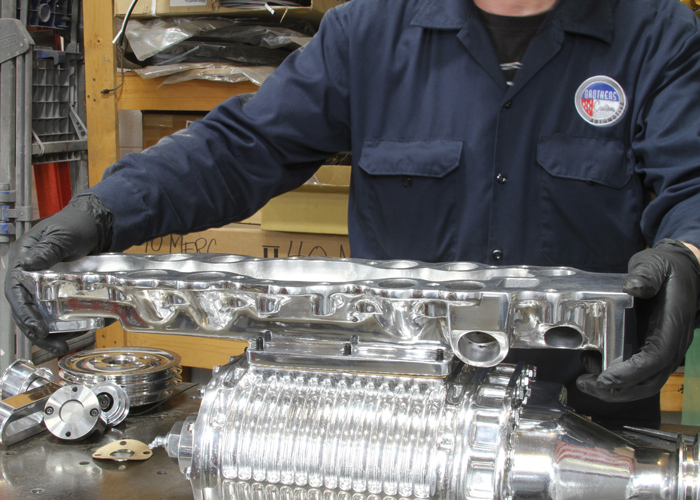
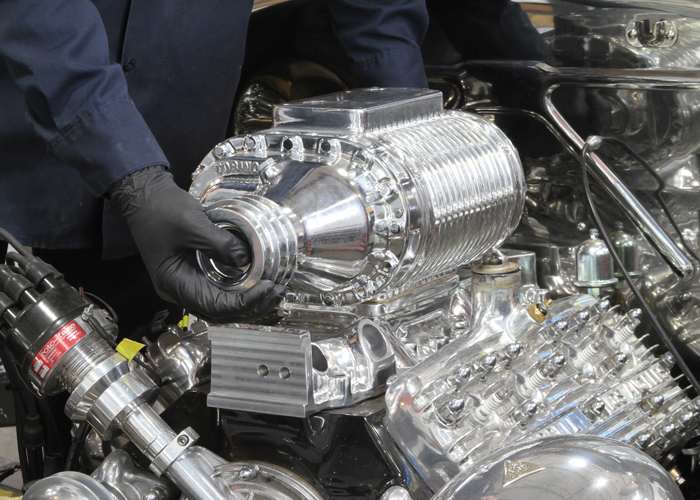
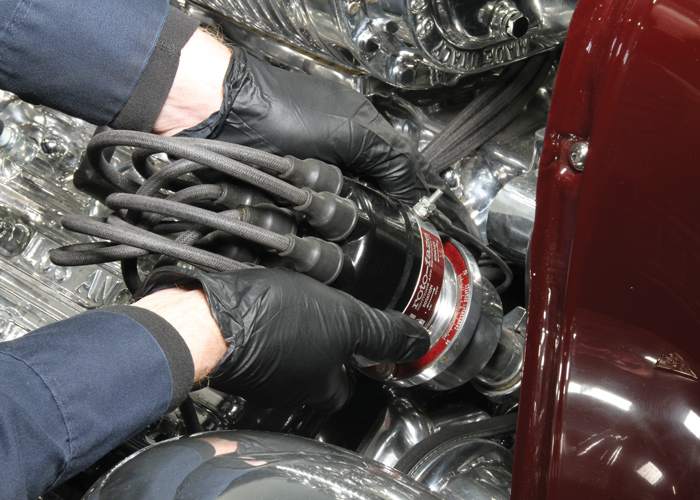
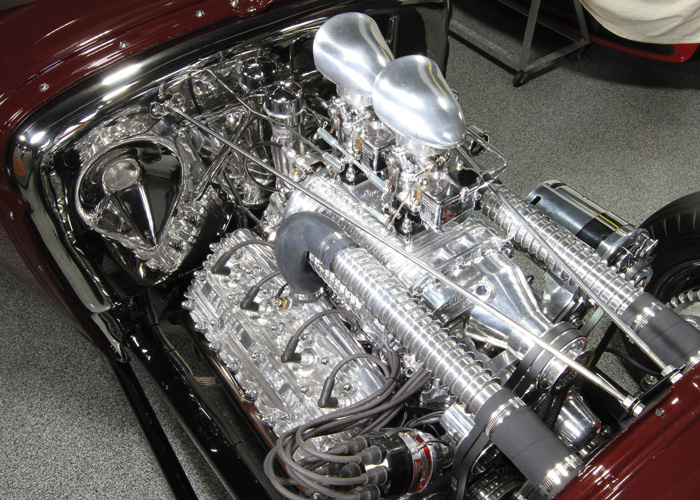
That’s what we’re looking at with this story: The installation of a modern, H&H-produced supercharger system on a Flathead—a 276-inch 8BA (1949-53), to be exact. It powers David Weinberg’s Model A and the installation was performed by Flathead guru Bill Jagenow, at Brothers Custom Automotive in the Detroit area.

On an engine that already had a comparatively low compression ratio of about 7:1 and the kit’s approximate 5 pounds of boost, the blower would pump up the Flathead by an estimated 50 additional horsepower. Not too shabby considering the naturally aspirated engine breathing through a pair of 97s was making about 160 or 170 hp—but it’s also a kit designed more for its nostalgic look than maximum, high-rpm horsepower.

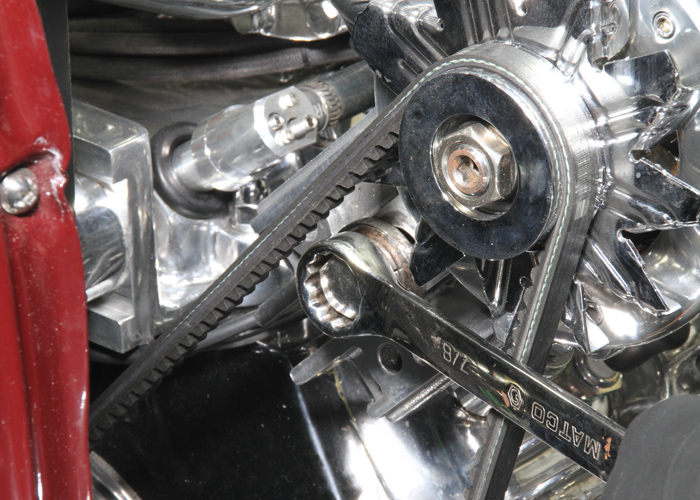
“With the V-belts driving the blower and its modest boost, this isn’t the setup to run the dry lakes,” Jagenow says. “But it nails the traditional look and delivers a serious performance boost to the engine, which is great for the street.”

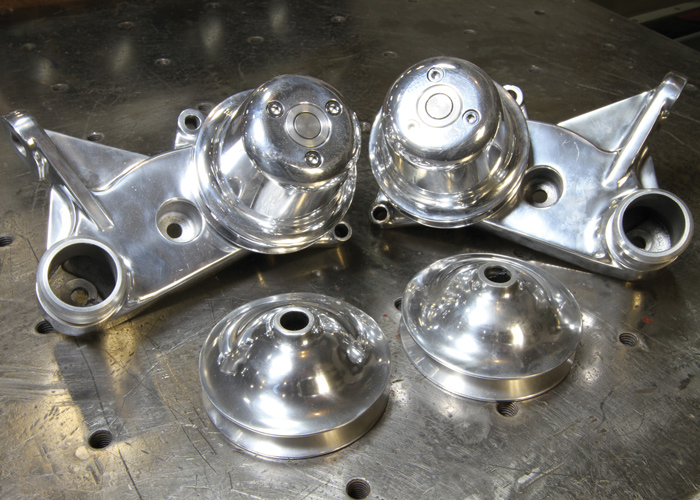
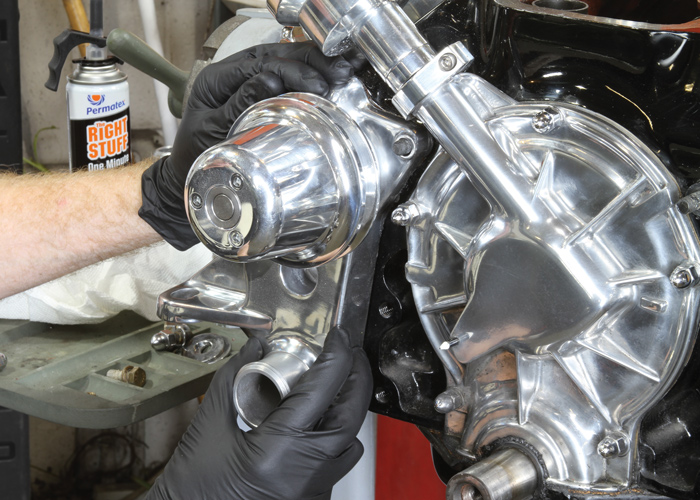
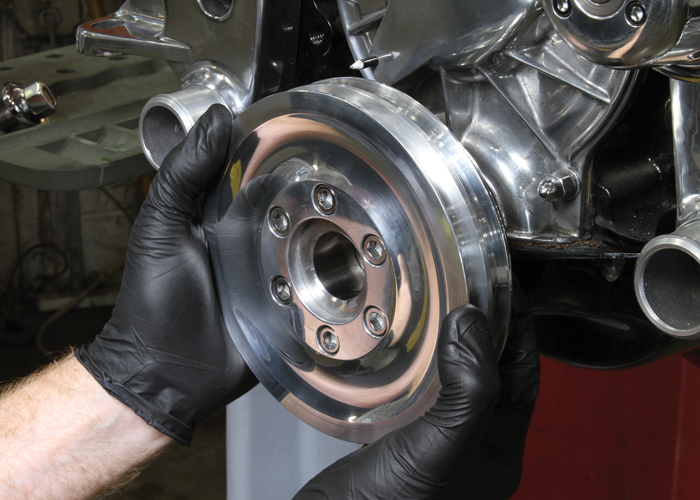
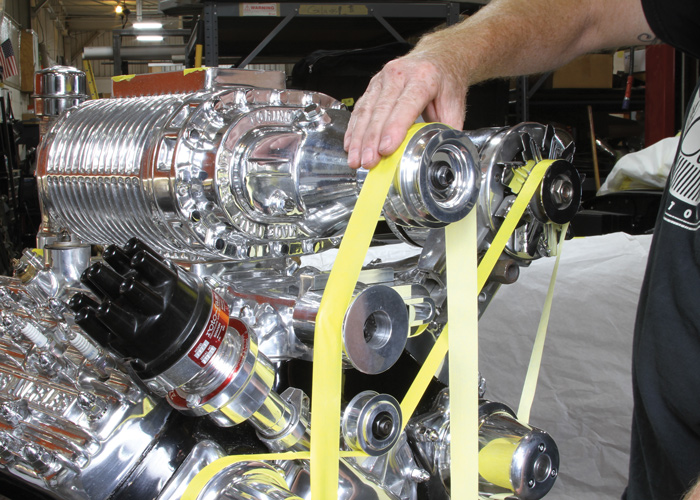
The kit includes the compressor itself, along with the intake manifold, crank pulley, water pump pulleys, and a belt tensioner. That leaves a few things to be sourced, including the drivebelts. While the manifold and compressor bolt on easily enough, it’s not exactly a bolt-on project from start to finish.

“There are almost countless variables with Flathead engines,” Jagenow says. “That’s especially true with all the different factory and aftermarket cylinder heads, which means a variety of potential clearance issues to deal with during the installation.”

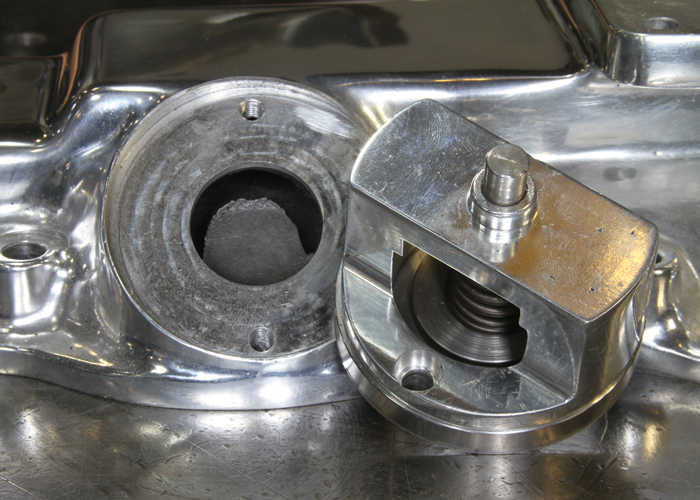
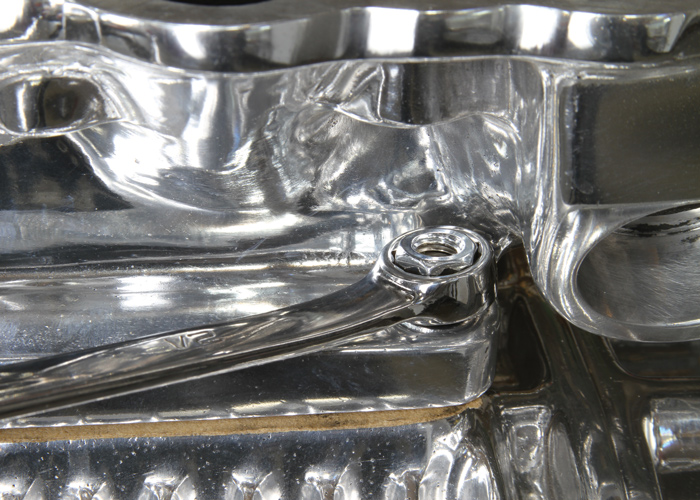
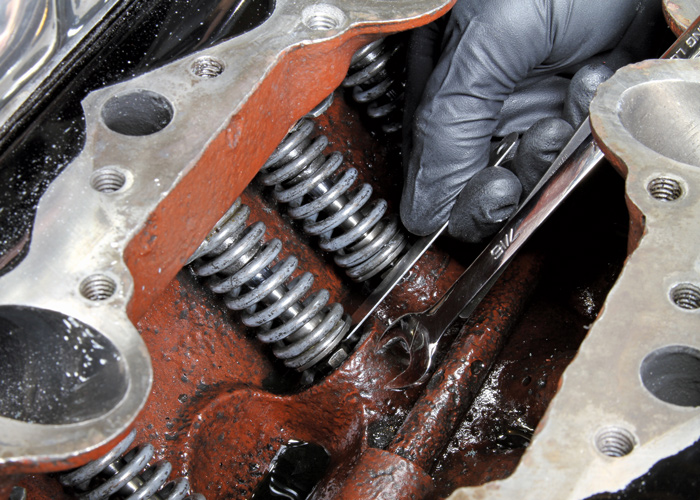
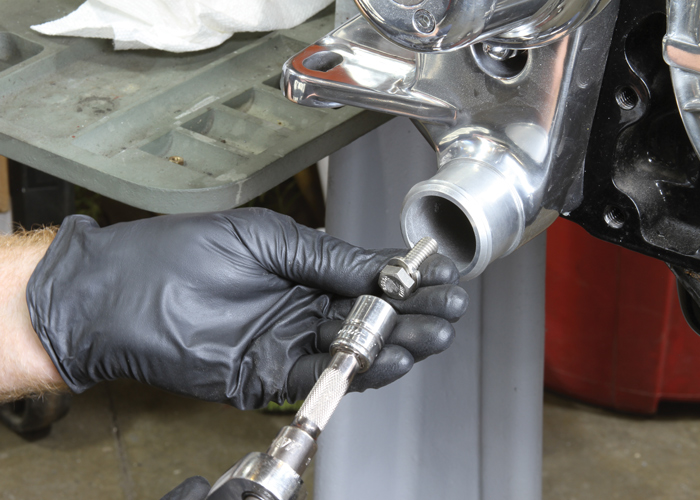
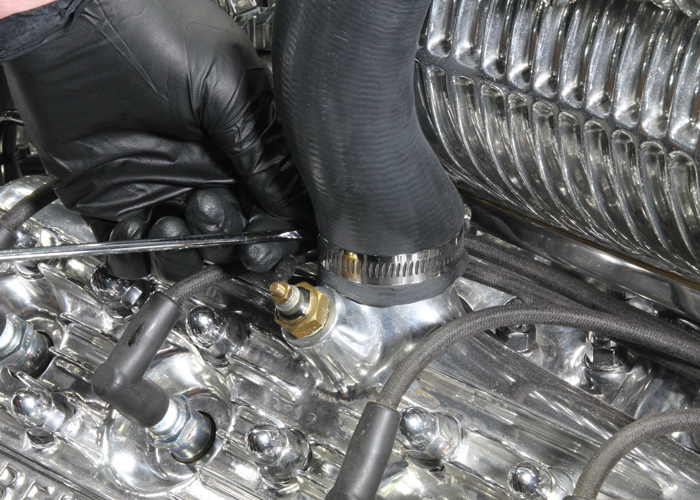
That’s exactly what Jagenow encountered after initially test-fitting the blower and manifold. The bulge of the blower case protruded into the real estate for the thermostat housings of the Harrell cylinder heads, which had early style central water outlets, compared to the front-positioned outlets on a factory-style 8BA design.

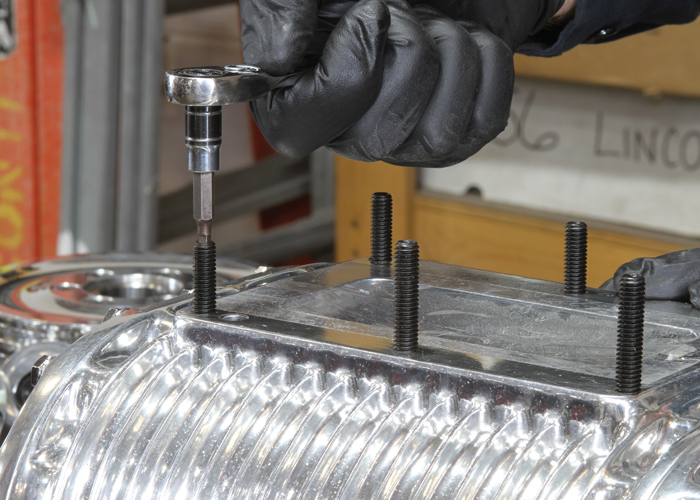
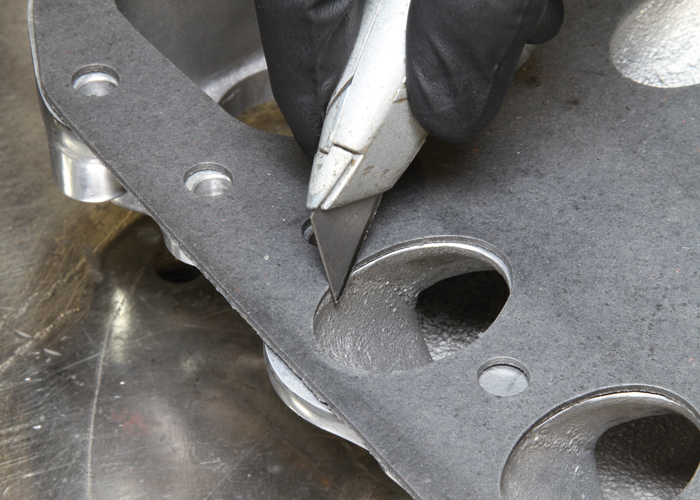
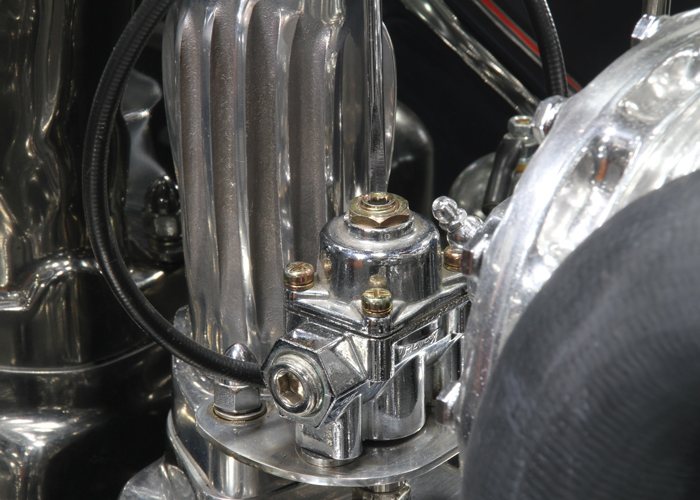
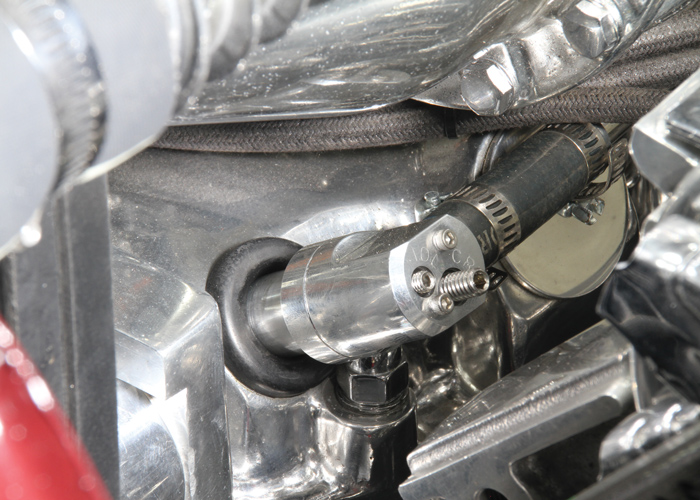
There were a couple of other clearance issues, too, which are detailed in the accompanying photos, but the bottom line is trimming, fabrication, and some other on-the-fly engineering adjustments should be expected.

“With the front-mounted water outlets and top-mounted distributor, the 8BA is probably the easier Flathead design for one of these installations, but they all have their minor challenges to overcome,” Jagenow says. “Every Flathead combination is a little different, so the procedures will vary from engine to engine.”

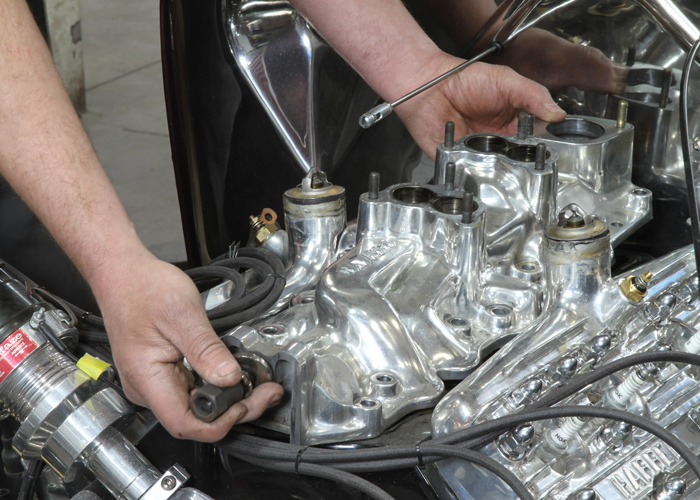
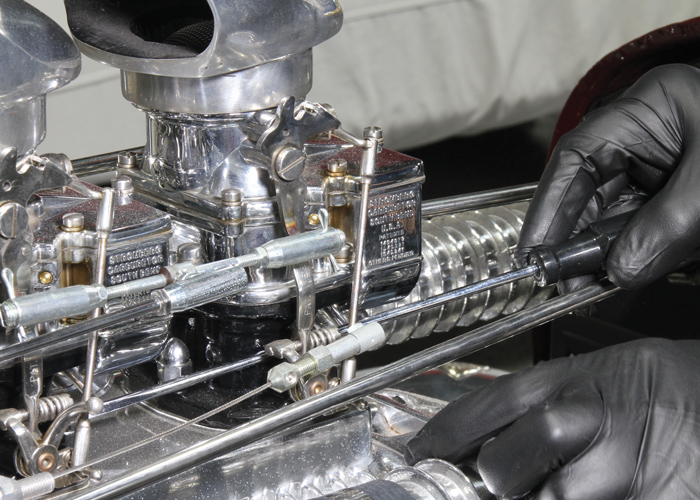
Of course, there are also fuel and ignition timing adjustments to be made, but that’s the case with every supercharged engine. The highlights are outlined in our photos, which are intended to provide an overview of what’s involved.

The basic kit from H&H Flatheads with a polished case starts at $8,500 plus shipping. With the additional components needed for the installation, including the belts and miscellaneous hardware, there is probably $10,000 in the parts tally. Jagenow estimates a professional installation would take 16-20 hours, including the final tuning.

That’s not chump change, but nostalgia has its price. In this case, that vintage look is accompanied by a reengineered supercharger system designed for greater durability and long-term performance—and that adds value.

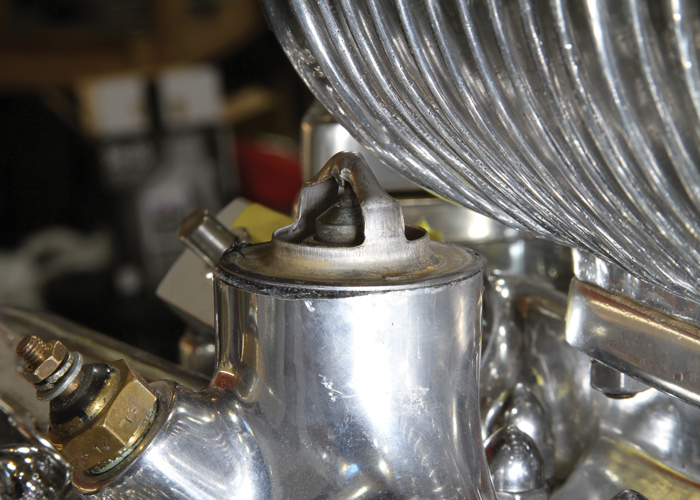
As one of the first dedicated supercharger systems developed for the Flathead, the classic Italian-designed S.Co.T. blower, will always look bellissimo between the heads of one. The improved design of H&H Flatheads’ system makes it a more practical choice than a vintage unit for a hot rod intended to be driven regularly. The kit will simply need some fettling and additional components before it’s ready to force-feed the Flatty.

all chrome parts needed for job
2. Based on the original design of the classic S.Co.T. Roots-type supercharger developed in Italy for the Flathead, the reproduction from H&H Flahteads is updated on the inside for more reliable performance. The kit includes the blower, manifold, crankshaft pulley, and more.
chrome water pump pulleys
3. The kit also includes new water pump pulleys, shown at top, installed on the water pumps with the stock pulleys below. They reposition the drivebelt closer to the engine to make more room at the front of the engine for the blower drivebelts.
chrome blower
4. The blower case is nearly indistinguishable from the original S.Co.T. unit, which had its roots (blower pun not intended) in the well-conceived but poorly executed Italmeccanica unit from the early ’50s. On the Flathead, it should be good for about 5-7 pounds of boost.
another angle of blower
5. A clever homage to the original design is a pair of simulated grease fittings for the rotor bearings on the rear of the blower case. H&H’s updated design uses modern sealed bearings, but the simulated grease fittings look spot-on from the original case.
pressure relief valve
6. A pressure relief valve, which bleeds off boost when the throttle closes quickly, is built into the intake manifold. Some quick measurements showed that on the application for this project there would be an interference issue with the cylinder heads. The mounting pad for the valve would have to be machined to create a shallower installed position for it.
chrome manifold
7. It would seem logical and less cumbersome to install the new intake manifold on the engine and set the blower on top of it, but that’s not the case with this kit. It’s much easier in the long run to mate the manifold and supercharger and install them as an assembly.
tightening nut on manifold
8. The biggest reason for marrying the blower and manifold prior to installation on the engine is the tight clearance for many of the fasteners. It’s easier to do this on a bench with the assembly upside down—trust us on this.
mounting studs
9. There are also mounting studs for the carburetor mounting pad to install along with a gasket. Note, too, the protective cover that comes on the inlet passage. Forgetting to remove it before installing the carburetors will quickly sour the moment when attempting to the start the engine for the first time.
removing old manifold
10. The installation begins with the removal of the existing intake manifold and carbs, along with the removal of the coolant hoses. In some cases, it may be easier to remove the radiator and grille shell, too, to provide easier access to the front of the engine. That was the case here.
adjusting valves
11. Because the engine uses mechanical lifters, the removal of the intake manifold provides a convenient opportunity to dive in, check, and make necessary valve lash adjustments.
razor blade to gasket on manifold
12. Before the supercharger is installed, it’s a smart idea to test-fit the intake manifold gasket and trim material that protrudes into the port openings. This is simple, but effective port matching that ensures optimal airflow in the newly pressurized air charge.
supercharger and manifold
13. At last, the supercharger/manifold assembly is gently lowered in place. It weighs about 60 pounds, or so, which is lighter than a big, GMC-type huffer, but still heavy enough to require care and possibly a second set of hands for positioning.
Roof fabrication complete
14. The aftermarket Harrell heads with their early-style central water outlets, presented a clearance issue with the supercharger case. There wouldn’t be enough room to mount the coolant hoses.
trimmed down water outlets
15. The solution involved trimming the water outlets about an inch to lower the position of the outlets and thermostats. Heads with the later, 8BA-style front water outlets wouldn’t have this problem.
Tire fitting
16. Along with the water outlet mods, the pressure relief valve’s mounting pocket on the intake manifold was machined to lower the installed position of the valve, providing the necessary clearance for the comparatively proud cylinder head.
installing pulleys
17. After installing the new pulleys on the water pumps they’re re-installed on the engine. Adapters included with the kit are required to mate the pulleys with the pumps.
water pump bolt
18. It is easy to overlook the water pump bolts that install inside the outlet ports of the water pumps. Don’t.
installing crank shaft pulley
19. Next up is the installation of the new crankshaft pulley, which is ribbed for two drivebelts.
Grill of '35 chevy
20. Because there were no timing marks on the crankshaft pulley, Bill Jagenow notched the backside of it to create his own.
test fitting belt onto engine with masking tape
21. With the blower and water pumps in place, attention turned to figuring out the necessary belt length. There are different methods for mocking up the belts, such as tape or rope. In this case, masking tape was used to simulate the belt routing, then carefully cut off and measured for the approximate length of the V-belts. There may be some trial and error to get the length just right, but this method should get the installer in the ballpark on the first attempt.
belt placed
22. Along with the correct length, the proper tension or deflection on the drivebelts is also crucial. With this setup there are two blower belts but they do not drive the water pumps. Generally, the water pump belts should have approximately 3/4-inch deflection when pressed in the middle belt’s routing. The blower belt should be tight enough to prevent slippage at high rpm, but not so tight that it could cause excessive pressure and wear on the blower driveshaft’s front bearing.
reattaching coolant hoses
23. Attention turns to buttoning up the installation with reattachment of the coolant hoses on the modified water outlets in the heads.
carburetors reinstalled
24. The carburetors are also reinstalled. They’re the same modern Stromberg 97s used on the engine prior to the blower. According to Jagenow they needed only slight tuning adjustments to accommodate the supercharger, with a slightly richer mix to stave off detonation under boost. Because of the longer distance that mix needs to reach the combustion chambers they need a bit more choke for cold starts.
pressure regulator for fuel
25. The engine will use more fuel under boost, but the fuel pressure remains the same. This engine already had a pressure regulator and the ideal pressure for a carbureted Flathead is about 3.5 psi. A higher-capacity fuel pump may be required, however. In this case, it wasn’t.
belt placed
26. Although not a necessity for the supercharger installation, Jagenow swears by this M/E Wagner dual-flow adjustable PCV valve, which essentially eliminates blow-by, which can be more pronounced on a supercharged engine and the need for a draft tube. That keeps the engine cleaner, too, eliminating oil vapor on it.
27. The other tuning variable is ignition timing. A supercharged engine requires less base timing, and 2 degrees less advance for every pound of boost. Again, each engine’s needs vary, but getting the timing correct with a supercharger is imperative for preventing detonation that could kill the engine.
blower fully installed
28. With the polished blower complementing the other polished components on this force-inducted Flathead, the modern recast of the original S.Co.T. supercharger provides visual and visceral excitement to a traditional hot rod.
Brothers Custom Automotive
(248) 760-0700
www.facebook.com/brotherscustomautomotive
Modern Rodding
VOLUME 4 • ISSUE 32 • 2023