Modern Rodding Tech
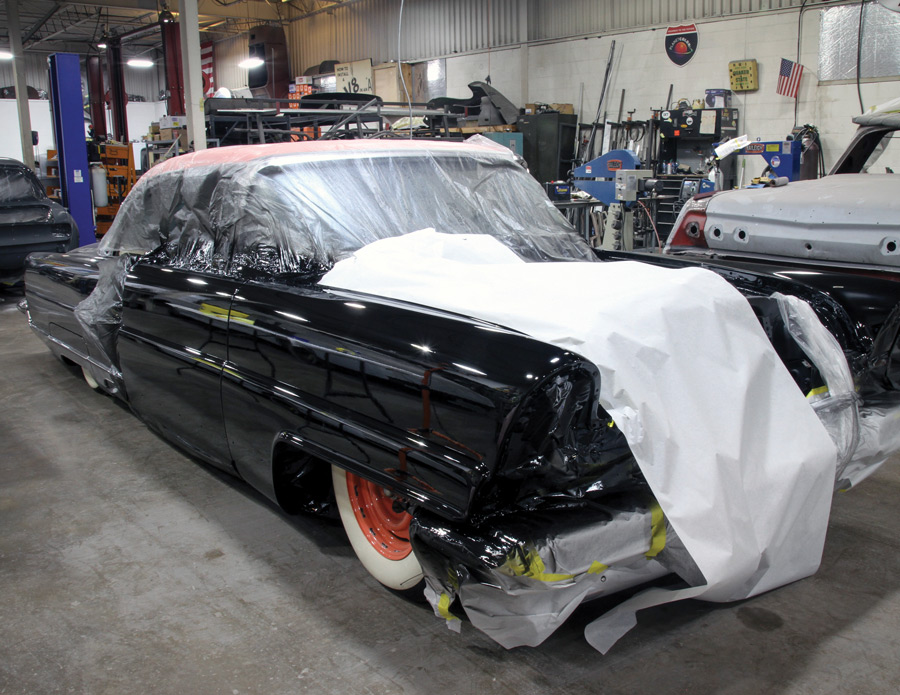
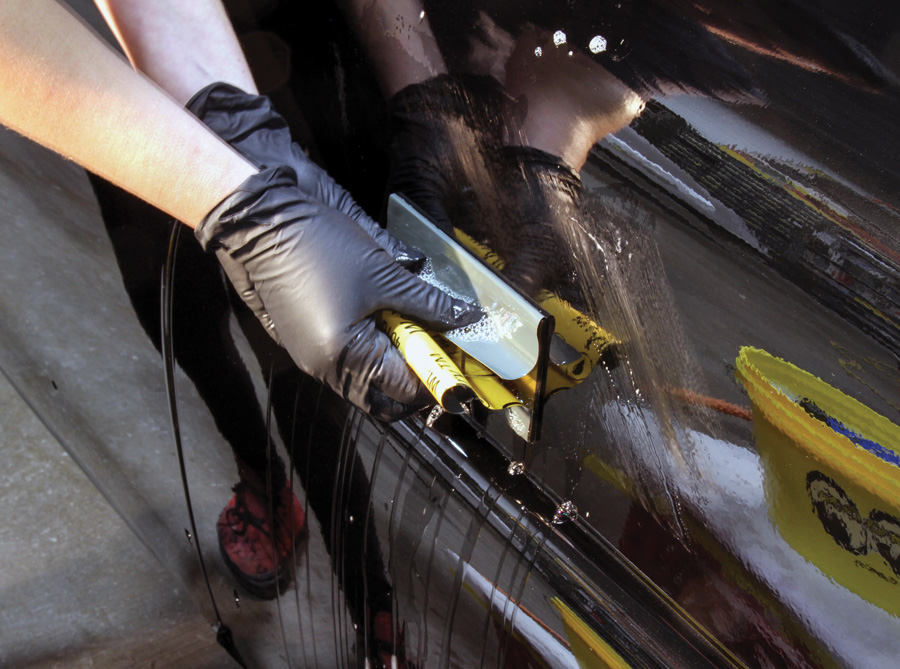
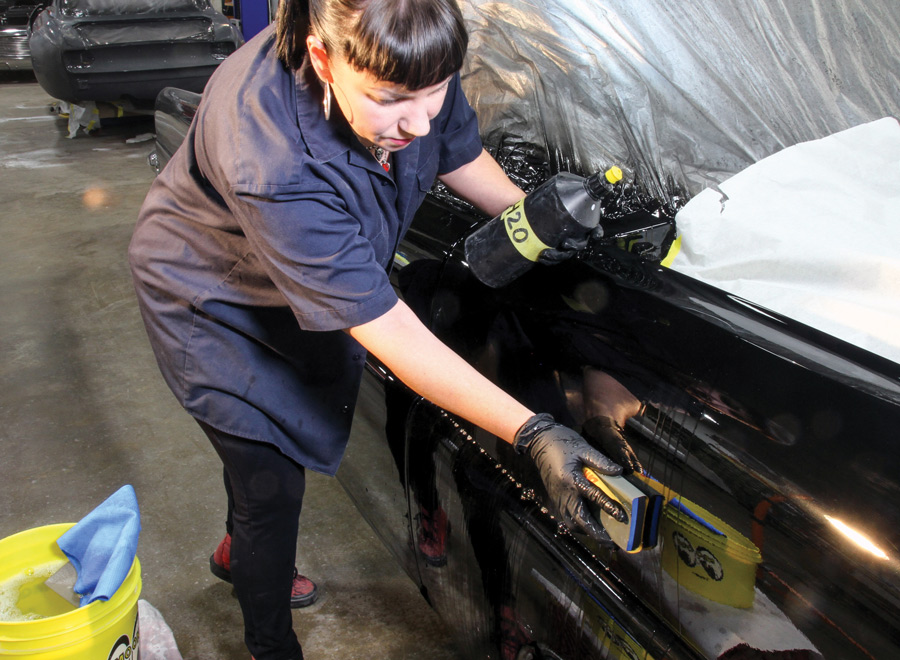
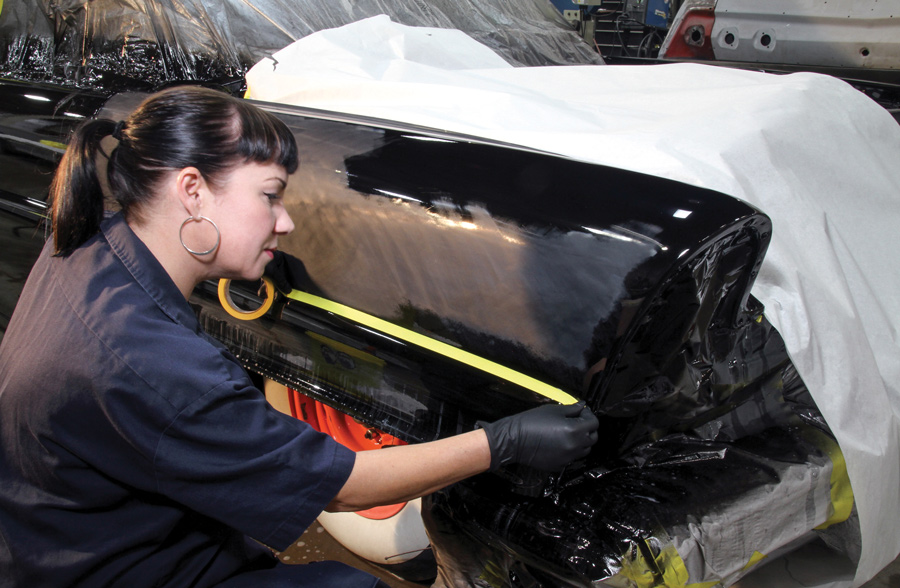
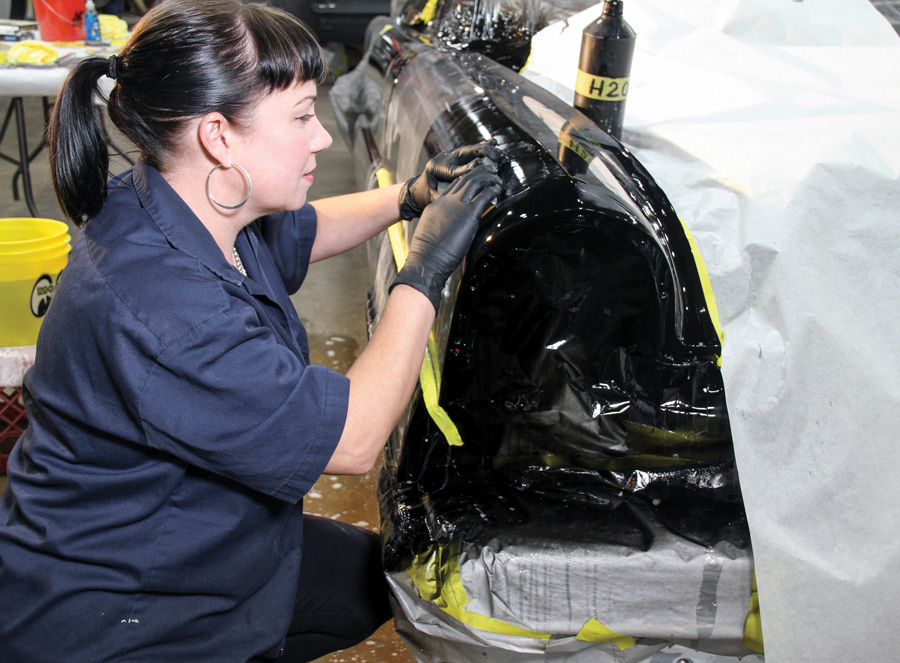
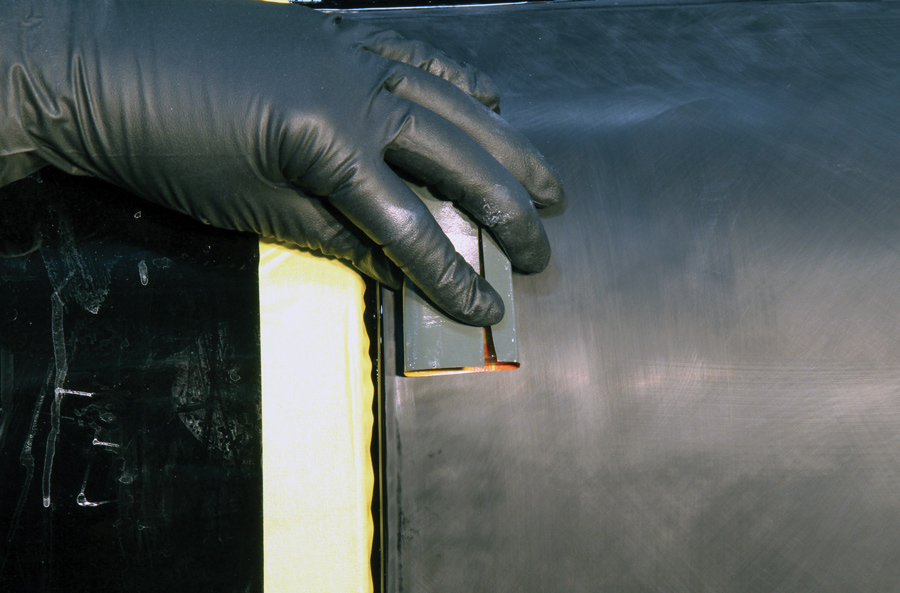
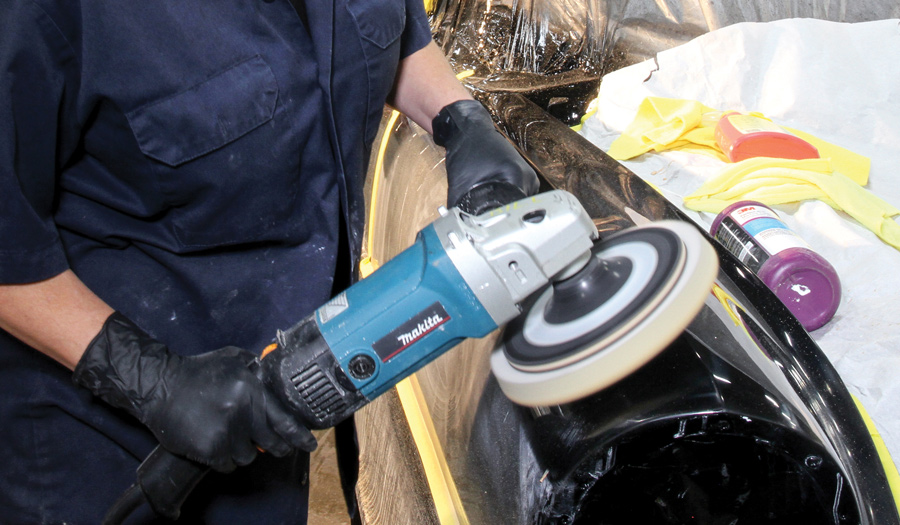
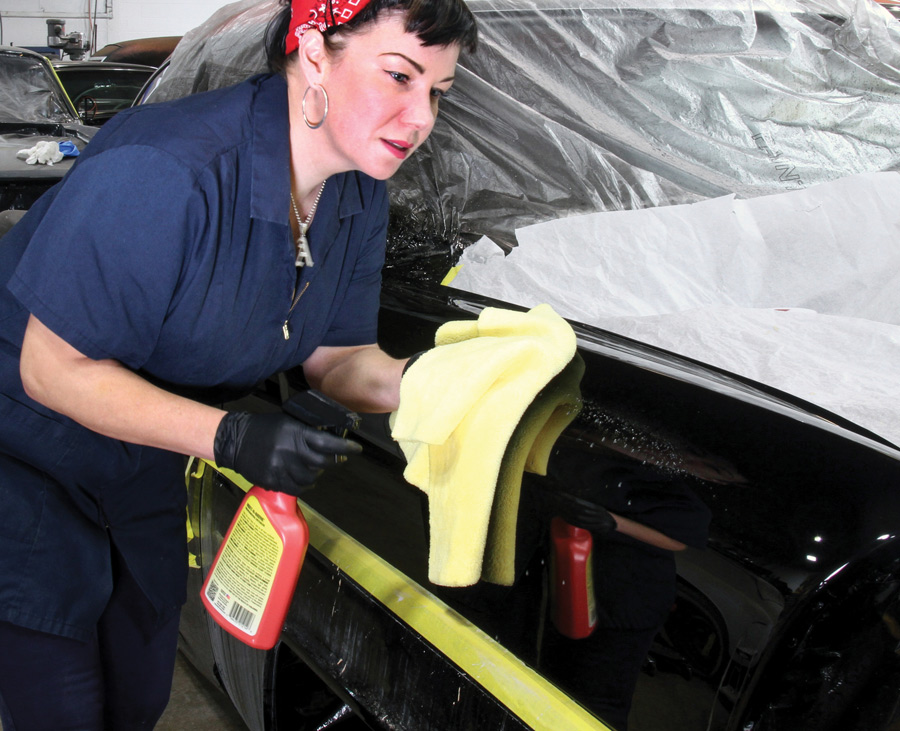
1. Autumn Riggle of Brothers Custom Automotive is seen here color sanding Bill Jagenow’s ’56 Lincoln.

By Barry Kluczyk  Photography by THE AUTHOR
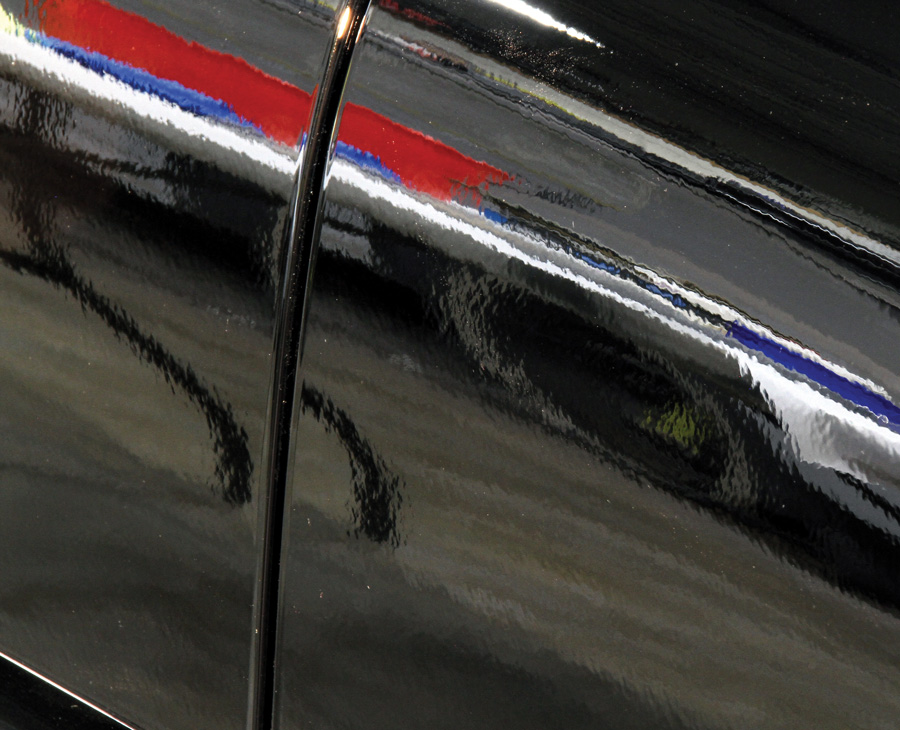
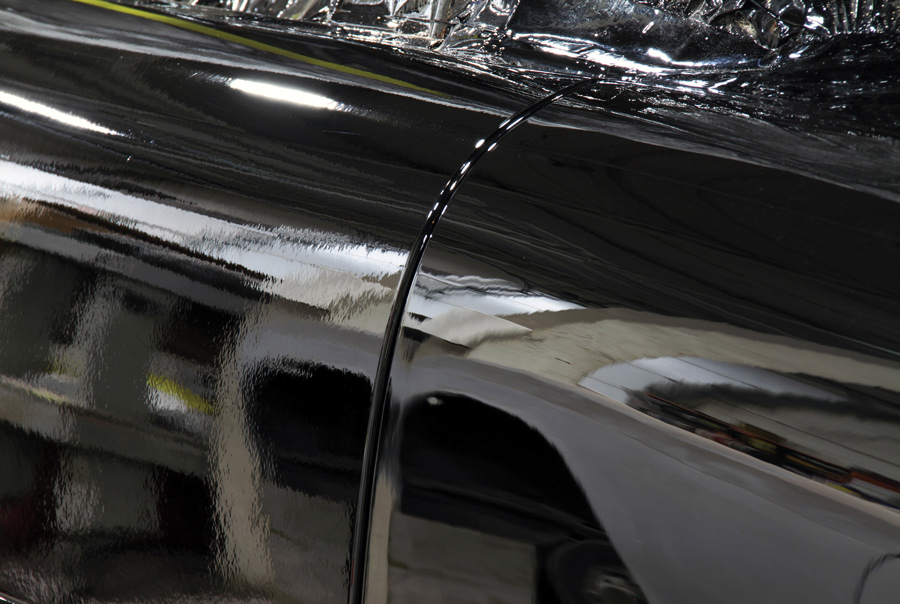
flat, deep, mirror-like finish in a fresh paintjob draws respect like few other attributes in a build, but it doesn’t come from the spray gun. Color sanding and polishing are the key.
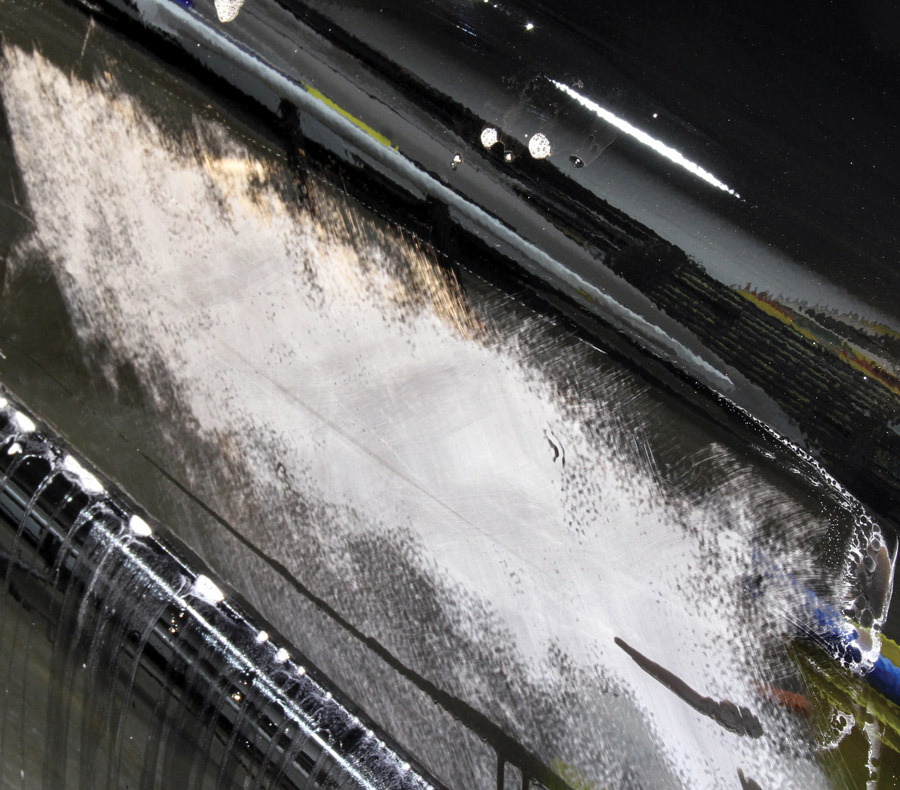
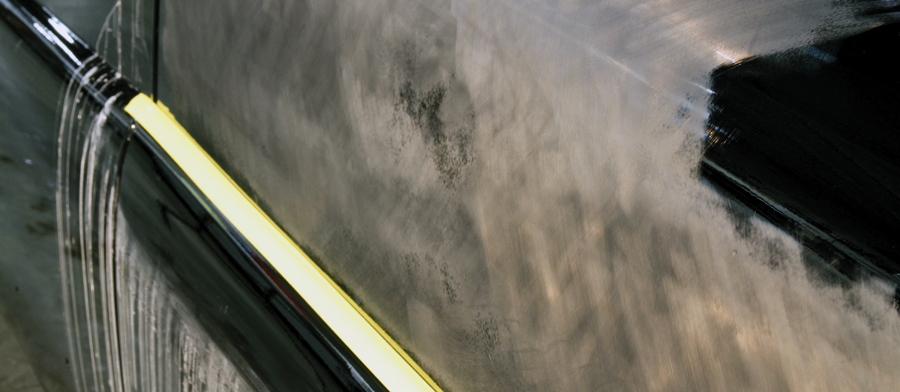
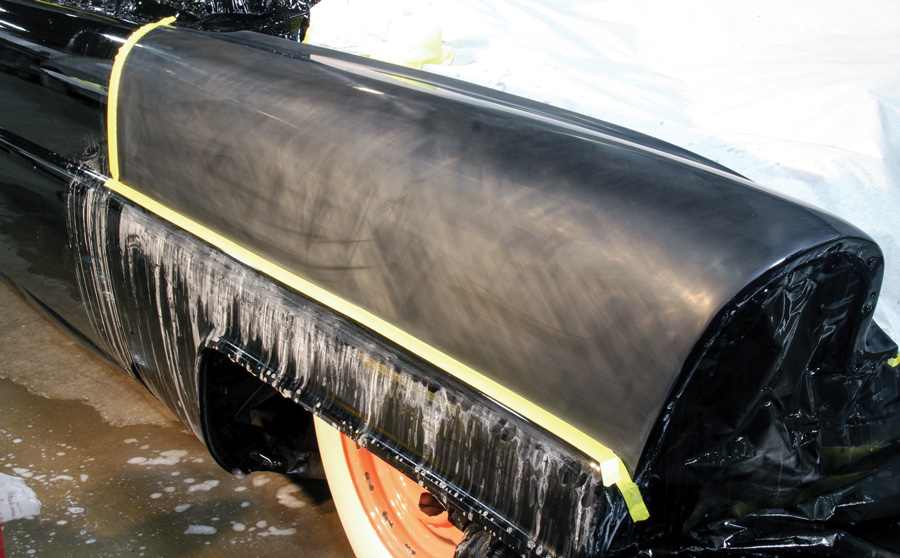
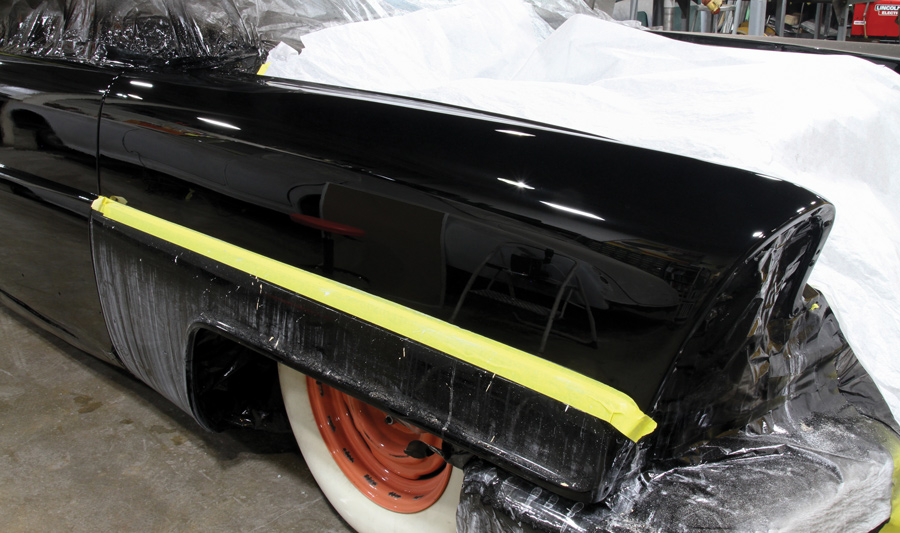
The surface must be cut and polished to flatten the inevitable “orange peel” texture on the painted surface. Several factors, from the ambient temperature, air pressure for the gun, the paint materials, even the number of coats, will affect the degree of orange peel, but the bottom line is color sanding and polishing are mandatory for a truly flat finish.
Speaking of the bottom line, it’s also true the process is very time-consuming, requiring perhaps days of work to get it right. The paint shop or resto shop will do the work, but it could add dozens of labor hours to the tab. At least.
Color sanding and finish polishing are tasks, however, the do-it-yourself enthusiast can tackle at home and deliver excellent results. Yes, it’s a time commitment, but with the proper tools and materials, it largely boils down to patience and an eye for detail—and the courage to take sandpaper to a new paintjob.
We enlisted the help of Autumn Riggle, at Brothers Custom Automotive, near Detroit, to demonstrate the process on shop owner Bill Jagenow’s black ’56 Lincoln Premiere. It had been involved in a minor fender bender and the consequential bodywork required a respray of the front end sheetmetal and doors with PPG Vibrance basecoat and clearcoat. As they readied the car for the Detroit Autorama, we looked over Riggle’s shoulder as she transformed the spray-booth-fresh paintwork into a show-quality finish.
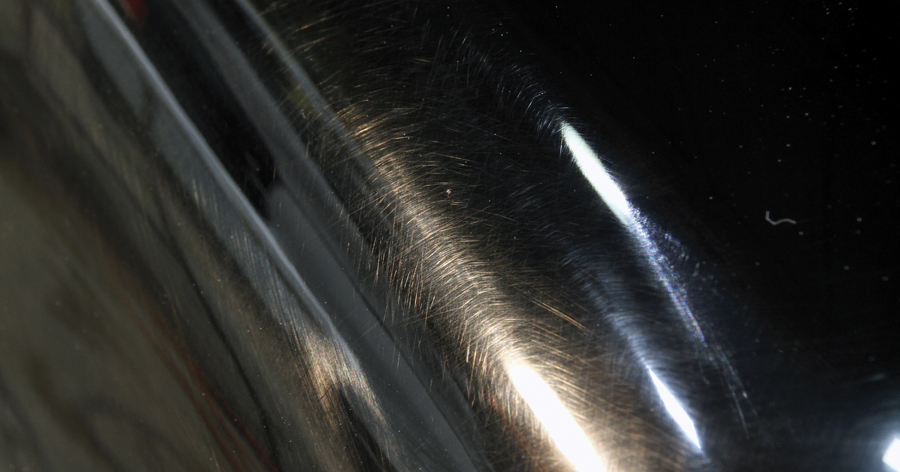
It was a challenging subject, too, as black is the most unforgiving color when it comes to exorcising every sanding scratch or paint imperfection.
“You’ll see things in black that wouldn’t even be noticeable in lighter colors,” she says. “The truth is, you may get to a point where, even after polishing, you’ll still see some sanding marks, which means you’ll have to start over with sanding and repeat the process.”
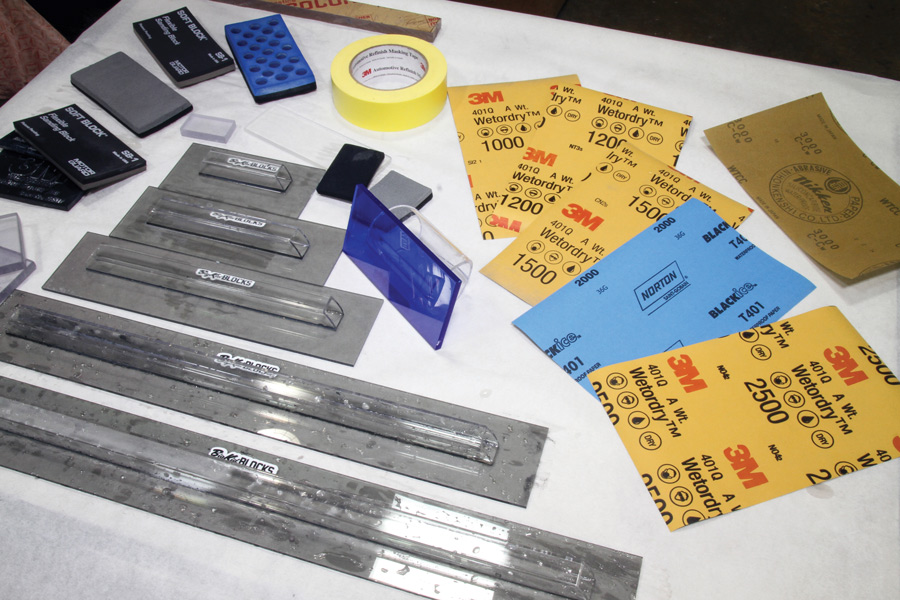
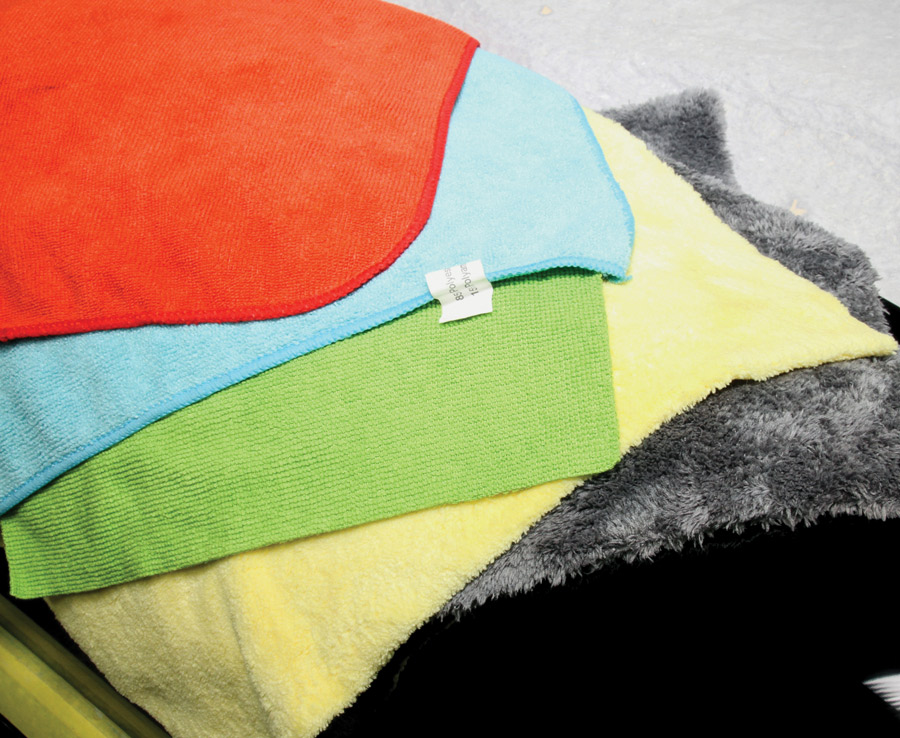
Corners can’t be cut here. All the materials are necessary to achieve the desired results. While the accompanying photos show a greater variety of materials, from the sanding blocks to different electric polishers, the results can be achieved with only a single polisher and fewer sanding blocks.
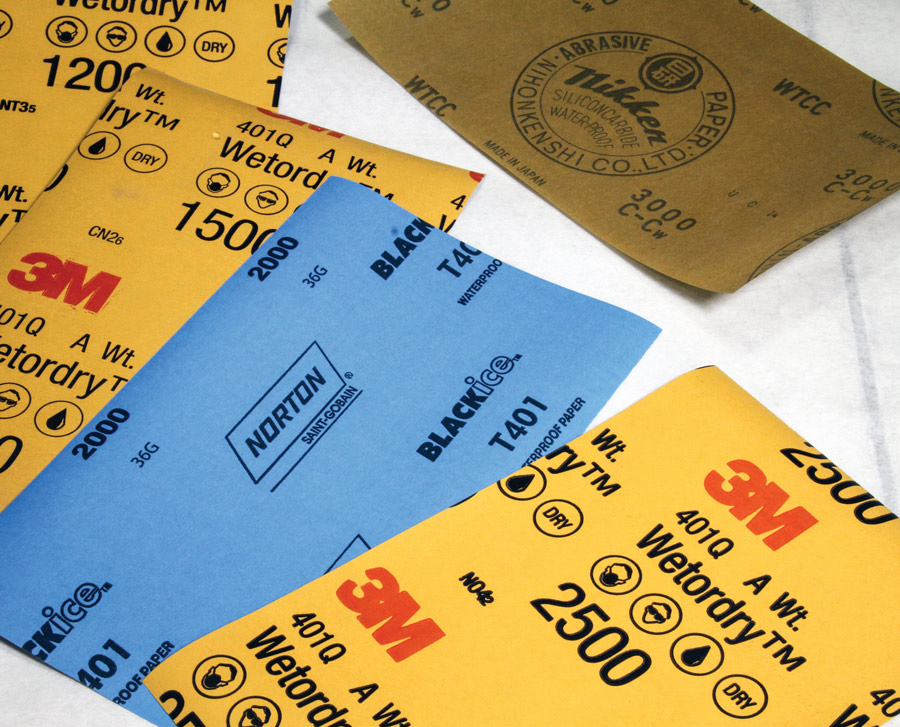
- Sandpaper suitable for wet sanding. Depending on the severity of the orange peel, begin with 1,500- or 2,000-grit sandpaper and move up to 3,000-grit.
- Sanding blocks of various sizes, including soft blocks.
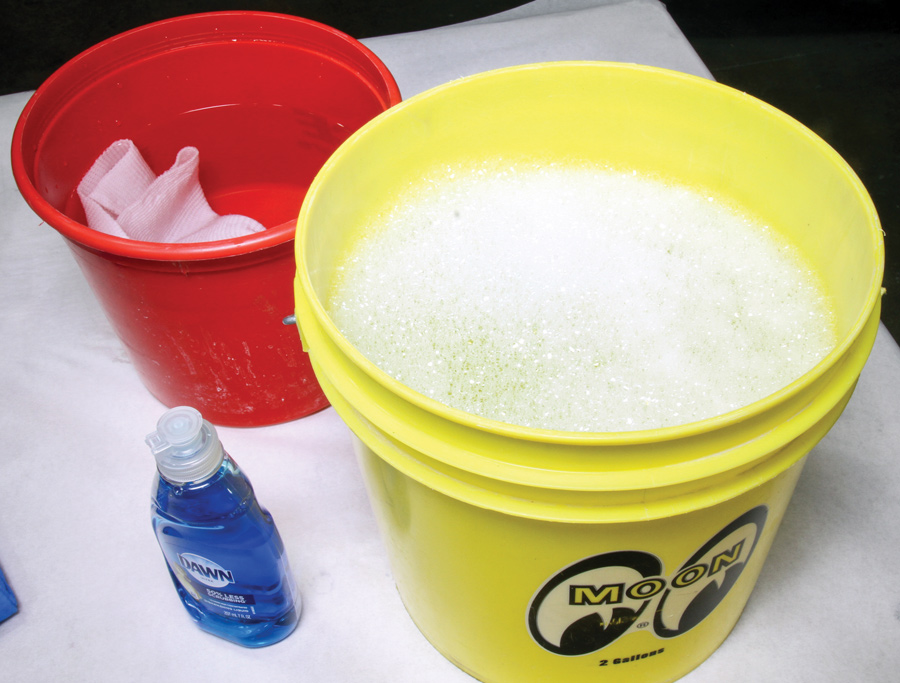
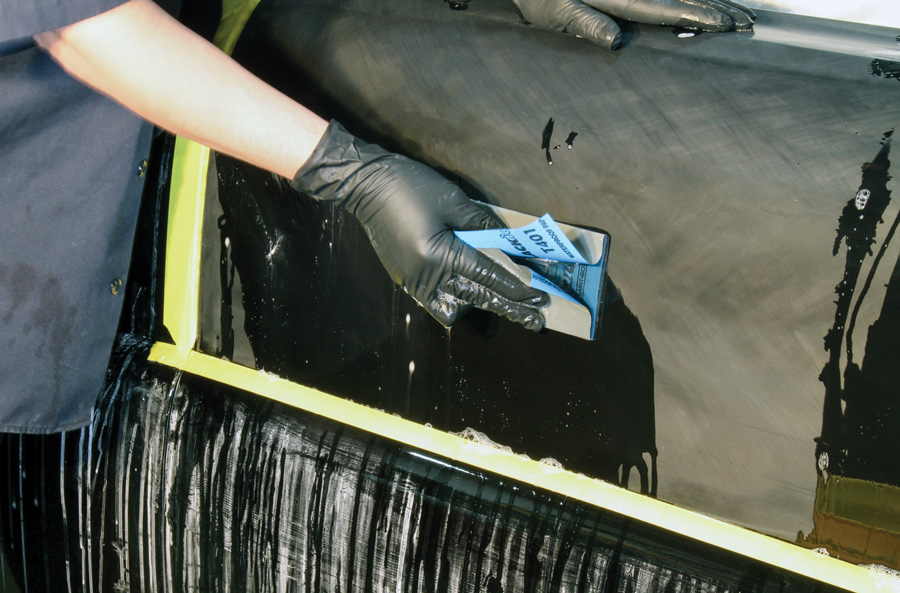
- A bucket of water mixed with liquid soap.
- A sponge or water bottle to keep the surface wet during sanding.
- Microfiber cloths.
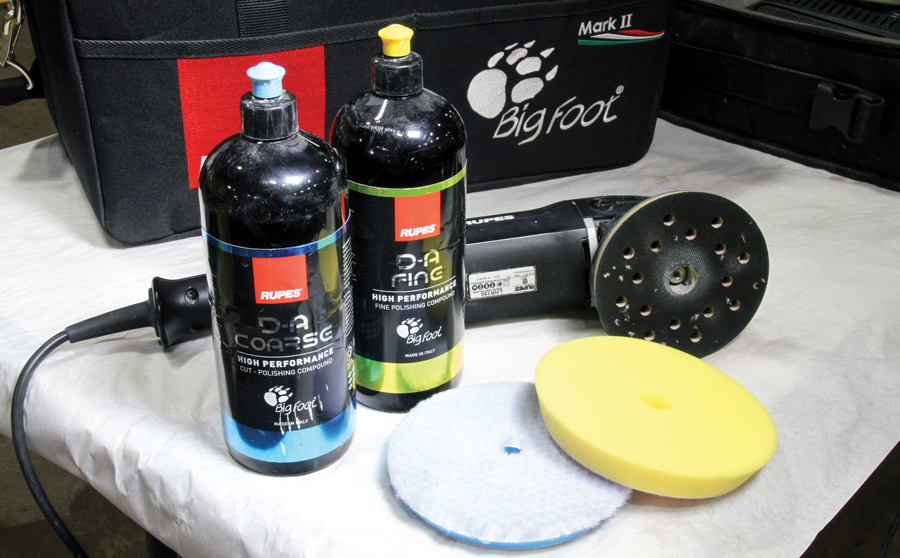
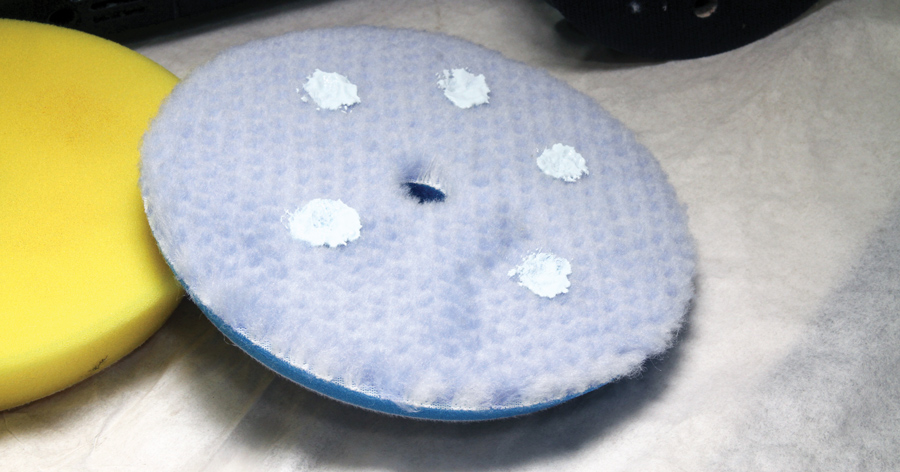
- An electric polisher with coarse- and fine-grade pads.
- Medium-grade rubbing compound.
- Fine-grade polish.
By the way: The steps outlined here also apply to restoring severely oxidized existing paintwork, although you’ll typically start with 1,000- or 1,200-grit sandpaper to cut down the texture. The caveat with this type of paint restoration, of course, is it is very difficult to determine the depth of the underlying paint, making it easy to burn through it altogether. That’s particularly true on factory paintjobs, which often used notoriously thin layers of lacquer.
A modern basecoat/clearcoat system, such as the process used with Jagenow’s ’56 Lincoln, provides more surface depth for sanding, but it’s no guarantee.
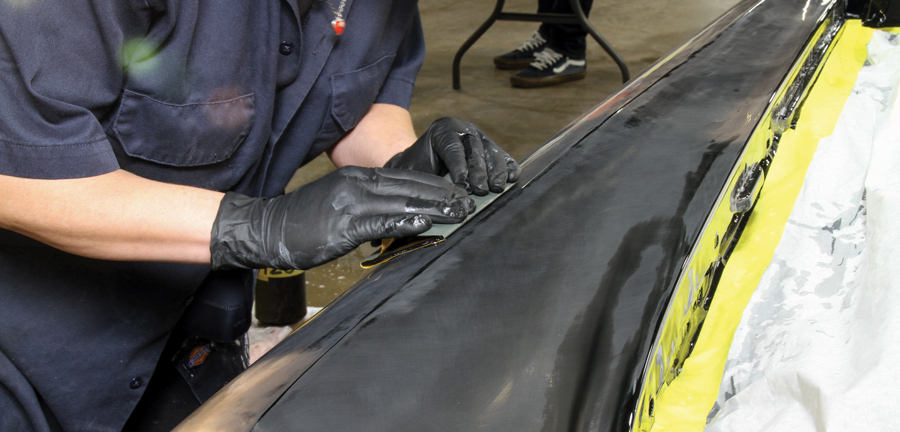
“No matter what, you have to be careful around edges, peaks, and corners where the paint depth is often not the same as the rest of the surrounding panel,” Riggle says. “You have to use different techniques and different sanding blocks to accommodate the variances.”
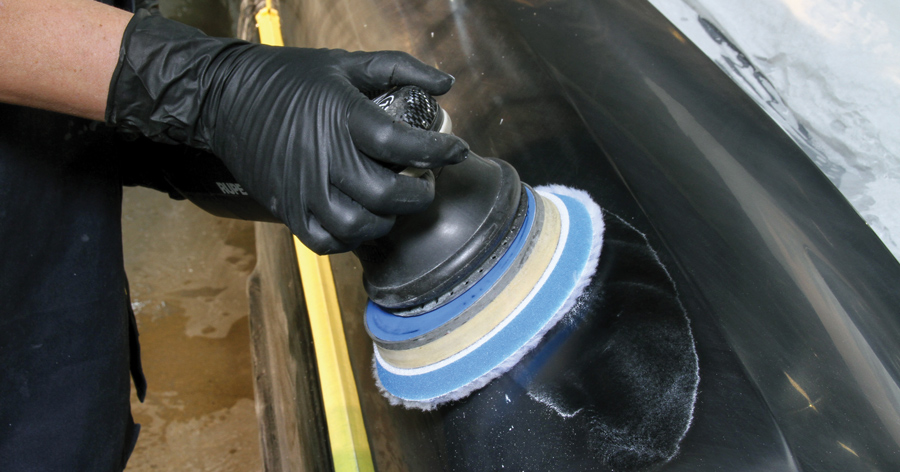
Along with the sanding techniques, there are preferred techniques for the polishers—orbital style and conventional rotary versions. Orbital polishers are generally lighter, easier to maneuver, and more forgiving, but they generally don’t deliver the tactile feel of a variable-speed rotary polisher. A rotary polisher can also be a little more dangerous to the finish if the user doesn’t keep the head moving continually or the speed of the head is too fast.
“It takes practice and caution, but you’ll get that flat surface and deep finish if you work at it,” Riggle says. “You take your time and work as slowly as necessary.”
In other words, patience and an eye for detail will make all the difference in elevating the appearance of your ride. Grab that bucket of water and sandpaper and get going—you can do this.

VOLUME 3 • ISSUE 20 • 2022