Modern Rodding TECH

InTheGarageMedia.com

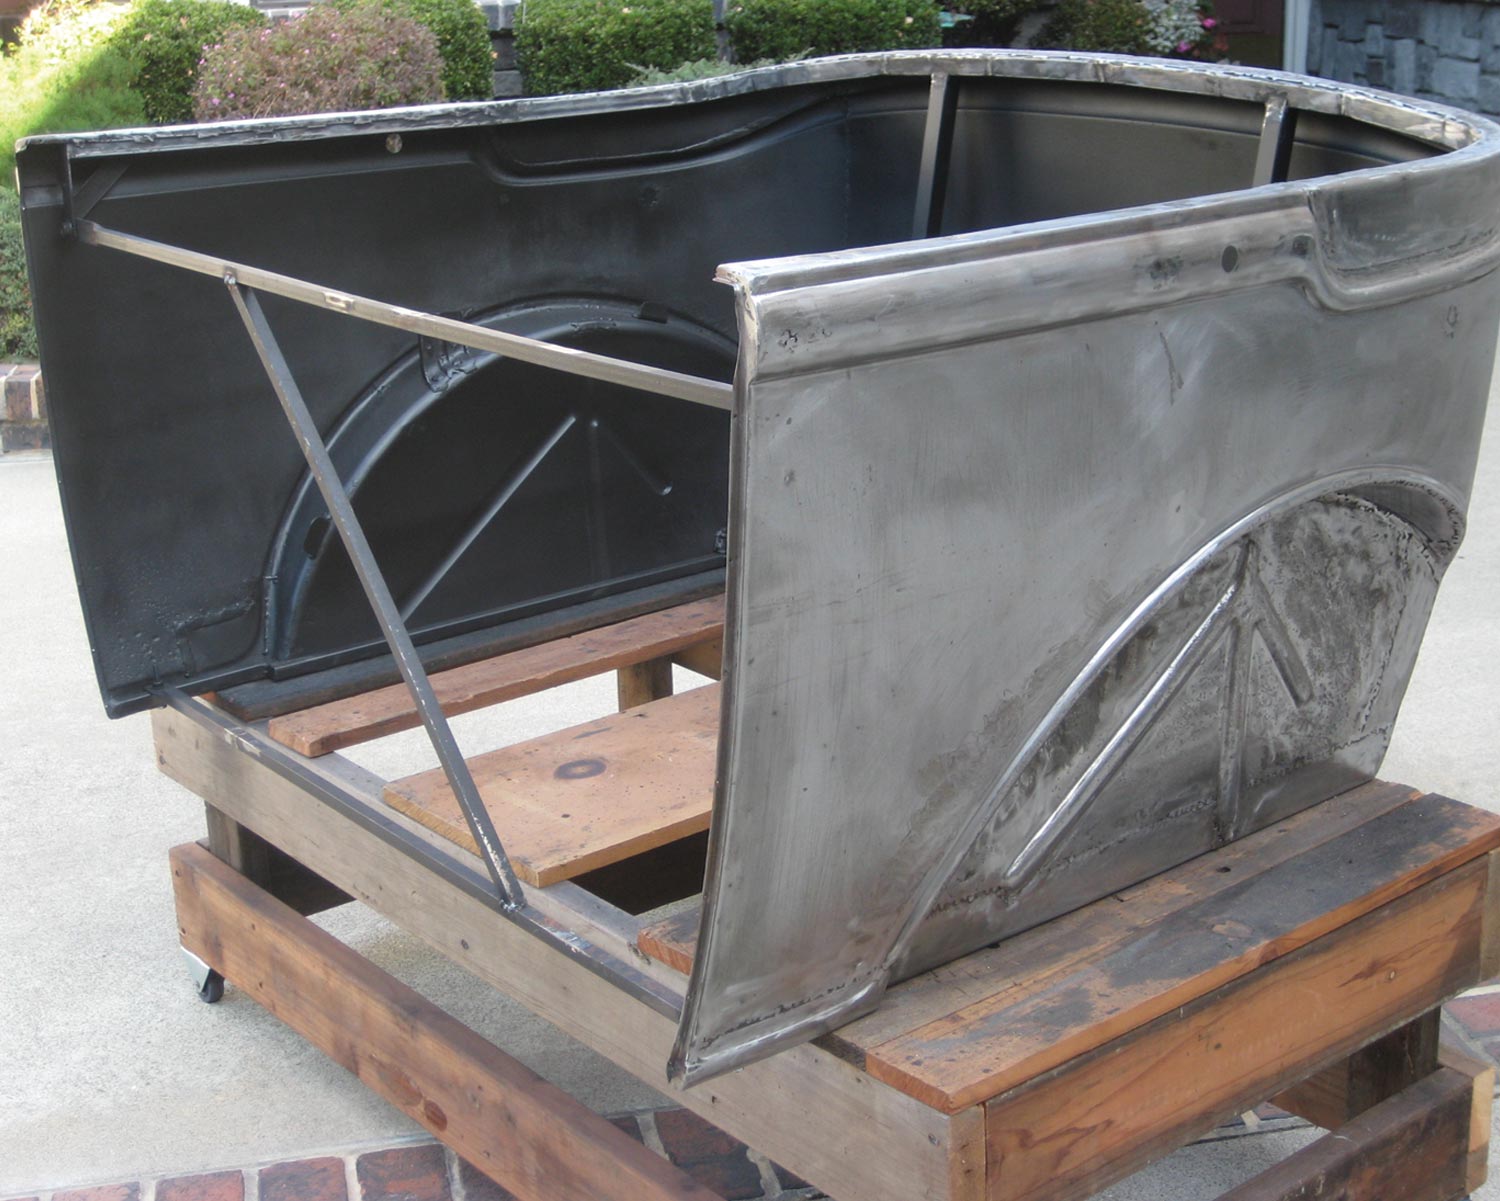
1. What began as an empty tub was finally assembled on a Deuce frame. The result is a very traditional hot rod Tudor tub.

By Gerry Burger Photography by Art Fortin

Tale of a Tub typography
Part 2: Bringing Vintage Tin Back to Life
W

hen Art Fortin decided he had “one last build” he knew he wanted something traditional yet different, so he settled on a Model A DeLuxe phaeton. The DeLuxe phaeton is the Tudor model, while the standard phaetons are all Fordor models. Now, we all know deciding on the body you want and locating that body can be challenging. The ’30-31 DeLuxe phaeton is relatively rare by Ford standards, so much so Fortin had resigned himself to using an old Gibbons glass body he bought at a swap meet with plans to possibly use it as a template for new steel panels. When a steel body presented itself the fiberglass body was sold.

It was during a bench racing session at the 2010 Goodguys Pleasanton event that a fellow rodder mentioned he knew of a genuine steel body, but it was located in New York. Phone calls were made and there was an agreed price, but now the challenge was how to get the body home from the East Coast. The owner said the body could be brought to the huge Hershey Swap Meet for delivery. As fate would have it, Fortin is friends with Bill Perry, owner of All Ford Parts and they go to Hershey every year hunting for great vintage parts. They rent a huge van and several people rent space on the van to get their parts home. Bill was looking for a driver, and Fortin and his pal Ben Barnhart jumped at the opportunity to drive coast to coast, take in a great swap meet, and pick up the ’31 Model A tub in the process.

In our last issue (Apr. ’22) of Modern Rodding we showed the chassis construction, a beautifully homebuilt frame based on a set of original ’32 framerails. The entire build is themed on the ’58-60 time period and the gutted body was the perfect start for this highboy project. Well, maybe perfect isn’t exactly correct. The body was showing rust in the wheelwells and other lower extremities, there was no floor, but it had a very nice firewall. Yes, it was a bit rough around the edges, but it was a great start.

Like the chassis, the bodywork would be completed in Fortin’s home shop. Work began at the rear of the body as it was imperative that the wheelwells were centered on the rear wheels. Fortin took a unique approach to the body, assembling it in three independent pieces, beginning with a newly fabricated floor in the rear portion of the body from the B-pillar back. The doors determined the distance between the rear portion of the body and the cowl section and a new floor section was fabricated to the proper door opening. The cowl section had a new floor fabricated to fit the contours of the ’32 chassis. The original Model A uses wood headers to connect the front and rear body sections and while new wood was included with the body, those headers would not work on the Deuce frame, so Fortin decided on the three-piece approach with steel connecting headers rather than wood. This also allowed him to perfectly gap the doors.

The rust repair involved replacing one wheelwell and fabricating a new doorskin for the passenger side door. Other lesser rust was repaired around the lower extremities of the body. The center of the rear section now has a nice cutout formed to expose the vintage Halibrand quick-change rear. A pair of recessed ’46 Ford taillights are found on either side of frenched license plate. A mild recess was formed in the firewall for distributor clearance and the entire body was braced with box tubing. It was decided early on to eliminate the rear seat in the car and use that space as storage. It would also locate the gas tank and the battery, and it is all covered with a very cool hard tonneau cover. The original Model A gas tank was cut out and the front panel is now the basis for the custom dashboard.

The doors and the hinge pillars are still framed in wood to facilitate the original hinges and latches. A ’32 Ford windshield is laid back and while Fortin found the Deuce windshield fit better than a Model A in the laid-back configuration, it also required a set of custom-fabricated windshield posts that Fortin mentioned “was a ton of work.”

When all the fabrication was complete routine bodywork followed with the custom-mixed maroon paint being laid down by Henry Rossi, and while there are many more details, we’ll save that for the final feature story, for now let’s dig into how to rescue a 91-year-old body in a home shop.
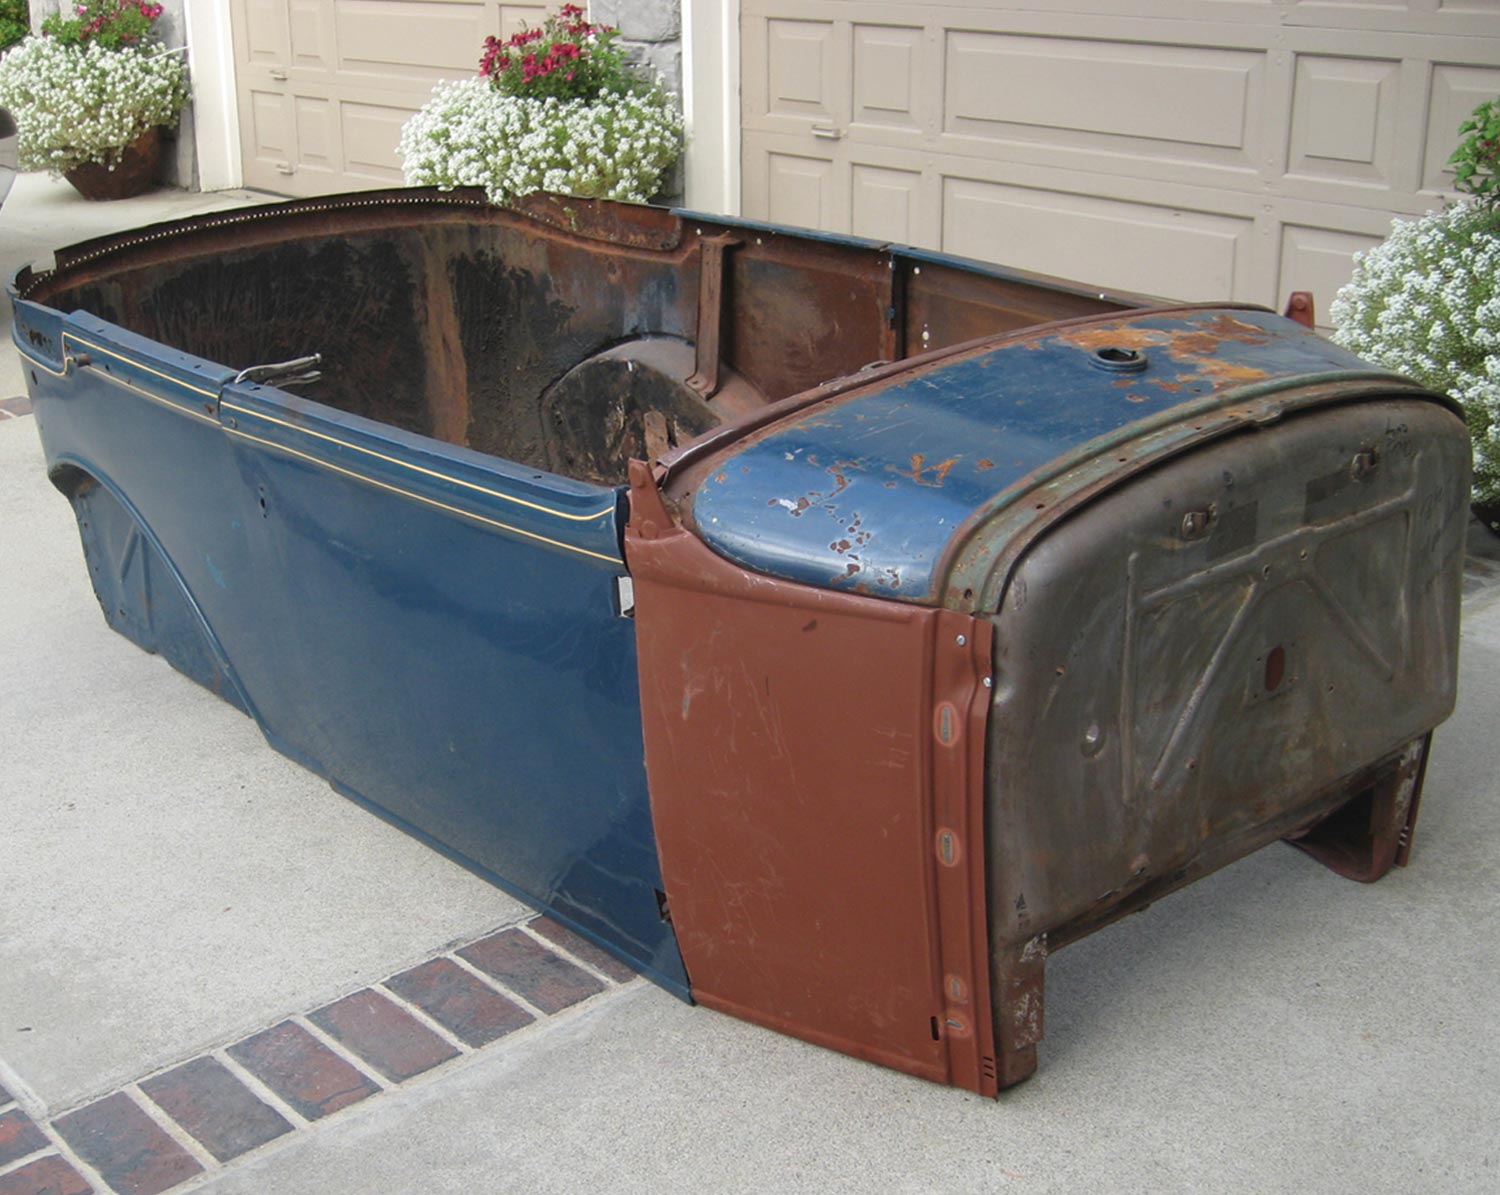
the body of the build sits in a drive way
2. A group truck was used for an annual trip to Hershey Swap Meet where the body was picked up. This is what the body looked like when Art Fortin unloaded it in his driveway. Like all old bodies, it looks good from 10 feet away.
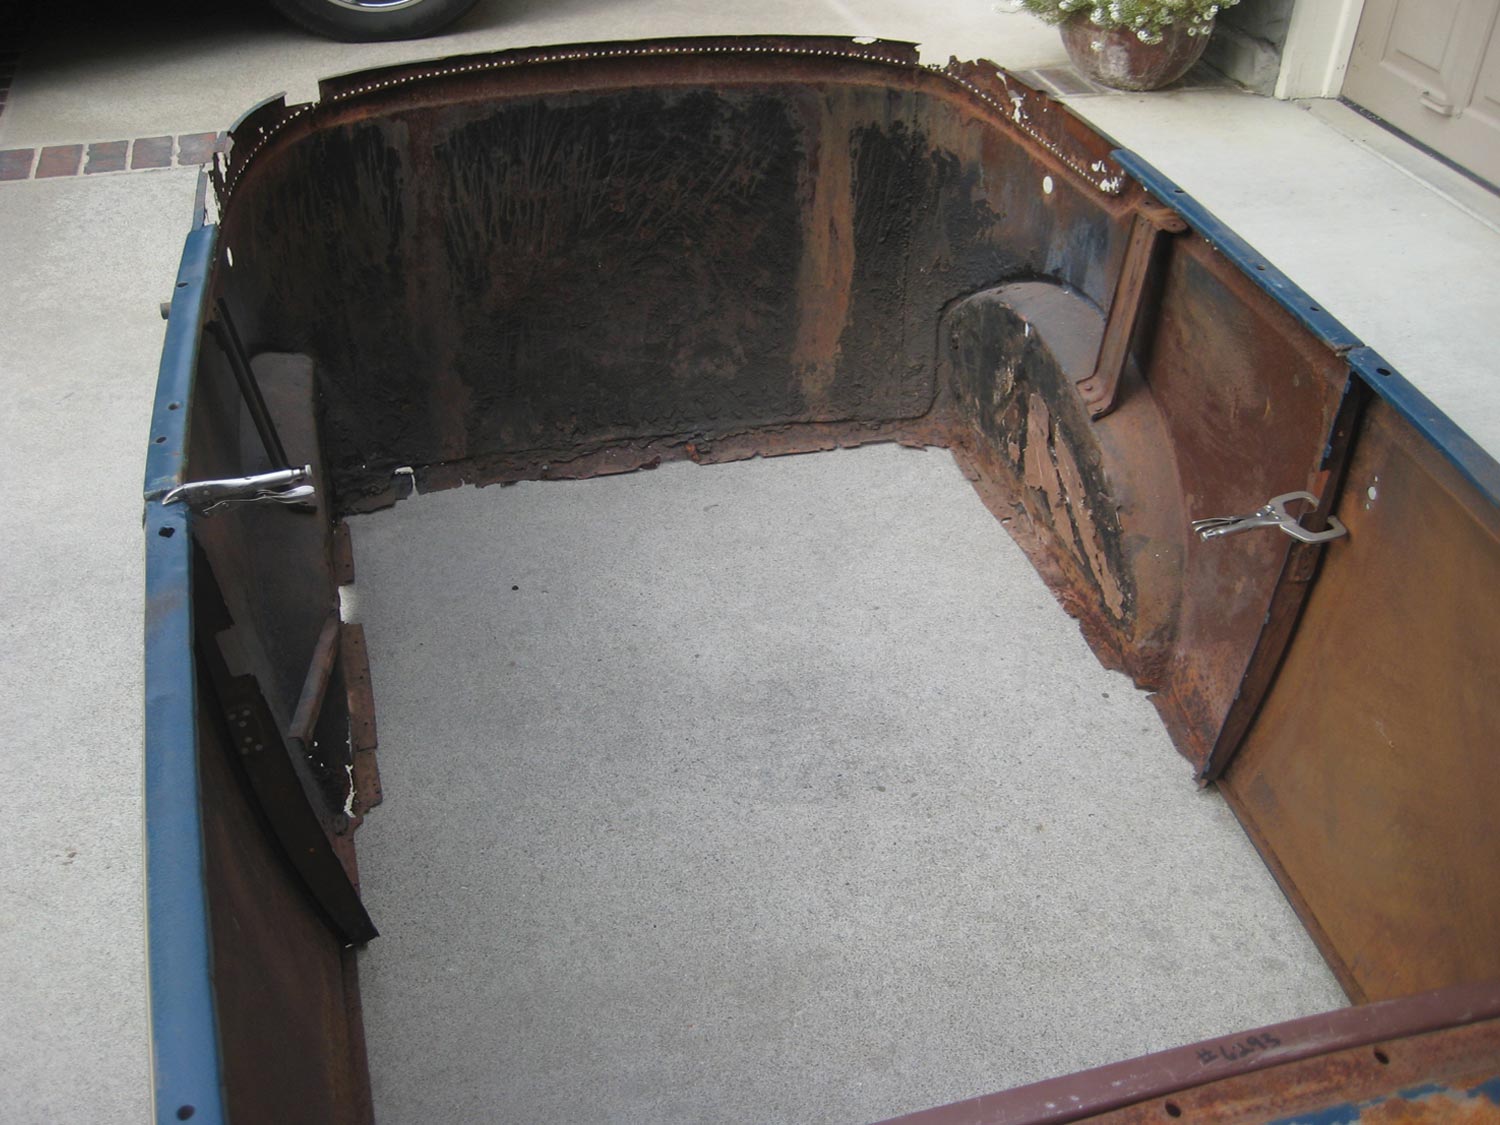
view inside the car body, , no floor, no structural ’rails, or wood, just sheetmetal
3. This is truly a body shell, no floor, no structural ’rails, or wood, just sheetmetal. New wood was included with the body, but most of it could not be used with the Deuce frame.
the rear portion of the body after rust repair
4. Here is the rear portion of the body after rust repair. One wheelwell was completely replaced while the driver side was saved. Note the extensive reinforcing with 1-inch box tubing around both the top and the bottom of the body shell.
the body with steel floors installed to the box tubing bracing that runs the perimeter of the body
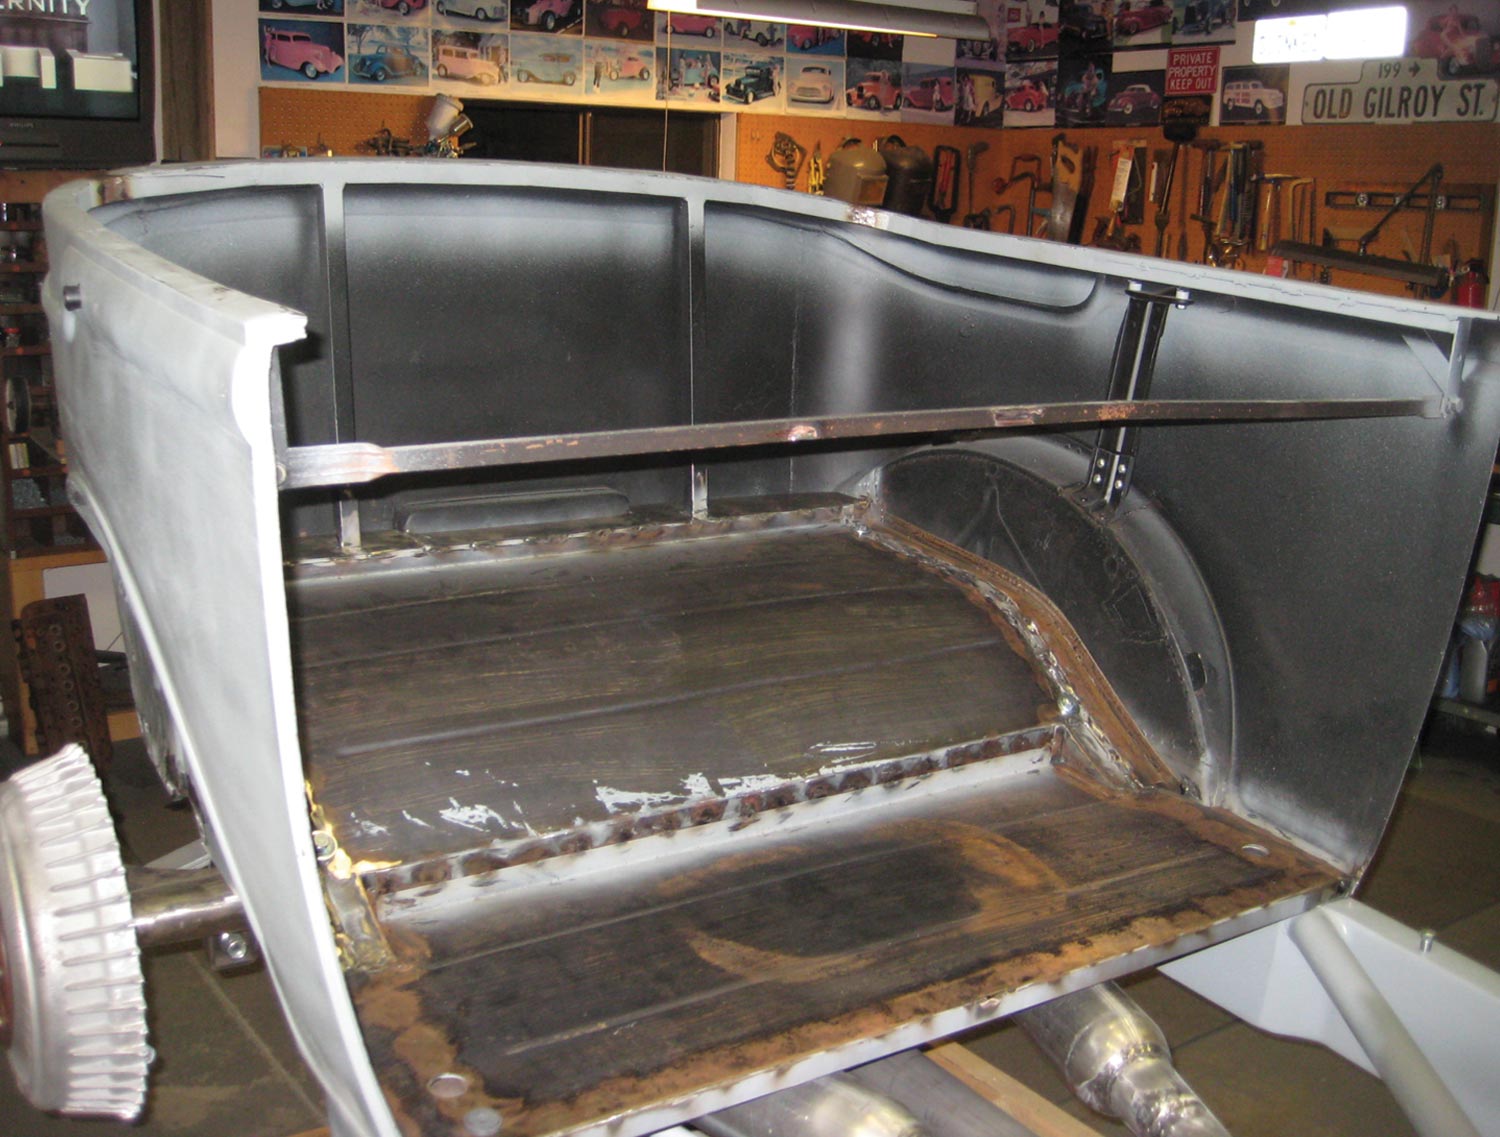
5. The body would remain three independent pieces mounted to the frame. Here the rear portion has new steel floors installed to the box tubing bracing that runs the perimeter of the body. This is stronger than ol’ Henry ever dreamed.
the body with a pair of ’46 Ford frenched taillights along with the frenched license plate
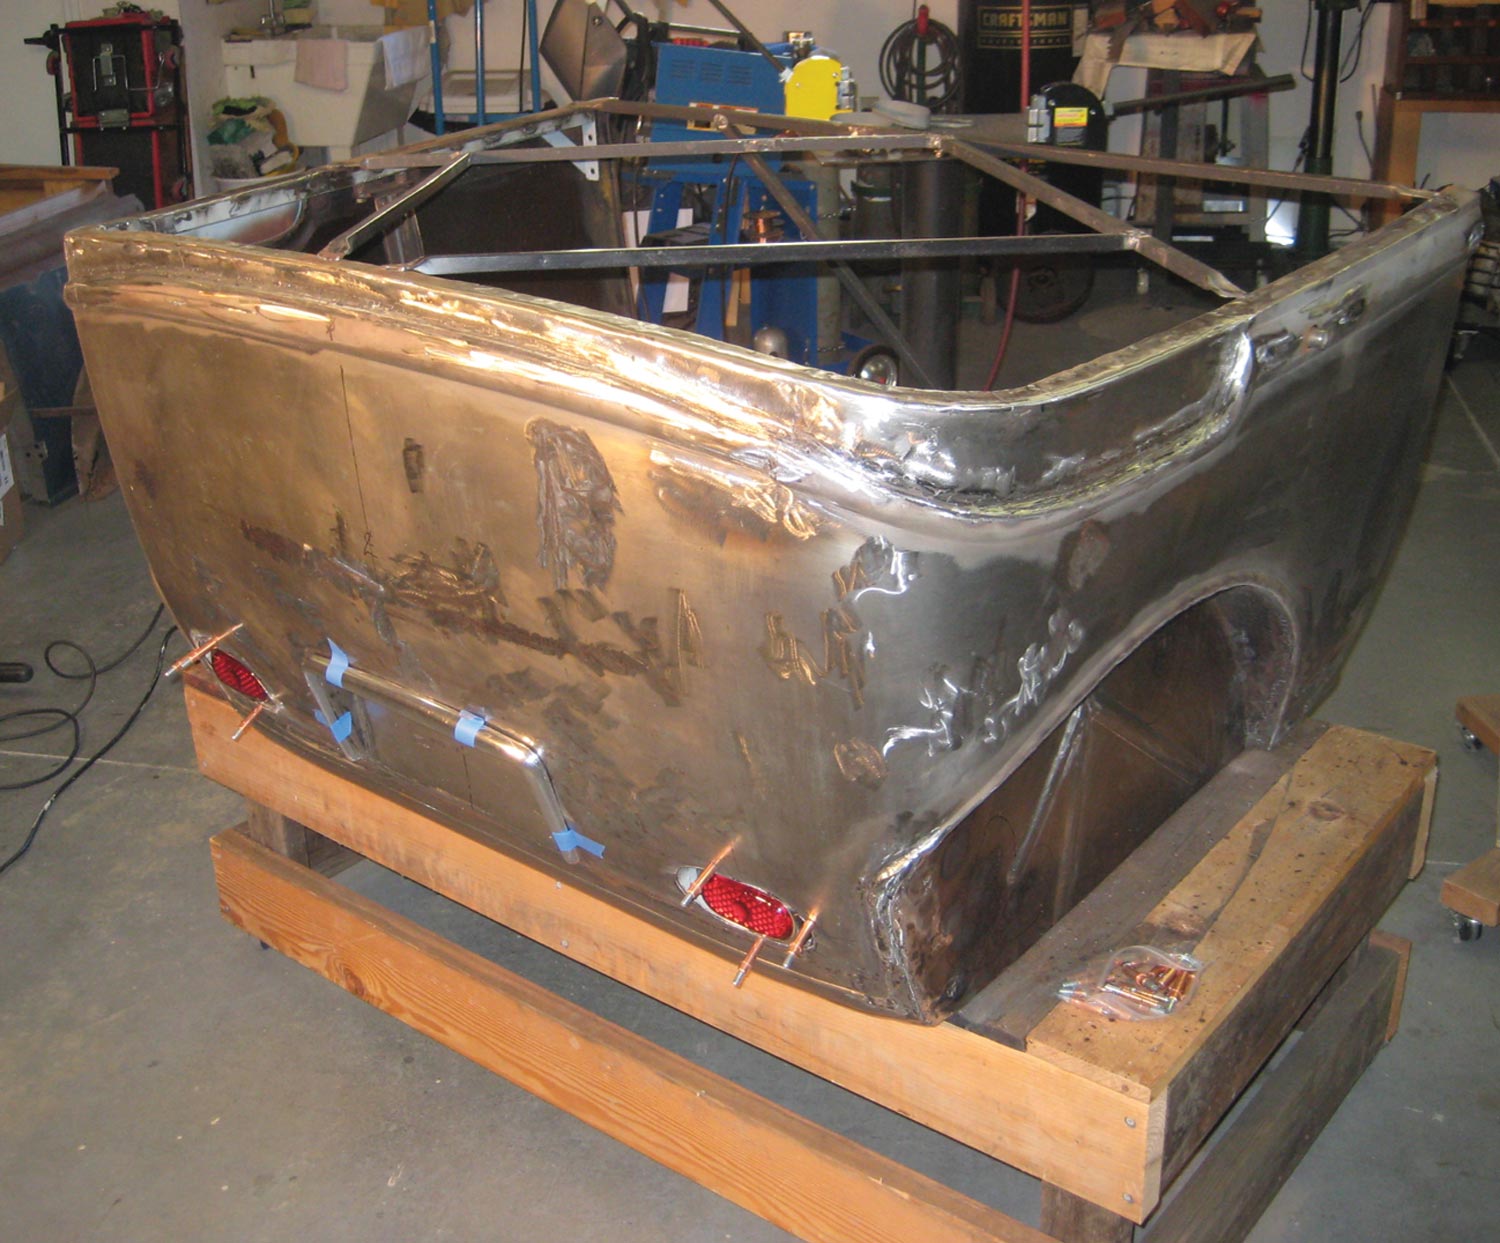
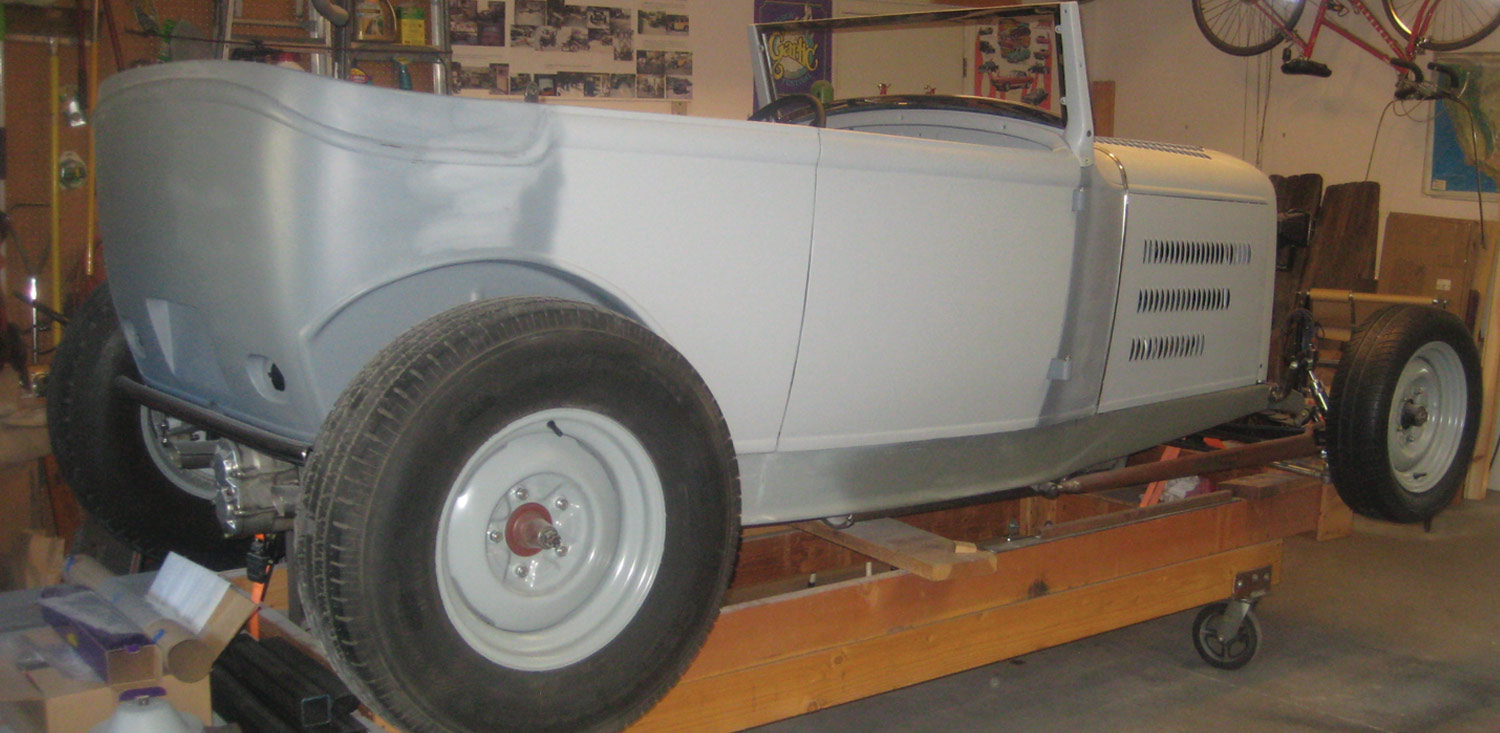
6. Beyond rust repair and filling some hole, the body is relatively stock. Out back a pair of ’46 Ford taillights are frenched into the rear panel and the license plate is also frenched.
the back section of the body sits on its face, covered with a skim coat of filler
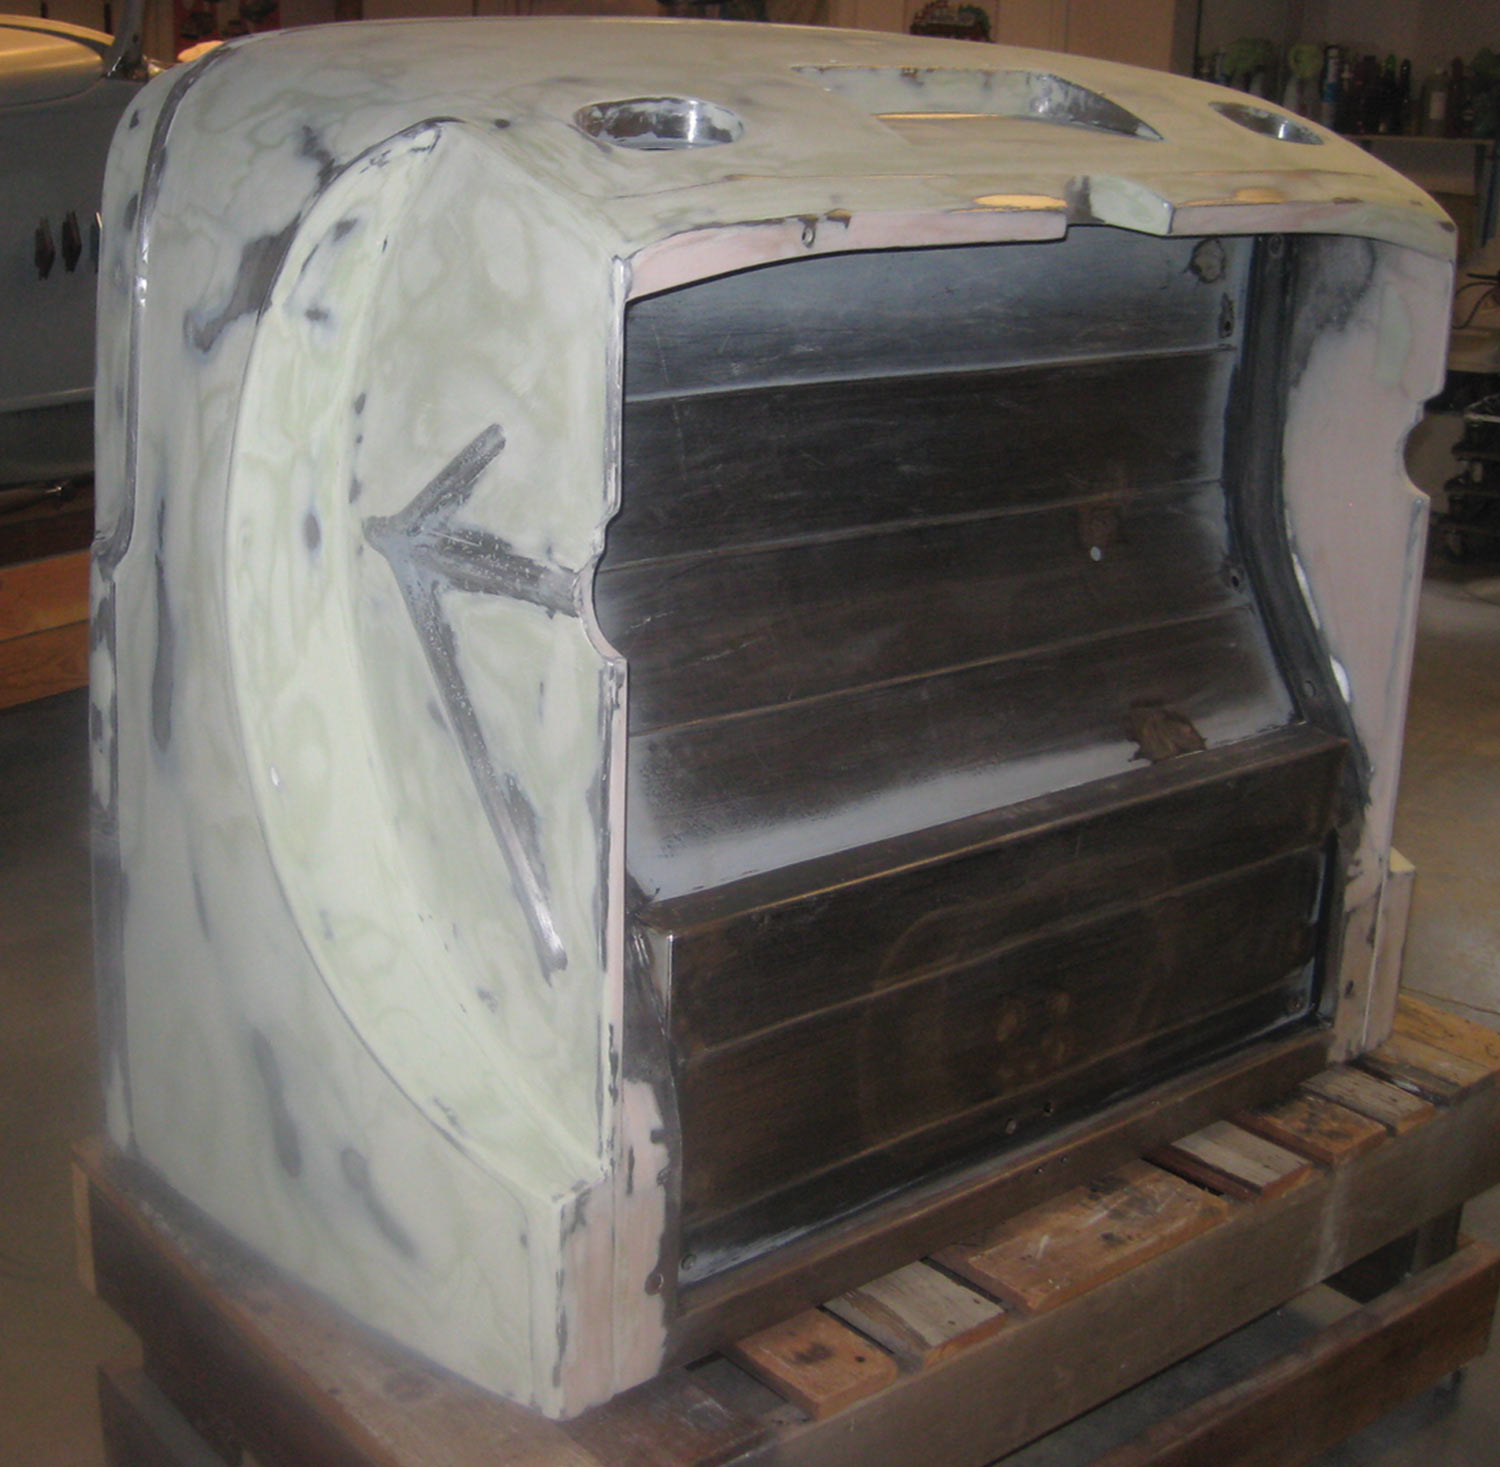
7. A skim coat of filler straightens out the 91-year-old panels but note how clean the new floor is from below. The fabrication is completed with just good, basic metal fabricating skills.
hardwood doorjambs sit on sheets of newspaper on a table
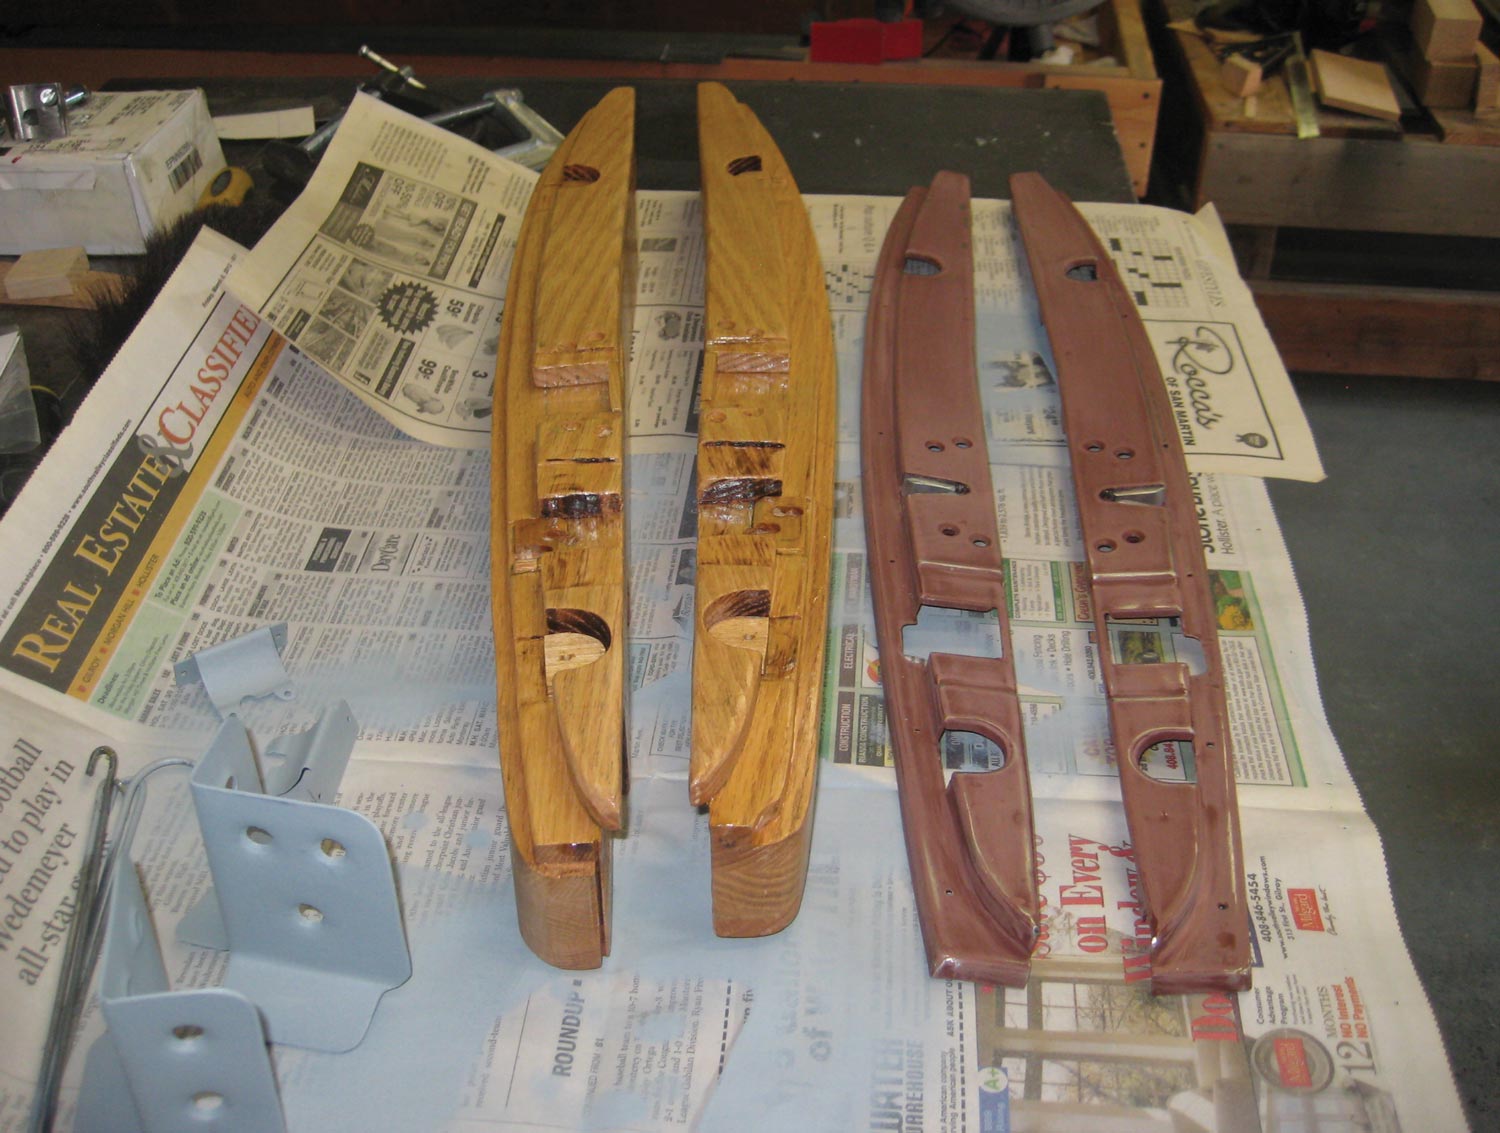
8. These hardwood doorjambs were included with the body and were reproduced many years ago, so they are well seasoned. The craftsmanship was first class and Fortin reports they fit perfectly.
view from inside the body of a doorjamb installed on a quarter-panel
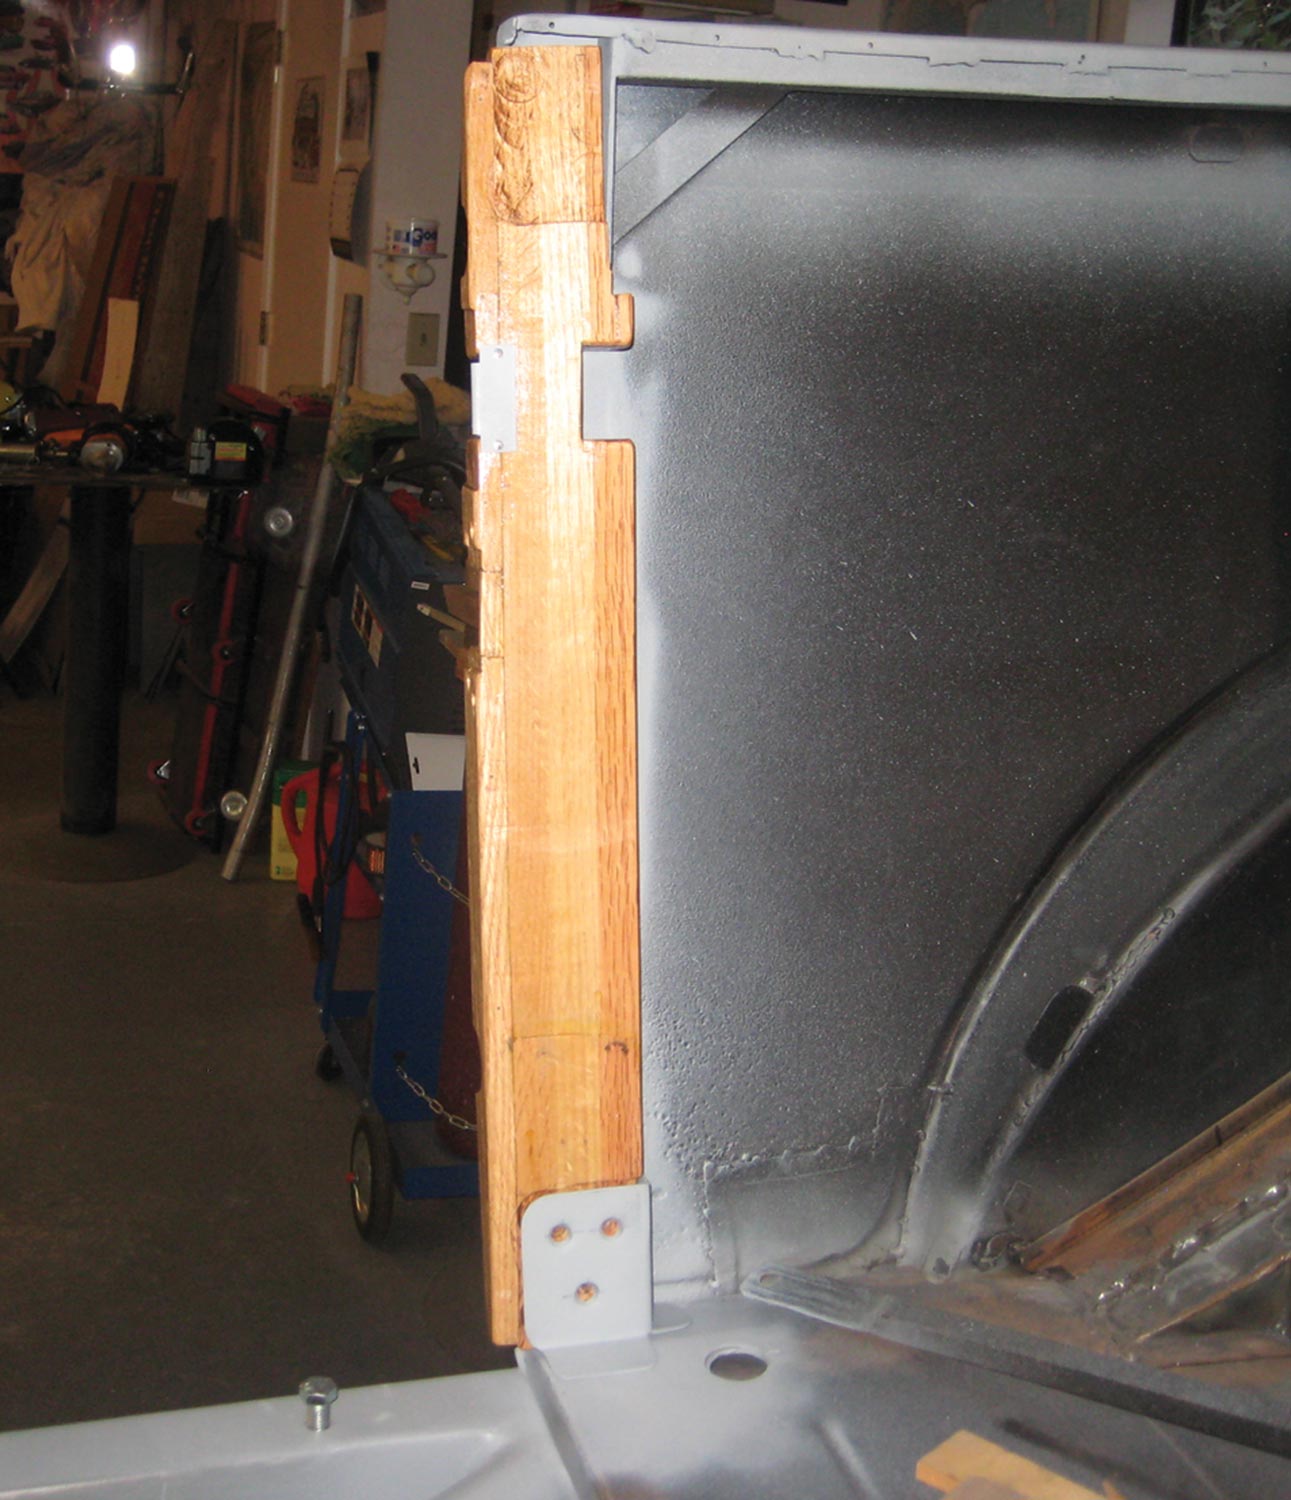
9. Here we can see the wood doorjambs installed in the quarter-panel. The original brackets attach the wood to the new steel floor.
the rear body section sits on its face, covered in final primer
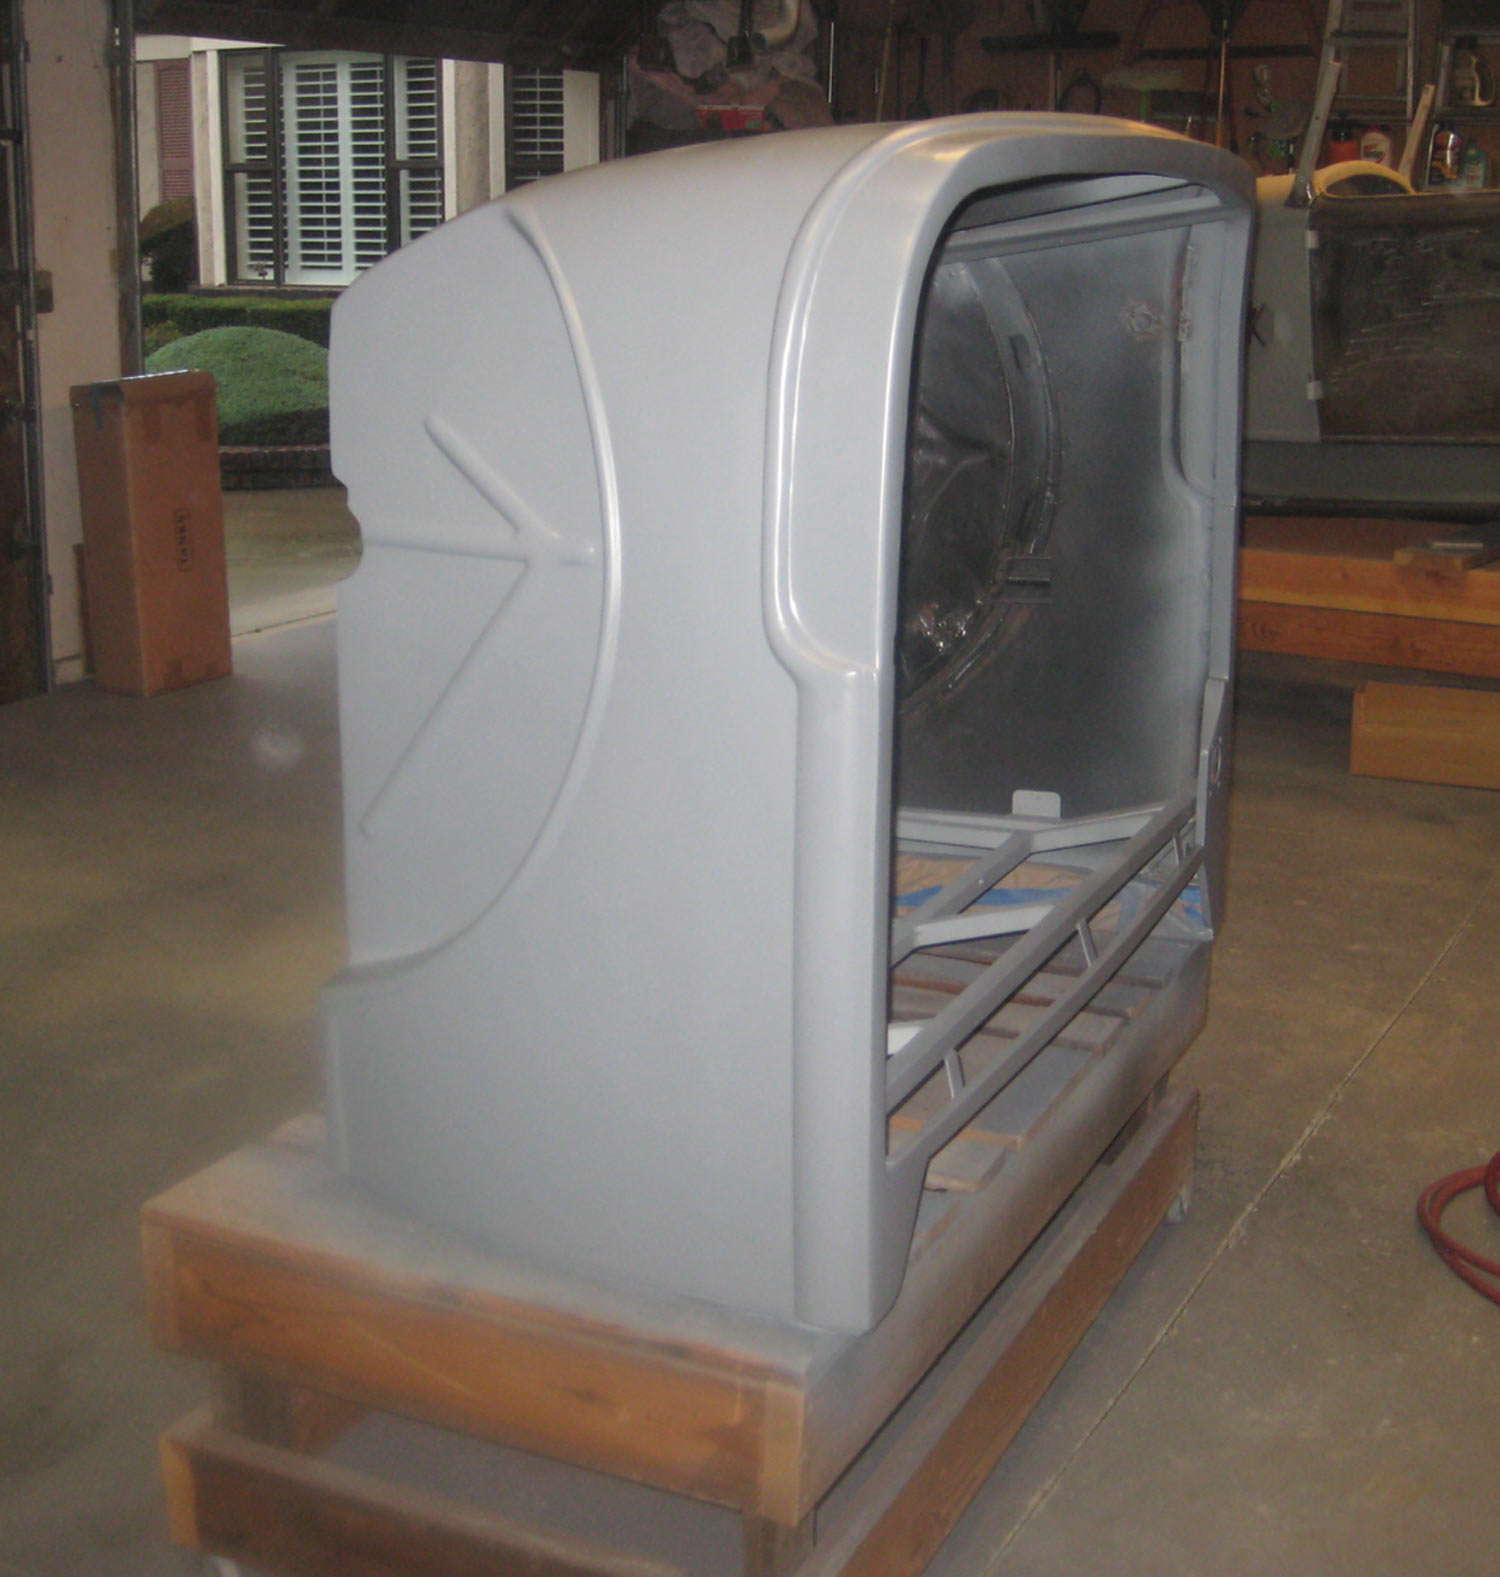
10. The rear body section is now in final primer. Note the extensive bracing that will act as a divider between the front seats and the rear section. There will be no rear seating in this phaeton.
a blue driver side door, showing a few bumps and scratches sits in the back of a truck
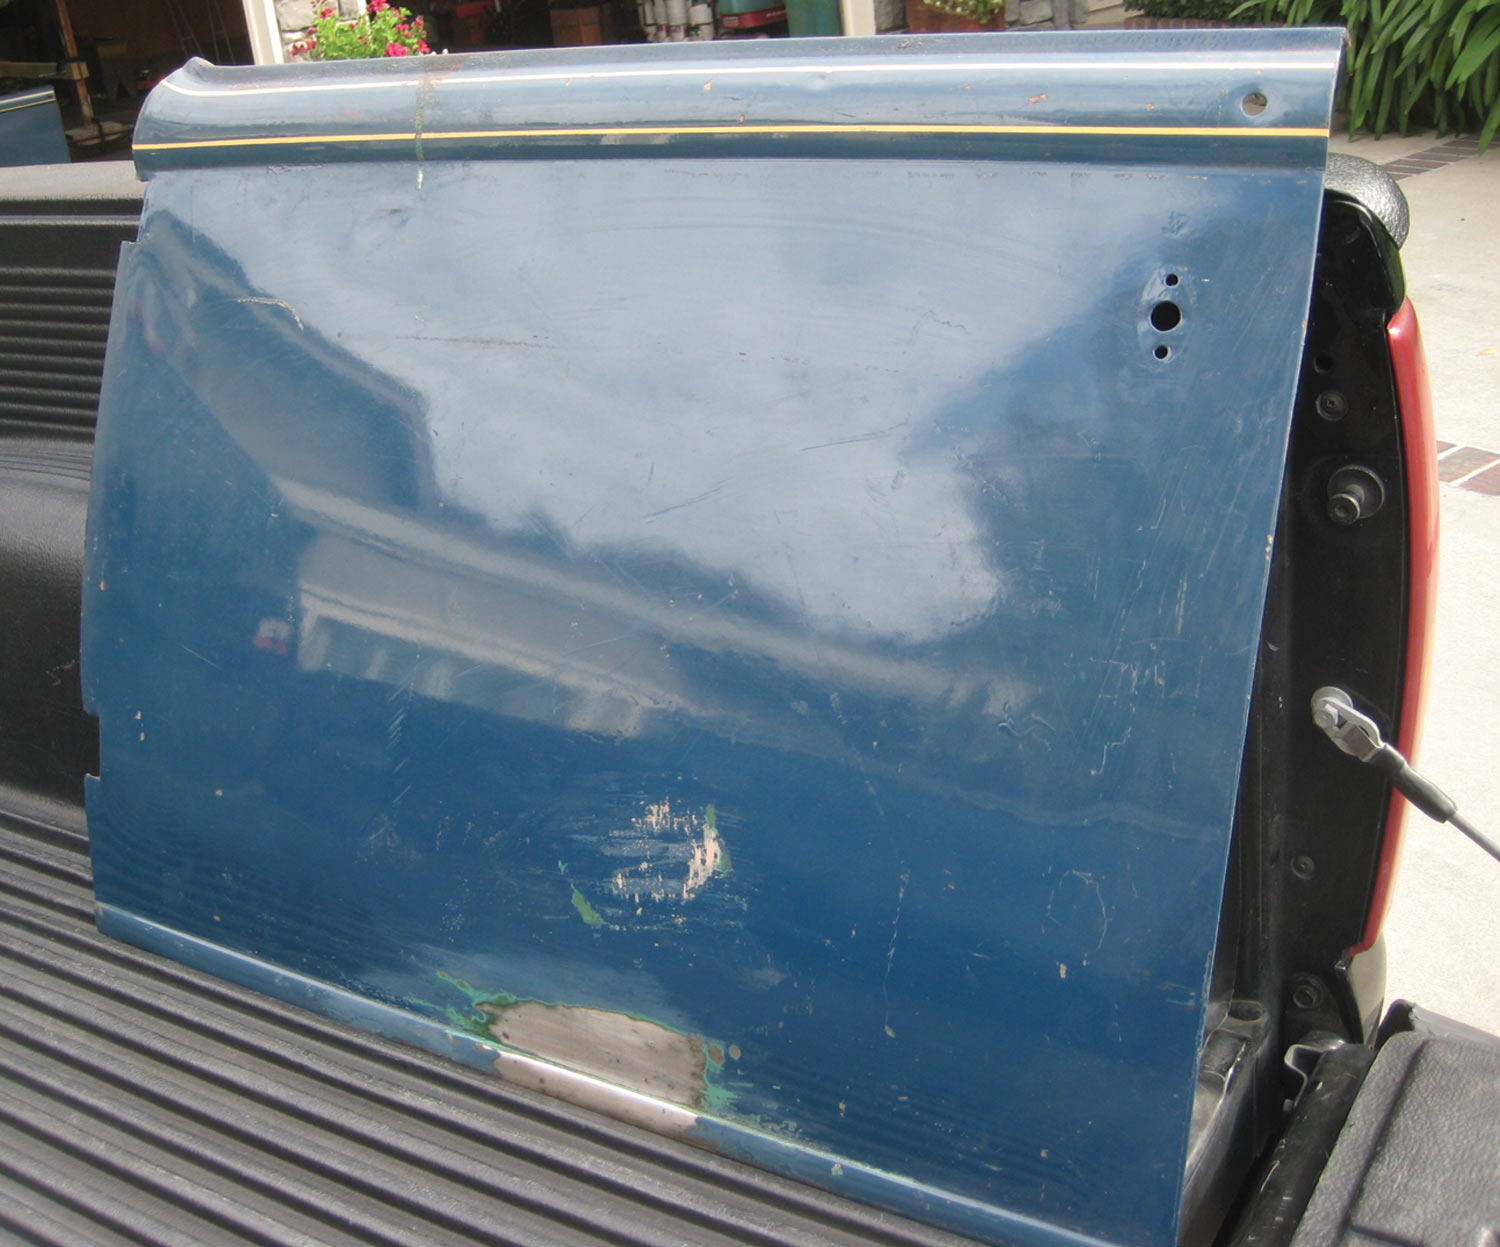
11. The driver side door was in remarkable condition. The usual bumps and bruises but fairly rust free. The same could not be said for the passenger side door.
inside view of the driver side door showing a coat of surface rust
12. A coating of surface rust on the inside was easy to deal with, while making sure the door was straight and square would be a bit of a project.
the passenger side door sits on a small table with the original doorjambs set on all four sides
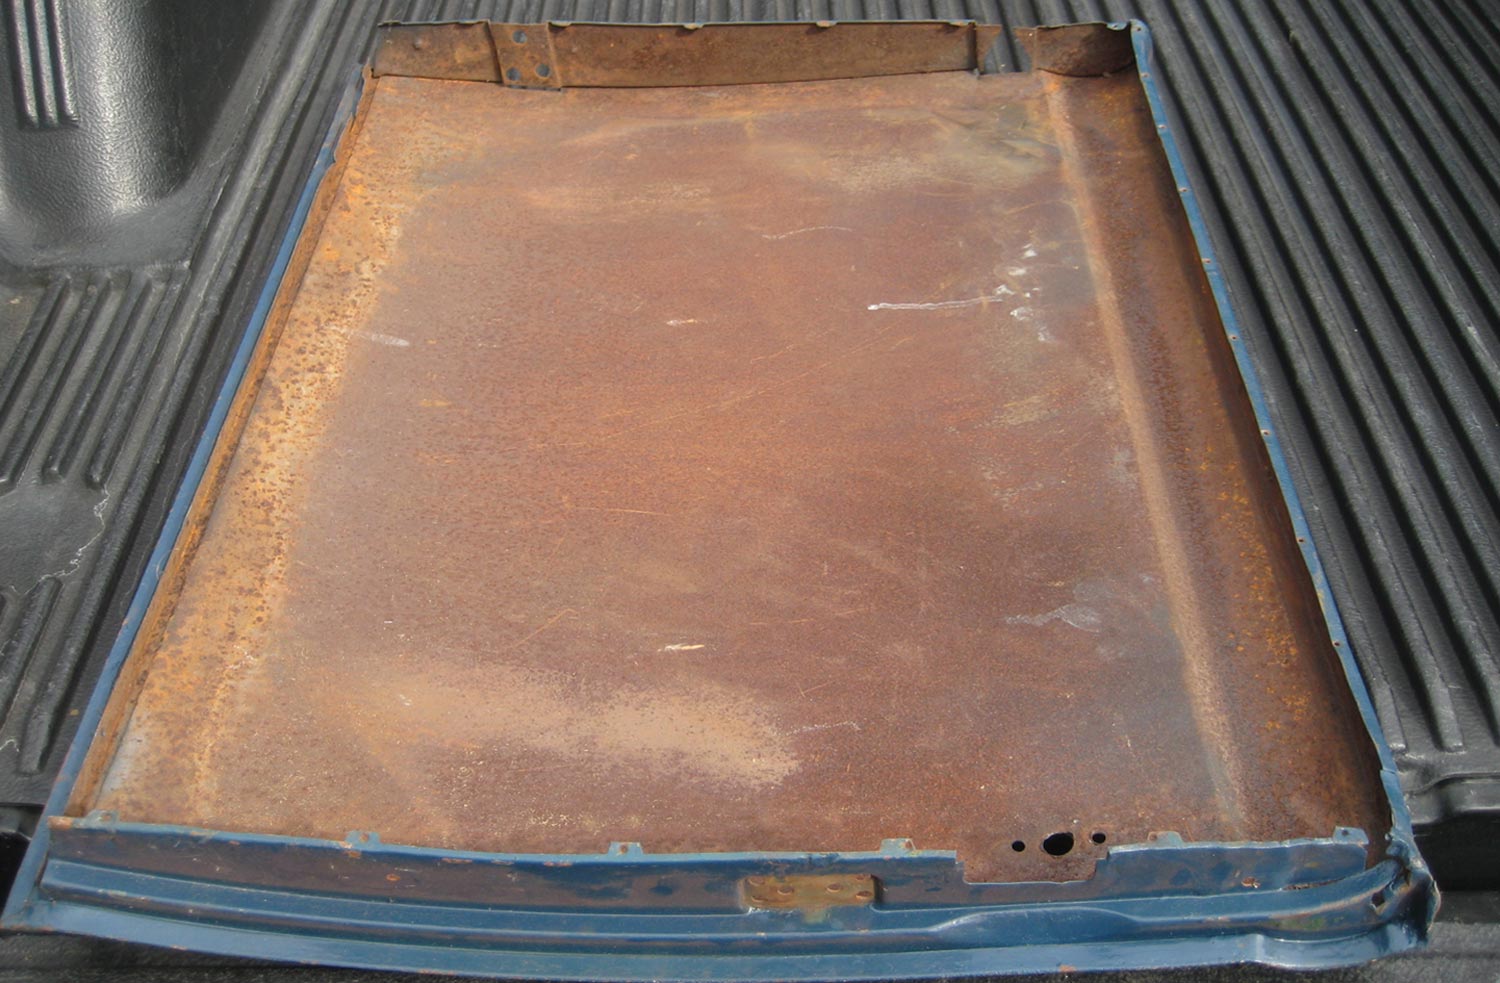
13. The passenger side door required an entire new skin from the body bead down. The original doorjambs and upper and lower panels would be reused.
the original doorjambs and upper panel are joined together with Cleco fasteners to form a new door
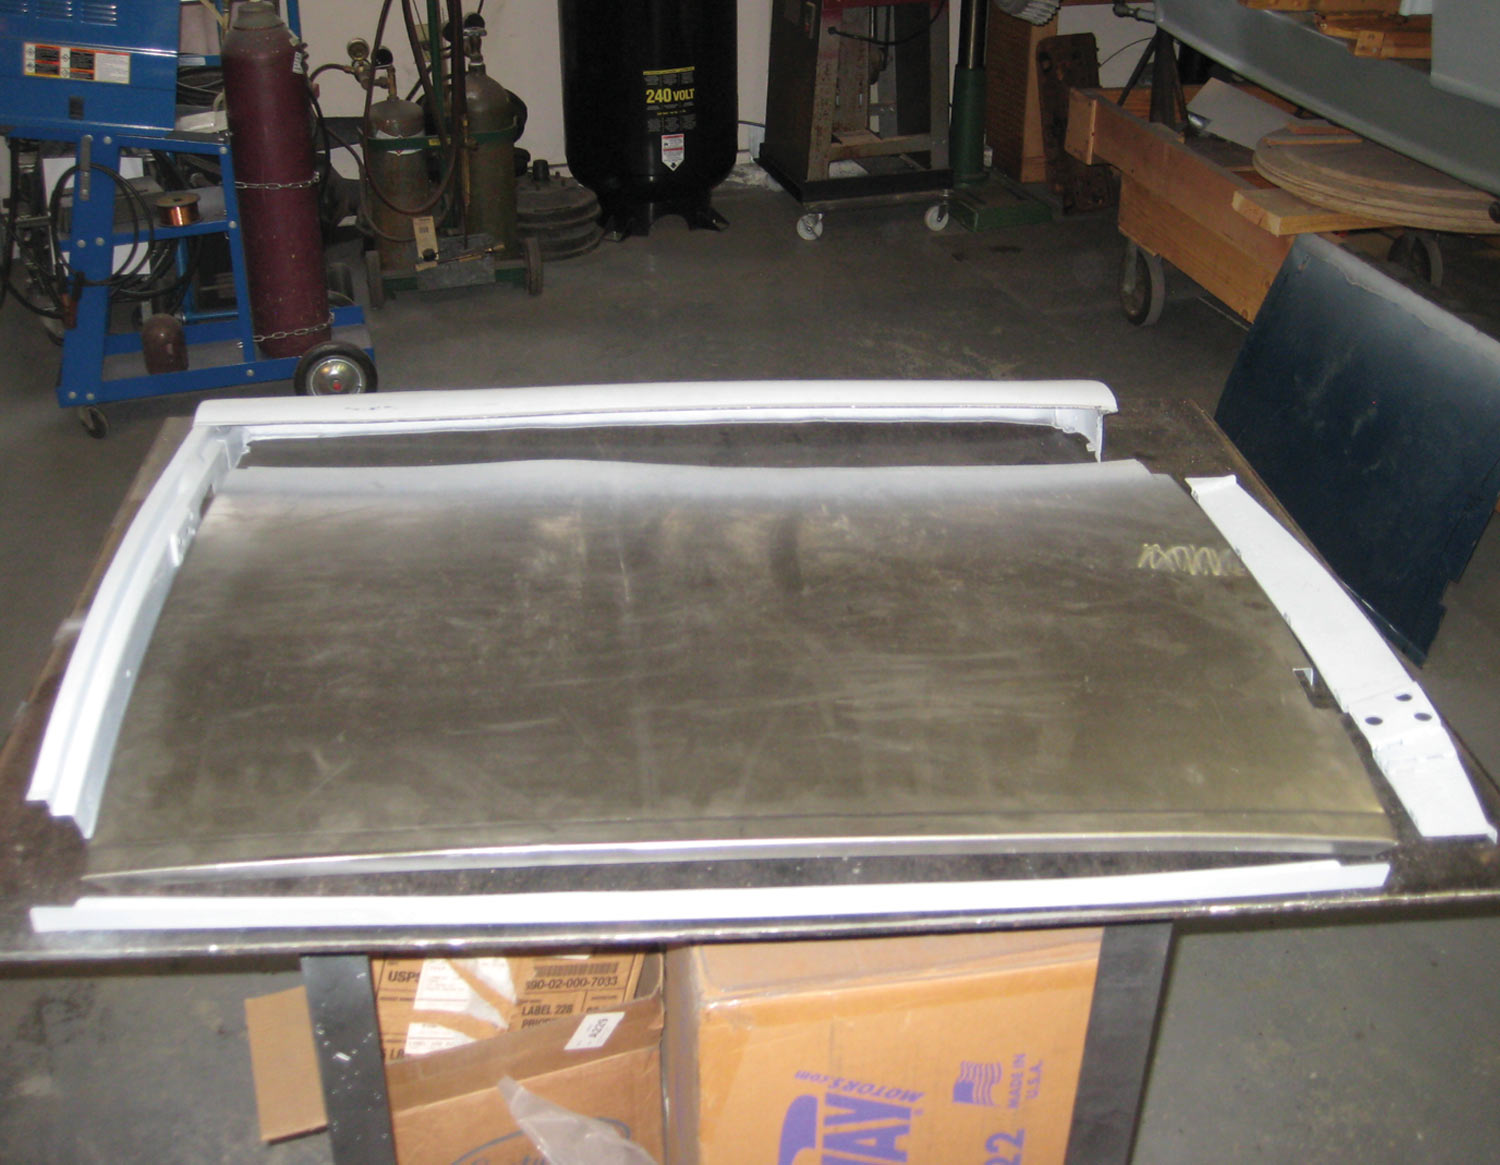
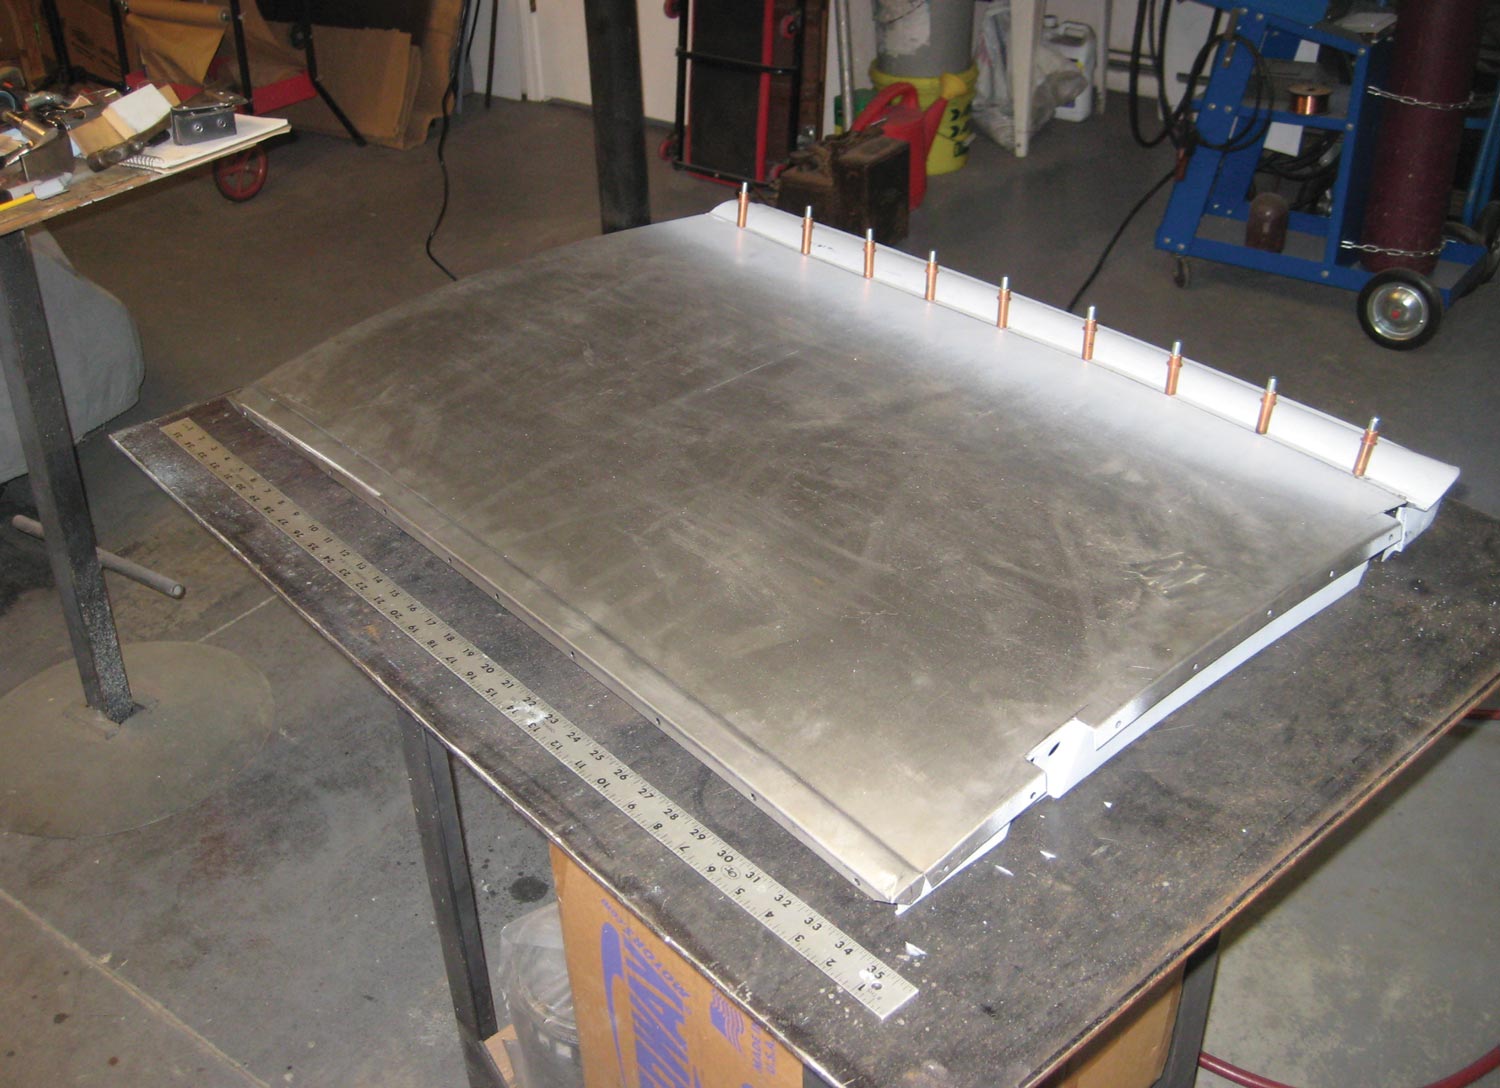
14. Here we see the original doorjambs and upper panel joined together with Cleco fasteners to form a new door. Once again, this is doable at home with some typical welding equipment and plenty of patience.
The sheetmetal work done
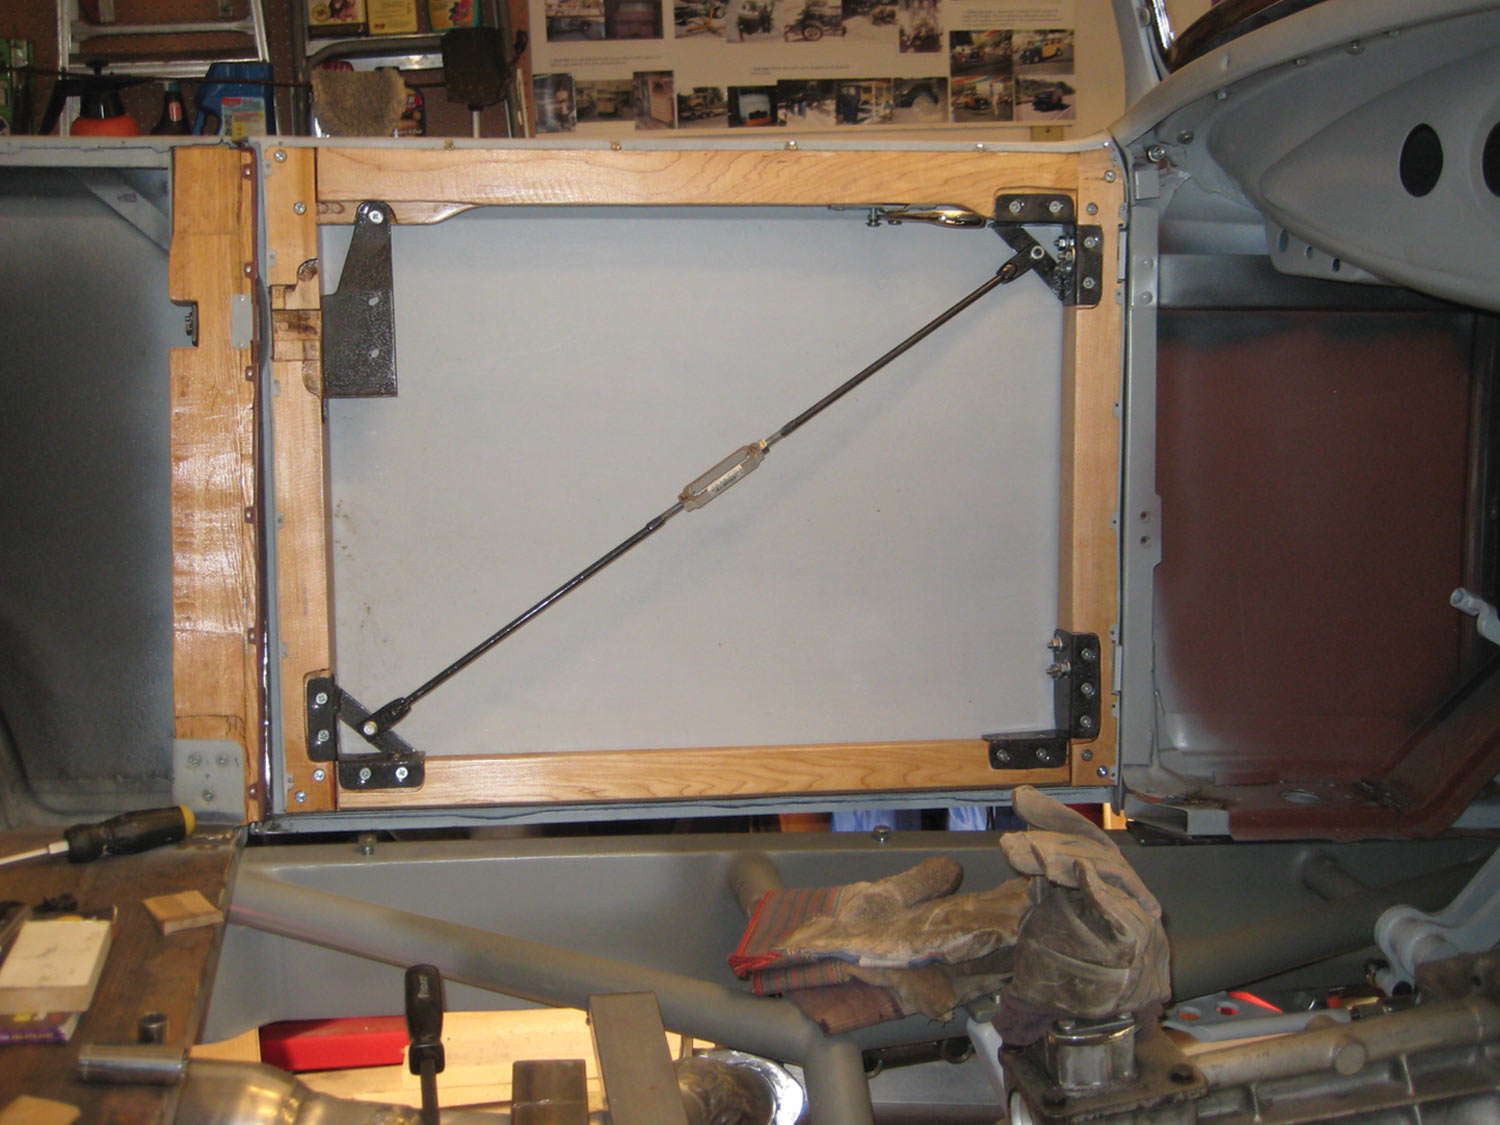
15. With the sheetmetal work done the doorskin was framed with the reproduction Model A wood. Custom-made brackets incorporate a turnbuckle that was instrumental in gapping the doors and getting them perfectly square.
the floor section of the body
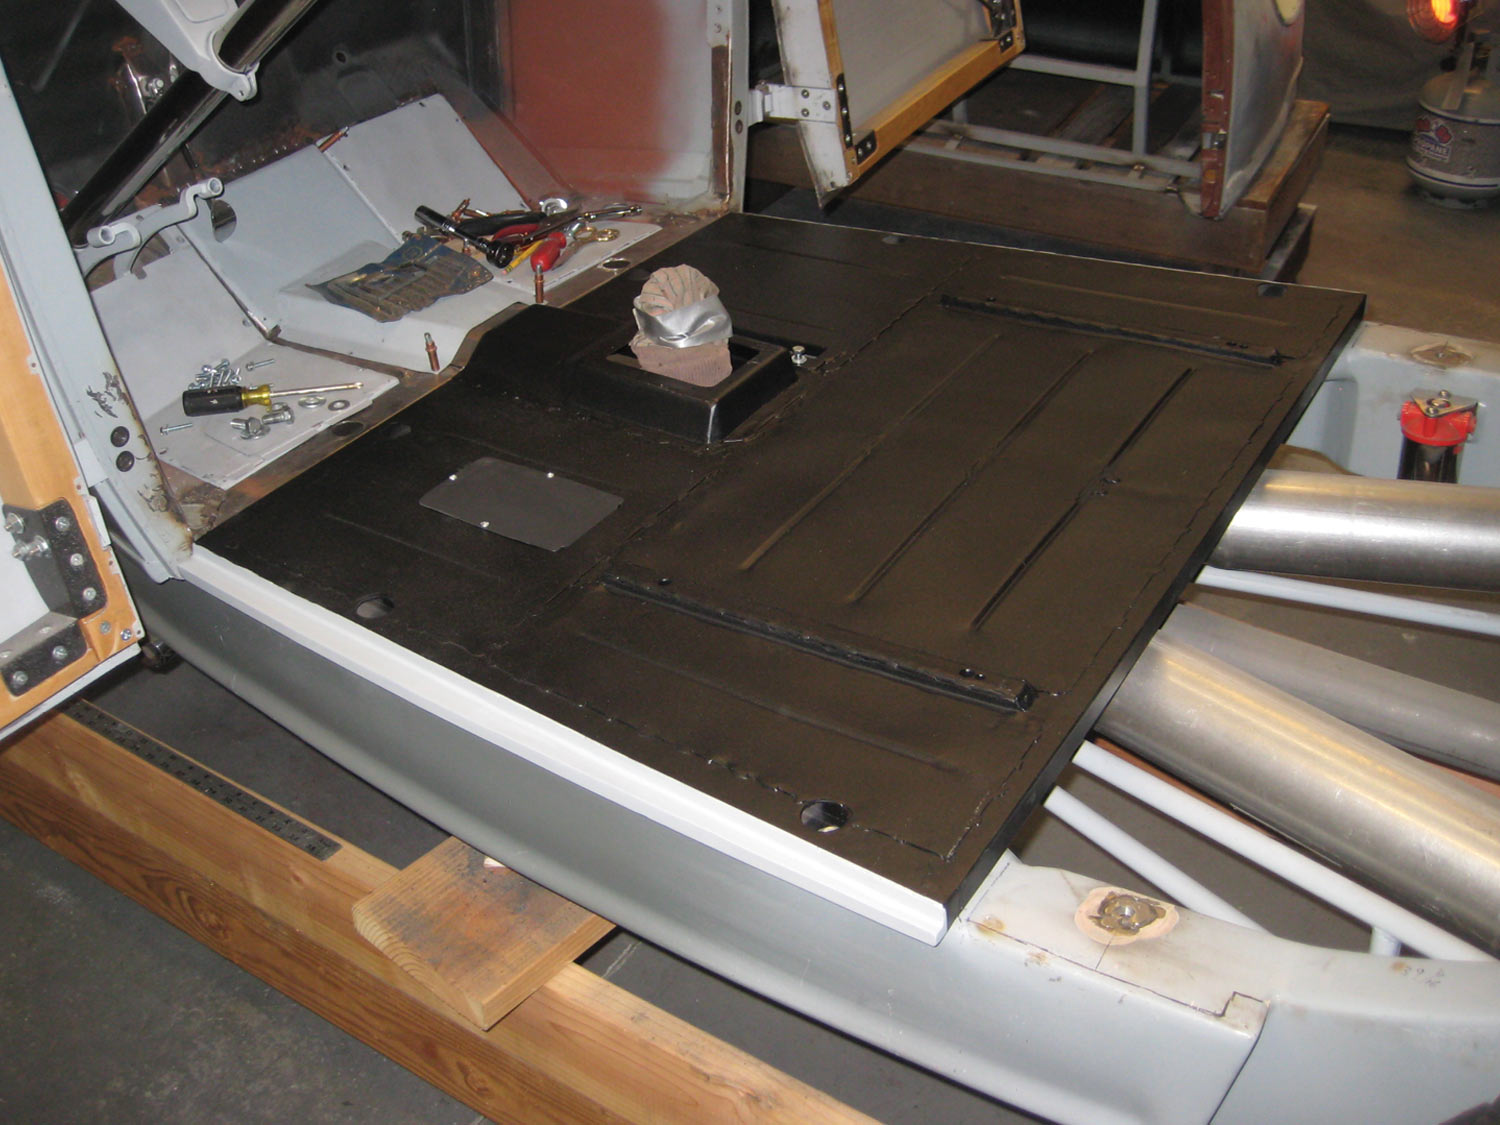
16. Once again this body remains three independent pieces and so the floor section that fits between the doors is independent of the rear tub. More nice metalwork is shown here and the seat rails have been welded in place, too.
the seat frame is placed on the floor section of the body
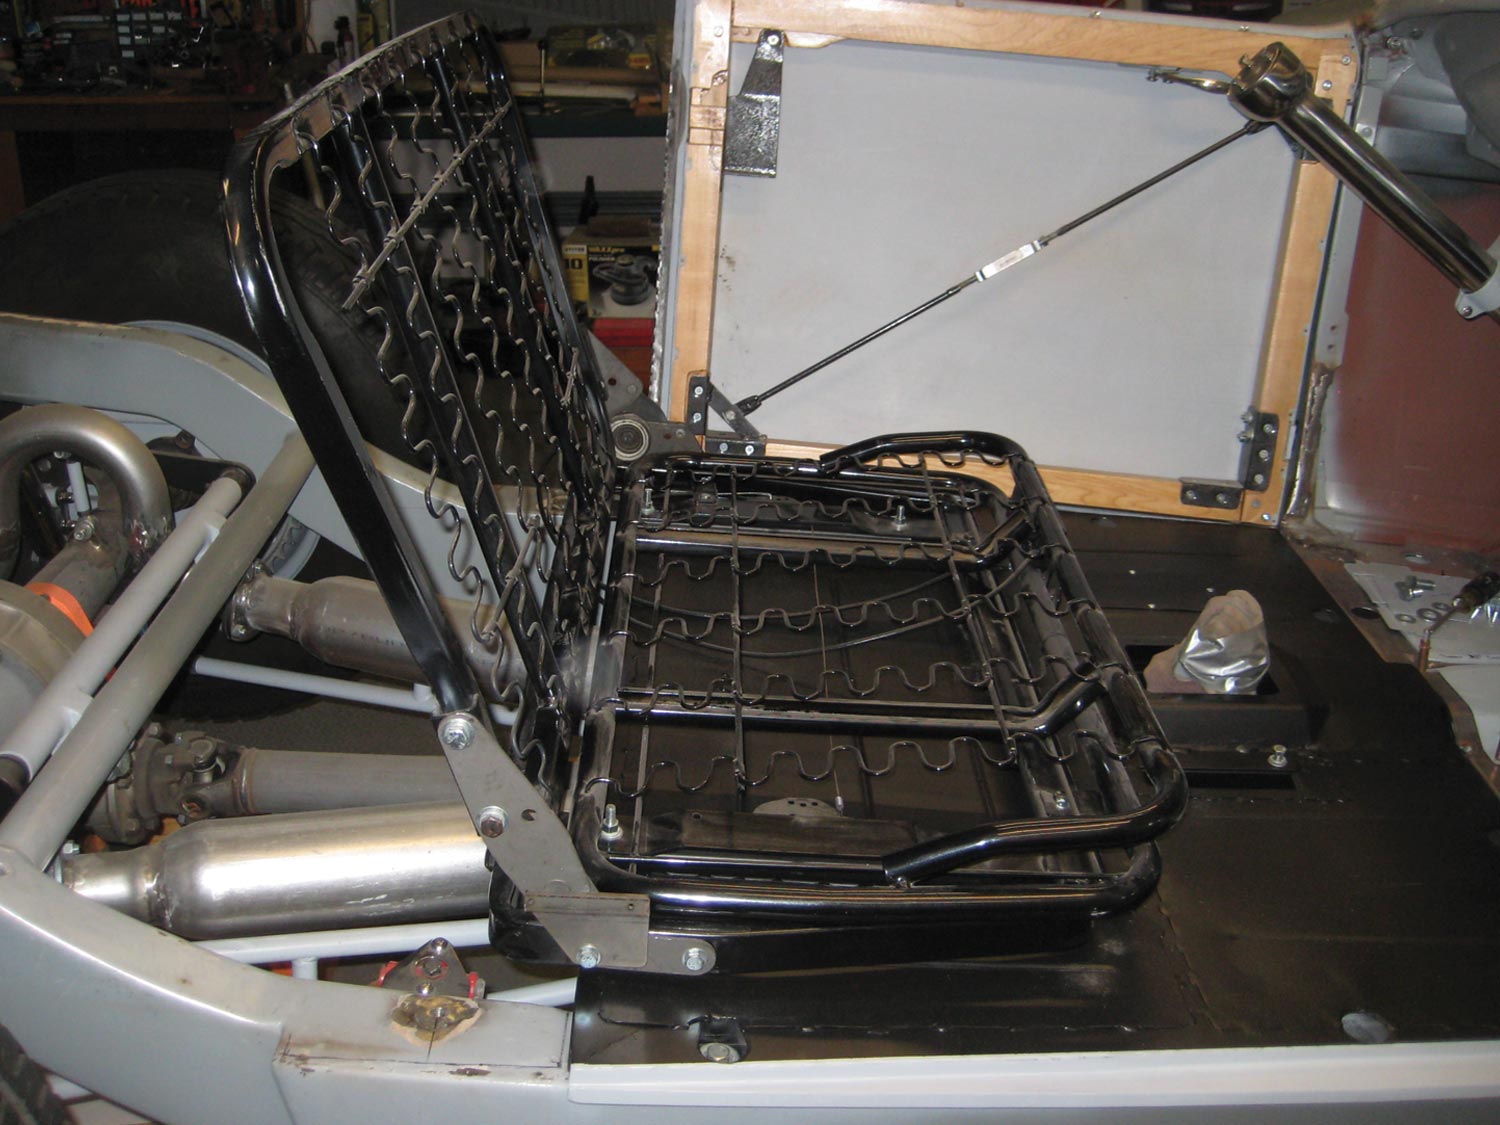
17. Fortin started with a seat frame from Wise Guys Seats and Accessories and did a lot of modifying to fit his application. The stainless steel steering column comes from Speedway Motors.
outside view of the body firewall
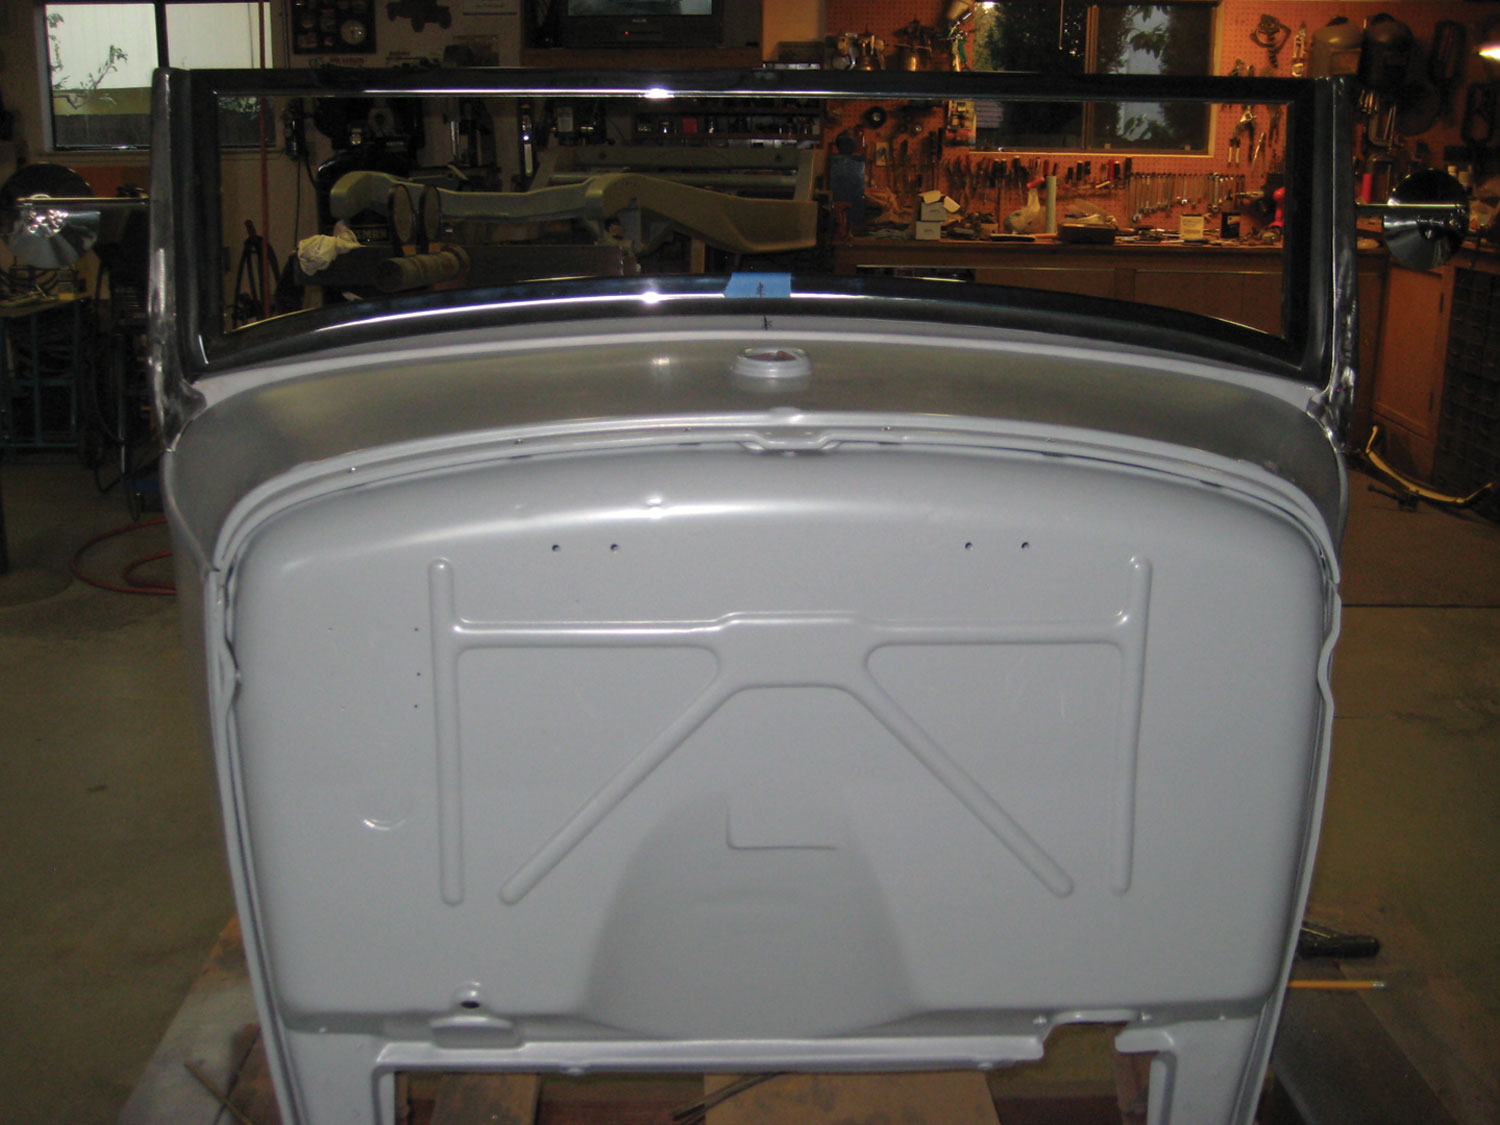
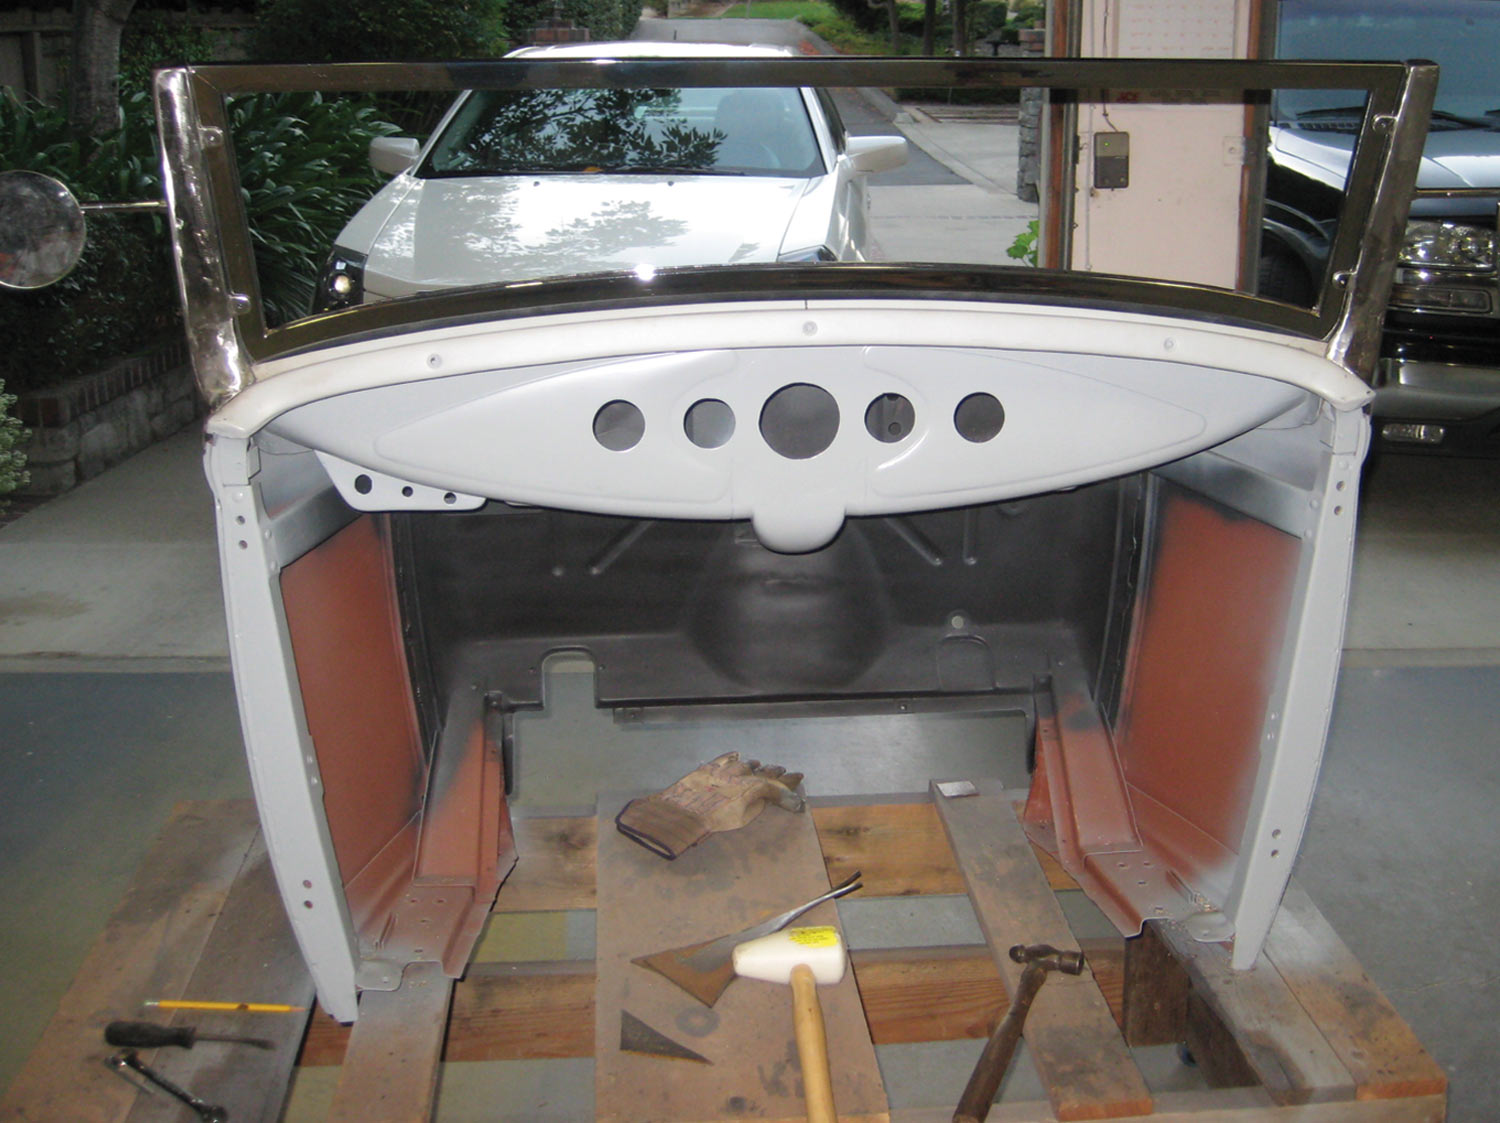
18. The firewall required a minimal recess for distributor clearance for the 283 Chevy motor. The windshield frame is actually a ’32 Ford roadster frame while Fortin fabricated the stanchions.
view of the dashboard section on its own
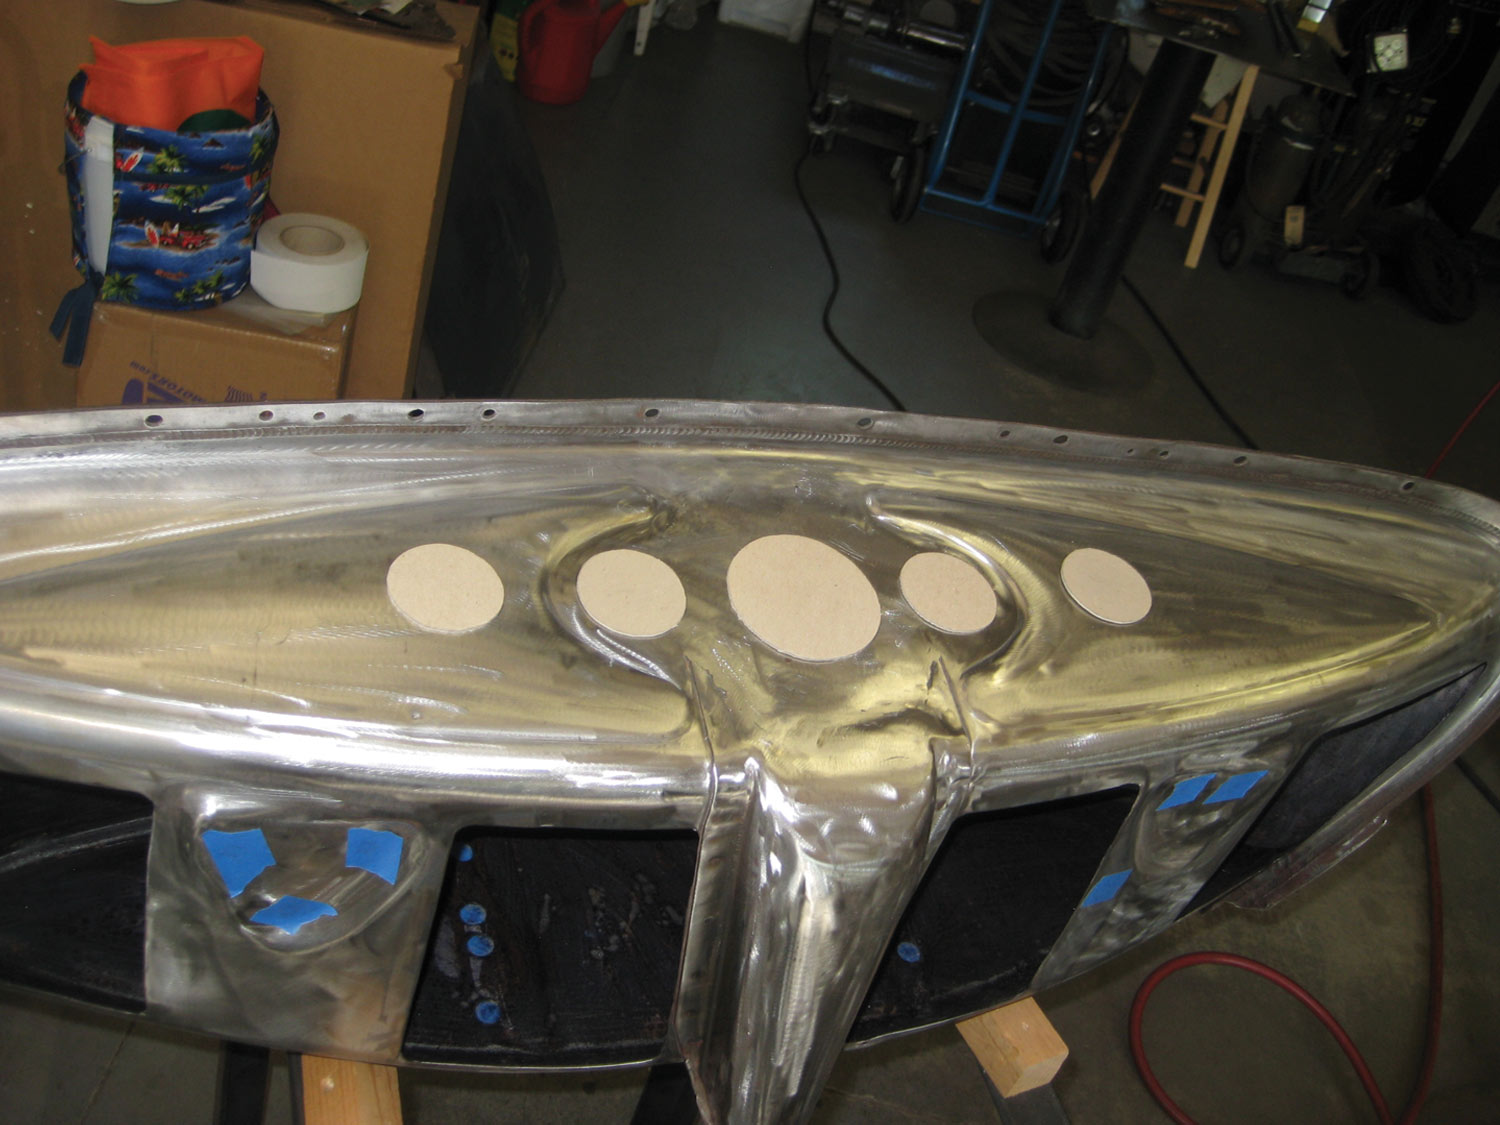
19. Now this is one very cool dashboard. Of course, this began life as a Model A gas tank but was modified to accept Auto Meter gauges. Since this was a gas tank for many years be certain to neutralize all vapors before cutting any metal.
the dash/tank installed on the car covered with a coat of primer
20. Here we see the dash/tank installed in the car with a small panel to the left for switches. The owner-fabricated stanchions mount the Deuce windshield frame in a fixed position.
the car sits on a large stand as the front cowl is gapped
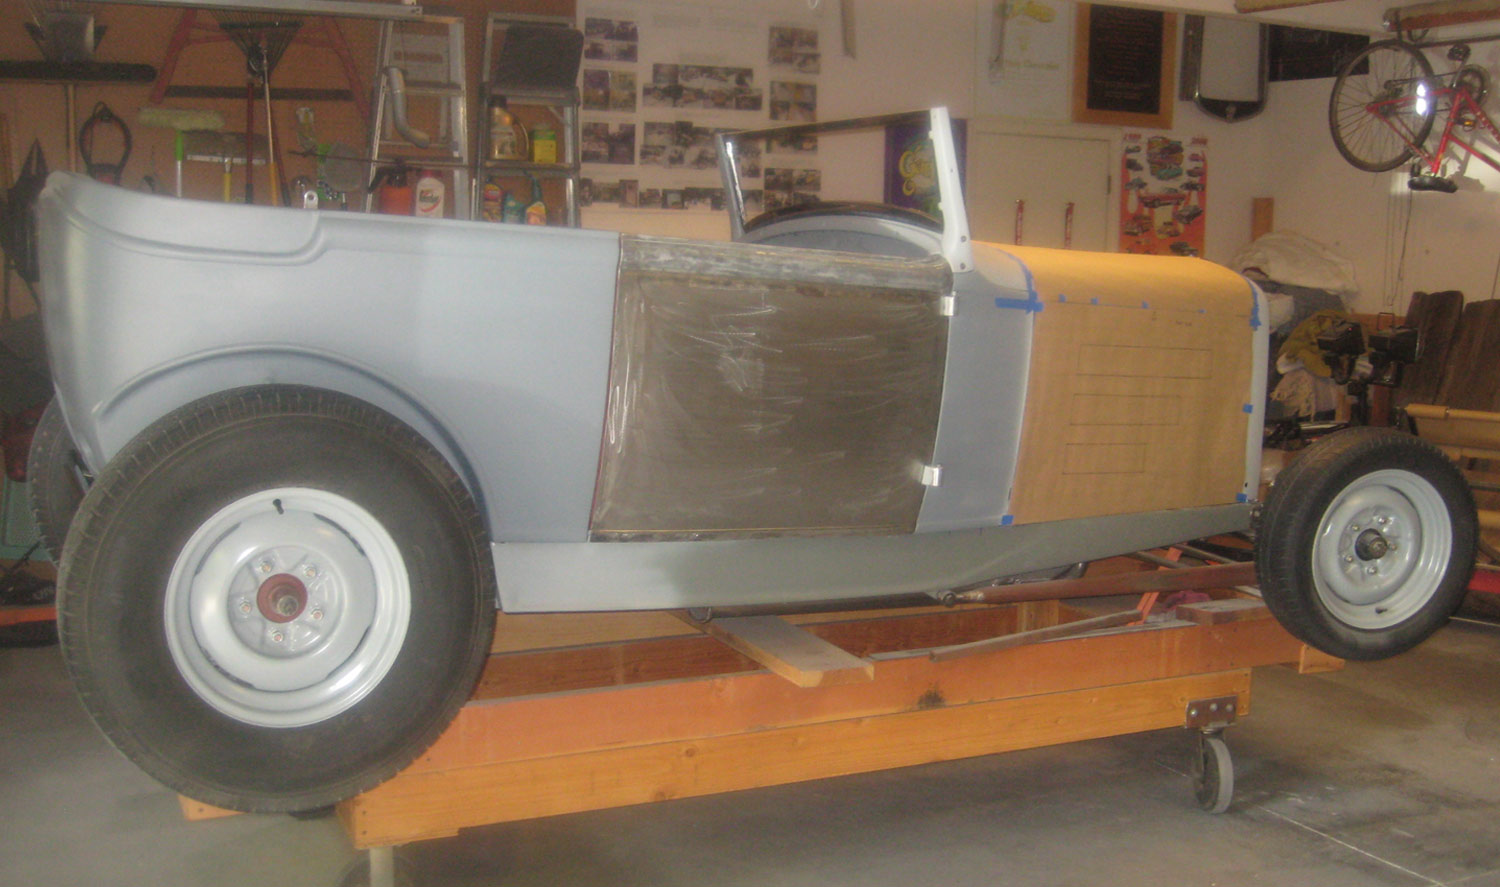
21. Before the front cowl section could be mounted to the floor the doors had to be gapped. Note the ’31 Ford DeLuxe phaeton was one of the first Fords to have flush-fit doors. The aforementioned turnbuckles were instrumental in fitting the doors.
bracing placed behind the seat frame inside the car
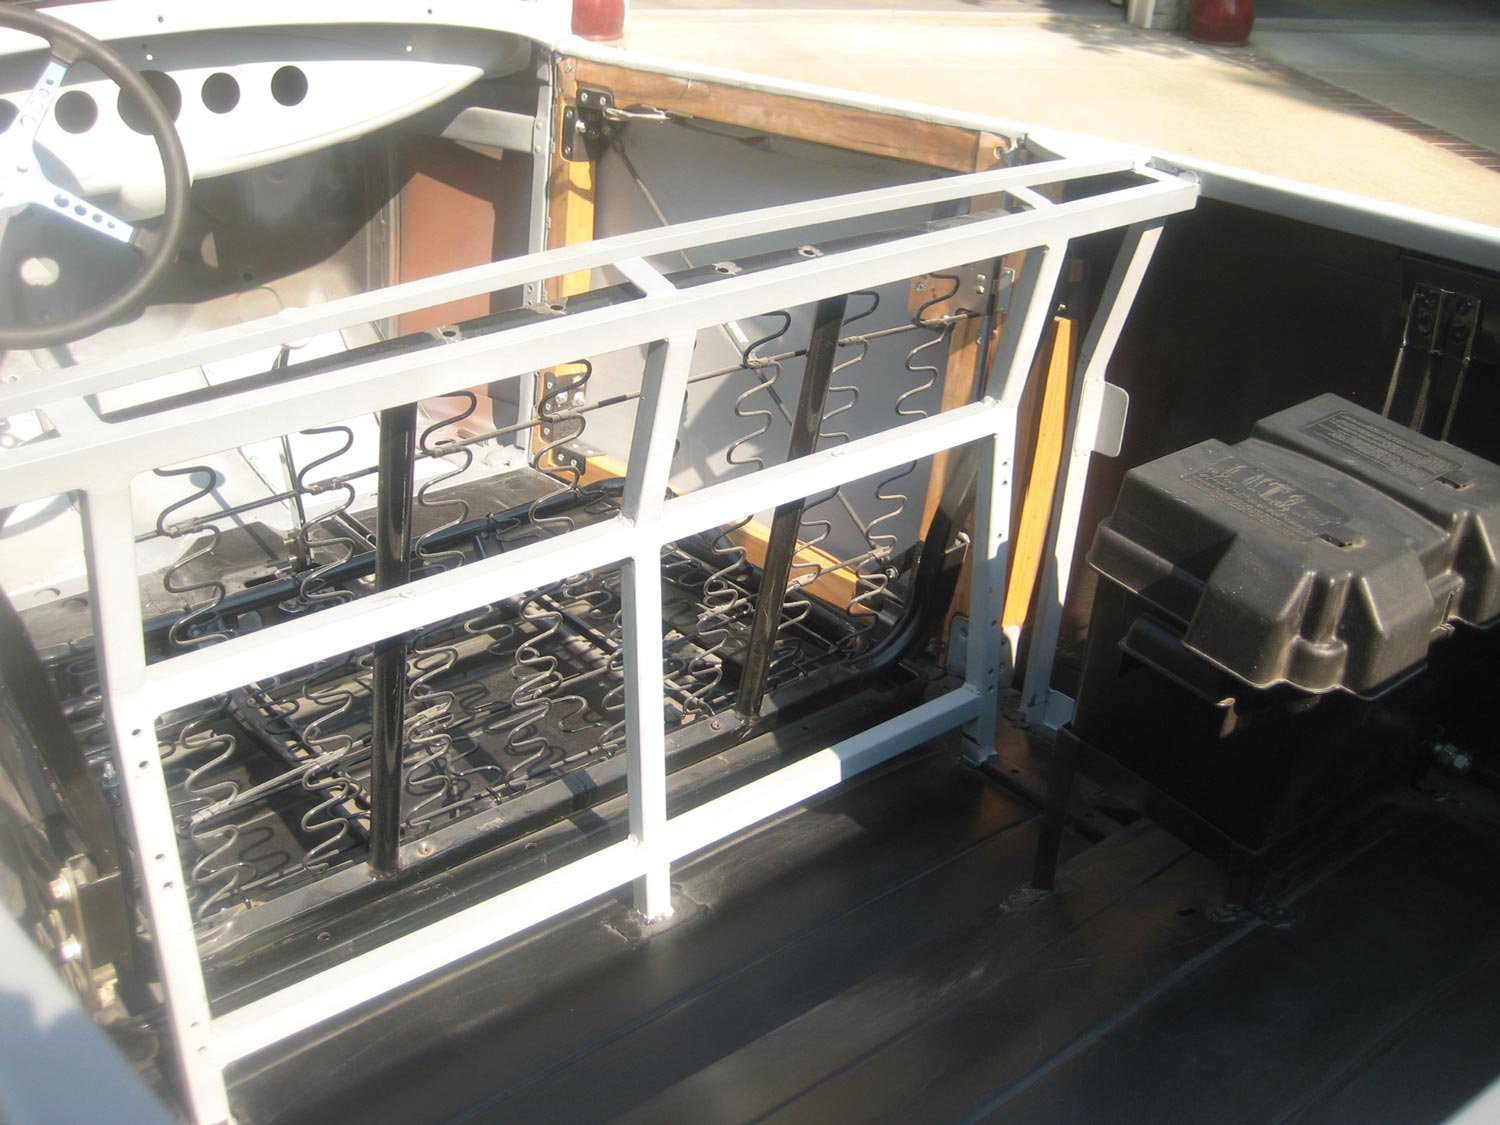
22. Here we can see the extensive bracing in the body ensuring all panels fit perfectly and there is zero flex in the body. It’s come a long way from that empty shell he bought in Hershey.
the car sits on an industrial-style dolly as the mechanic completes the final bodywork
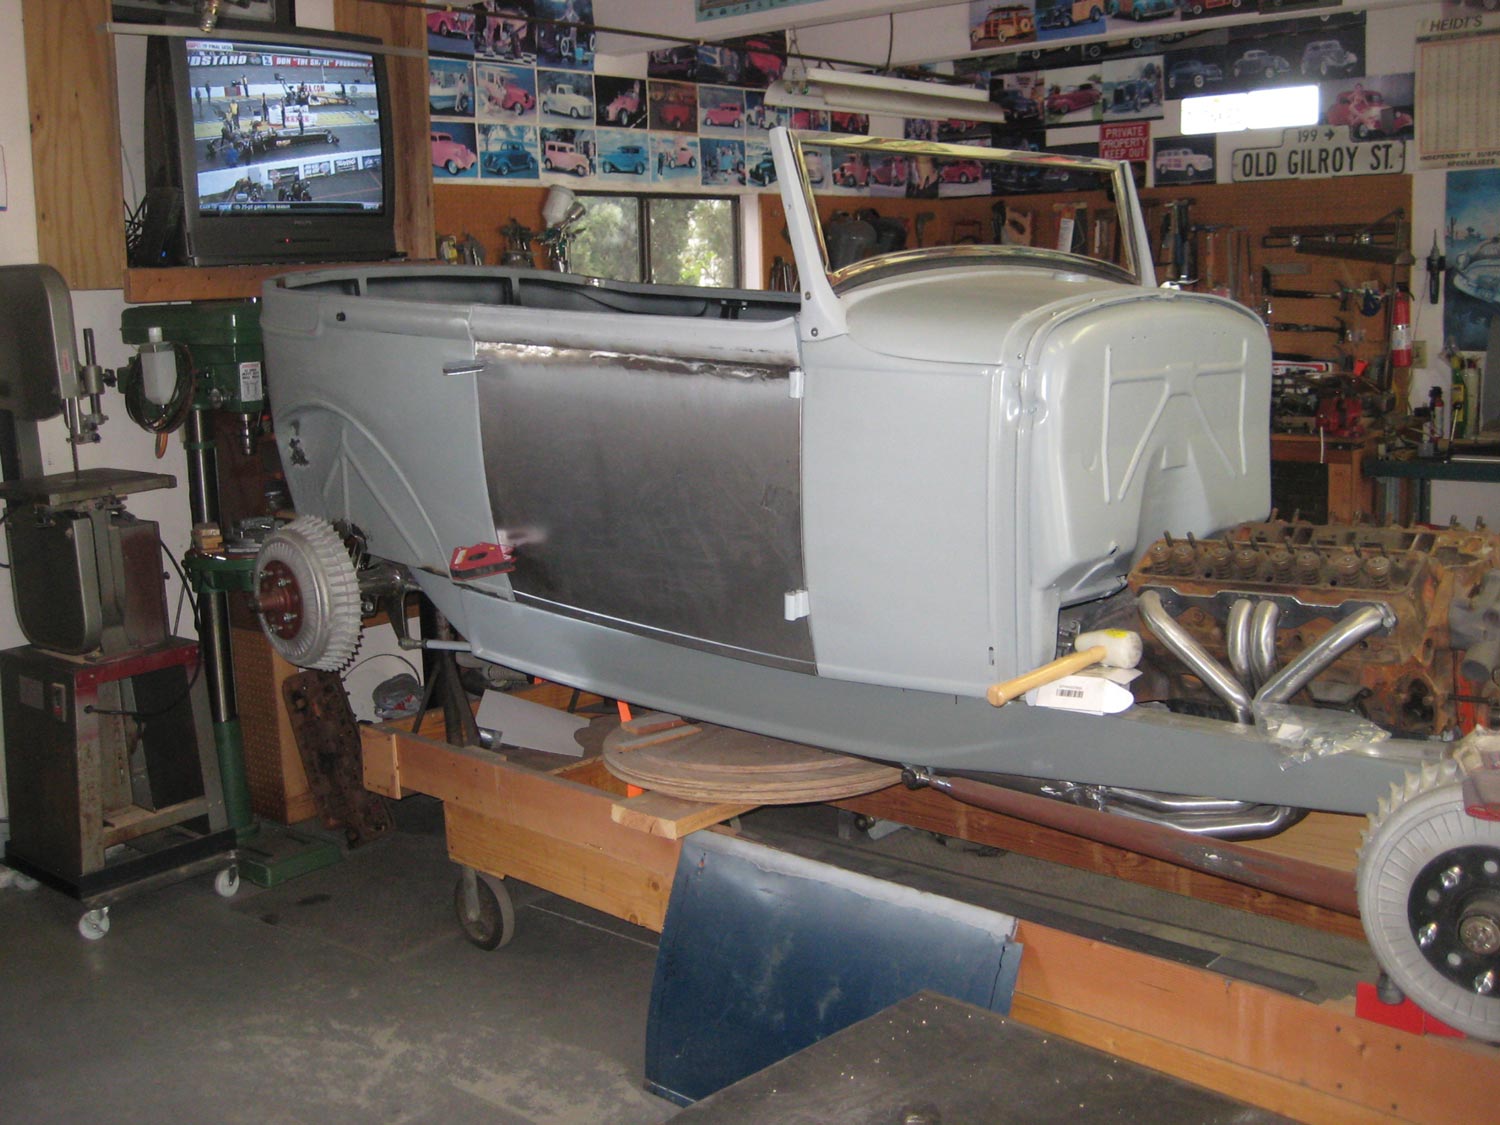
23. Fortin built this industrial-style dolly to do the final bodywork and panel fit. Here he is mocking up the hood to fit between the Model A cowl and the Deuce grille shell. Those owner-fabricated windshield stanchions are so nice they look like a factory item.
side view of the car showing the traditional-style louver punched hood and a simple, single nerf bar that stretches above the Halibrand quick-change rear
24. Things are really taking shape, the hood is punched full of traditional-style louvers while out back a simple, single nerf bar stretches above the Halibrand quick-change rear.
a look at the seat bracing from the front and the folding hard tonneau cover
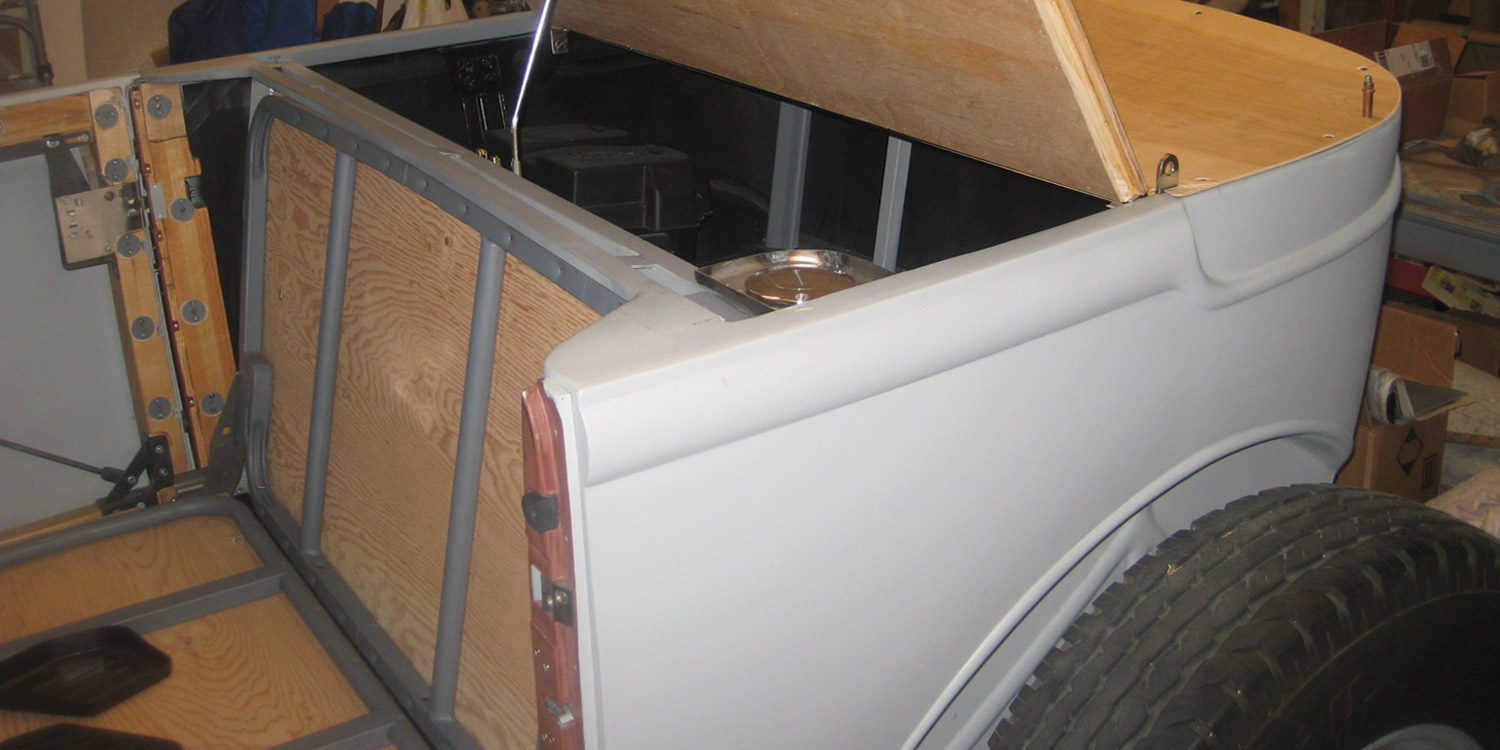
25. This is a good look at the seat bracing from the front and the folding hard tonneau cover. Note the gas filler in the front corner of the rear compartment.
plywood panels run along the inside body of the car in preparation for the upholstery work
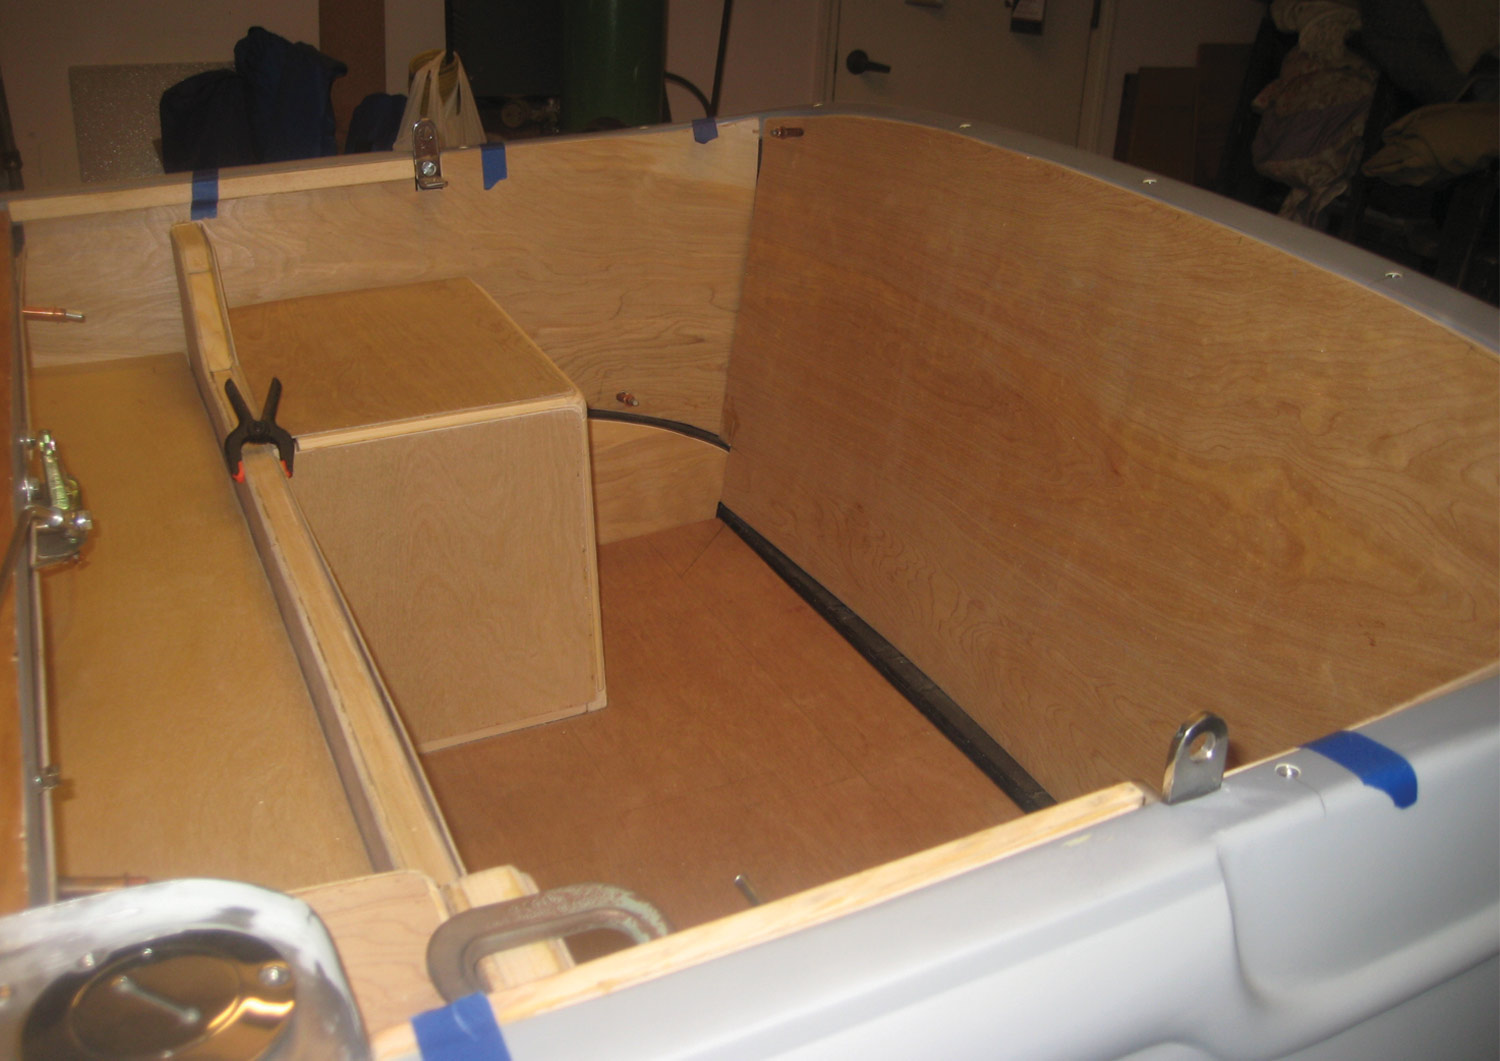
26. Kirby Kendell formed the plywood panels prior to doing the upholstery. All that wiring you can’t see was done by the owner and his good friend Ben Barnhart.
with the bodywork complete, the car sits in a driveway sporting custom top bows
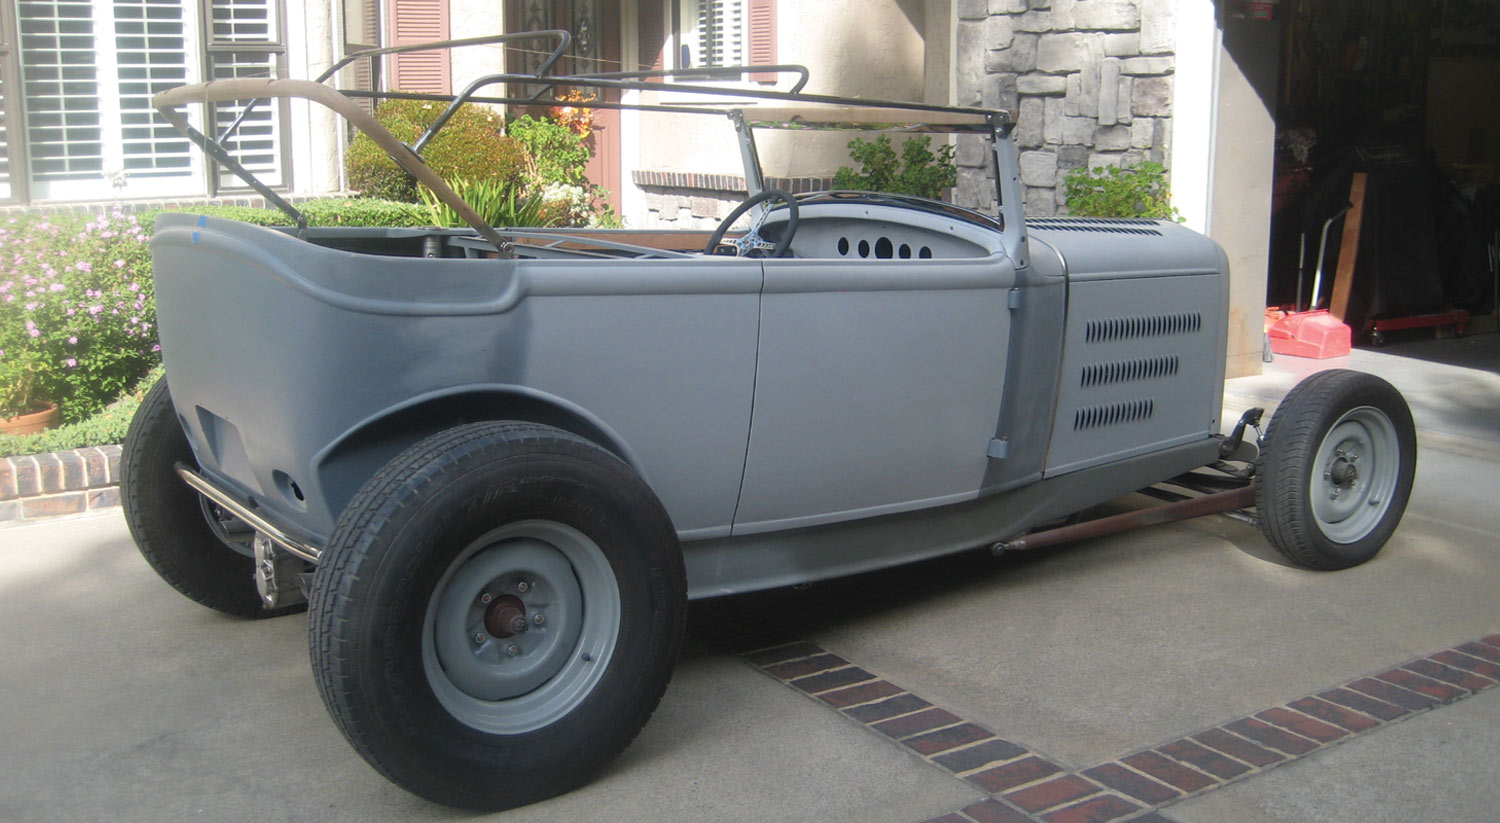
27. The bodywork is complete, and all panels fitted, now it was time to fabricate custom top bows. Arriving at the proper top shape and angle is critical to the overall look of any open hot rod. The top is a non-folding, lift-off design.
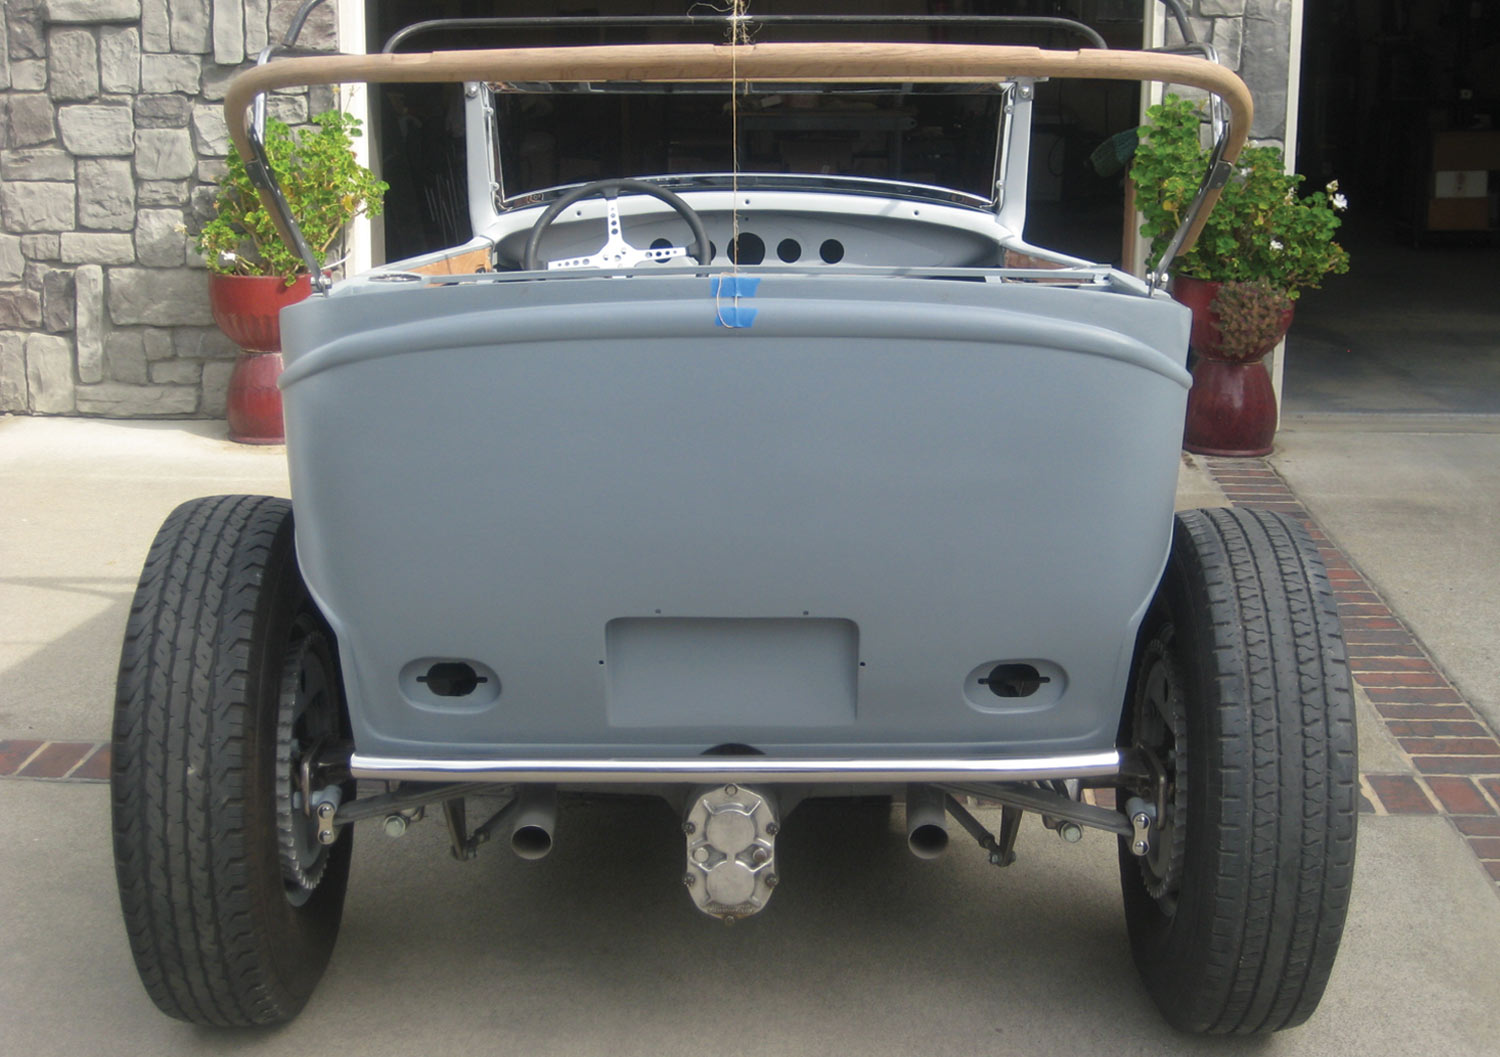
back view of the build featuring a vintage Halibrand quickie, finned brake drums, buggy-spring suspension, and a simple nerf bar below frenched taillight openings
28. This view is pure hot rod. A vintage Halibrand quickie, finned brake drums, buggy-spring suspension, and a simple nerf bar below frenched taillight openings. Clean and simple, works every time.
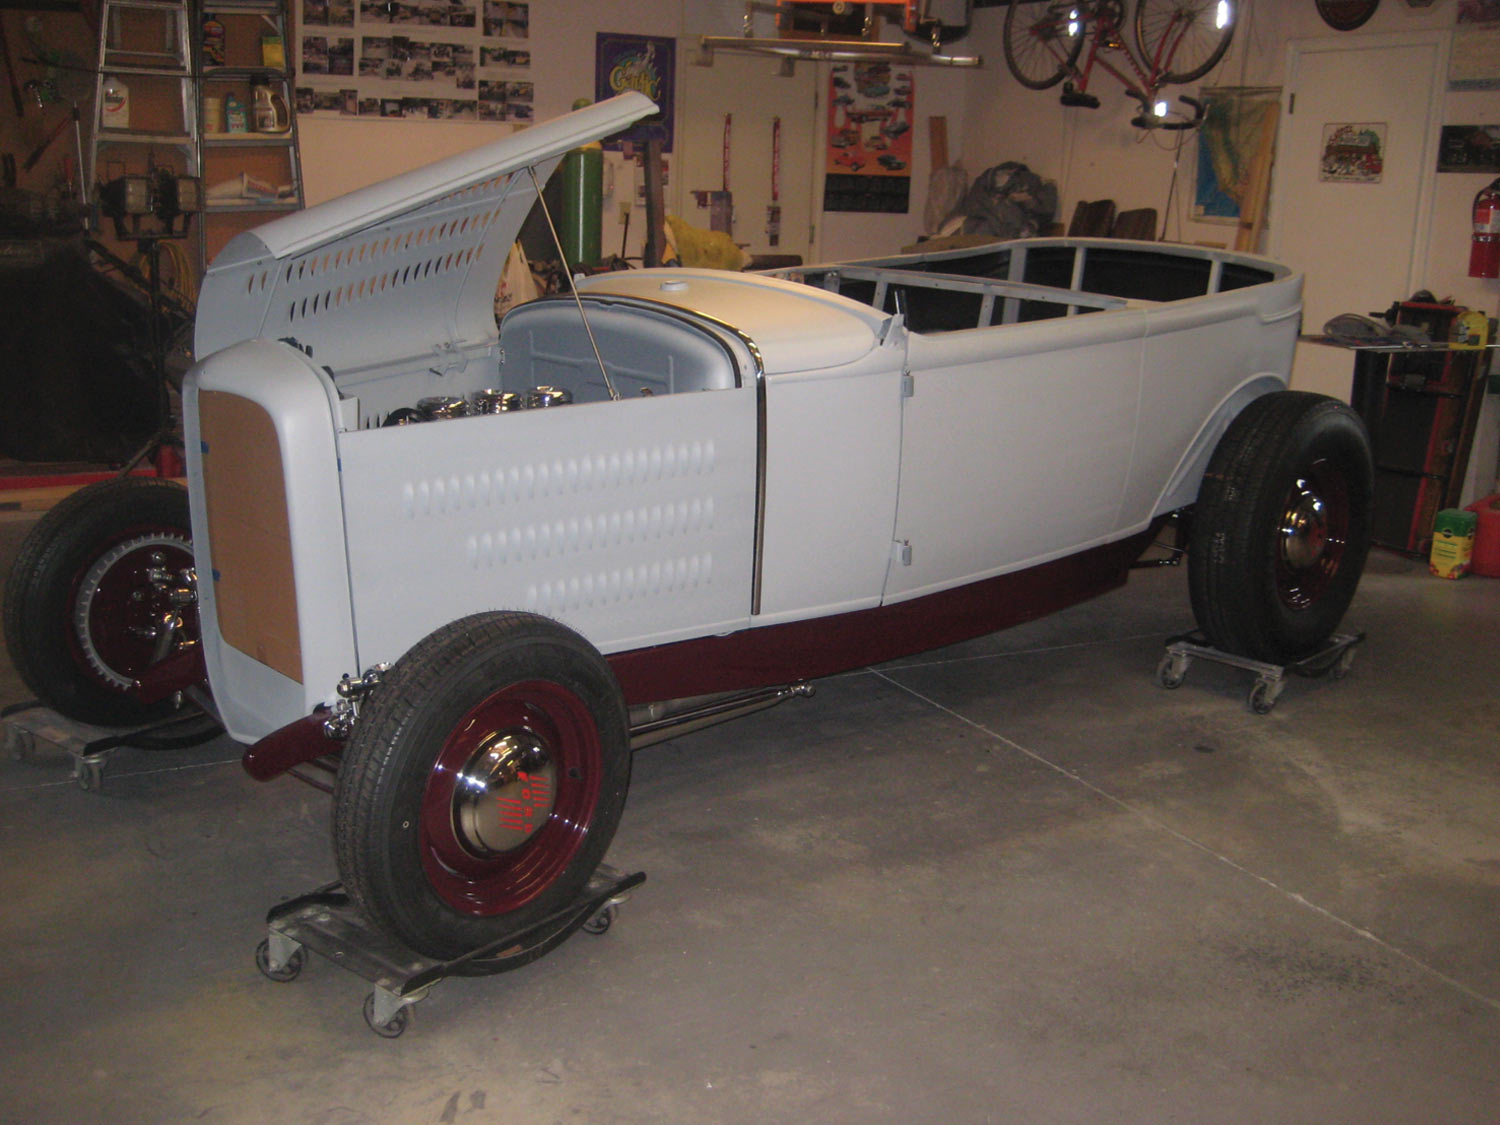
the completed build sits in a garage, covered with a fresh coat of paint
29. Wow, finished primer on the body while it rests on a freshly painted and assembled chassis. Three deuces peeking from the engine bay add to the traditional feeling. We’ll be bringing you a finished feature very soon, so stay tuned.
Modern Rodding

VOLUME 3 • ISSUE 20 • 2022