
 By Brian Brennan
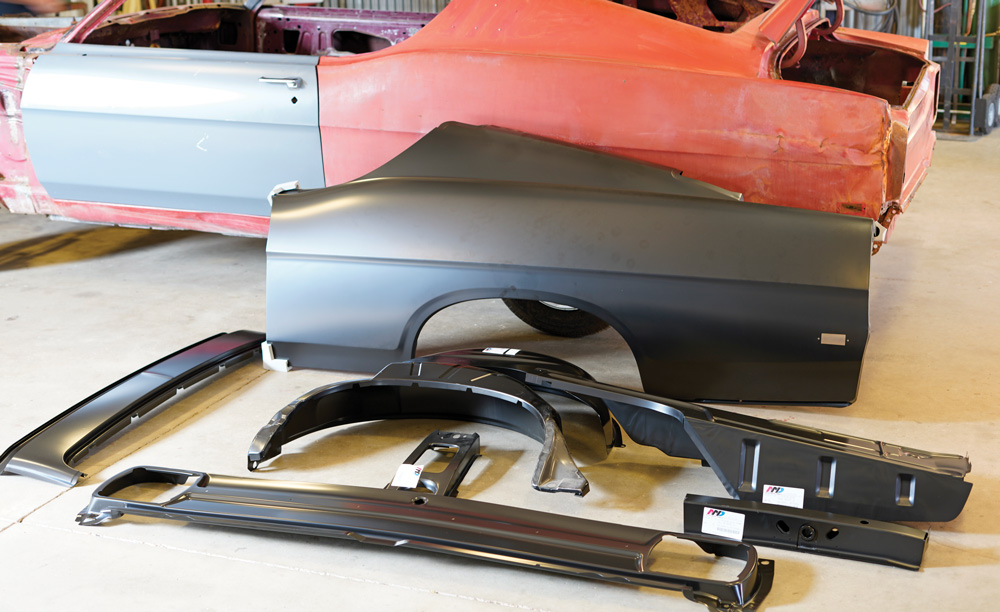
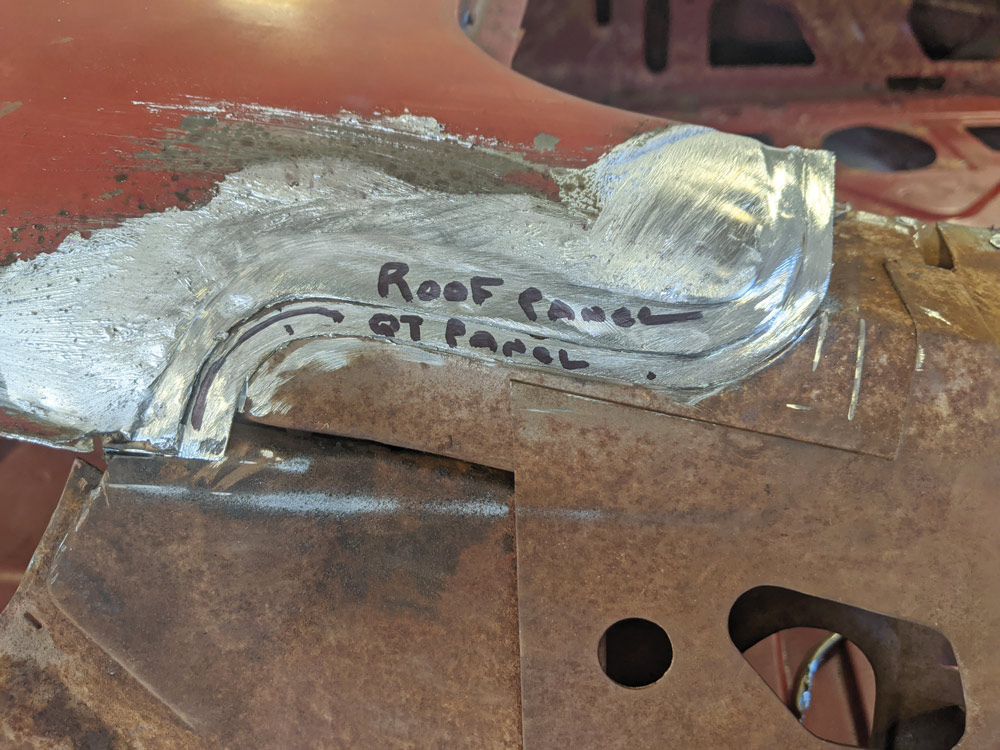
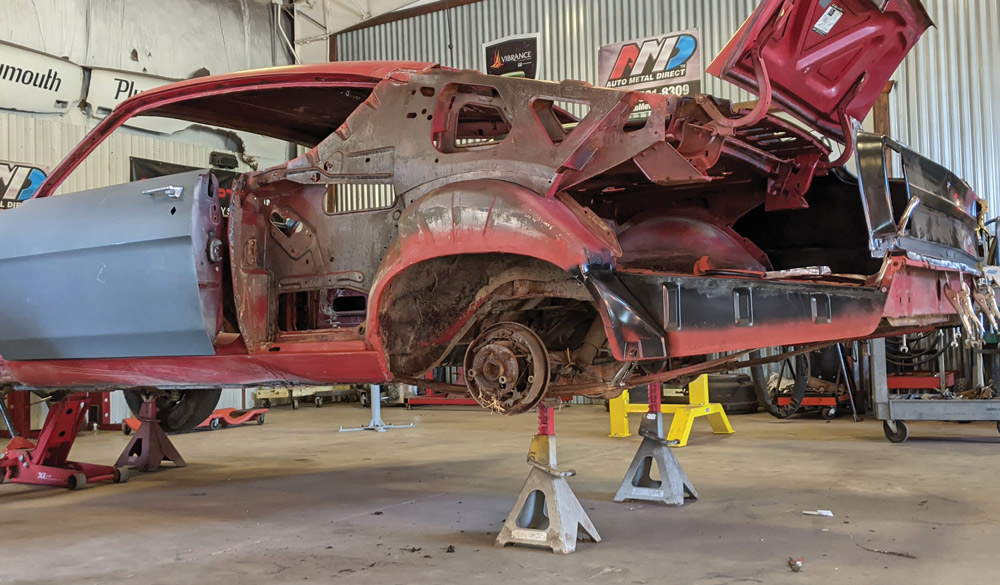
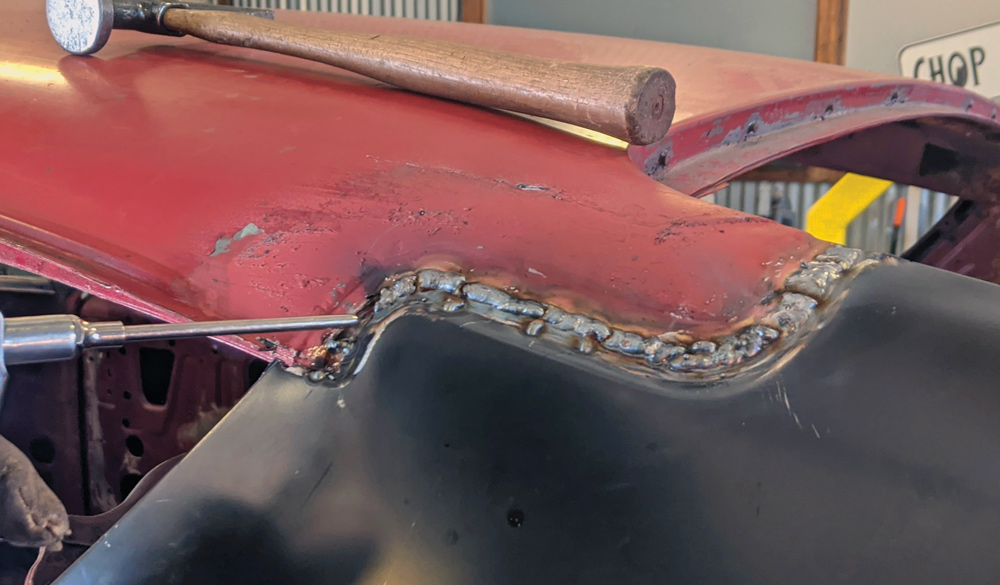
etalwork is one of, if not, the most demanding projects any of us can undertake when working on our hot rod project. It can start out as a sheetmetal repair, patch panel replacement, right on up to rear quarter-panel replacement, which is one of the more ambitious projects to undertake.
By Brian Brennanetalwork is one of, if not, the most demanding projects any of us can undertake when working on our hot rod project. It can start out as a sheetmetal repair, patch panel replacement, right on up to rear quarter-panel replacement, which is one of the more ambitious projects to undertake.
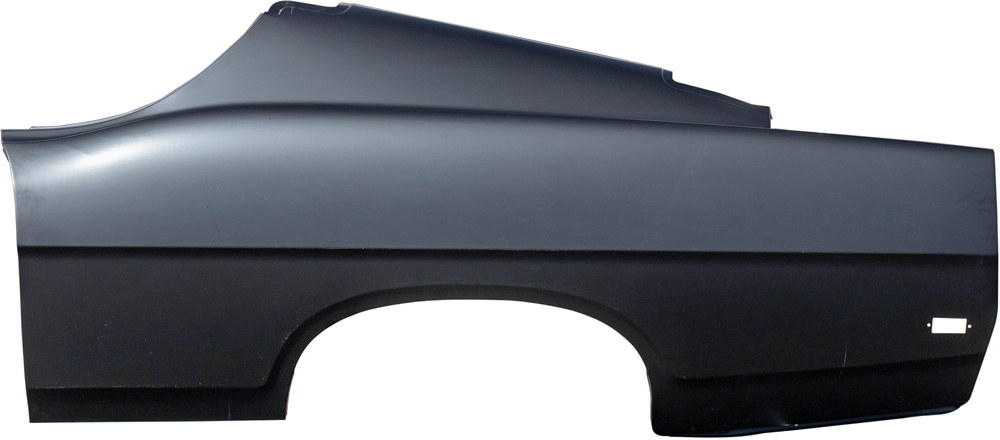
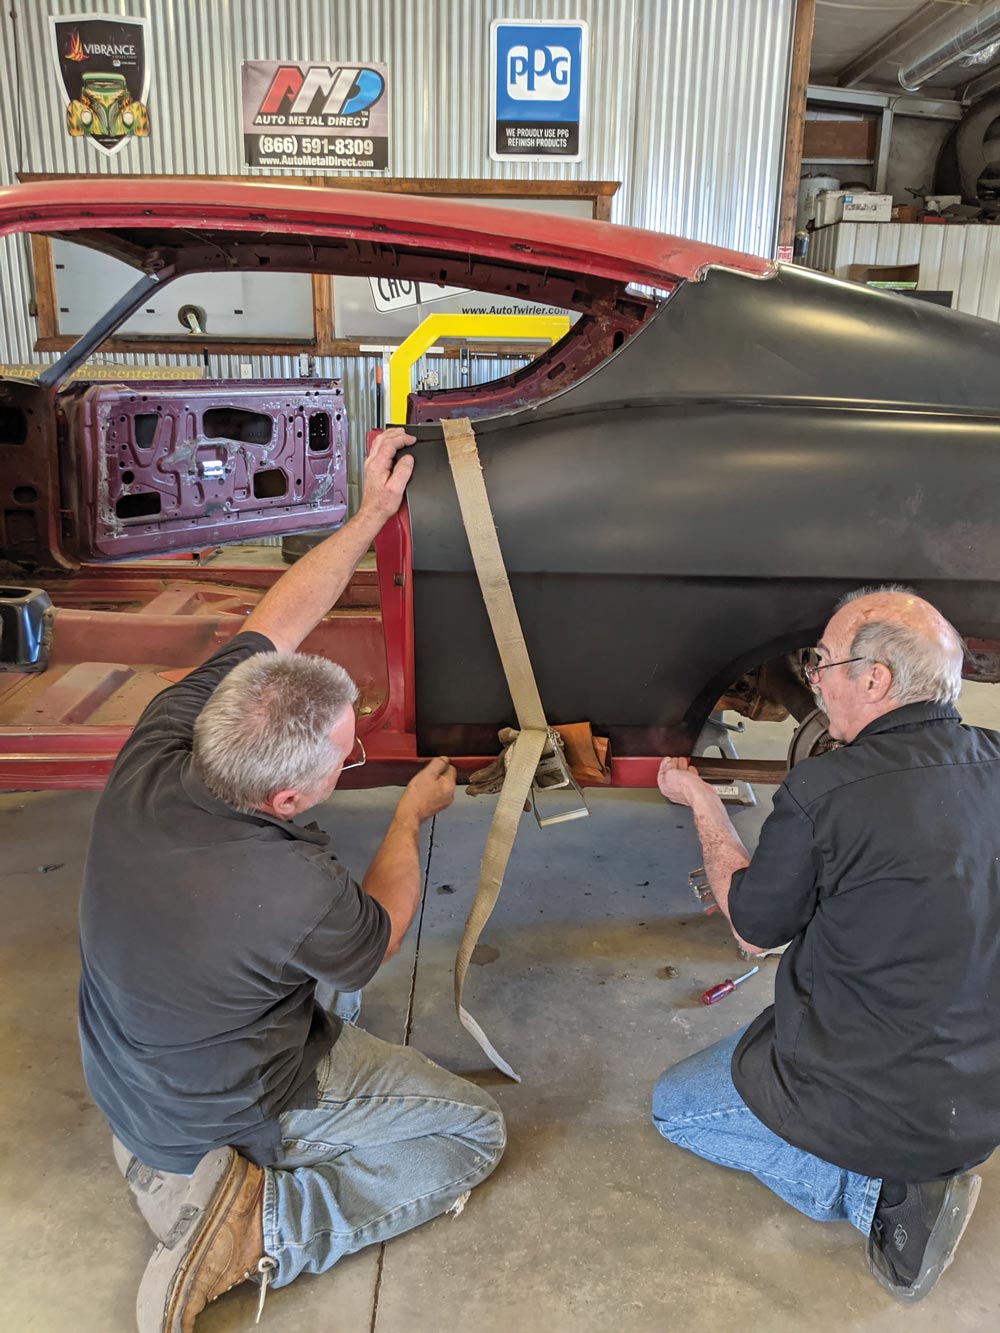
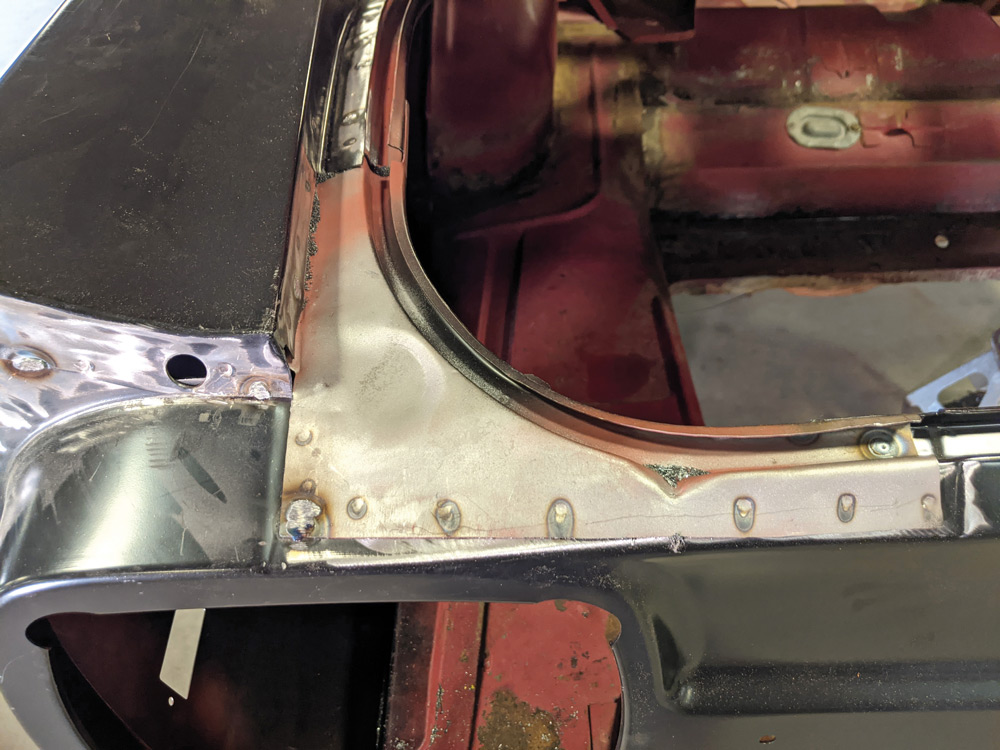
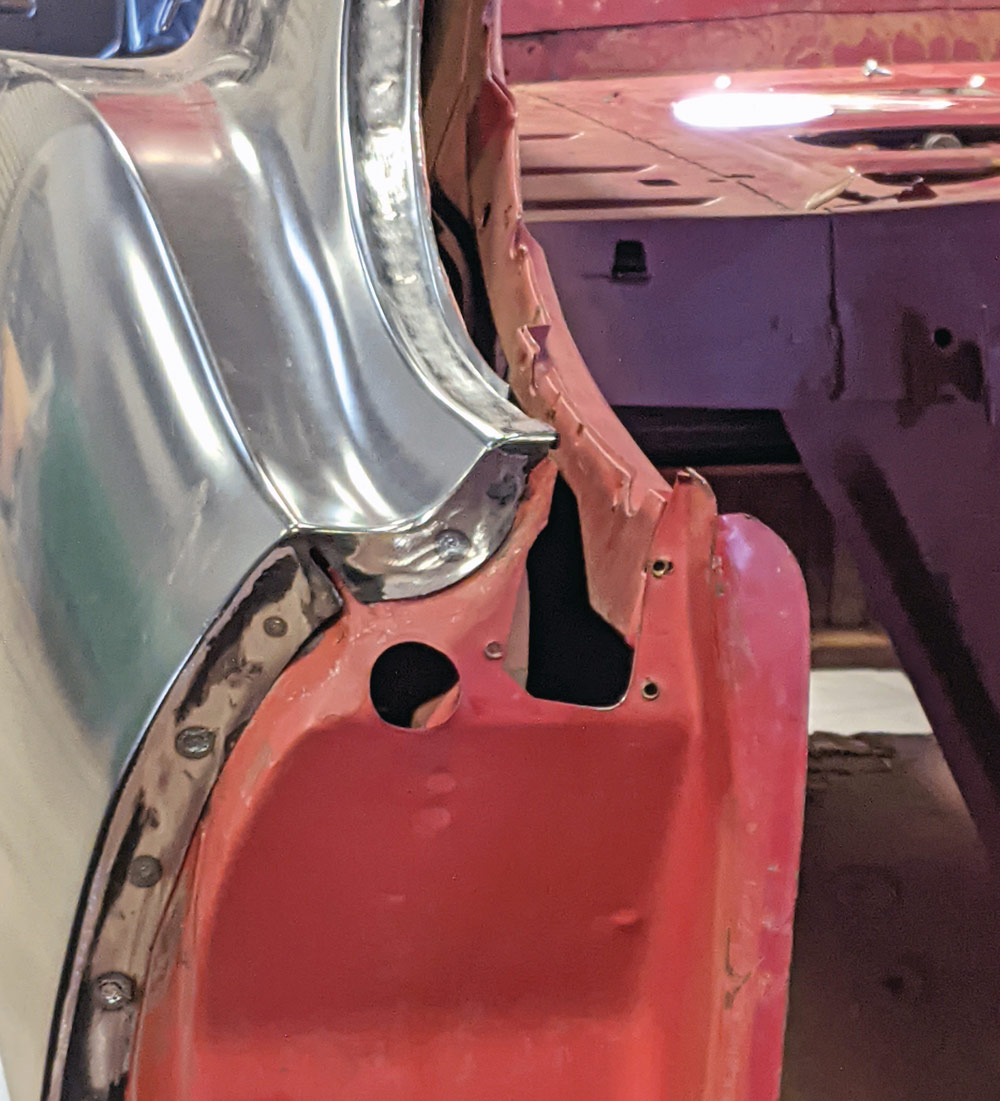
The AMD sheetmetal is known for its OE condition, meaning that it’s stamped from high-quality OE gauge steel on AMD’s own tooling. Each quarter-panel displays features that are as correct as original shape, size, bends, curves, and body lines. Like all AMD parts, these items arrive EPD coated to help protect against rust and corrosion. (EPD stands for electrophoretic deposition. It’s an industrial process that includes electrocoating. E-coating, as it is commonly referred to, is an immersion wet paint process that uses electrical current to attract material, paint, to the metal surface.)
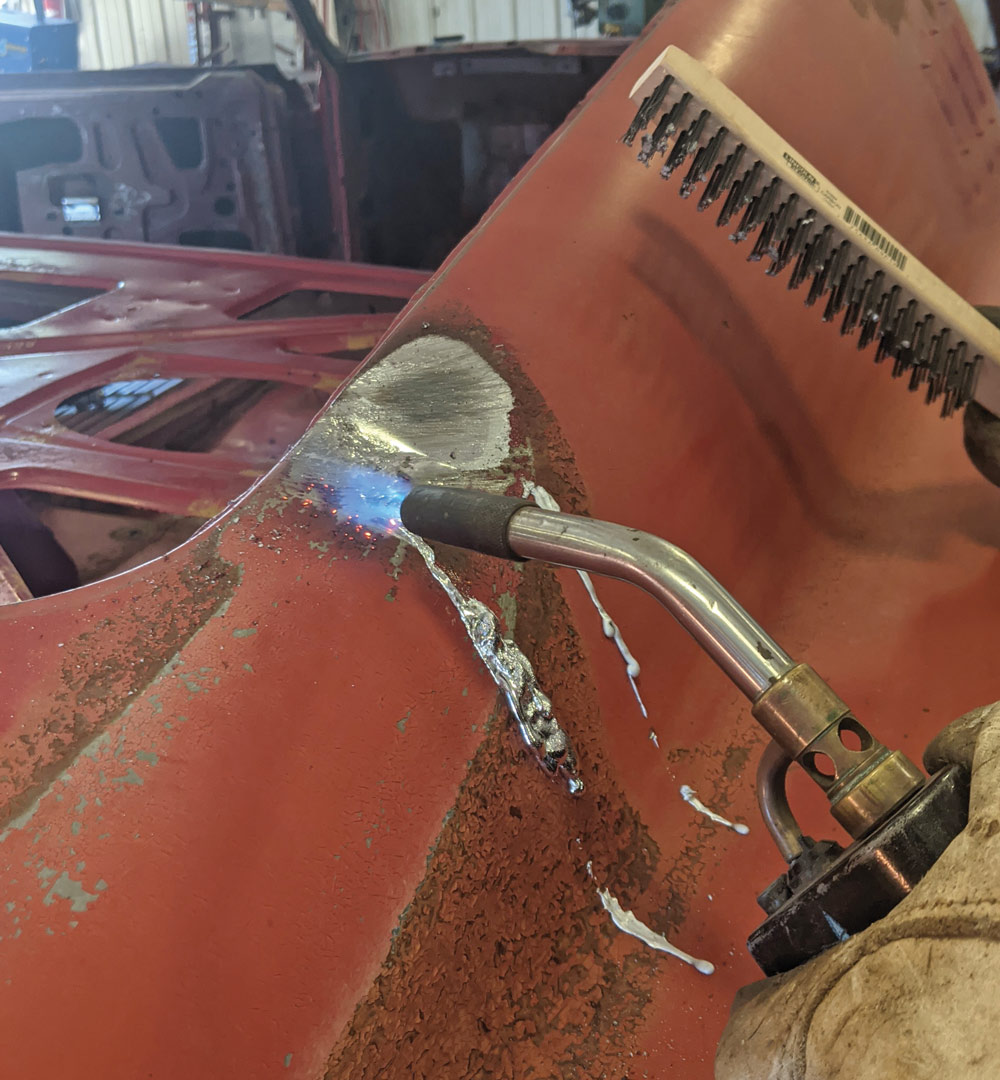
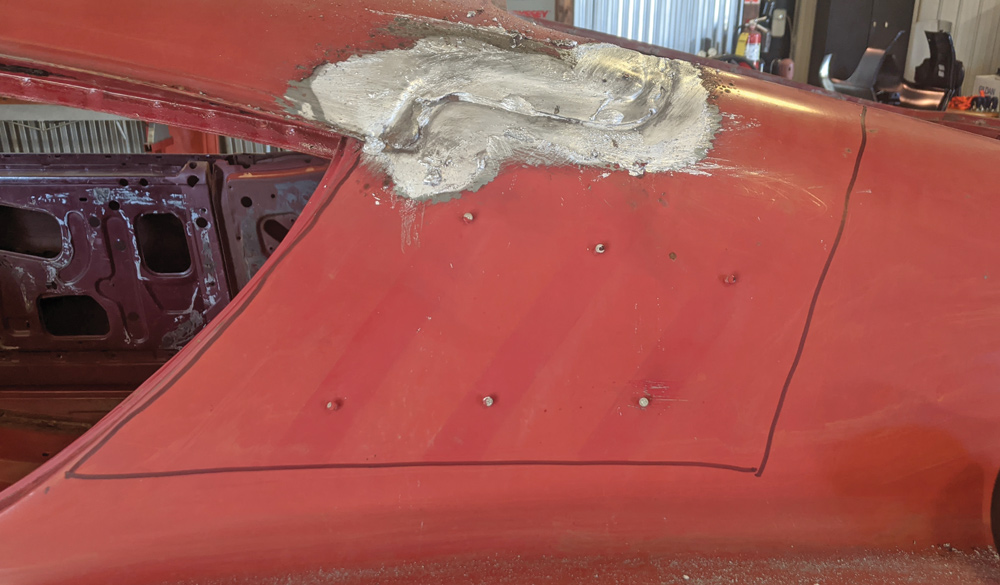
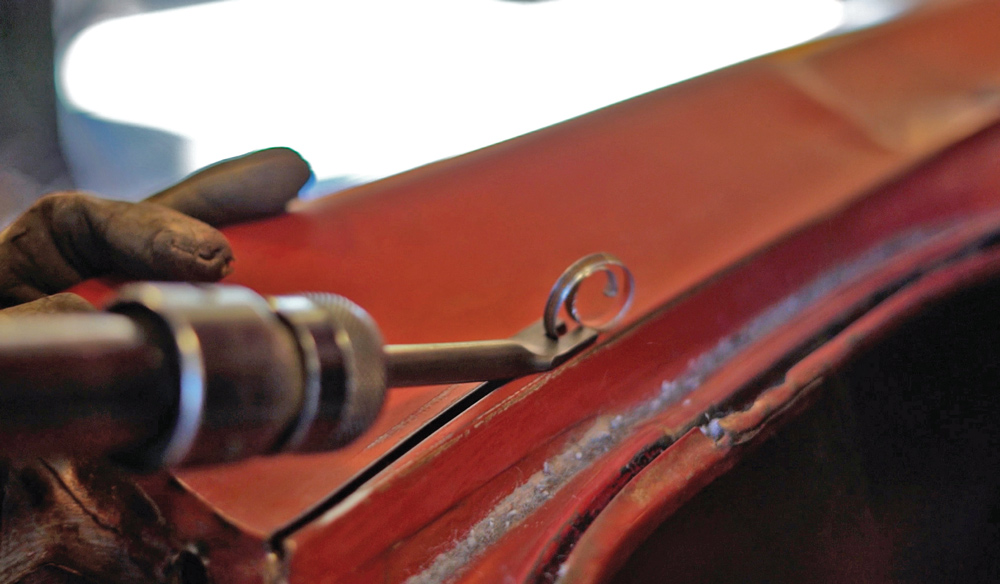
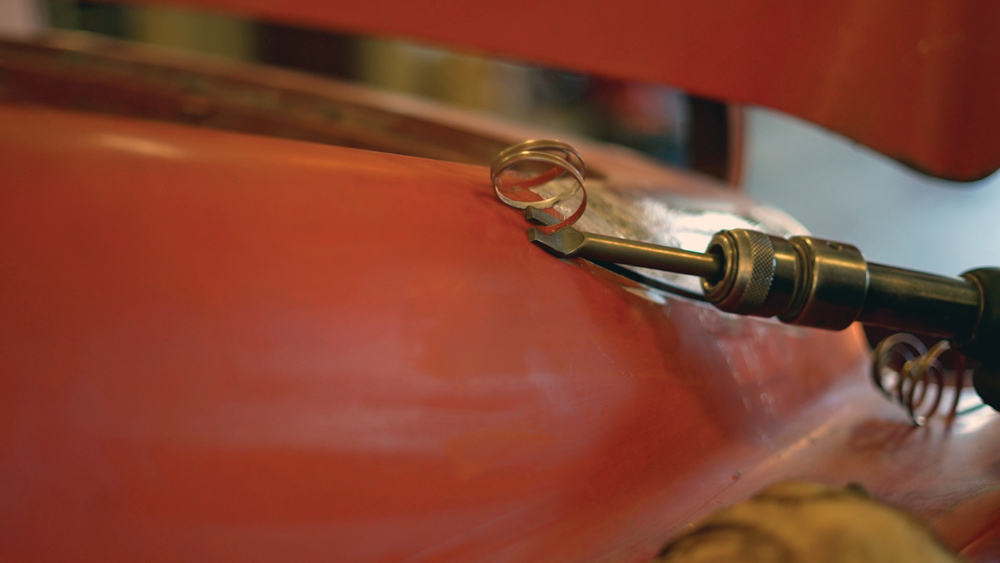
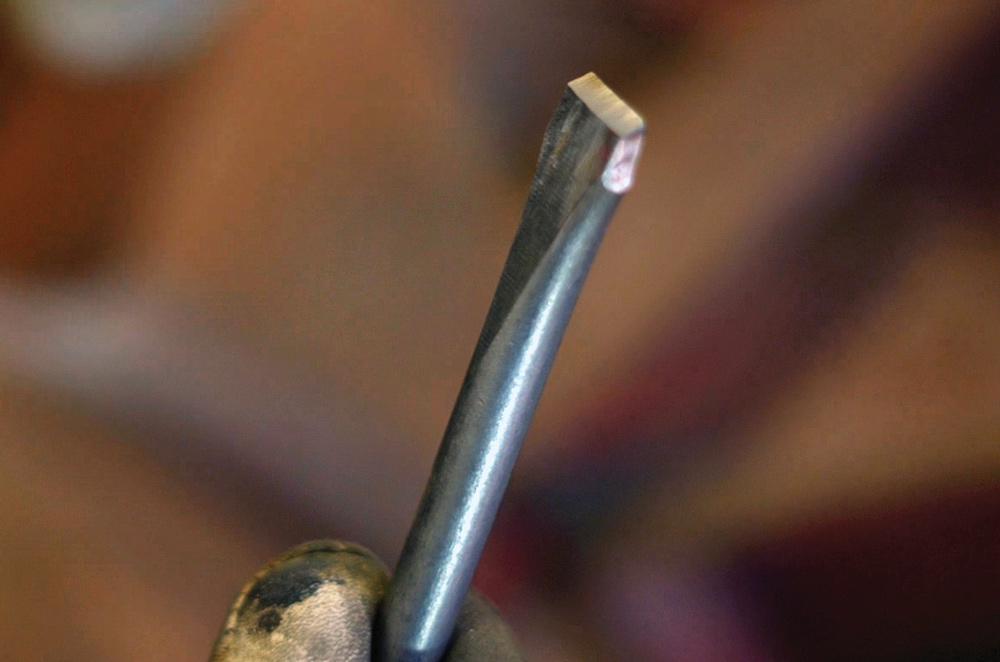
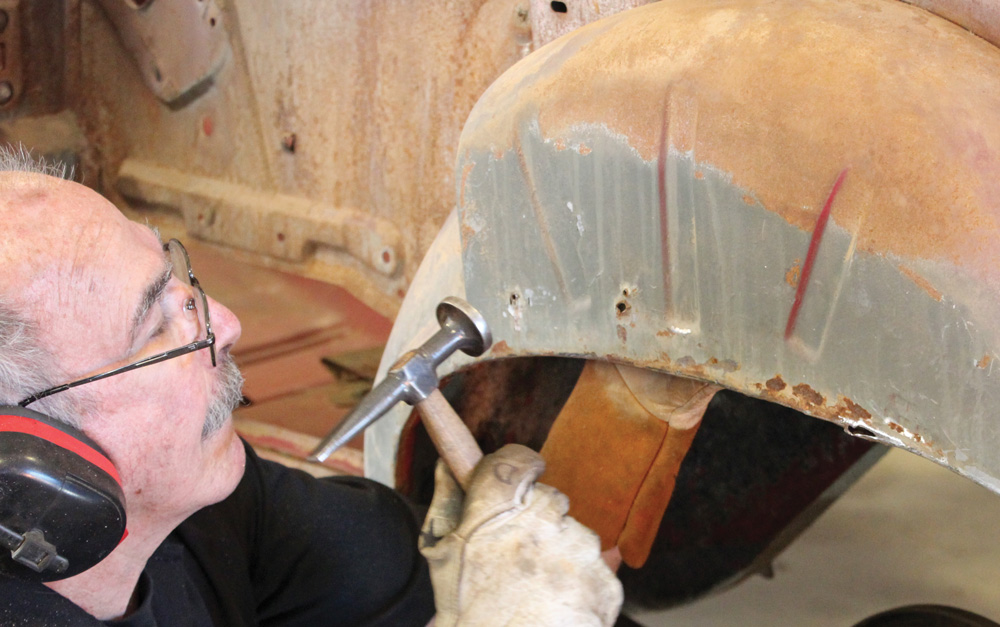
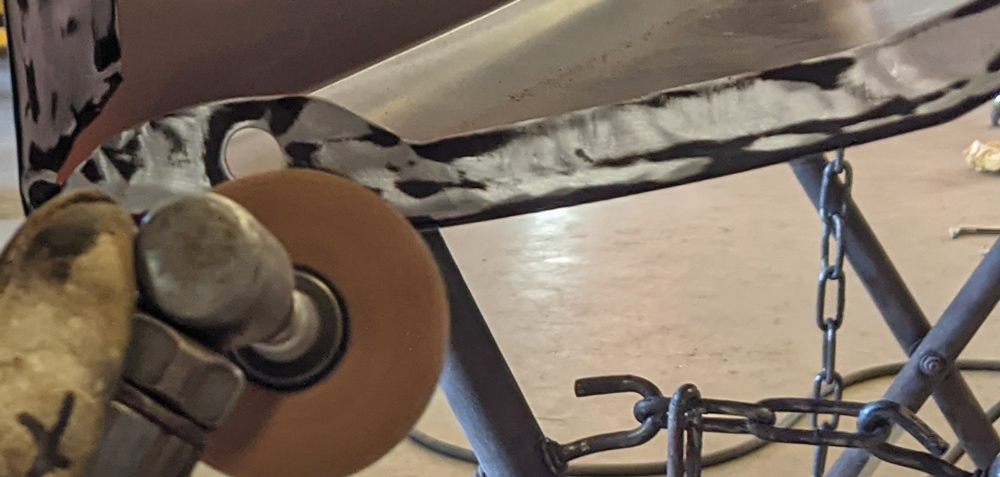
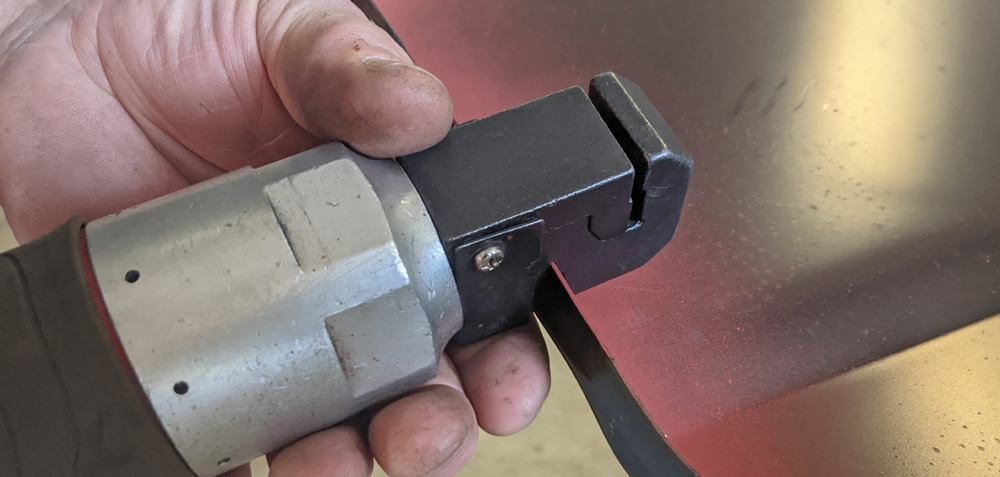
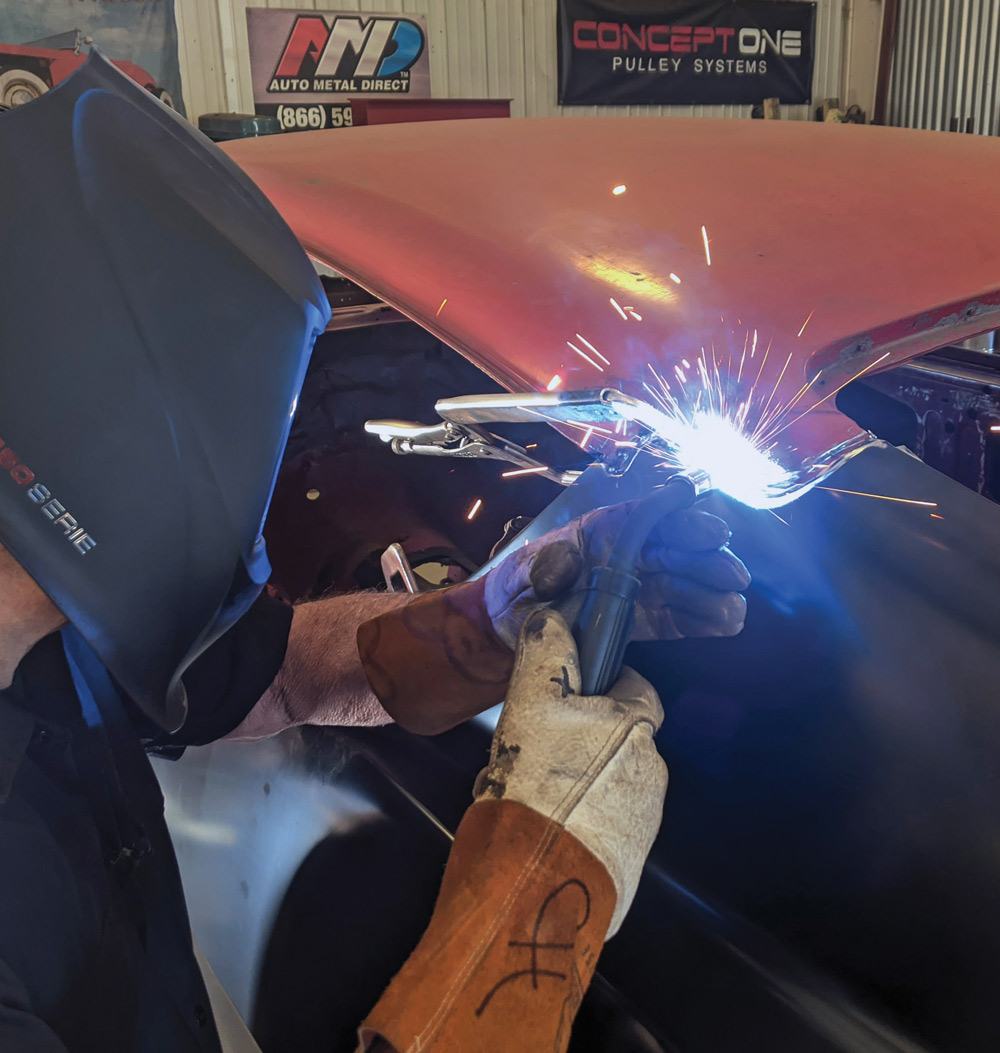
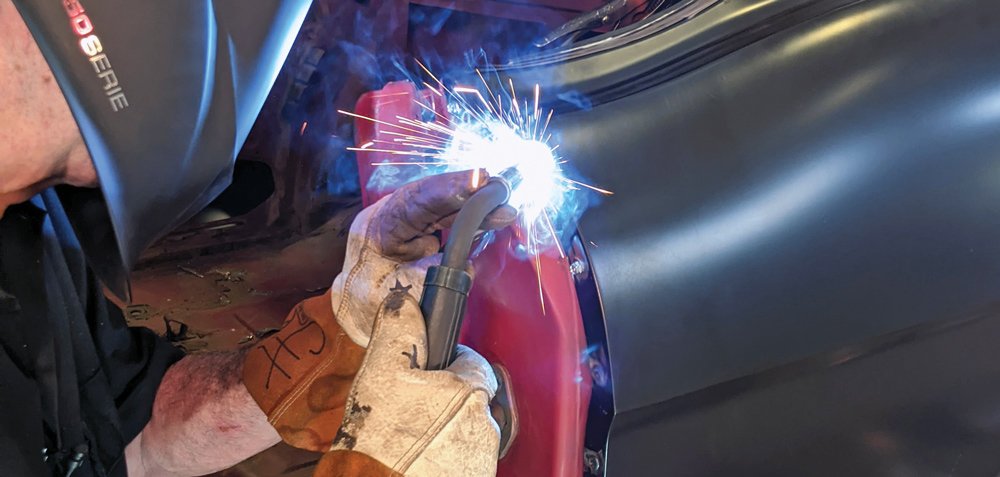
This is the type of project best left for those with copious amounts of metalworking experience. You will need to be proficient in MIG welding as well as the removal of lead, an air chisel, and spot welding. The topic of MIG welding alone can fill a book, a library, and in time we will be getting into welding techniques and how to go about gaining this skill.
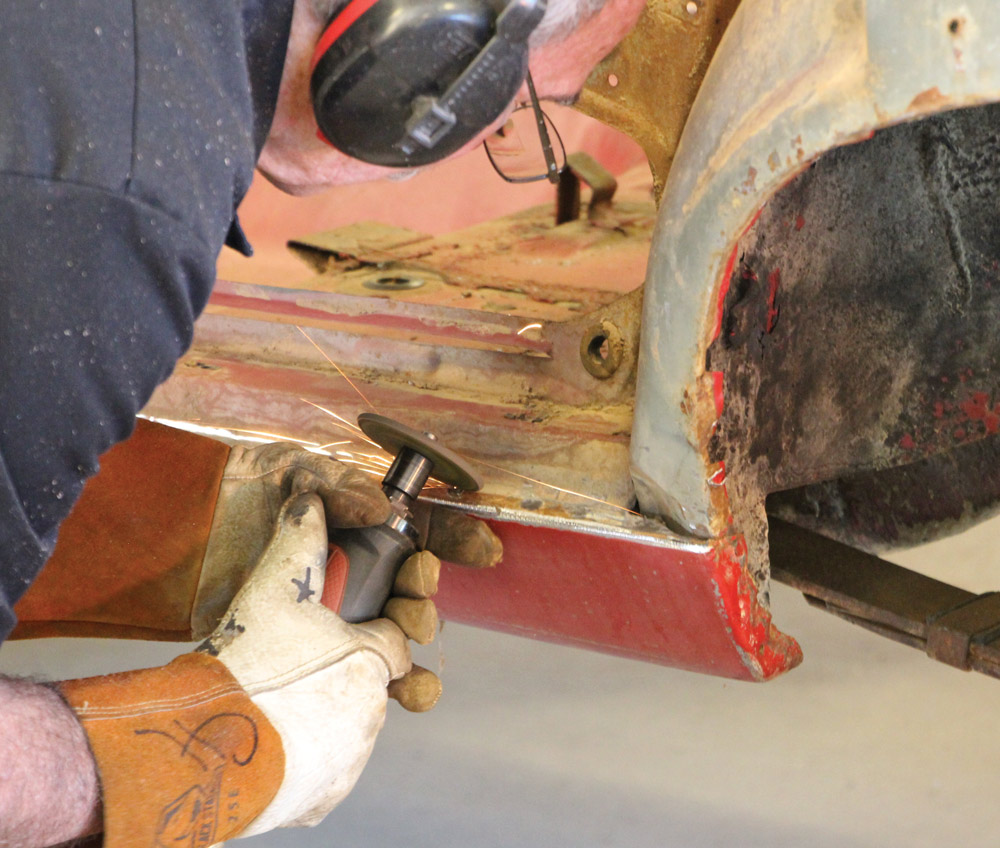
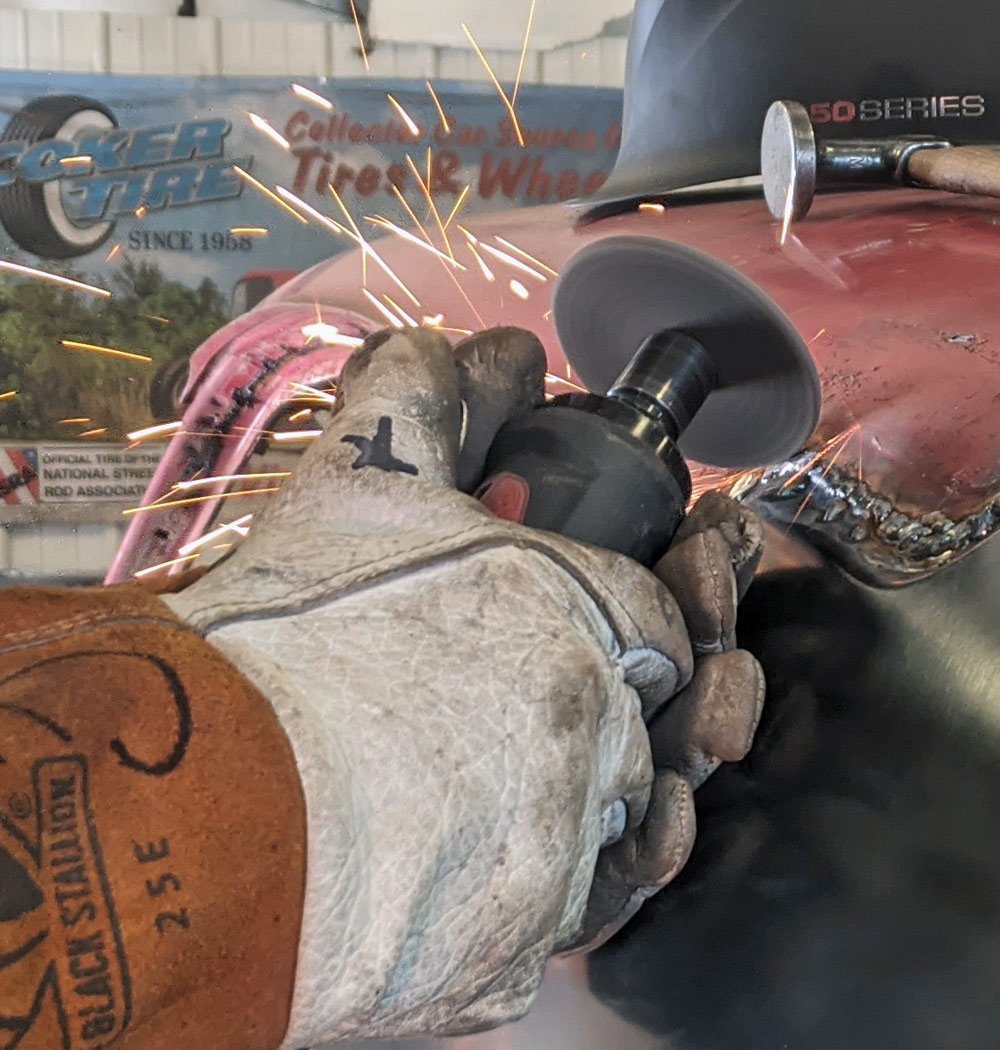
We have learned a great deal about hazardous materials since the ’60s, so suffice it to say, be careful! Act accordingly by wearing a respirator and gloves, at the very least. You should also protect your body, especially your eyes, by wearing protection to cover any exposed skin.
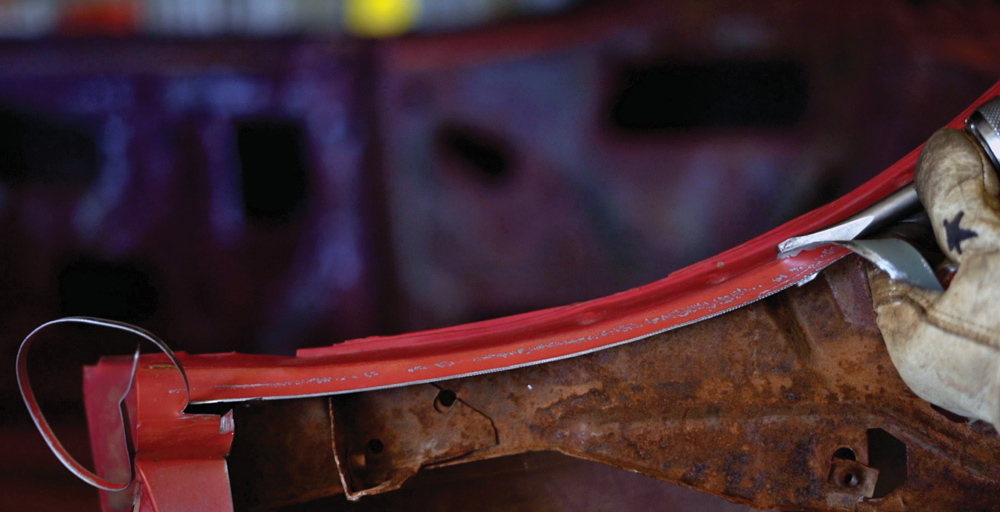
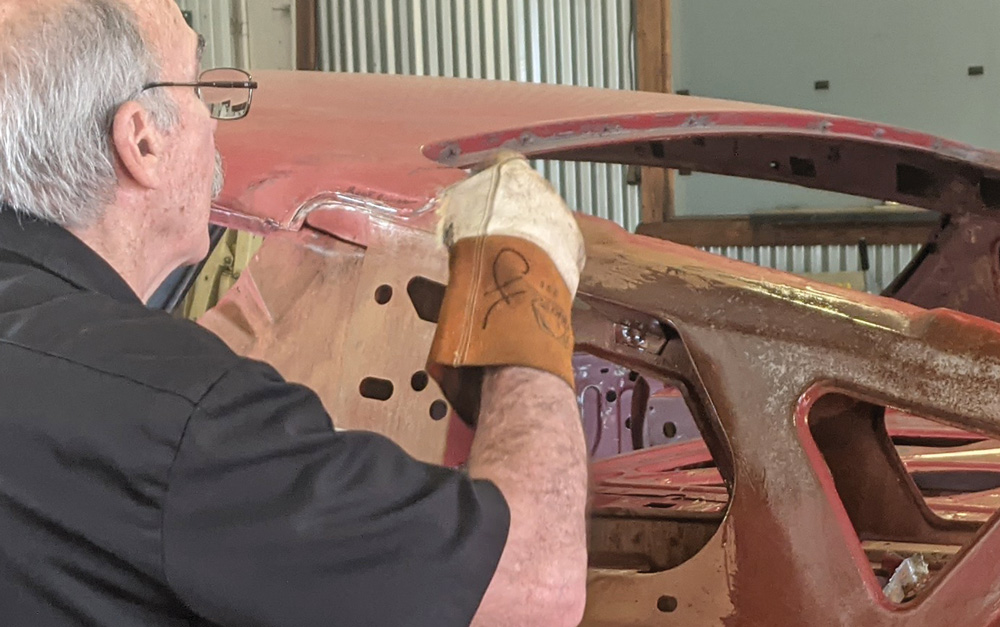
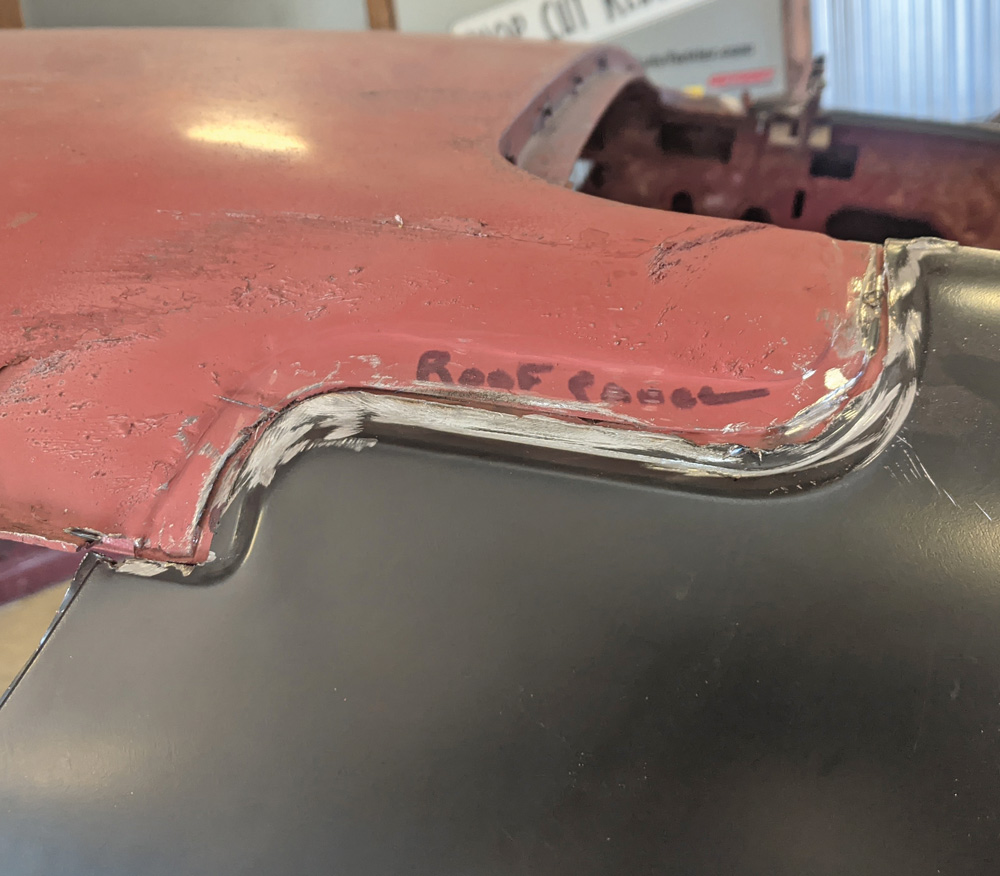
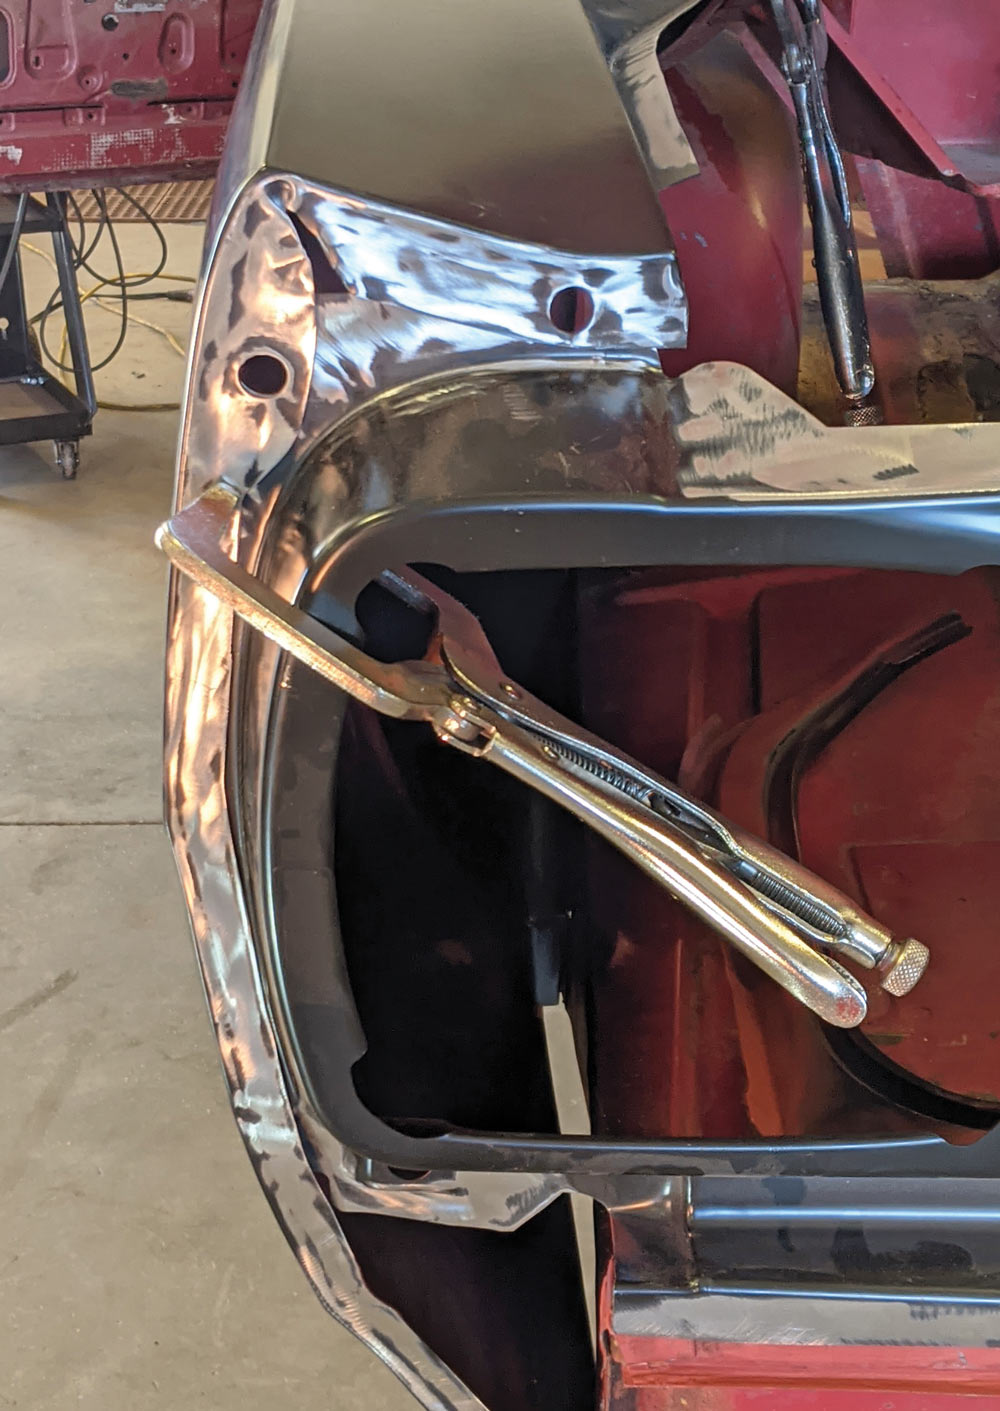
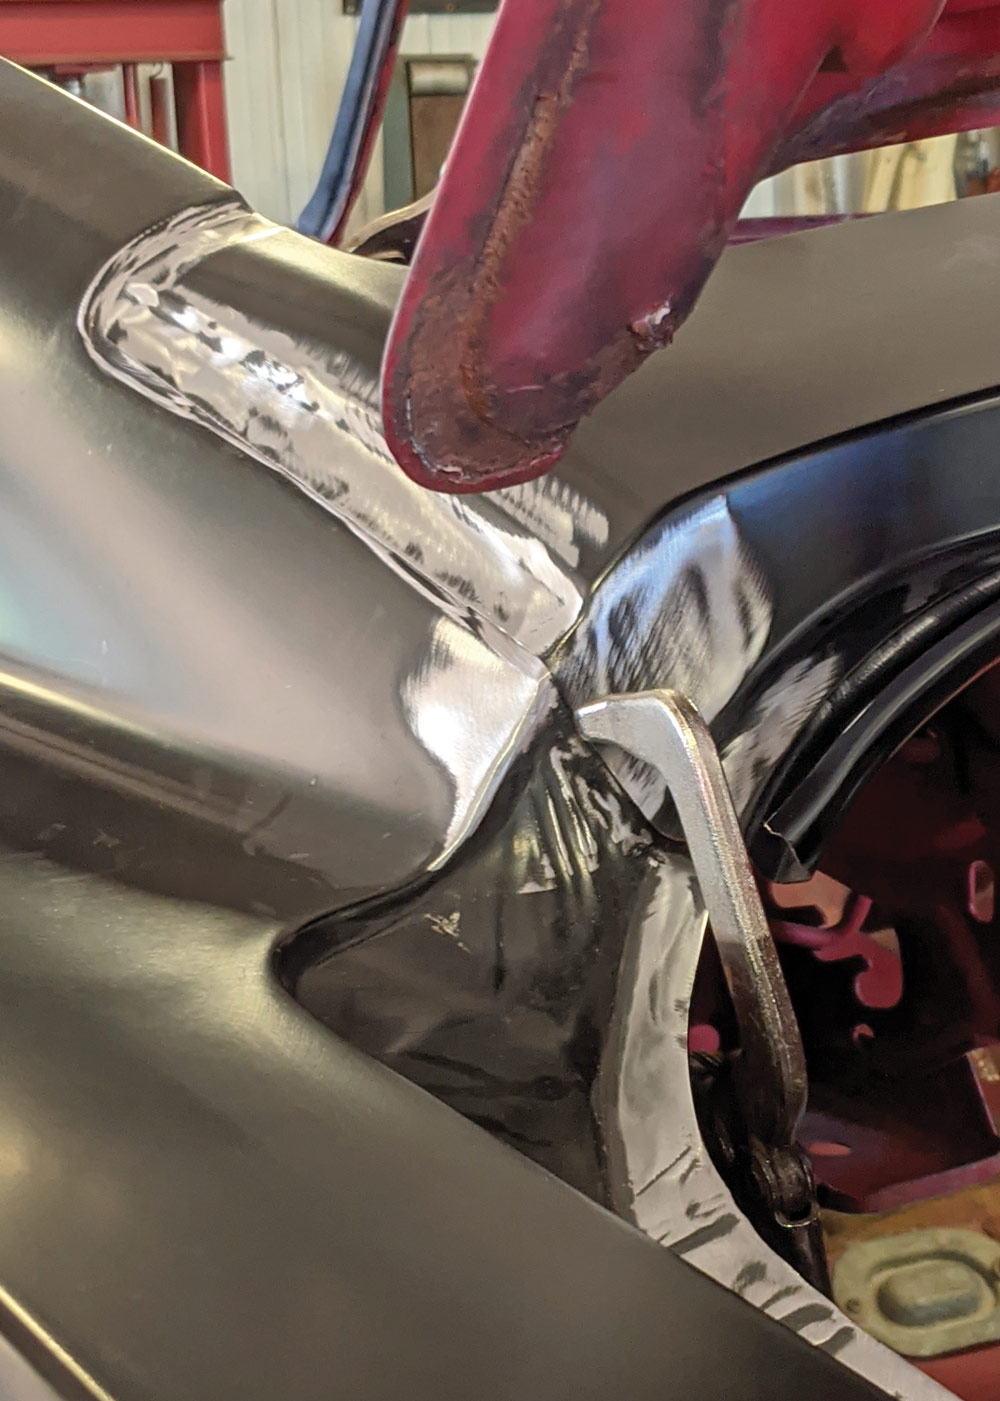
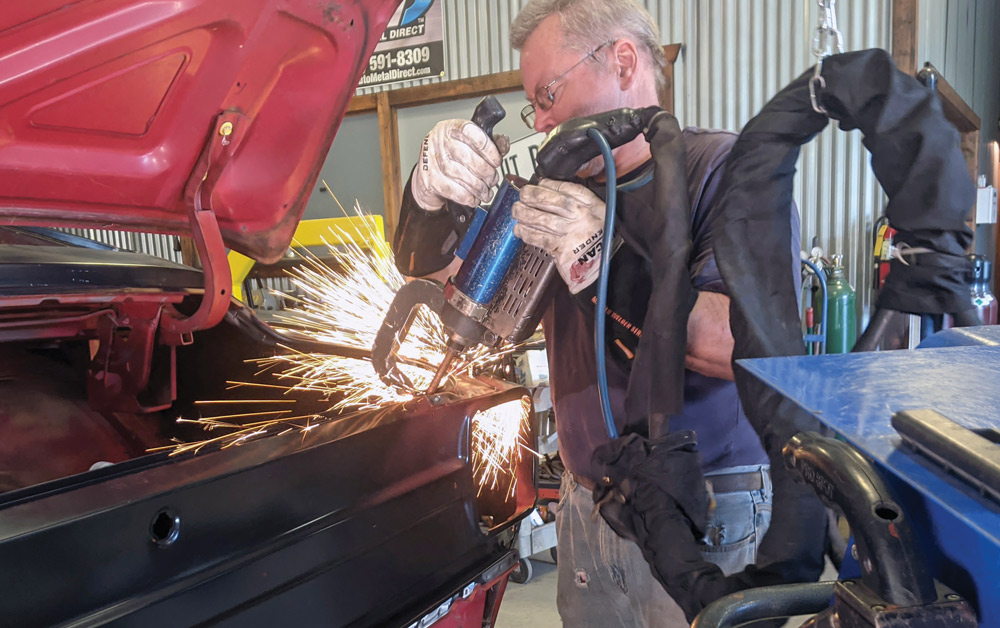
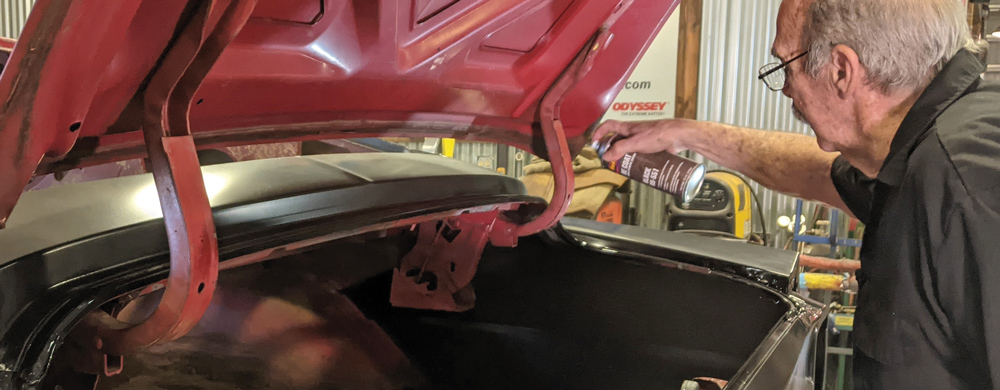
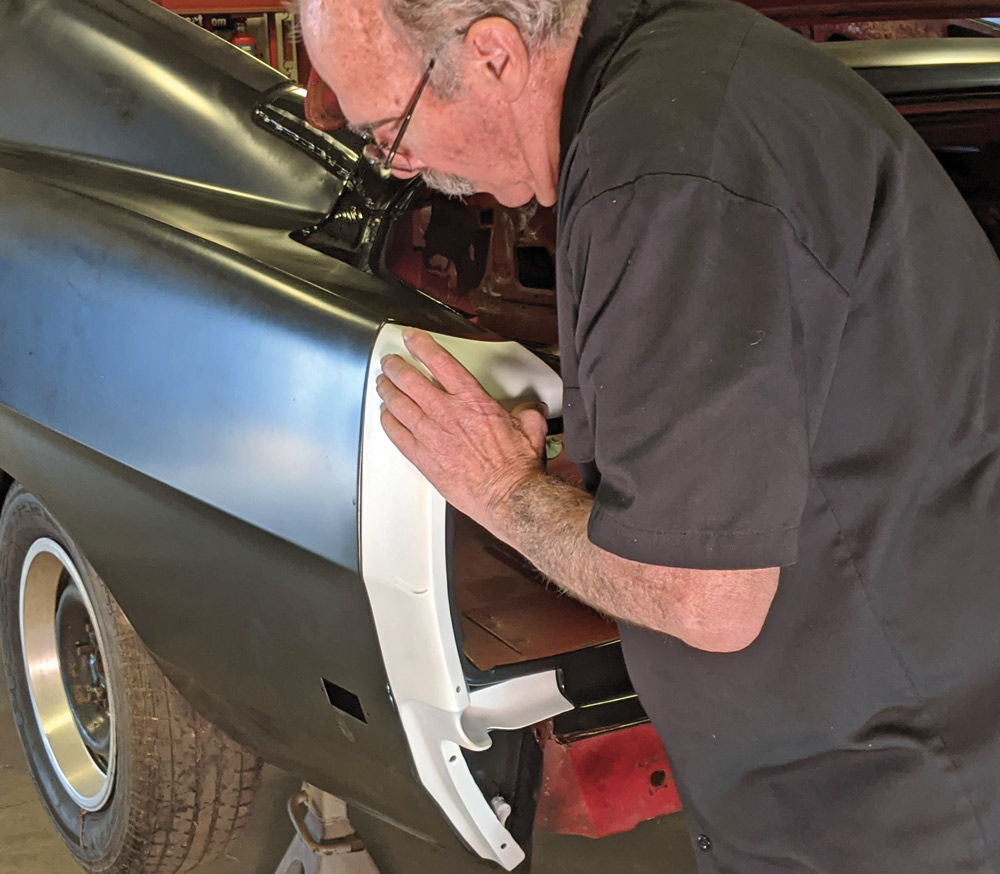
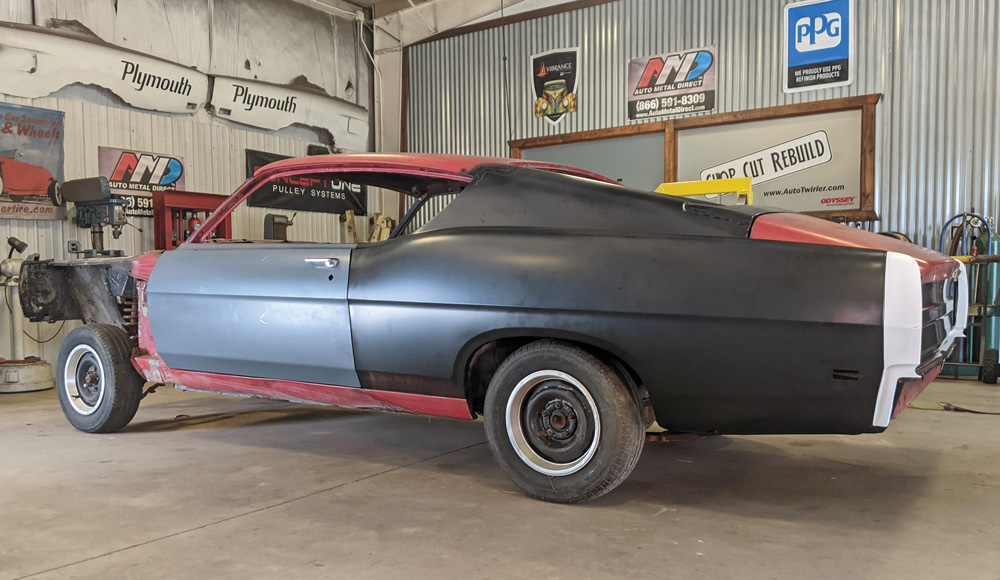
Follow along with the photos and let’s watch Hopkins and Kennedy as they go from start to finish to bring back this 1969 Ford Torino Cobra Jet 428 Q-code Sportsroof.


 SOURCES