Modern Rodding TECH

InTheGarageMedia.com

Front view of a ’55 Chevy, unpainted and missing fender, engine, and headlights
1. Vintage tin on the left, reproduction on the right. The original fender was solid except for the headlight brow. It had been repaired in the past. The driver side fender was beyond repair, hence a new fender was in order.
HIGHBROW DECISIONS
The Question is … Repair or Replace? We do One of Each.
By GERRY BURGER Photography by CHADLY JOHNSON
O

riginal or repro? It’s a longtime hot rodder’s battle with no one correct answer. On the one hand, there is something special about repairing that original tin. There just seems to be a bit more “soul” in 68-year-old fenders, but on the other hand, there is a strong argument for today’s high-quality reproduction sheetmetal. If that gennie fender requires too much repair you can fall prey to the old axiom: “The handle has been replaced three times, and the head twice, but it’s still Grandpa’s axe.” Likewise, be sure to buy quality reproduction sheetmetal so you don’t end up doing excessive work for proper fit. In the end, the decision comes down to a good, honest assessment, the availability of quality new tin, all mixed with just a bit of opinion for flavor.

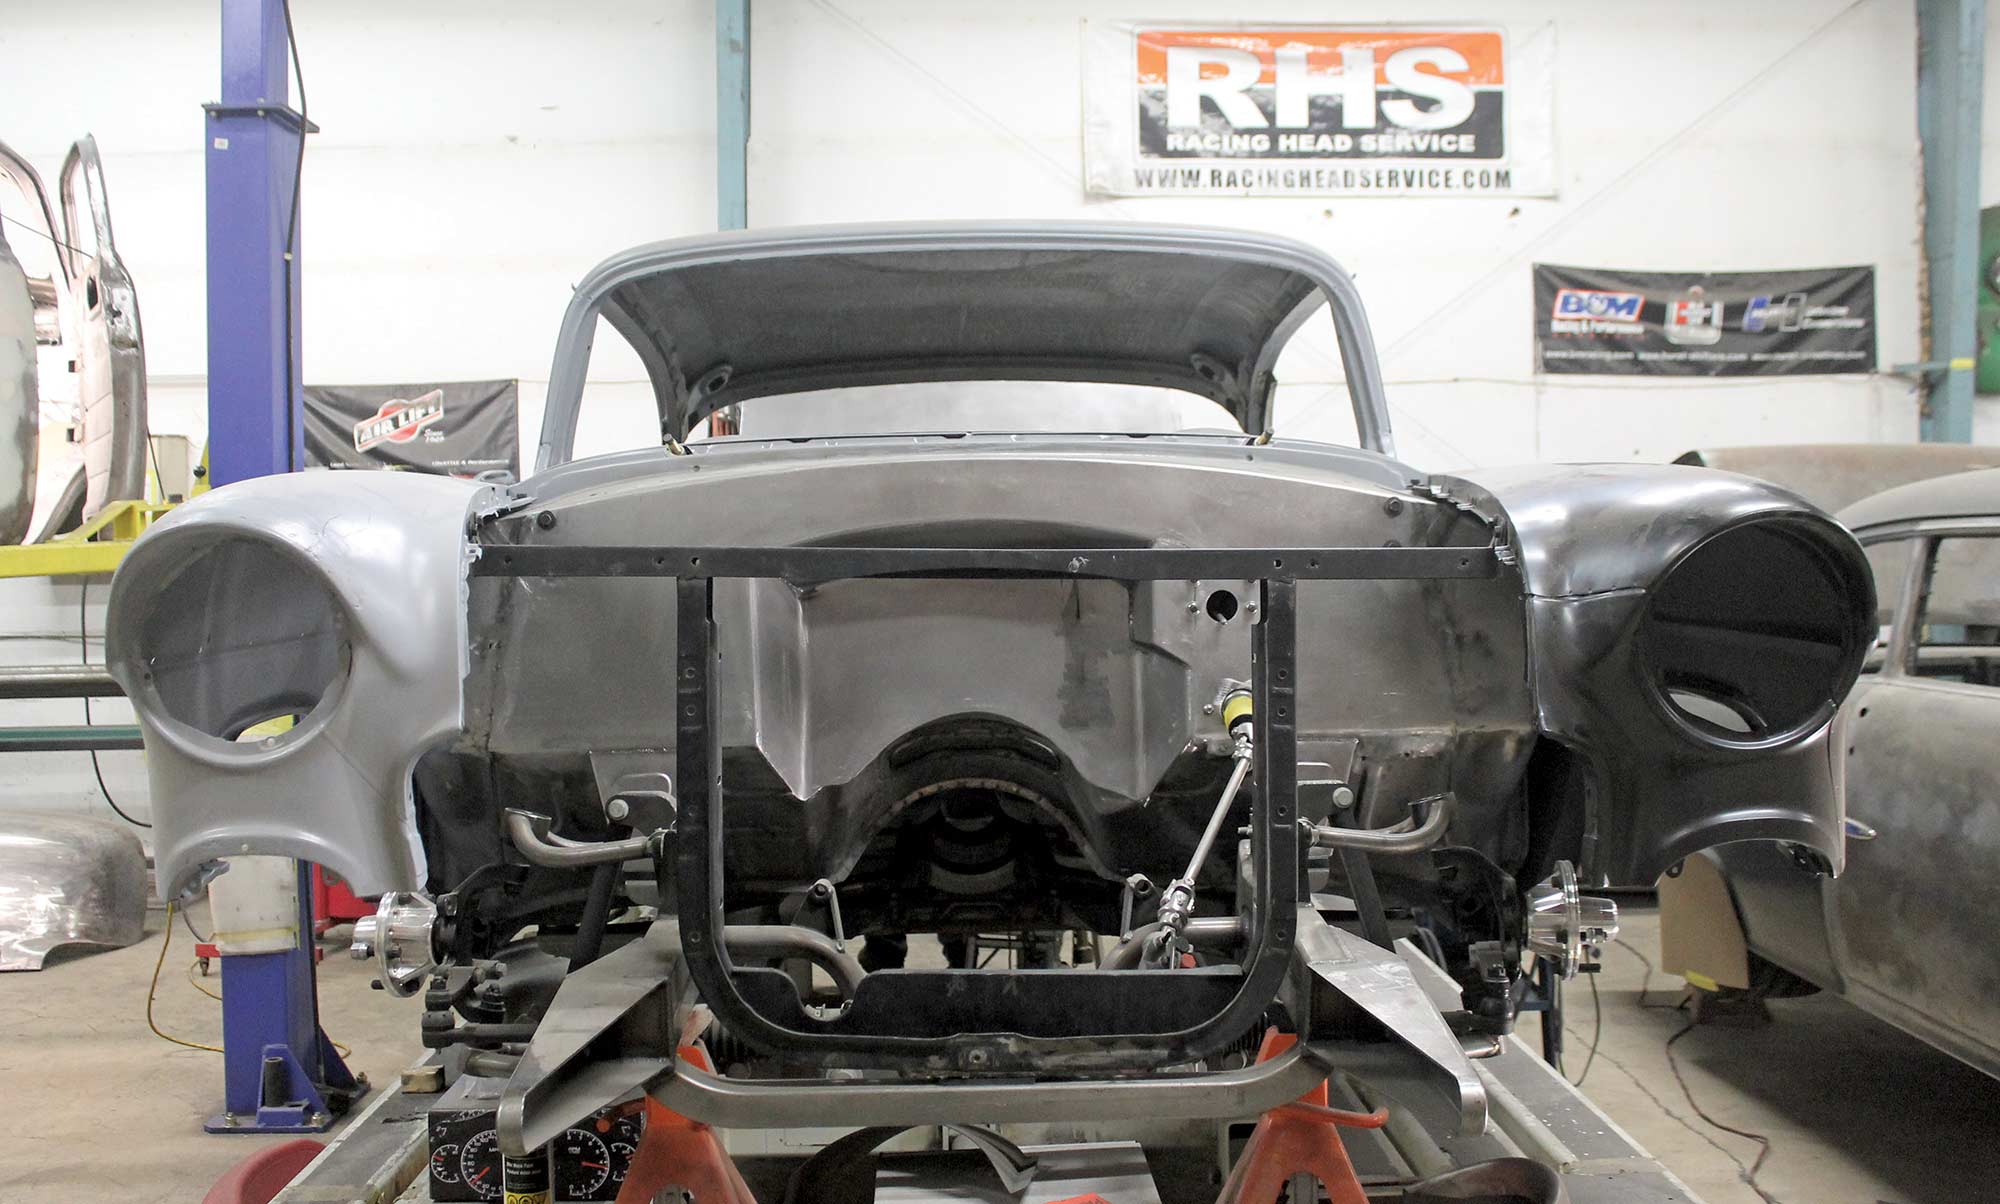
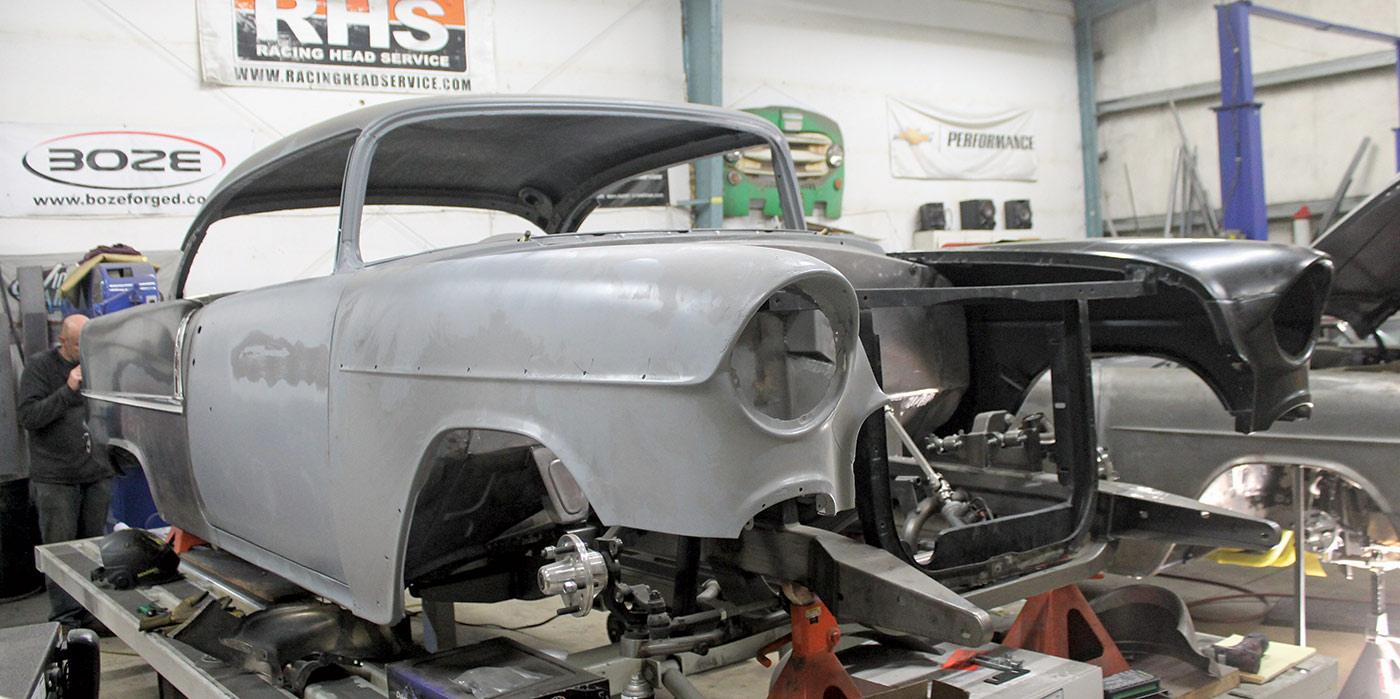
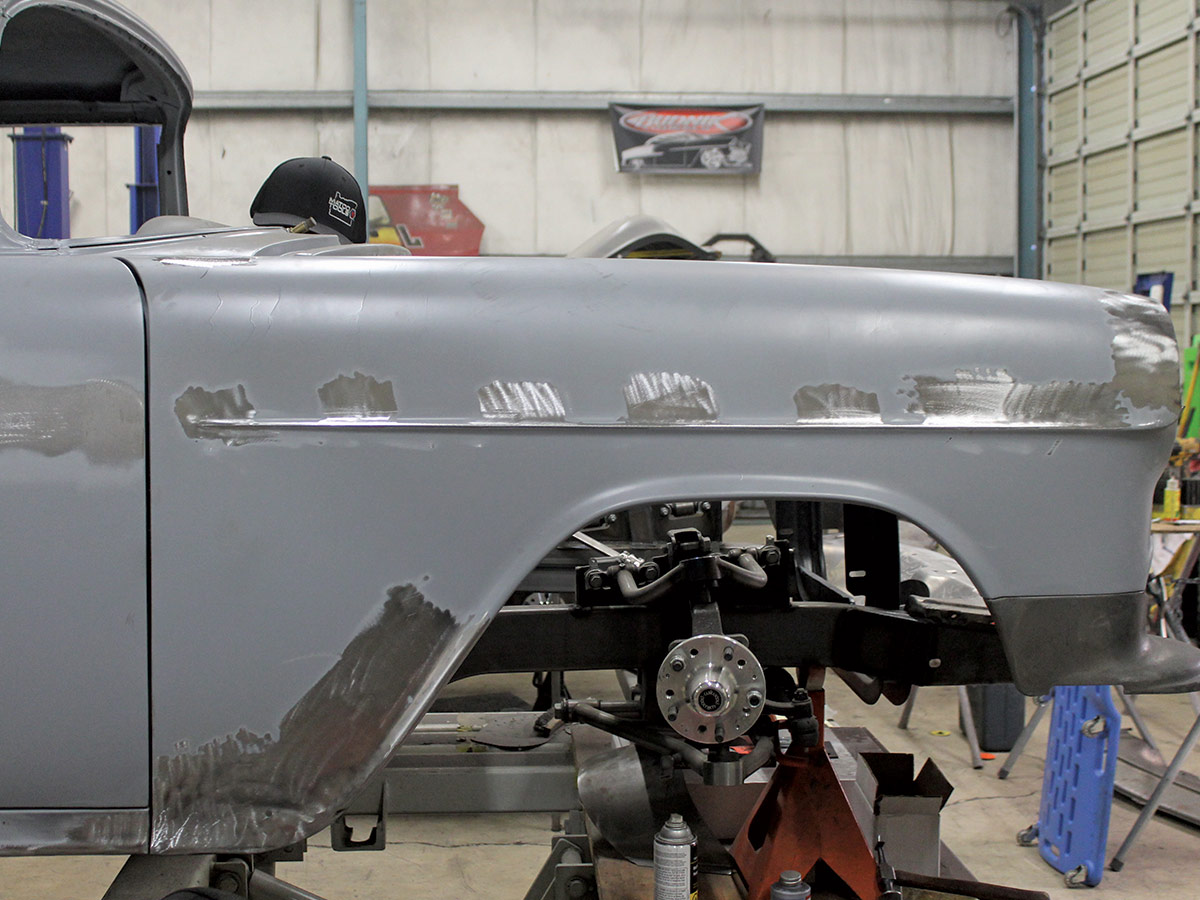
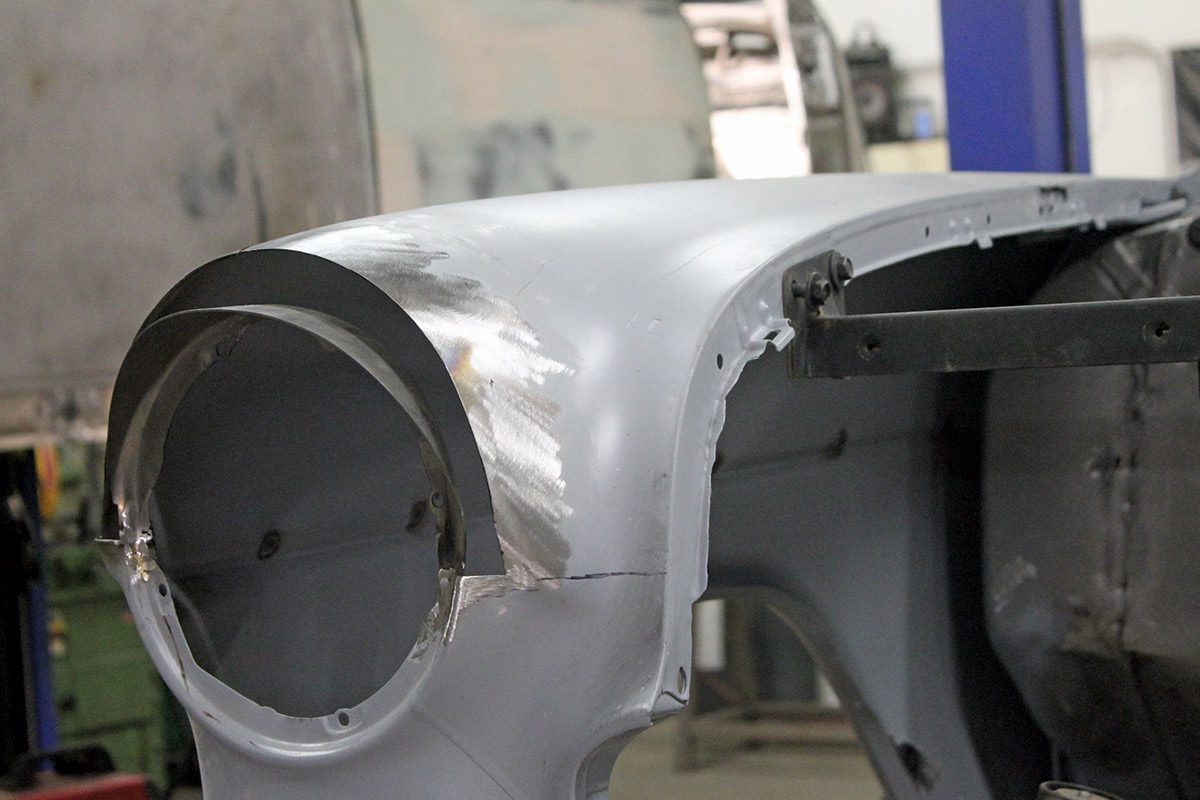
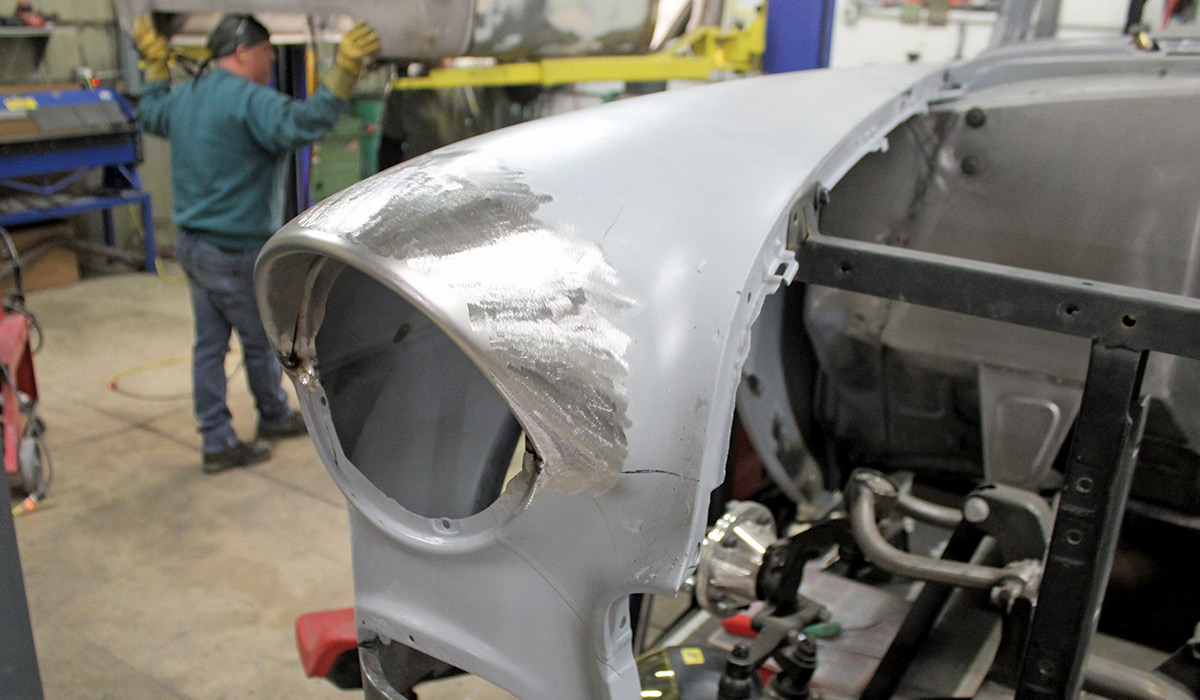
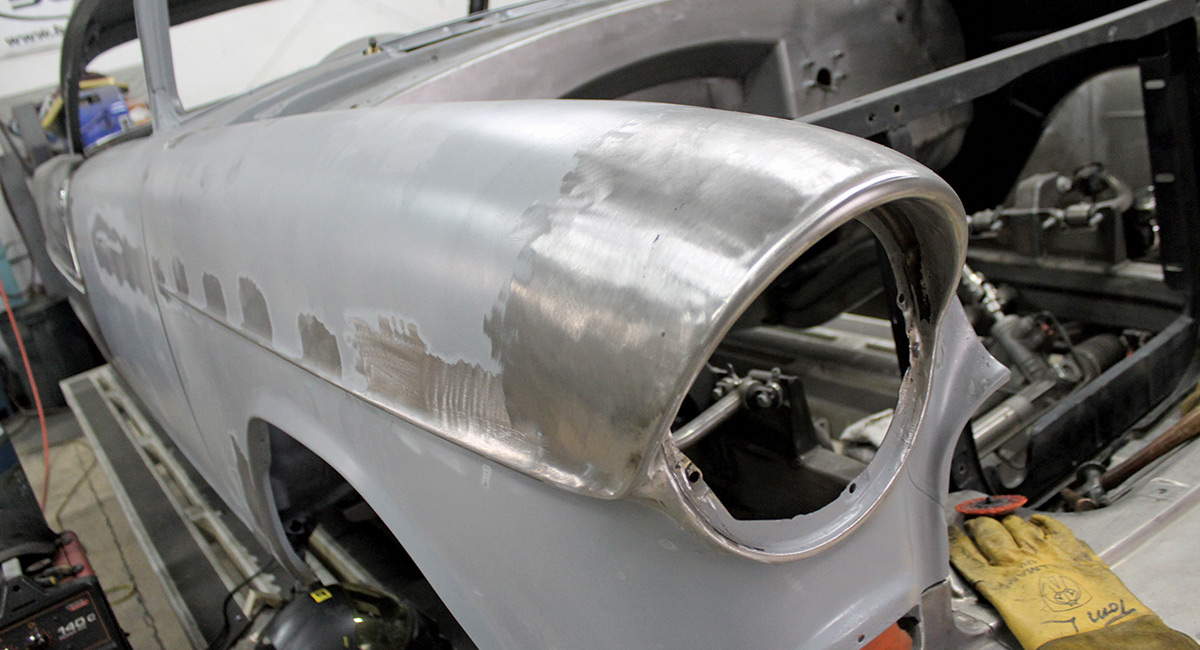
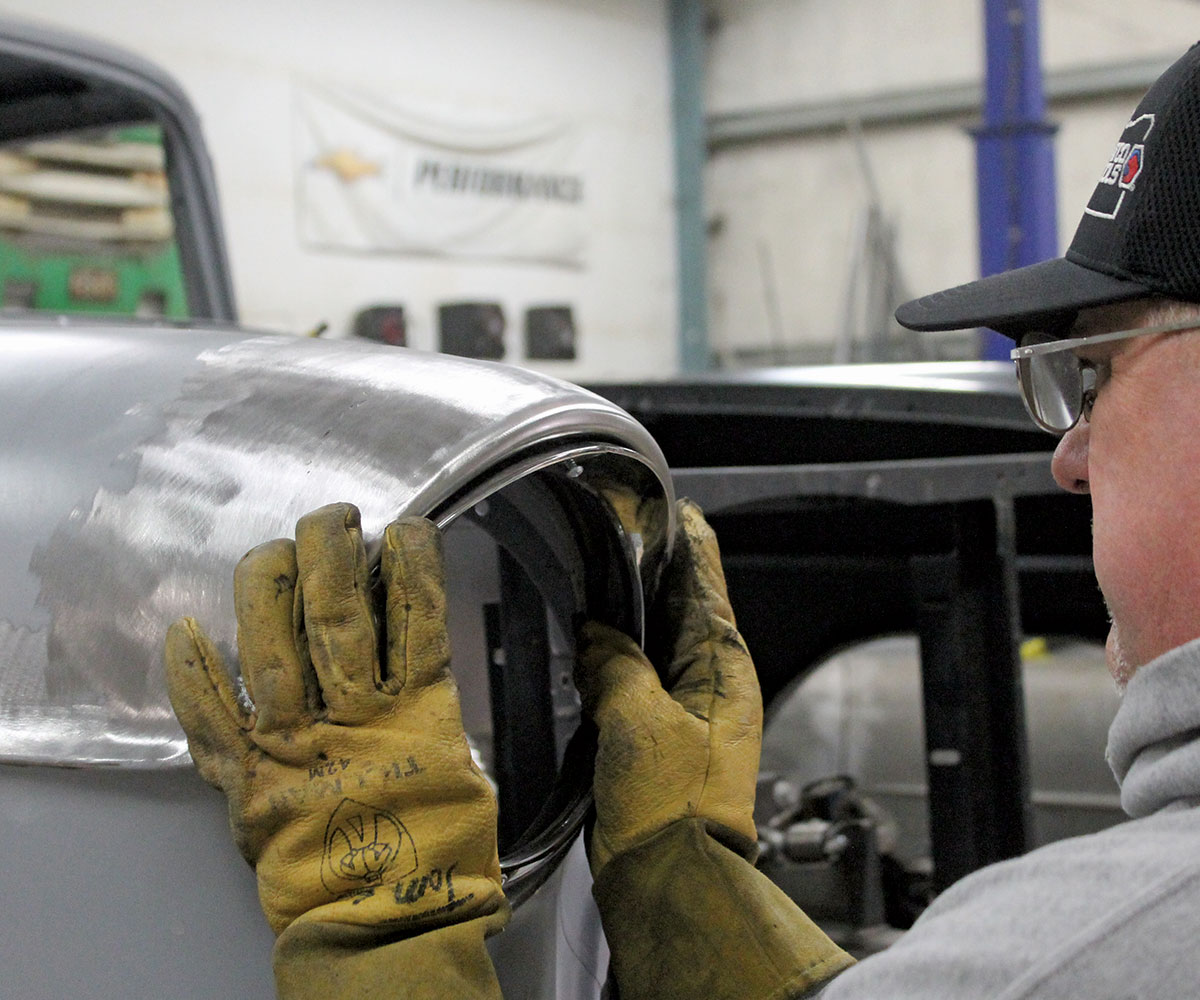
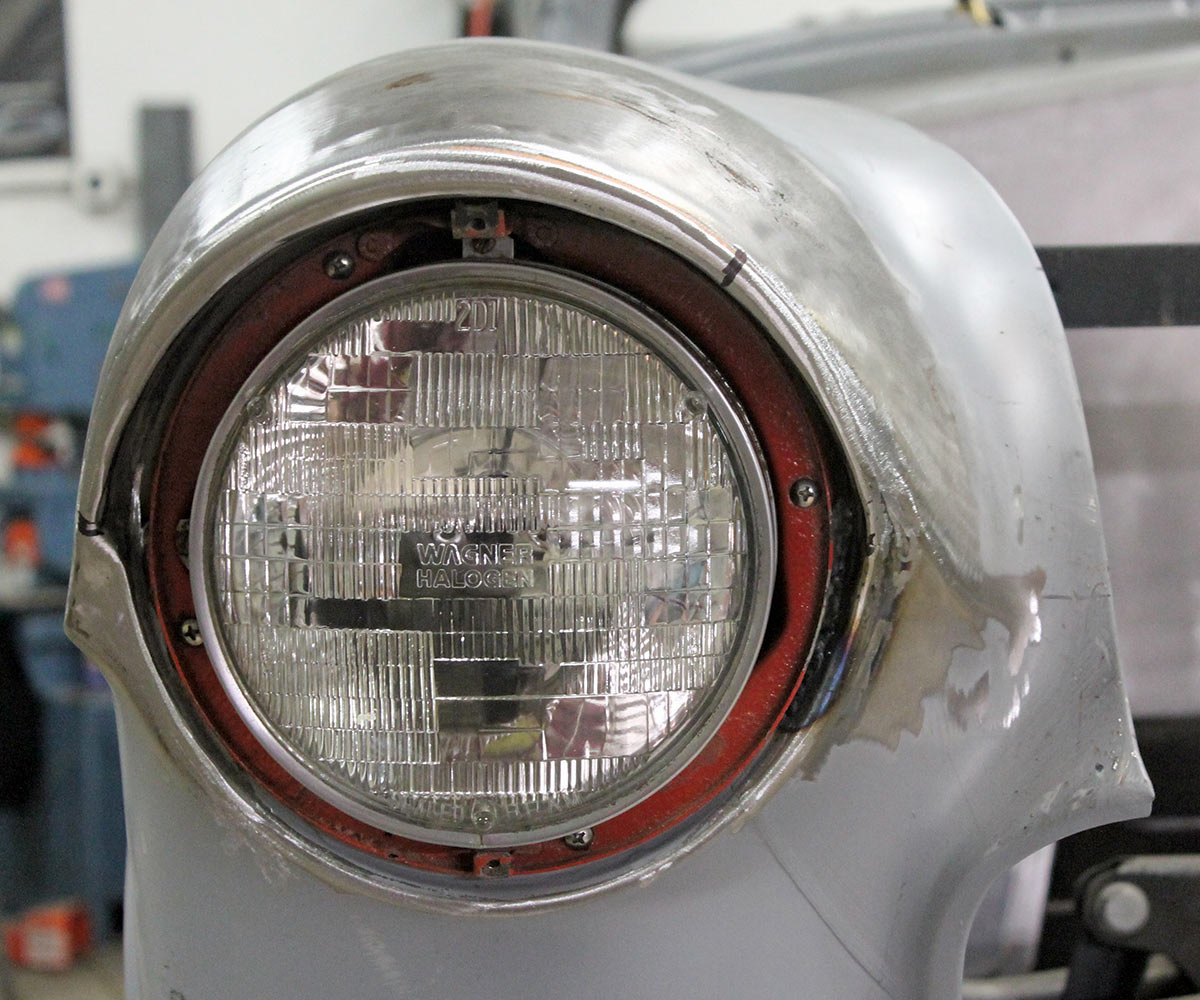
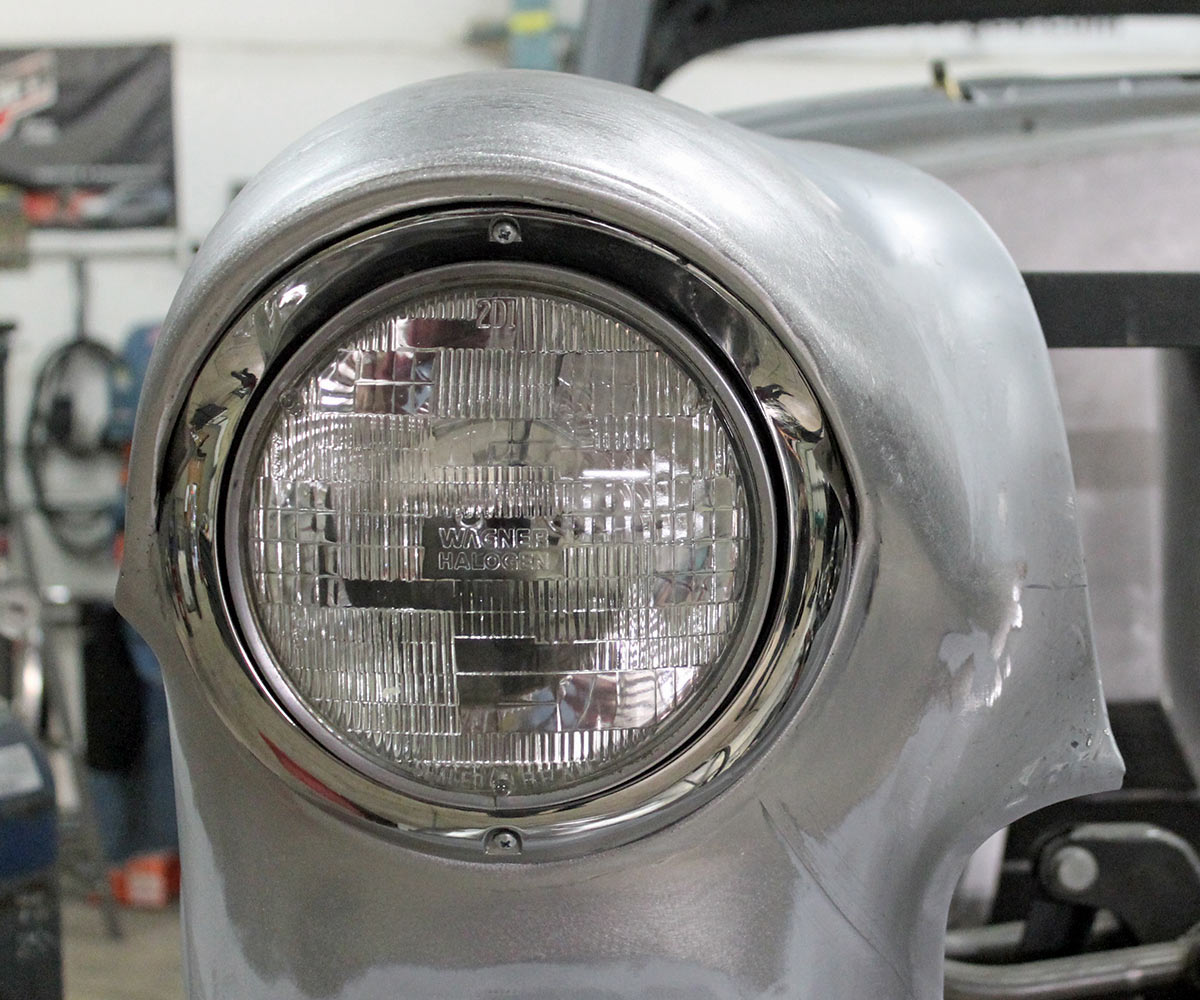
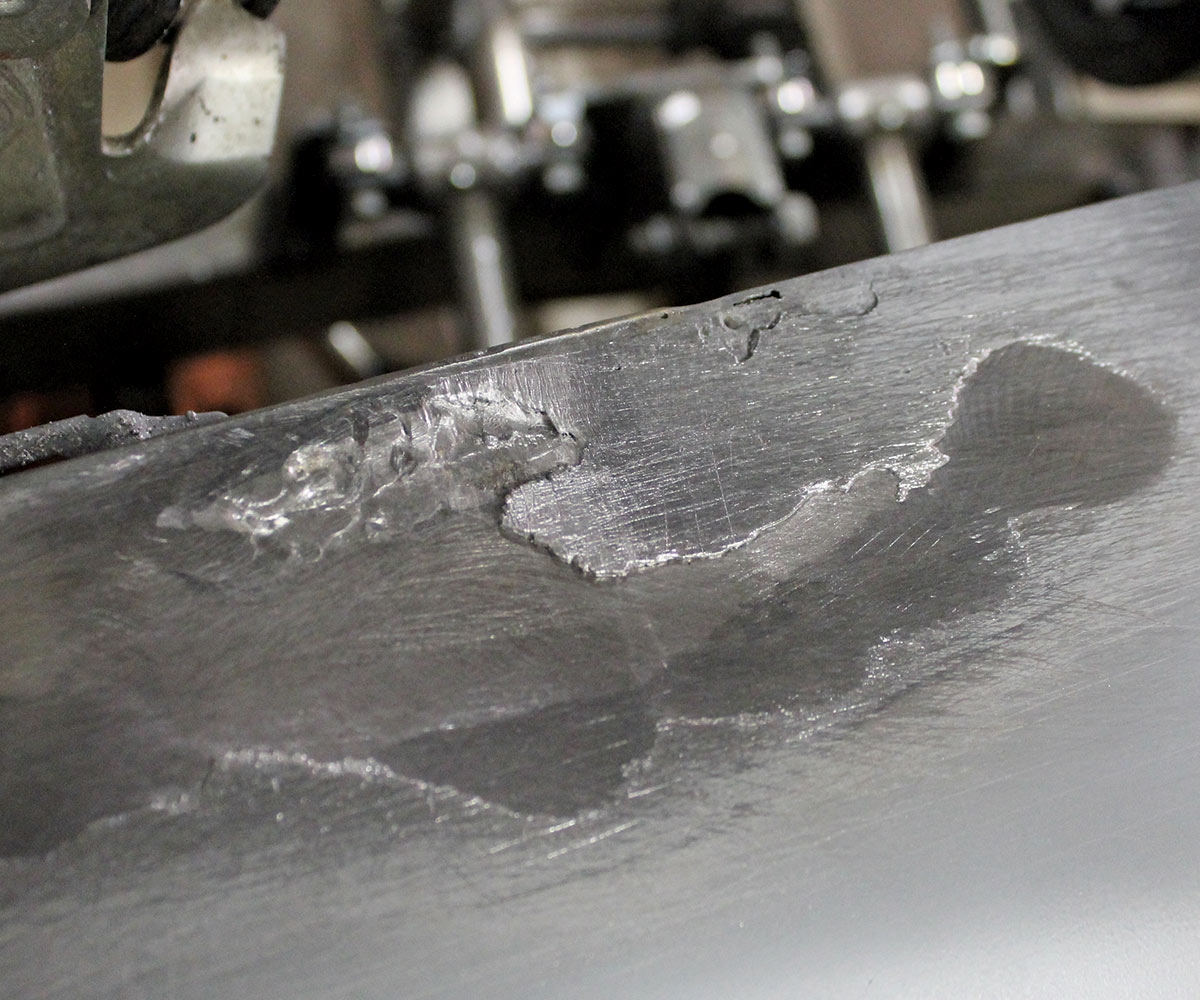
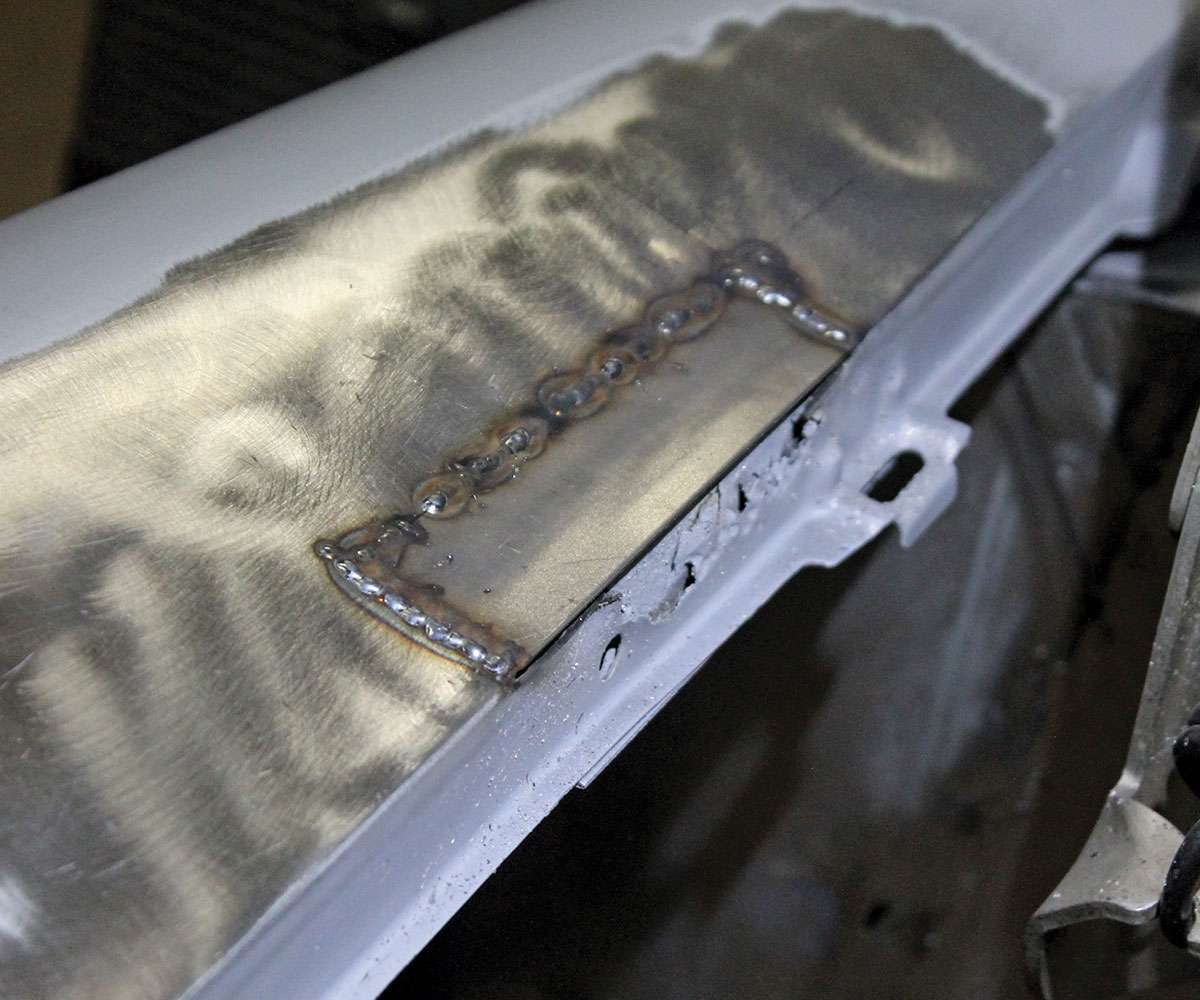
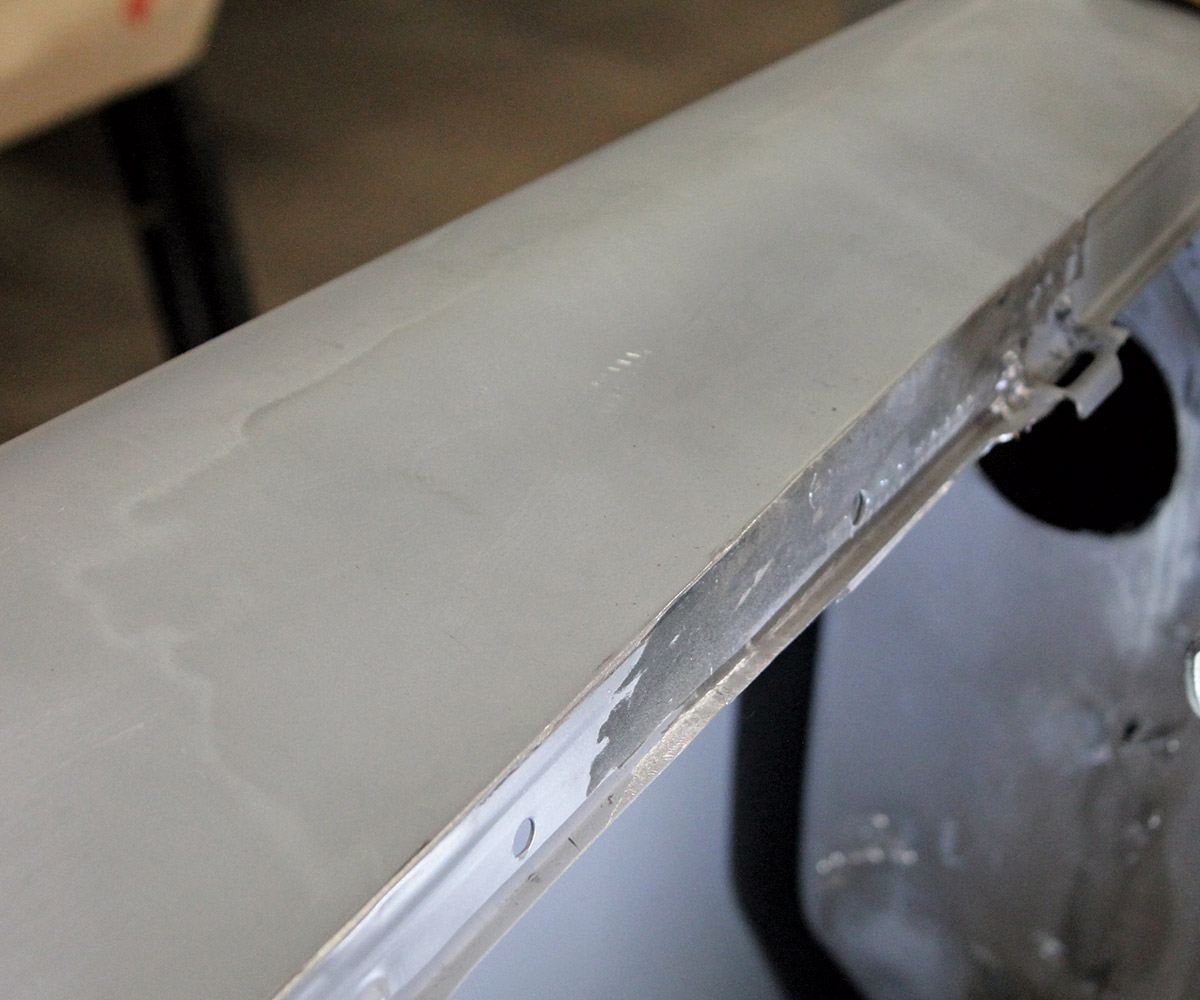
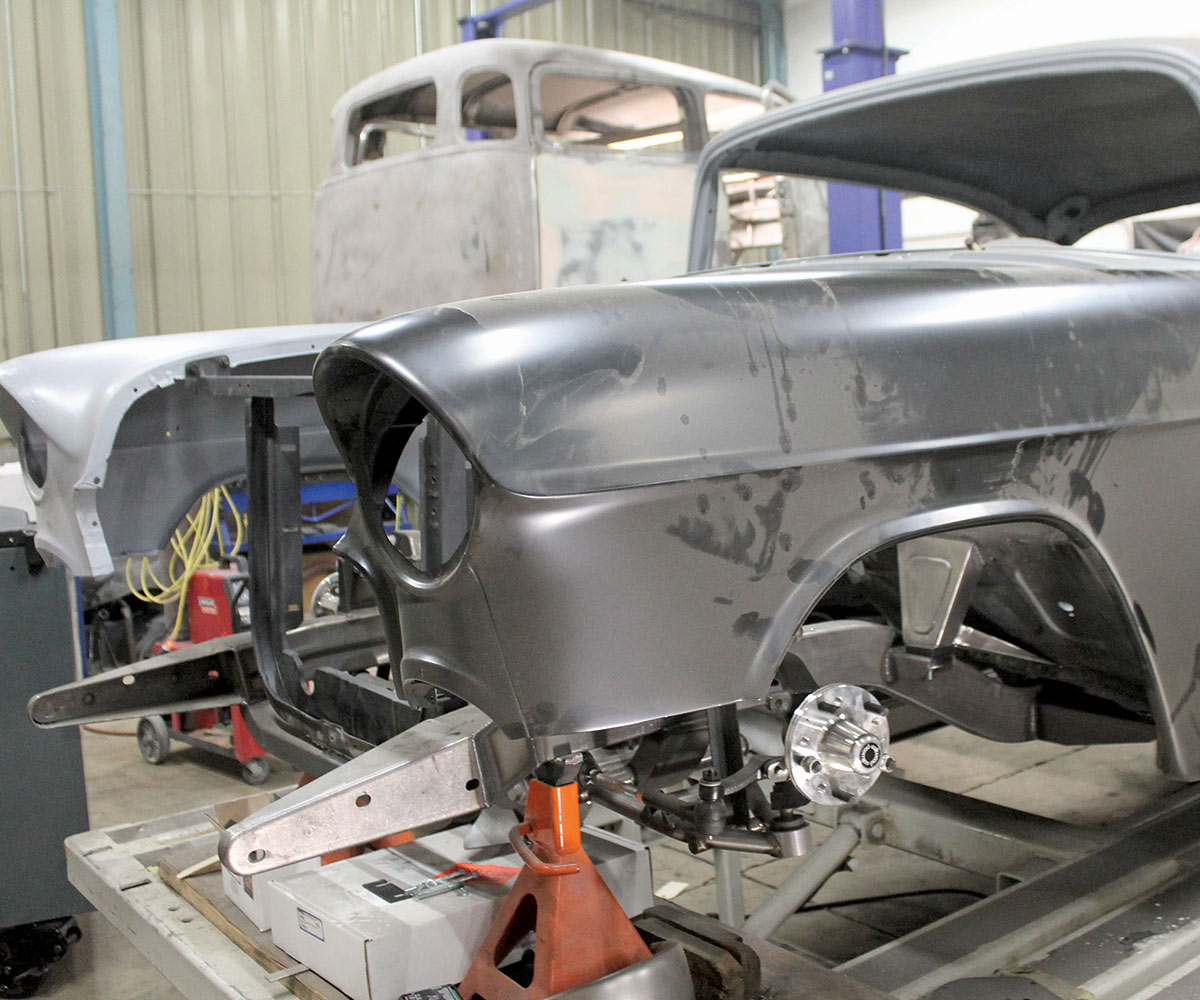
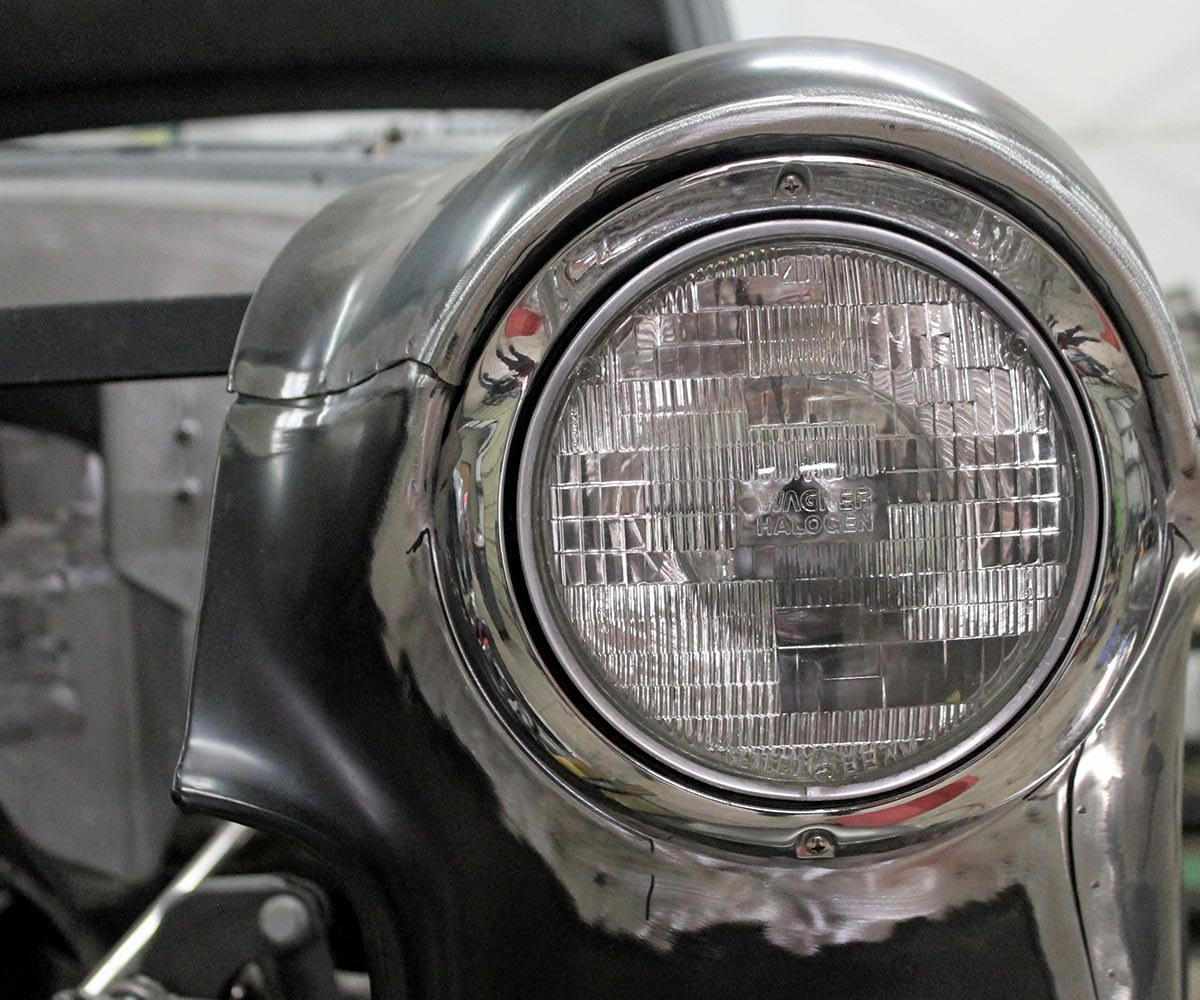
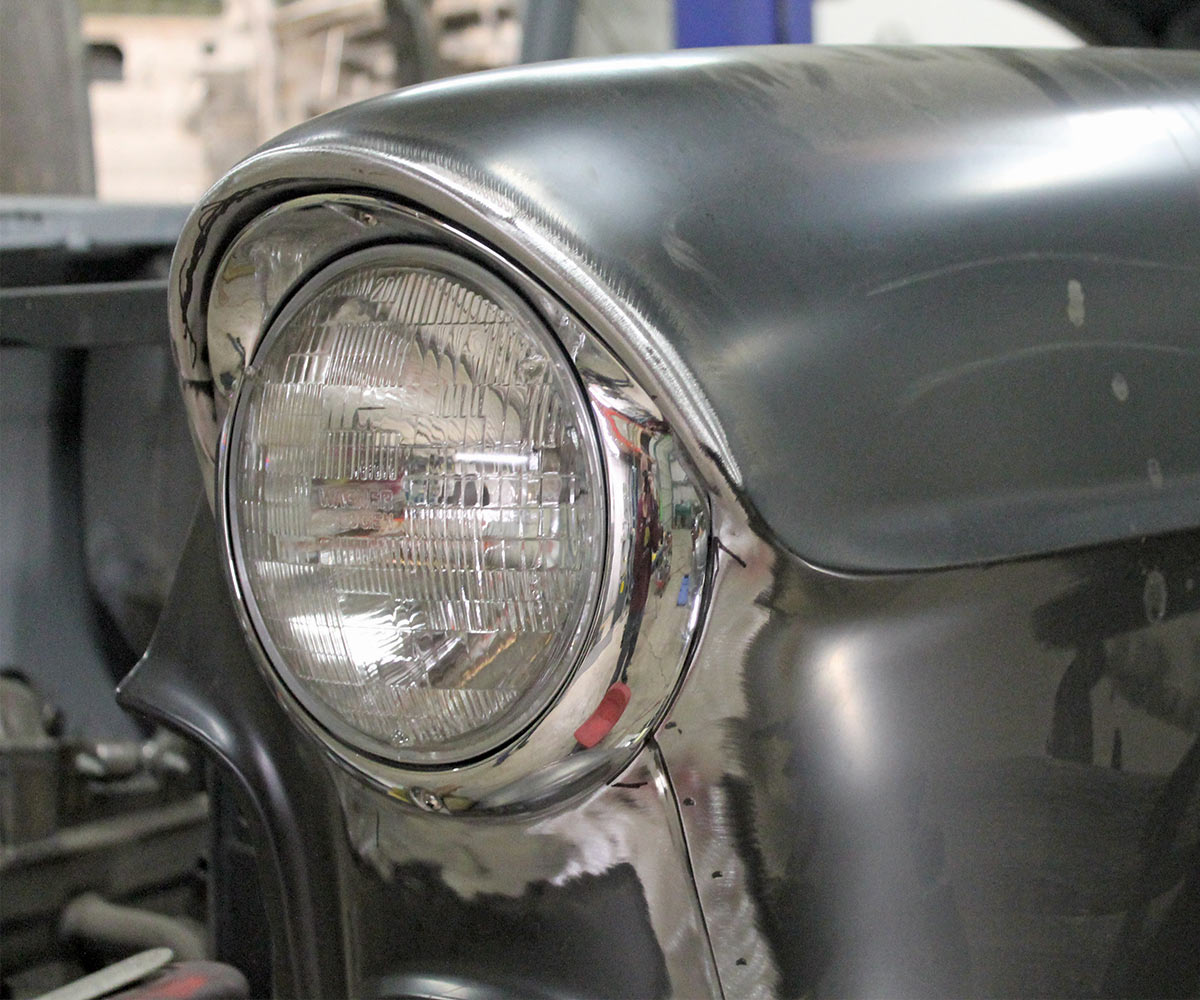
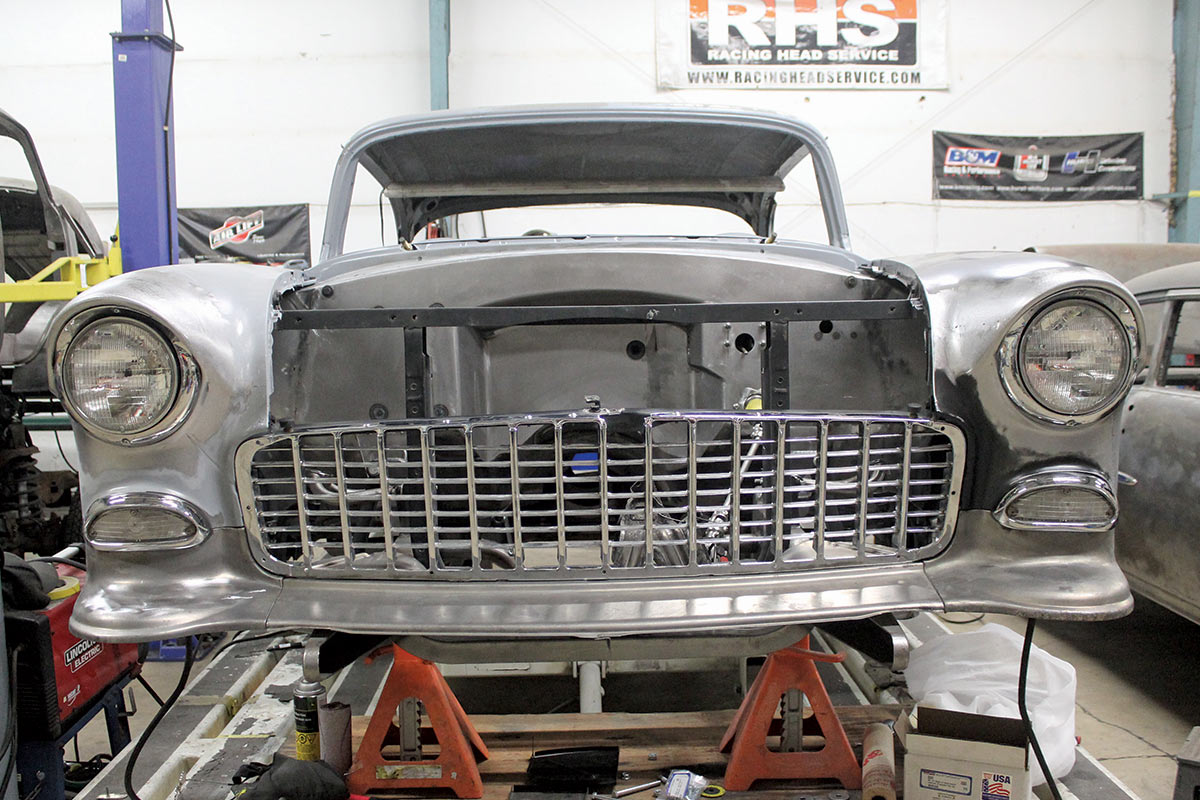
When Jon Mannila and his team of craftsmen at MetalWorks Speed Shop in Eugene, Oregon, set about assessing the front sheetmetal on Dave Goodwin’s ’55 Chevy they knew almost immediately the driver-side fender had issues making a replacement fender the better option. The passenger side fender was a different story. The fender was remarkably straight and had no rust in the lower extremities or wheelwell, but there was the common problem of rust over the headlight and one other relatively small, damaged area. It is a rare ’55 Chevy that doesn’t have fender brow rust. But since that was the only real issue (along with the small repair and filling some trim holes) it was decided the passenger side was “a keeper.”

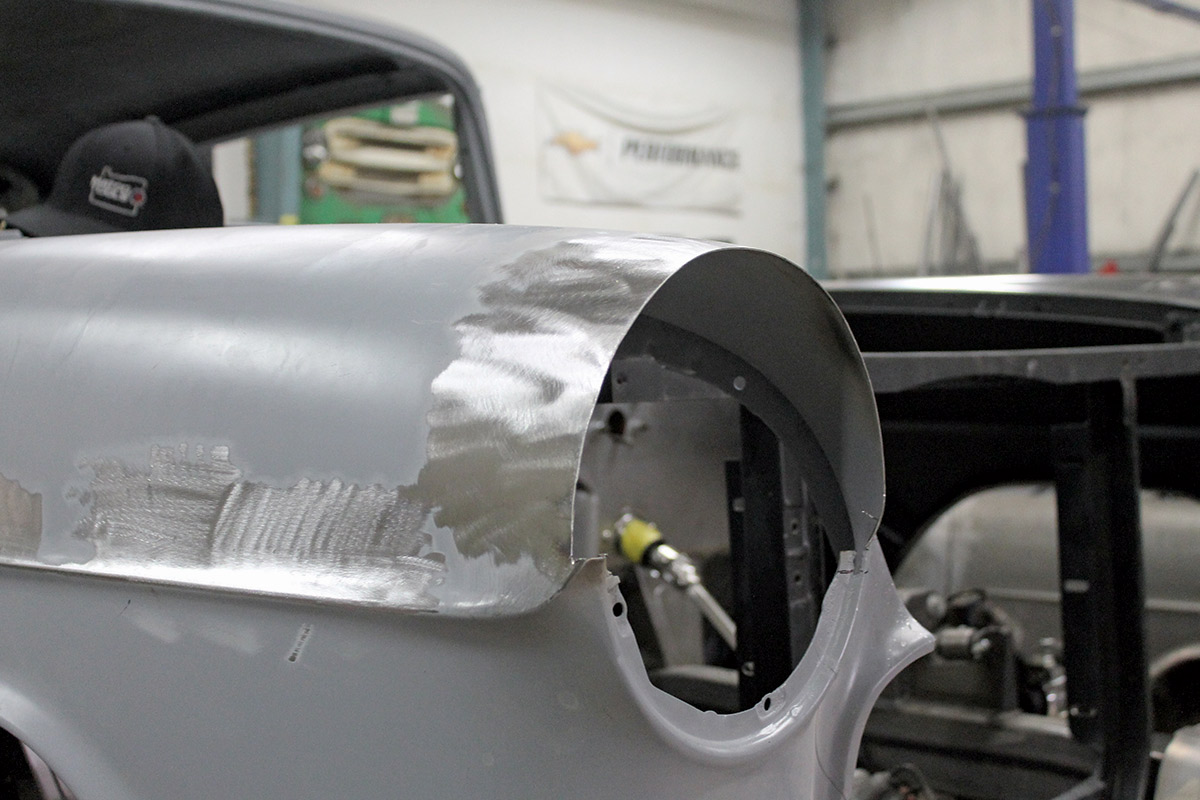
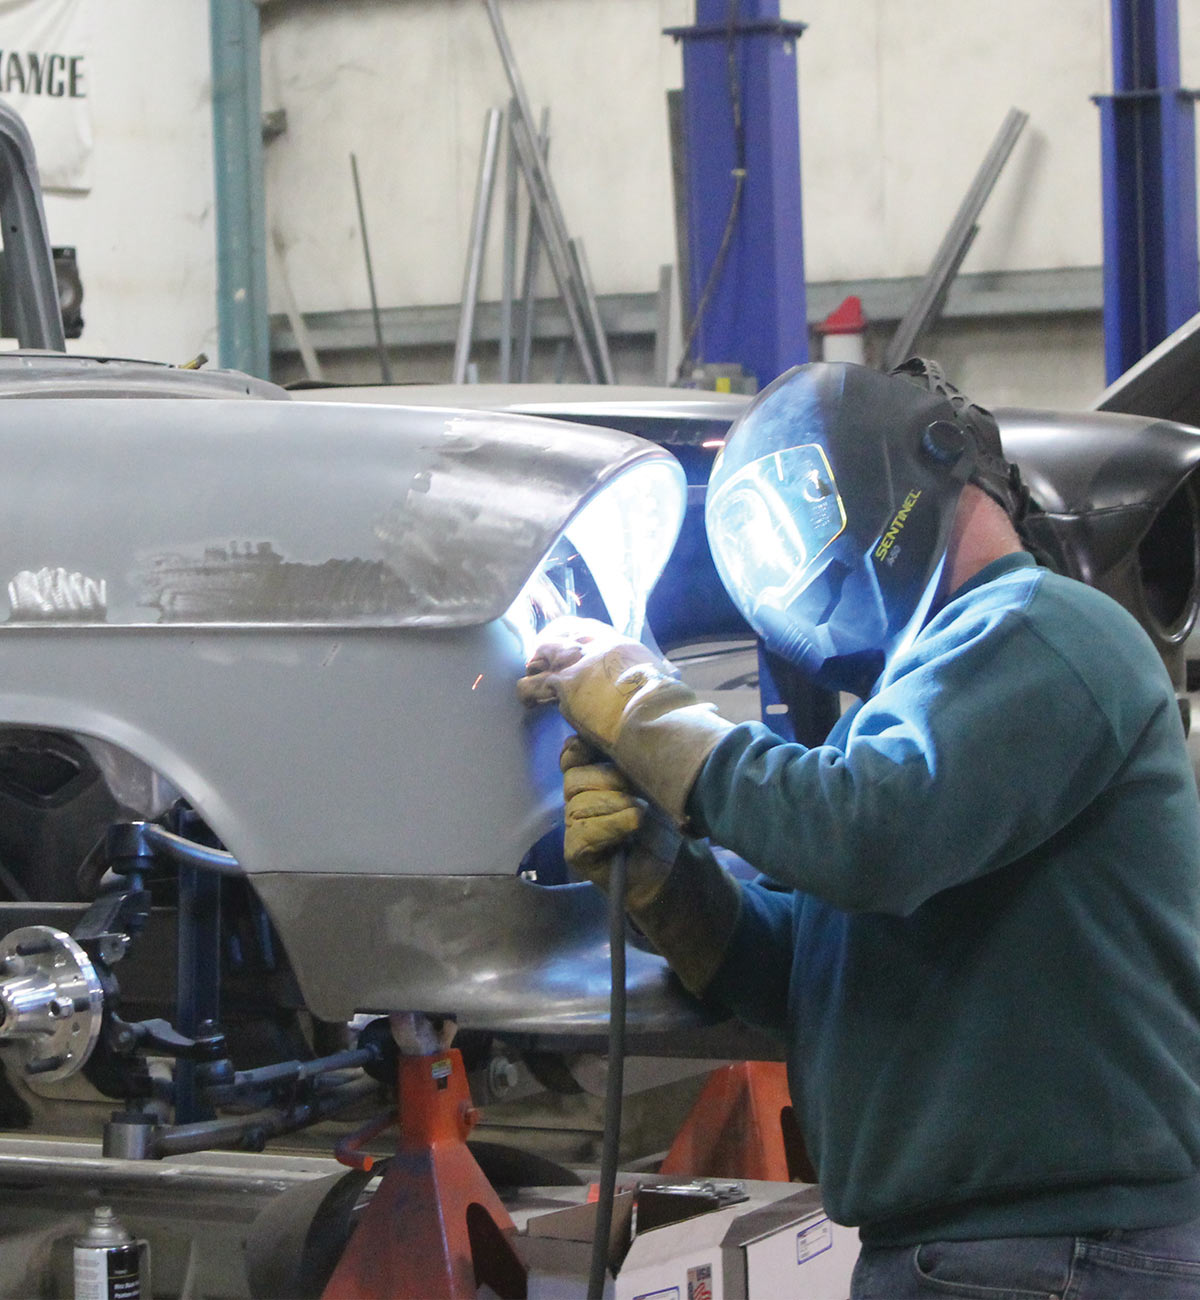
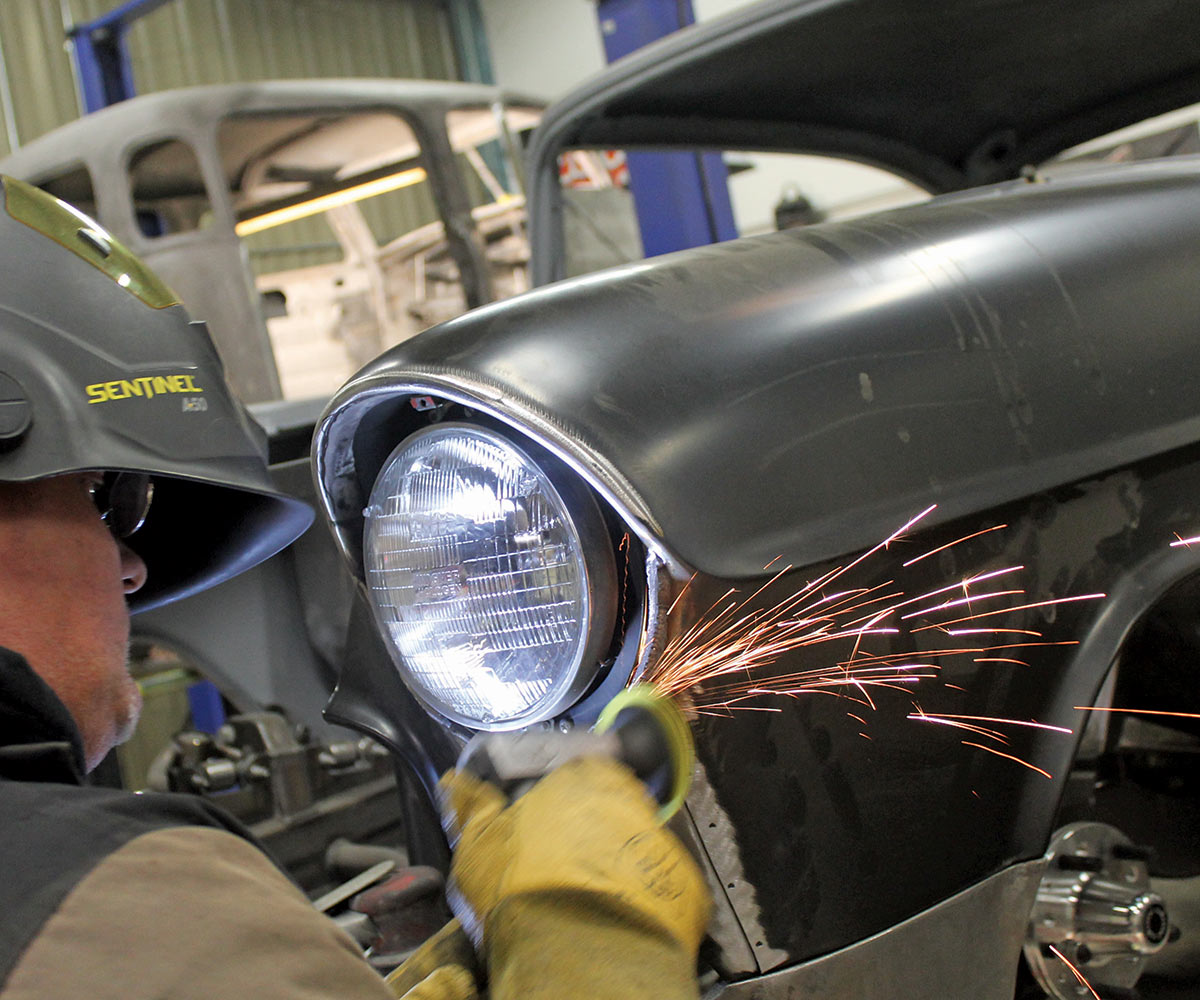
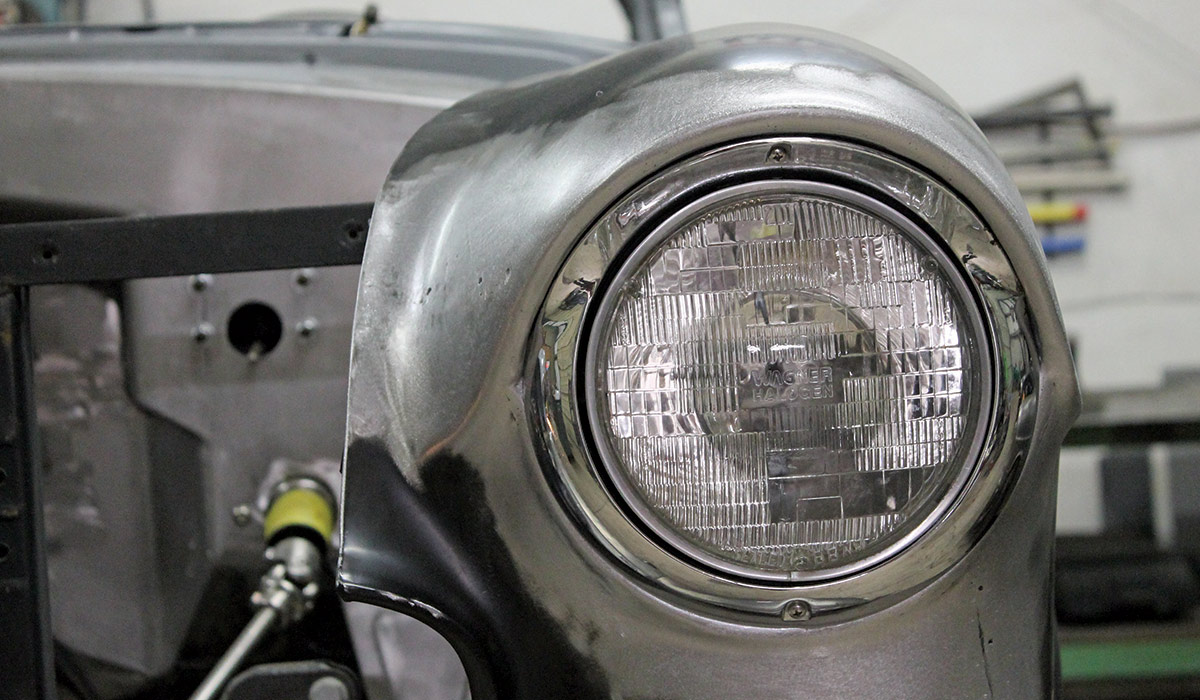
Both fitting new front sheetmetal and fender brow repair are within the capabilities of many backyard hot rod builders. Smaller projects like these provide the perfect platform to develop your sheetmetal working skills. What we’re saying is, maybe try a headlight brow before chopping a top. So, follow along as we show you how the pros at MetalWorks do things, and maybe you’ll take on a similar task with a bit more confidence.

Diagonal front view of a ’55 Chevy, unpainted and missing fender, engine, wheels and headlights
2. The original fender was very straight and rust-free except for the headlight brow. The trim holes will also be filled.
Close up of headlight opening and brow
3. While the brow looked solid it had been repaired in the past, so the top of the fender was cut off. Leaving the bottom portion of the headlight opening intact is critical for aligning the headlight bucket and trim ring.
Old piece of metal from a past headlight repair, laying on a red surface
4. We mentioned an earlier repair. The rusted area had been hammered down and filled with lead many years ago. This was a quality repair compared to using plastic body filler.
Melted puddle of lead on the floor
5. We mentioned lead, this is just some of what melted away to expose the damaged fender brow. MetalWorks had a much higher quality repair in store for the fender.
Side view of front wheel well, with no wheel
6. First the trim holes were welded closed and dressed off. The primer was removed from the lower extremities to ensure there was no rust in that area. Note the perfect door to fender gap.
Man wearing yellow gloves, placing placing headlight patch panel onto car body
7. Tom Lawson begins fitting the headlight patch panel from Classic Industries. Note the new piece extends to meet the fender flange. This portion of the panel was trimmed off later, but now it provides both an aid in locating the panel and a clamping surface.
Close up of headlight opening
8. Here we see the trimmed fender and the inner ring tack welded in place. This ring is located between the headlight bucket and the trim rim.
Close up of headlight opening and brow patch panel
9. The patch panel was trimmed to meet the cut line on the fender, carefully clamped into place, and then butt welded. The weld was carefully dressed down, perfectly hiding the seam. Note the piece extending to the fender flange was trimmed off.
Man with welding mask and gloves, welding the panel to the headlight
10. The inner mounting ring is carefully fitted inside the fender and tack-welded to the fender. This ring mounts the sealed beam and trim rim so it must be a perfect fit.
Close up of headlight opening and brow
11. Here we see the ring inside the fender, with just a couple of tack welds it can still be massaged to perfect alignment. Note the fine metalwork where the patch panel joins the fender.
Man in yellow gloves holding the headlight rim up to the headlight opening
12. Tom test-fits the headlight rim to the opening and the new fender brow. Screw holes must align and the brow radius must be a perfect match to the trim ring.
Close up of the headlight in the opening
13. The headlight bucket and seal beam were next to be checked for proper fit. Since the lower mount holes on the fender were not disturbed, fitting the headlight bucket was a straight-forward affair. Two cut marks on the headlight brow show where a small slot will be cut to reconfigure the radius.
Man welding the inner ring of the headlight
14. Satisfied with a perfect fit, the inner ring was finish welded and the welds were dressed so the headlight bucket would have a perfectly flat mounting surface.
Close up of the headlight with the ring both installed in the opening
15. Here is the finished product, one rust-free original fender. Note the sealed beam fits nicely inside the trim ring and the glass flutes are perfectly parallel to the ground.
Close up of a small damaged area on the car
16. There was one more spot in need of repair. Located in an unusual area of the fender it appears to have been welded and leaded-over some years ago. How the damage occurred in this area is unknown.
Close up of a small rectangular area welded onto the car
17. Team MetalWorks simply cut out the entire leaded area and fit and welded a new piece in place. This piece carries a slight radius, so time was taken to match the fender.
Close up of the welded spot after being smoothed out
18. After the top piece was welded in place the vertical section of the inner fender was cut out and replaced; this is the finished repair.
Close up of completed headlight repair
19. Now our attention is turned to mounting and finishing the reproduction fender. Note the crisp fender lines and good overall fit of the new fender from Classic Industries.
Close up of completed headlight repair
20. The overall fit of the headlight and trim was good, but “good isn’t good enough” at MetalWorks. Slight changes were made to the fender, with metal added on the lower outboard corner to match the headlight rim. The two seams seen in this photo will be welded and metal finished.
Close up of completed headlight repair
21. You must have a keen eye to see the slight variation in the trim ring to fender gap. Once again, that seam in the fender will be welded and metal finished.
Man with yellow gloves, using a grinder to smooth out around the headlight
22. After laying a weld bead on the fender the metal is carefully ground down for a perfect fit. The reproduction fender did not have trim holes so that saved some time and work.
Man with yellow gloves, polishing the metal next to the headlight
23. Those two seams used in the assembly of the reproduction fender have been welded together and metal-finished. Now is the time to check for the proper lower splash pan fit. It was spot-on.
Close up of completed headlight repair
24. Here is the finished product. The headlight fit matches the passenger side headlight and after body- and paintwork you will never know which fender is original and which is reproduction.
Front view of the '55 Chevy with completed headlights
25. With the fenders bolted and aligned for perfect door gaps, the front splash aprons, parking lights, and grille are all test-fit. Fitting panels in bare metal is imperative for a perfect final finish.
SOURCES
Modern Rodding
VOLUME 5 • ISSUE 42 • 2024