Modern Rodding Tech

InTheGarageMedia.com
Lowering the Lid Title Typography
Part 3: Finishing Chopping Your ’32 Ford Three-Window Coupe … It’s in the Detail

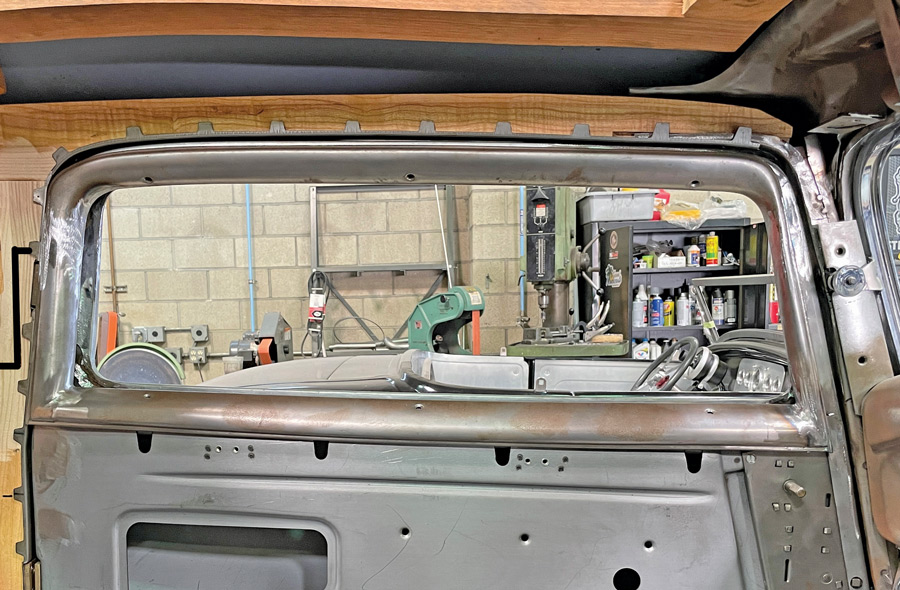
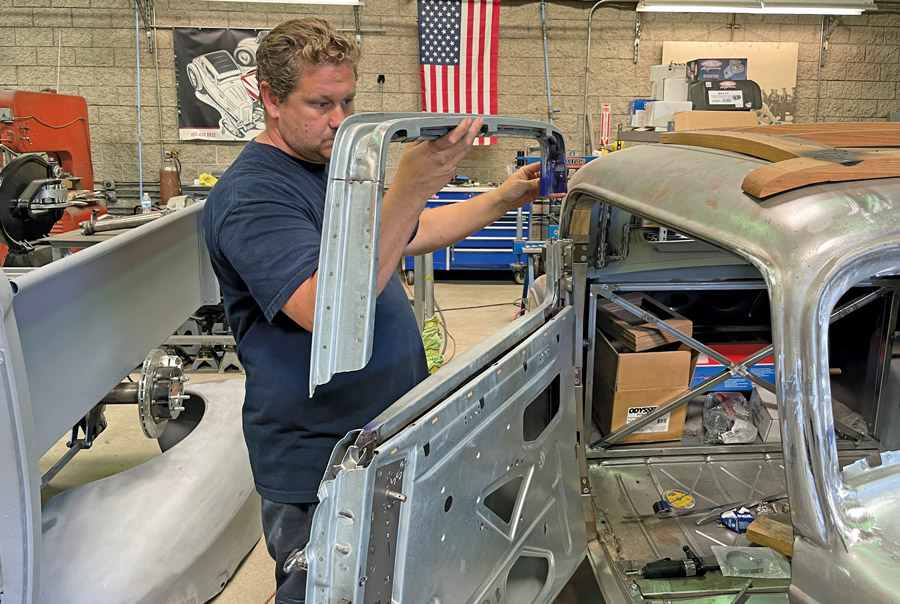
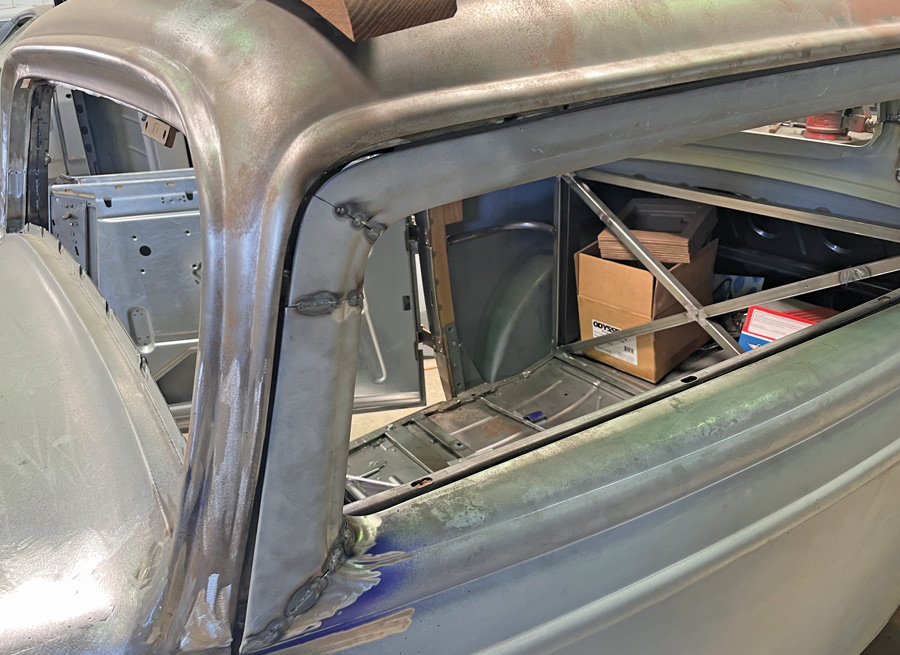
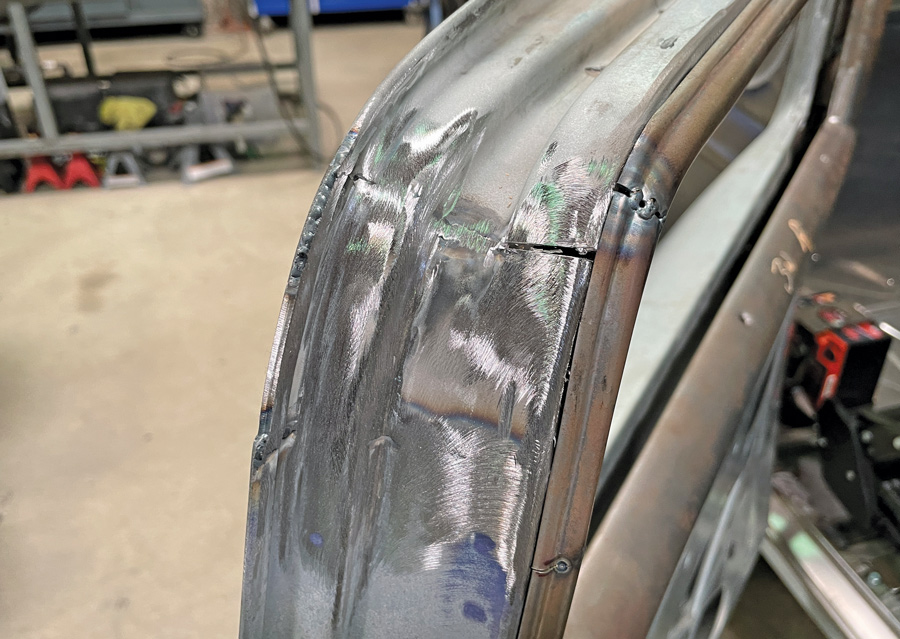
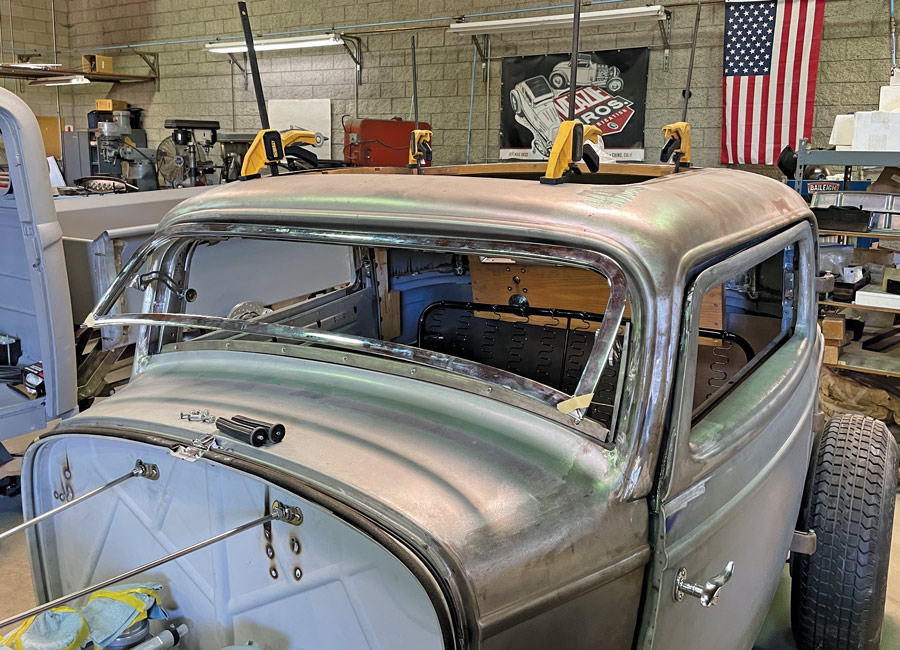
1. Our Brookville Roadster three-window coupe body is now “chopped.”

Lowering the Lid
Part 3: Finishing Chopping Your ’32 Ford Three-Window Coupe … It’s in the Detail
By Tony Thacker Photography by THE AUTHOR
I

f you have stuck with us through parts 1 and 2 you will know that the Veazie Brothers, Evan and Justin, located in the old SO-CAL Speed Shop race shop in Pomona, California, have been hacking away at the top of Bruce Forte’s Brookville-bodied ’32 three-window. For Evan, this was his first chop; he removed a scant 2 inches in what I thought was one of the neatest chops I have ever witnessed.

There are as many ways to chop a top as there are ways to build a rod. No one method is really any better than any other but there are ways it can be executed that cause a minimal amount of grief—this was one of those.

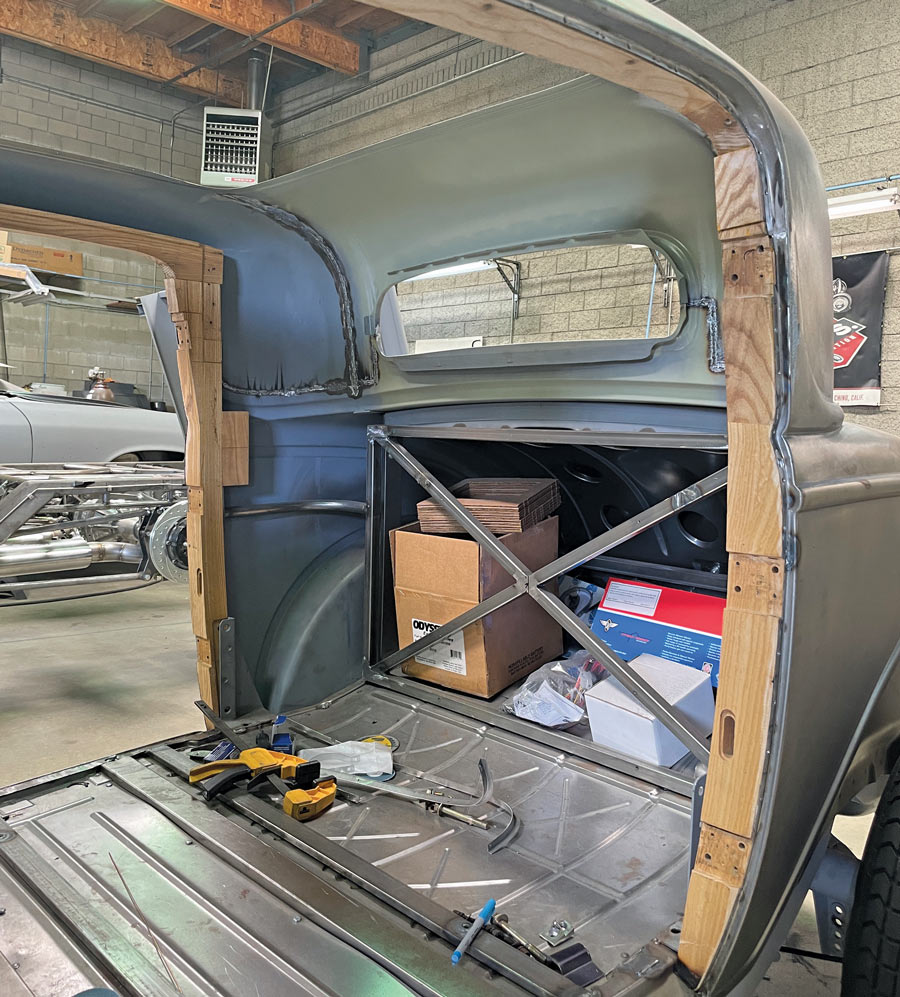
Part 1 covered the building of a tubular-steel structure to hold the body together when the top was separated from the body. You might dismiss this as an unimportant step but believe me, holding it all together like Humpty is paramount when trying to assemble two halves of a broken egg.

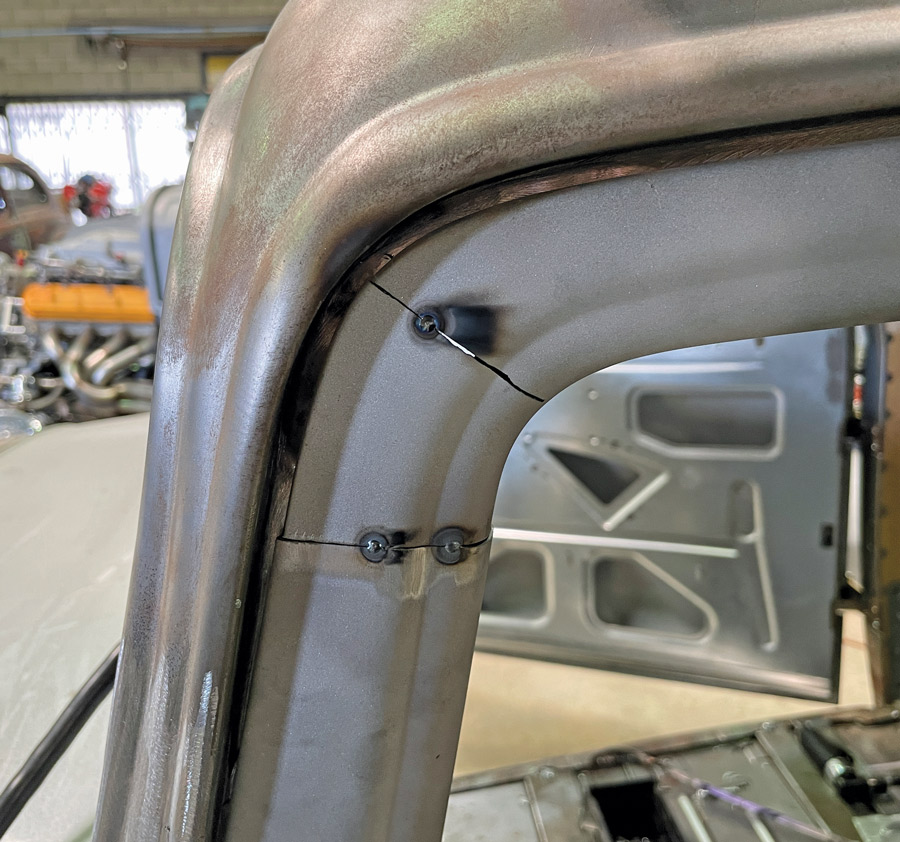
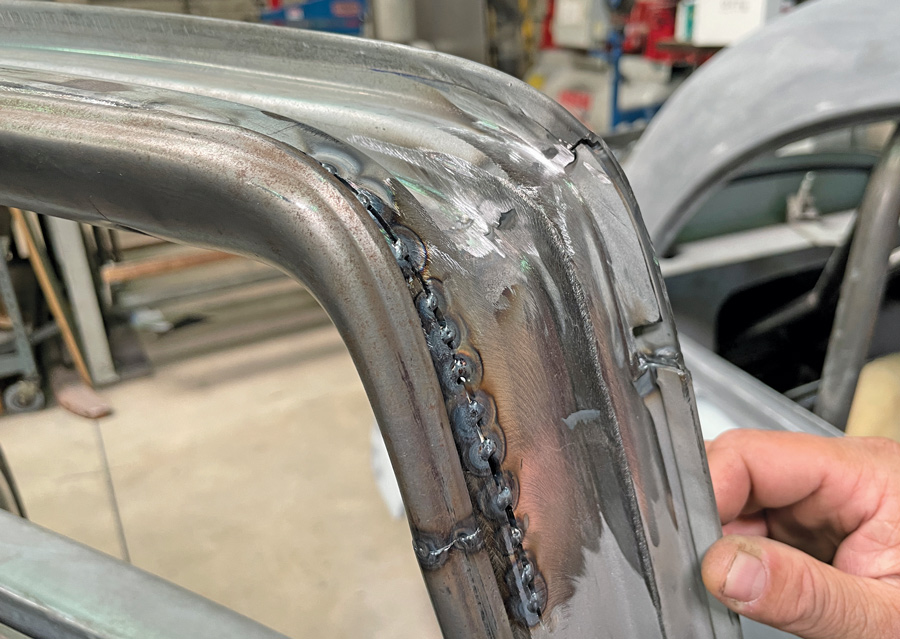
Part 2 covered the actual roof chop, which to me as an observer looked relatively straightforward. That said it was a 2-inch chop and nothing radical.

Part 3 will cover the fiddly bits—the wood, the doors, the inner window frames, the windshield, and the inner moldings. All of this took much longer to complete than the actual chop, which only took one day, not including finishing.

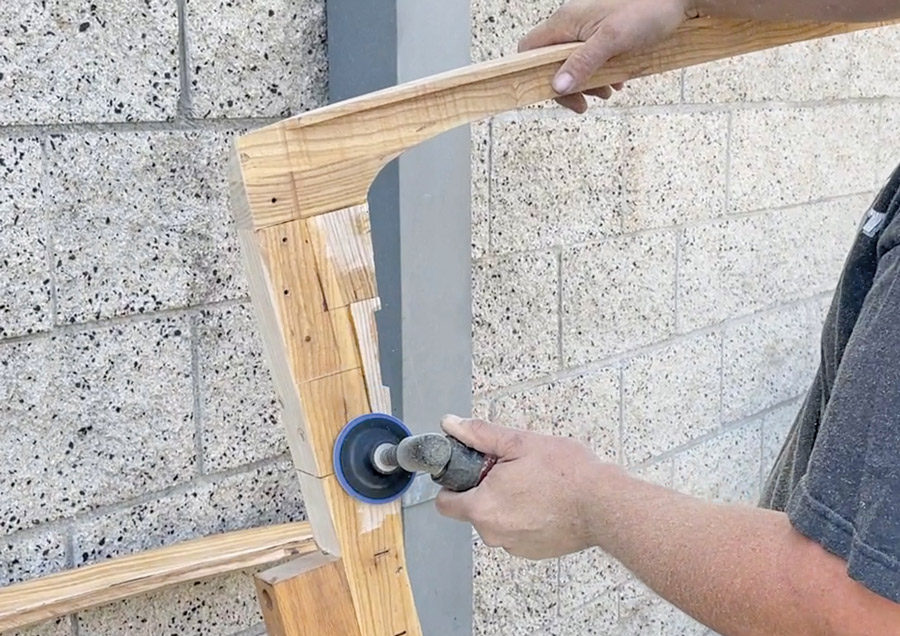
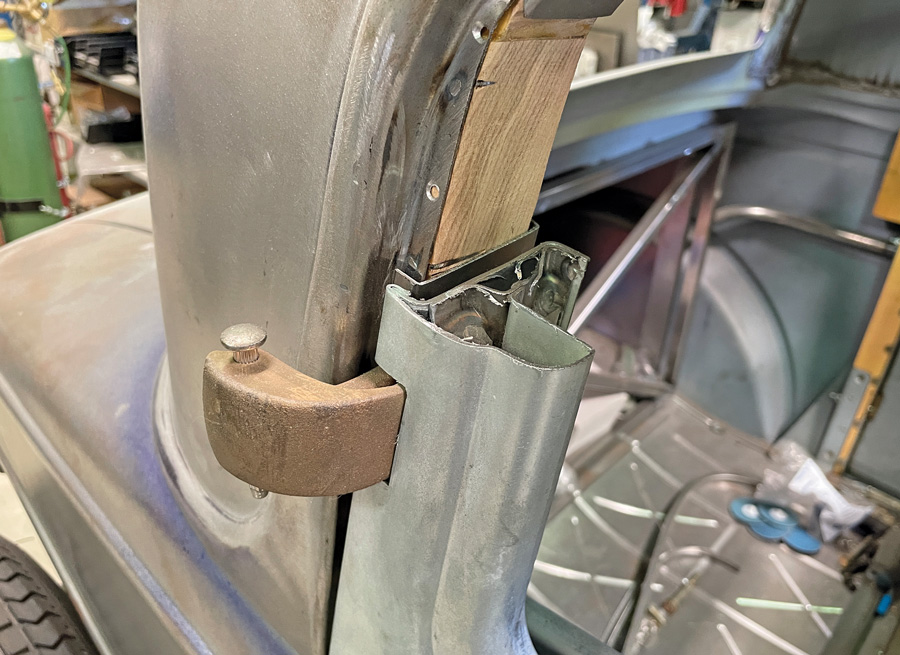
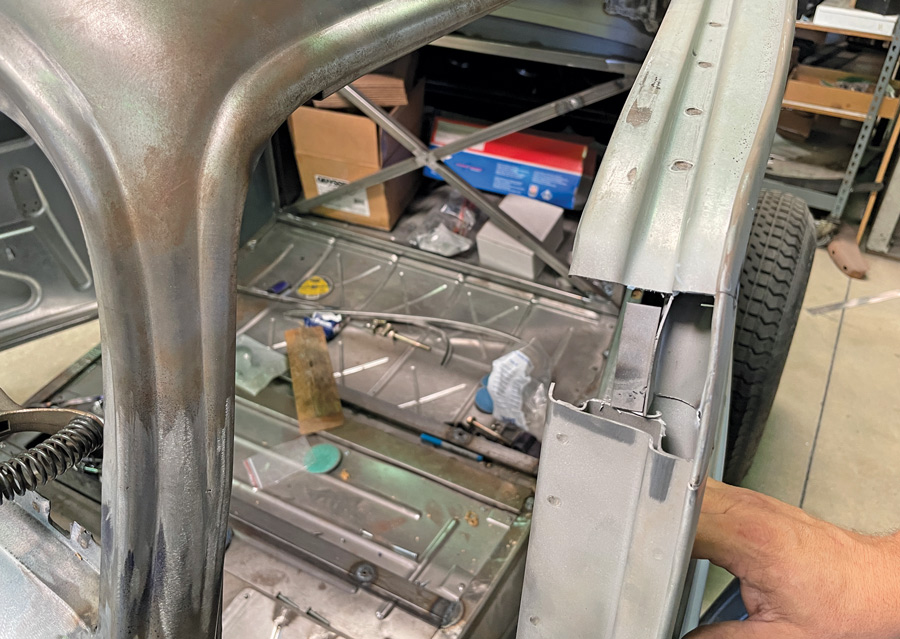
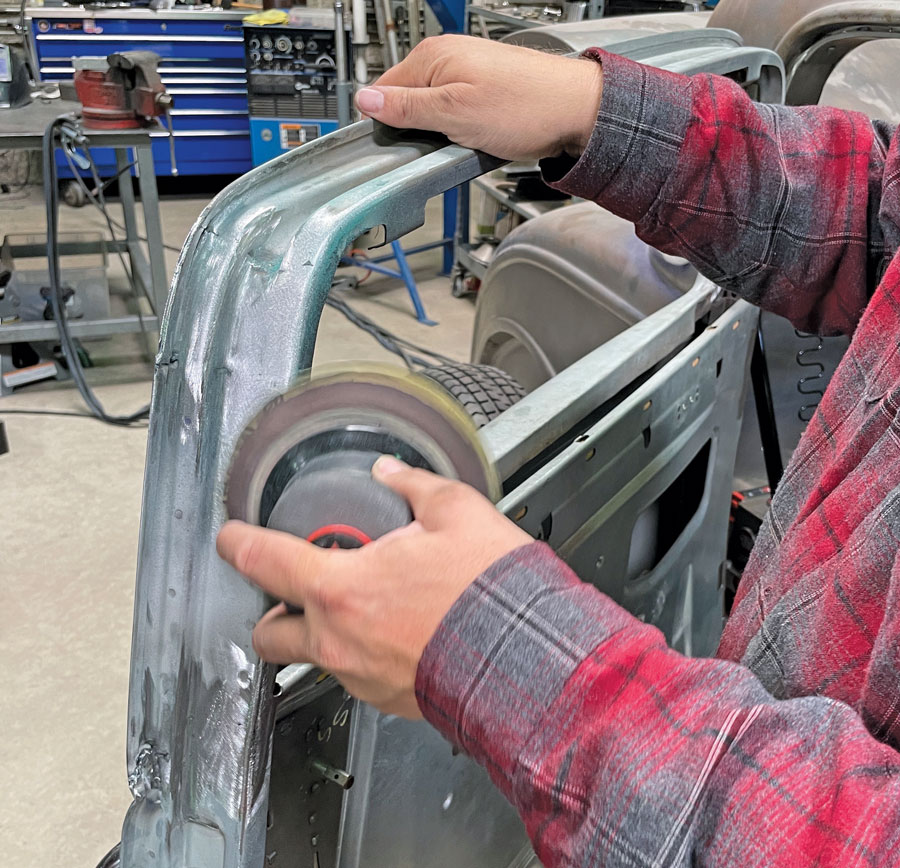
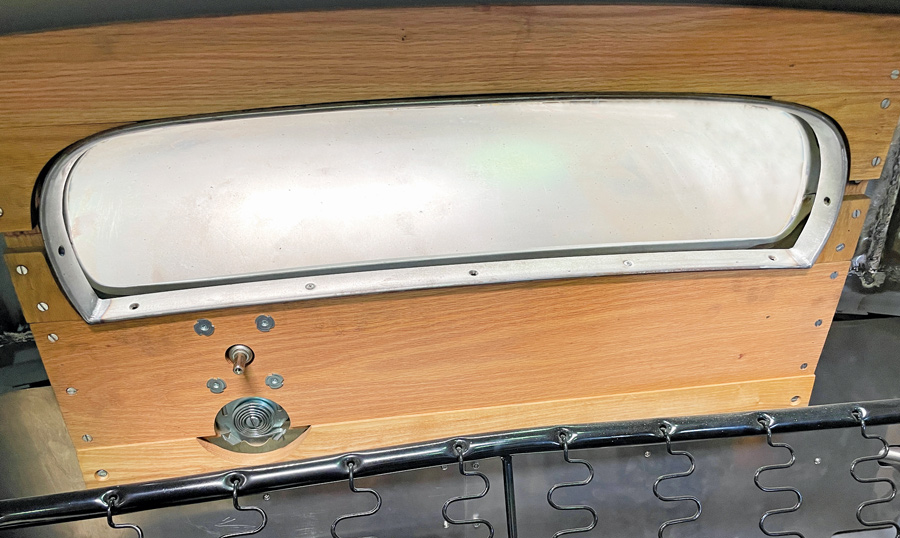
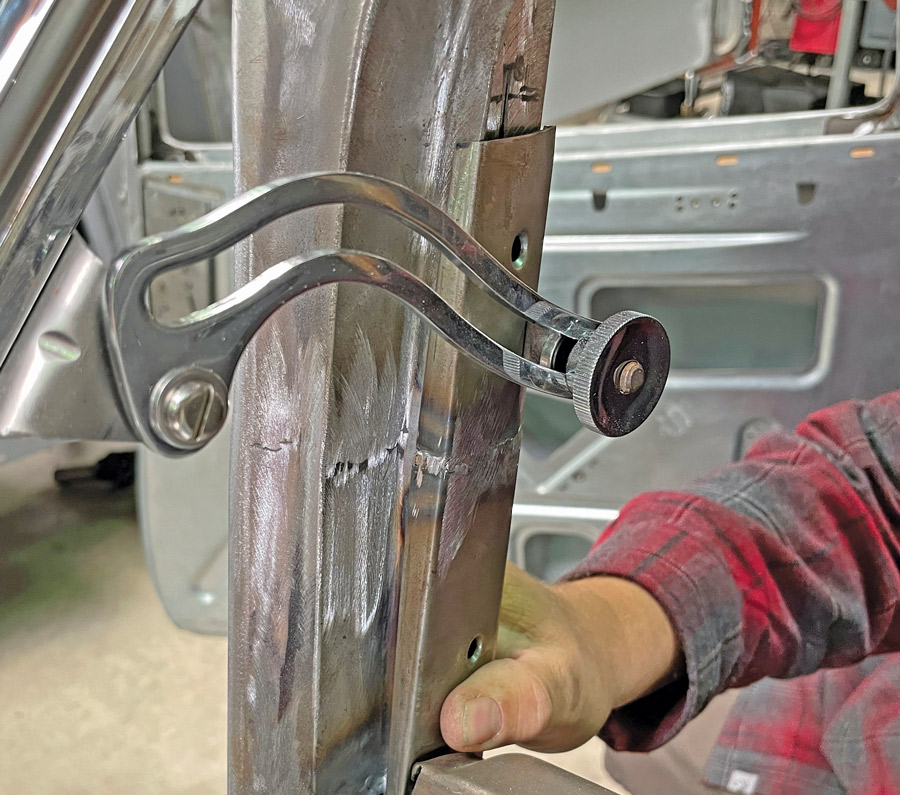
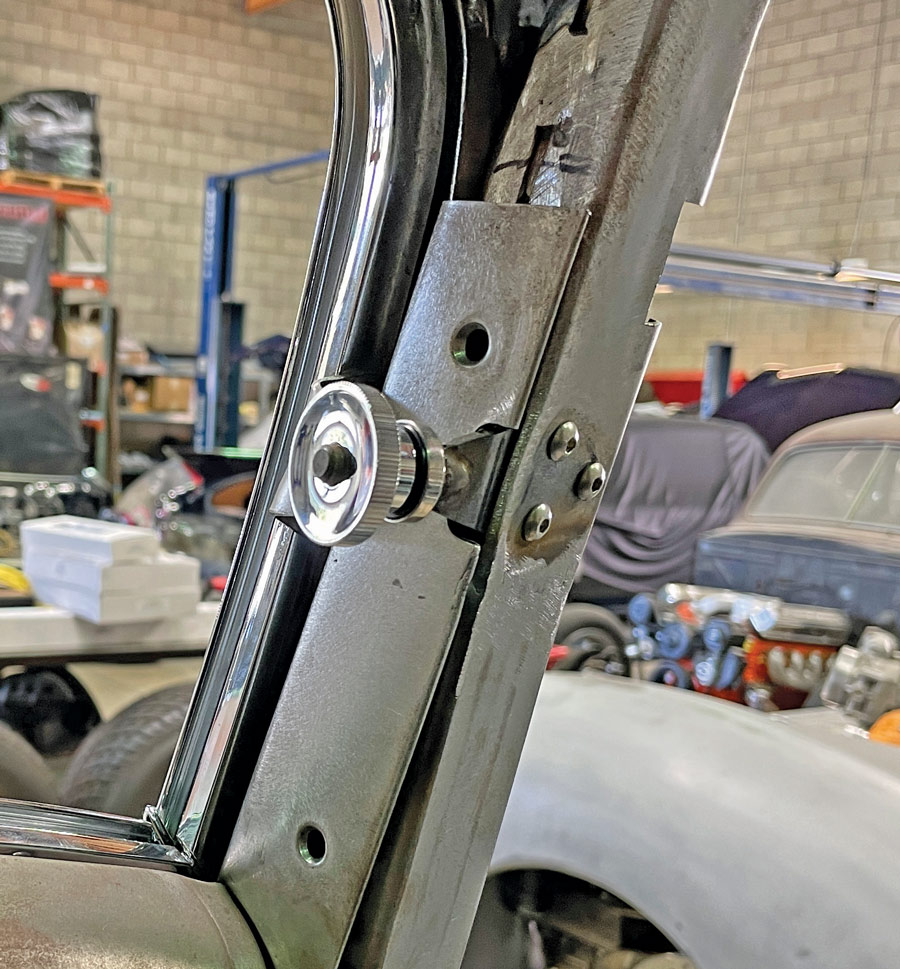
First task before the doors were attacked was to cut down the hardwood frame that, well, frames the door. If your wood is old and rotten, wood kits are available from several sources such as FordWoodArt.com.

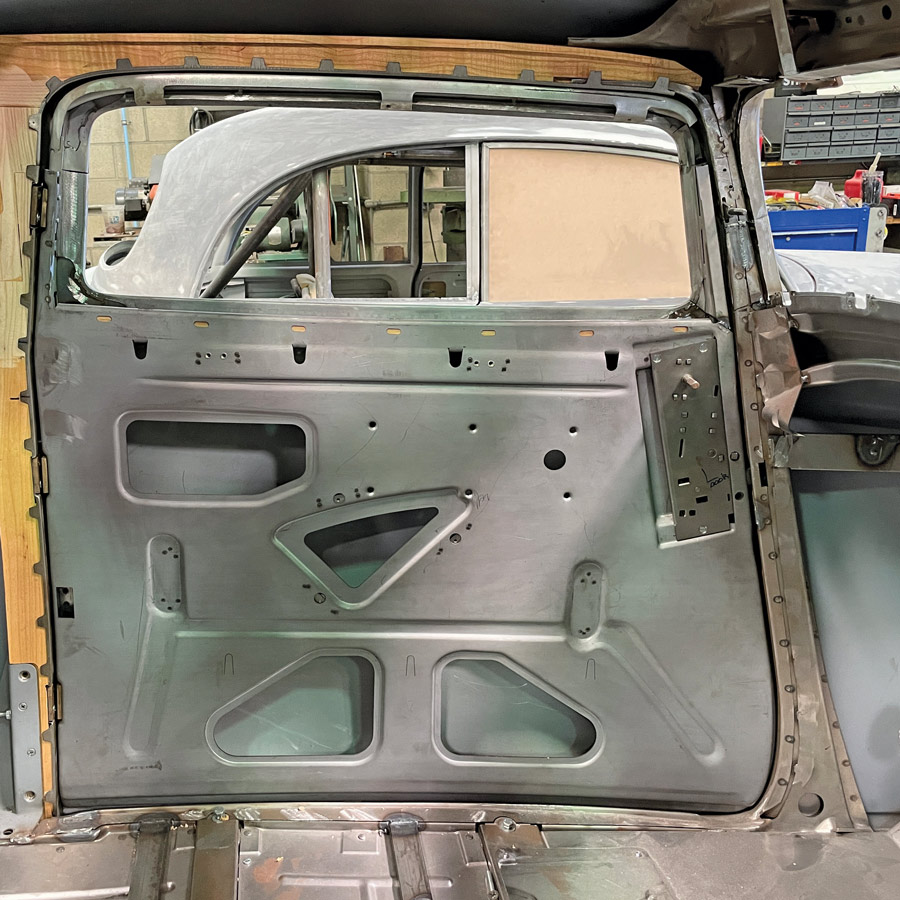
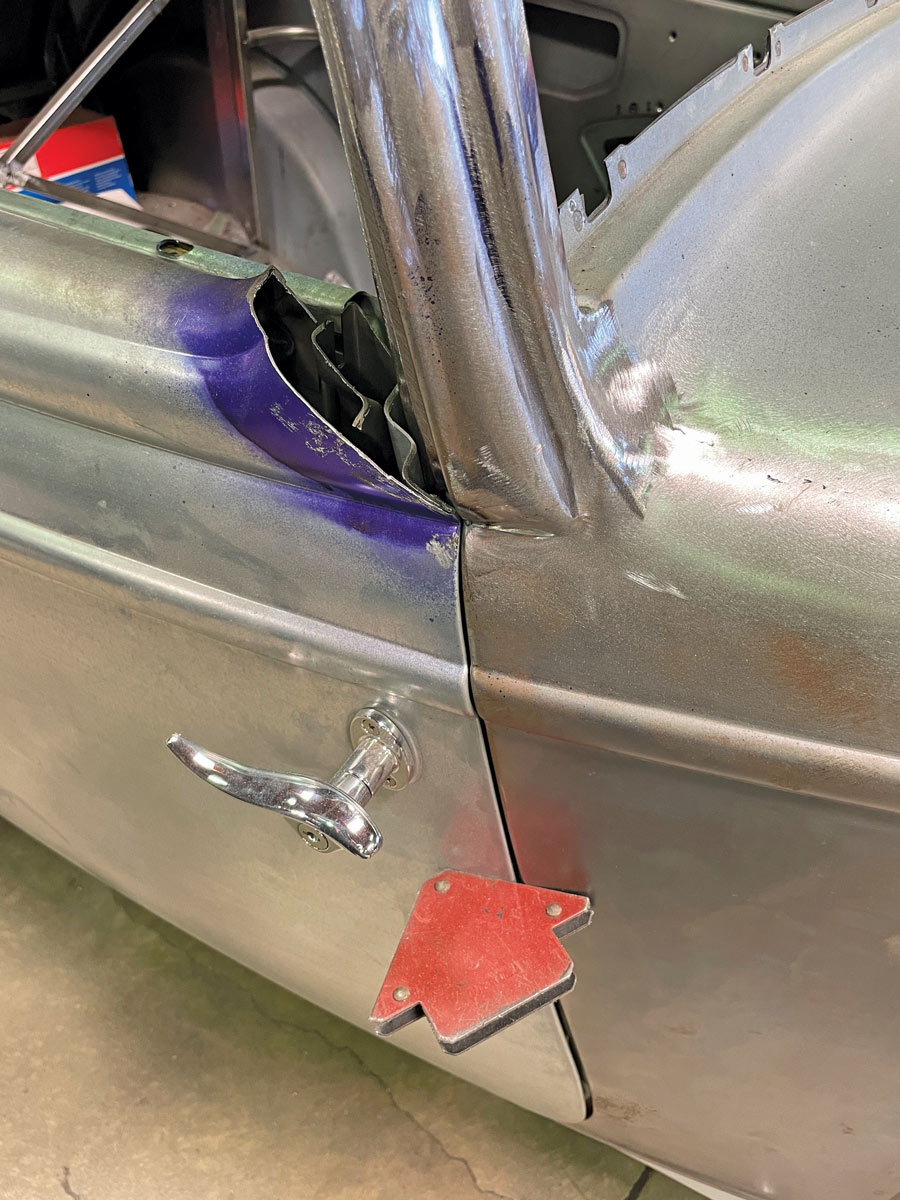
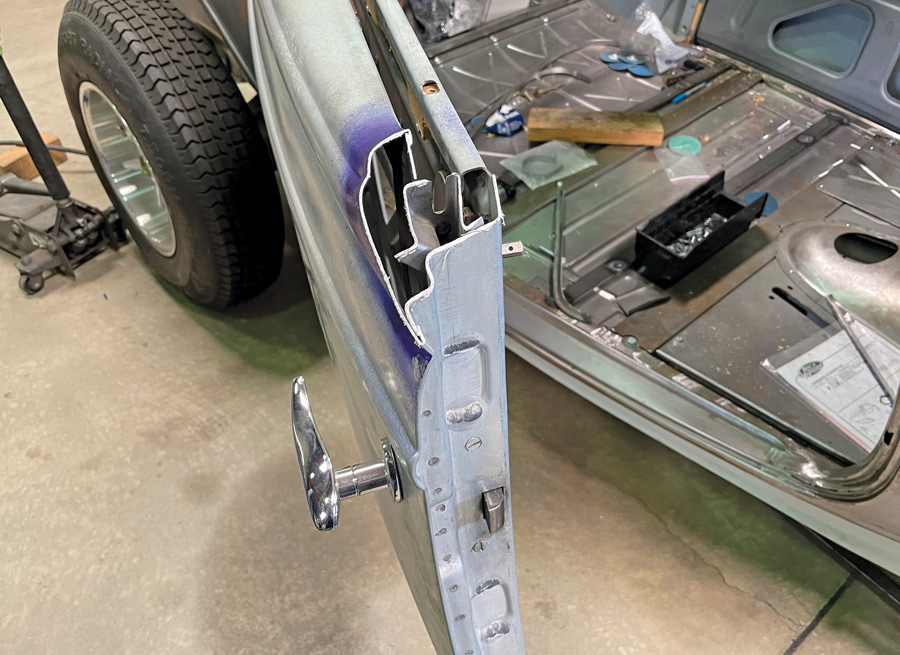
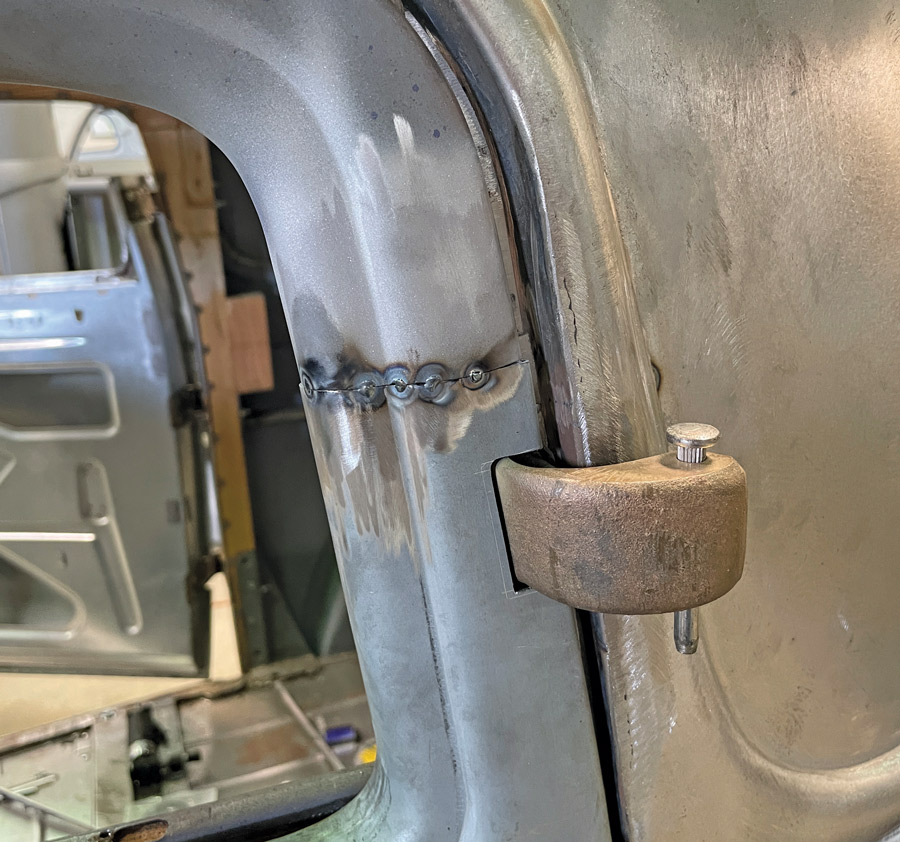
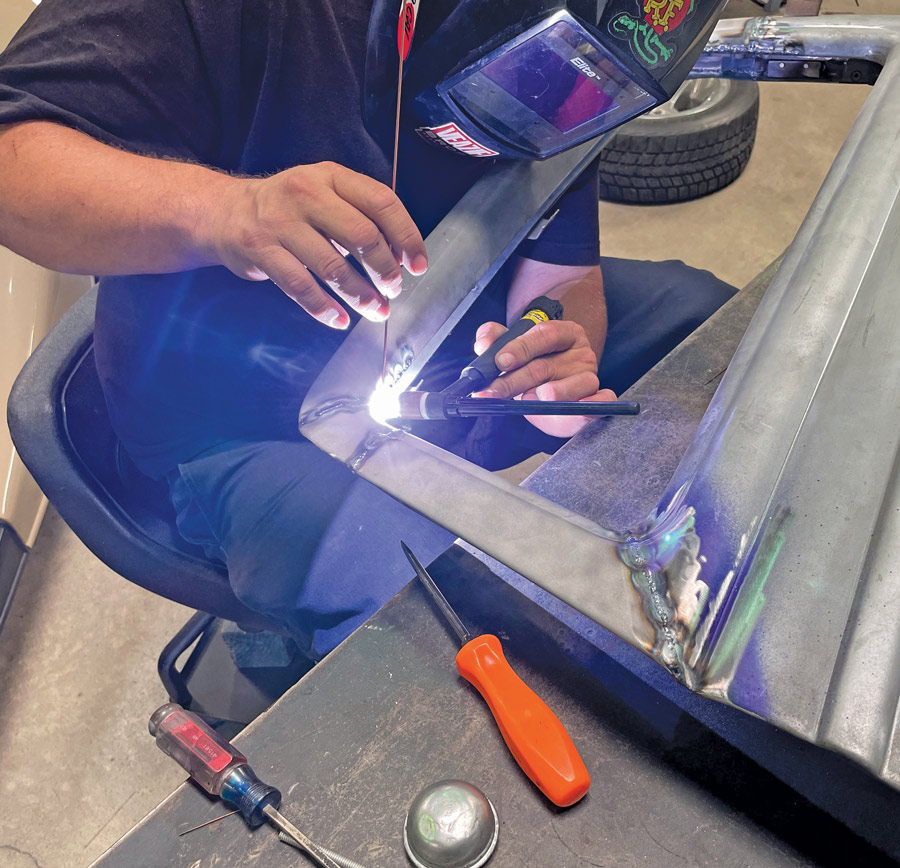
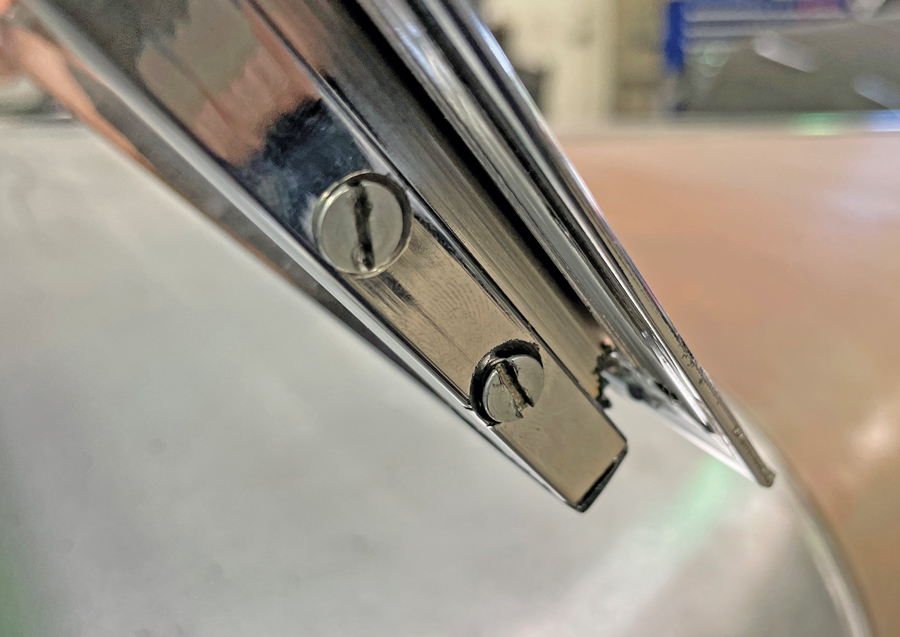
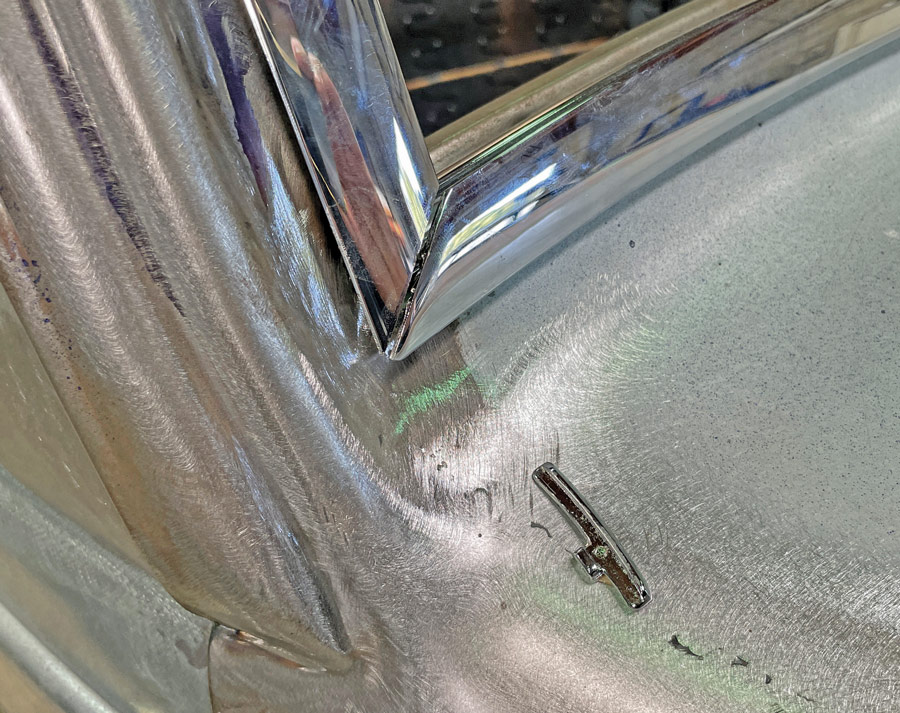
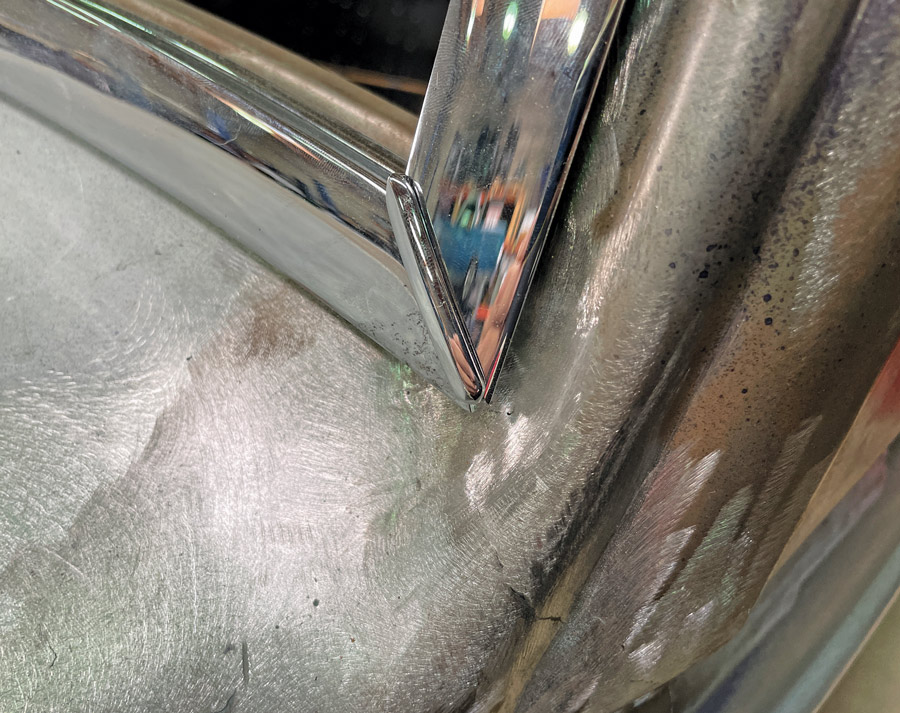
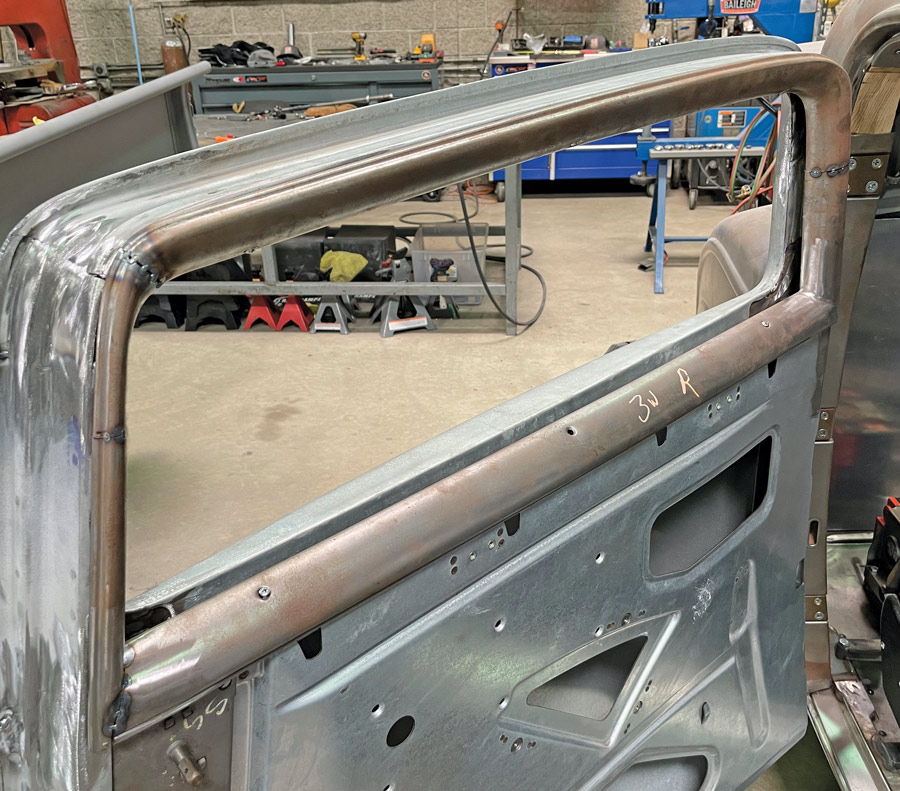
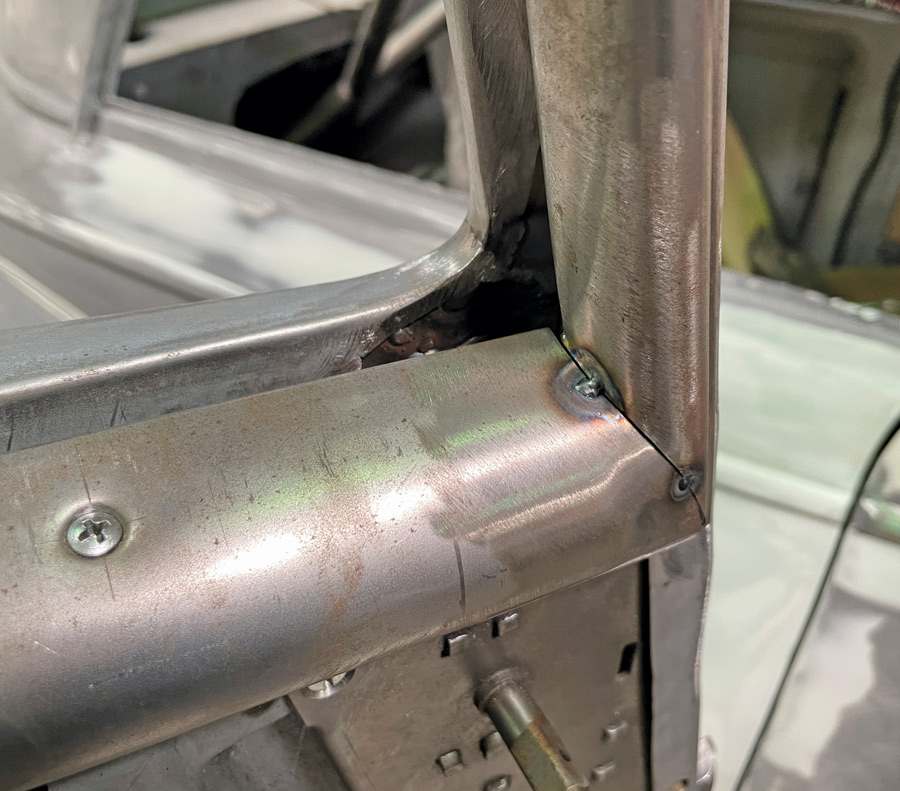
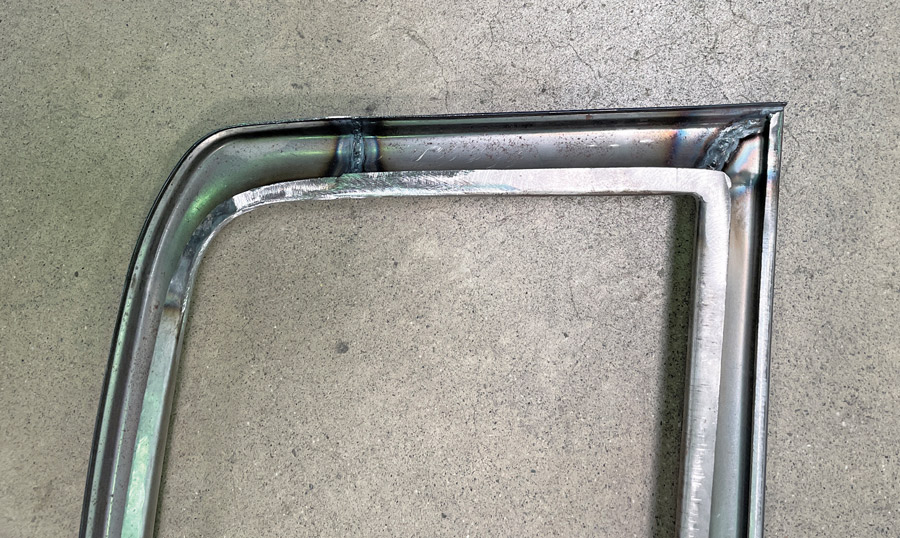
Next comes the doors, which, of course, only really means the window frames, as the bottom half of the door remains untouched. The doors were followed by the inner window moldings, any other inner moldings, and finally the windshield.

None of this is difficult work but it did take time and patience to get it right, make it fit, and get it to look as if Henry intended it that way.

 inner wooden structure of the doorframes was cut down to fit
2. Before any work was started on cutting the doors, the inner wooden structure of the doorframes was cut down to fit. On a ’32 three-window there are only two parts, the door pillar and the door header, which in this case was not cut. The black line on the pillar shows where the 2-inch section was removed.
Note this is hardwood, so it took some effort to cut and shape before the wood was glued back together and cleaned up with a small sander.
3. Note this is hardwood, so it took some effort to cut and shape before the wood was glued back together and cleaned up with a small sander.
The door pillar and header are secured to the body using small screws located under the molding. Remember, the wood is hard and might require a pilot hole for the screw.
4. The door pillar and header are secured to the body using small screws located under the molding. Remember, the wood is hard and might require a pilot hole for the screw.
By 1932, Ford liked to say that there was no wood in his cars but as you can see they were still using wood to frame the doors. And it was handy to have something to tack the upholstery to.
5. By 1932, Ford liked to say that there was no wood in his cars but as you can see they were still using wood to frame the doors. And it was handy to have something to tack the upholstery to.
Evan sliced off the upper part of the doorframe—in the corner of the window at the front and in the rear about 1 inch above the top hinge. Note: All three hinges were retained, as two are not sufficient for such a heavy, suicide door.
6. Evan sliced off the upper part of the doorframe—in the corner of the window at the front and in the rear about 1 inch above the top hinge. Note: All three hinges were retained, as two are not sufficient for such a heavy, suicide door.
A close-up of the position of the cut in the front corner of the window down to that belt line molding. Note the use of a welding magnet to keep the door and cowl aligned.
7. A close-up of the position of the cut in the front corner of the window down to that belt line molding. Note the use of a welding magnet to keep the door and cowl aligned.
A close-up of the door where it was cut just above the handle. Note the inner structure and the need to be careful when sawing through all those different layers so as not to distort the door.
8. A close-up of the door where it was cut just above the handle. Note the inner structure and the need to be careful when sawing through all those different layers so as not to distort the door.
A close-up of the cut at the hinge end of the frame where the structure is less complicated but still required care when cutting.
9. A close-up of the cut at the hinge end of the frame where the structure is less complicated but still required care when cutting.
Clearly shown here is the mockup of the upper doorframe. You can see there is only one cut in the rear, but the top front corner needed a couple of pie cuts to make it fit.
10. Clearly shown here is the mockup of the upper doorframe. You can see there is only one cut in the rear, but the top front corner needed a couple of pie cuts to make it fit.
A close-up of the top front corner shows the two pie cuts, how close it was, and how little work was needed to finalize the shape.
11. A close-up of the top front corner shows the two pie cuts, how close it was, and how little work was needed to finalize the shape.
The rear of the doorframe was likewise tacked into position. Again, you can see that there was minimal misalignment and very little rebuilding necessary.
12. The rear of the doorframe was likewise tacked into position. Again, you can see that there was minimal misalignment and very little rebuilding necessary.
Behind the scenes, however, you can see that the inner frame at the topmost corner of the door was going to need some fiddly work to recreate the missing structure.
13. Behind the scenes, however, you can see that the inner frame at the topmost corner of the door was going to need some fiddly work to recreate the missing structure.
Nothing was discarded as bits of the removed doorframe were used to recreate the inner structure. It was a matter of welding and filling until the hole was all filled up.
14. Nothing was discarded as bits of the removed doorframe were used to recreate the inner structure. It was a matter of welding and filling until the hole was all filled up.
Here the inner structure was almost complete but note that Evan was adding some material to the door edge to build up the contour.
15. Here the inner structure was almost complete but note that Evan was adding some material to the door edge to build up the contour.
Finally, when all the structural work was done the door was removed from the car and finish welded on the table.
16. Finally, when all the structural work was done the door was removed from the car and finish welded on the table.
When all is said and done, Evan used an orbital sander to clean up the surface. He was careful not to use heavy grit, as that would only make work at the painting stage.
17. When all is said and done, Evan used an orbital sander to clean up the surface. He was careful not to use heavy grit, as that would only make work at the painting stage.
Thankfully, Ford made the Deuce windshield in two pieces, the U-section top piece, and a bolt-on curved bottom so all that’s necessary was to shorten the sides.
18. Thankfully, Ford made the Deuce windshield in two pieces, the U-section top piece, and a bolt-on curved bottom so all that’s necessary was to shorten the sides.
The bottom section is secured to the upper section by these small countersunk screws that were moved up the requisite 2 inches.
19. The bottom section is secured to the upper section by these small countersunk screws that were moved up the requisite 2 inches.
A little bit of finagling was necessary to make a clean miter joint but that small piece of pot metal trim shown to the lower right is used to disguise the joint.
20. A little bit of finagling was necessary to make a clean miter joint but that small piece of pot metal trim shown to the lower right is used to disguise the joint.
Here’s that little pot metal trim piece in place. It appears to be held in by gravity nut that the Veazie Brothers used a dab of silicone to hold in place.
21. Here’s that little pot metal trim piece in place. It appears to be held in by gravity nut that the Veazie Brothers used a dab of silicone to hold in place.
Chopping the inner window frames to match the doors was not difficult. The rear was easy because it’s almost vertical, the front, however, needed a little finagling.
22. Chopping the inner window frames to match the doors was not difficult. The rear was easy because it’s almost vertical, the front, however, needed a little finagling.
The leading edge, just above the door handle and belt line molding was neatly mitered and tacked into place.
23. The leading edge, just above the door handle and belt line molding was neatly mitered and tacked into place.
For the inside of the frames the cuts were welded and where necessary carefully ground smooth—remember this metal is thin.
24. For the inside of the frames the cuts were welded and where necessary carefully ground smooth—remember this metal is thin.
The inner molding for the rear window did require some crafty work because the side that needed shortening is curved, however, the bottom of the frame is comparatively easy.
25. The inner molding for the rear window did require some crafty work because the side that needed shortening is curved, however, the bottom of the frame is comparatively easy.
The inner doorframe molding had to be sectioned 2 inches and you can see that a little massaging would be necessary to make it right.
26. The inner doorframe molding had to be sectioned 2 inches and you can see that a little massaging would be necessary to make it right.
Likewise, the inner windshield garnish moldings were also shortened to match the chop. These can be purchased new if you have none or screw up.
27. Likewise, the inner windshield garnish moldings were also shortened to match the chop. These can be purchased new if you have none or screw up.
Here you can see that the inner windshield garnish moldings have been sectioned and massaged until they look like the originals only shorter.
28. Here you can see that the inner windshield garnish moldings have been sectioned and massaged until they look like the originals only shorter.
Brookville Roadster
(937) 833-4605
brookvilleroadster.com
Veazie Brothers Fabrication
(909) 438-6632
Modern Rodding
VOLUME 3 • ISSUE 18 • 2022