
 Photography By Brian Woodwick
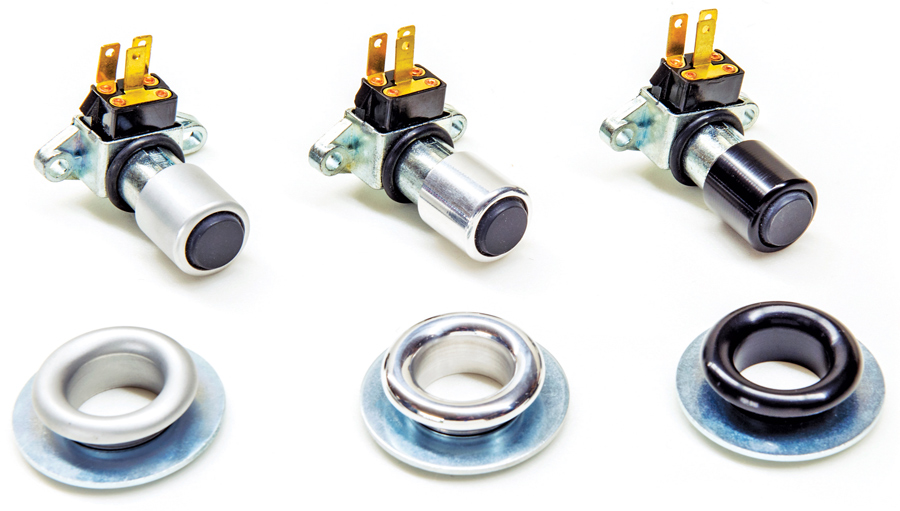
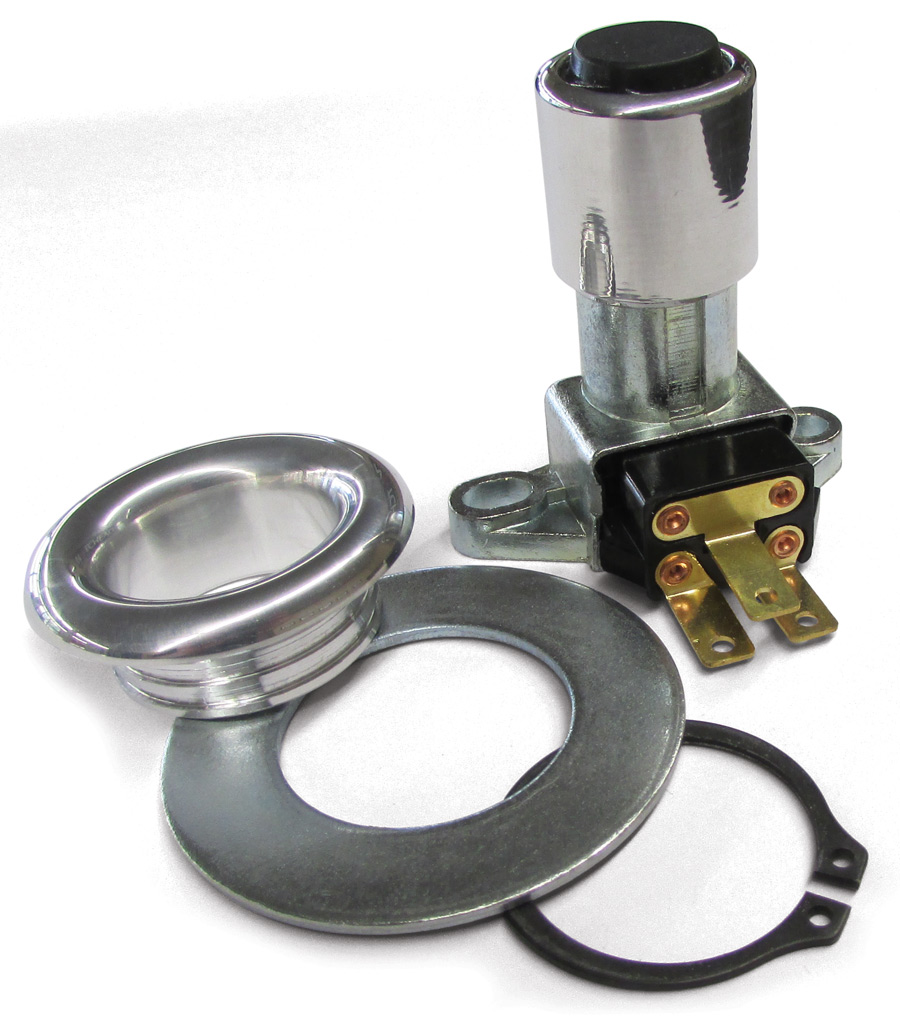
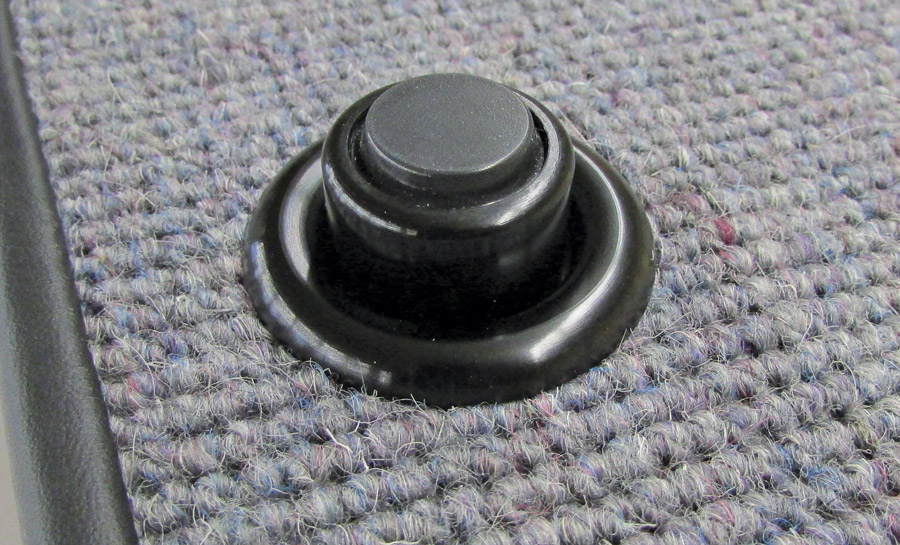
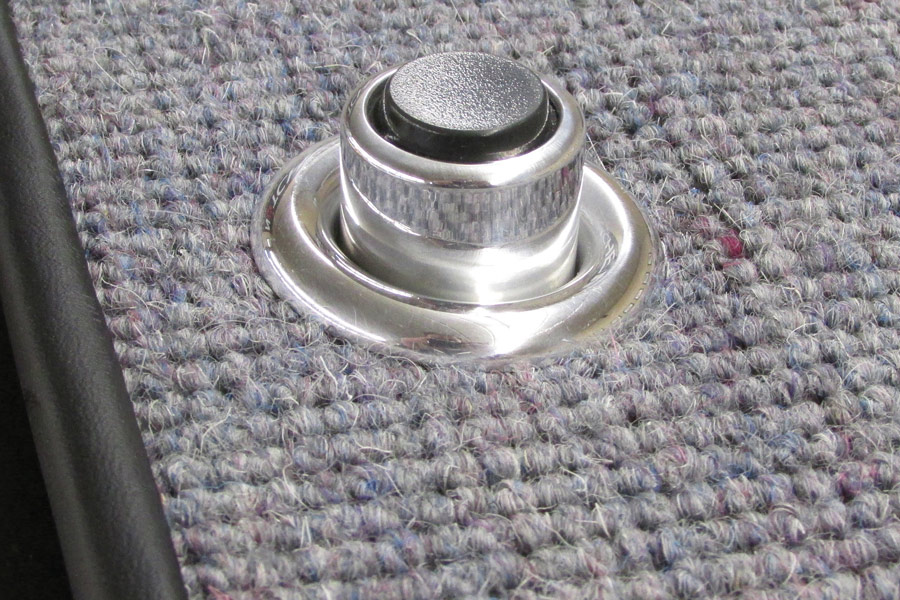
ur hot rods are full of pretty cool stuff. Some of it is complex and some of it is simple. Here’s a quick look at a downright simple “touch” that virtually every hot rod has, or should have. It’s most frequently foot operated and it’s the headlight dimmer switch with accompanying carpet trim ring. What’s particularly cool about this product is the combination of dimmer switch and the dimmer switch bezel from NotcHead that gives your car’s interior a neatly finished look while maintaining full functionality of the switch. Switch and bezel can be ordered separately if so desired. NotcHead is a line of cool hardware offered by longtime hot rodder (and sometimes rock ’n’ roll bassist) Tim Divers of Divers Street Rods (DSR) in Sultan, Washington.
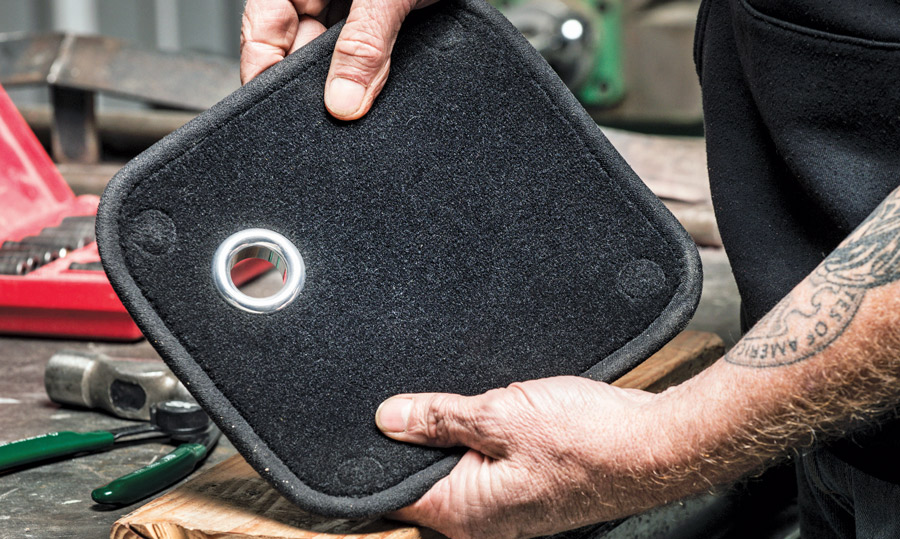
You go to the trouble of detailing your street rod and in no small way paying for nice carpeting. Yet there’s always something, such as the floor shifter, emergency brake handle, possibly the brake and clutch pedal, the throttle, dimmer switch, and bezel, that in some form and fashion pokes through the carpeting. The dimmer/bezel is typically tucked away in the upper lefthand corner of the floorboard or toeboard of one’s hot rod. Many times I have seen this accessory just poking through the carpeting. A hole is cut, sliced, or once in a while punched so the dimmer switch can work its way into the daylight.
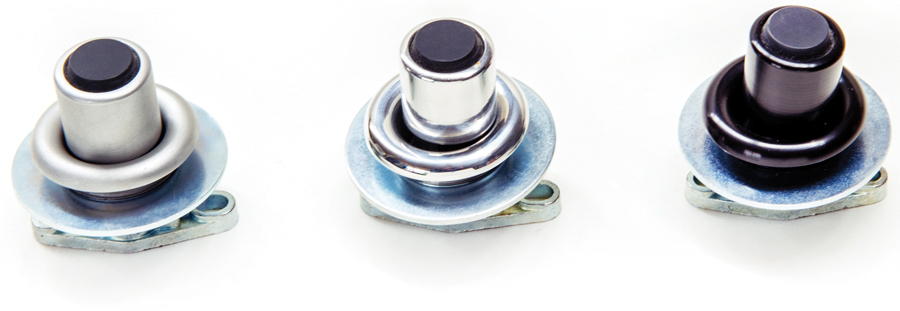
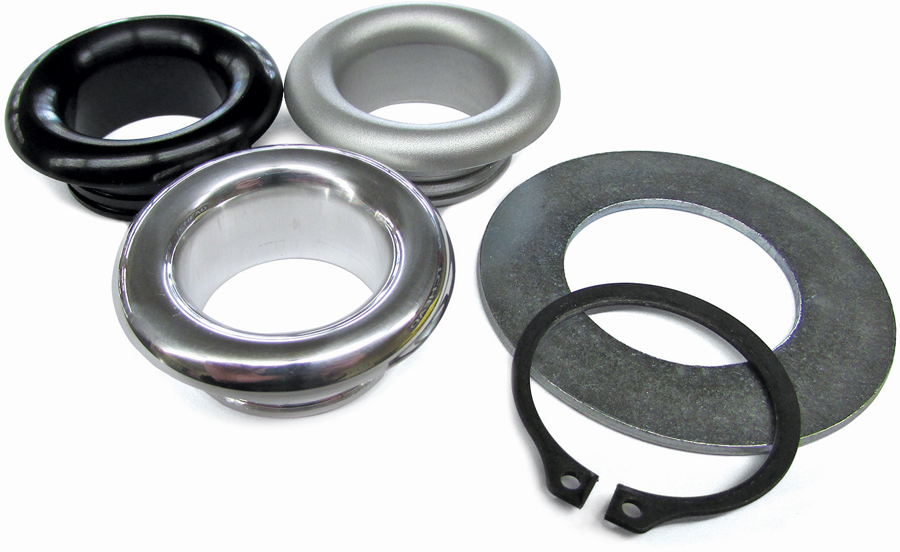
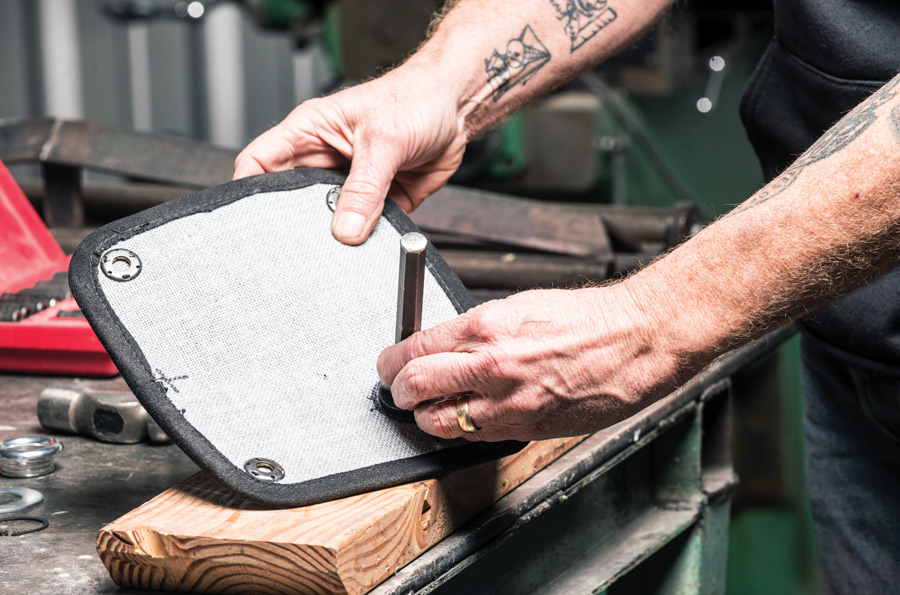
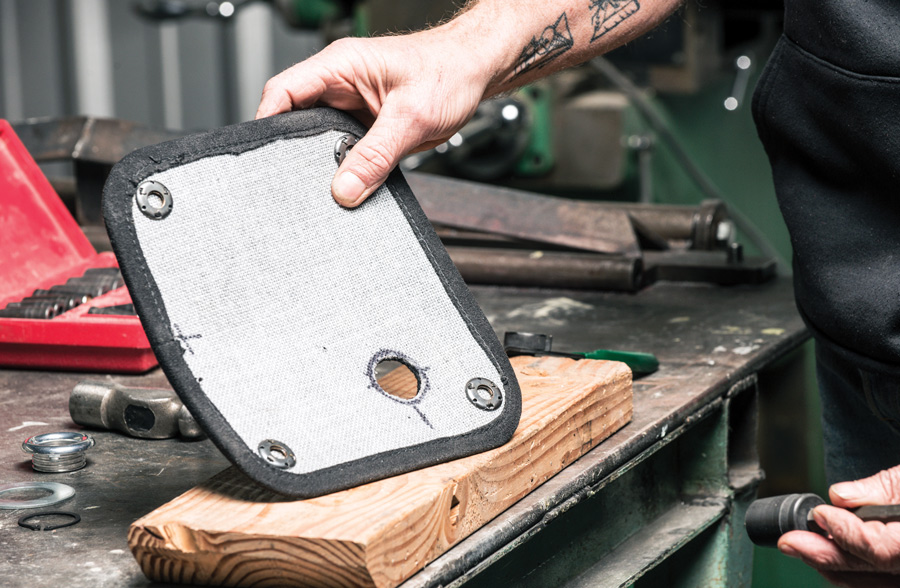
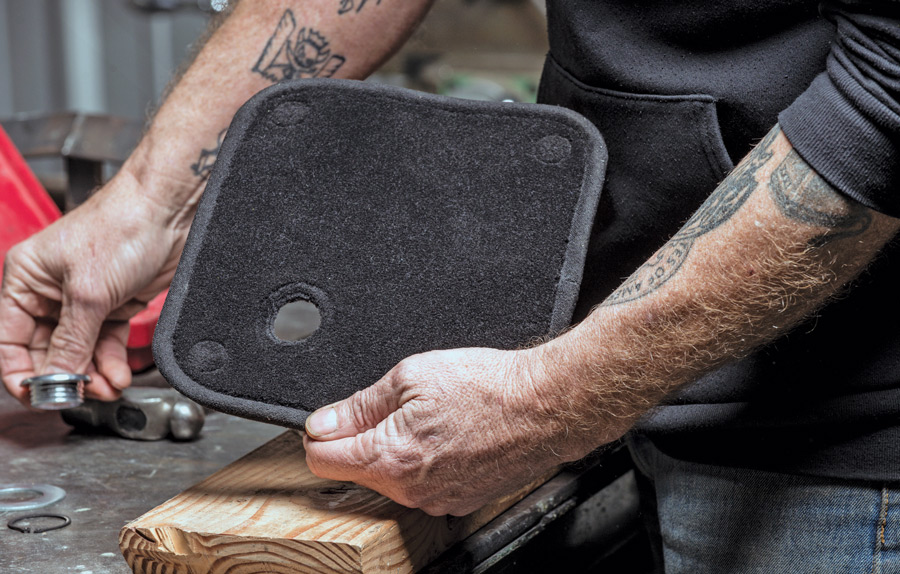
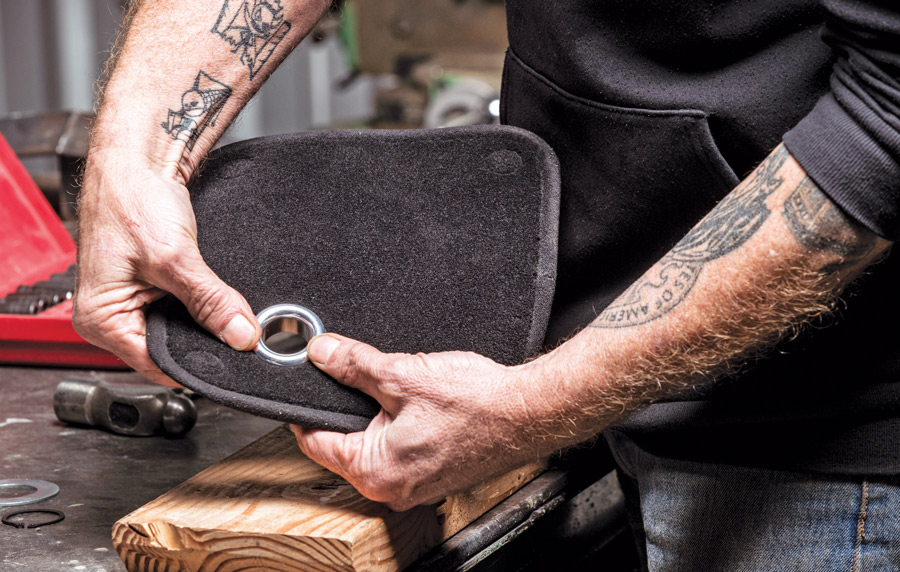
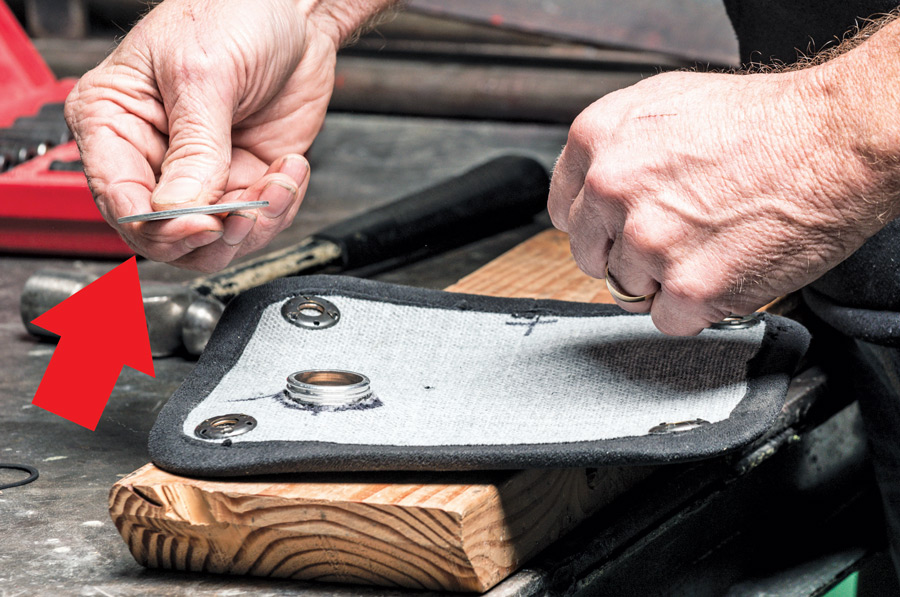
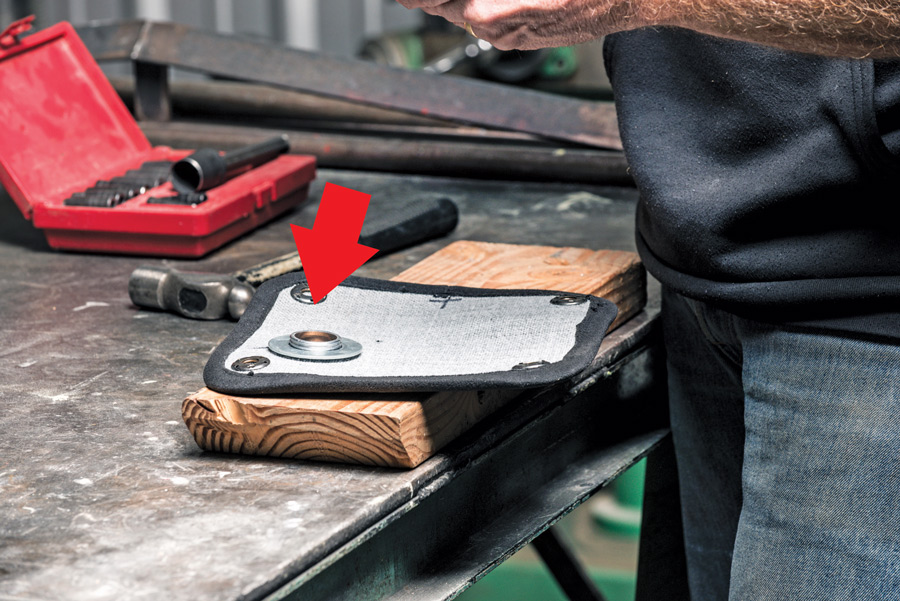
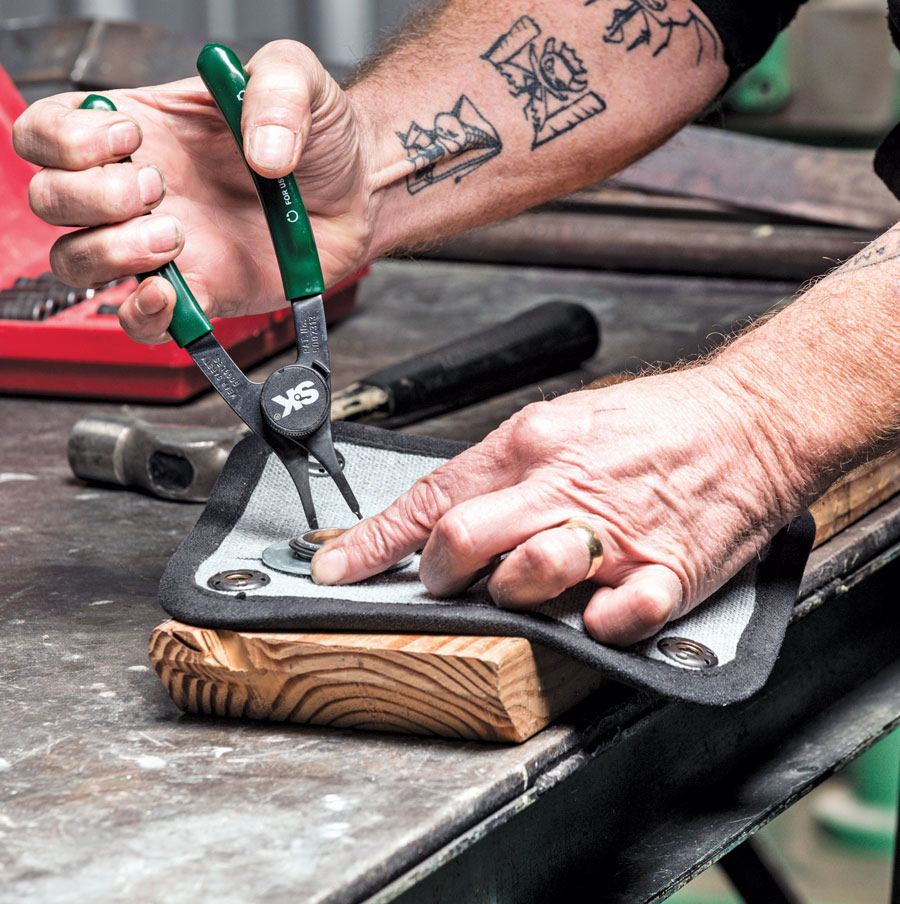
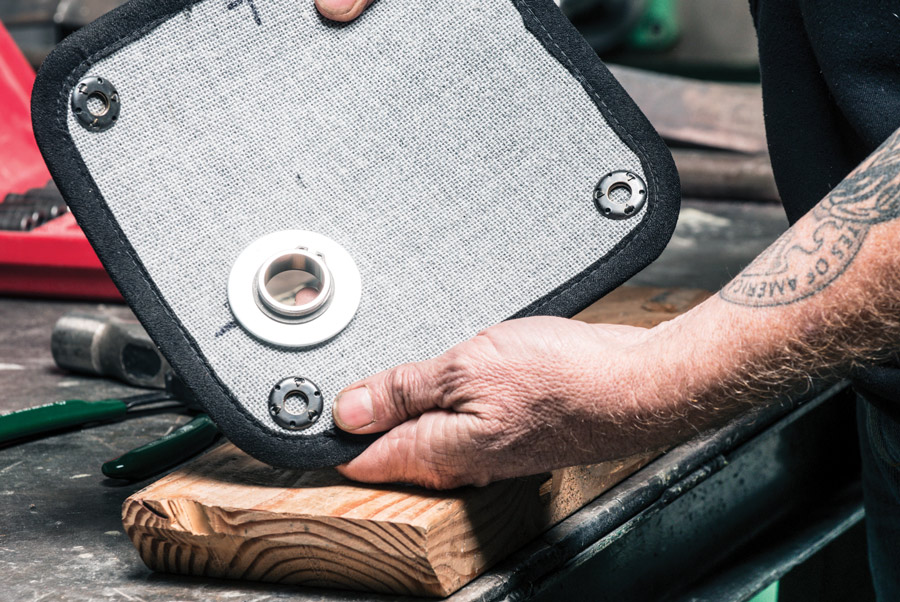
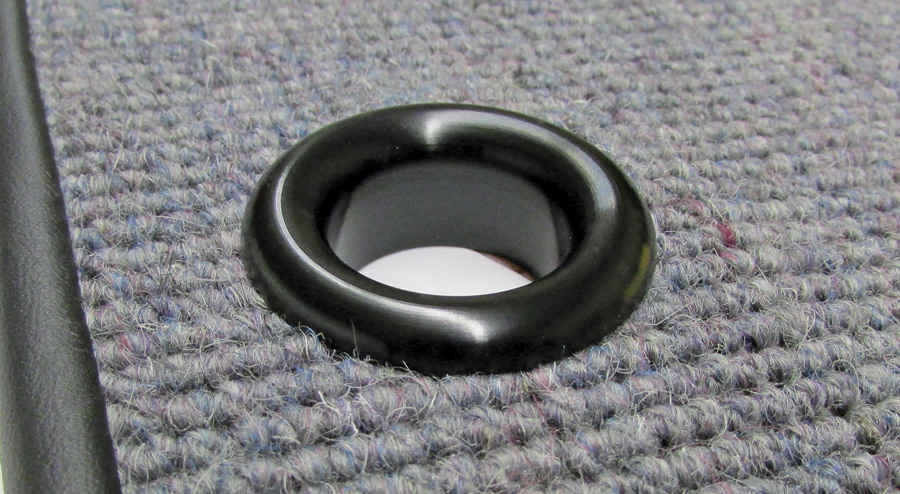
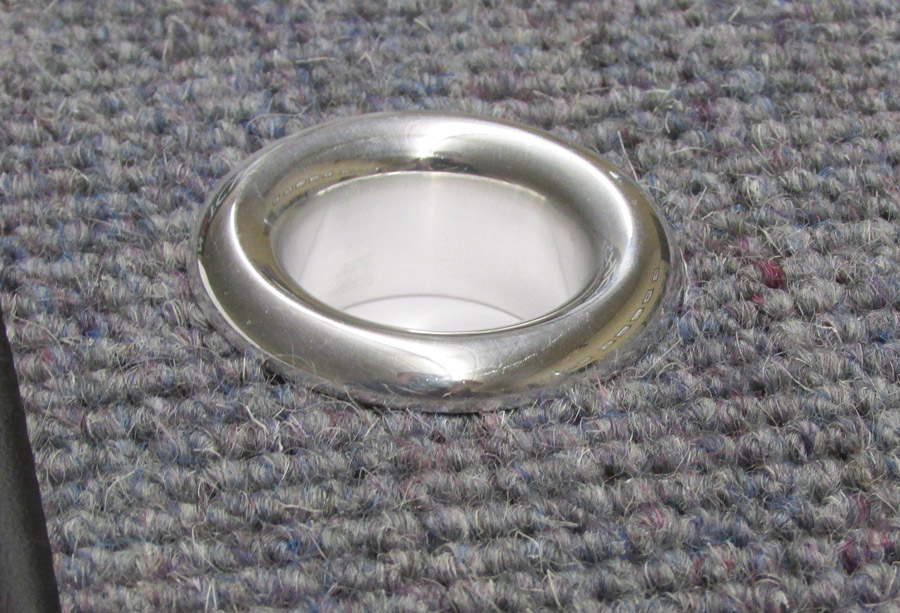
NotcHead has come up with a nifty way to not only have the functioning dimmer switch but to also have it neatly placed so that it looks as if it was (and it is) part of the original design and plan of the now perfectly executed interior. The NotcHead headlight dimmer switch and bezel comes in three finishes: machined, polished, and black anodized. The beauty of the system is how simple it is to install and the perfectly trimmed results it yields. The metal bezels give the floor dimmer switch better-looking surroundings than no trim ring at all or a less-impressive plastic ring. As for tools, an external snap-ring plier is about the extent of the tool list and because of the bezel’s adjustability it will work on almost any carpet thickness. Should you find yourself with a dimmer switch already in position you can purchase just the bezel and “clean up” your interior appearance.
Well, there you have it. It’s nothing exotic but, then again, the simple projects are fun, too.
 SOURCE
Notchead/DSR Fasteners
(360) 243-3492
notchead.com