Modern Rodding Tech

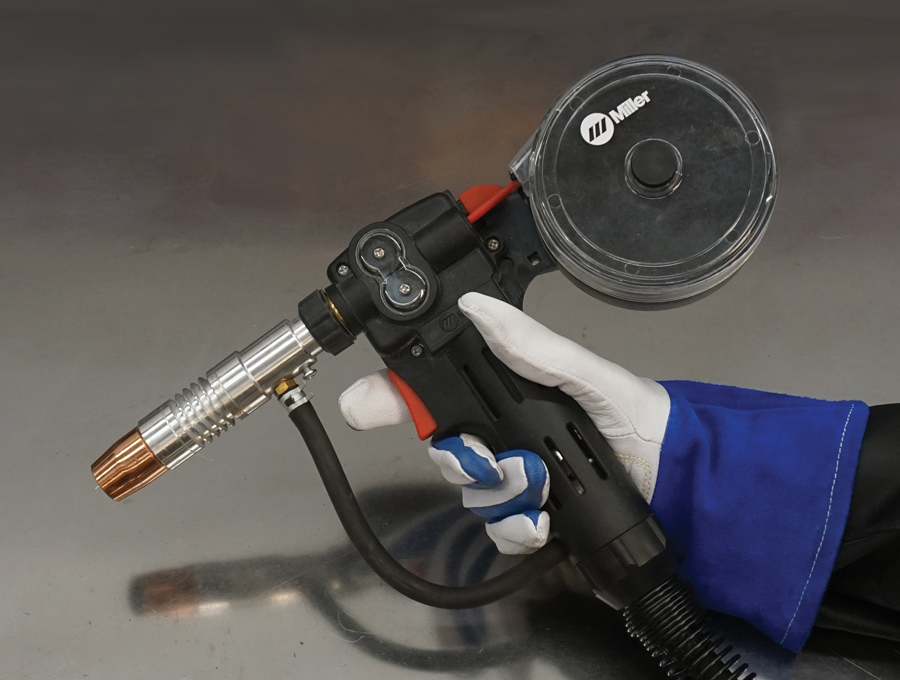
1. This is a modern, affordable MIG welder that has all the capability needed for nearly any automotive project, including bodywork and chassis repair or modification.
Modern Rodding Tech
By Ron Covell  Photography by THE AUTHOR
elding is a transformative skill for anyone who works on vintage vehicles. It enables you to accomplish so many tasks that require permanently joining metal components, and it’s a skill that most people can learn with some practice. The principles of welding are easy to understand: the parts to be welded are heated to their melting temperature, then caused to flow together—often with the addition of some filler material. As simple as this sounds, there is some knowledge and skill required to make a weld that is strong and good looking.
Welding technology is always evolving; the newest machines are small, light, and easy to set up. If you want to learn to weld, there has never been a better time. Oxyacetylene and stick welding have been around for ages, and they still have their place, but in the world of car builders, MIG and TIG welding lead the pack. We’ll focus on MIG welding in this article and cover TIG soon.
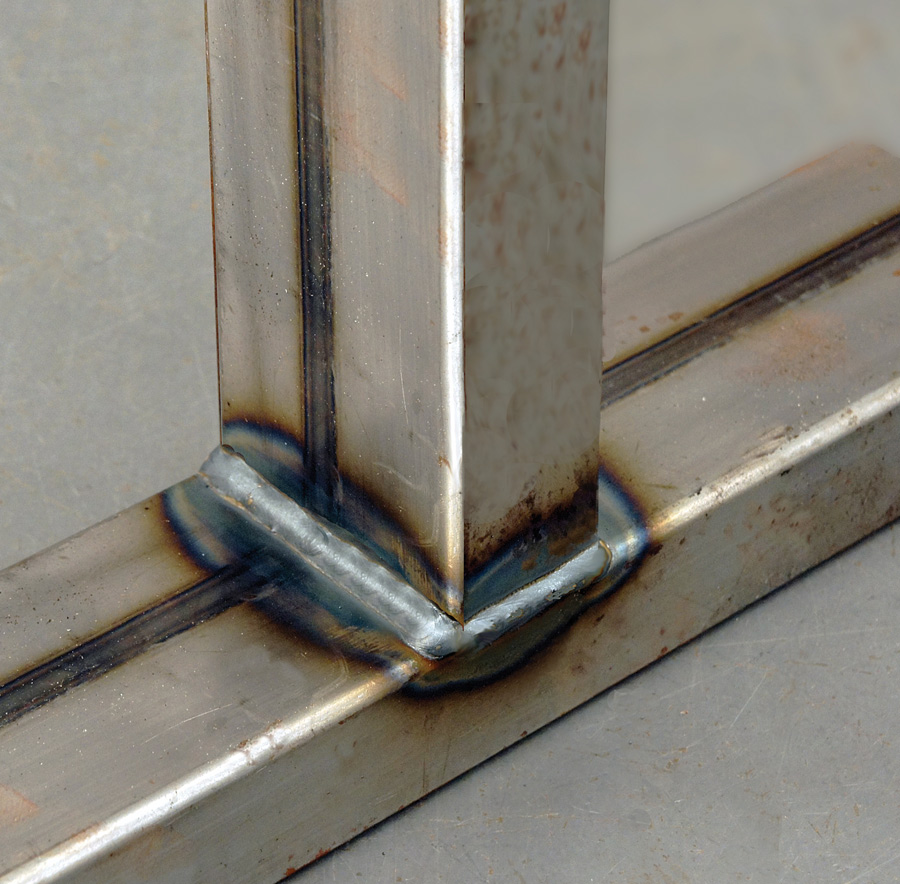
MIG is the most popular type of welding worldwide. The equipment is affordable and easy to set up, and the process is relatively easy to learn. MIG works well for nearly any automotive application—from the thin metal used for bodywork to the heavier material used for chassis modification and repair.
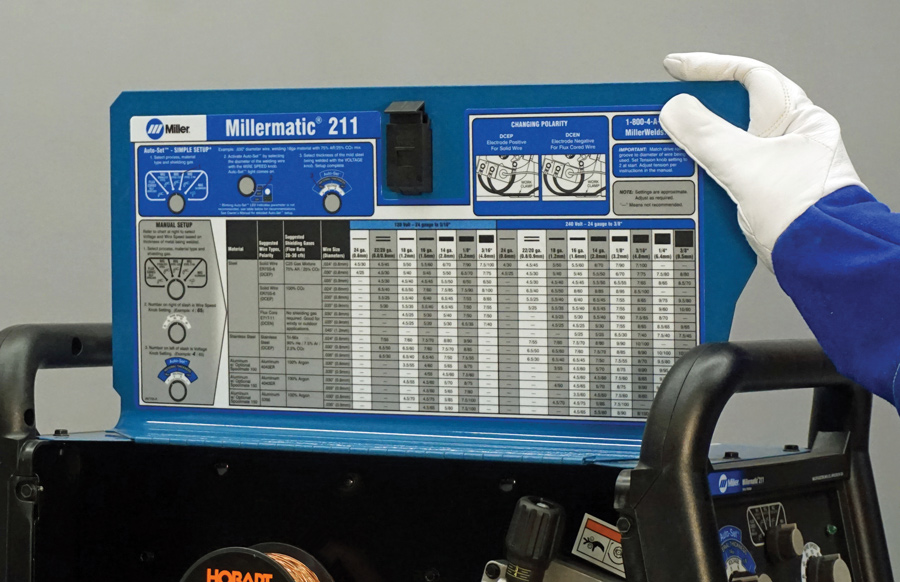
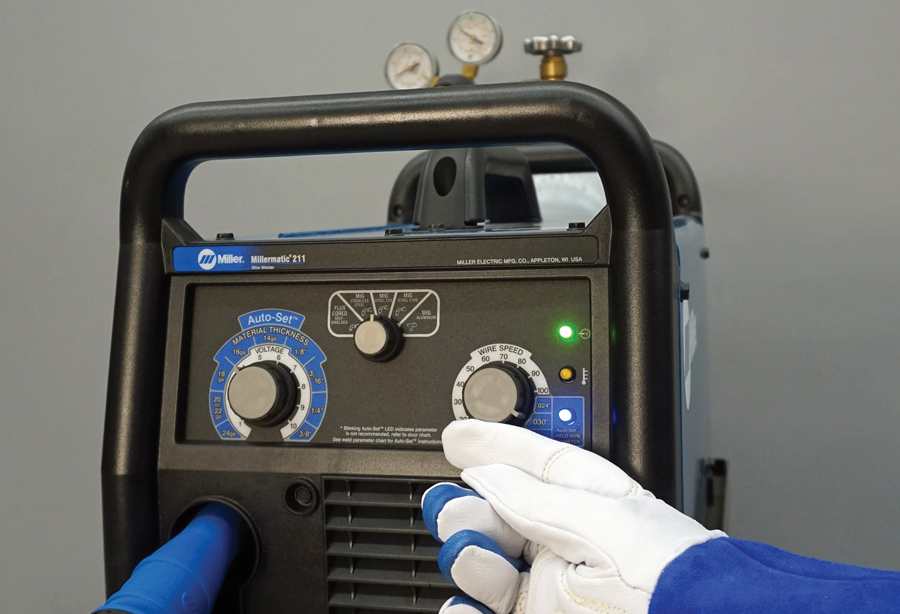
All MIG machines have controls for the voltage and for the (filler) wire feed speed. These parameters need to be set based on the diameter of the filler wire and for the different types and thickness of metal to be welded. Most machines have a chart that recommends a good starting point based on the specifics of your particular job. Some machines have a simplified control panel allowing you to simply dial in the wire diameter and the material thickness and the settings are made automatically.
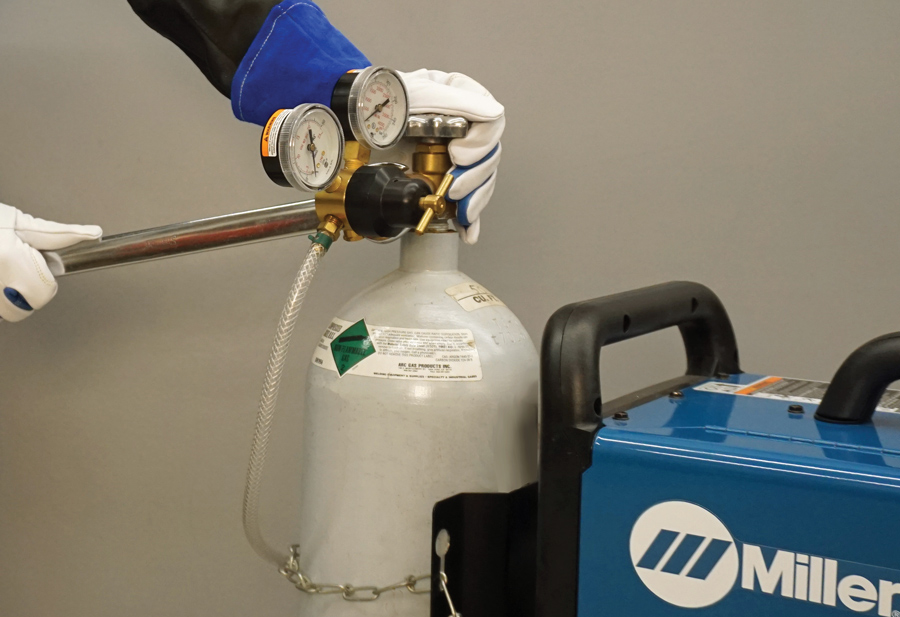
The beauty of the MIG process is that the gun feeds the filler wire automatically, usually shielding it with a gas. The gun is equipped with a trigger and in the off position all the functions are inactive. As soon as the trigger is pulled the welding current is energized, the shielding gas starts flowing, and the filler wire is automatically fed into the joint to be welded. This is so easy that it can be done with one hand, although most welders use both hands on the gun to achieve better control.
So, you may ask, if this is so easy, why does it take time and practice to become a good welder? Like so many things in life, the devil is in the details. There is a lot involved with holding and moving the gun, and you need some understanding of the various factors at play as you are welding.
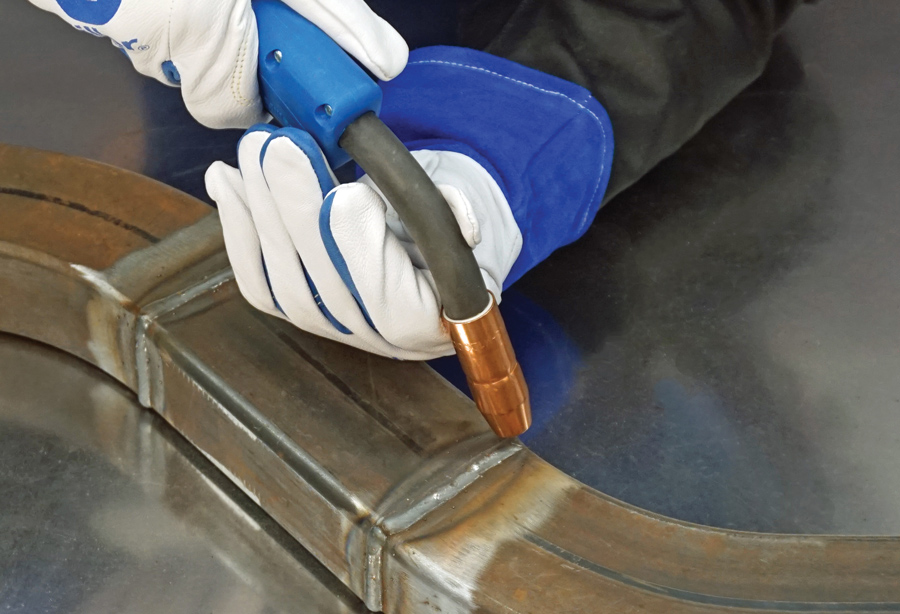
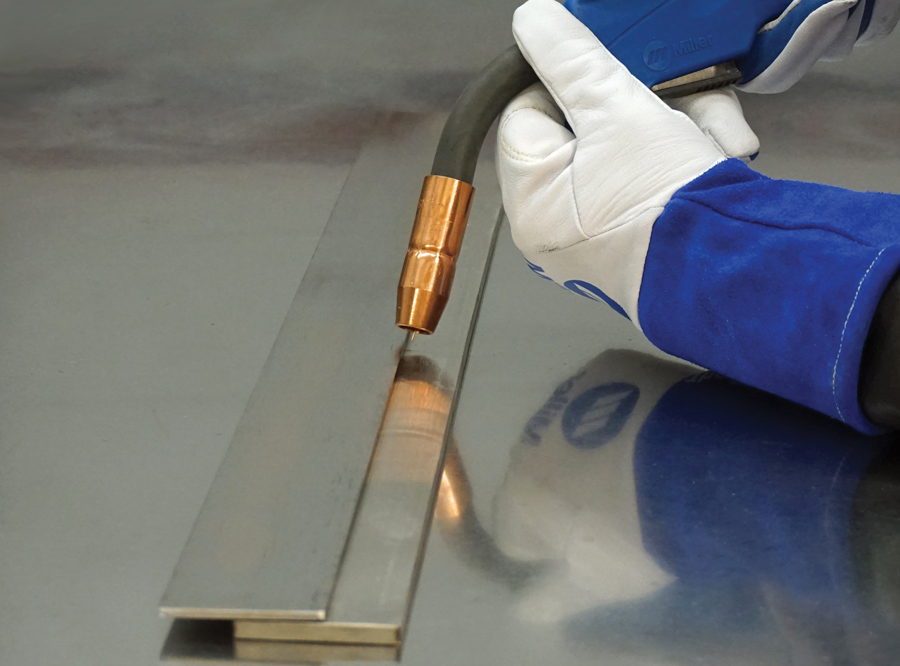
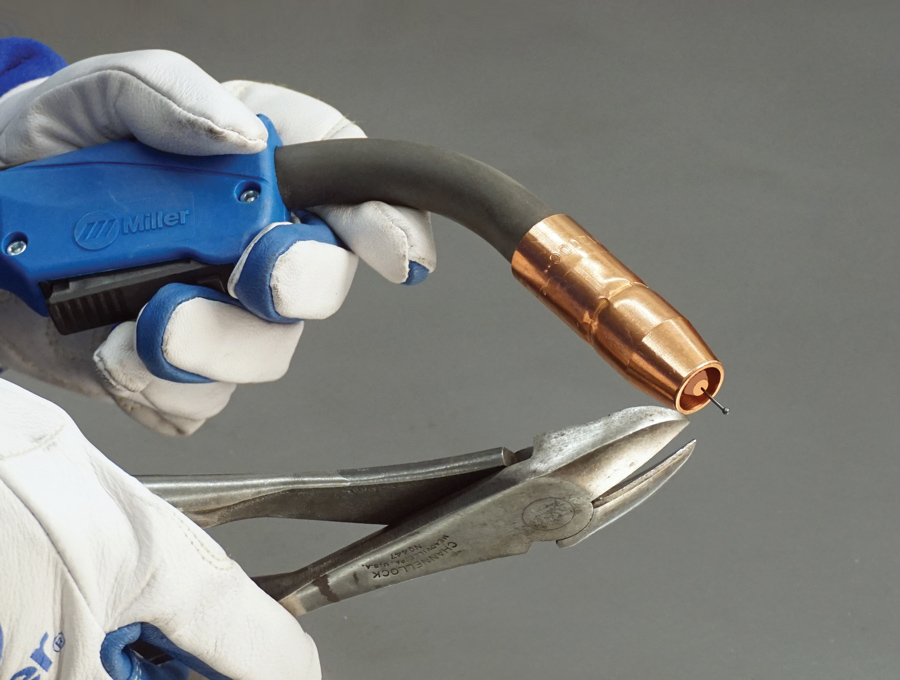
Let’s start with one of the most basic considerations: how close you hold the gun to the work. For most automotive work, the gap between the tip of the gun and the metal being welded should be around 3/8 inch. If you get much closer, you are very likely to cause the hot end of the filler wire to fuse to the contact tip inside the gun nozzle, which will instantly stop the weld and most likely damage the contact tip.
Holding the gun too far away from the work reduces the coverage of the shielding gas and it lowers the heat going into the weld. Both can degrade the weld’s penetration and mechanical properties.
The gun distance is often referred to as “stickout,” referring to the length of the filler wire that bridges the gap between the contact tip inside the gun nozzle and the metal being welded. Again, 3/8 inch is a good place to start, but as you develop your own style you will find what works best for you.
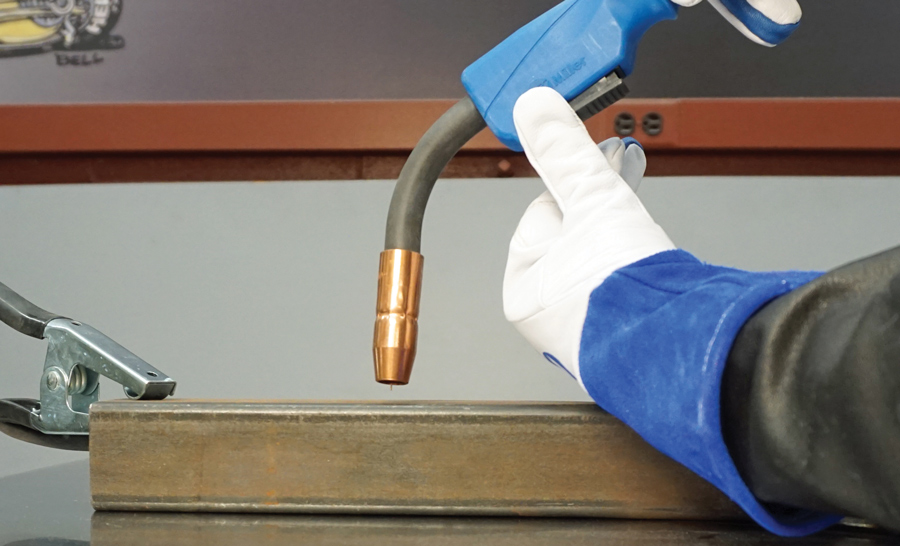
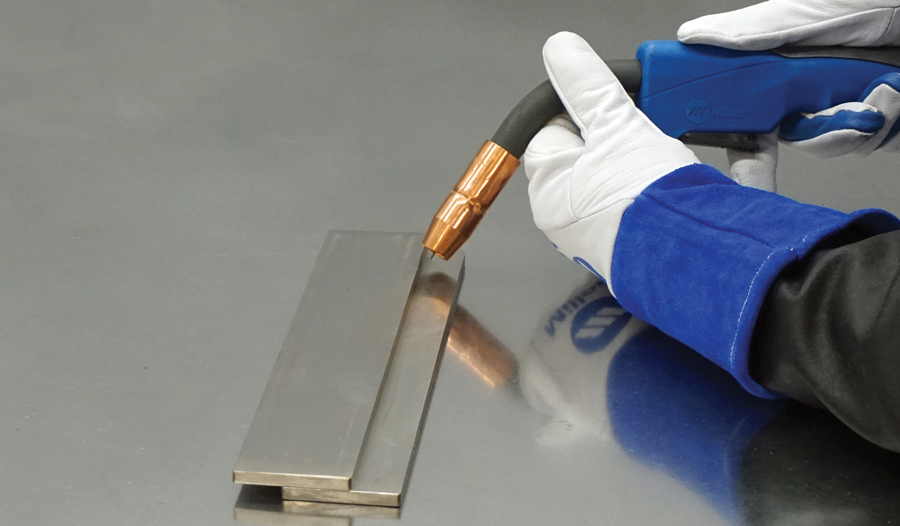
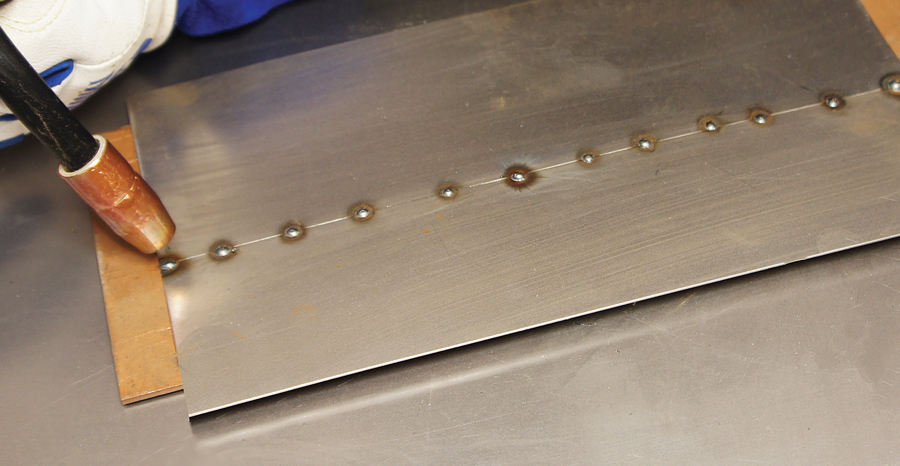
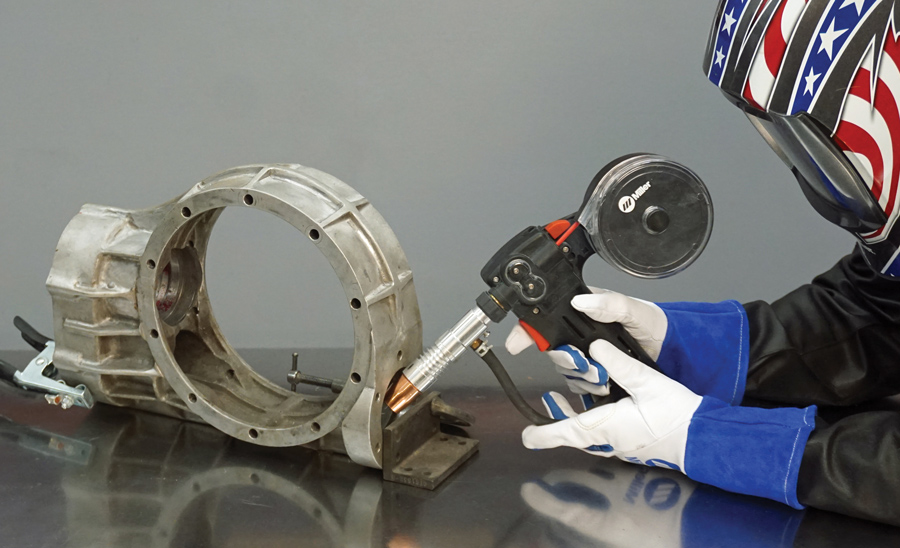
The angle between the gun and the work is very important, too. For a butt weld, the gun should be held at 90 degrees from the work when viewed from the end of the joint. In most cases you should angle the gun about 5 to 15 degrees in the direction of movement. For example, if you are right handed you would start the weld at the right end of the joint, angle the nose of the gun slightly toward your left, and move the gun to the left as the weld is made.
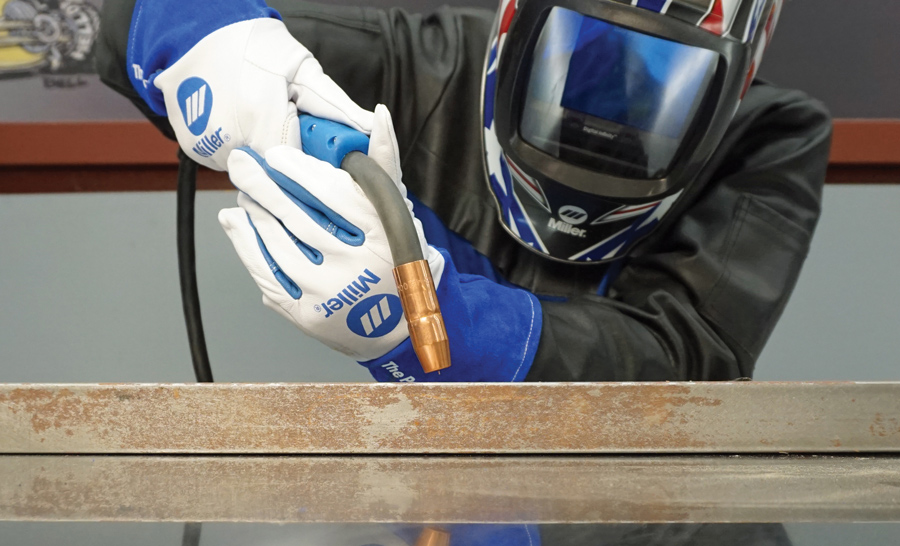
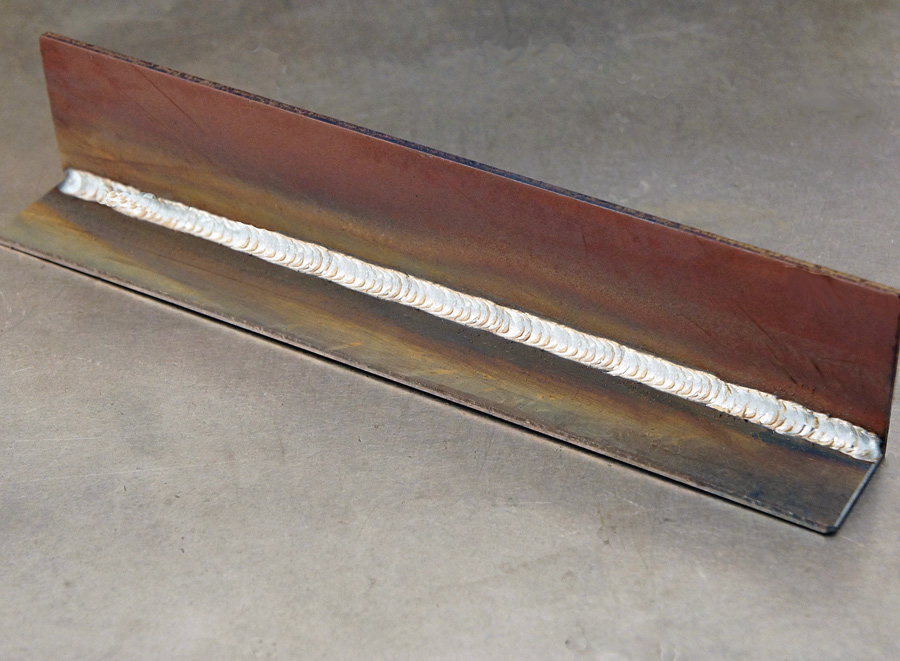
It takes some time to master the best gun angles and the proper travel speed to get a nicely formed weld bead with good penetration. It’s best practice to use both hands on the gun, which gives you better control and makes it easier to maintain the ideal stickout. The smoother and more consistent you are with your movements, the better your welds will be.


VOLUME 3 • ISSUE 21 • 2022