
Modern Rodding TECH
InTheGarageMedia.com
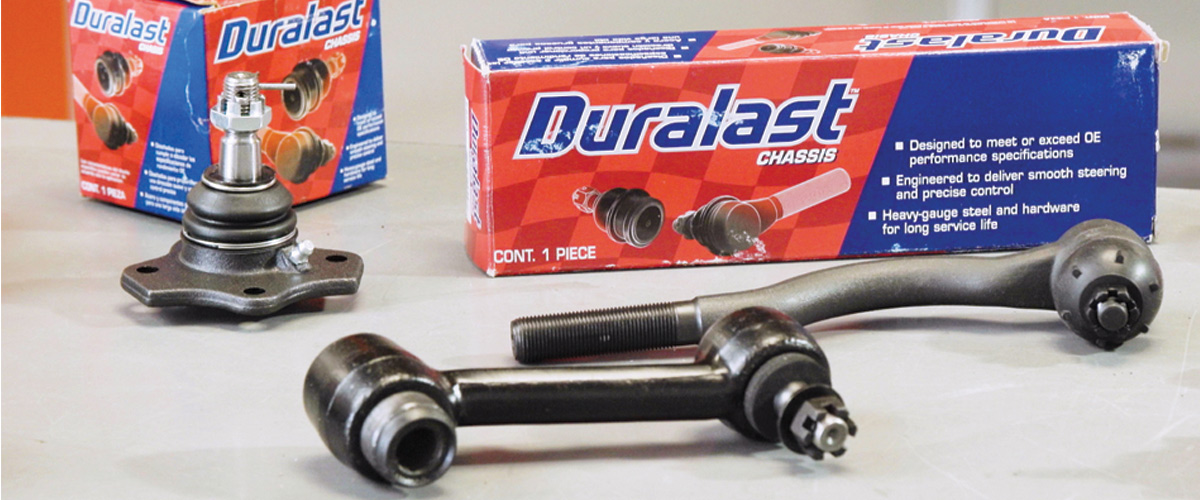
1. This 1965 Mustang 2+2 was in good overall condition, but its road manners were less than stellar due to worn chassis components. Jason Scudellari gets ready to remedy its shortcomings with a work bench full of Duralast parts.
By MR Staff Photography by Brian Brennan Videography by Ryan Foss Productions
Pony Ride
Making a Garage-Bound Mustang Road Ready
S

ince Henry Ford founded the company bearing his name in 1903, the Ford Motor Company has produced a variety of beloved cars. The Model T put America on wheels, the Model A and the early V-8s were hot rodders’ favorites, but arguably one of the company’s most noteworthy accomplishments was the introduction of the Mustang, the car that started the ponycar revolution.

When the late Lee Iacocca was vice president and general manager of Ford he and his team pushed for a car that would be popular with the youth market, and the Mustang came to be. Ford introduced the Mustang at the World’s Fair on April 17, 1964, and although those early cars are often referred to as 1964-1/2 models, the factory VIN codes indicate they are 1965s. Initially the available body styles were a two-door hardtop and convertible, then in September 1964 the Ford 2+2 fastback was introduced. To say the new Mustang was an instant success is an understatement, as over 121,000 were sold by year’s end. The Mustang’s same basic design continued through the 1966 model year.

The front suspension utilized coil springs and shocks mounted above the upper A-frame–style control arms, while the lower control arms were located by strut rods attached to the front crossmember. In the rear, parallel semi-elliptic springs and tube shocks were used. While not a particularly inspired design, the Mustang’s suspension was simple—but even simple things don’t last forever. A case in point is the suspension under the 1965 Mustang 2+2 shown here. This particular car had spun the odometer more than a few clicks. It was then parked for an extended length of time. Like most hot rodders the owner’s first instinct once it was out of hibernation was to tear the car apart and start from the ground up, but thankfully sanity prevailed. A much more rational approach was to replace the suspension components that were worn and get the Mustang fastback on the road where it could be enjoyed, then make improvements and modifications as time allowed.

With the Modern Rodding project Mustang up on a hoist at the In The Garage Media Tech Center, Jason Scudellari determined what components required replacement. It was no surprise that the front suspension bushings, ball joints, tie rod ends, and shock absorbers had all outlived their usefulness.

All those worn components resulted in a car that wandered all over the road and was a handful to drive. In addition Scudellari found the front brake pads were worn and the engine and transmission mounts had deteriorated, causing an annoying vibration. Fortunately everything needed to make the necessary repairs was readily available from Duralast. These new brake pads (Duralast PN D11) will not only make the Mustang safe to drive they will restore the ride and handling characteristics to like-new condition.

Duralast began in 1986 offering starters and alternators. Today it’s one of the leading aftermarket brands, providing parts in over 20 different categories. Unlike many over-the-counter replacement brands, Duralast parts are designed and tested to ensure they meet or exceed OE performance and all parts are warrantied. Duralast’s vast array of parts for your project can be found at DuralastParts.com.
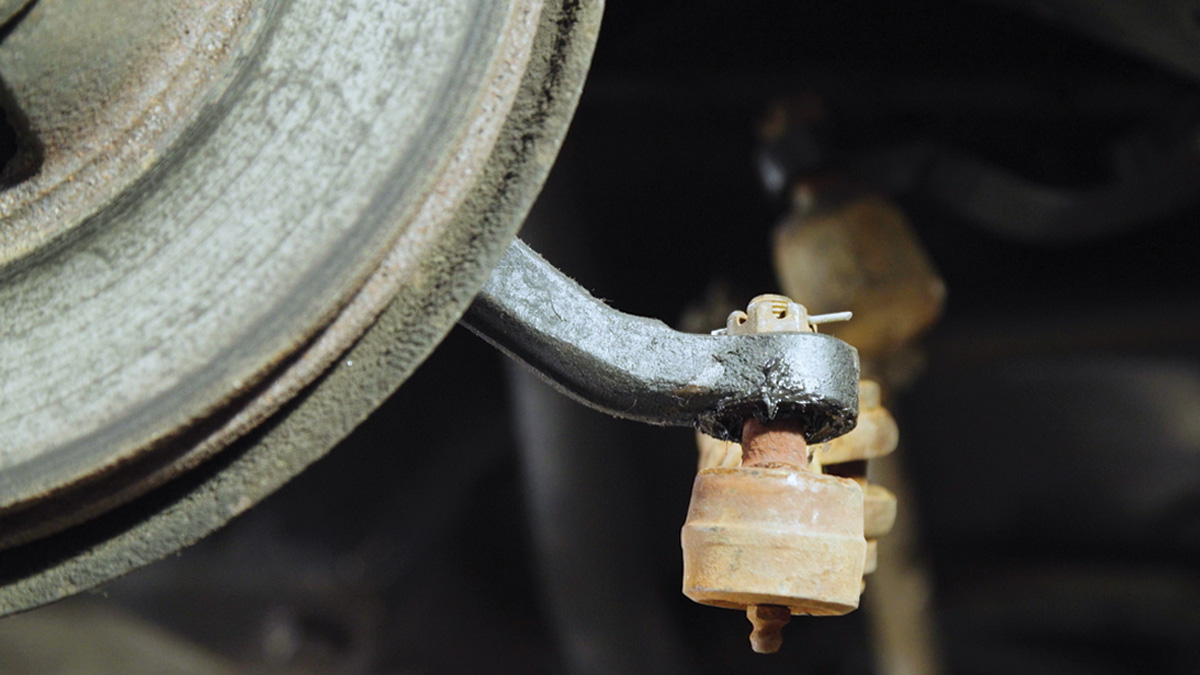
close view of rod end missing rubber boot
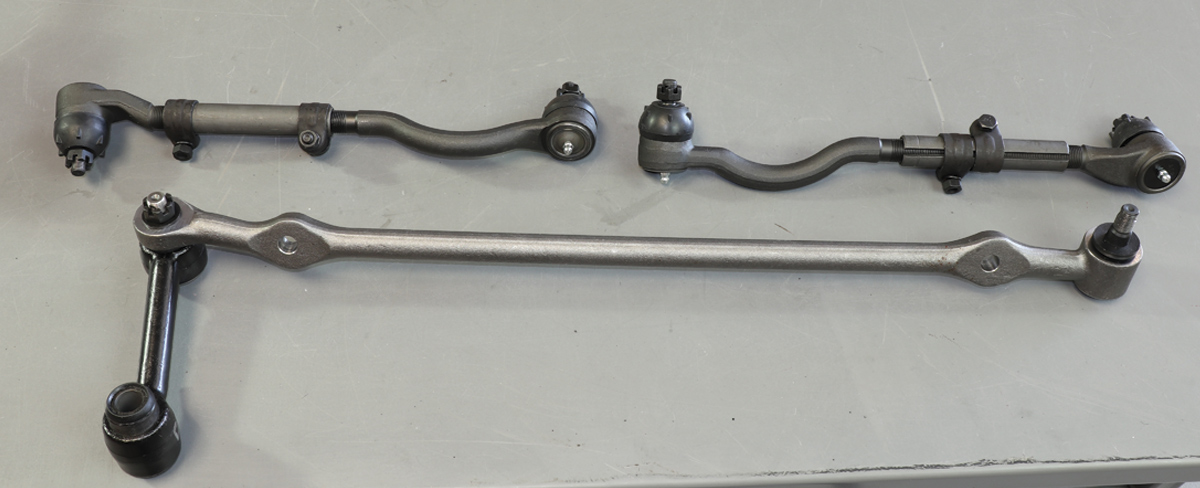
2. The protective rubber boot had been missing off this rod end for who knows how long. It was rusty and the other three were worn out. The outer replacements are Duralast PN ES713, the inners are PN ES714.
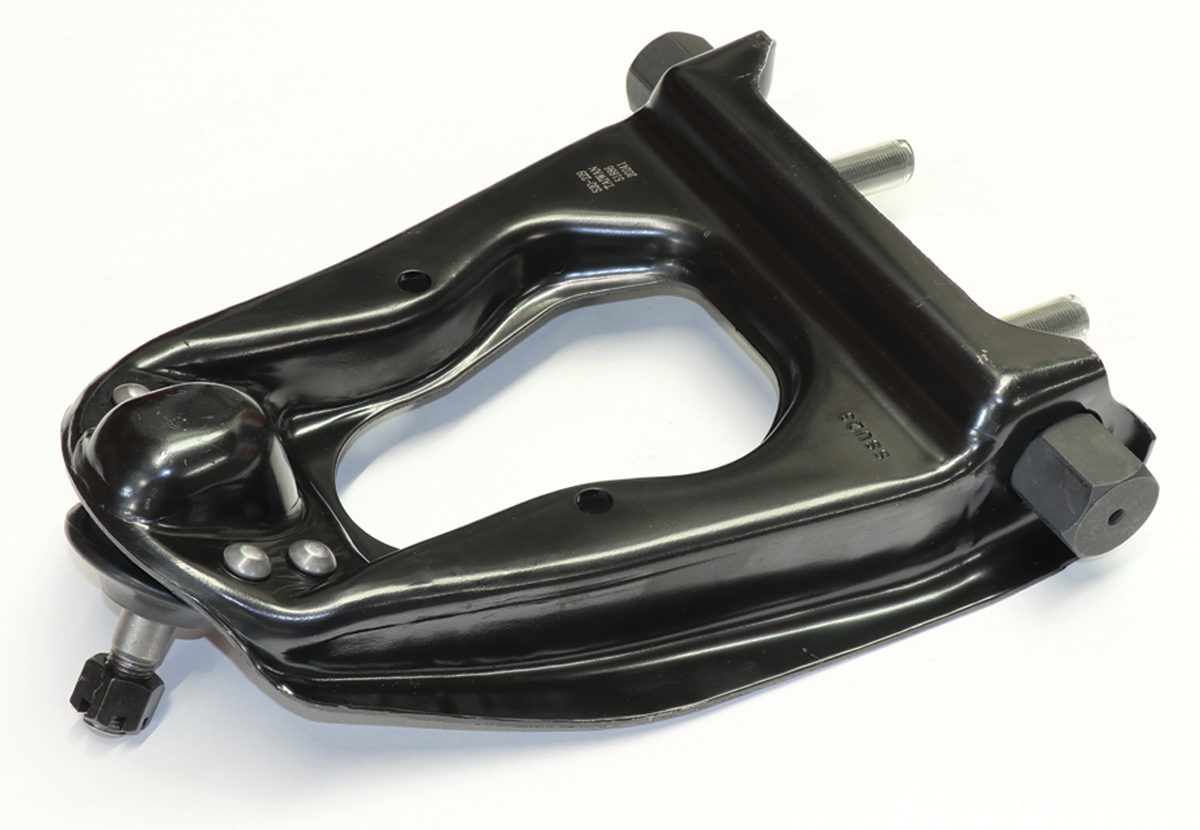
PN 520-229
3. Rather than replace individual parts, Scudellari ordered new upper control arms, Duralast PN 520-229. They come complete with new ball joints, bushings, and inner cross shafts and cost little more than the individual parts to refurbish the original control arms.
close view of coil spring saddle
4. This is the coil spring saddle that bolts to the upper control arm. It supports the bottom of the coil spring and the shock attaches to it.
view of coil spring saddle installed
5. The coil spring saddle is a small but critical part. As the suspension moves up and down it pivots to keep the spring and shock aligned. Worn saddles will make noise and make the springs and shocks less effective.
PN CA6234
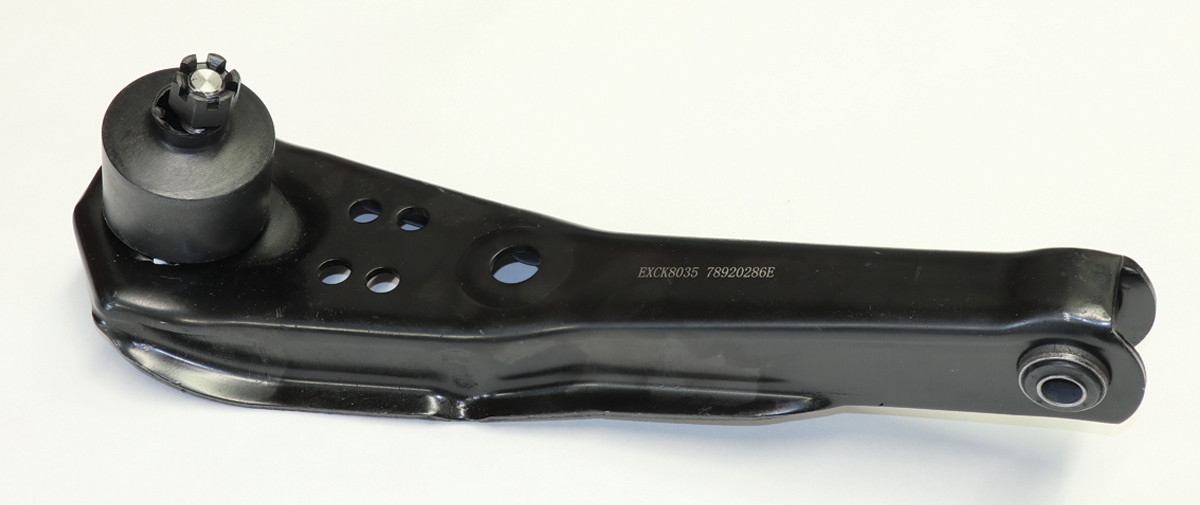
6. To save time and labor Scudellari ordered new lower control arms, Duralast PN CA6234. Like the upper control arms, they came with the ball joints and inner bushings installed.
view of new Duralast arm control installed
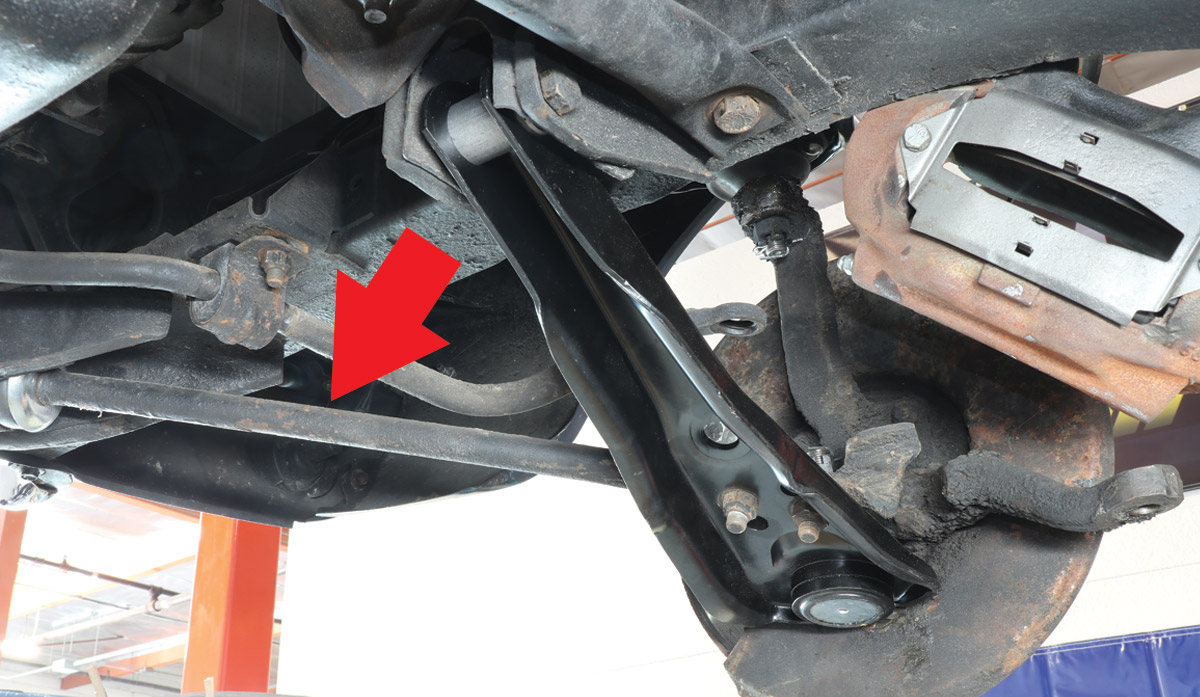
7. Worn inner bushings and lower ball joints contributed to the Mustang’s poor road manners. The new Duralast control arm cures all that. Since there is only one attachment point on the inner end, a strut rod (arrow) to limit fore and aft movement is used.
view of strud rod on vehicle
8. The strut rod (also called a reaction rod) locates the lower control rod when driving and braking. Worn bushings allow the control arm to move in operation. The new Duralast OE replacements are PN FA938.
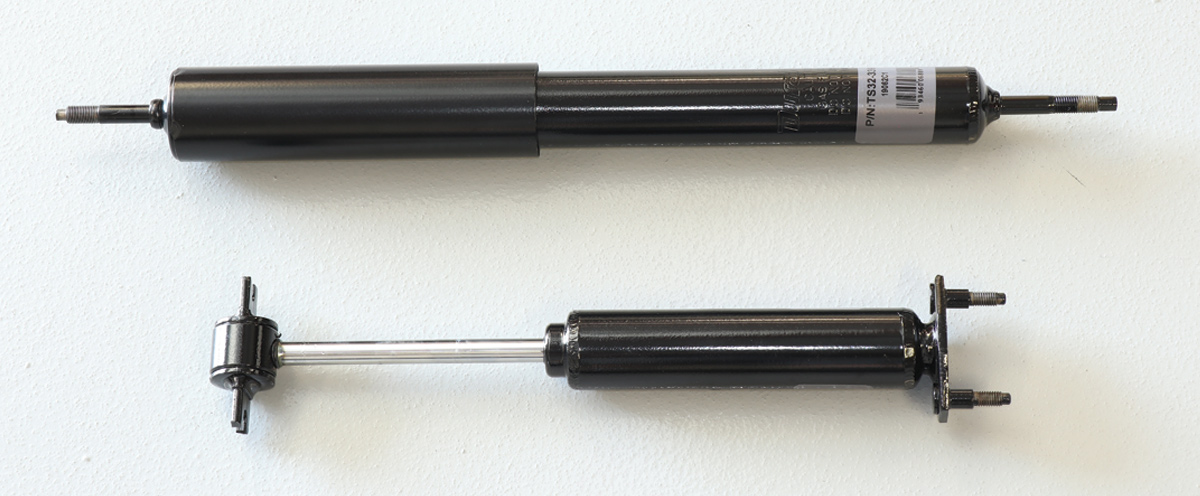
Duralast TwinTube shock absorbers, PNs TS32-33922B (top) and TS33-33931B (bottom)
9. New shocks can make a dramatic difference in a car’s ride and handling qualities. Duralast TwinTube shock absorbers are PNs TS32-33922B (top) and TS33-33931B (bottom). As the name implies, they have one tube with hydraulic fluid and another with gas for improved performance over OE designs.
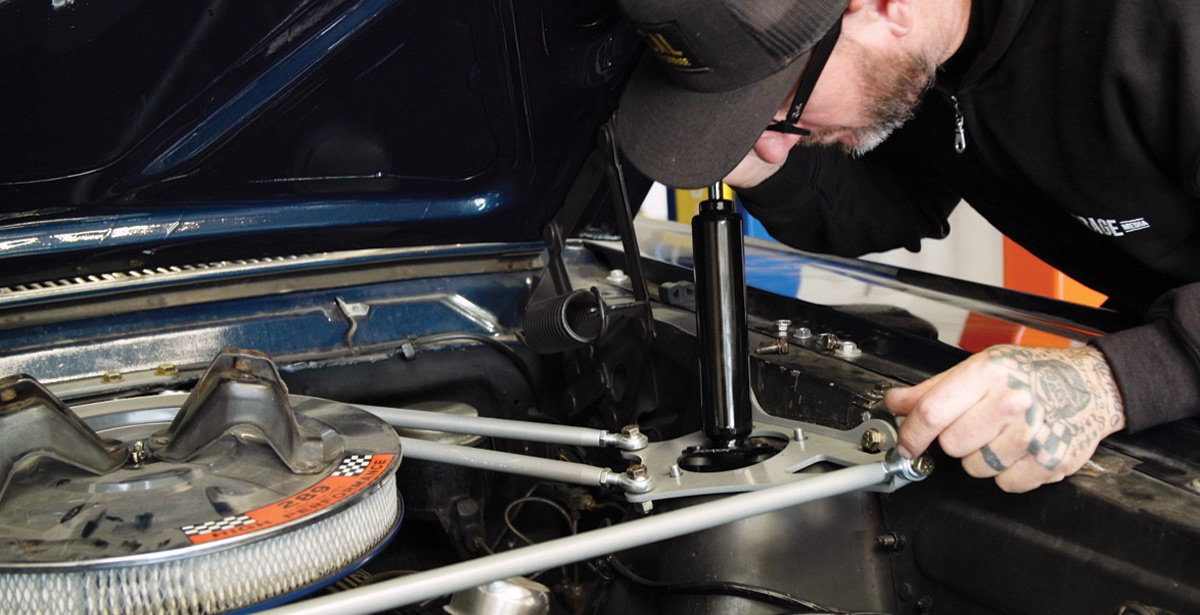
mechanic installs the front shocks
10. The front shocks are installed from the top of the spring towers. The Mustang had previously been equipped with spring tower reinforcements that run back to the firewall and from side to side.
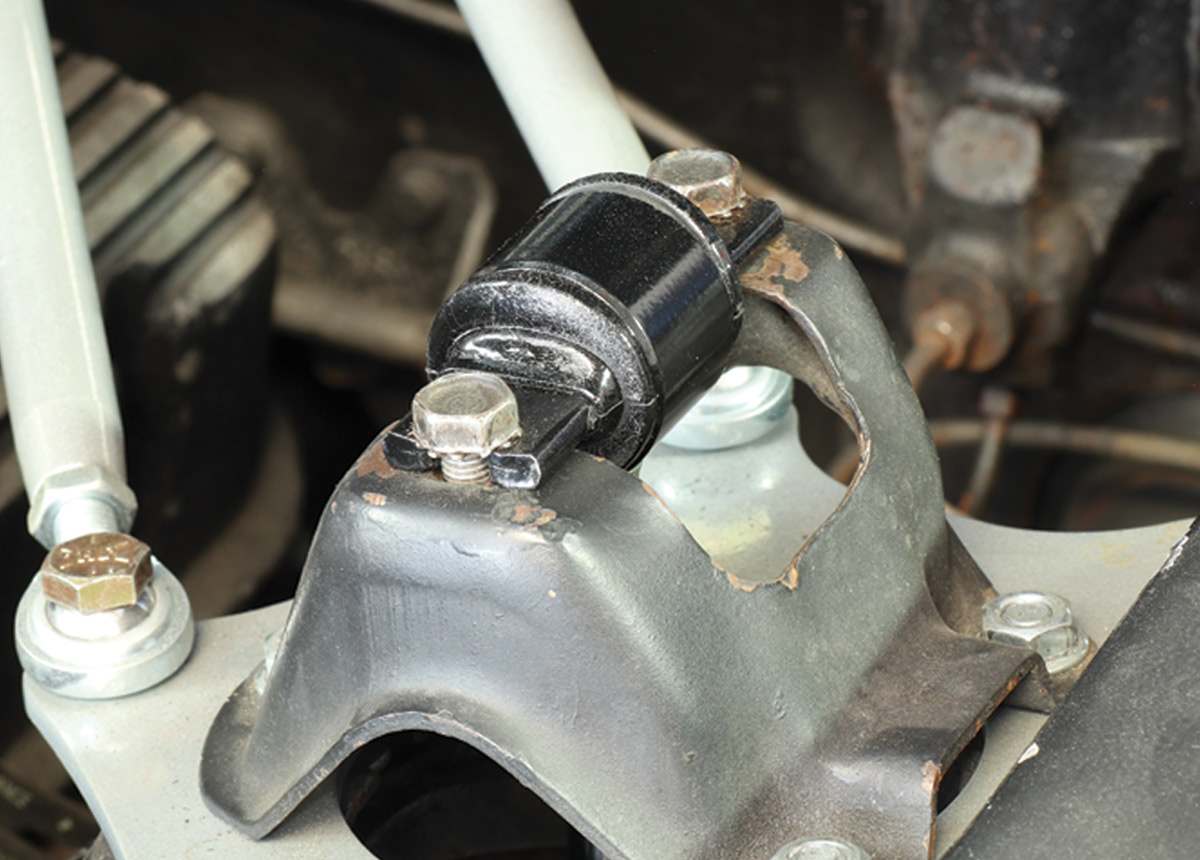
the tops of the front shocks are secured to the chassis
11. The tops of the front shocks are secured to the chassis with the factory brackets. Three bolts secure them to the spring towers.
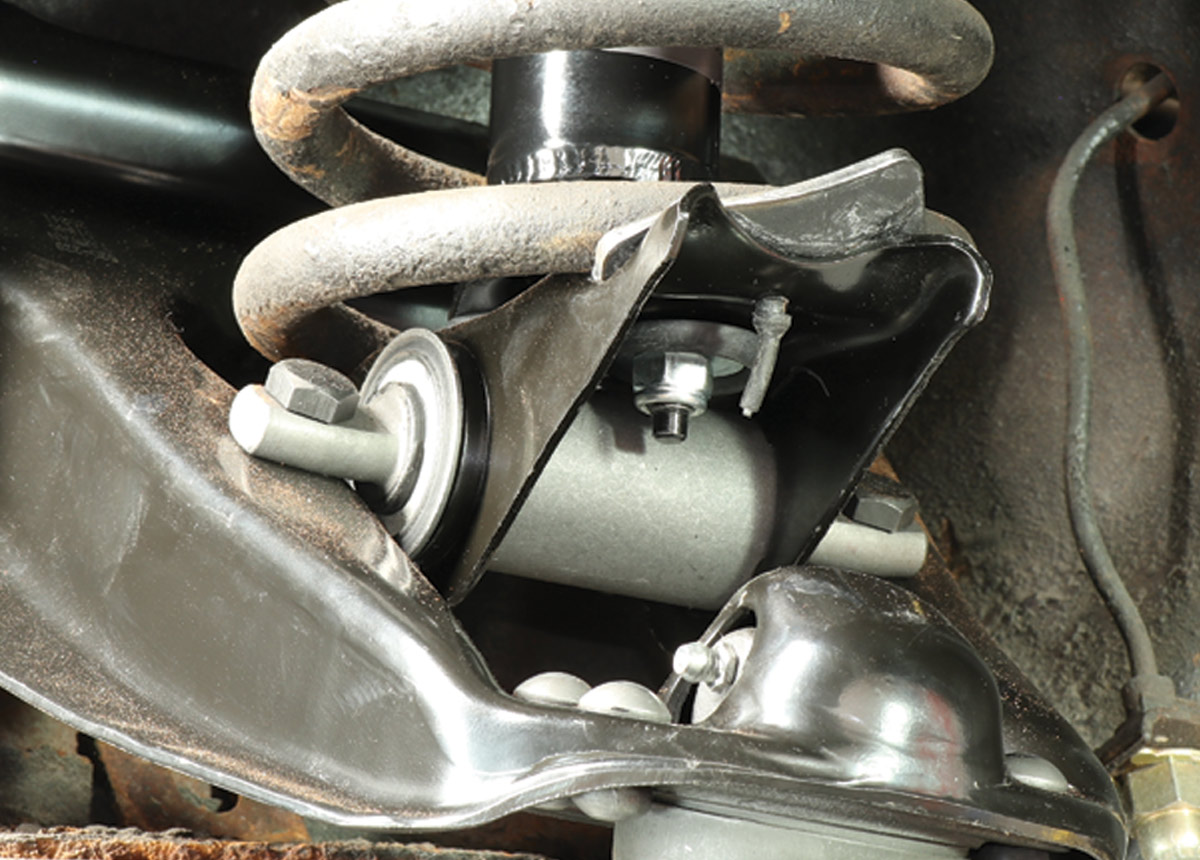
view of the bottom of the installed shocks
12. The bottom of the shocks also attach to the spring saddles. Note the lube fitting for the upper ball joint is accessed through a hole in the upper control arm.
Duralast idler arms right out the box
13. Idler arms and inner tie rod ends are susceptible to wear, which will often cause the steering to be imprecise, causing the car to wander side to side, so we wanted to get something that has been tested to hold up just as good, if not stronger, than OE and went with Duralast idler arms.
inner and outer tie rod ends were replaced with Duralast units (PNs ES713 and ES714)
14. To make the steering as responsive as it once was, the inner and outer tie rod ends were replaced with Duralast units (PNs ES713 and ES714), along with the idler arm (Duralast PN K8106) and the centerlink. Centerlinks are different for six-cylinder cars, V-8s, and V-8s with power steering.
view of centerlink on vehicle
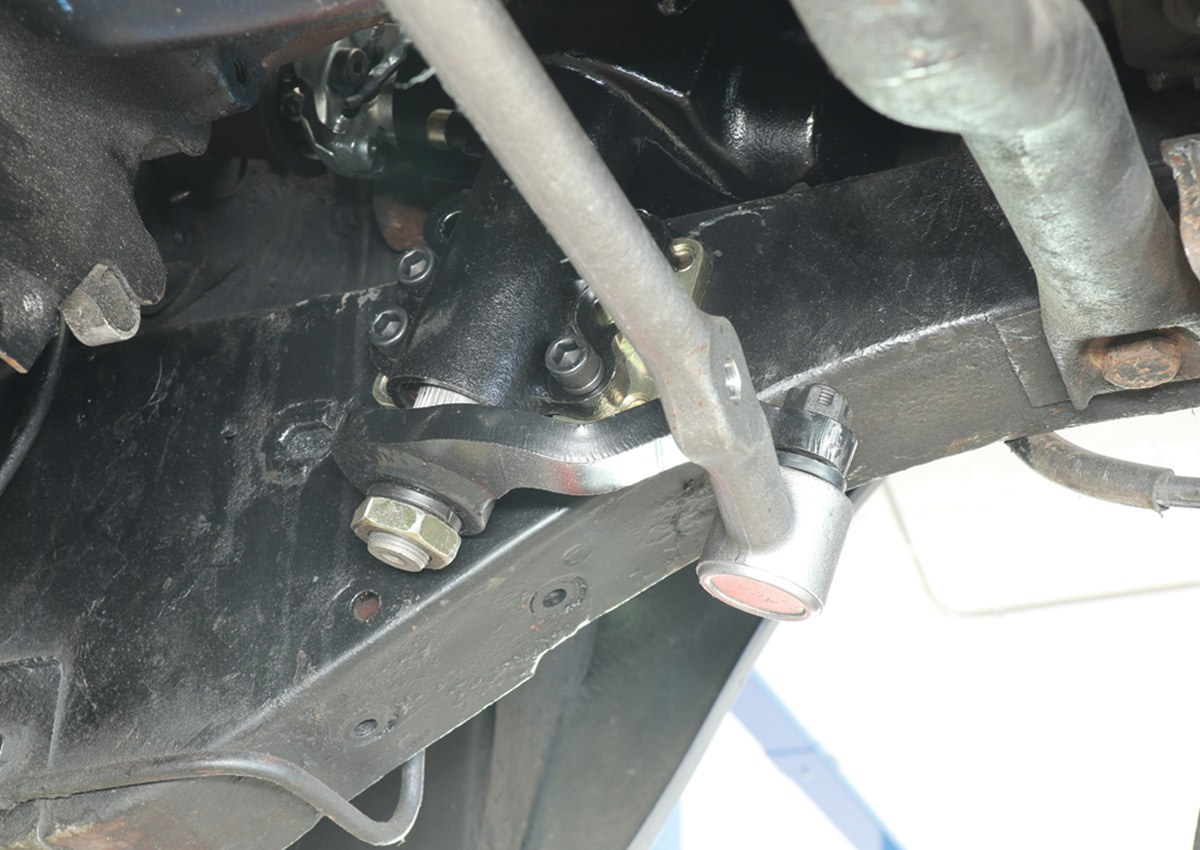
15. The entire centerlink is replaced as it has a built-in tie rod end where it connects to the steering gear. This car has been updated in the past with an integral power steering box.
view of centerlink, idler arm and tie rods installed
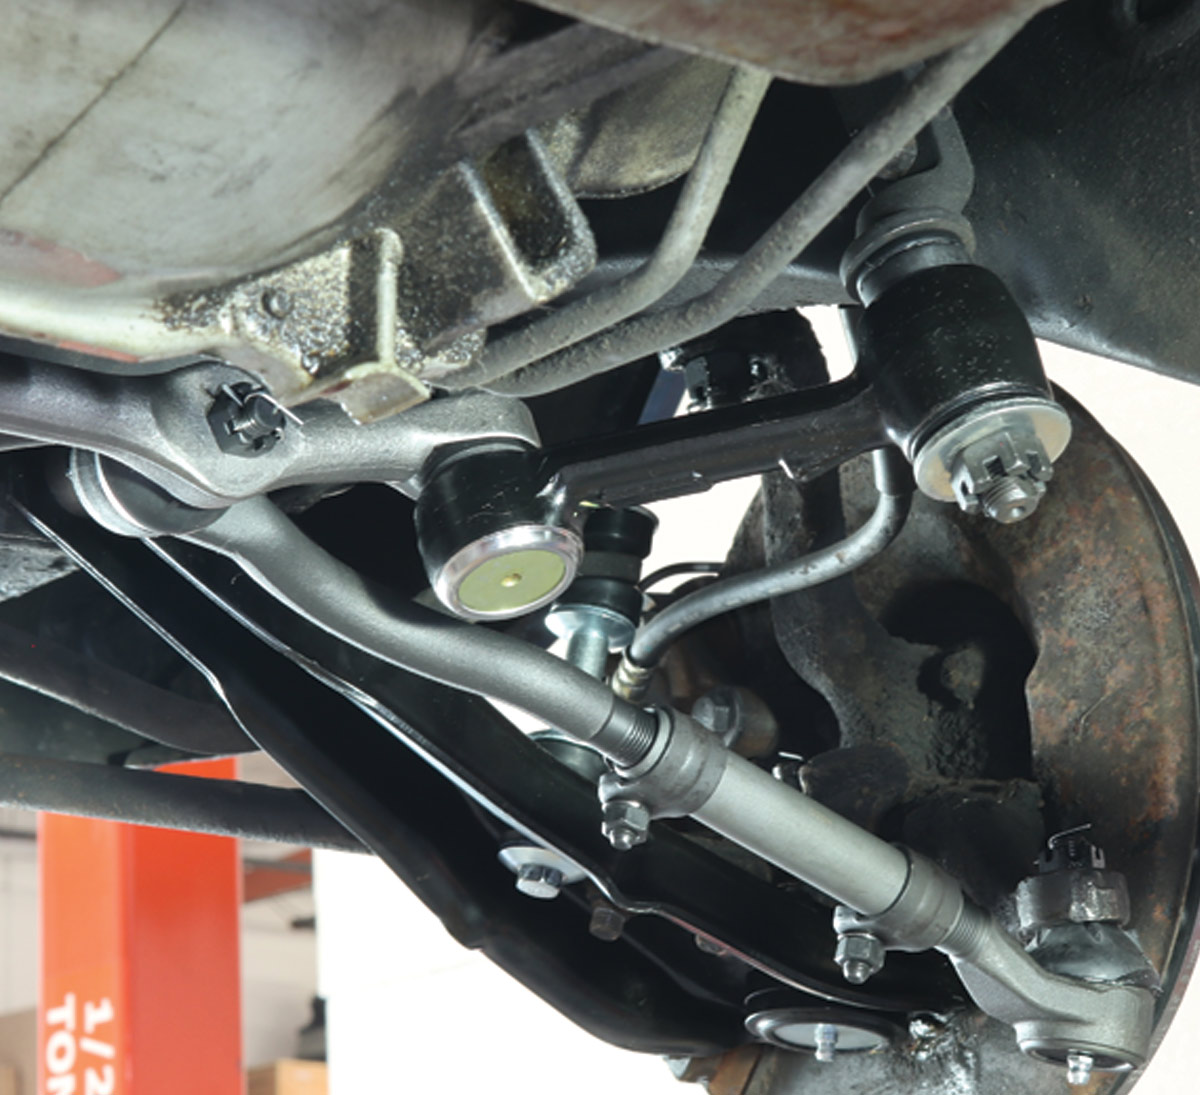
16. Here the centerlink, idler arm, and tie rod ends have been installed. The threaded collar on the tie rod ends with two clamps is how the front end alignment (toe in or out) is adjusted.
view of antiroll bar endlink bushings
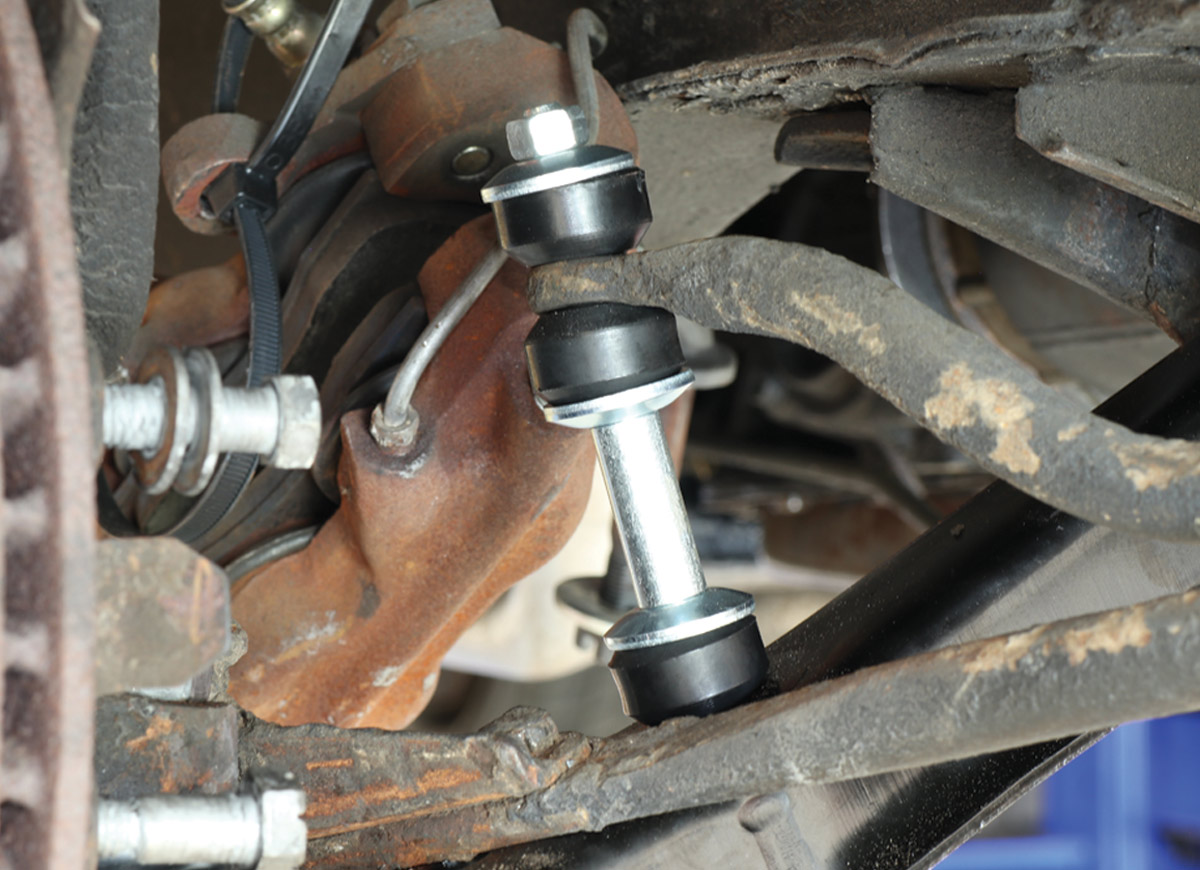
17. The original antiroll bar endlink bushings were destroyed, as a result there was a considerable amount of slack between the lower control arm and the bar. That condition makes the bar less effective and is often the source of hard-to-find rattles. New endlinks restored proper operation.
view of new shock installed at vehicle rear
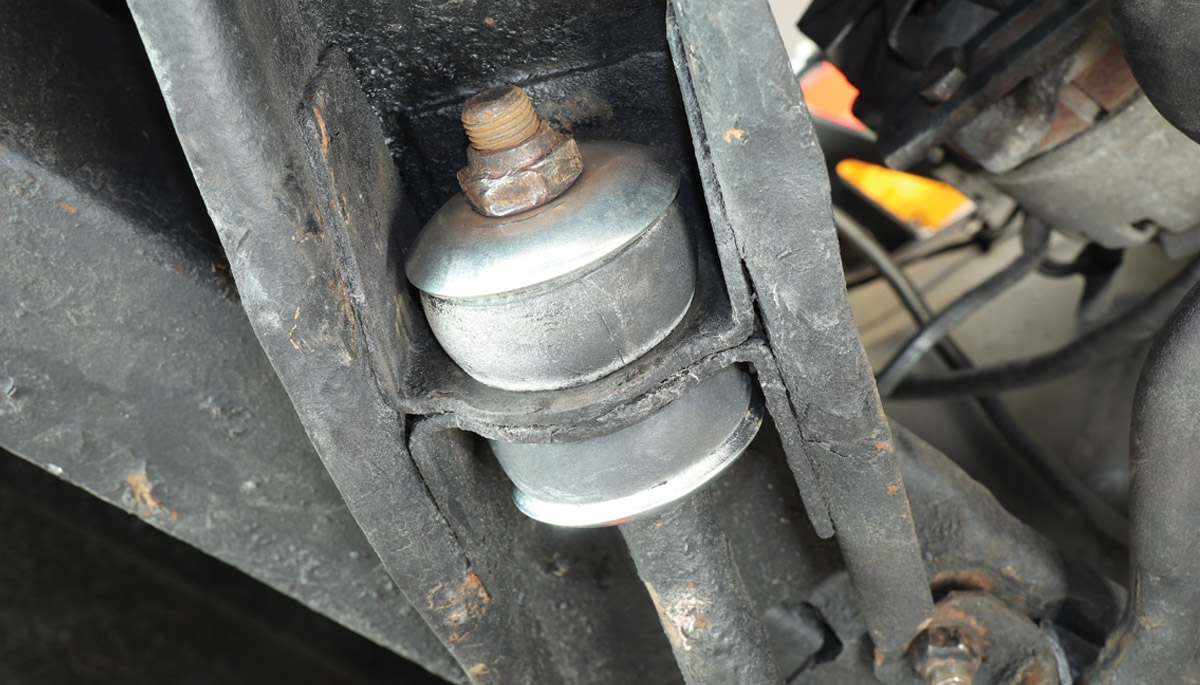
18. New Duralast shocks were installed in the rear. The nuts on the mounting studs are tightened until the rubber bushings are compressed to the point they are the same diameter as the washers.
Duralast PN 5406
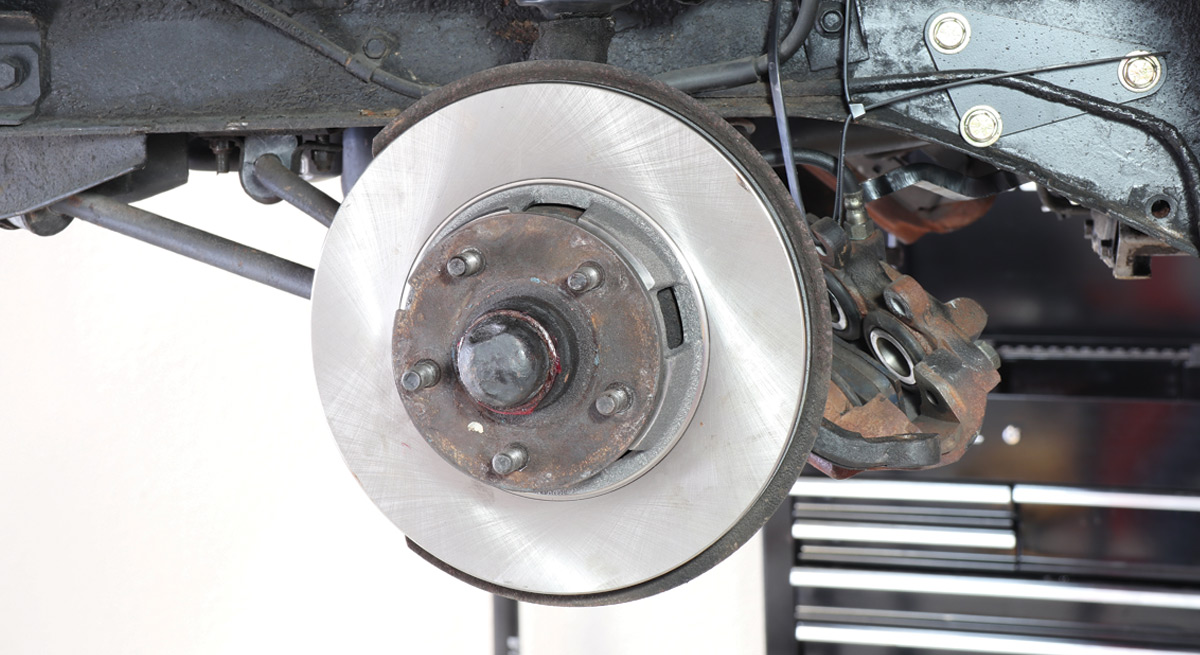
19. Rather than have the original rotors turned on a brake lathe, which thins the braking surfaces, Scudellari opted to install a new pair; Duralast PN 5406 works on both sides.
view of original rotors with hubs removed
20. After pressing out the studs, the hubs were removed from the original rotors. The hubs are then installed in the new rotors and the studs pressed back in place. This is a good opportunity to install new studs.
new Duralast brake pads (PN D11)
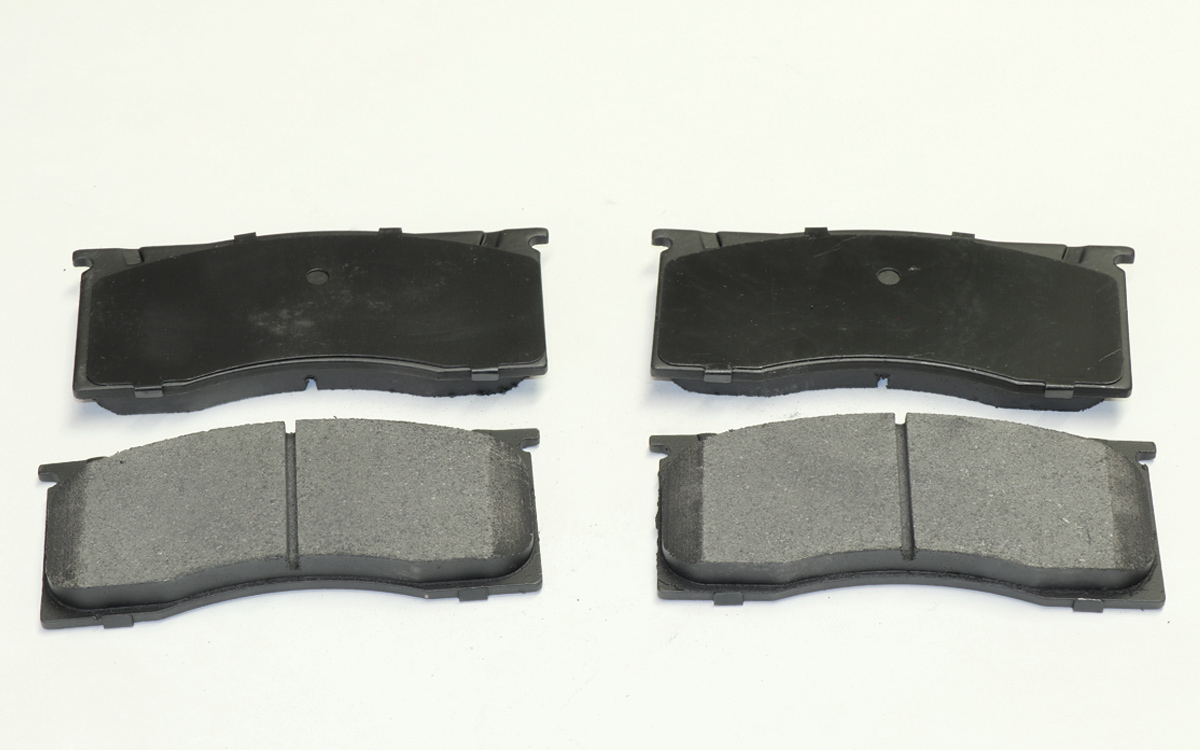
21. The new Duralast brake pads (PN D11) use ceramic material. They come with noise-reducing shims with OE-style slots and chamfers.
view of calipers
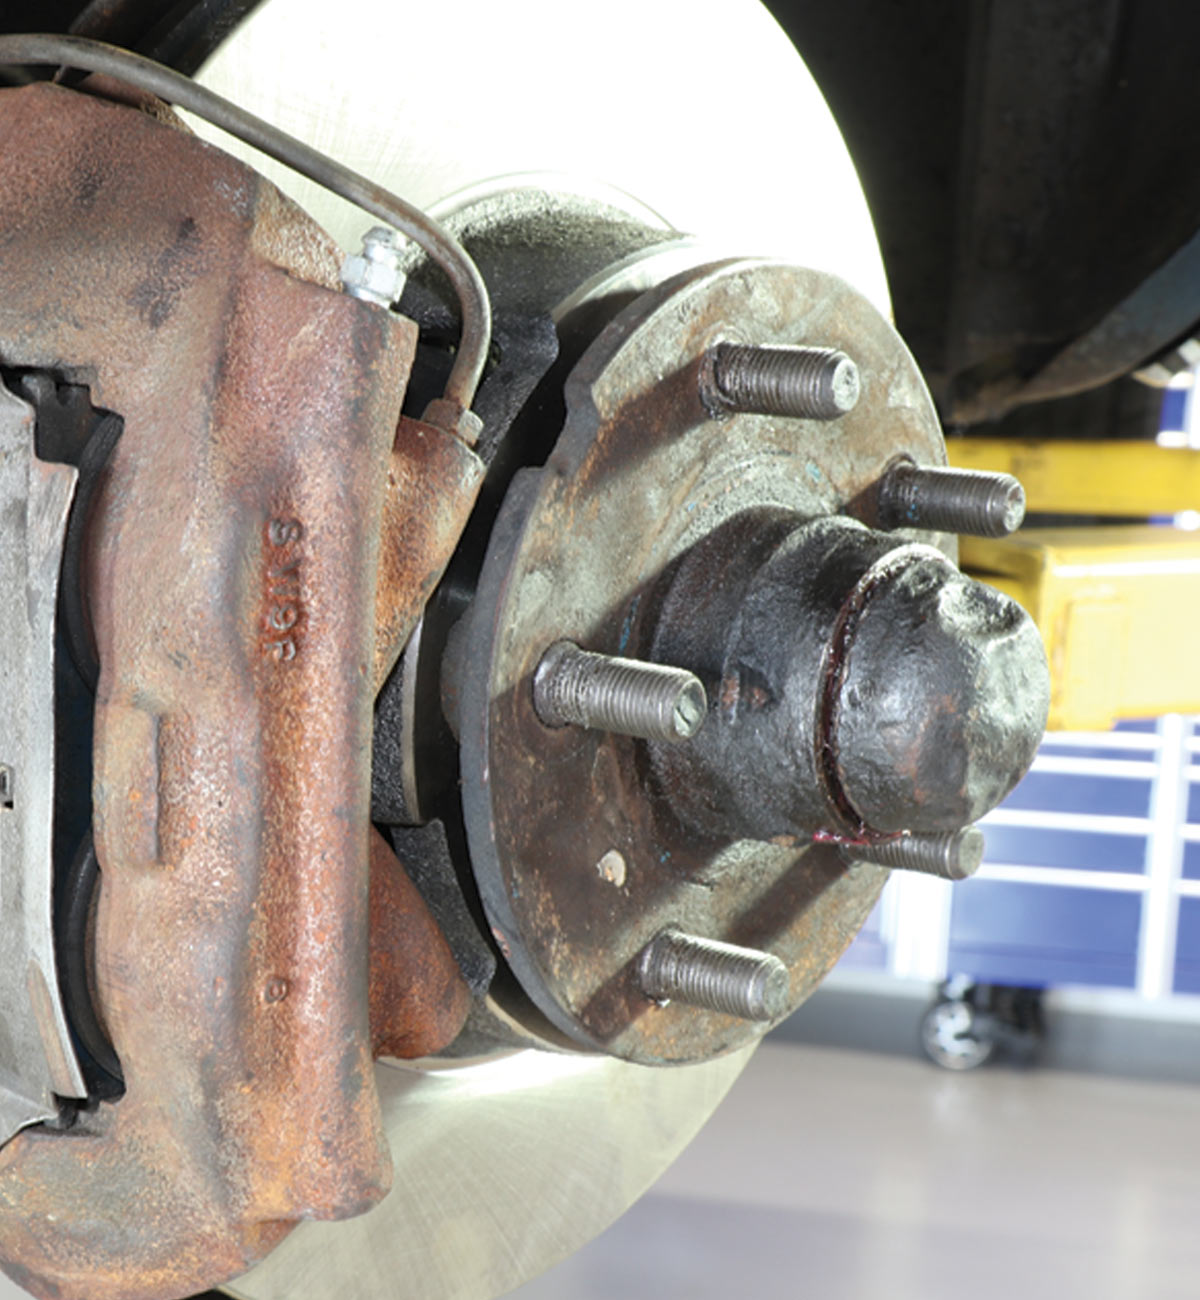
22. If the calipers are removed they must be installed with the bleeders on top. These calipers use four pistons, two on each side (the steel line delivers fluid to the outside pistons).
a new motor mount next to an old motor mount
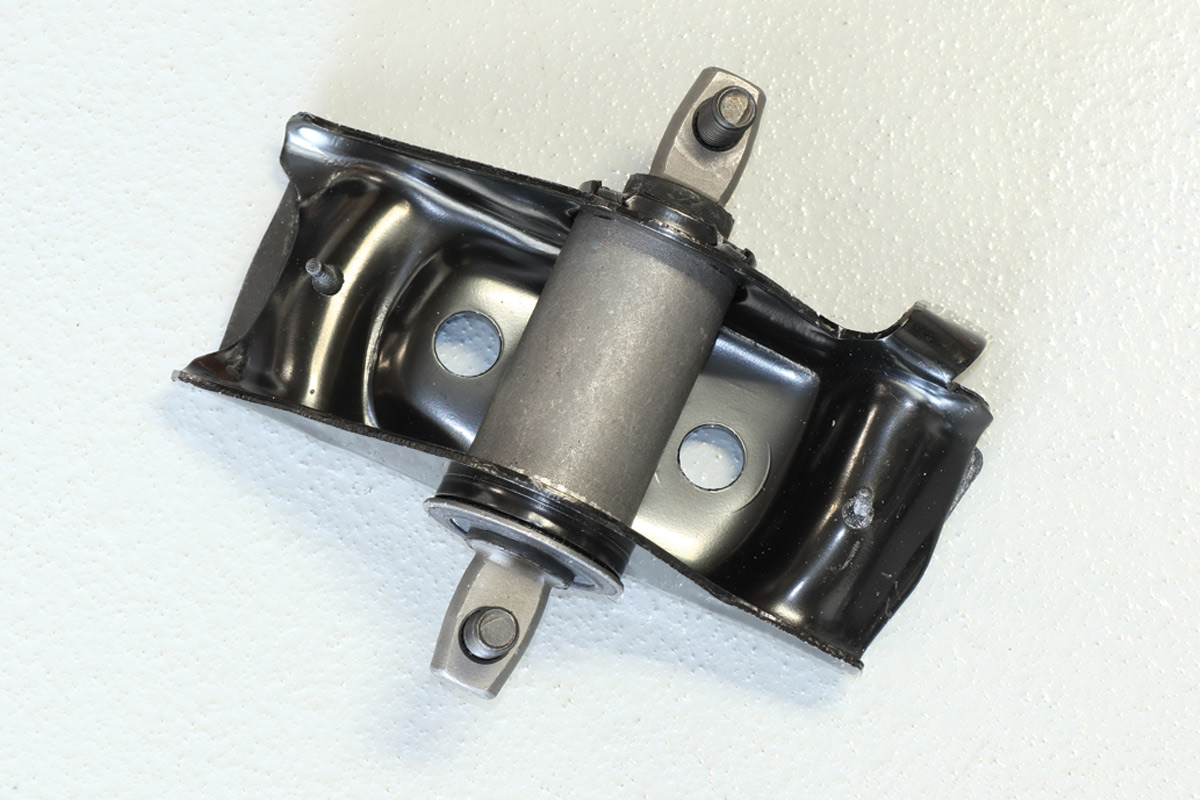
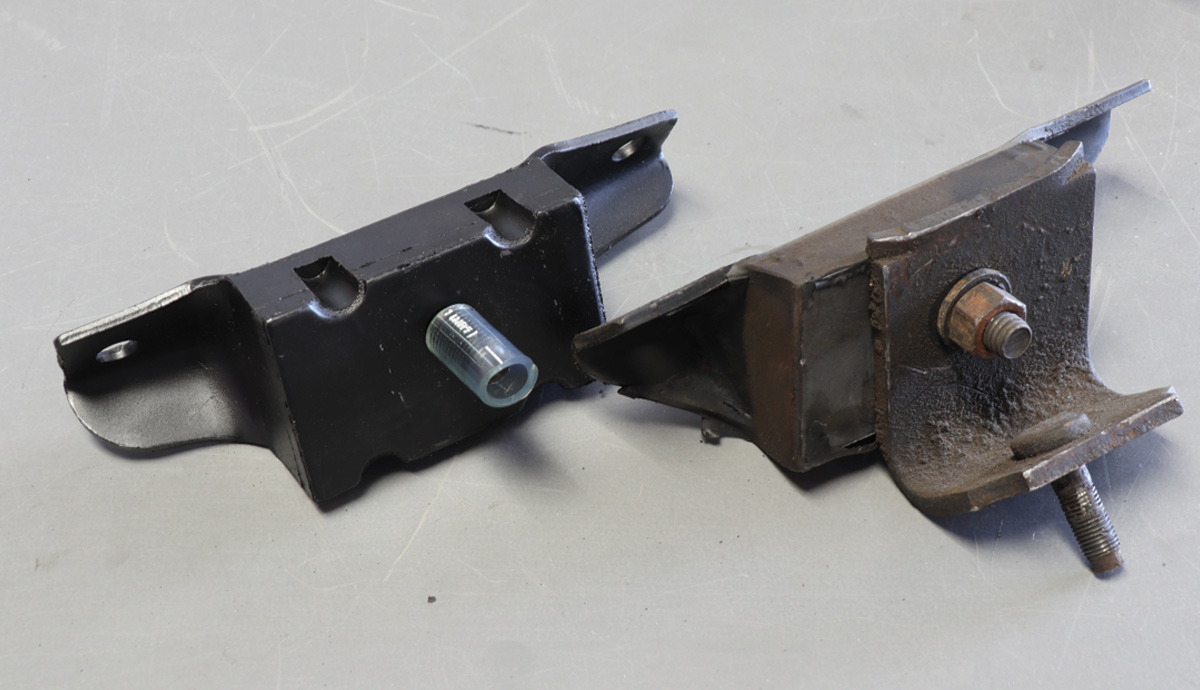
23. Old motor mounts are notorious for transferring engine vibration to the chassis (the original is on the right). Scudellari installed new Duralast mounts (PN A2221,right; PN A2202, left) after jacking up the engine and attaching the original frame adapter brackets to the new mounts.
view of transmission mount newly installed
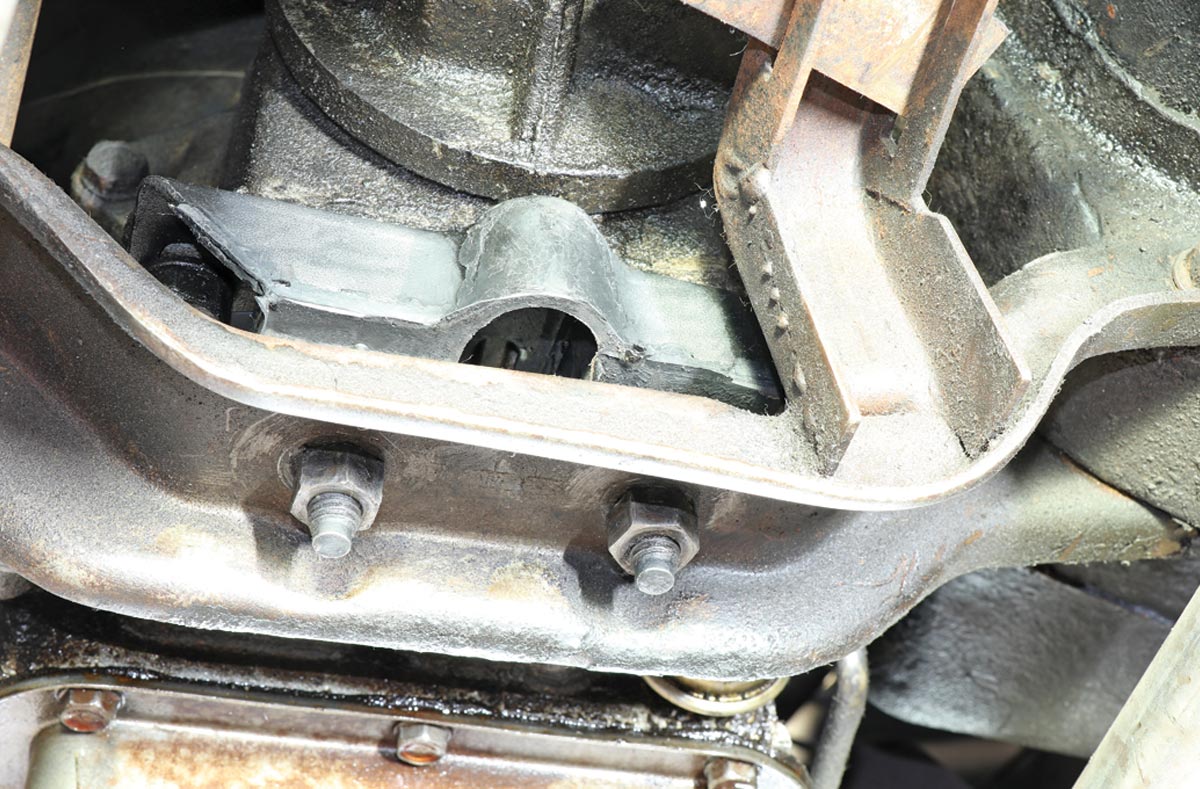
24. Installing the new Duralast transmission mount (PN A2253) is easily done by supporting the transmission and removing the fasteners that secure it to the transmission and crossmember, some of these mounts are actually enhanced over OE.
Duralast Tech Center box
 SOURCE

Duralast
(800) 288-6966
DuralastParts.com

Modern Rodding
VOLUME 2 • ISSUE 9 • 2021