Modern Rodding Tech
InTheGarageMedia.com
1965 Mustang rear quarter panel rust repair and removal
Mustang Makeover
1. Tate Radford began repairing the tail end of the Mustang by cutting away the bulk of the left quarter-panel.
1965 Mustang rear quarter panel rust repair and removal
1. Tate Radford began repairing the tail end of the Mustang by cutting away the bulk of the left quarter-panel.
Mustang Makeover

Part 4: Repairing a Ponycar’s Haunches

By Ron Ceridono Photography by Tate Radford
W

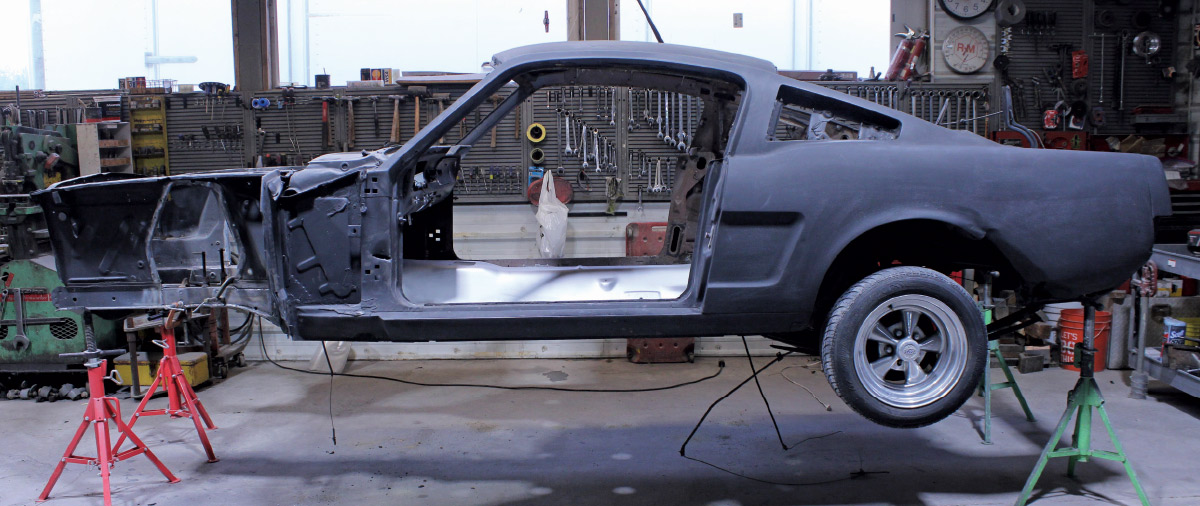
e’ve followed along as Colin and Tate Radford of Radford Auto resurrected a 1965 Ford Mustang fastback. So far, they have repaired the floor, radiator support, and passenger side front inner fender panel using Golden Star Classic Auto Parts components. This time, they focused on the rough left rear quarter-panel and the taillight panel, both of which resembled gunny sacks full of walnuts, giving them much-needed attention. Once again, we turned to Golden Star for replacement parts panels.

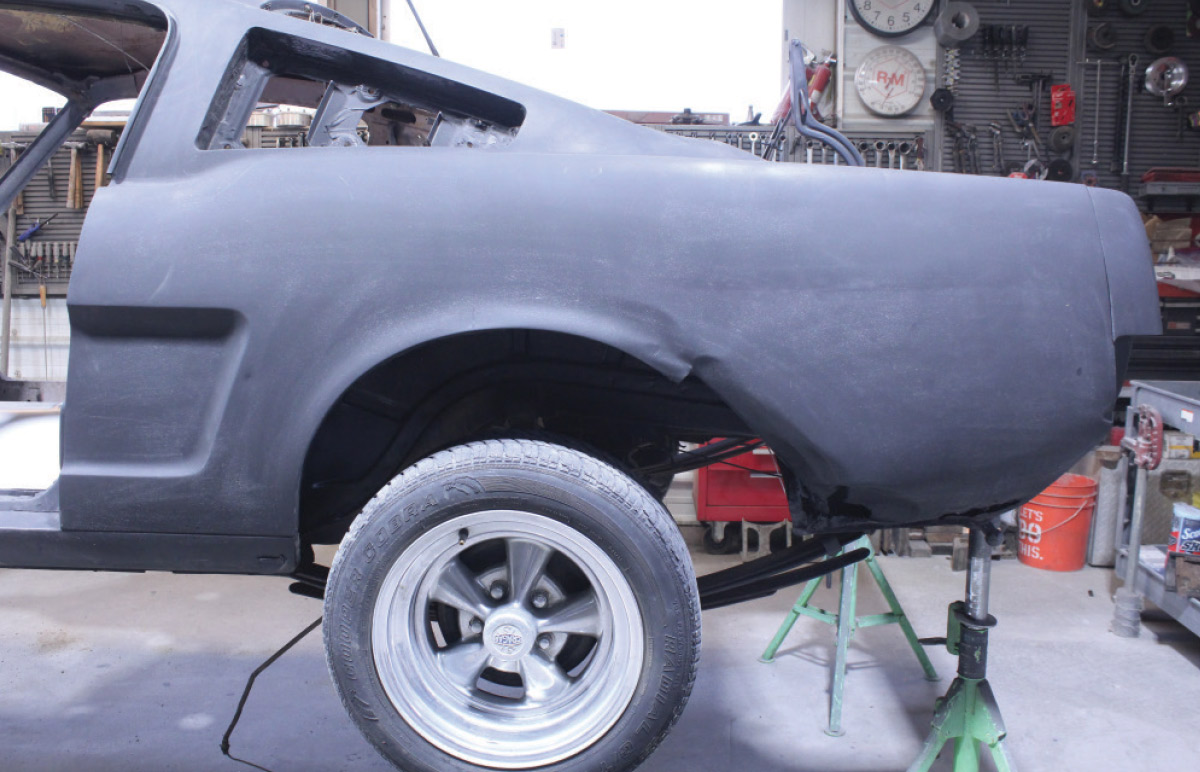
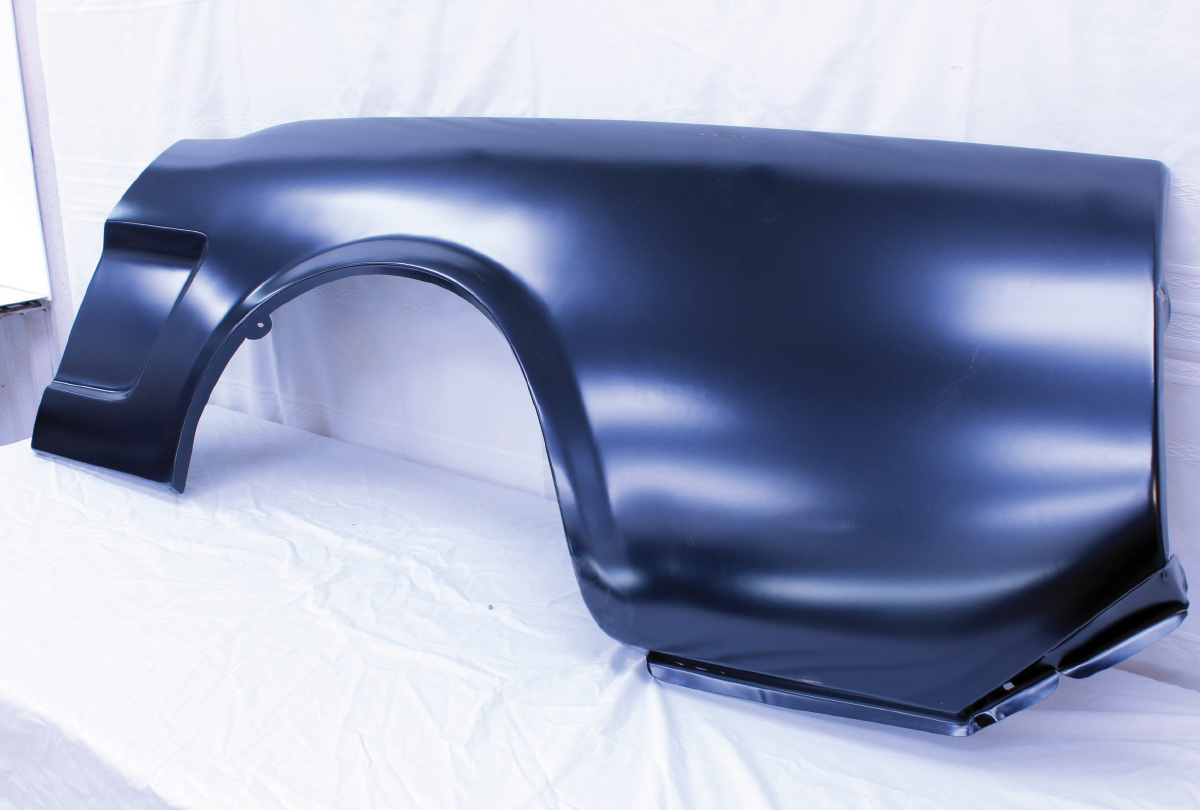
Golden Star offers replacement quarter-panels for 1964-66 Mustang coupes and convertibles. These panels extend from the B-pillar to the taillight panel and wrap over the top to the trunk lid opening. The coupe replacement panel connects to the top of the C-pillar. The third option is Golden Star’s 1964-66 quarter-panel skin, which also extends from the B-pillar to the taillight panel but only goes up to the body line at the top of the fender; this is the option used for the fastback.

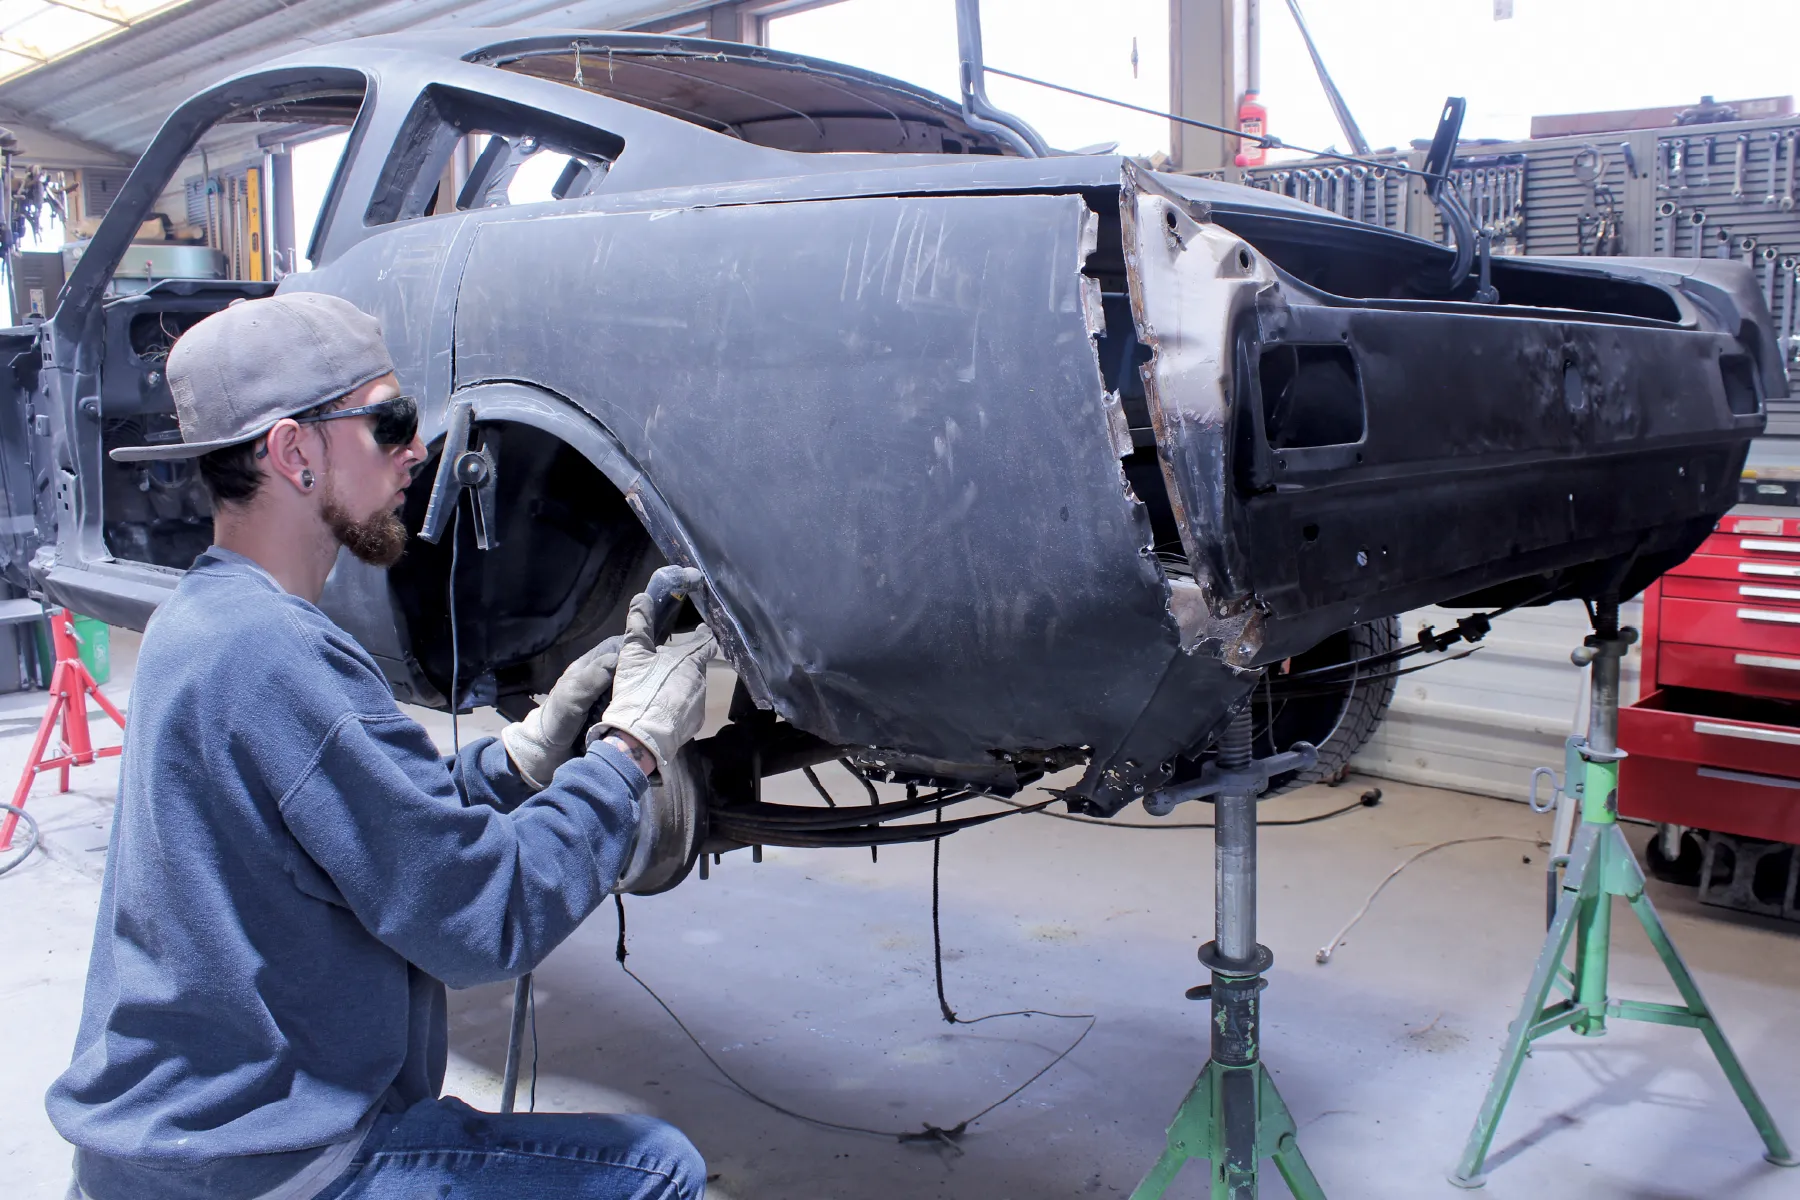
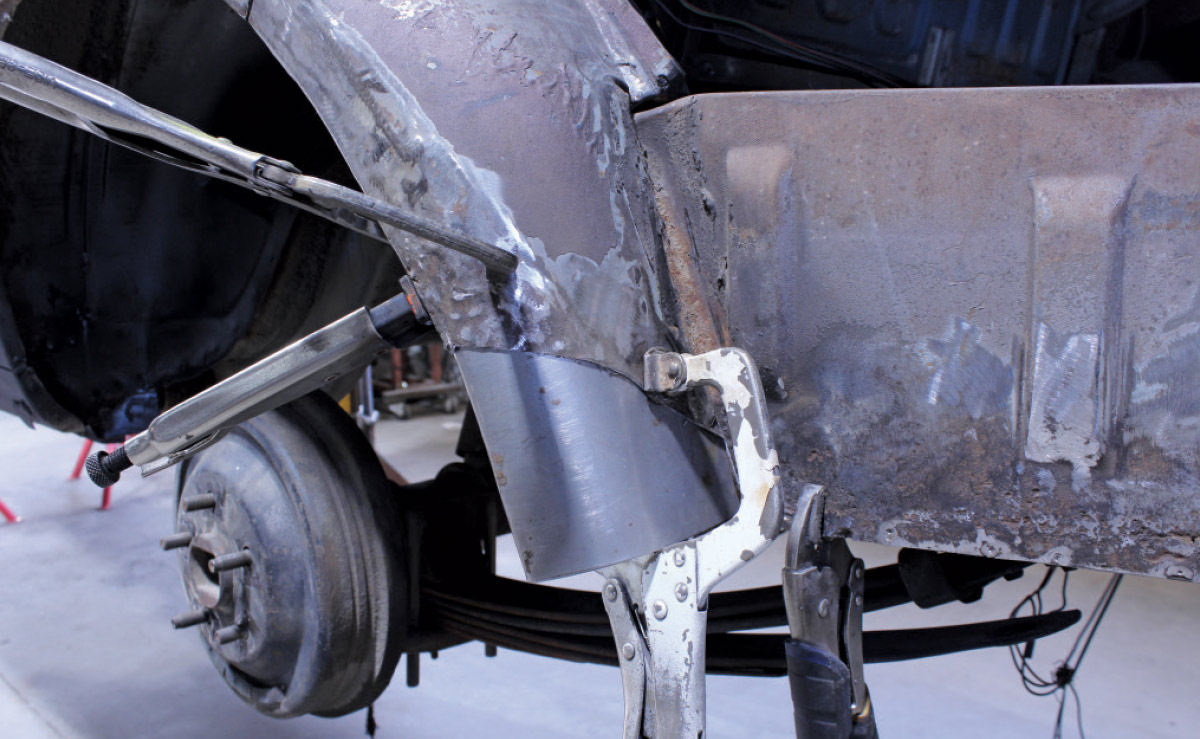
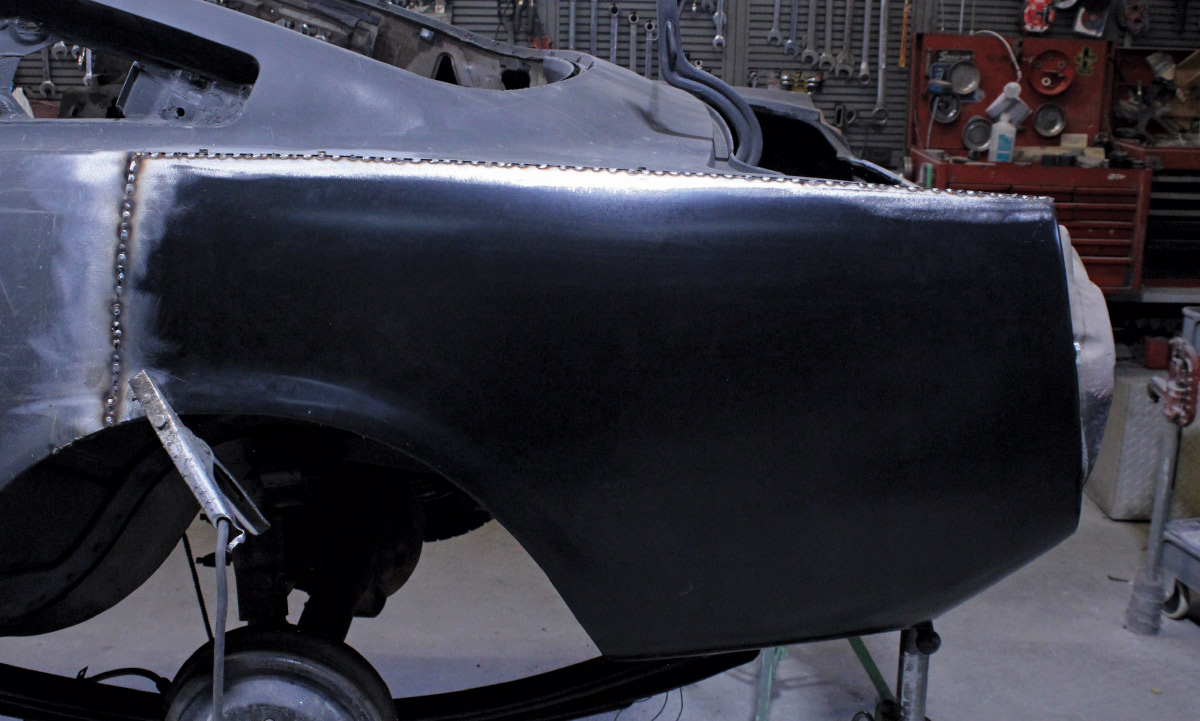
Colin has years of experience installing replacement body panels. For this repair, he elected to shorten the quarter-panel skin, so it only extended from the taillight panel to just forward of the wheel opening’s mid-point. His reasons for doing this were that the forward portion of the quarter-panel was in good condition, and the inherent difficulty of removing the original quarter-panel from the B-pillar could have been avoided. Trimming the replacement panel made it easy to align with the existing sheetmetal, and the weld seam would be relatively short.

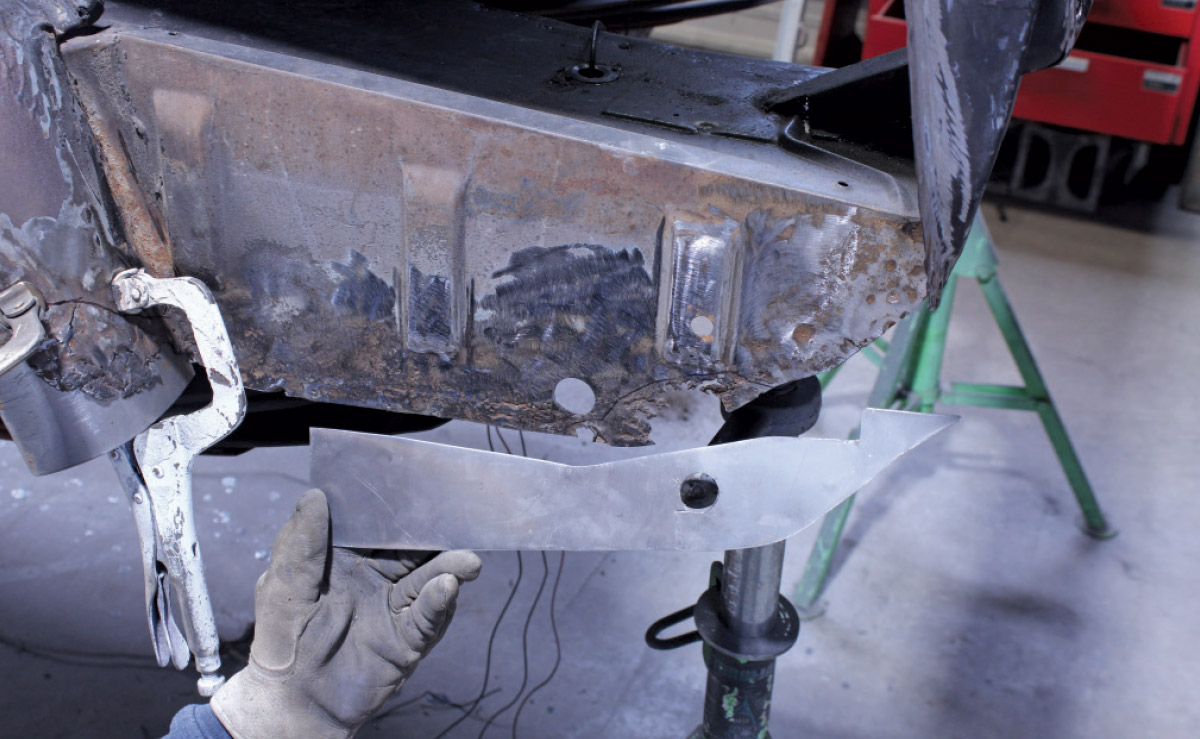
One common issue encountered when replacing sheetmetal is the warping caused by concentrating too much heat in a single area during welding. This can be prevented by tack welding the new panel in place, then moving around the perimeter of the panel, adding more tack welds between the initial points until the panel is completely welded. It requires time and patience, but the results are worth the effort.

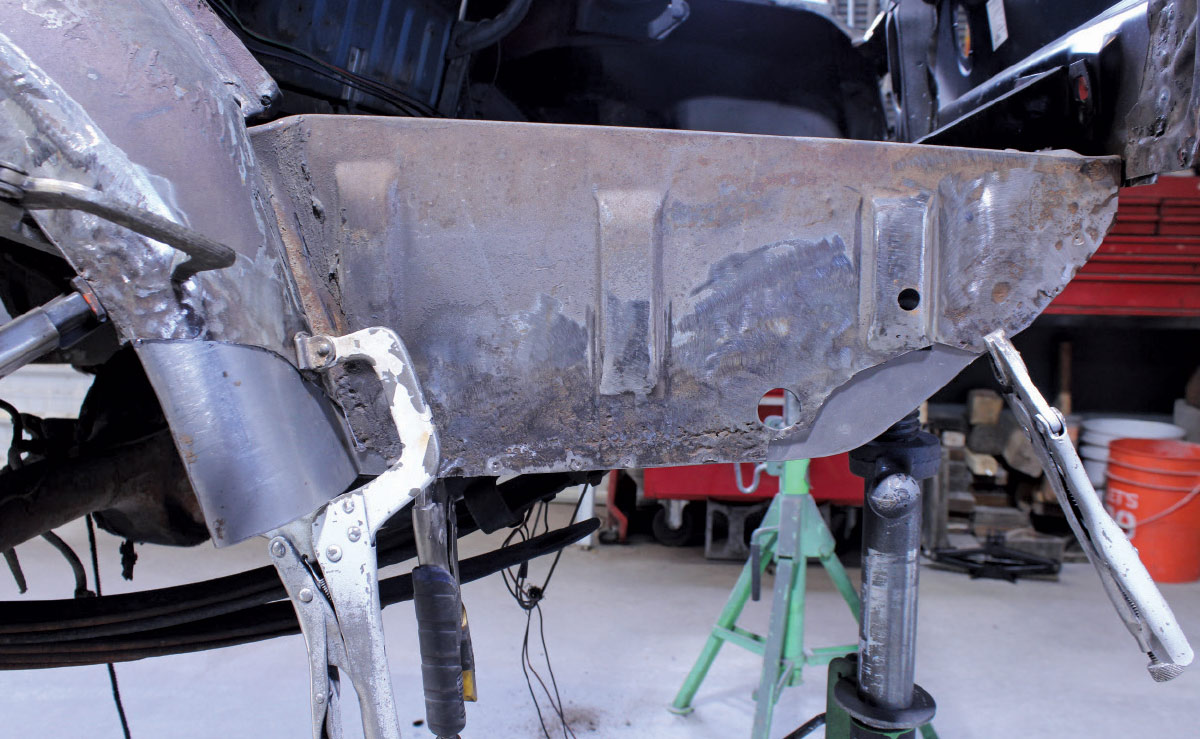
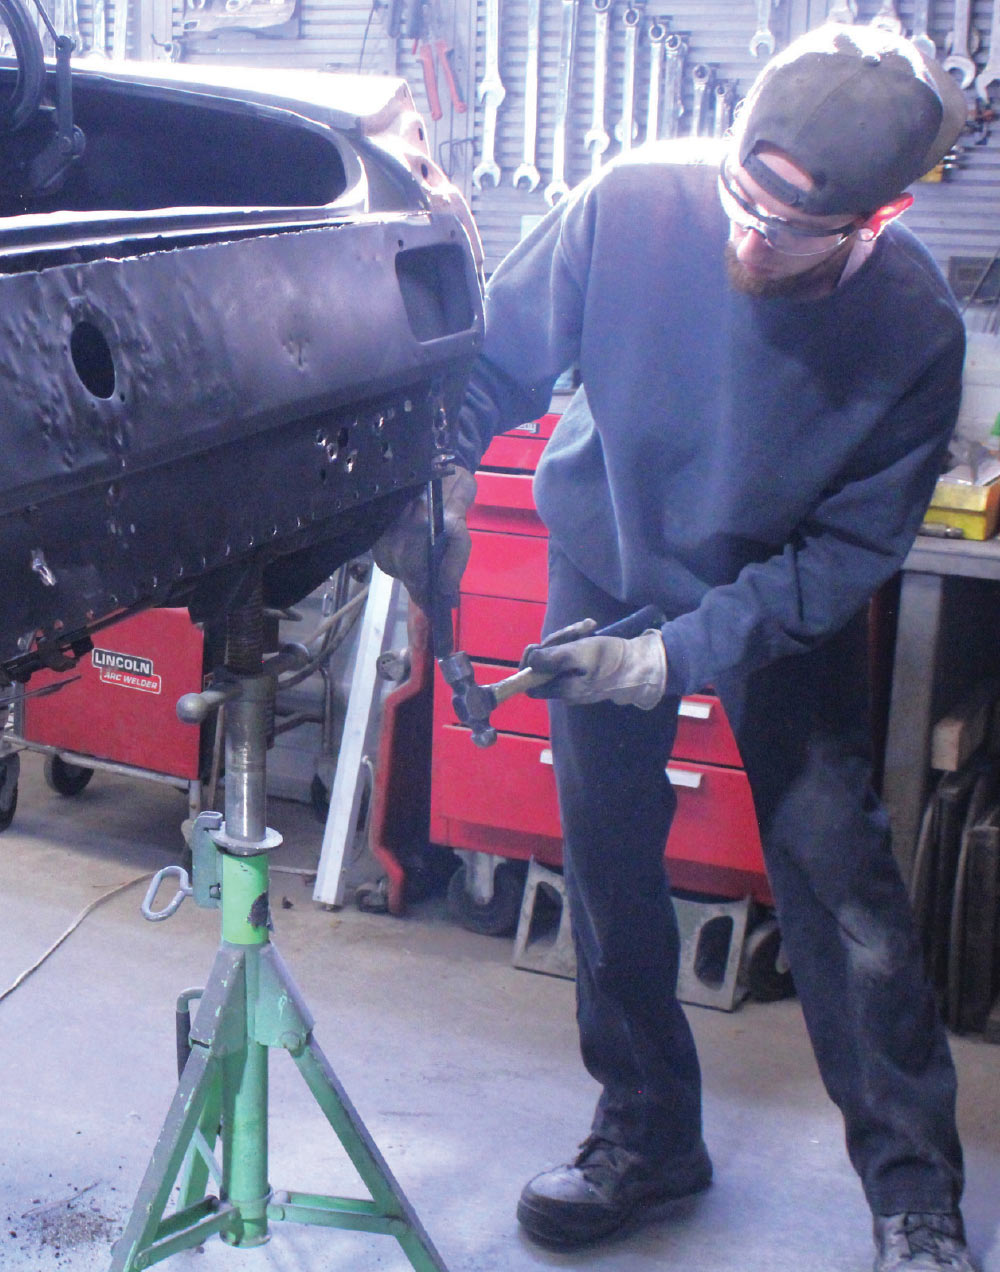
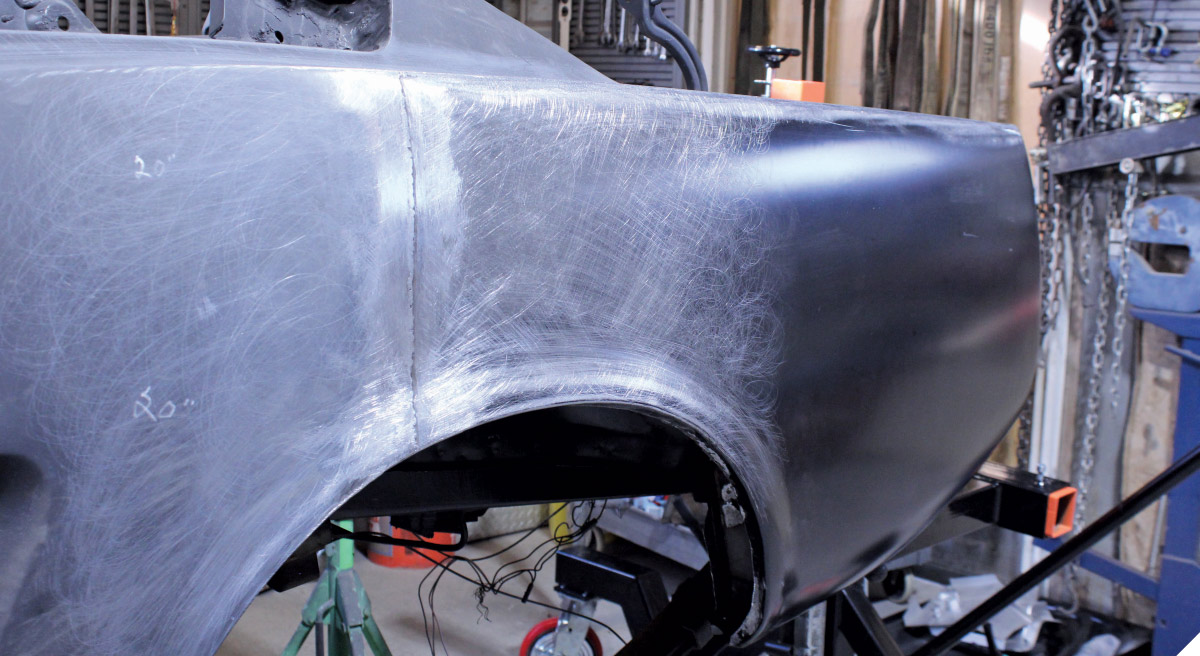
While the heat from welding is often blamed for warping repaired panels, grinding can frequently cause just as much, if not more, damage. Grinding generates a substantial amount of heat, which, like welding, can lead to panel warping. This is why Colin and his grandson, Tate, employ what some might consider an unorthodox method for dressing down welds—they use a file. Naturally, both know how to weld, ensuring the beads they lay down are as flat as possible. Nevertheless, to make the welds flush with the surrounding sheetmetal, Team Radford has discovered that they can file them more quickly and effectively than using a grinder.

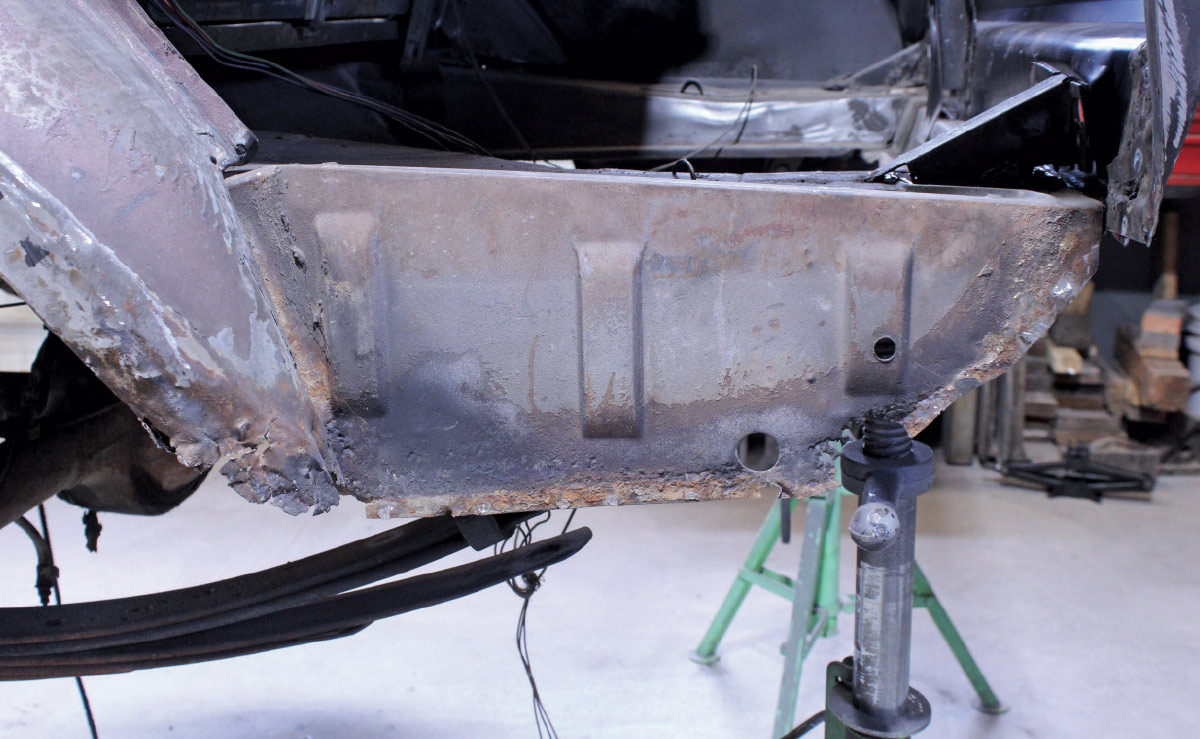
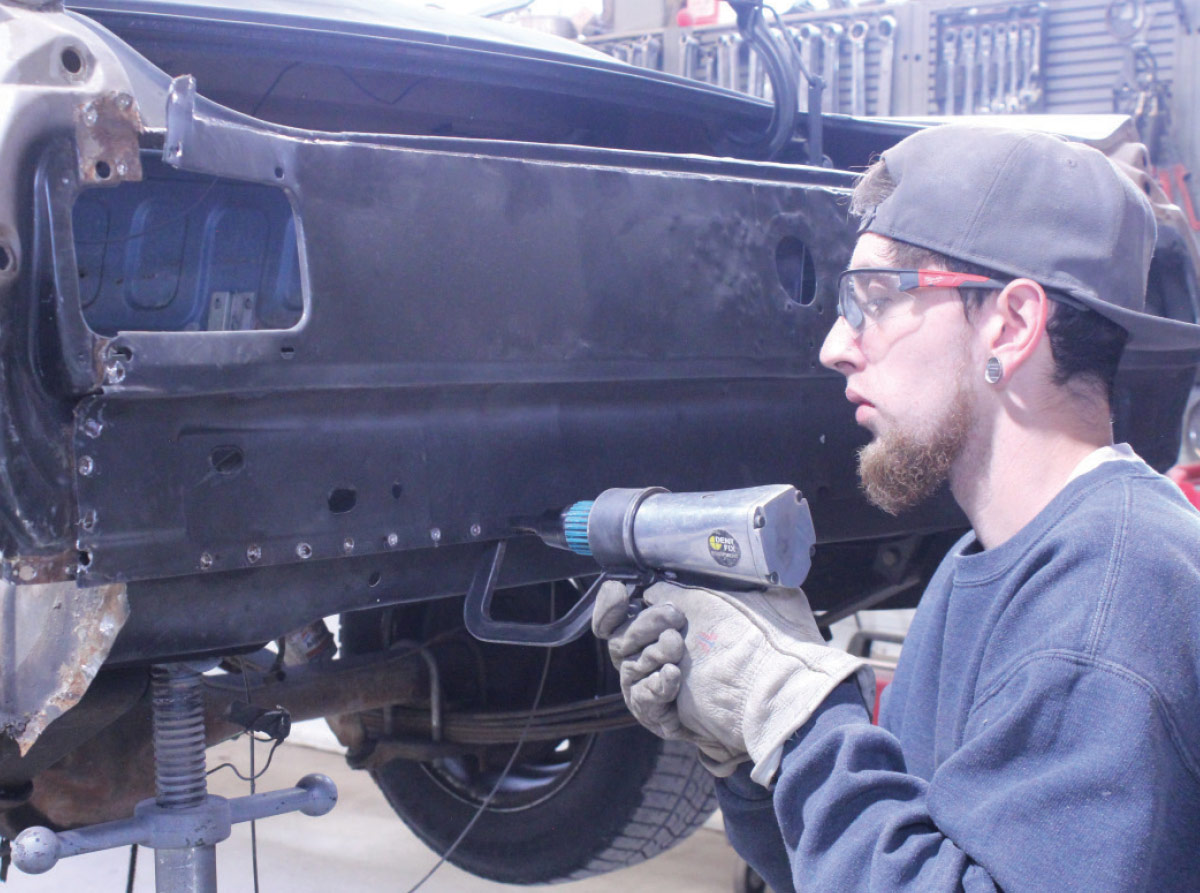
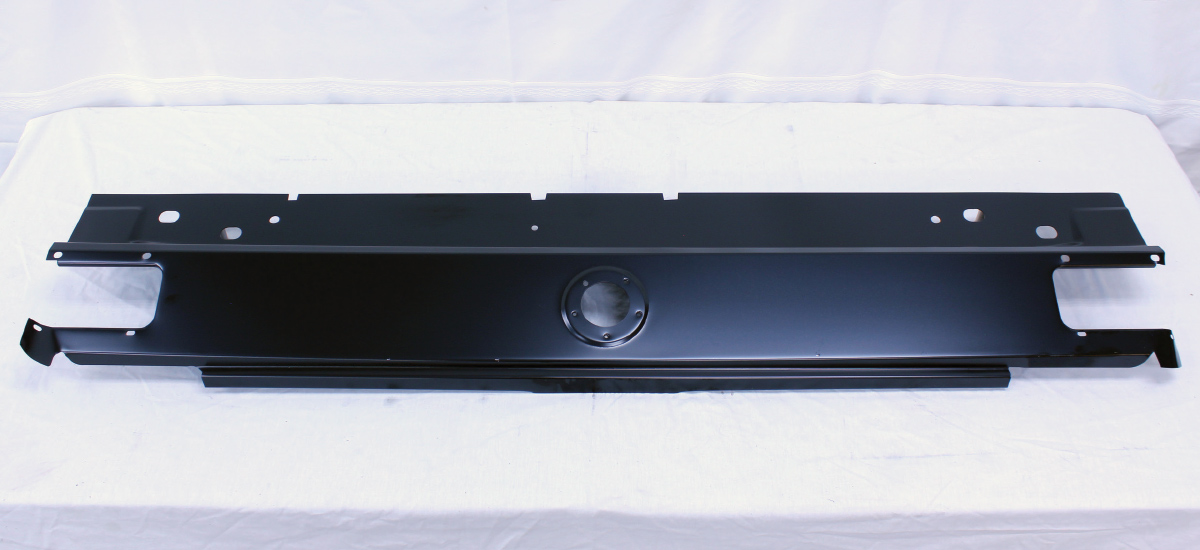
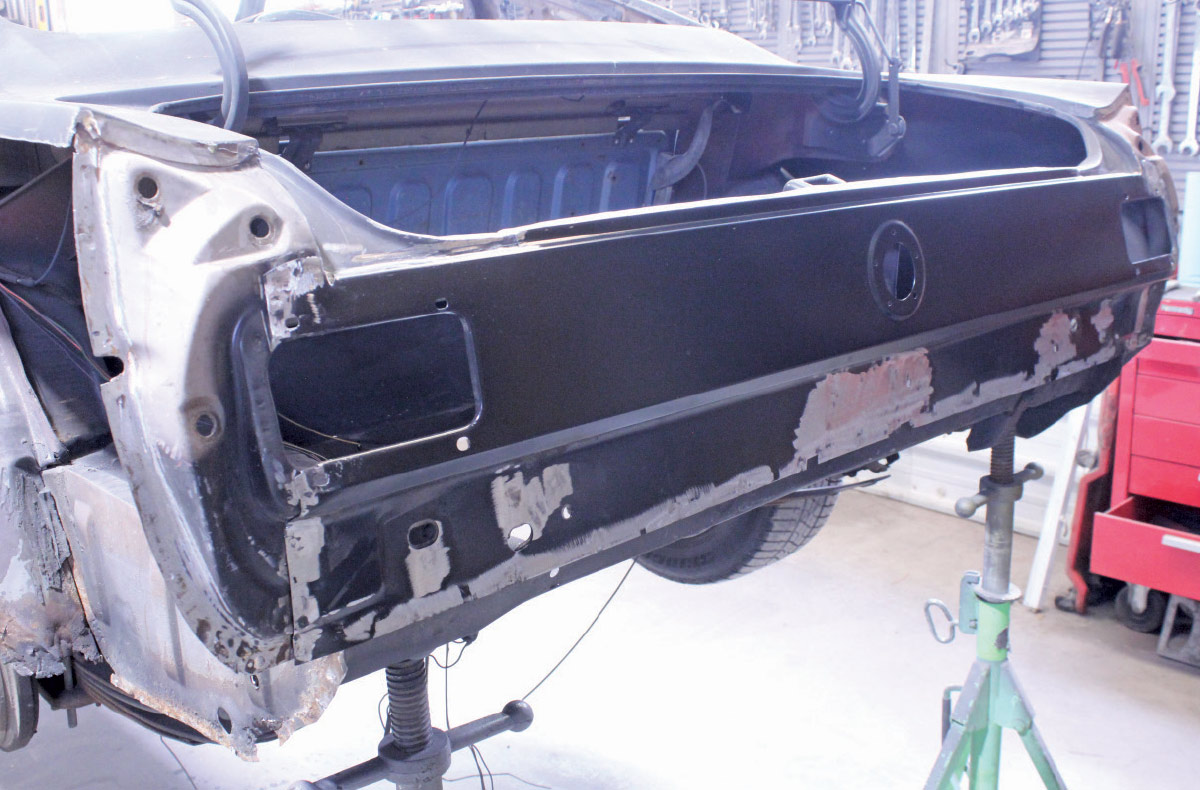
Examining the taillight panel suggests the Mustang frequently transported loose rocks in the trunk. Thus, another Golden Star replacement panel was necessary. After severing numerous spot welds, the original panel was removed. Installing the new taillight panel was relatively straightforward, as it fit perfectly.

For true aficionados of vintage vehicles, it’s hard to imagine how something as cool as a Mustang fastback could be neglected and abused to the extent this one had been. Not long ago a car in this condition may have been too far gone to be saved from a practical standpoint. But with quality-made and affordably priced replacement sheetmetal from Golden Star and the talents of the Radford clan this Mustang will have a new life and be cool again.

1965 Mustang fastback body on jack stands during restoration
2. The ultra-flat black primer hid a multitude of sins; from a distance the Mustang’s sheetmetal looked to be in fair condition, but up close not so much.
1965 Mustang new quarter panel test fit over wheel housing
3. Something ugly had happened at the rear of the left fender opening that was far from being repairable.
1965 Mustang lower quarter rust damage close-up before patch
4. In addition to the physical damage, rust had taken a toll on the bottom edge of the quarter-panel and portions of the inner structure.
1965 Mustang reproduction rear quarter panel on display
5. To replace the damaged sheetmetal, we turned to Golden Star Classic Auto Parts for a left side 1964-66 Ford Mustang fastback quarter-panel skin (PN LHQP20-64L).
1965 Mustang trunk drop and wheelhouse exposed after panel removal
6. With the bulk of the quarter-panel cut away, the new replacement panel was trimmed then held in place while the body was scribed for a final cut.
1965 Mustang trunk drop-off rust damage inspection
7. Rust had eaten away the lower part of the wheelhouse and the bottom edge of the trunk panel. They would be repaired rather than replaced.
1965 Mustang inner wheelhouse patch panel clamped for welding
8. With the rusted area cut away, Tate formed a sheetmetal patch for the bottom of the wheelhouse and clamped it in place.
Beverly shear trimming patch panel for 1965 Mustang repair
9. After making a cardboard pattern, a sheetmetal repair for the lower edge of the trunk floor was cut out on a throatless shear.
1965 Mustang trunk drop repair panel fitment before welding
10. The trunk panel patch would be placed on the inside of the damaged area; note the holes in the original panel and the patch.
1965 mustang rear trunk drop patch panel clamped for welding
11. Here 18-gauge steel metal patch panels are ready to be welded. Note how the two holes pointed out earlier align.
grinding welds on 1965 mustang tail panel for panel prep
12. How the taillight panel was beaten so badly is anyone’s guess. Tate began removing the damaged sheetmetal by grinding away the weld along the top edge.
air chisel used on 1965 mustang tail panel spot welds
13. As this car is unitized, lots of factory spot welds held the rear panel to the substructure to ensure rigidity. They all had to be drilled out.
removing damaged 1965 mustang tail panel with hammer and chisel
14. The last of the stubborn spot welds holding the tail panel in place were cut with a hammer and chisel. From this angle the extent of the damage to the panel can be seen.
1965 mustang tail panel area cleaned and prepped for install
15. With the tail panel removed the corner supports for the quarter-panel and center bracket for the truck latch remain.
new 1965 mustang tail panel reproduction part on table
16. Golden Star supplied this 1964-66 Ford Mustang taillight panel (PN TP20-64). The taillight openings align with the existing corner supports.
fitting and clamping new tail panel on 1965 mustang
17. The new taillight panel was held in place with clamps and a few sheetmetal screws to check the fit.
1965 mustang tail panel plug welded into rear body frame
18. Satisfied with the fit and alignment, Tate secured the taillight panel with a series of rosette welds.
smoothing welds and filler on new 1965 mustang tail panel
19. This view shows how the taillight panel fits the corner support to complete the opening for the taillight assembly.
new 1965 mustang rear quarter panel tack welded in place
20. To simplify the repair, the quarter-panel skin was shortened then attached to the body above the wheel opening
1965 mustang quarter panel fully stitch welded along seam
21. To eliminate any possibility during welding Tate skipped around its perimeter, slowly filling in the spaces between the tack welds.
filing welds on 1965 mustang quarter panel for flush finish
22. Rather than use a grinder, Tate used a Ferrier’s rasp to knock down the weld beads.
welded seam feathered into original body line 1965 mustang
23. For those who question using a rasp to finish the welds the results speak for themselves.
da sanding and surface blending on 1965 mustang quarter panel
24. Filed and sanded, the seam where the old and new panels join will disappear with a small amount of filler and primer-surfacer.
SOURCES
Modern Rodding
VOLUME 6 • ISSUE 58 • 2025