Modern Rodding Tech
InTheGarageMedia.com
Adding a Dash of Class to a Modern Rod
Classic Instruments Analog Gauge Package for Chevy G-Bodies

1. Our case for considering a G-body Chevrolet for hot rodding is this ’84 Monte Carlo SS. Fat wheels and tires, lowered suspension, an LS underhood, and a five-speed manual—would all that make it qualify?

'84 Monte Carlo SS

1. Our case for considering a G-body Chevrolet for hot rodding is this ’84 Monte Carlo SS. Fat wheels and tires, lowered suspension, an LS underhood, and a five-speed manual—would all that make it qualify?

Adding a Dash of Class to a Modern Rod
Classic Instruments Analog Gauge Package for Chevy G-Bodies
By Ron Ceridono Photography by Cody Barnes
A

t one time, old-timers (read Brennan and Ceridono) applied the term hot rod to vehicles produced before or shortly after World War II that had been modified to increase performance. However, as time has passed, the term hot rod has come to have a broader definition and is often being applied to many later cars that have been “hopped up.” Is the change in definition due to the lack of raw materials, as earlier cars have become harder to find? Could it be something as simple as later model cars are more affordable to buy and modify? This brings up the question, could something like a G-body Monte Carlo SS with performance-oriented modifications be considered a hot rod, or should we say a modern rod? Let the conversation begin.

The ’78-88 Chevrolet G-bodies, including the Monte Carlo, El Camino, and Malibu, were some of the last cars to be built on a muscle car–style chassis—that is, a traditional front-engine V-8 with rear-wheel-drive platform, while most midsized cars had transitioned to front-wheel drive. As G-bodies are available and affordable, interest in these vehicles has grown, which has prompted companies like Detroit Speed & Engineering to develop high-performance front and rear suspension and steering components along with LS engine mount adapters and transmission crossmembers for overdrive automatics and five- and six-speed manual transmissions.

Recently, Classic Instruments introduced a retrofit analog instrument panel for ’78-88 Chevy G-bodies (and ’82-87 GMC Caballeros) for the hot rod minded. It includes an electronic speedometer, tachometer, clock fuel, temperature, oil pressure gauges, and a voltmeter. It’s available with or without a gear indicator for three- or four-speed overdrive automatic transmissions. The kit has all the necessary senders, a wiring harness, and a new acrylic lens for the gauges. New sockets and LED bulbs for the original high beam indicator and check engine lights are also included.

The vehicle’s battery should be disconnected before removing and replacing the instrument cluster. When the new gauges are installed, Classic Instruments recommends using a dedicated power source to eliminate the possibility of a “noisy” power source that could cause erratic readings.

The speedometer is programmed with the included calibration button once the gauges are in place and the wiring is connected. Classic Instruments’ Zeus Speedometer Technology allows three methods of calibration: using a GPS reference, a pace car, or traveling over a measured mile. The tachometer is calibrated using the same button.

Installing the Classic Instruments gauge cluster requires trimming the inside of the original gauge housing, but nothing a hot rodder can’t handle. The original speedometer cable is removed and tossed out, and that’s the extent of the modifications necessary to install the new instrument cluster.

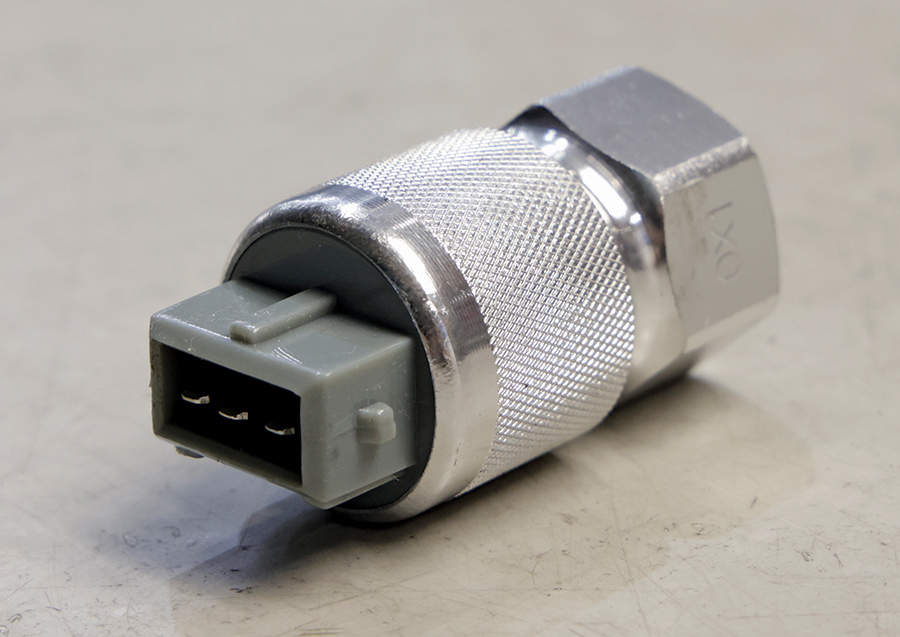
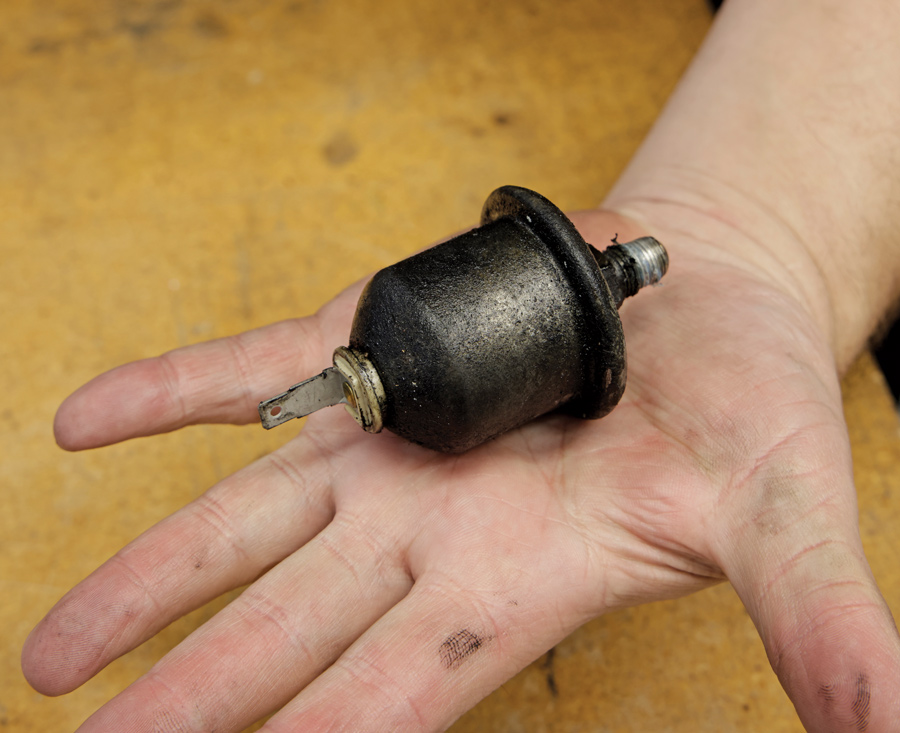
New temperature and oil pressure senders must be installed for the new instruments to function properly. As these senders ground via the threads, Teflon tape should not be used on either sender. Both senders use tapered pipe threads, which are self-sealing. However, supplemental copper-based sealant may be used as it will still provide good ground.

Classic Instruments’ G-body instrument panel comes complete with no other parts required. The new gauges look great, are easy to read day or night, and provide unmatched accuracy. Just what you want, a dash with class for a modern rod.

closeup of dashboard in '84 Monte Carlo SS
2. Classic Instruments’ G-body gauge cluster is clean and simple and supplies the driver with accurate information.
new instrument cluster with hybrid LED lighting
3. The new instrument cluster hybrid LED lighting offers combined perimeter lighting with the visual benefits of back-lighting for clear nighttime readability.
original instrument panel from '84 Monte Carlo SS
4. Like most OEM instrumentation, the original panel leaves much to be desired in appearance and functionality.
closeup of hand holding speedometer cable
5. With the speedometer cable disconnected, the original instrument cluster is unplugged from the factory wiring harness and is removed.
dashboard without instrument panel and original speedometer cable
6. Once the stock instrument cluster is out of the way, the original speedometer cable is removed.
aftermarket dashboard
7. The fuel gauge will work with OEM and most aftermarket senders if you set the 10-position switch on the back of the gauge.
interior of new dashboard setup showcasing the air core of the setup
8. Classic Instruments uses state-of-the-art air core movements for the utmost accuracy and durability.
Classic Instrument's instrument cluster with new acrylic lens that fits over it
9. The kit includes a new acrylic lens that fits over the instrument cluster and behind the original instrument diffuser (the outer trim piece around the gauges).
trimmed original instrument panel housing
10. The original instrument panel housing requires some trimming on the inside to accept the Classic Instruments cluster. The wires to the left lead to the original high beam indicator and check engine light.
view of back of classic instrument panel
11. Here is the Classic Instruments panel viewed from the back; the entire assembly fits inside the original gauge housing. It will be held in place by the original diffuser using the original screws.
view of back of housing with new instruments installed
12. With the new instruments installed in the original housing, the assembly can be put back in place again with the original screws.
back of instrument panel with both plugs plugged in
13. There are two plugs on the back of the Classic Instruments housing. The large plug is for instrument inputs from the senders and the small plug is for the calibration button.
new instrument panel with LED lights and turn signals on
14. Here, the turn signal indicators, along with the original check engine light and high beam indicator, are to the right of the instruments.
closeup of hand holding SN74Z 2K controller
15. The factory cruise control can be integrated when the stock speedometer and cable are eliminated by including a Classic Instruments SN74Z 2K controller.
closeup of hand holding a bundle of wires
16. Before any wiring is done, the battery should be disconnected. With SN74Z tucked away and the necessary connections made, as explained in the instructions, all that’s left to do is plug the harness into the cluster.
closeup of pulse generator
17. This is the pulse generator for the electronic speedometer that is included in the kit. It sends a signal to the SN74Z.
hand screwing speedometer pulse generator onto original cable fitting
18. The speedometer pulse generator screws onto the original cable fitting and plugs into the included wiring harness.
hand holding original gm oil pressure sender
19. This is the original GM oil pressure sender, located near the oil filter; it must be replaced.
hand holding new gm oil pressure sender
20. The new oil pressure sender is calibrated to be compatible with the Classic Instruments oil pressure gauge.
hand holding the new Classic Instruments temperature sender next to the new one
21. On the left is the new Classic Instruments temperature sender, which must replace the original on the right.
SOURCE
Modern Rodding
VOLUME 5 • ISSUE 46 • 2024