Modern Rodding TECH

InTheGarageMedia.com

Patience is key during any phase of the body- and paintwork
1. Patience is key during any phase of the body- and paintwork. It is also particularly true when you are cutting and buffing the final paint. Now is NOT the time to hurry. It will take plenty of hours, but perfection is worth the effort.
CUT AND BUFF LIKE A PRO
Color Sand and Rub Tips ’N’ Techniques
By John Gilbert Photography by THE AUTHOR
T

here are two types of rodders: the DIY guy who likes to do as much work on his car as he is able and the guy who can’t afford to take the time building a car demands but has the means to pay a professional.

For the DIY guy, this article will help him learn how to achieve professional results cutting and buffing paint to perfection. For the guy who can afford to pay a professional, it will help him understand why cutting and buffing to concours quality is such an expensive proposition. 

A couple months ago I got a call from my friend Harold Clay saying he was in Biloxi, Mississippi, attending a PPG Restoration Class taught by Charley Hutton. I was kind of surprised because I know Clay has owned Clay’s Collision Center since 1979 and Harold’s Hot Rod Shop for over 10 years, and he’s already placing First at major car shows nationwide.  

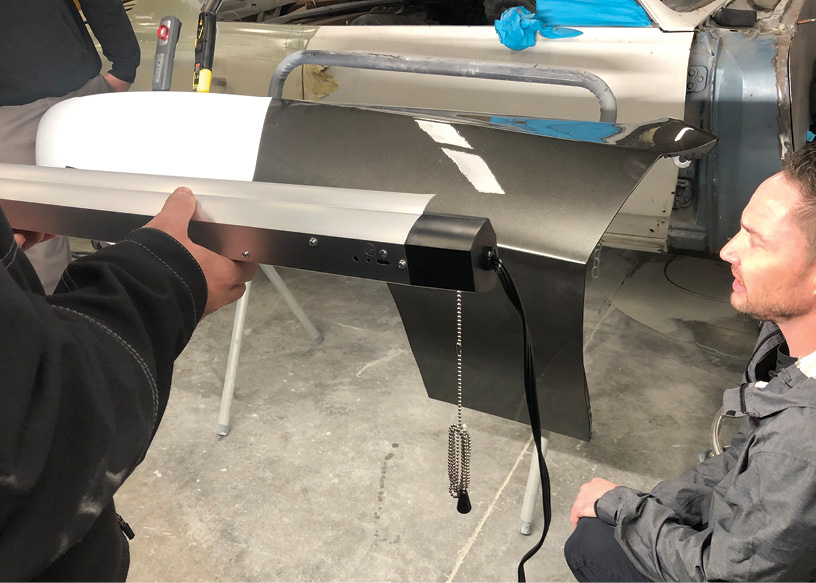
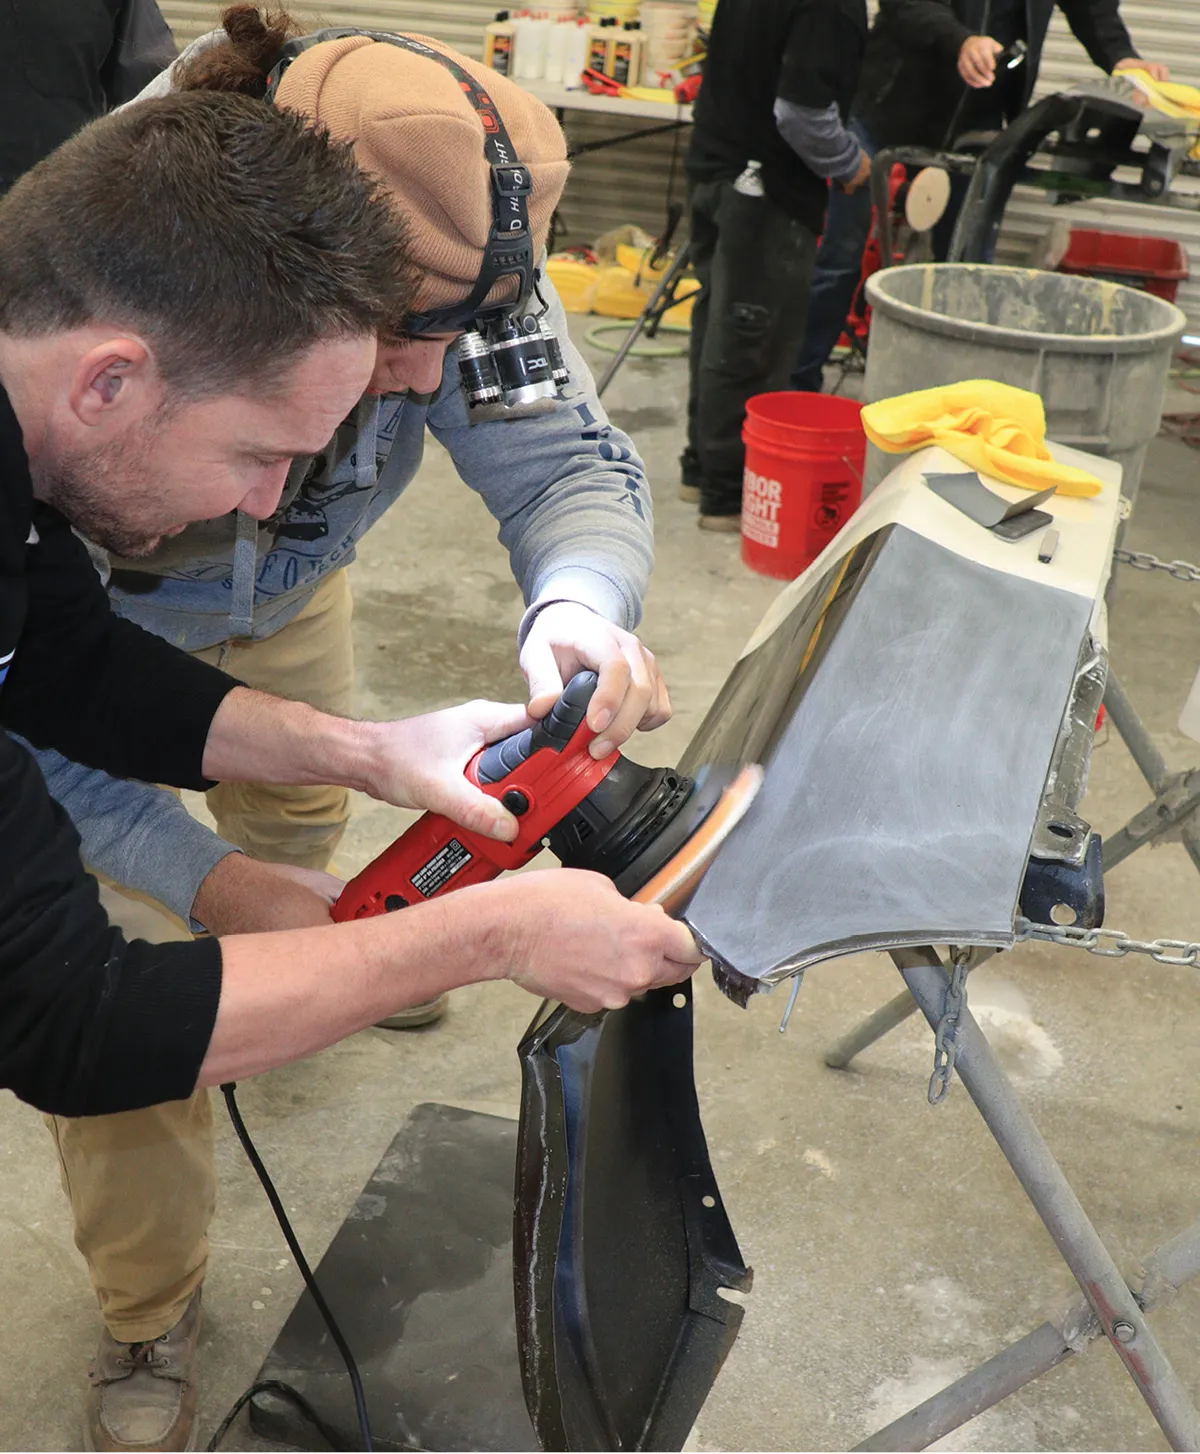
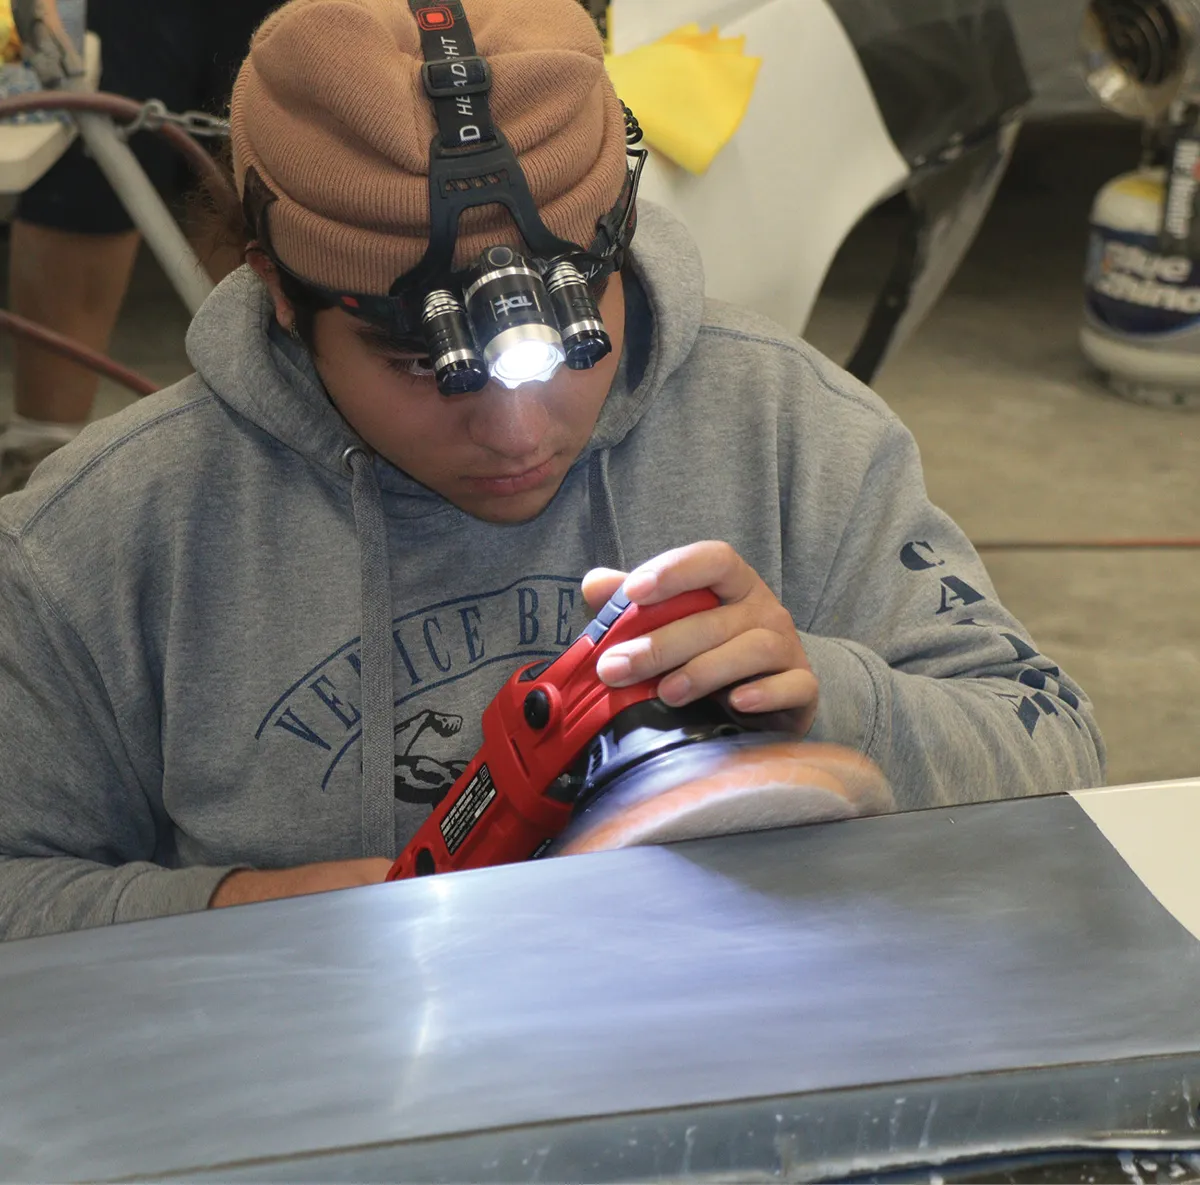
But as long as I have known Clay, he’s been on a constant quest to find perfection for his paintwork. So, when Clay called me a few weeks ago inviting me to join him in attending a class at Sylvester’s Customs on how to cut and buff paint I wasn’t quite as surprised. Clay and Tim Gregg flew in from Enid, Oklahoma, and we met up with our friend Travis Sylvester at his shop in Nuevo, California. In addition to taking on customer restoration work at Sylvester’s Customs, Sylvester and his buddy, Mike Coutts, produce instructional YouTube videos on how to address various phases of bodywork. To teach the class on how to cut and buff paint to concours perfection, Sylvester brought in Jason Killmer, a super detailer with Pebble Beach and Ridler wins under his belt and who markets a line of specialized sanding blocks he has developed. 

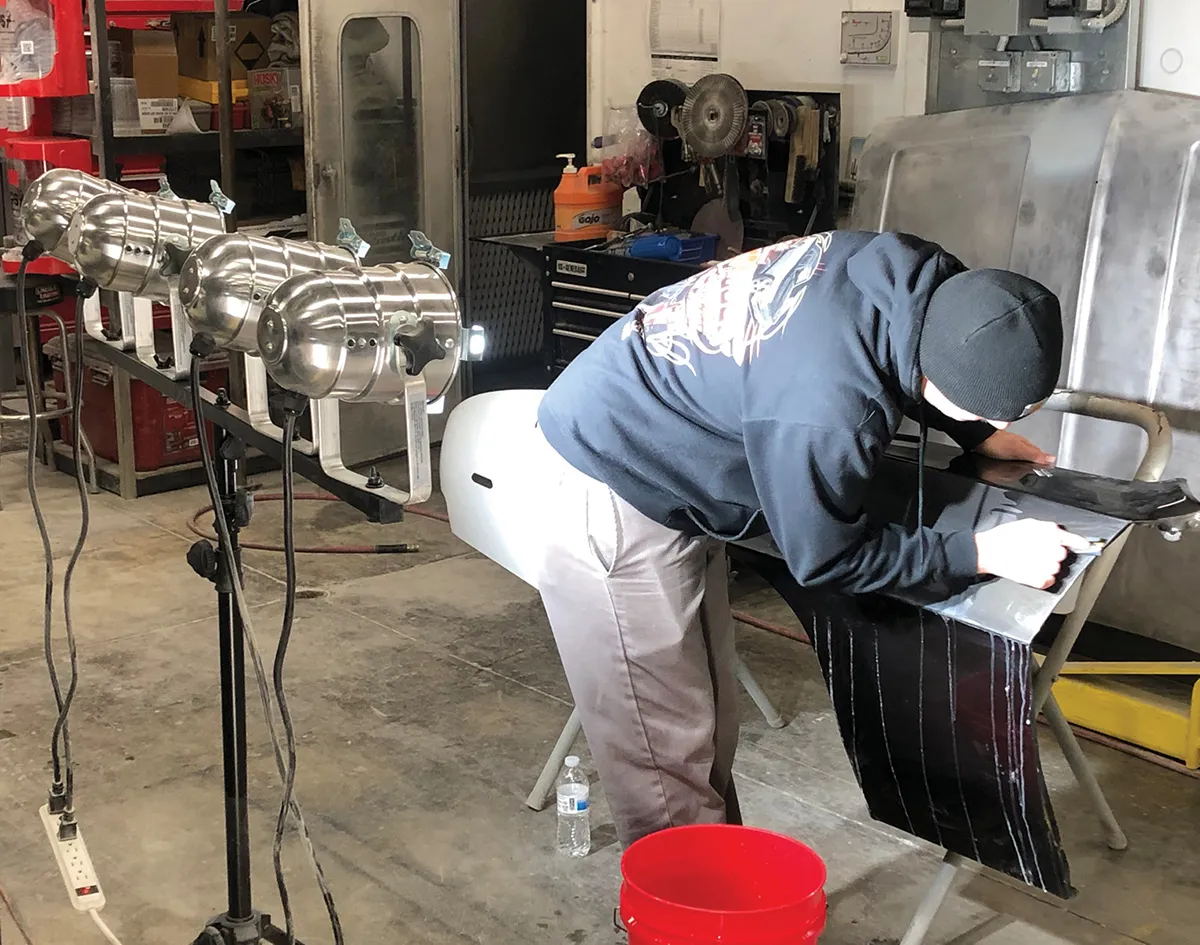
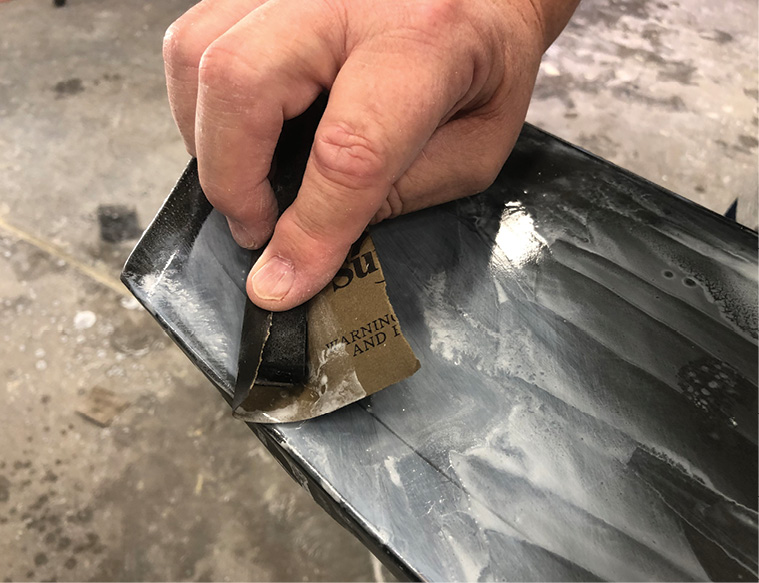
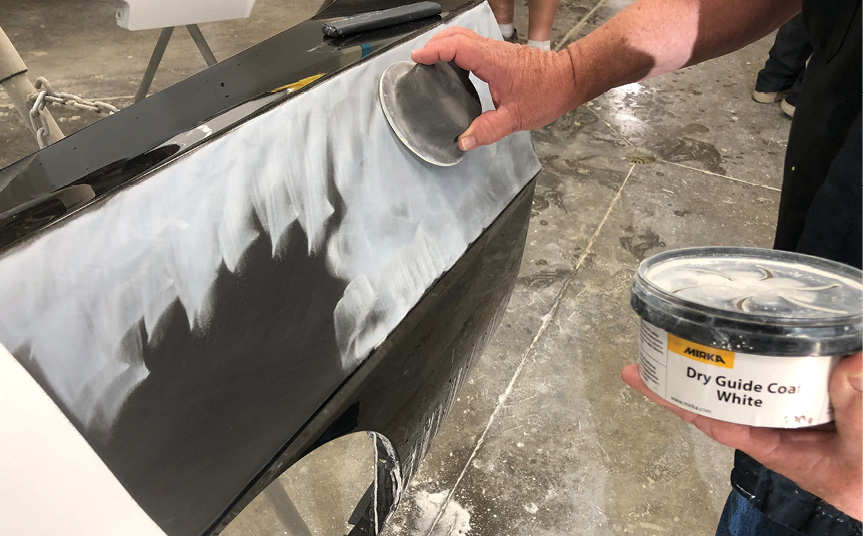
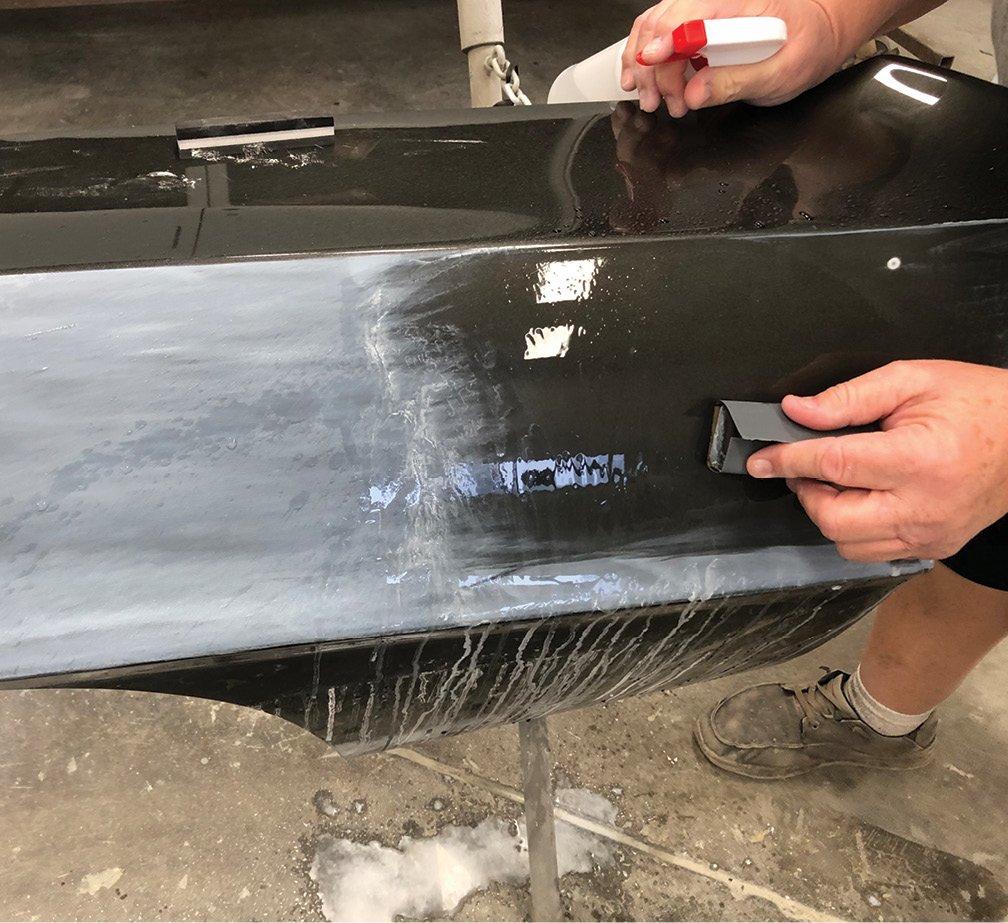
Cutting and buffing paint to concours quality level is a tedious repetitive process. On average it takes 20 hours to cut and buff a front fender to appear optically correct and scratch-free. Optically correct means the reflection in the paint isn’t distorted like a funhouse mirror and the finish lit under the most intense lighting reveals it is scratch-free. That extreme level of quality is only achievable if the bodywork preceding paint is perfect and the application of the base color is perfect. No flaws anywhere, and finally there are enough coats of clear paint block sanding will not break through. 

Imagine how many hours it takes to cut and buff a complete car at today’s shop rates and that should give one a good idea if cutting and buffing is something they’d like to explore further.

To help a person decide if a high-end cut and buff is for them they must identify their expectations. Are they after a 100 percent perfect show car finish or will they be content with a not-quite-as-fanatical finish that will probably endure better if exposed to the elements. I’m mentioning the option of accepting a paintjob straight from the gun with only a few flaws (dirt, bugs, boogers) to nib and polish out because the UV screen added to modern urethane clears migrates to the top as the clear cures. 

Figure if the painter sprayed six coats of clear urethane, block sanding flat will cut through two coats and likely strip the UV screen. Deeply cut and buffed paint on a weekend warrior with occasional outdoor overnight exposure can survive longer if the vehicle is washed free of acidic environmental contaminants after each time the car has been driven. Kept indoors out of the weather and away from the sun as much as possible works best to make any paintjob last longer.

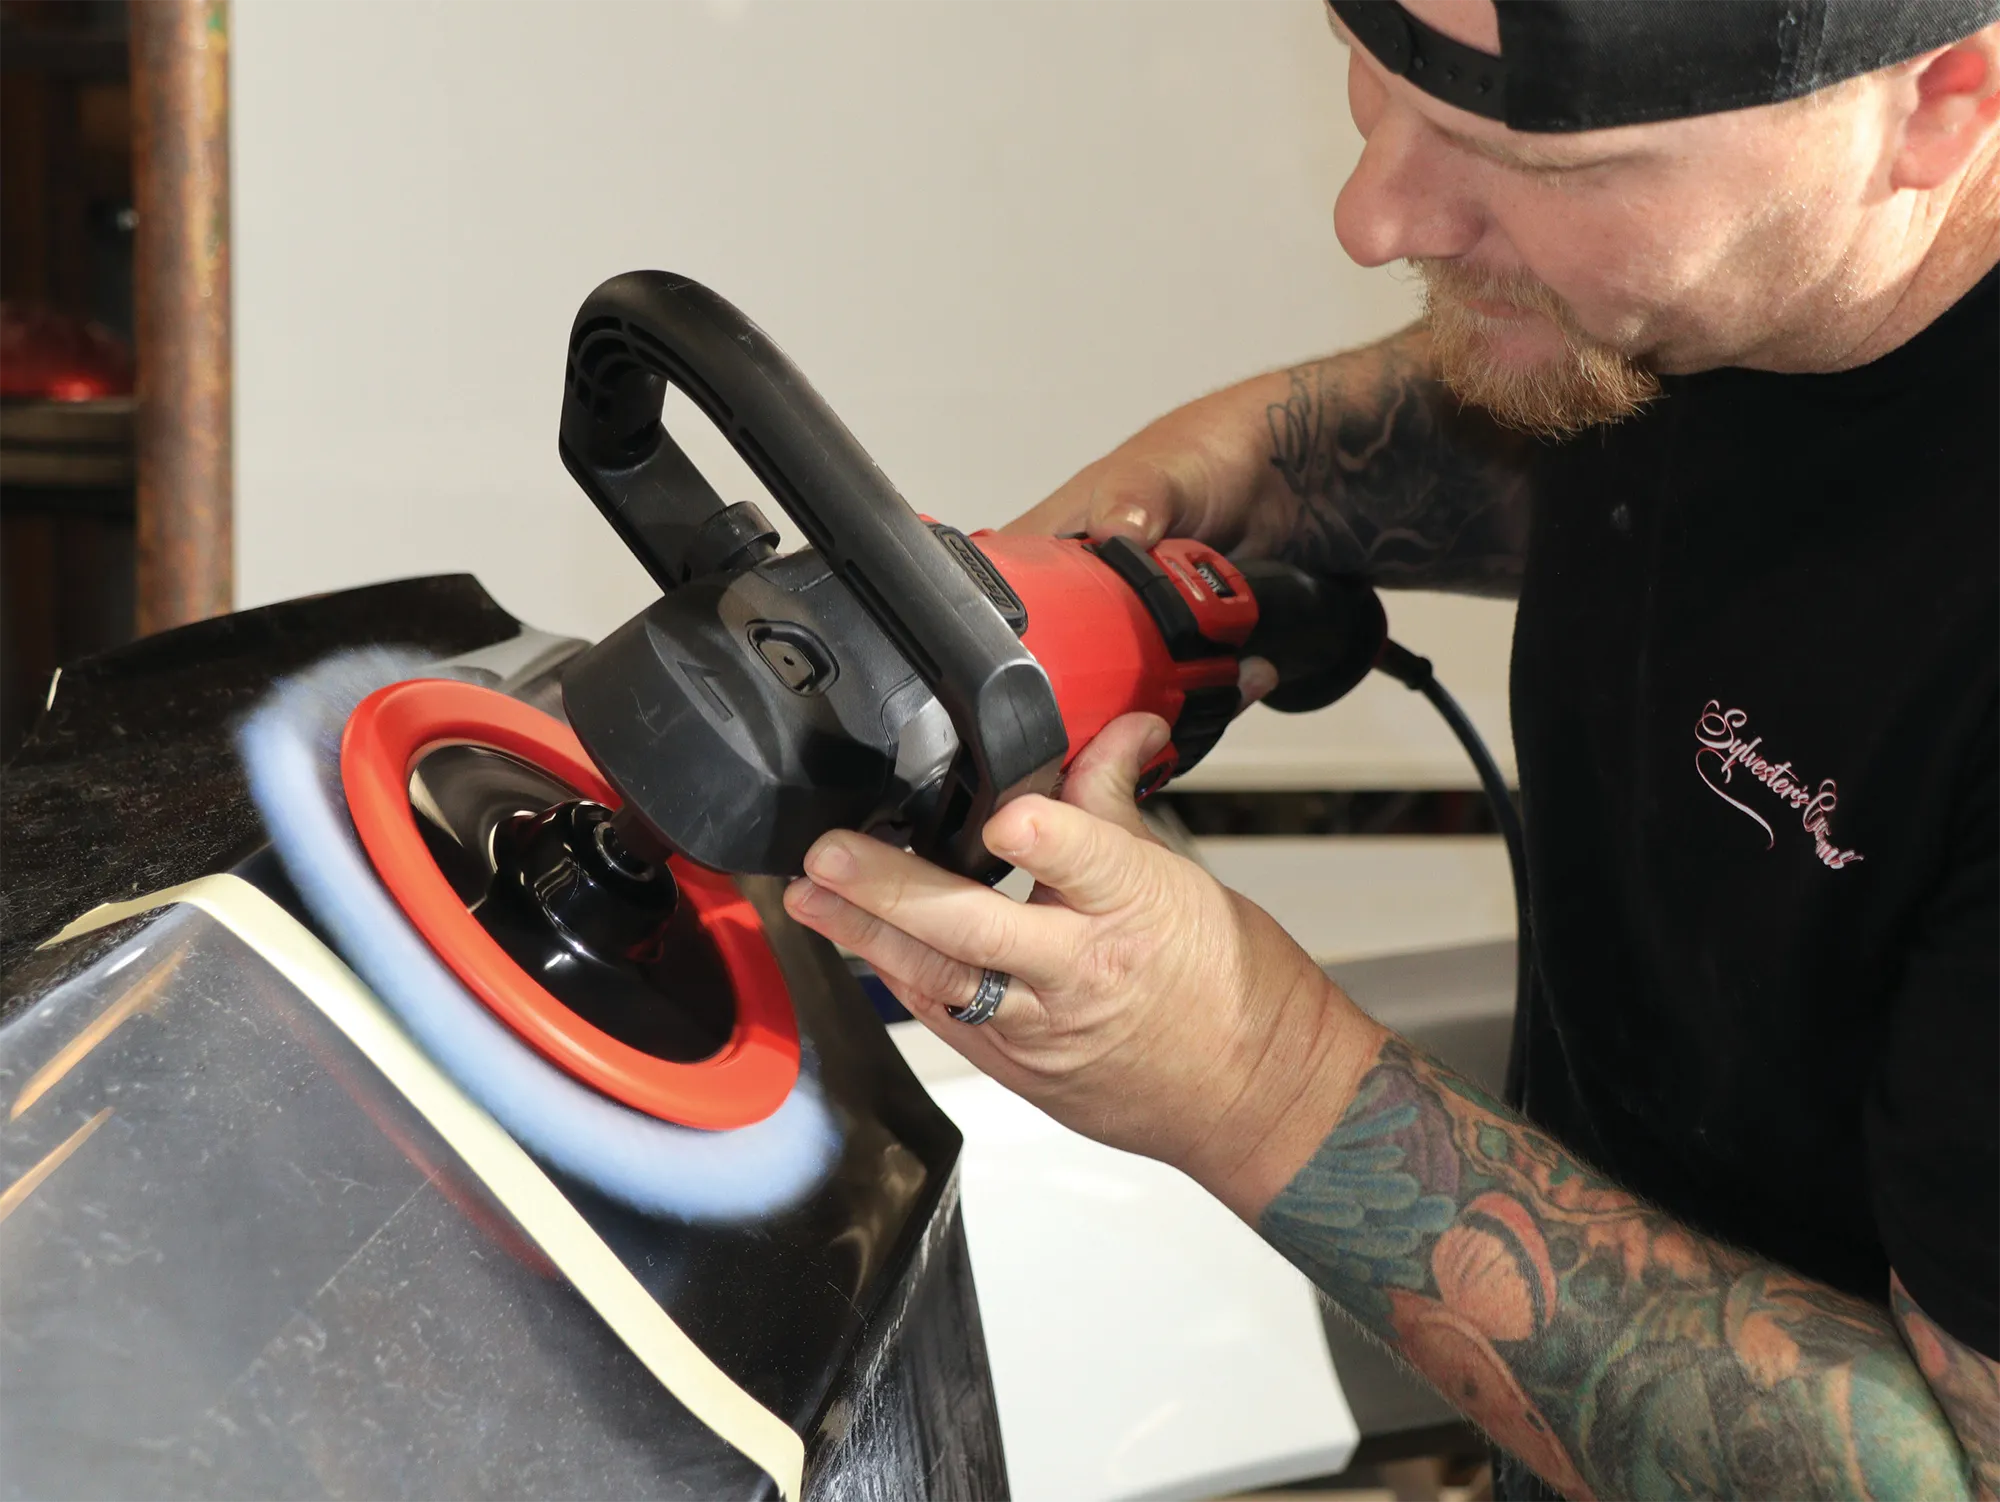
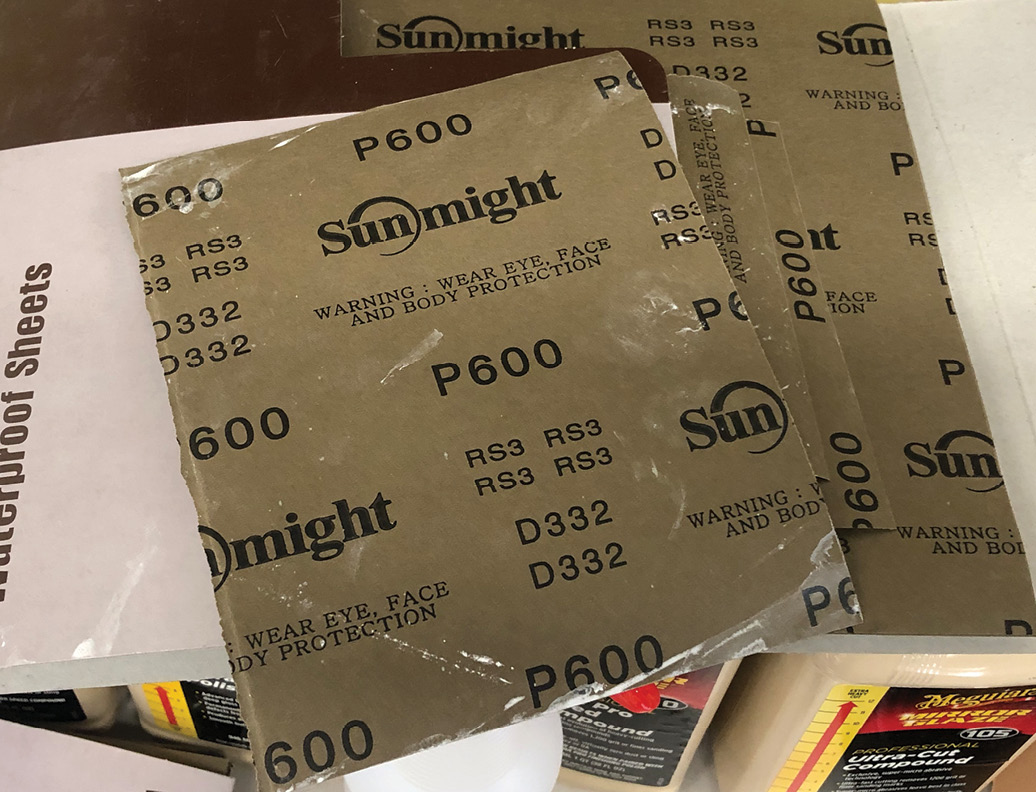
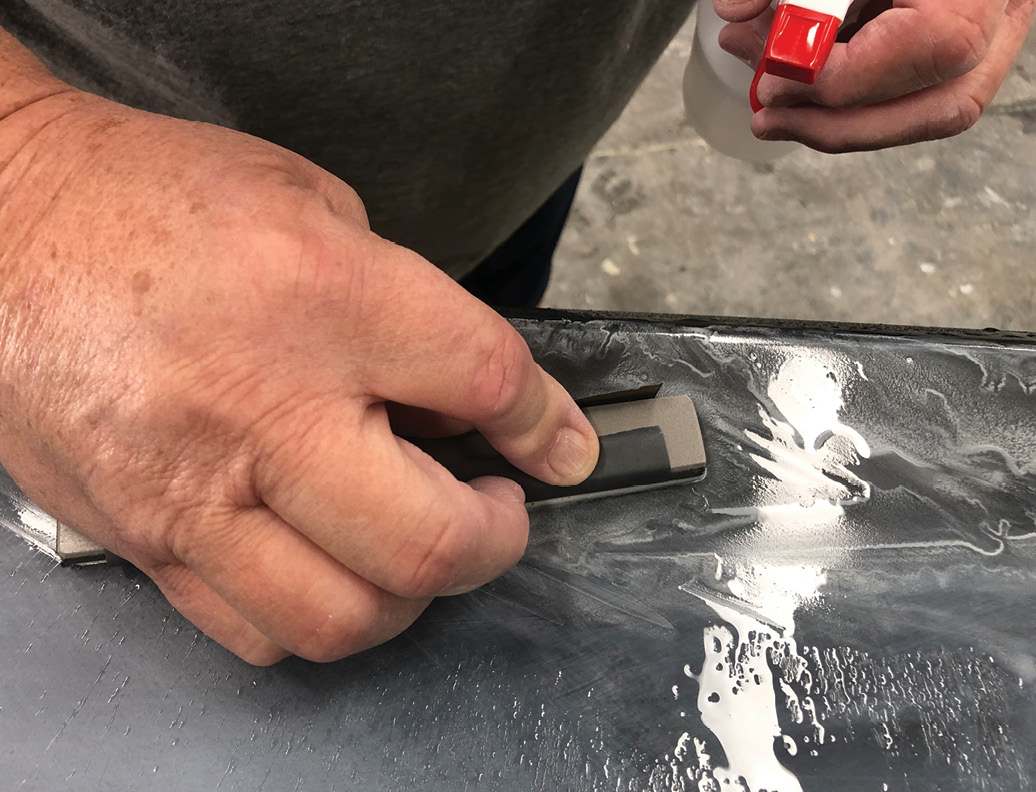
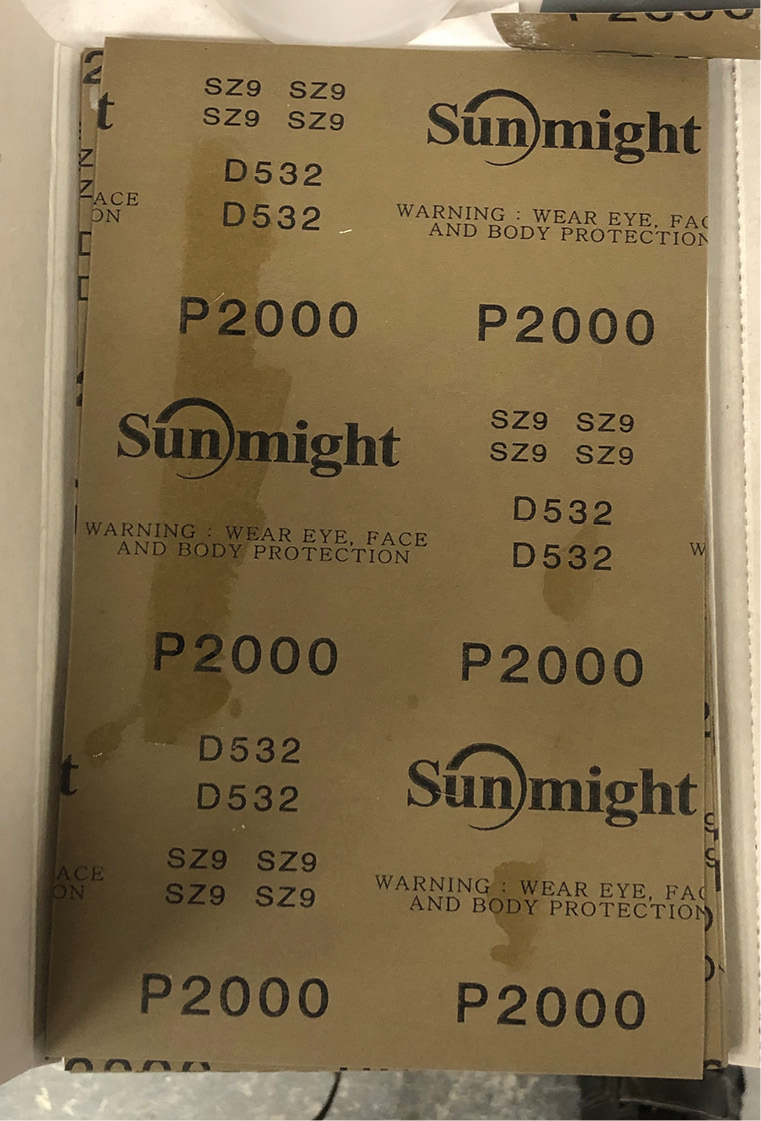
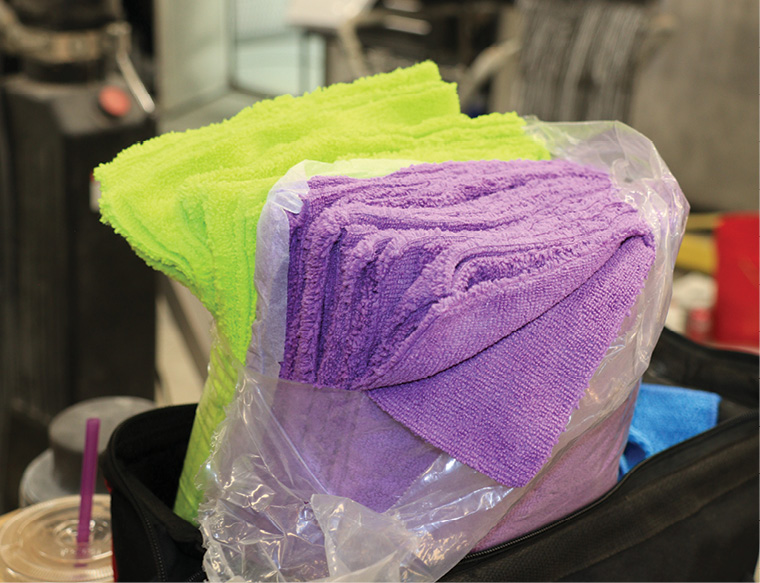
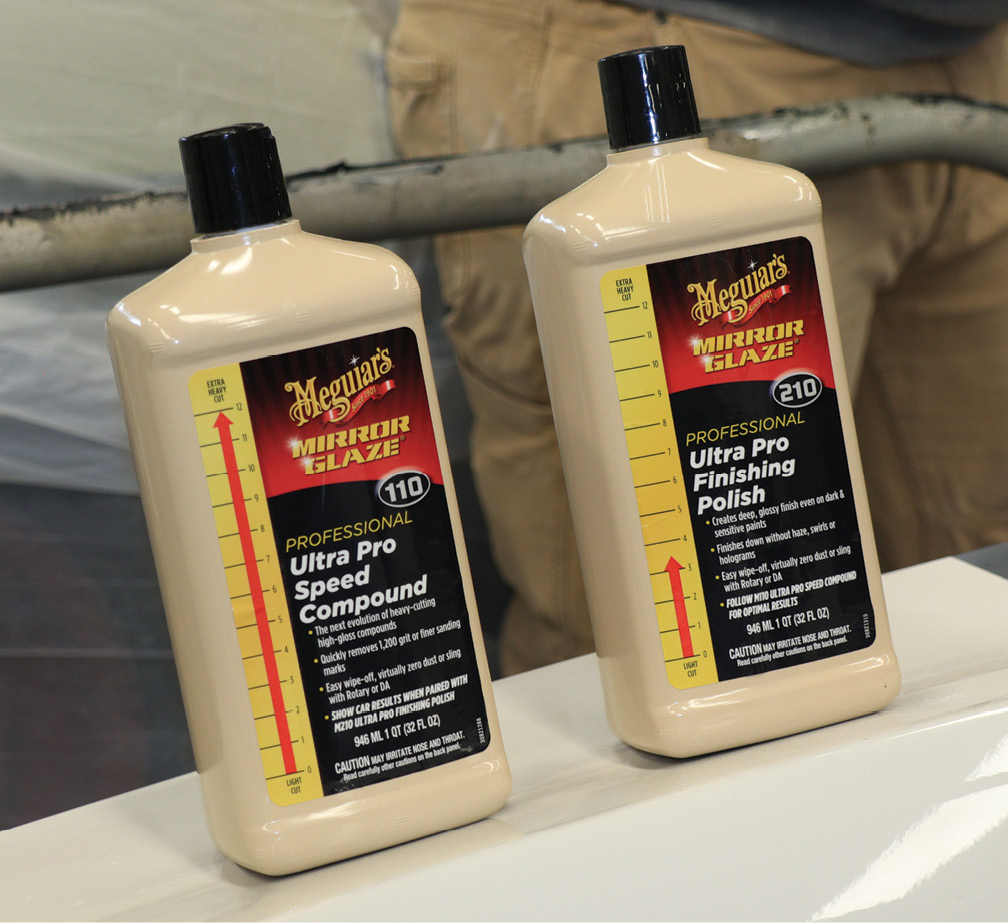
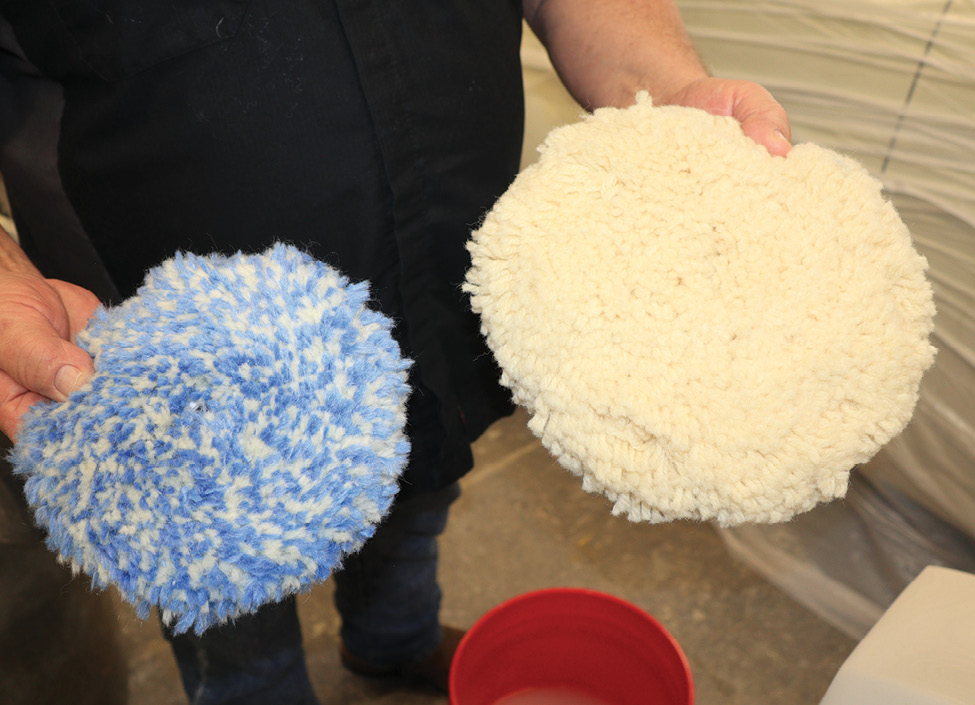
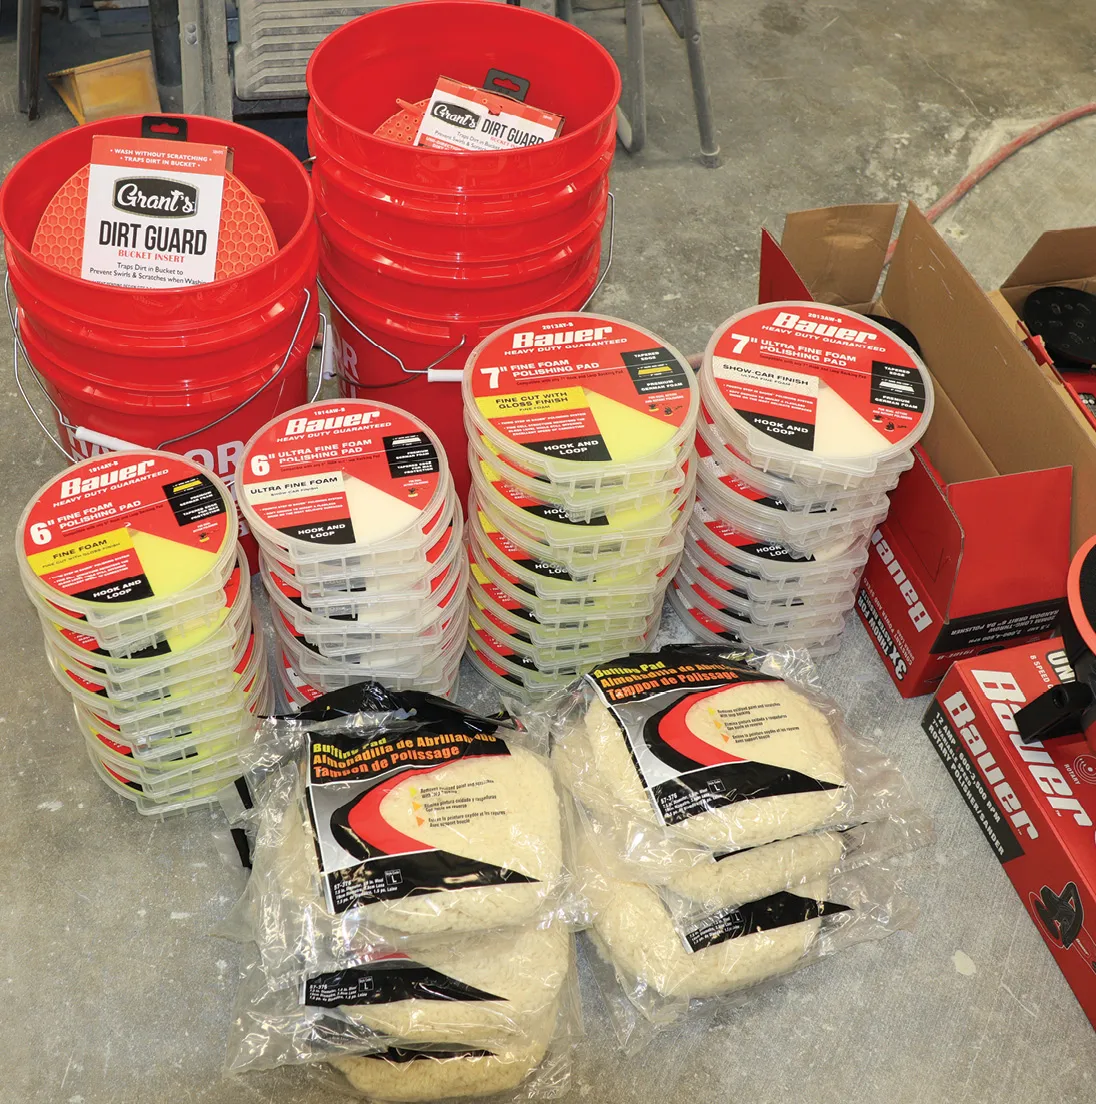
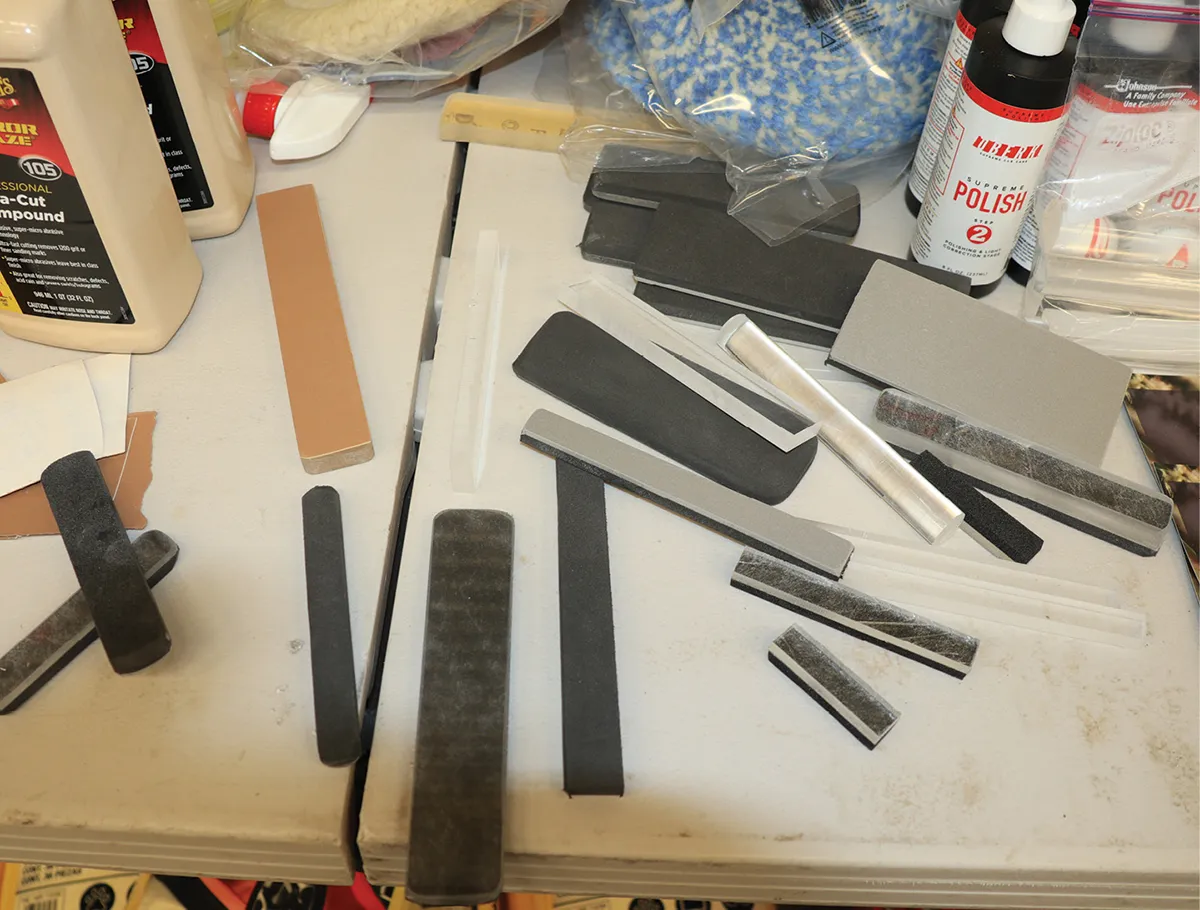
There’s a wide selection to choose from of well-known brands offering the tools and materials needed to undertake a cut and buff project. For the cut and buff classes held two days at Sylvester’s Customs the tools came from Harbor Freight plus Meguiar’s, now in close association with Harbor Freight, provided compound and Jason Killmer supplied a wide selection of his sanding blocks. PPG paint and related essentials, like wet and dry sandpaper, were sourced from Temecula Valley Paint and the Camaro fenders from Auto Metal Direct (AMD).

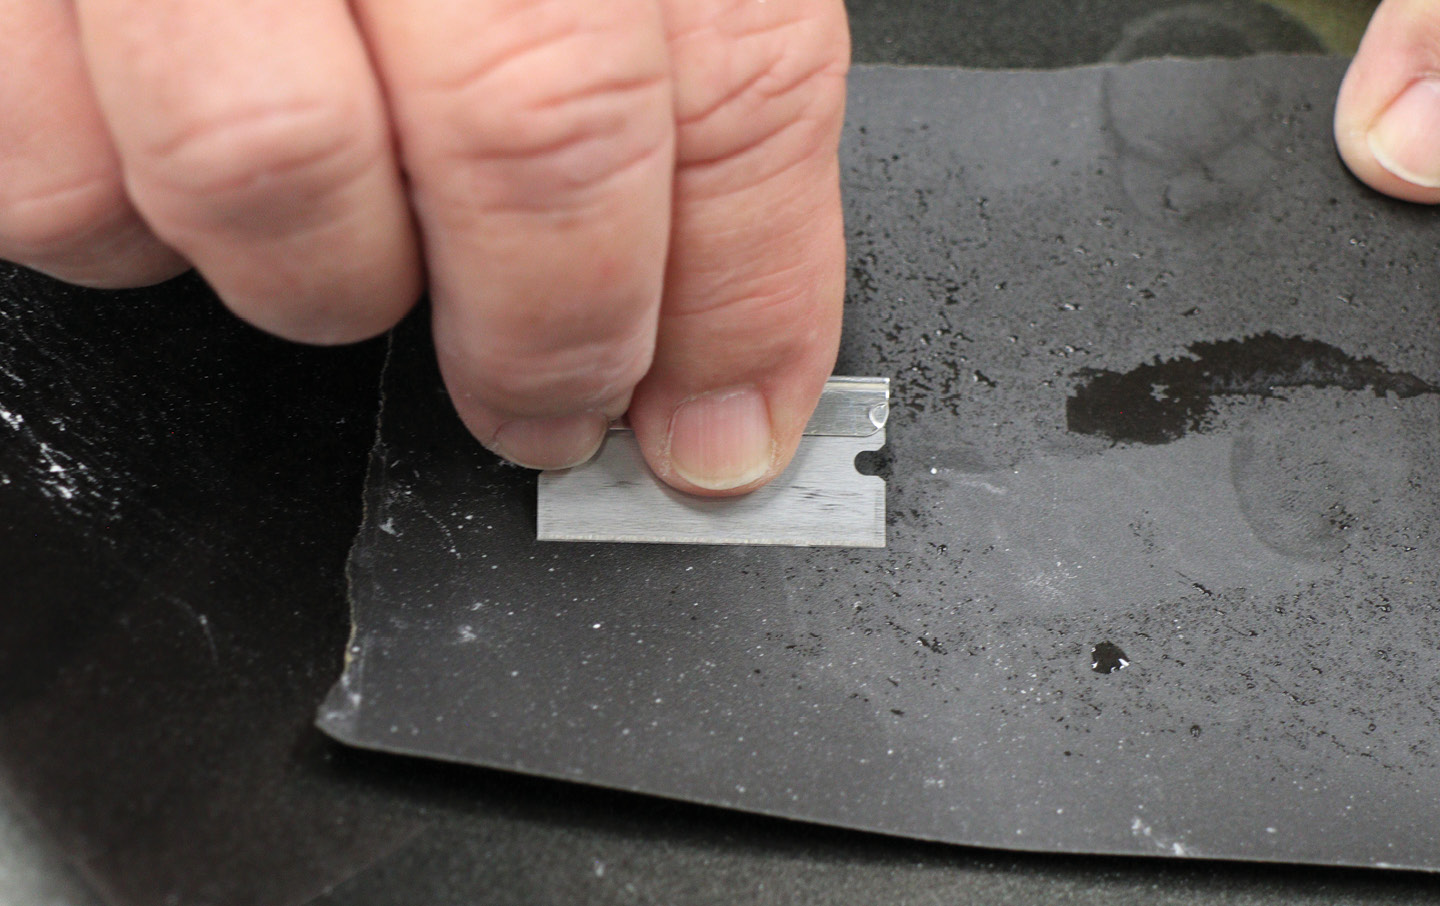
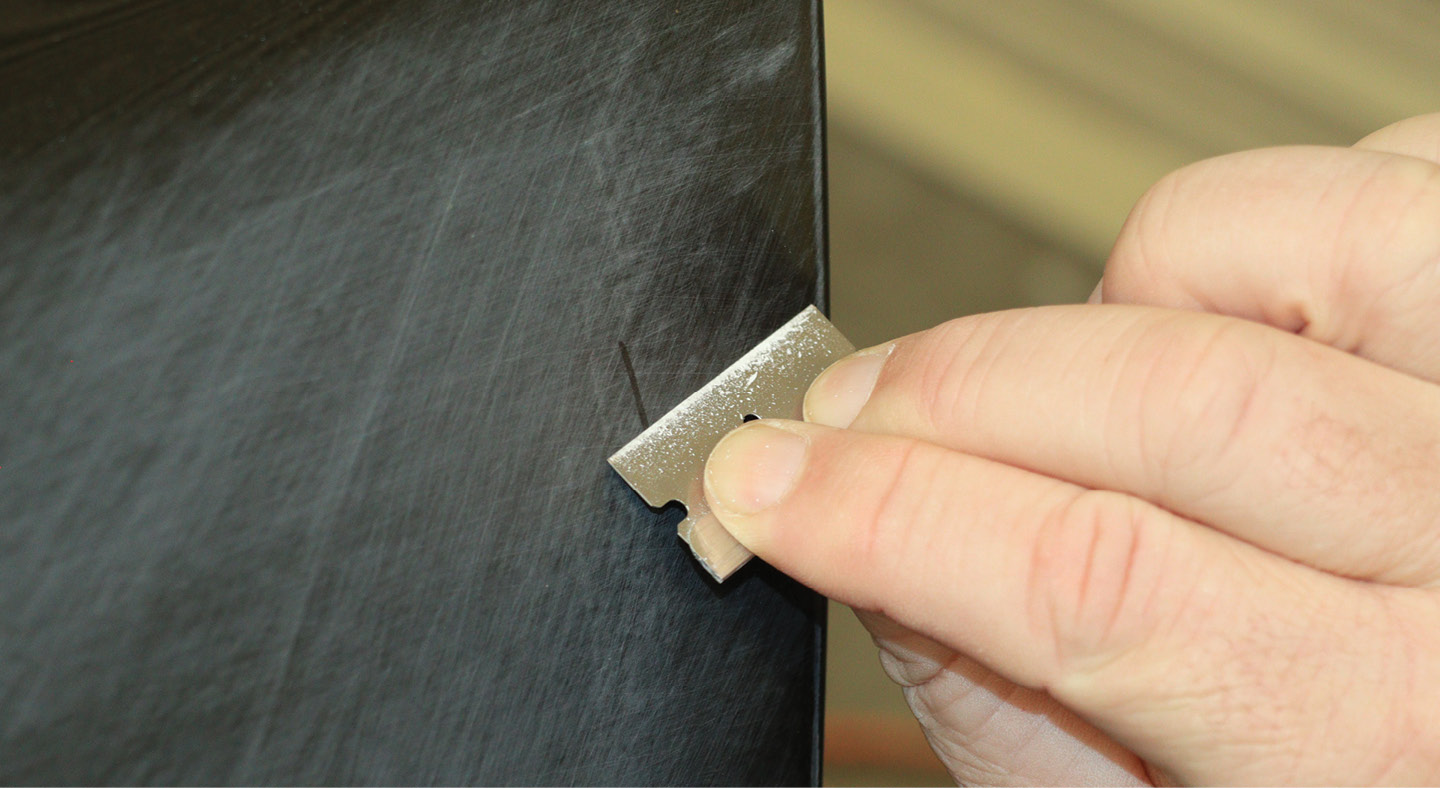
Way back in the days of acrylic lacquer, a sheet of 600 wet and dry sandpaper was the finest grit available and folded in thirds to color sand and rub—the rubout came with a wool pad on a “wheel” (rotary polisher) slinging various grades of rubbing compound. Skipping past a succession of developments throughout the years, today urethanes have supplanted acrylic lacquer as the desired finish and “color sand and rub” is now called “cut and buff.”

Jason Killmer devised this homemade, 10,600-lumens, neutral balance light source with light fixtures from Home Depot mounted on a used camera tripod.
2. Jason Killmer devised this homemade, 10,600-lumens, neutral balance light source with light fixtures from Home Depot mounted on a used camera tripod.
Intense direct light is essential to detect scratches; equivalent to 250-watt LED lights it draws much less current, drawing only 25 watts and mimics natural light.
3. Intense direct light is essential to detect scratches; equivalent to 250-watt LED lights it draws much less current, drawing only 25 watts and mimics natural light.
Begin wet-sanding with 600-grit wet and dry, unless clearcoat has excessive orange peel then use faster-cutting 400-grit wet and dry.
4. Begin wet-sanding with 600-grit wet and dry, unless clearcoat has excessive orange peel then use faster-cutting 400-grit wet and dry.
In a bucket of water, add dish soap to lubricate pre-soaked 600-grit wet and dry. Choose the sanding block that fits the contour best and cross hatch.
5. In a bucket of water, add dish soap to lubricate pre-soaked 600-grit wet and dry. Choose the sanding block that fits the contour best and cross hatch.
Blocking with 600-grit cuts the clear. Check that the area is sanded thoroughly before moving onto 1,000-grit. Using 1,000-grit removes 600-grit scratches.
6. Blocking with 600-grit cuts the clear. Check that the area is sanded thoroughly before moving onto 1,000-grit. Using 1,000-grit removes 600-grit scratches.
Wash and squeegee dry to inspect with bright light if 1,000-grit has removed 600-grit scratches. Follow with 1,500 grit to remove 1,000-grit scratches.
7. Wash and squeegee dry to inspect with bright light if 1,000-grit has removed 600-grit scratches. Follow with 1,500 grit to remove 1,000-grit scratches.
Repeat wash and squeegee dry, inspect with bright light, checking to ensure 2,000-grit removed 1,500-grit scratches. Renew sandpaper if it’s loading up.
8. Repeat wash and squeegee dry, inspect with bright light, checking to ensure 2,000-grit removed 1,500-grit scratches. Renew sandpaper if it’s loading up. 
The finer the grit used the least amount of time will be spent polishing with rubbing compound. We ended with 3,000-grit as the finest paper used in this class.
9. The finer the grit used the least amount of time will be spent polishing with rubbing compound. We ended with 3,000-grit as the finest paper used in this class.
Finest grit available, Trizact 8,000-grit, is used dry on a DA (dual-action orbital) and leaves the paint polished with minimum compounding required to finish.
10. Finest grit available, Trizact 8,000-grit, is used dry on a DA (dual-action orbital) and leaves the paint polished with minimum compounding required to finish.
The sharper the angle of the body contour the smaller the sanding block should be and approached cross-hatching as opposed to straight on.
11. The sharper the angle of the body contour the smaller the sanding block should be and approached cross-hatching as opposed to straight on.
A sharp edge on a generic microfiber towel can scratch the paint. Newly introduced rounded edge Harbor Freight premium microfiber towels eliminate the possibility.
12. A sharp edge on a generic microfiber towel can scratch the paint. Newly introduced rounded edge Harbor Freight premium microfiber towels eliminate the possibility. 
Here Killmer uses a Harbor Freight 5,000-lumen, 4-foot LED light to illuminate orange peel in the painted fender before block sanding with 600-grit.
13. Here Killmer uses a Harbor Freight 5,000-lumen, 4-foot LED light to illuminate orange peel in the painted fender before block sanding with 600-grit.
A detailer inspection light is used to locate and help eliminate sanding scratches as block sanding progresses from 600- to 3,000-grit.
14. A detailer inspection light is used to locate and help eliminate sanding scratches as block sanding progresses from 600- to 3,000-grit.
White Mirka for dark paint colors and black Mirka for light paint colors will reveal high and low spots and remain embedded to illuminate sanding scratches.
15. White Mirka for dark paint colors and black Mirka for light paint colors will reveal high and low spots and remain embedded to illuminate sanding scratches.
A guidecoating tip, Larry Watson says, “Don’t stripe it like a watermelon, apply guidecoat evenly like you are shooting a candy color.”
16. A guidecoating tip, Larry Watson says, “Don’t stripe it like a watermelon, apply guidecoat evenly like you are shooting a candy color.”
Squeegee to dry water from the surface in between sanding stages grits 600-3,000. Squeegeed sanded clear will dry in the scratches and appear under bright light.
17. Squeegee to dry water from the surface in between sanding stages grits 600-3,000. Squeegeed sanded clear will dry in the scratches and appear under bright light.
A large subtle curved area, but notice the narrow width of the sanding block allows the block to contact the surface fully.
18. A large subtle curved area, but notice the narrow width of the sanding block allows the block to contact the surface fully.
The high intensity of the Bauer inspection light confirms there are no accidental scratches that would require backtracking with coarser-grit sandpaper to remove.
19. The high intensity of the Bauer inspection light confirms there are no accidental scratches that would require backtracking with coarser-grit sandpaper to remove.
Saturday the class was all about wet block sanding and then Sunday class moved to final polishing using Meguiar’s 110 and 210 rubbing compound.
20. Saturday the class was all about wet block sanding and then Sunday class moved to final polishing using Meguiar’s 110 and 210 rubbing compound. 
Slang for a rotary polisher is “a wheel” and using a wheel to rub paint out requires an experienced operator capable of not burning through.
21. Slang for a rotary polisher is “a wheel” and using a wheel to rub paint out requires an experienced operator capable of not burning through. 
Fast cutting an “old-school” 7-1/2-inch wool buffing pad works great on a rotary but safer for the paint a novice uses a long-throw DA polisher.
22. Fast cutting an “old-school” 7-1/2-inch wool buffing pad works great on a rotary but safer for the paint a novice uses a long-throw DA polisher.
Color defines the cutting ability (coarseness) of Bauer foam pads; coarse is blue, medium is green, yellow is fine, and white is ultra-fine. Foam collapses as it wears.
23. Color defines the cutting ability (coarseness) of Bauer foam pads; coarse is blue, medium is green, yellow is fine, and white is ultra-fine. Foam collapses as it wears.
Teaching with a hands-on approach, Jason Killmer instructs the flat angle and amount of compound that must be used to not burn the paint.
24. Teaching with a hands-on approach, Jason Killmer instructs the flat angle and amount of compound that must be used to not burn the paint.
A DA sander is a lot less likely to burn paint than a rotary. Freeze frame photography catches the blurred longer stroke of Harbor Freight’s Bauer Long-Throw random orbit DA polisher.
25. A DA sander is a lot less likely to burn paint than a rotary. Freeze frame photography catches the blurred longer stroke of Harbor Freight’s Bauer Long-Throw random orbit DA polisher.  
Got runs? Shave runs in the clear using a single-edge razor blade. Bend the blade down slightly and hone possible burrs from the blade using sandpaper.
26. Got runs? Shave runs in the clear using a single-edge razor blade. Bend the blade down slightly and hone possible burrs from the blade using sandpaper. 
If you don’t get runs, you’re not trying hard enough. A run or a buildup of clear at an edge can be shaved using a downstroke only.
27. If you don’t get runs, you’re not trying hard enough. A run or a buildup of clear at an edge can be shaved using a downstroke only. 
The top cut and buffers all seem to have their own product line of sanding blocks. Killmer brought KxK Dynamics Palm Blox Hard Series for the class.
28. The top cut and buffers all seem to have their own product line of sanding blocks. Killmer brought KxK Dynamics Palm Blox Hard Series for the class.
SOURCES
Auto Metal Direct (AMD)
(888) 255-3907
autometaldirect.com
Harbor Freight
harborfreight.com
Harold’s Hot Rod Shop
(580) 548-3033
haroldshotrodshop.net
Jason Killmer
kxkdynamics.com
Sylvester’s Customs
@sylvestercustoms
Temecula Valley Paint
(951) 676-2943
temeculavalleypaint.com
Modern Rodding

VOLUME 4 • ISSUE 34 • 2023