InTheGarageMedia.com

 Photography by THE AUTHOR & Brian Brennan
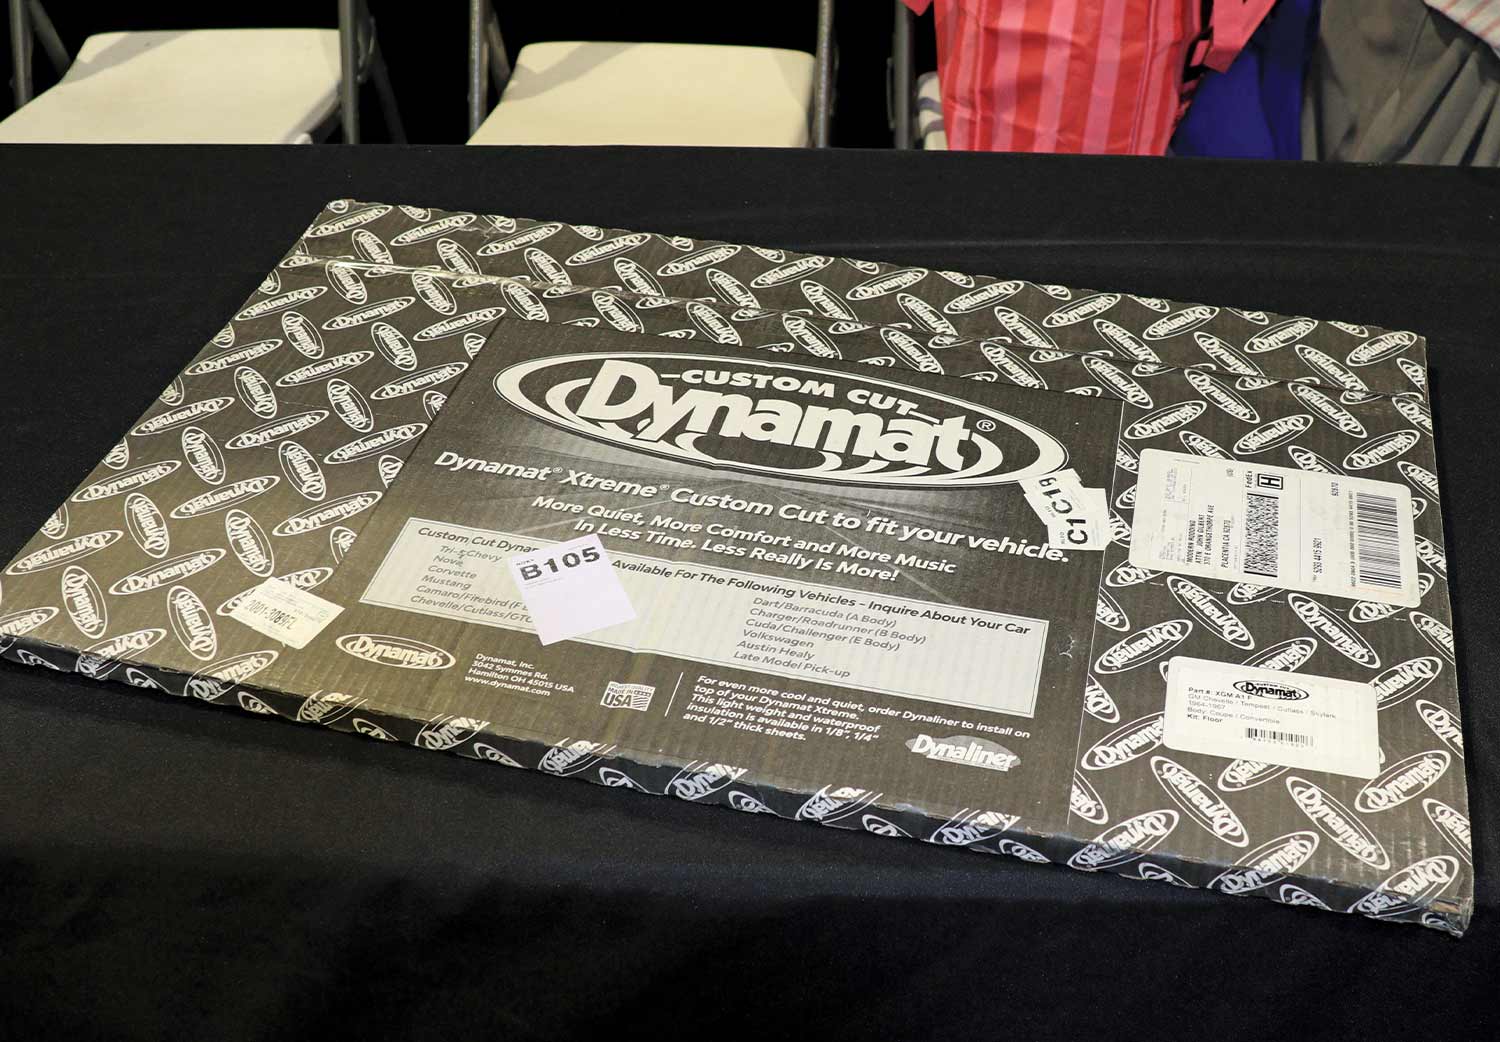
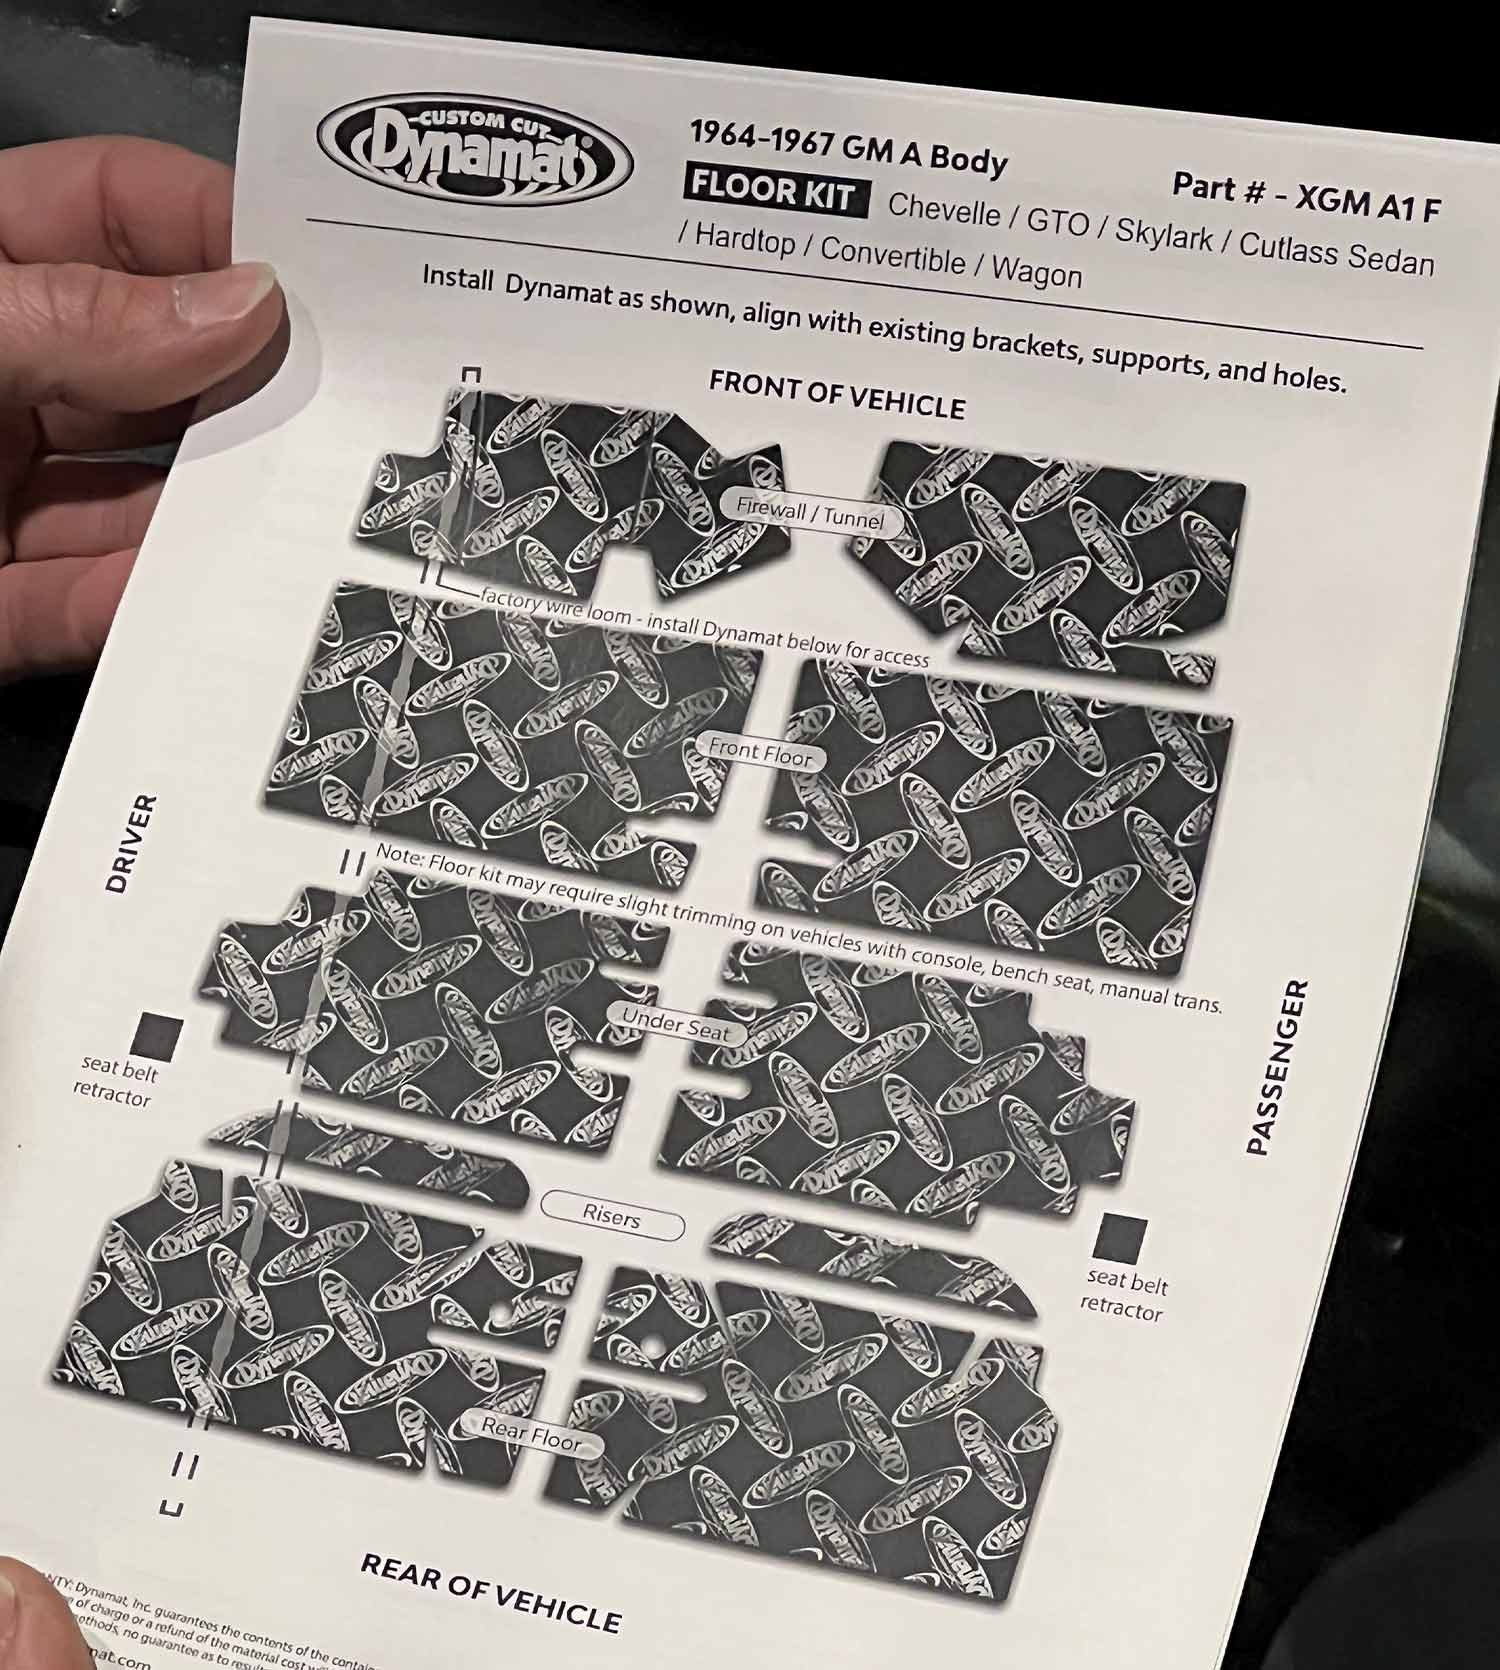
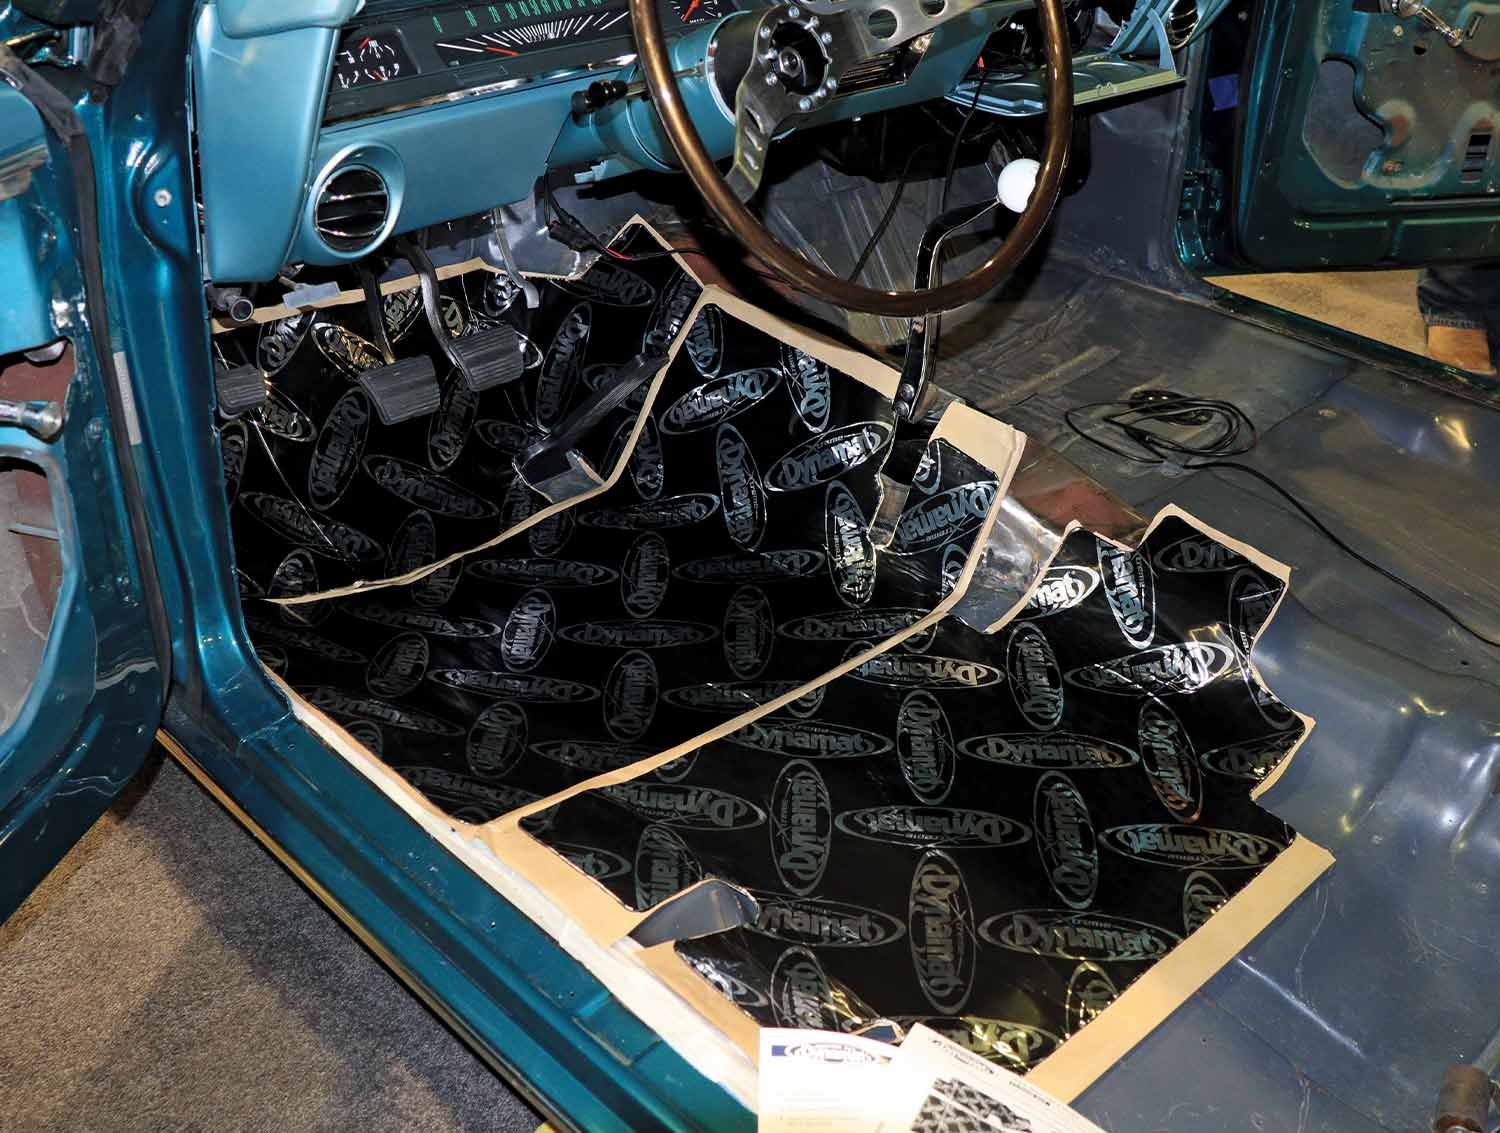
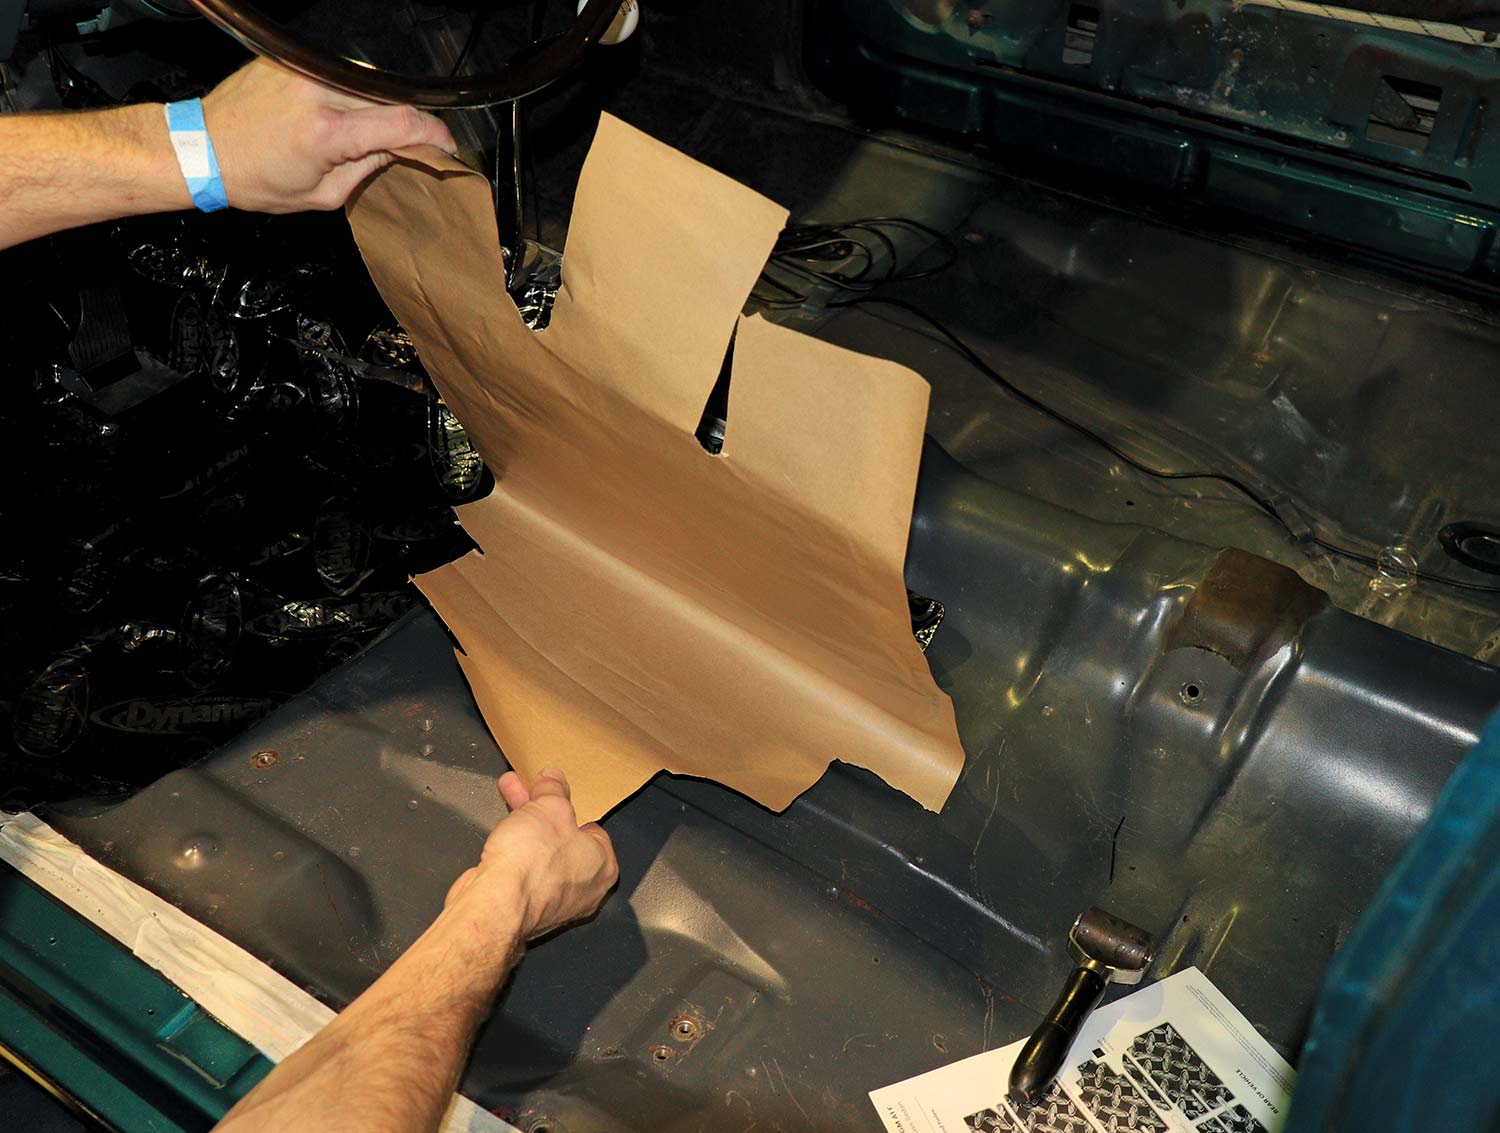
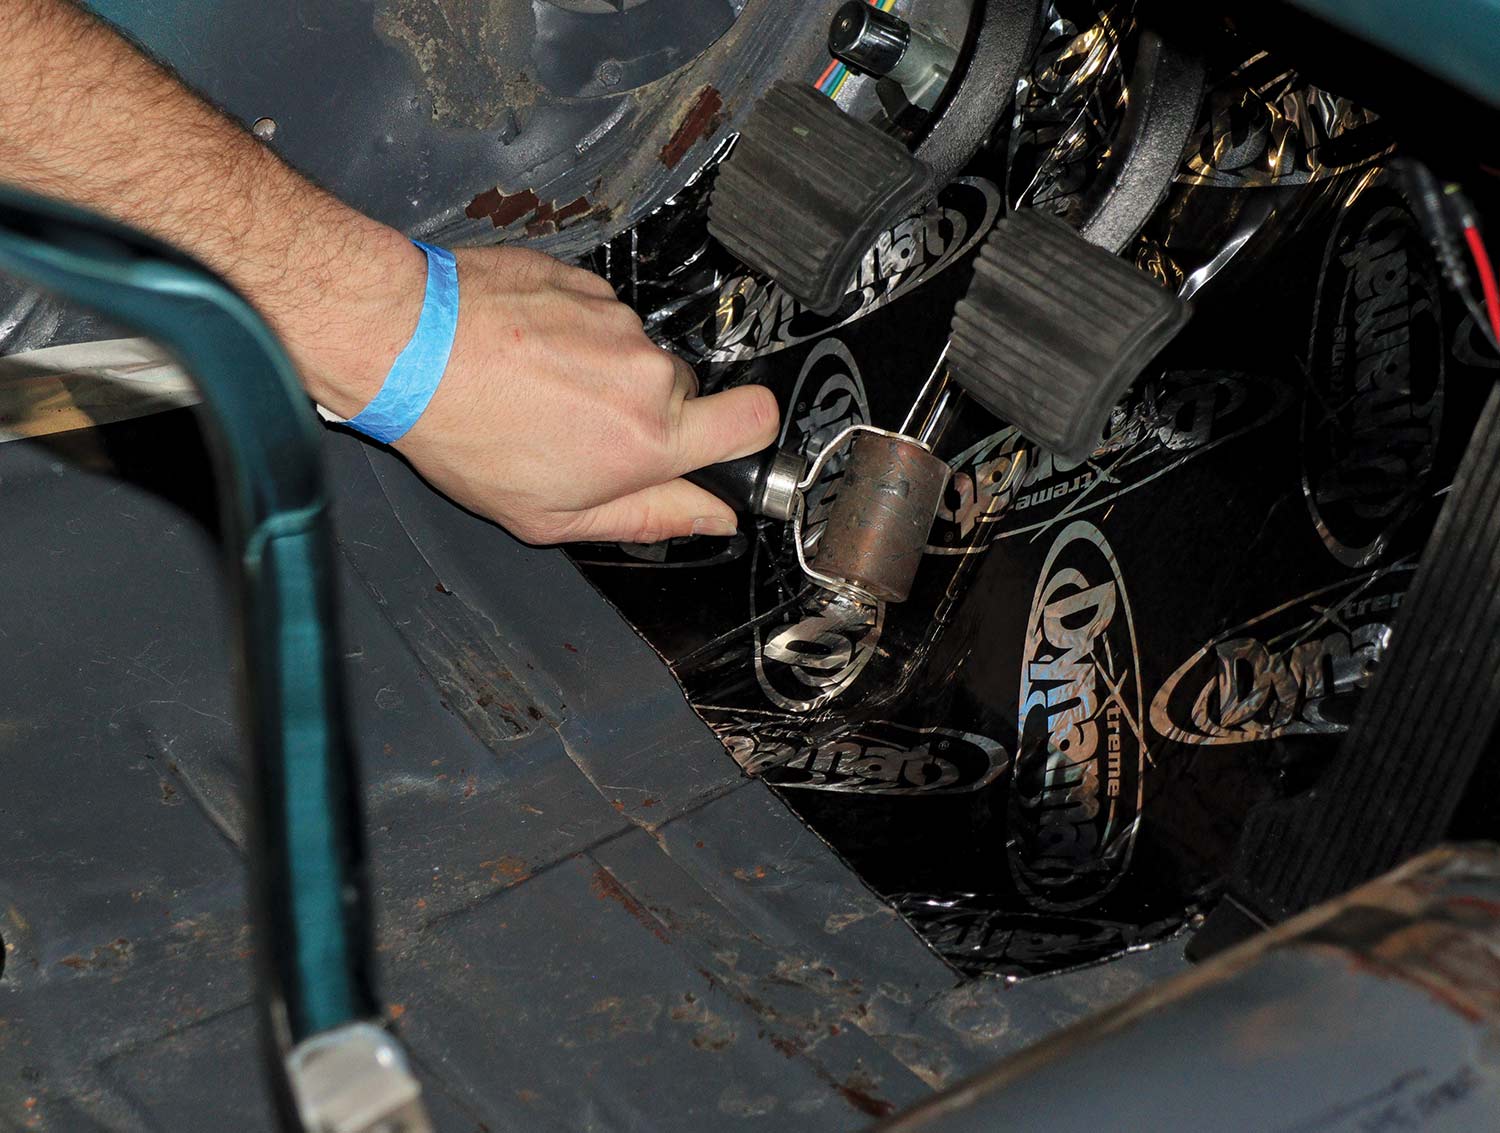
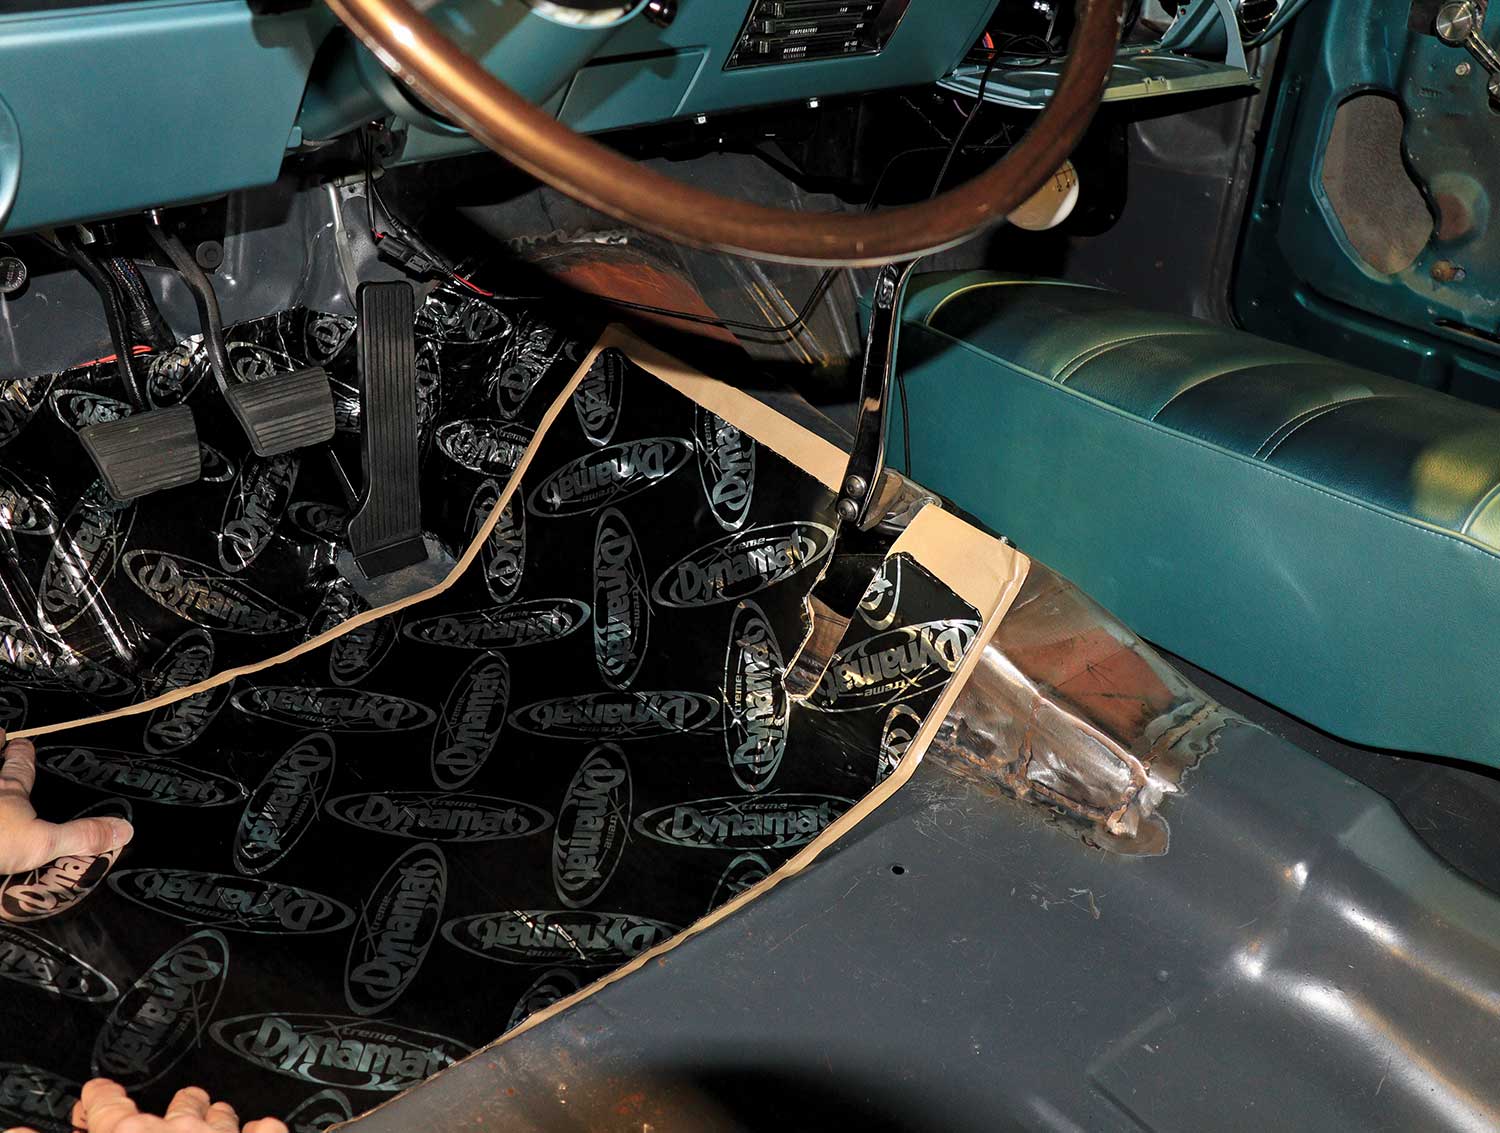
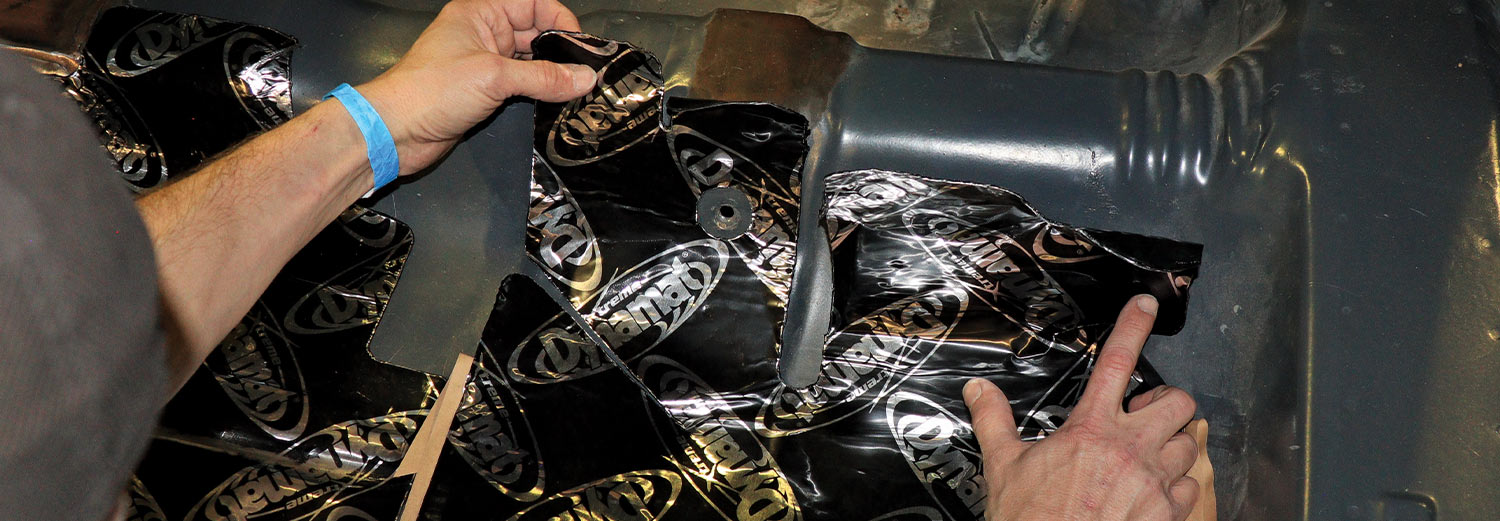
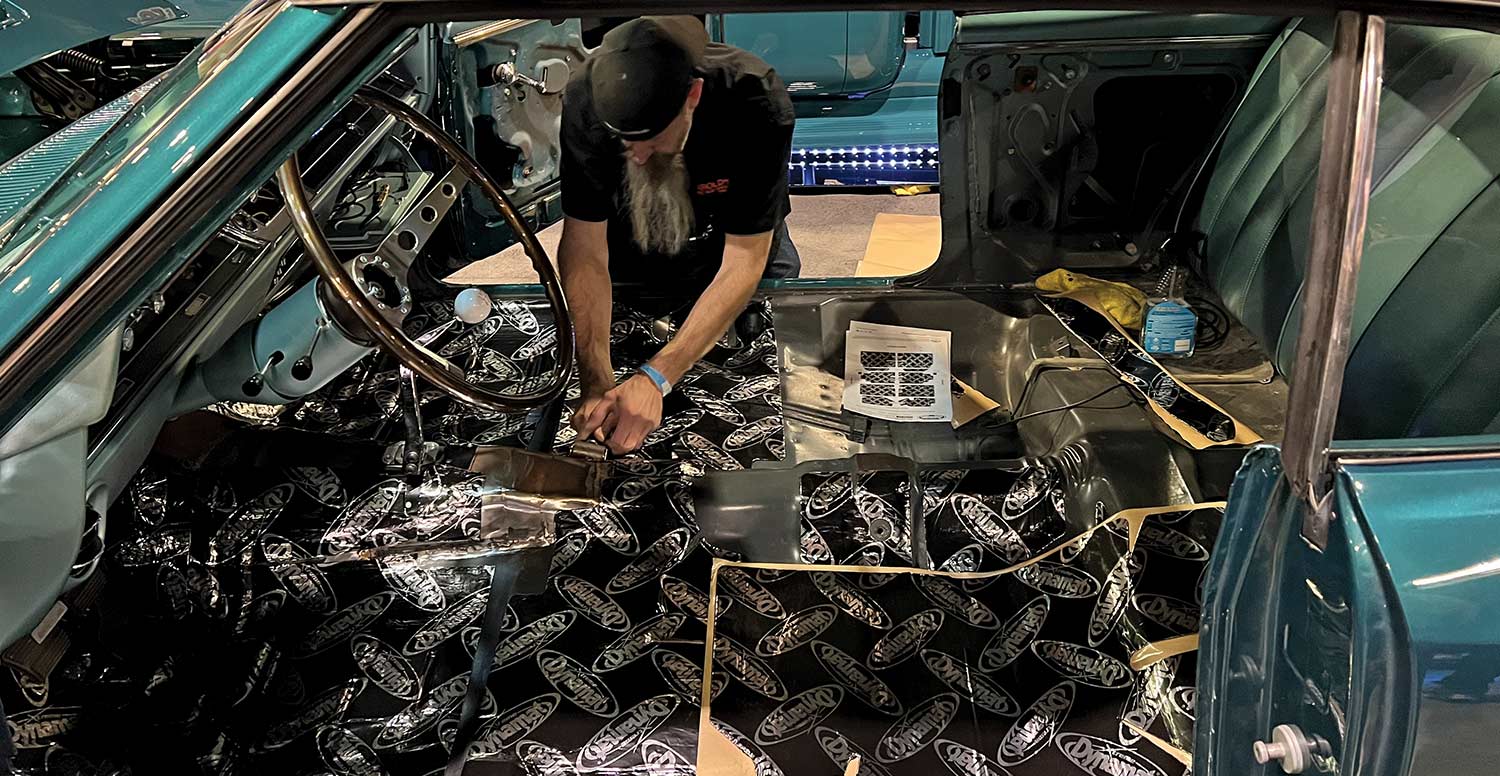
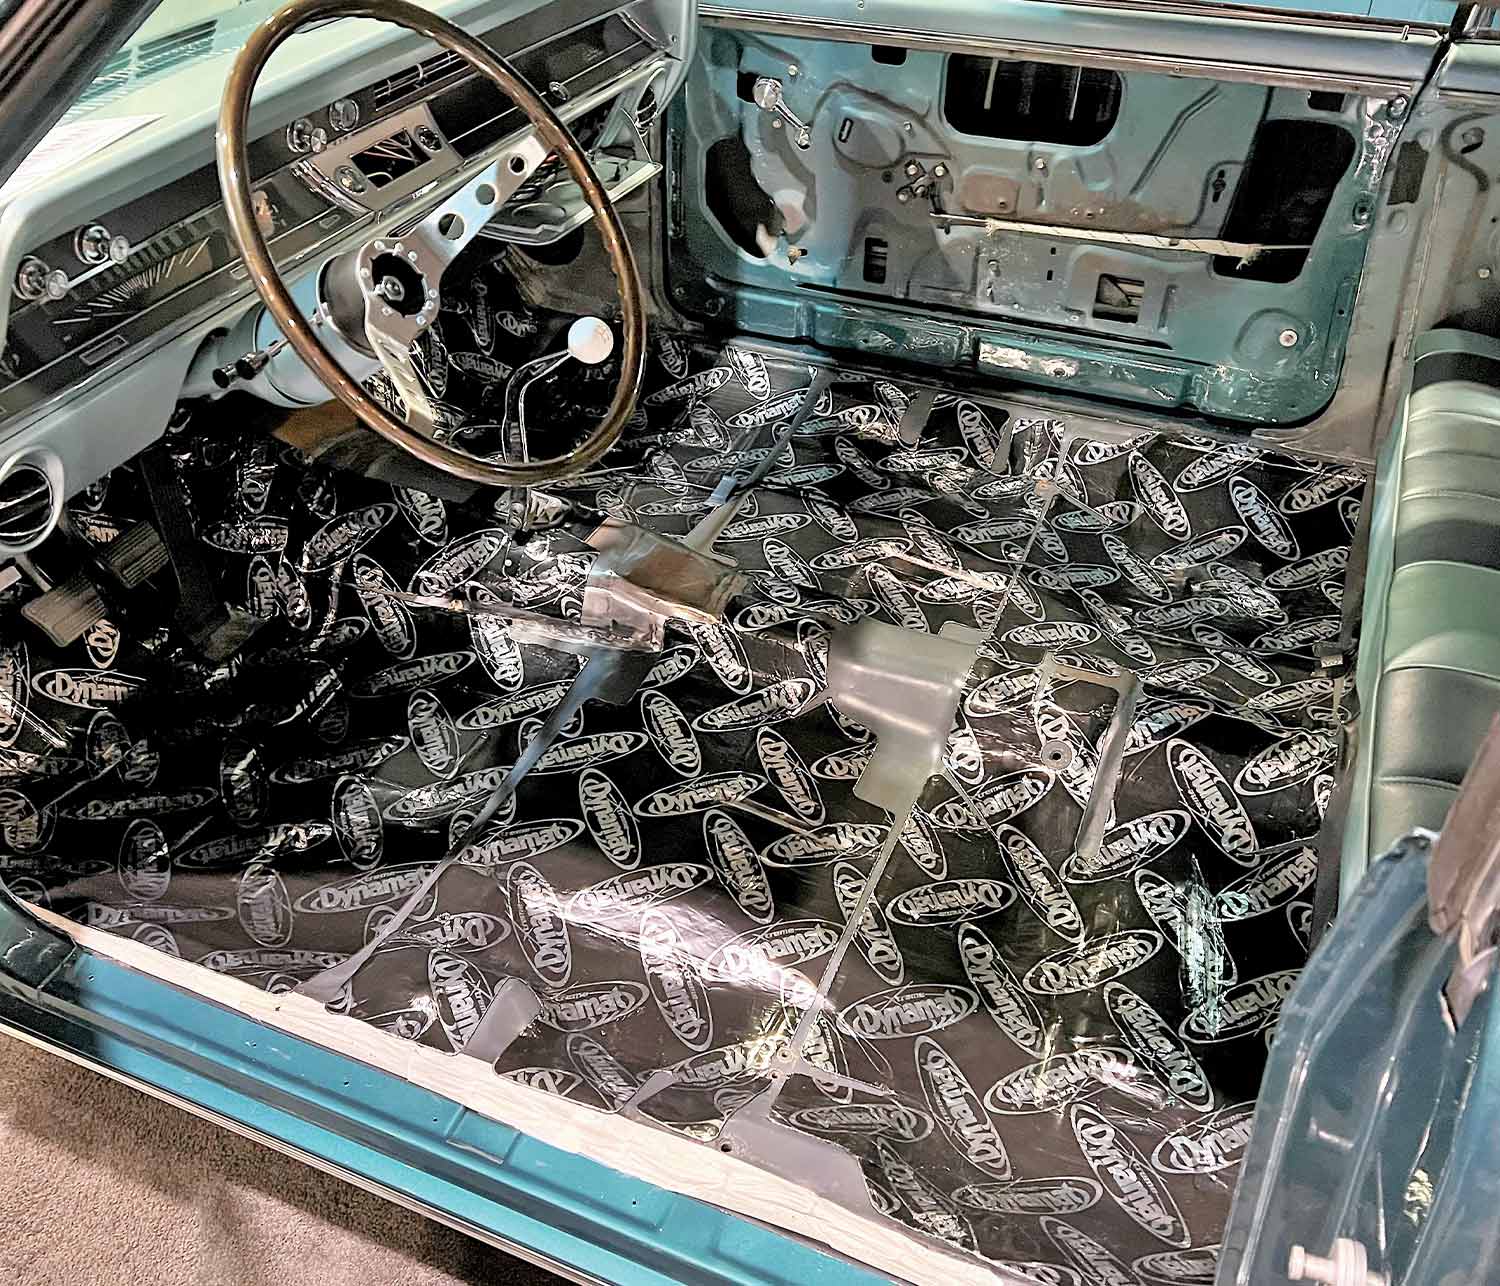
hat better way to demonstrate Dynamat’s Xtreme Custom Cut Kit made for GM A-body cars can easily be installed by using just a Dyna-Roller than to prove it in front of hundreds of folks at the 2022 Grand National Roadster Show? Custom cut means Dynamat’s sound-damping material is precut to fit a specific make of car or truck and only requires peel and stick for installation. Then mash it flat with a Dyna-Roller and it’s done.
The saga of this ’66 Chevelle Malibu project dates back over five years ago when I had just been given the editorship of Chevelle magazine. I had never owned a Chevelle for the street, but in the mid ’70s I did buy a few ’66 Malibus for around $200 so my race crazy friends and I could cut them up to roundy round race at Irwindale’s Speedway 605 on Saturday night.
The 21st century was high time for me to repent for the Chevelles I had destroyed racing decades ago and, besides, I didn’t want readers asking if I owned a Chevelle and didn’t. The ’66 SS396 Chevelle has always been a favorite of mine since early 1966 when my dad and I searched for SS396s on Clippinger Chevrolet’s new car lot in Covina, California. It was spotting the distinctive twin inline scoops on the SS396 hoods that sped up our search locating SS396s on Clippinger’s lot.
In my search to buy a project ’66 Chevelle I wasn’t concerned whether I found a real SS396, I was going to have an SS396 hood on whatever model I found. I soon discovered ’66 Chevelles were hard to find for the money I had hoped to spend. Enter my good friend Brian Shaw, a CPA and magazine project car enabler with the funds to enter as a half-owner and co-conspirator.
Shaw located the Chevelle for sale in California’s high desert belonging to a guy who believed storing used disc brakes wrapped in a heavy quilt in the trunk was a good idea. Typical for many A-body cars the trunk floor was rusted out from rain damage. It was this damage that allowed Shaw to get the last $1,000 off the asking price.
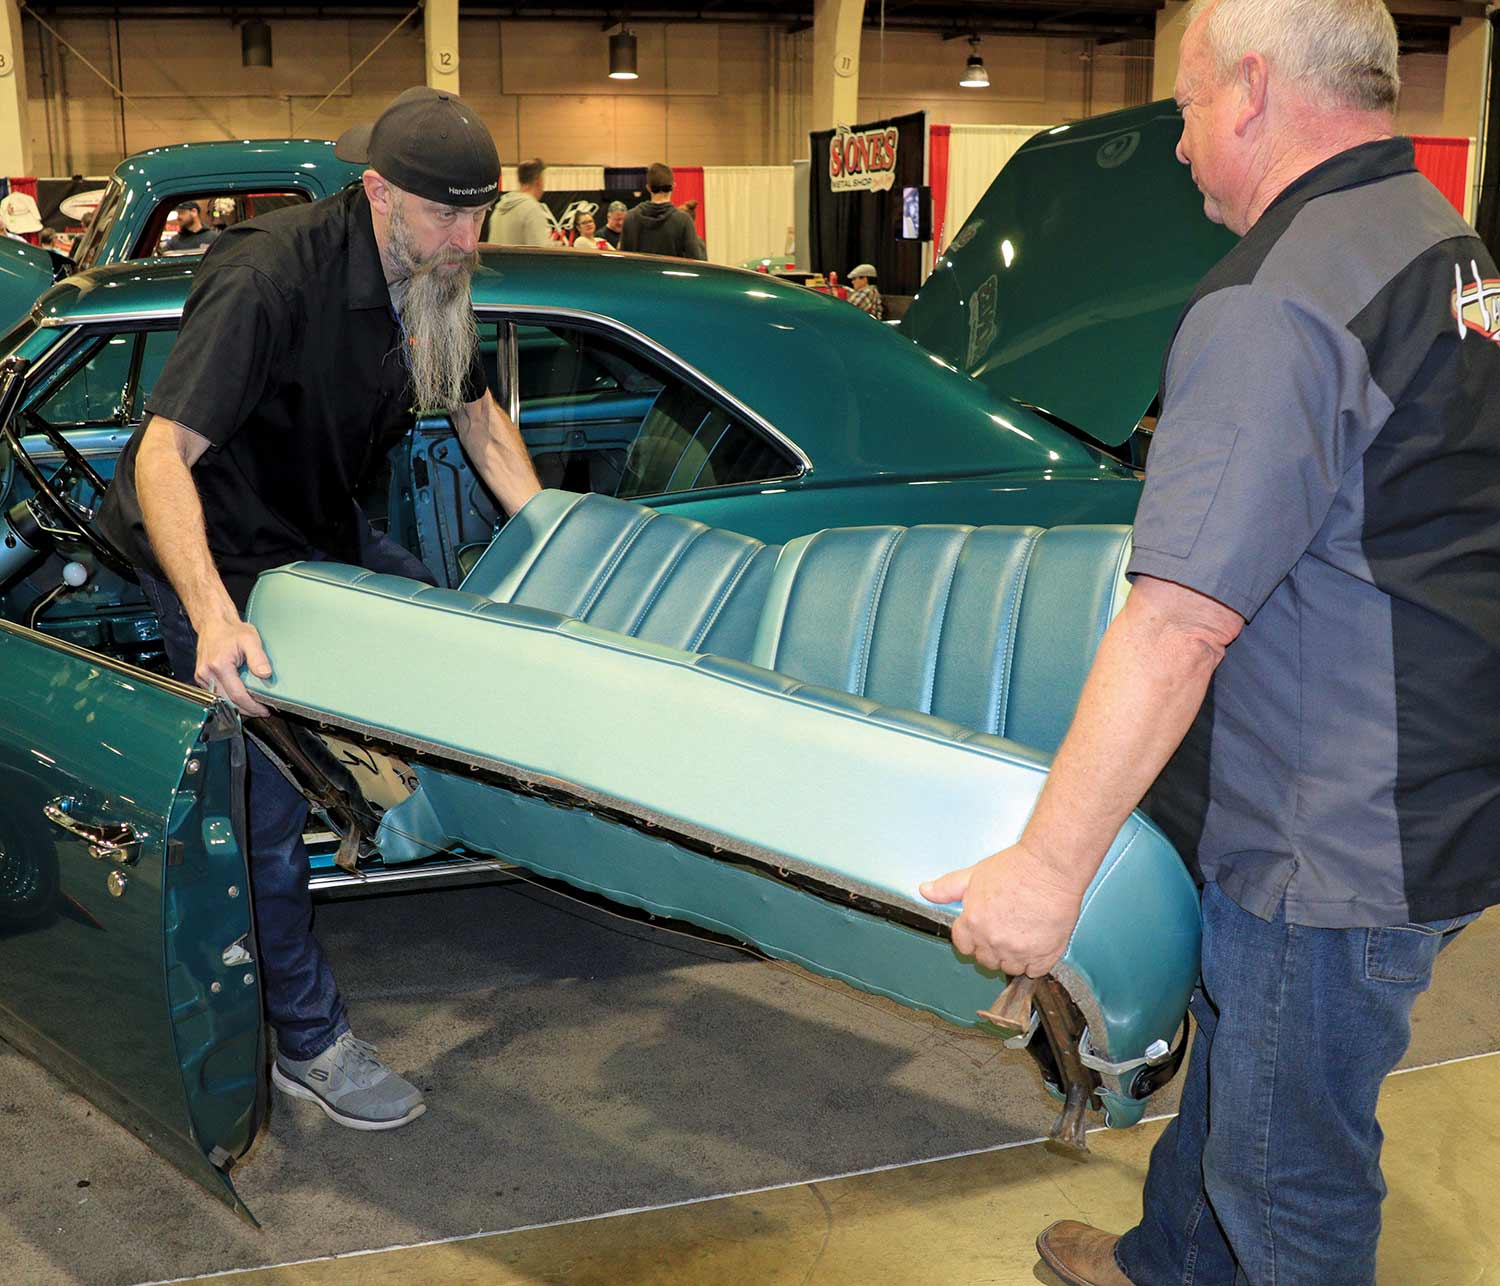
Shaw and I got the Chevelle’s four-barrel 283 with an overdrive three-speed transmission to run and drive. The first tech story was how to find and buy a good used Chevelle followed with an upholstery tech then installing Coker radials with Wheel Vintiques 15-inch wheels. Twice I had featured our Chevelle in a cameo spot on the cover of Chevelle when my friend Harold Clay of Harold’s Hot Rod Shop (HHRS) in Enid, Oklahoma, offered to install a new trunk floor and paint the car. I was expecting a scuff and squirt paintjob, but that’s not how Clay rolls.
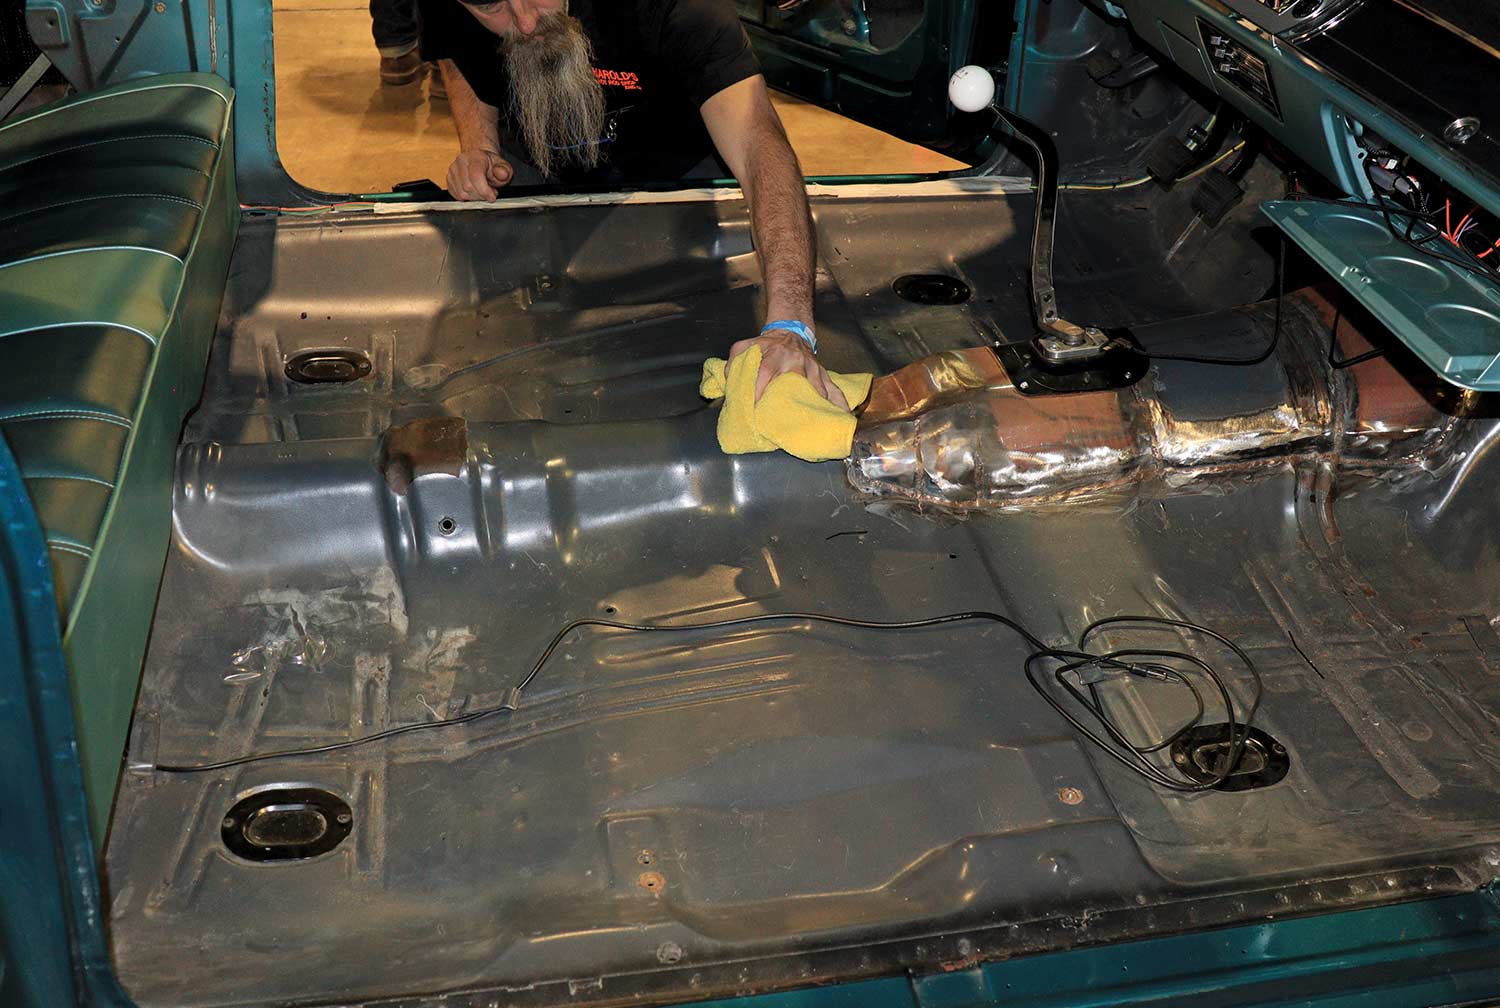
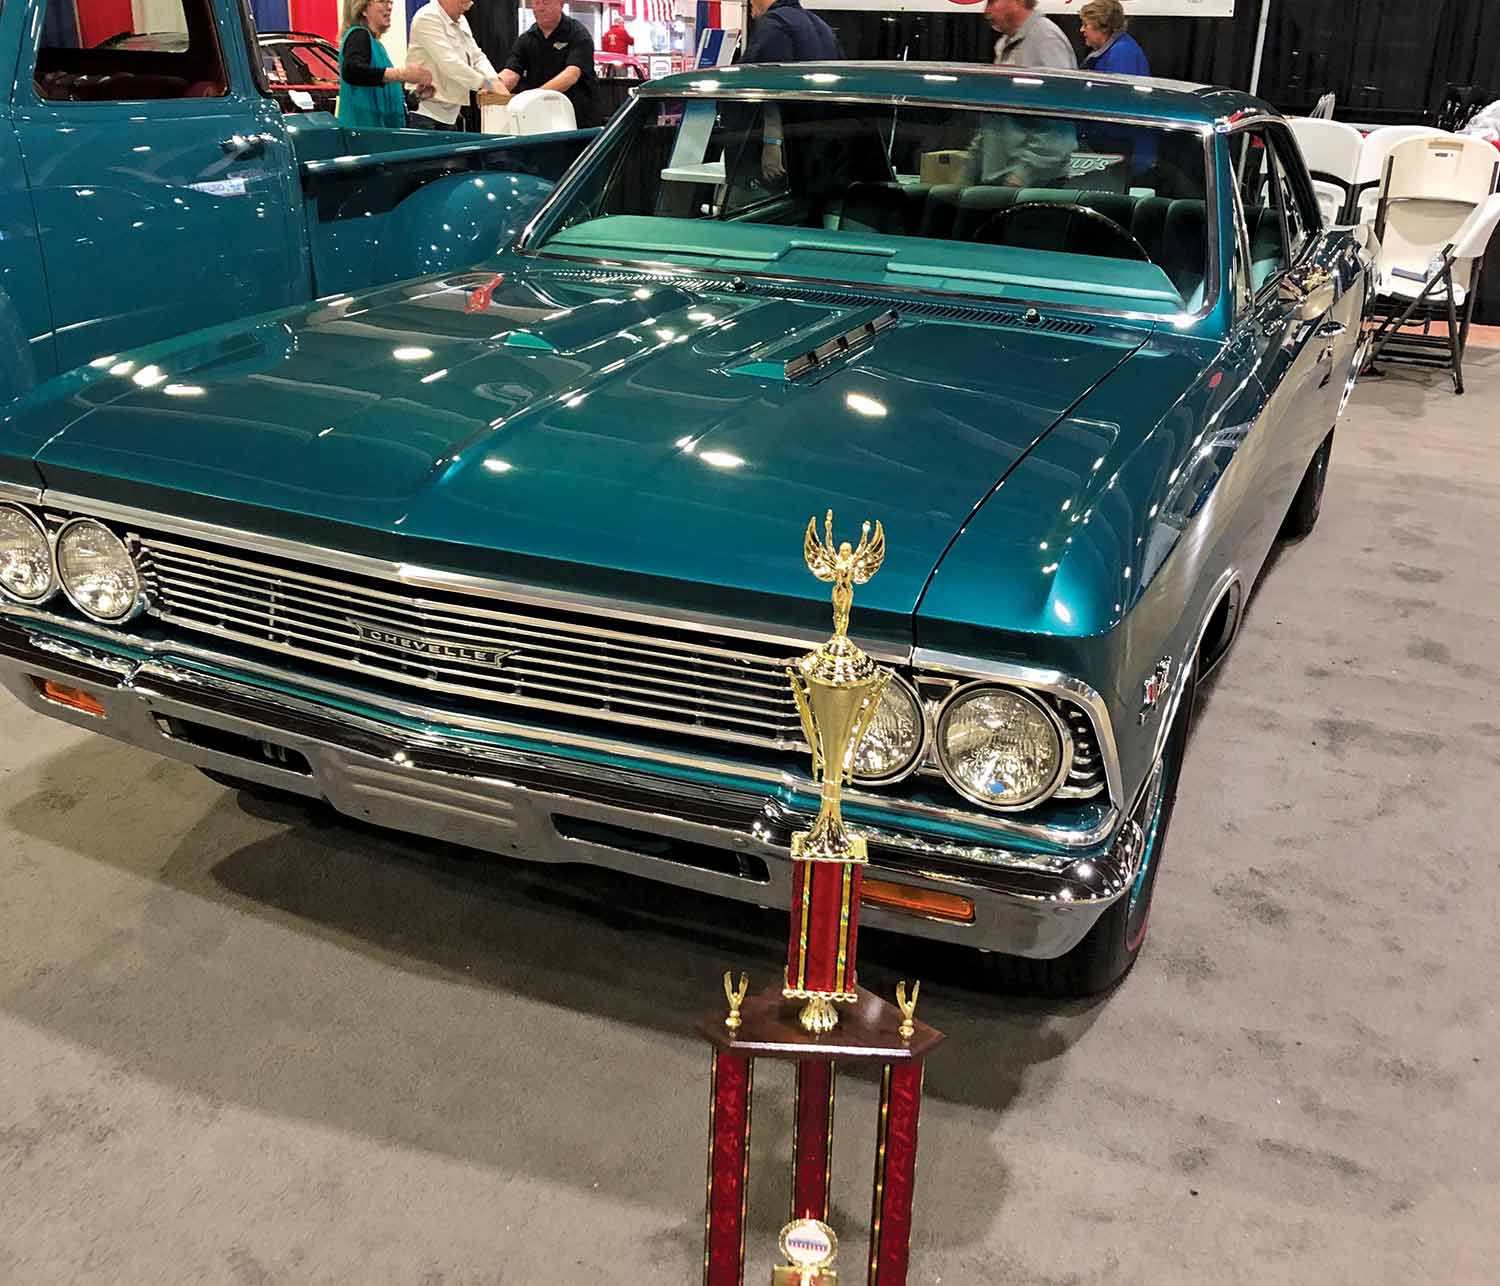
We trucked the Chevelle to a halfway point in New Mexico where Clay met us and hauled the Chevelle back to Enid. Clay and his guys stripped the Chevelle down to the bare chassis. With the body off the frame, HHRS commenced the major bodywork by installing a new Auto Metal Direct trunk floor. Ultimately, the Chevelle left HHRS with a concours quality PPG paintjob that garnered the car a First Place win in its class at the Grand National Roadster Show in 2022.
Once Clay completed the Chevelle to his unrelenting high standards, the die was cast and putting the car back together had to be met constructing it with the finest components available. Underhood there’s a FiTech-injected Chevrolet Performance ZZ454 backed with a Silver Sport TREMEC six-speed trans.
Creature comforts start with a Vintage Air Monster brushless cooling fan/shroud and Front Runner serpentine belt system on the 454 powering Vintage Air air conditioning. Air conditioning alone cannot keep the interior of a car cooled to satisfaction, which is one of the reasons for installing Dynamat Xtreme.
Beyond holding the cold in summer or keeping the heat in winter, another good reason for using Dynamat is noise suppression. Outside the ZZ454 shakes the ground, but thanks to Sanderson headers running through a MagnaFlow muffled stainless steel exhaust system combined with Dynamat Xtreme, the healthy baritone exhaust note is hardly audible inside.


VOLUME 3 • ISSUE 22 • 2022