Modern Rodding Tech
InTheGarageMedia.com
Original 1959 Chevrolet engine compartment
1. The original 1959 Chevrolet engine compartment isn’t up to the caliber of the rest of this project, so BBT Fabrications will start from scratch and build all-new panels.
BBT Fabrications Builds a 1959 Chevy Impala
Part 4: Metalworking Firewall and Engine Compartment
By Ron Covell Photography by BBT Fabrications
I

n past articles, we have examined several aspects of the BBT Fabrications 1959 Impala. This time, we will focus on the extensive work done underhood. Virtually every piece of metal around the engine has been custom fabricated, with great attention paid to fitting the complex panels together in the cleanest manner possible.

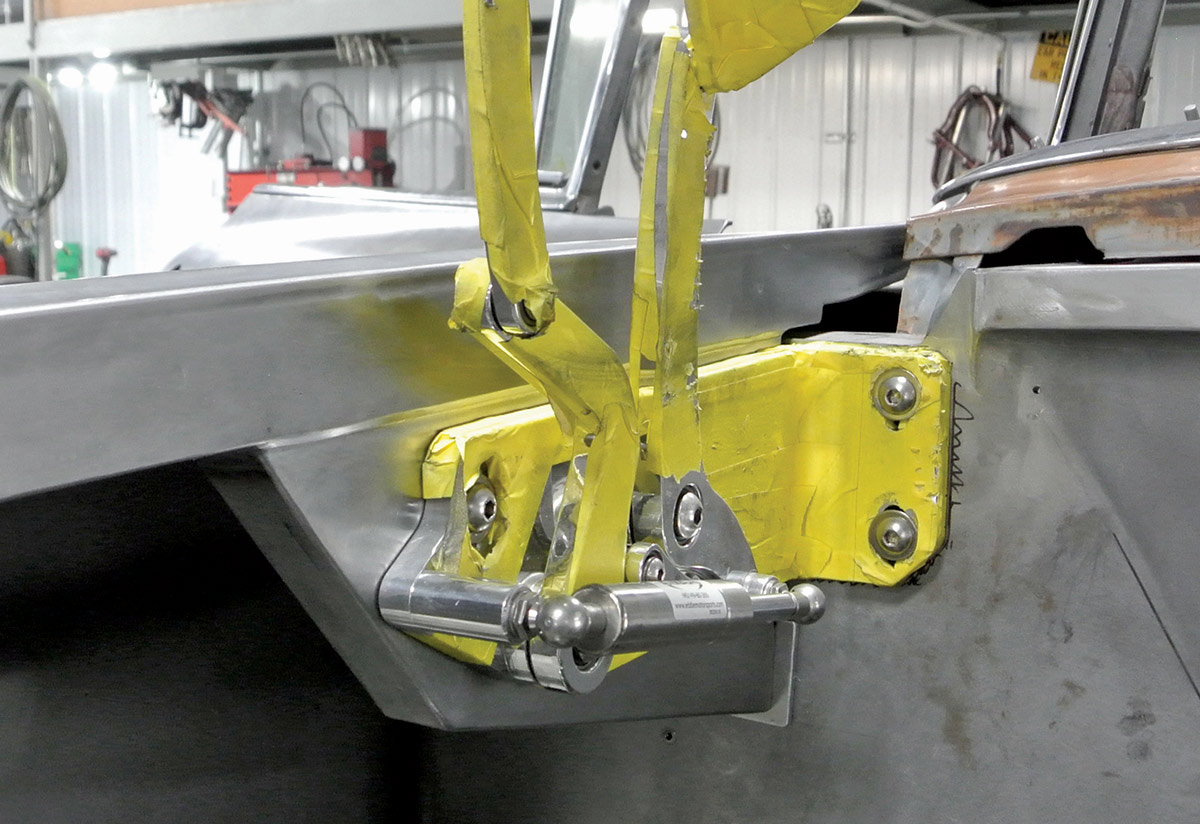
A new toeboard was fabricated to connect the front floor to the new firewall, and tasteful steps and recesses were added to these panels to give them more strength and a touch of style. These panels also support the new body mounts.

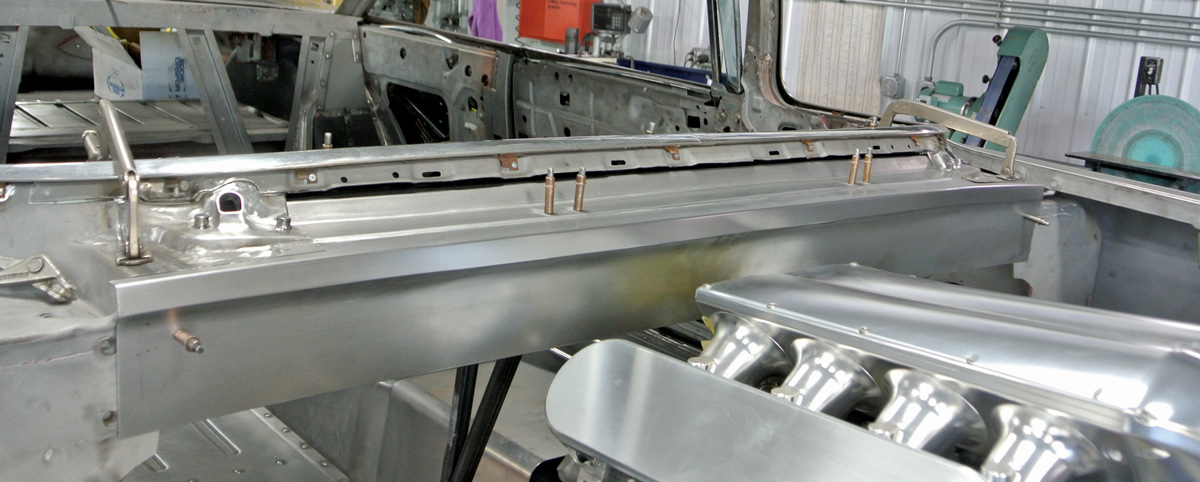
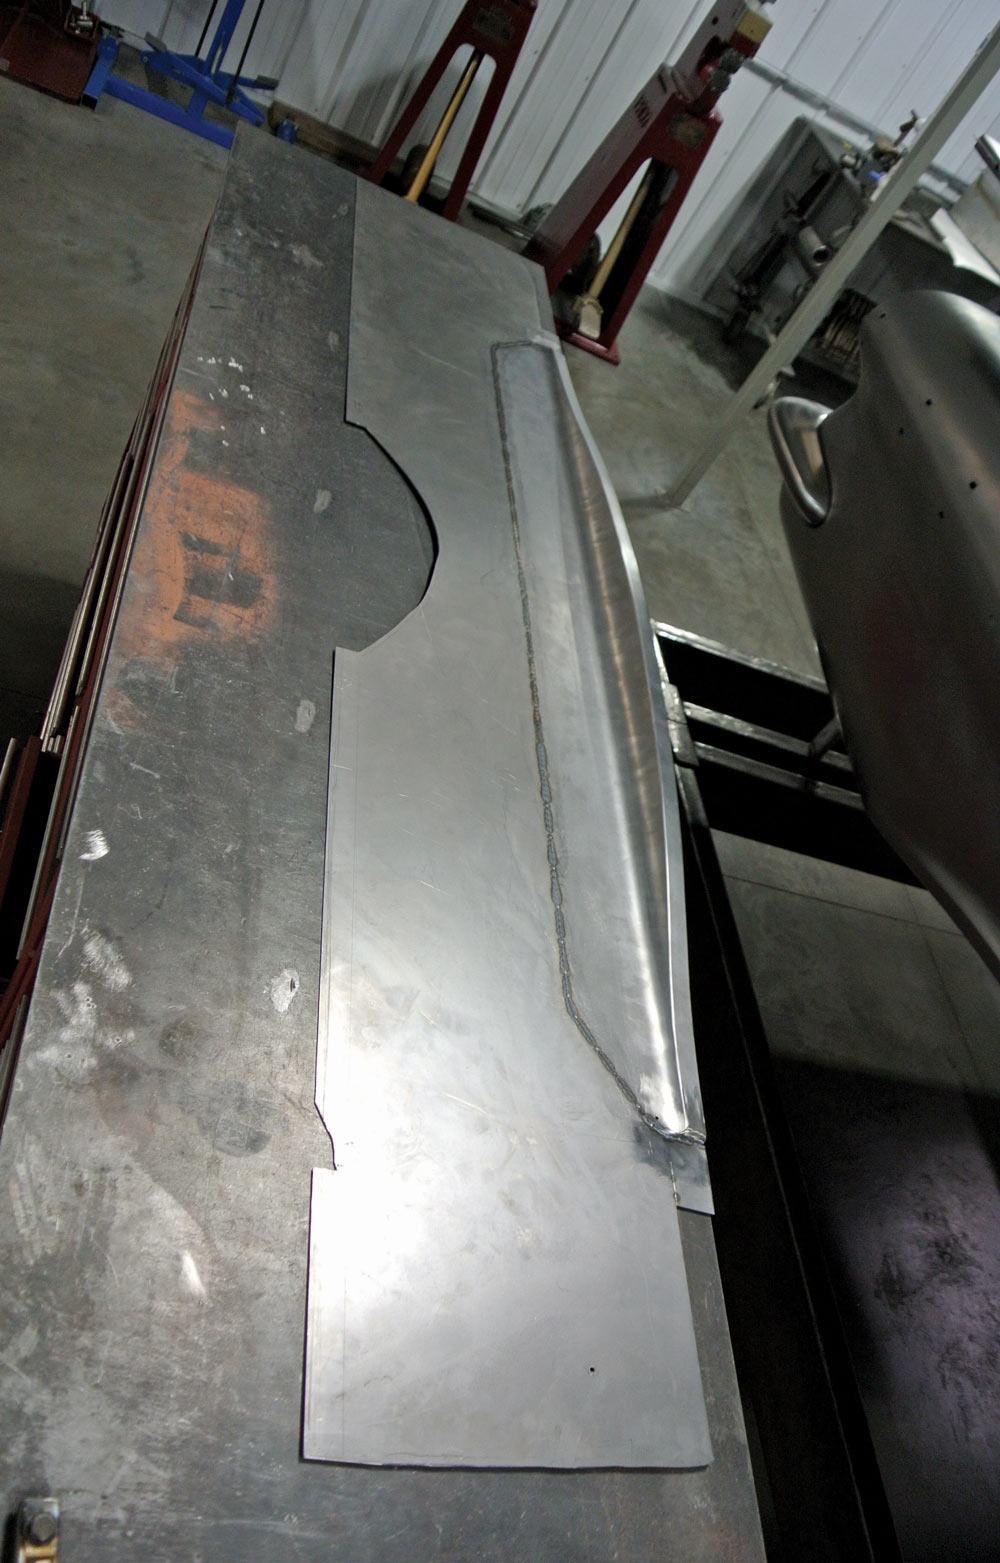
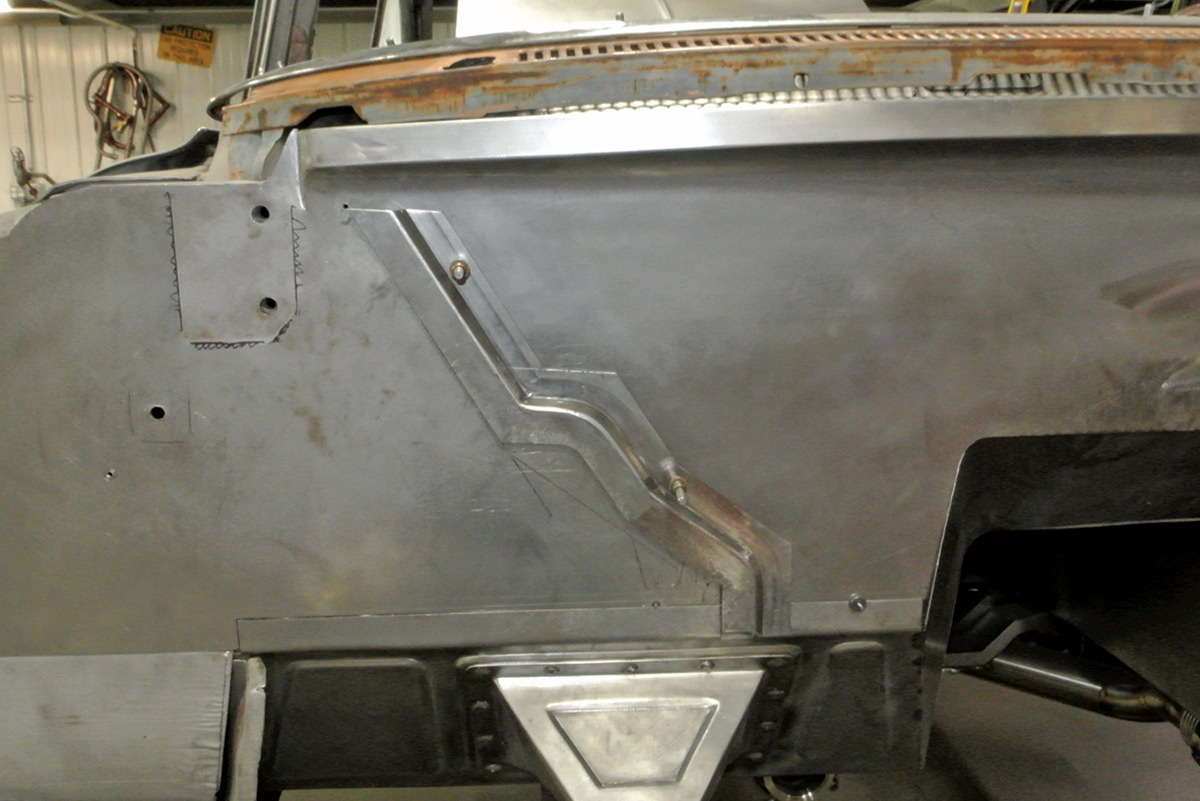
A completely new firewall was made from 18-gauge steel. The center of the firewall is smooth and flat, but a tremendous amount of work was put into making the stepped detail on the top edge, which continues down the firewall sides where the inner wheel panels attach. The inner wheel panels themselves were made from many pieces but were carefully designed to have smooth, flowing curves while providing sufficient clearance for the wheels as the suspension and steering work to their limits.

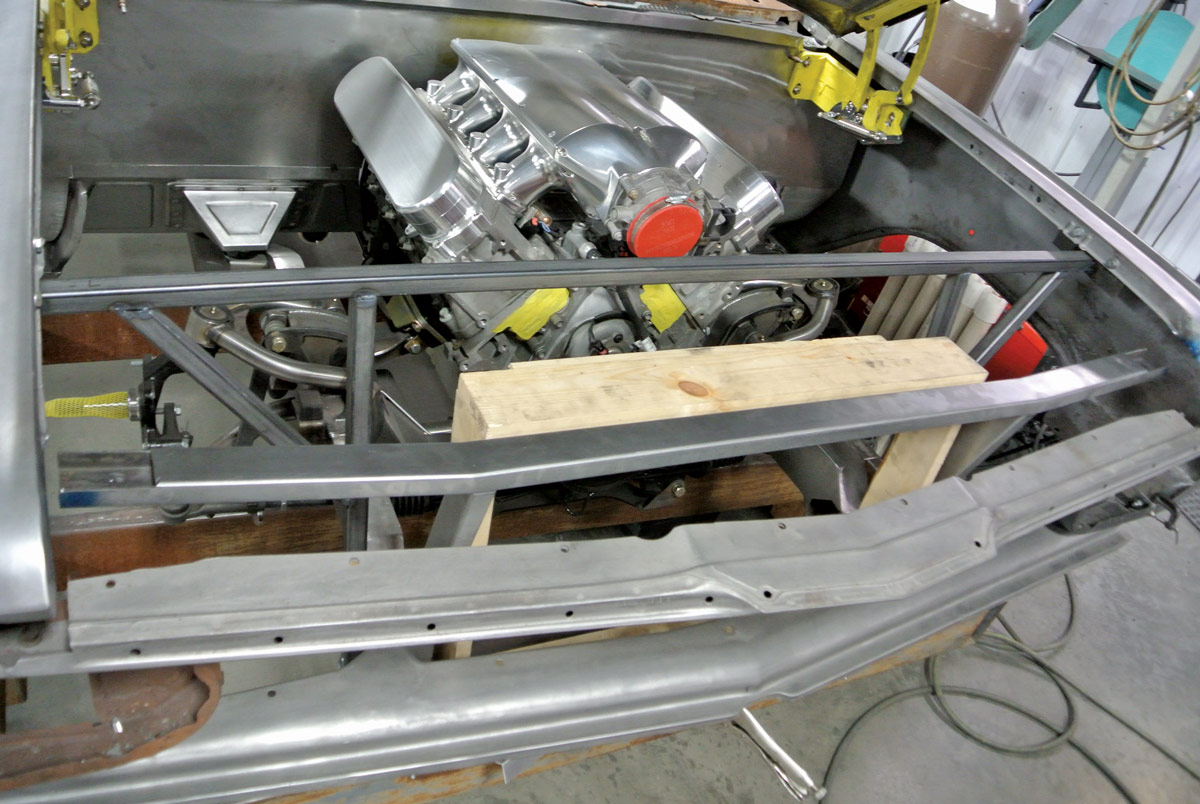
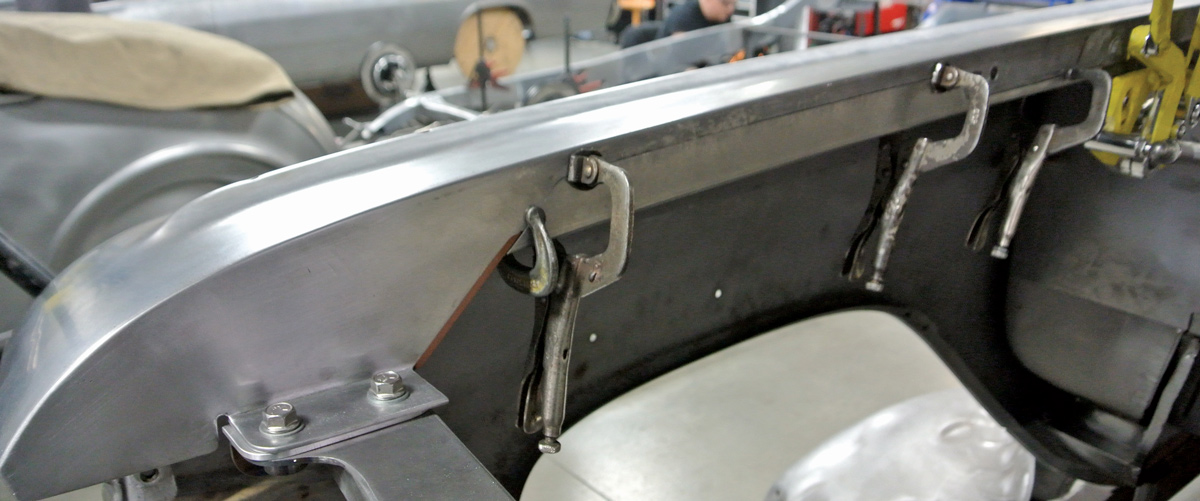
A new core support was made, which also serves as a brace for the front fenders. The inner edges of the front fenders were reinforced where they join to the core support, and all the joints were solidly welded and then smoothed to perfection.

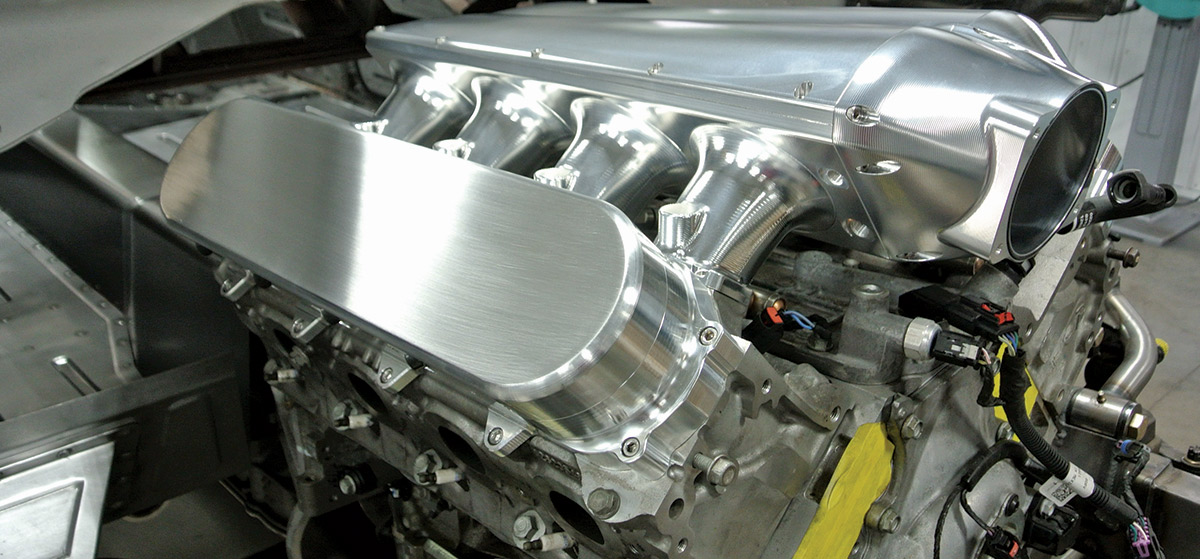
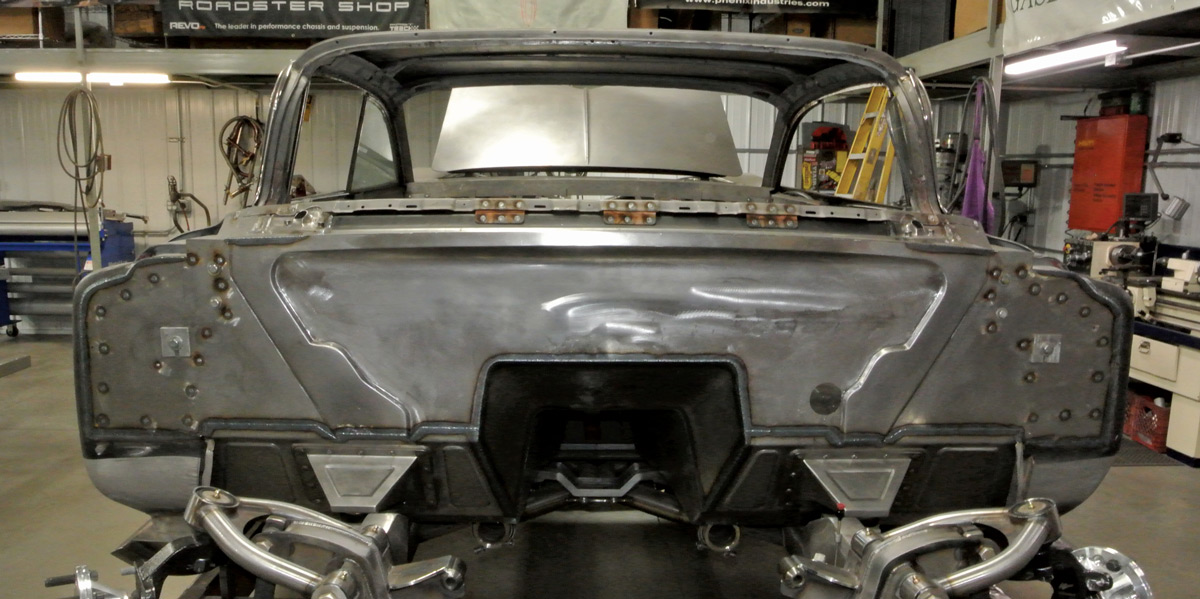
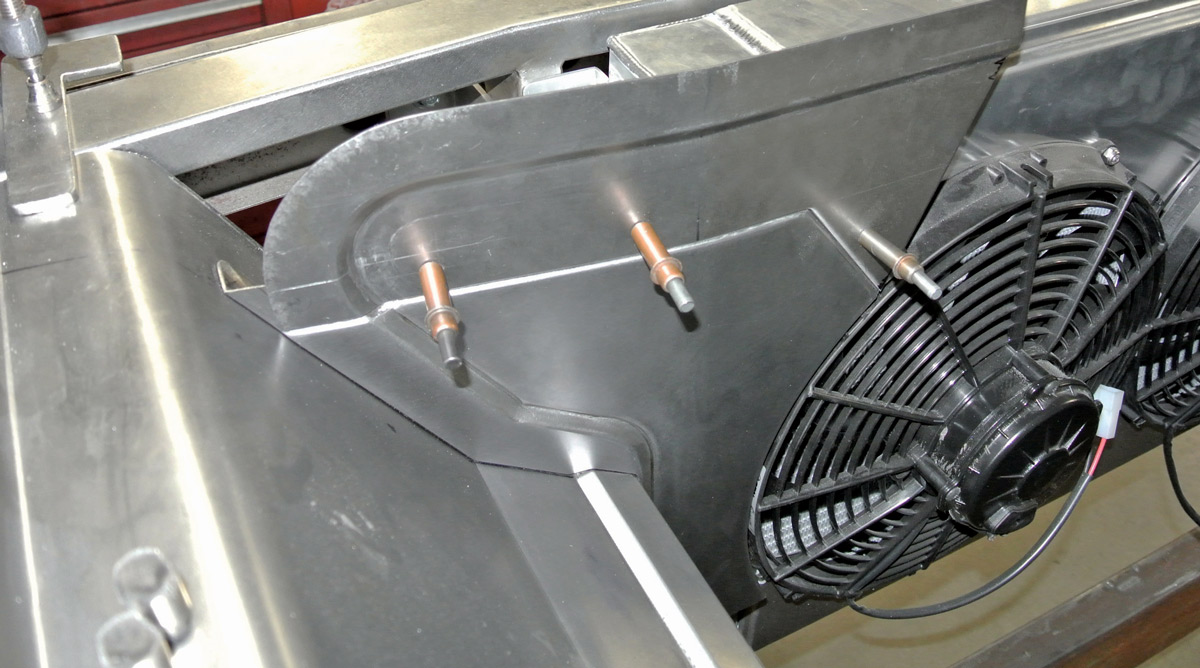
One of the last steps was making panels to cover the radiator. There is also a transition panel that connects to the billet aluminum intake plenum on the engine. Each element in this complex construction was made with carefully radiused edges, incorporating tasteful steps and recesses, and when they are all fitted together, the visual impact is truly striking. Great care was taken to conceal the fasteners that join the components together, resulting in an extremely clean-looking installation.

As you look through the photos, you will see how each component was carefully designed, fabricated, and brought to an extremely high level of finish.

LT1 engine fitted into place
2. Here is the LT1 engine fitted into place; the plans for surrounding it with beautifully contoured sheetmetal will begin.
Temporary braces holding the lower windshield channel in place
3. Temporary braces hold the lower windshield channel in place as the new toeboards are fitted to the front of the floor panels. Tasteful reveals have been put in the panels to add strength and style.
Front body mounts attached to toeboard
4. The front body mounts attach to the toeboard, made from new metal with stylish recesses.
Closeup of engine fitted with an intake plenum and valve covers by BBT Fab
5. The engine has been fitted with an intake plenum and valve covers custom machined by BBT Fab.
New firewall part being fitted
6. A completely new firewall will be made. The first section is fitted here, ensuring the engine has adequate clearance.
top center firewall welded to a larger flat pane
7. The top center firewall section has been gracefully curved and then welded to a larger flat panel.
firewall structure held in place with temporary braces
8. The firewall structure is positioned here, and temporary braces are made to hold the front fenders while a new core support is built.
front fenders welded to a plate
9. The front fenders are welded to a plate to attach the core support. The holes are for plug welds to hold the inner panels in place.
mounted billet aluminum hinge
10. A billet aluminum hinge is mounted so that the inner wheel panels conceal most of the linkage.
core support is bolted to the fenders
11. Here the core support is bolted to the fenders, and the fabrication of the inner wheel panels has been started.
center portion of the inner wheel panel with clamped mounting flange
12. The center portion of the inner wheel panel is being fabricated here. Note how the mounting flange is clamped to a heavy steel plate to maintain its flatness.
lower portion of the inner wheel panel being fitted
13. The lower portion of the inner wheel panel is being fitted here. Note the small joggle that fits neatly around the steering shaft’s U-joint.
stepped edge added to the flat firewall
14. A stepped edge is added to the flat firewall to provide a mounting surface for the inner wheel panels.
part for stepped edge
15. Off the car, the stepped edge has more material added to it. This is a complex, multiple-piece construction.
stepped edge on the passenger side
16. Here, the stepped edge on the passenger side is being positioned prior to being welded to the firewall.
stepped edge on the driver side
17. The stepped edge on the driver side is made from several components, too.
flat plate for base of stepped edge
18. A small, flat plate is fitted to continue the flange at the base of the stepped detail.
stepped edge before all parts are welded into place
19. The convoluted pieces are temporarily held with Clecos so the edges can be scribed against the firewall. After trimming, these elements will be butt-welded into place.
firewall removed from car for welding finishes
20. The firewall is removed from the car for the final welding and metal finishing.
firewall after metal finishing
21. Now the firewall can be welded into place, and the joints will be sanded smooth.
side view of firewall stepped edge
22. The inner wheel panels are complex fabrications, and the back edges are capped with a flat plate so they can be bolted to the firewall’s stepped edges.
closeup of metal joint
23. When you see how beautifully these parts fit together, you can understand why all the effort was expended to perfect each component.
panel fitted into place near radiator fan
24. Smaller panels are fitted into place around the radiator fans.
inner wheel panels and firewall fitted together around engine
25. Here, you can see how beautifully the inner wheel panels and firewall fit together.
closeup of engine finished compartment
26. Several more panels are made to finish off the front of the engine compartment, striking the perfect balance between giving the underhood area a lot of style while still allowing the engine’s mechanical components to be seen.
SOURCE
Modern Rodding
VOLUME 6 • ISSUE 52 • 2025