Modern Rodding Tech
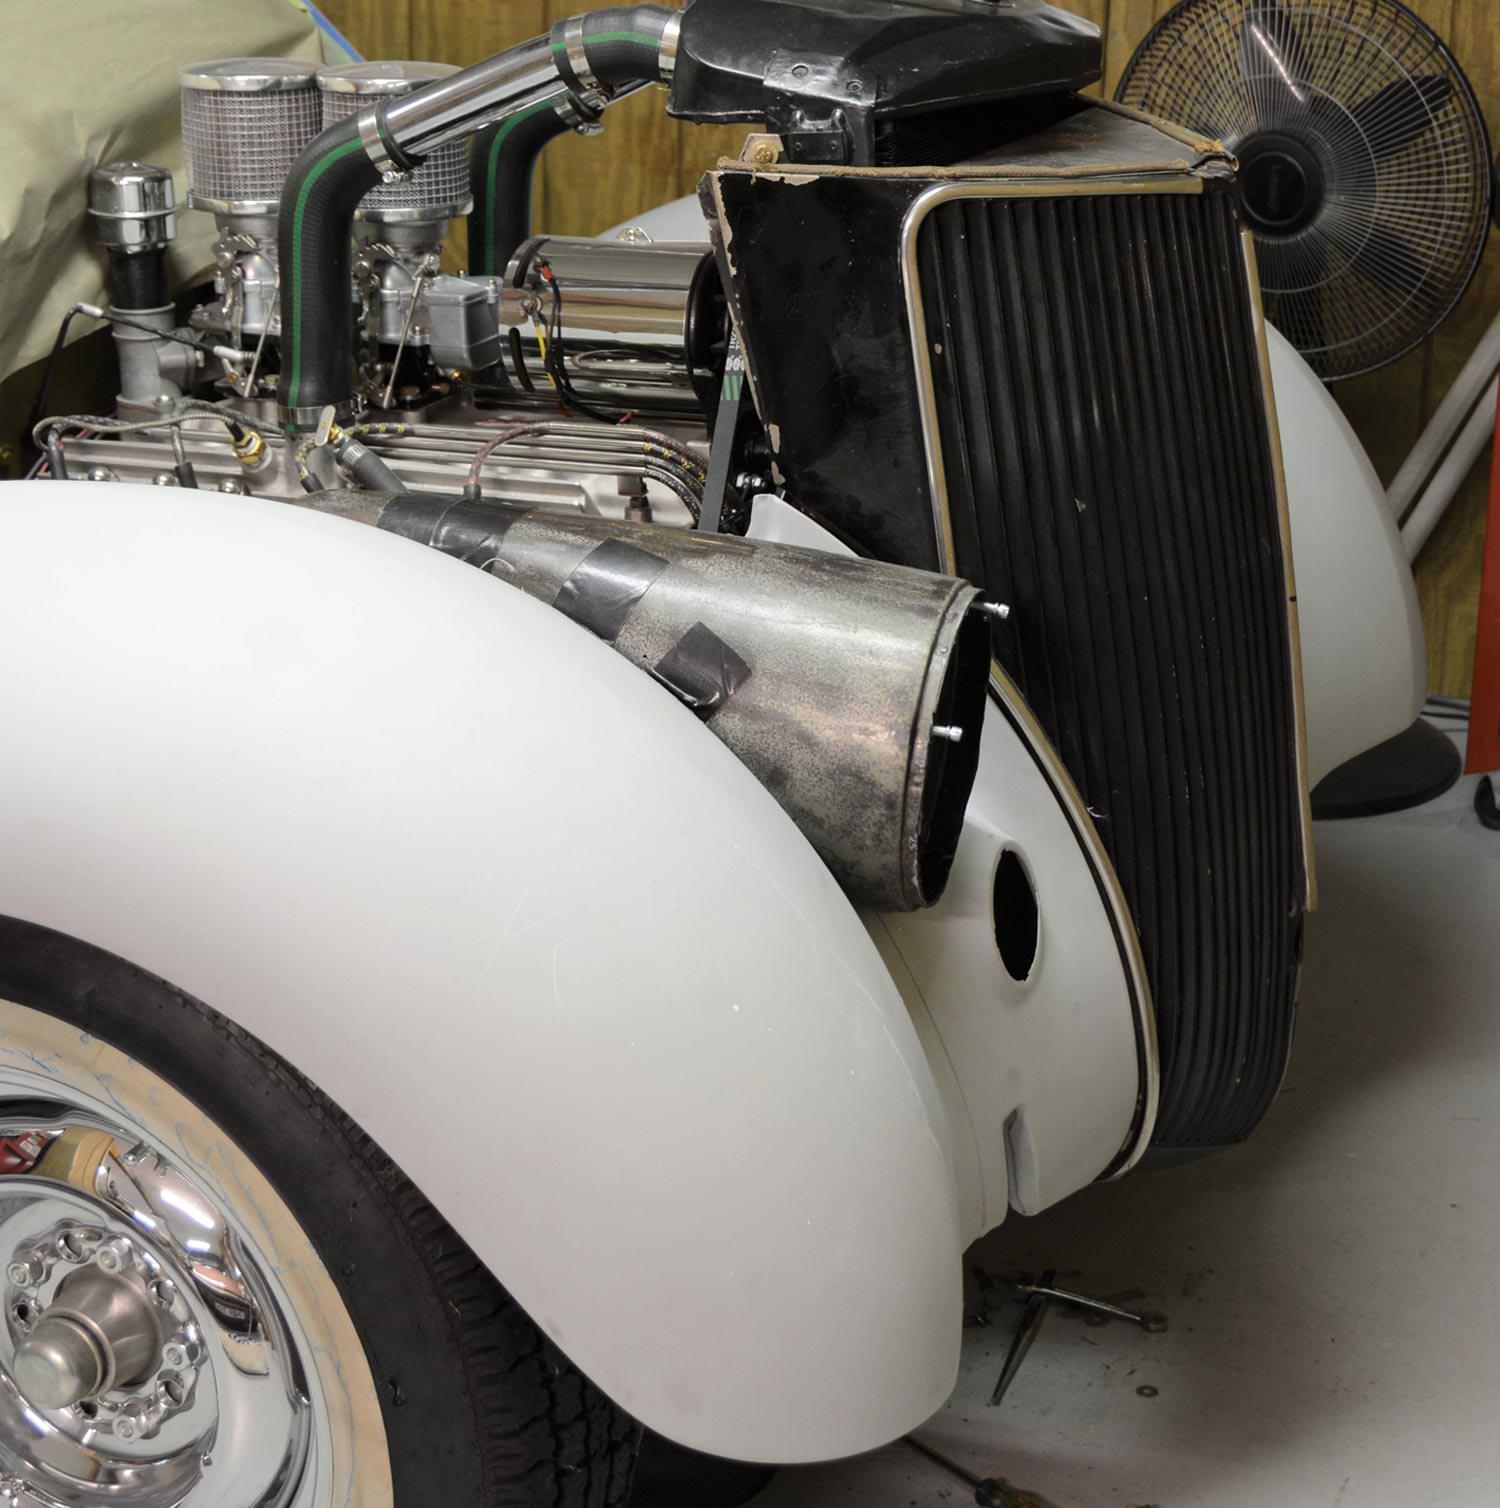
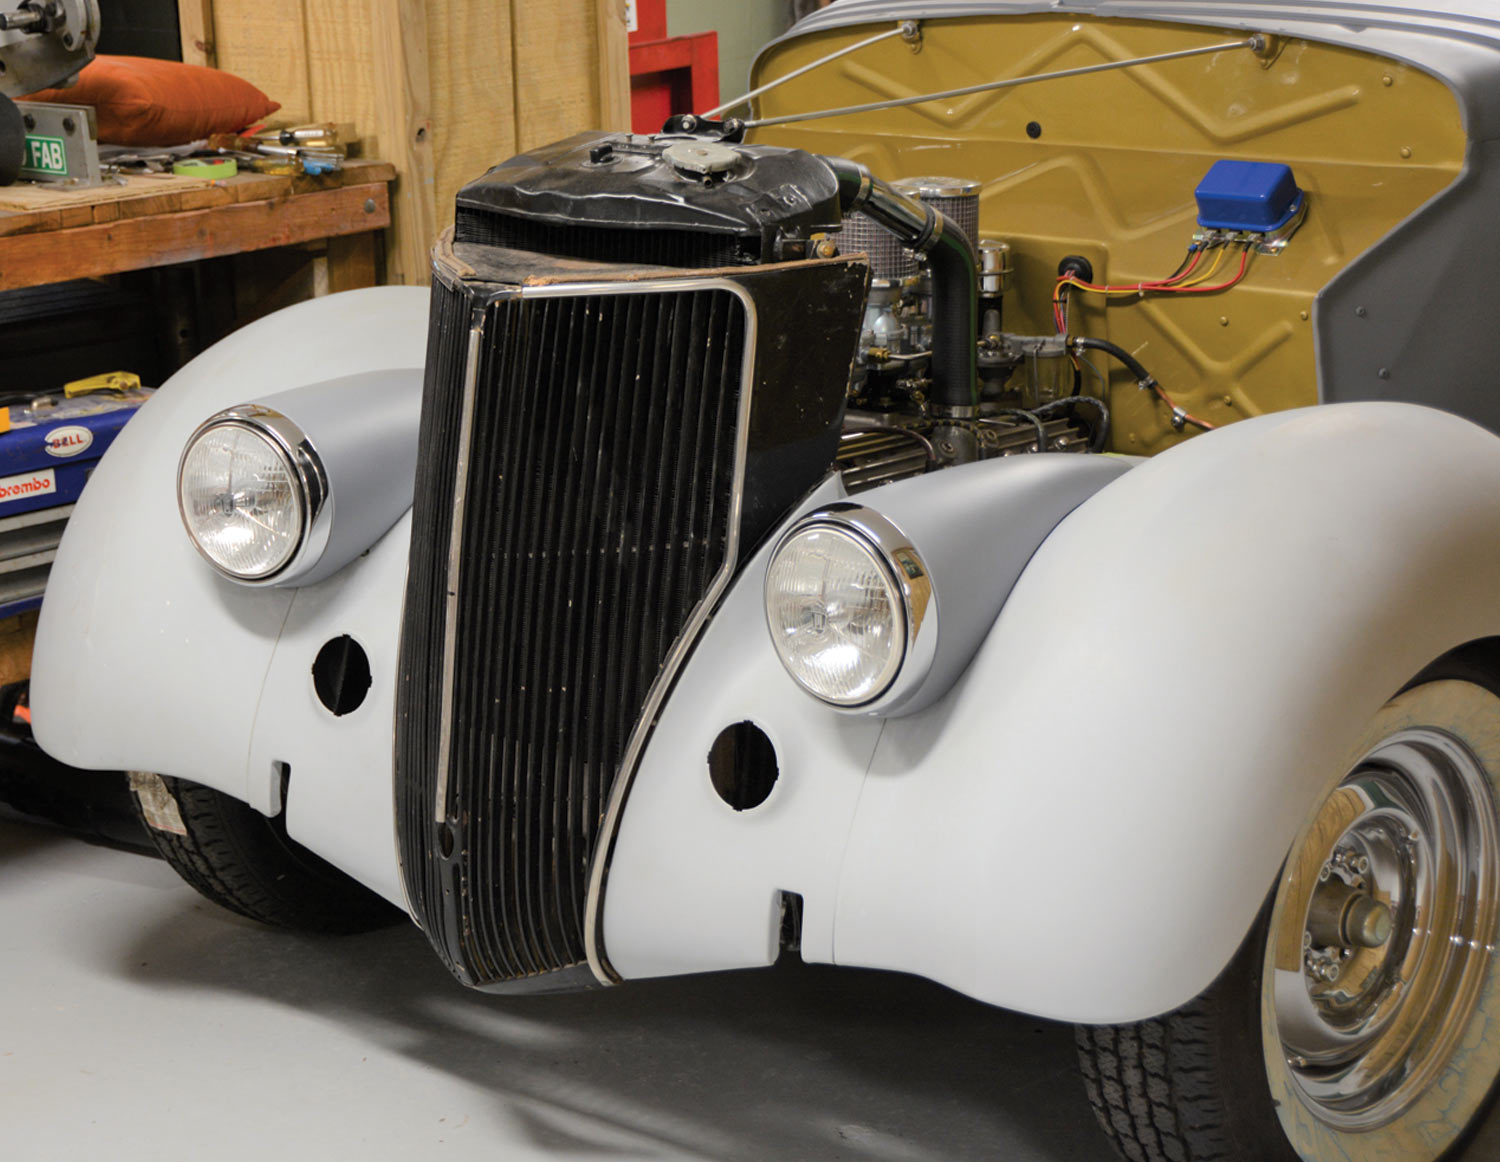
1. The ’36 Ford lends itself to early customizing trends and few things have a more dramatic effect than eliminating the stock headlights in favor of a pair of ’41 Chevrolet truck lights.
By Gerry Burger  Photography by THE AUTHOR

y the mid ’30s automotive styling was rapidly changing. The last Ford with a basically flat and vertical grille and independent grille shell (the ’32), the following year the grille shell was eliminated and the grille leaned back to simply meet the hood. For 1934 the grille had a more pronounced V-shape and by 1935 the fenders had become fat. These rapid design changes made for some interesting blending of old and new parts.
In my humble opinion, while the ’36 Ford is handsome in original form, there are things that look too old for the car. First is the factory bumper with the center drop to facilitate access to the crank hole, the bumper looks like a ’34 piece. Also, the independent headlights mounted atop rotund fenders date the car. By 1937 Ford had advanced the design of the lights, the hood, and the bumpers. The headlights were molded in the fenders, the hood top was one-piece hinged at the rear and the first straight front bumper appeared. None of these styling changes were lost on early hot rodders and customizers, updating power and style is the very definition of early hot rodding.
Hot rods and customs tend to take you on a journey and we’re not talking about driving to some faraway hot rod event. No, we’re talking about building a car from the ground up and allowing the car to “talk to you,” letting you know just what it needs. In the case of our ’36 Ford phaeton it all began by eliminating the rear-mounted spare tire, the stock bumpers, and taillights. Uncertain of proper taillights, when we saw a set of ’40 Packard rear lights we knew they were the ones. Along with highly modified ’39 Buick bumpers the ol’ ’36 was talking loud and clear, it was headed toward the early custom look in the Westergard tradition. It became clear stock headlights could no longer light the way on our phaeton.
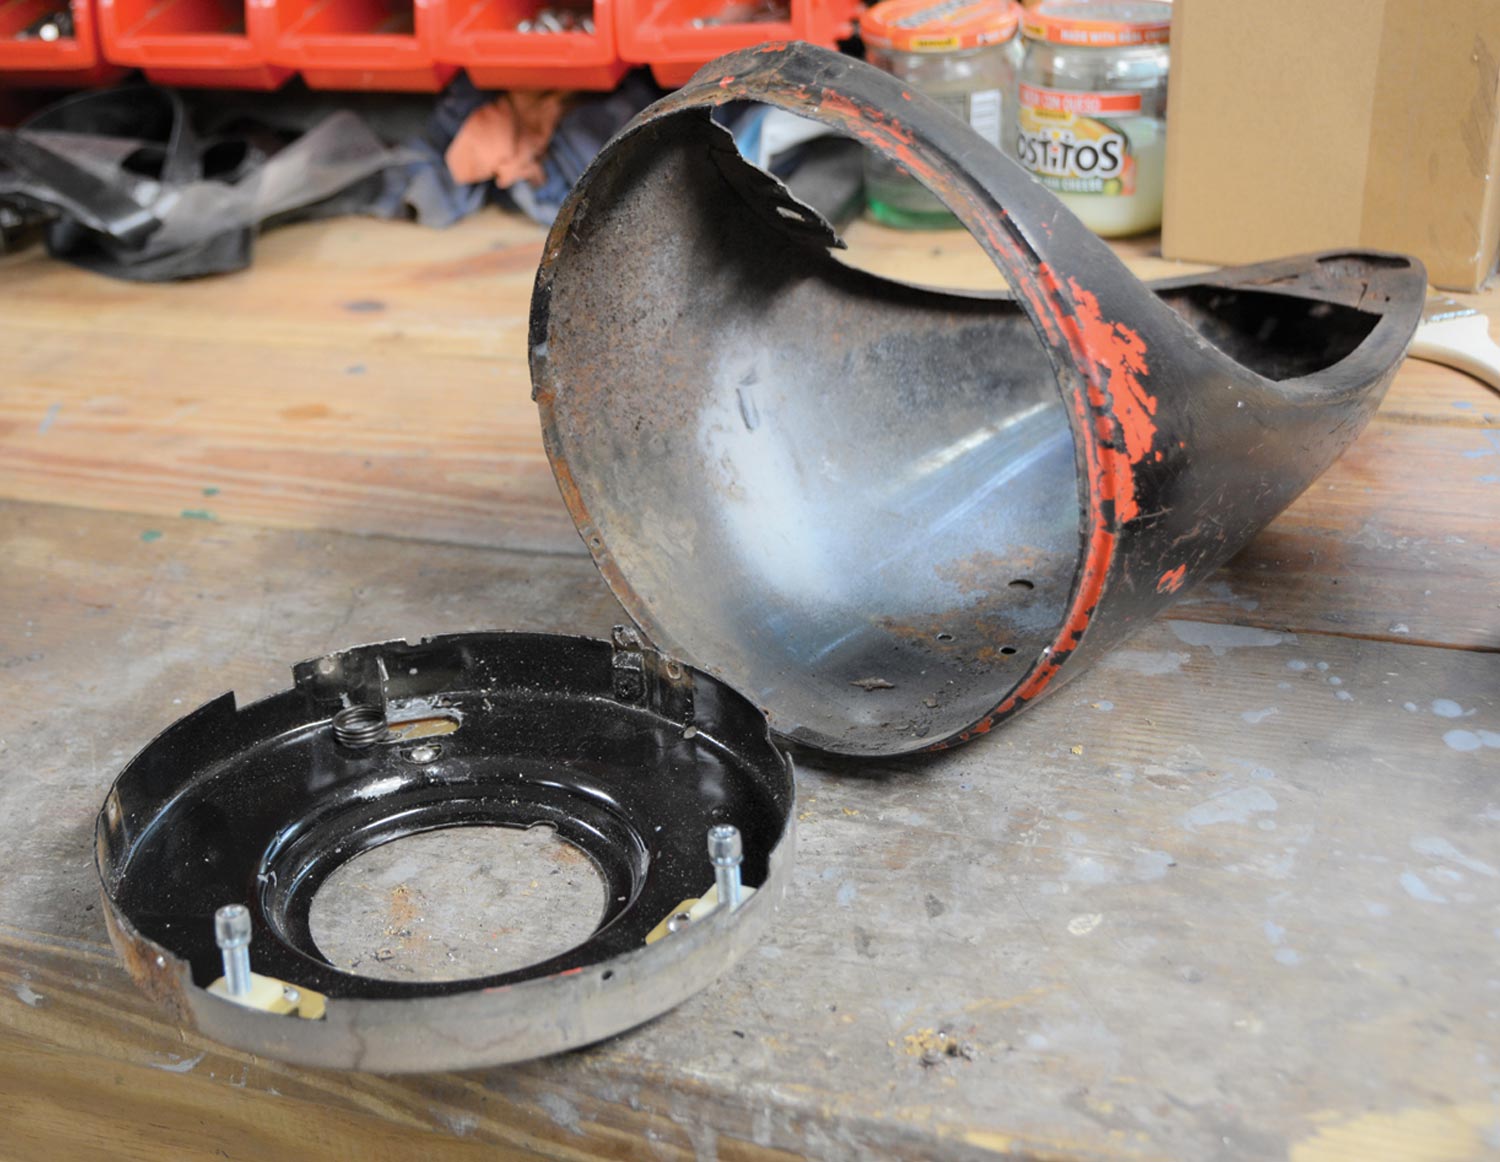
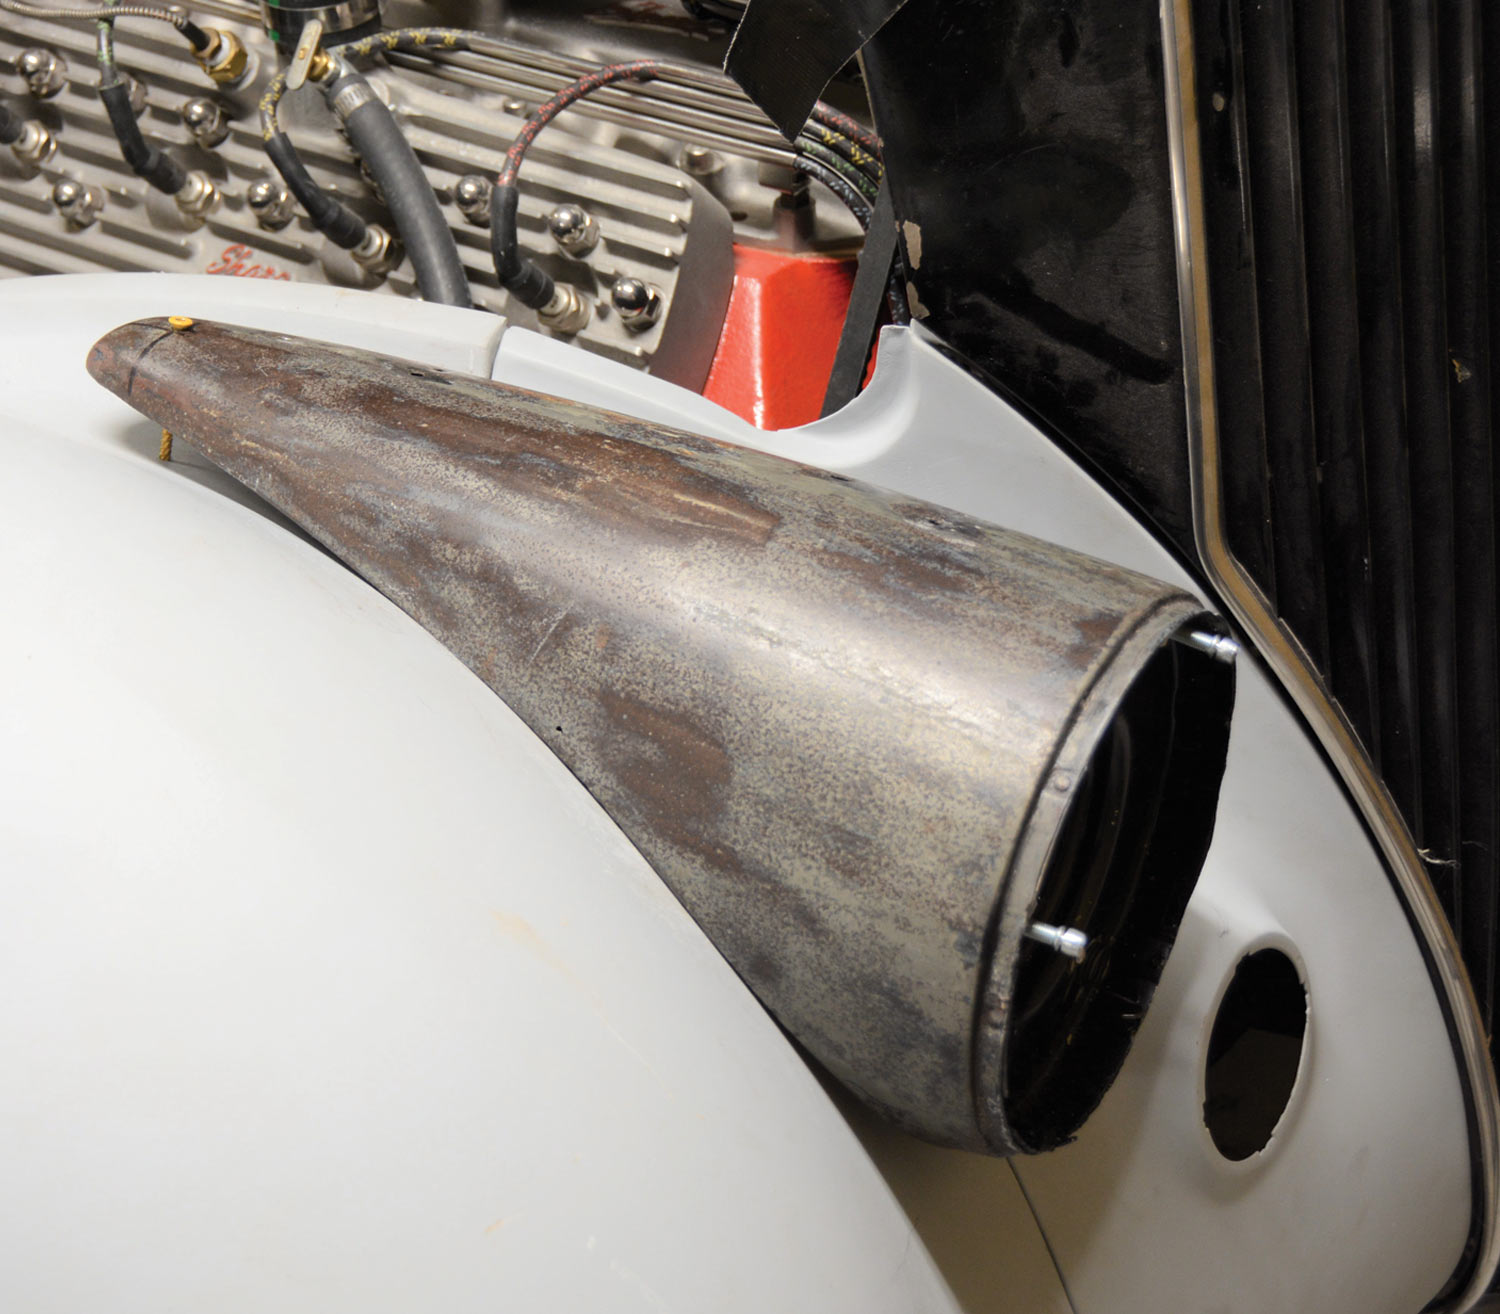
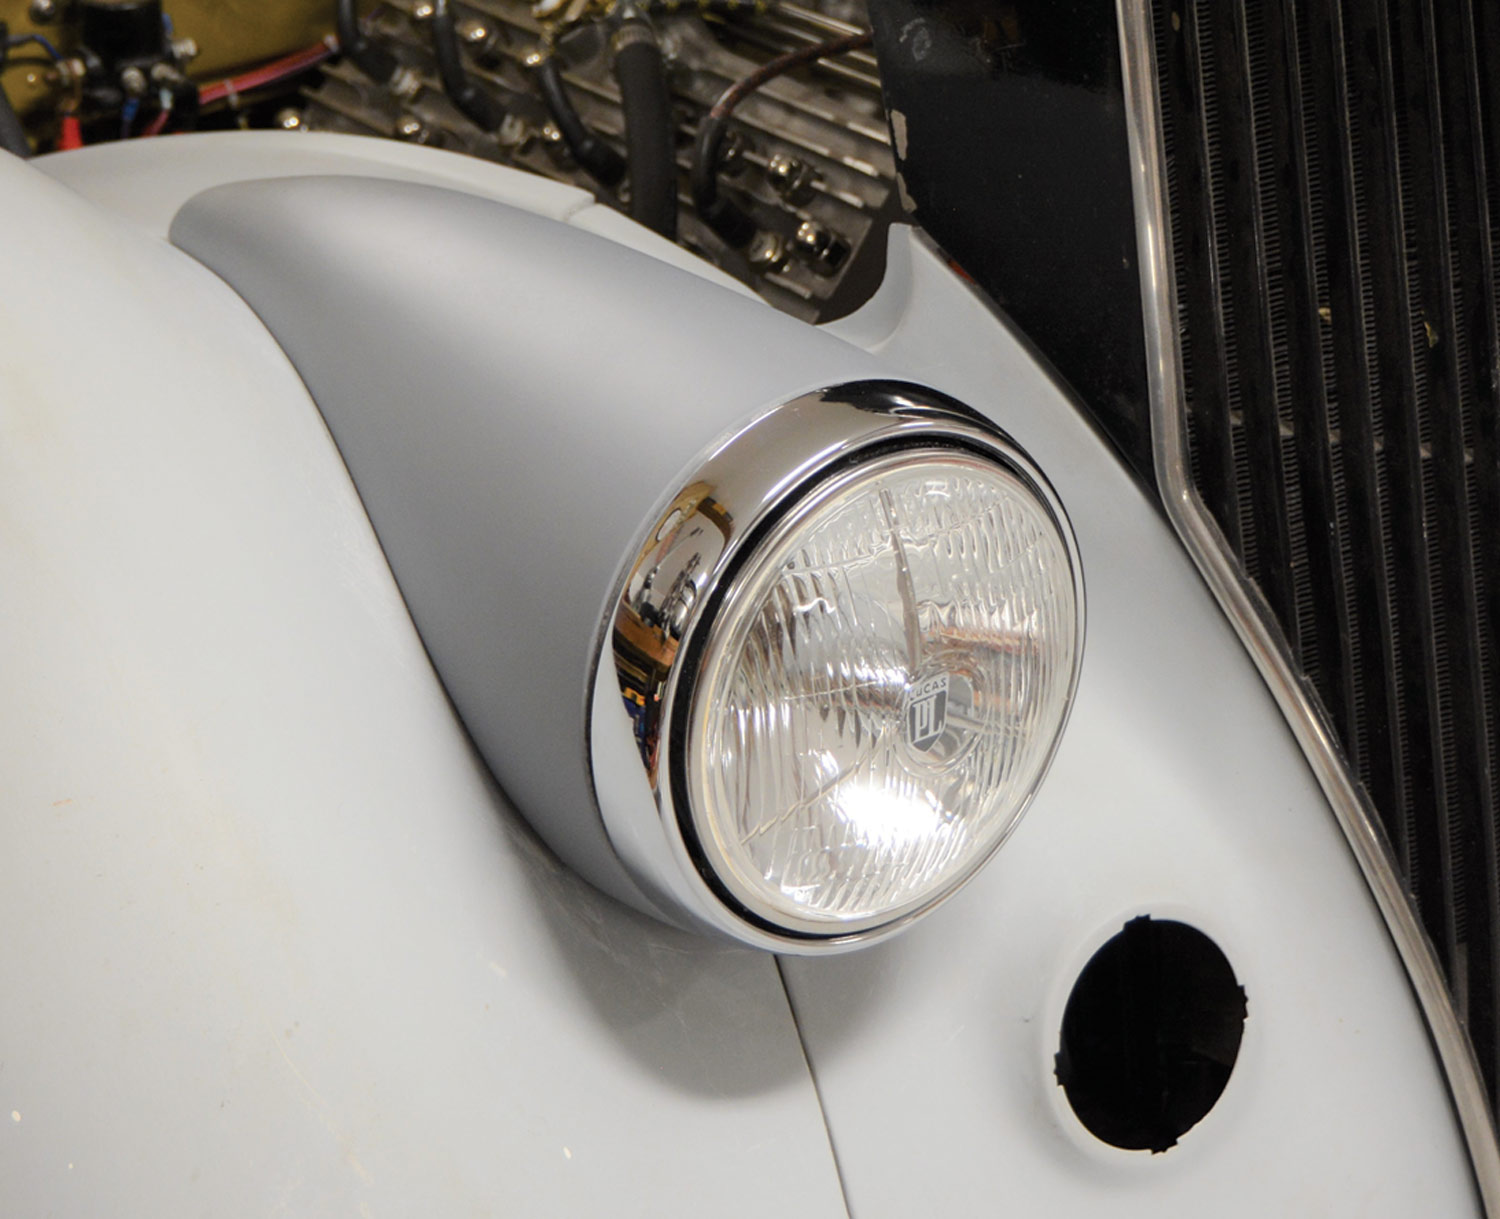
Once again, we turned to the early custom look and decided to mount later Chevrolet headlights directly to the fenders. This is a traditional treatment used by customizers in the ’40s and ’50s. No doubt influenced by the elegant European cars like Jaguars, dropping the headlights low in the fenders added a sleek, expensive, fast appearance to your old ’36 Ford. While ’40 Chevrolet passenger car headlights are one of the better fits on a ’36 Ford fender, we opted for a set of ’41-’46 Chevy truck headlights. Reasoning was simple, availability and price.
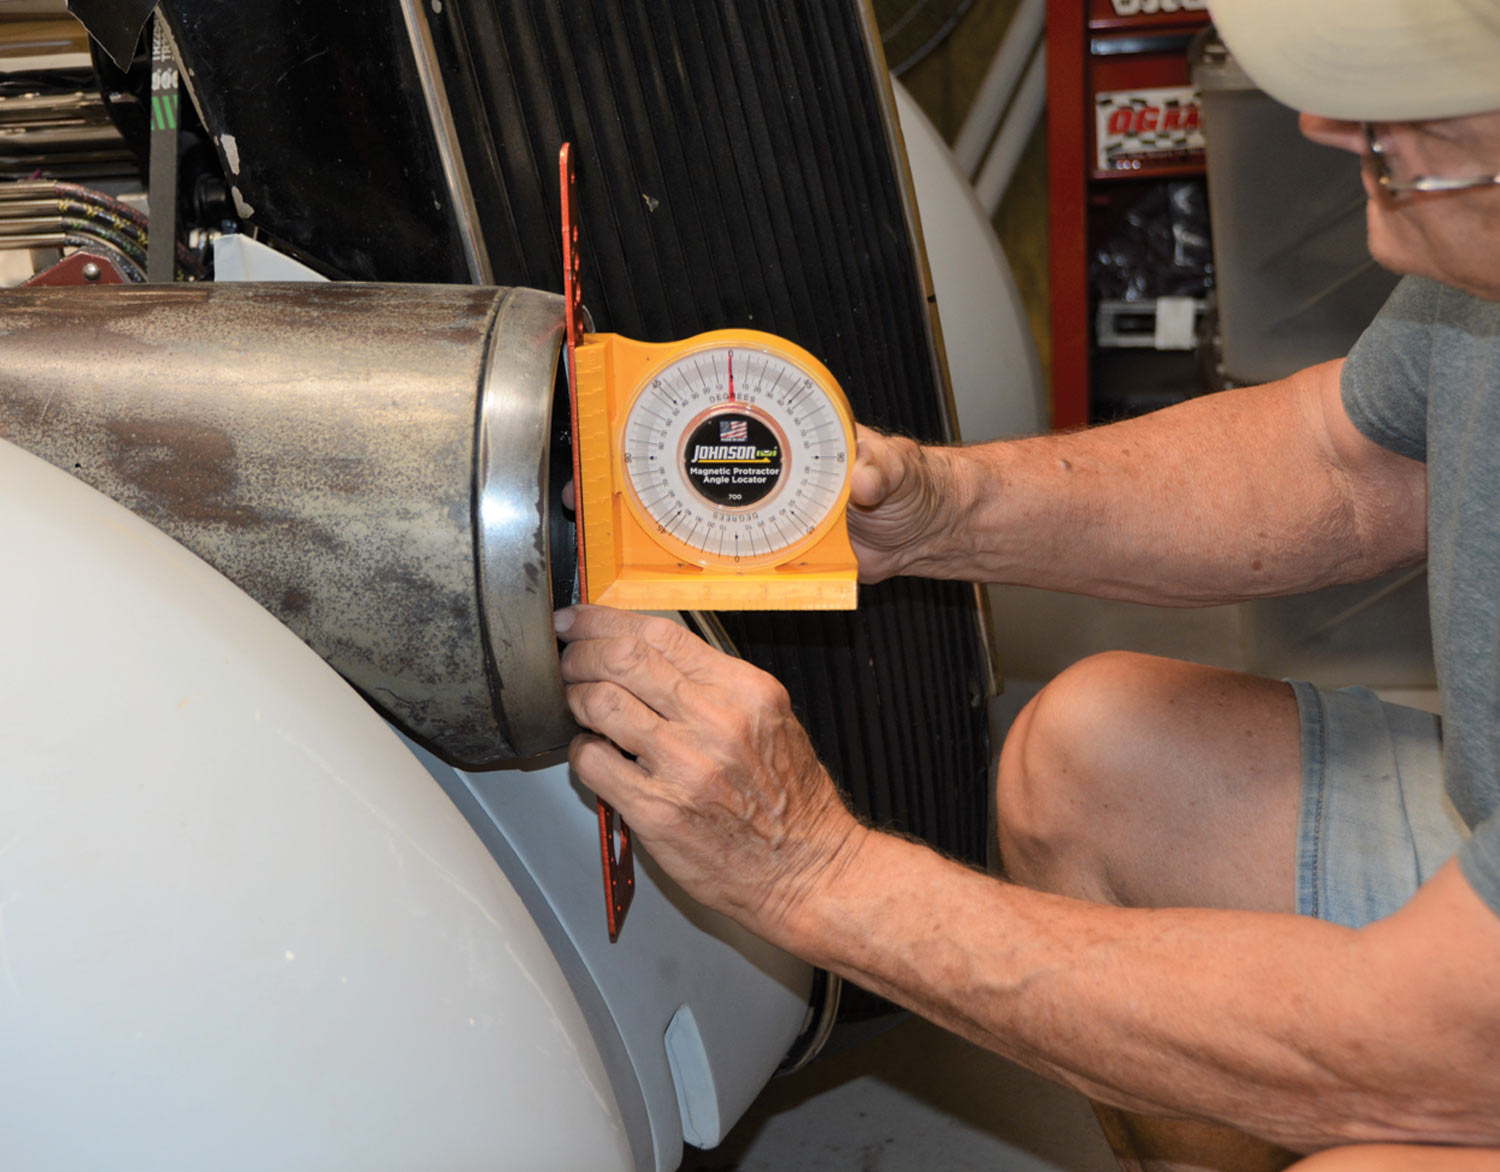
The task at hand was to reshape the lights so they perfectly matched the contour of the fender. Interestingly enough, the actual contouring of the light was a fairly straight-forward process once you located the lights on the fender. Locating the lights is largely a matter of “eyeball engineering” and since the fenders are curved, the grille leans rearward, the headlights are curved, it was quite a challenge deciding when they were finally straight. It seemed they really wanted to be cross-eyed, so take your time (and then some) carefully locating the lights. An angle finder and a straightedge will tell you when the lights are vertical, which is an important consideration for both esthetics and being able to focus the lights. Honestly finding the correct location of the lights about drove me crazy. (Editor’s note: A relatively short ride for Burger. —B.B.)
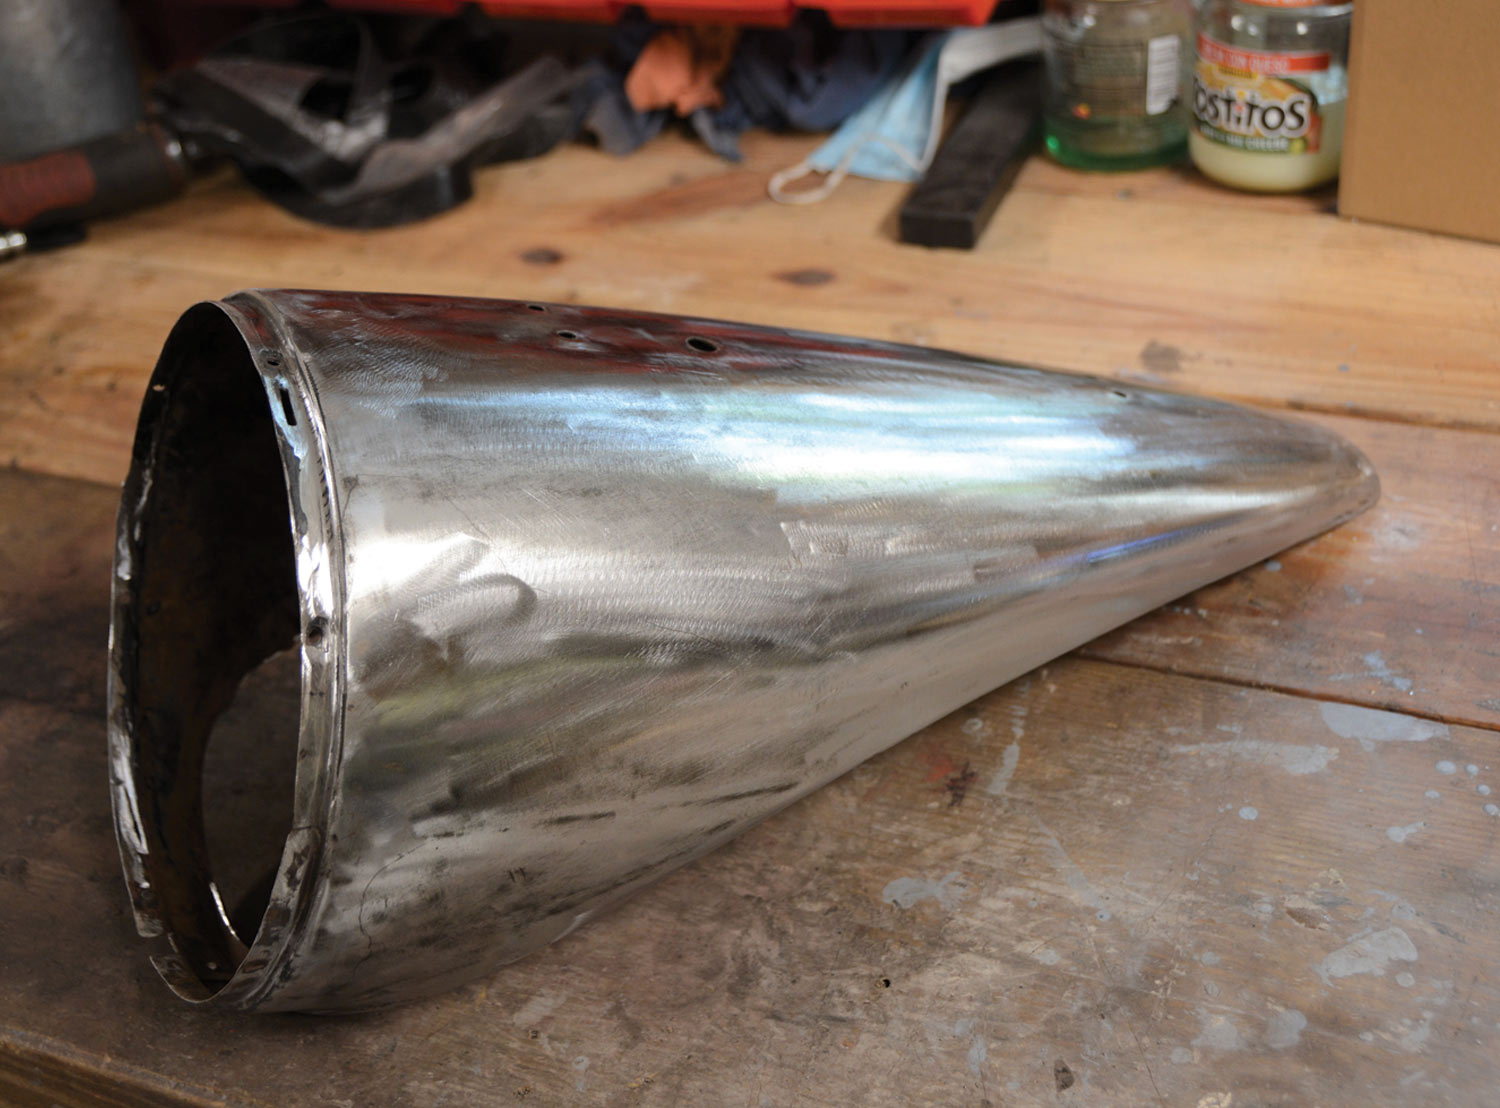
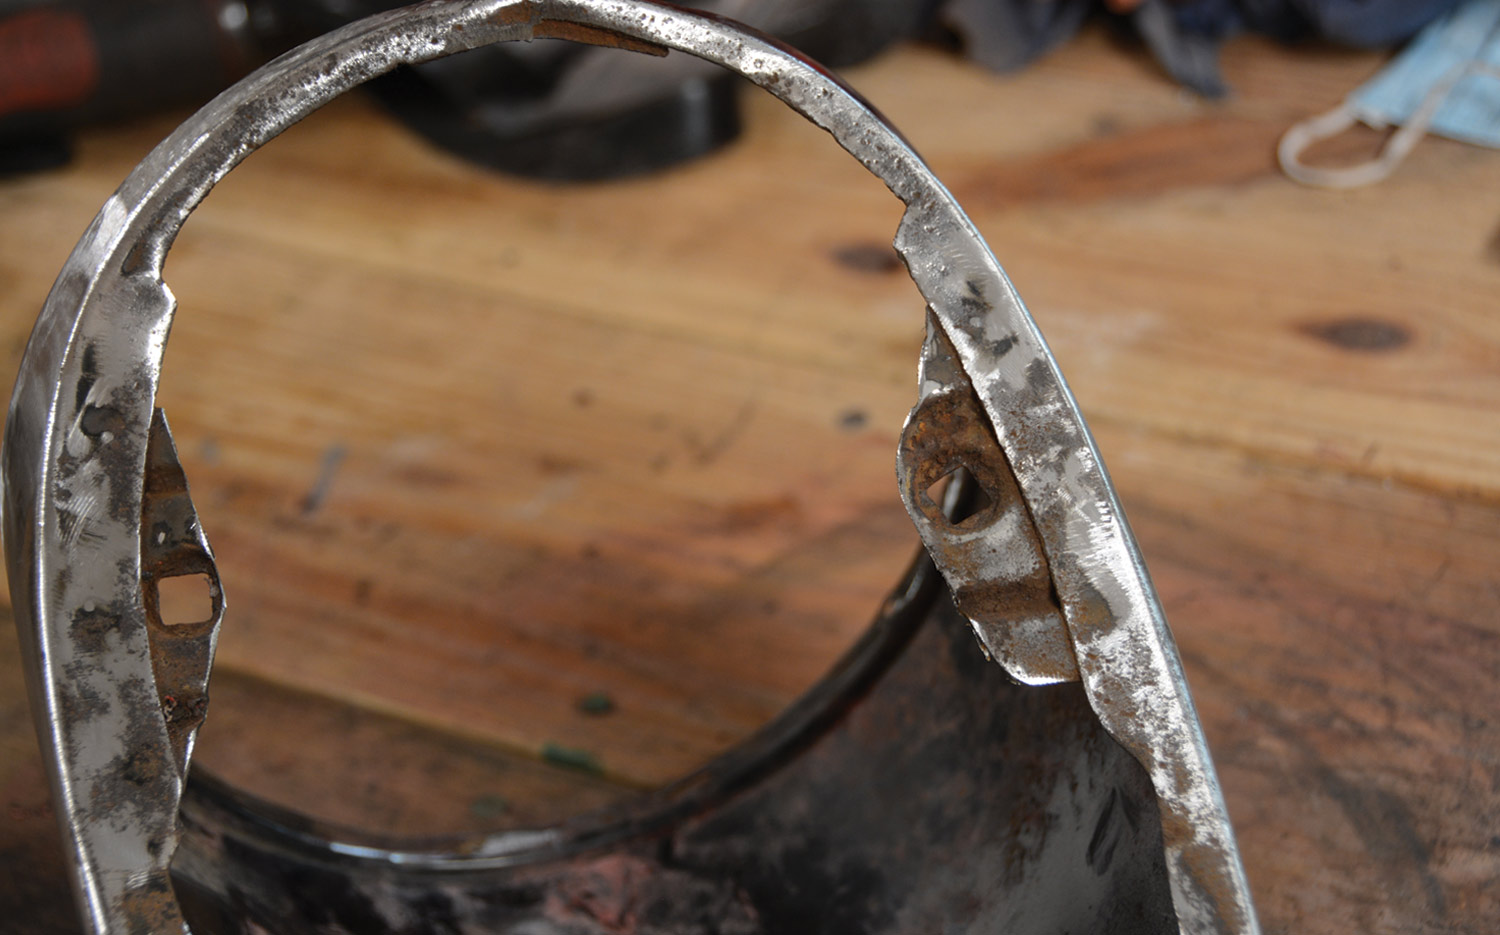
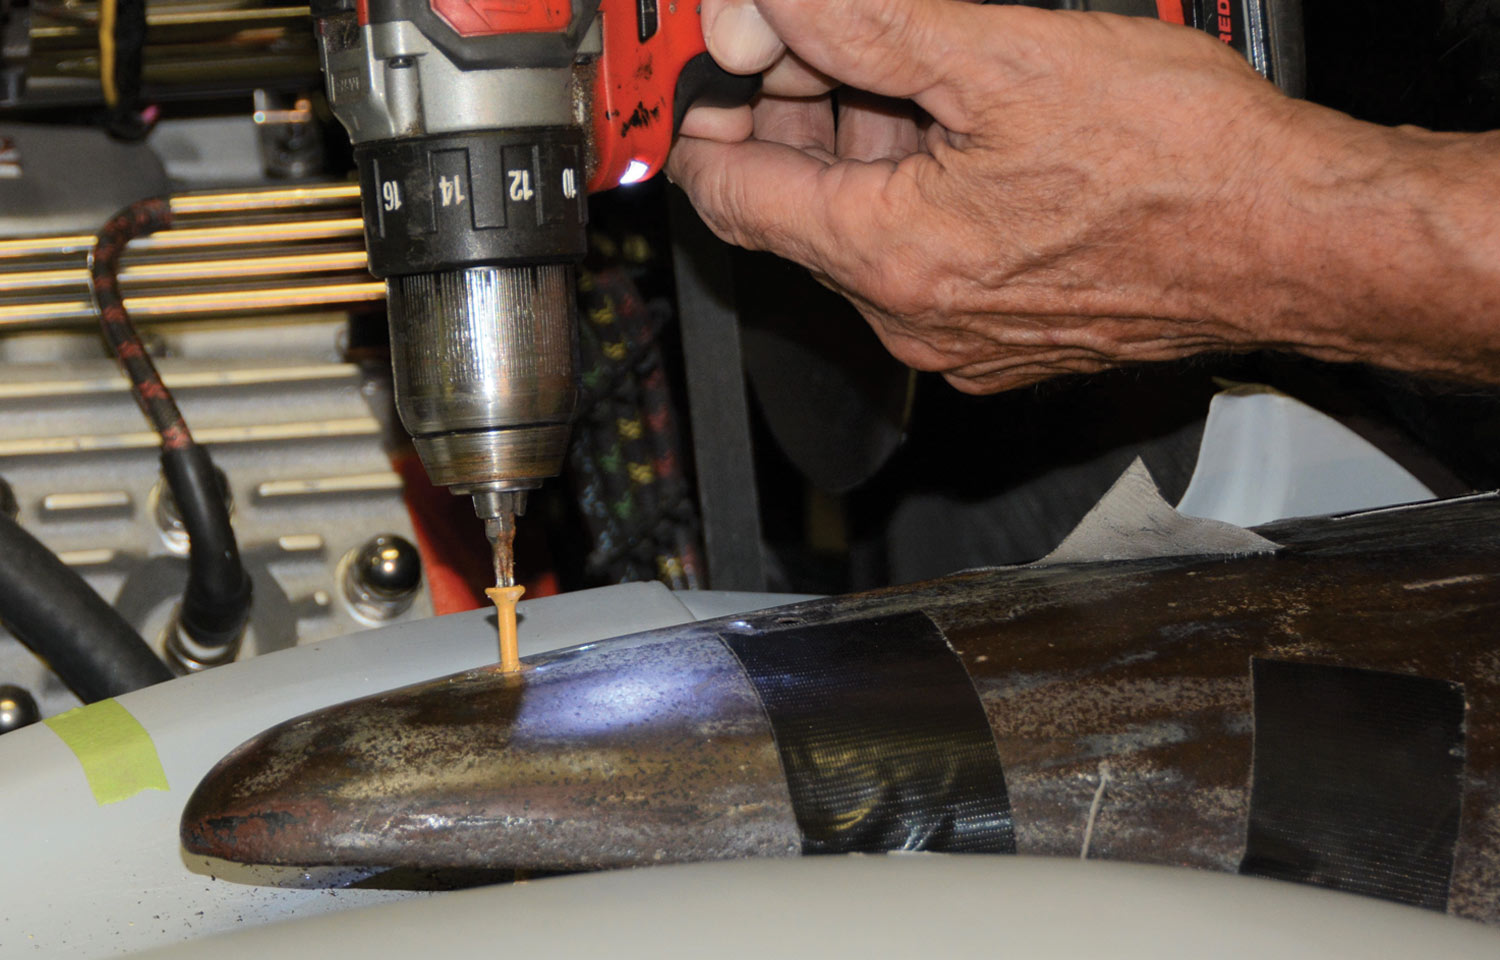
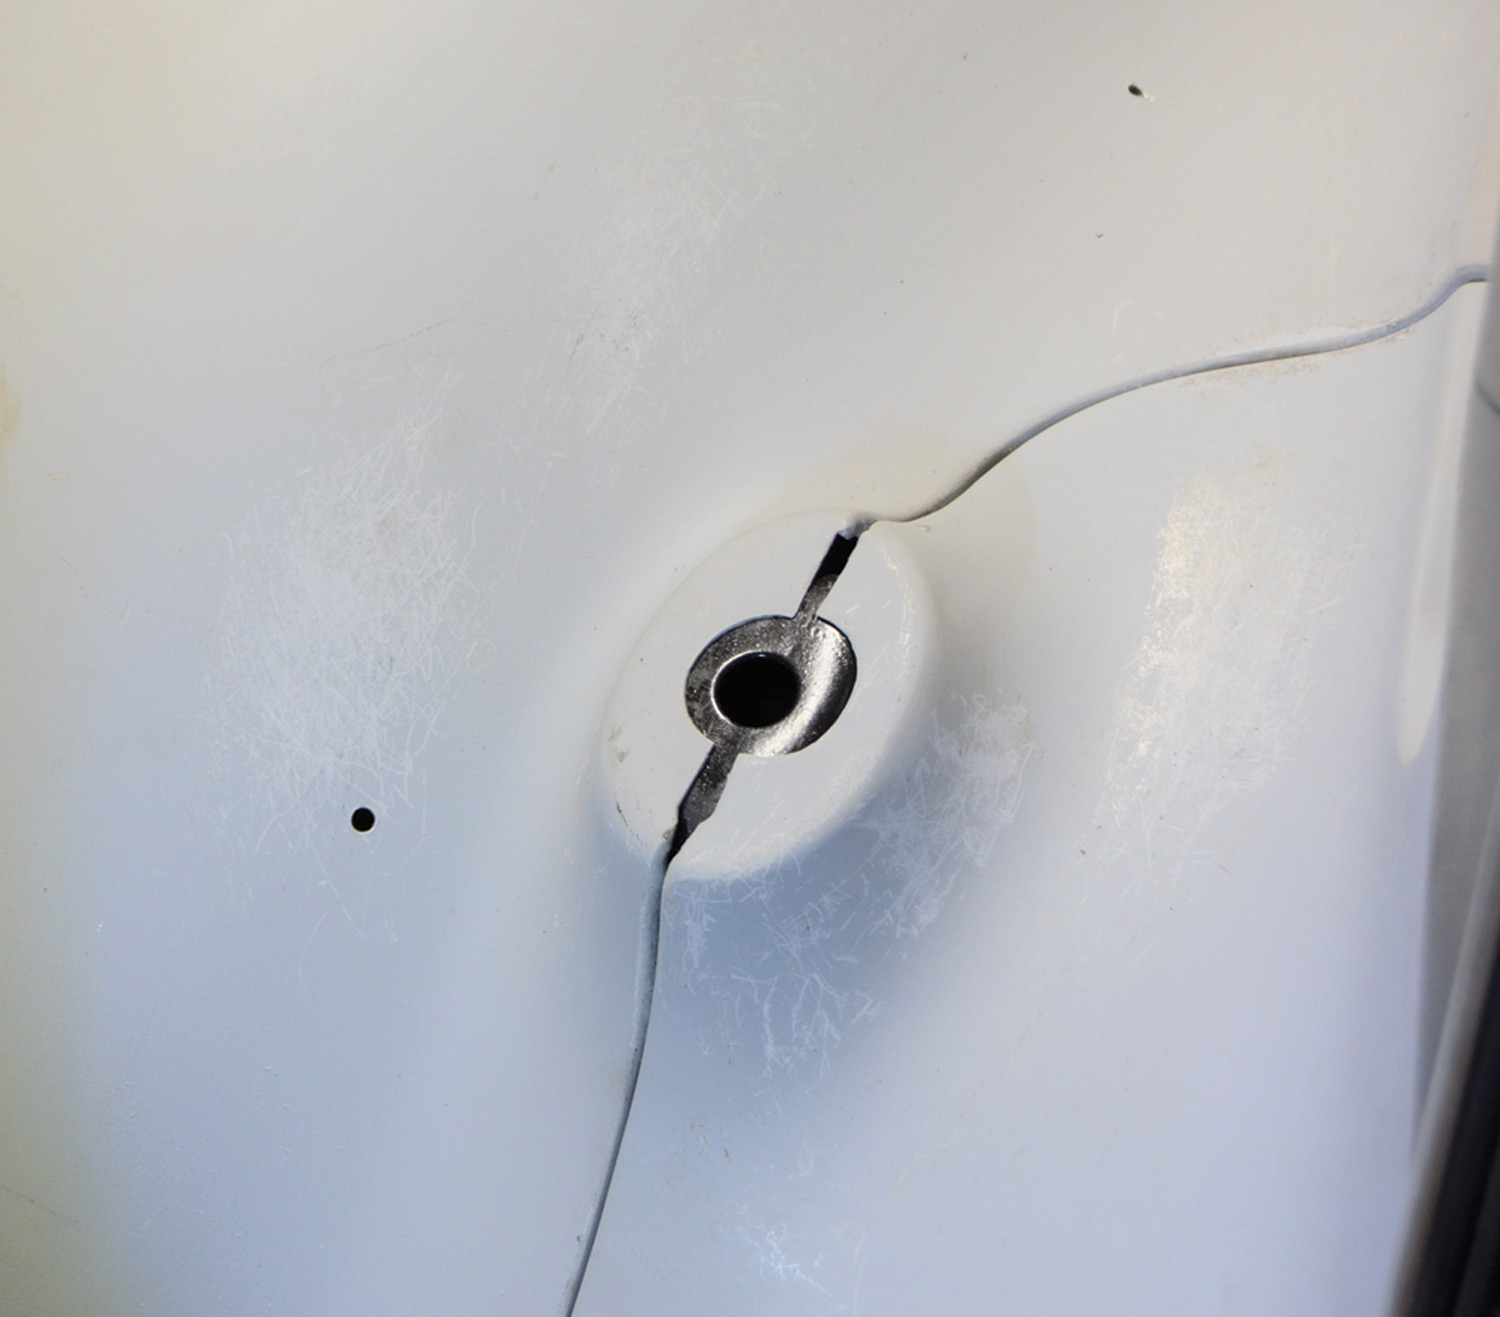
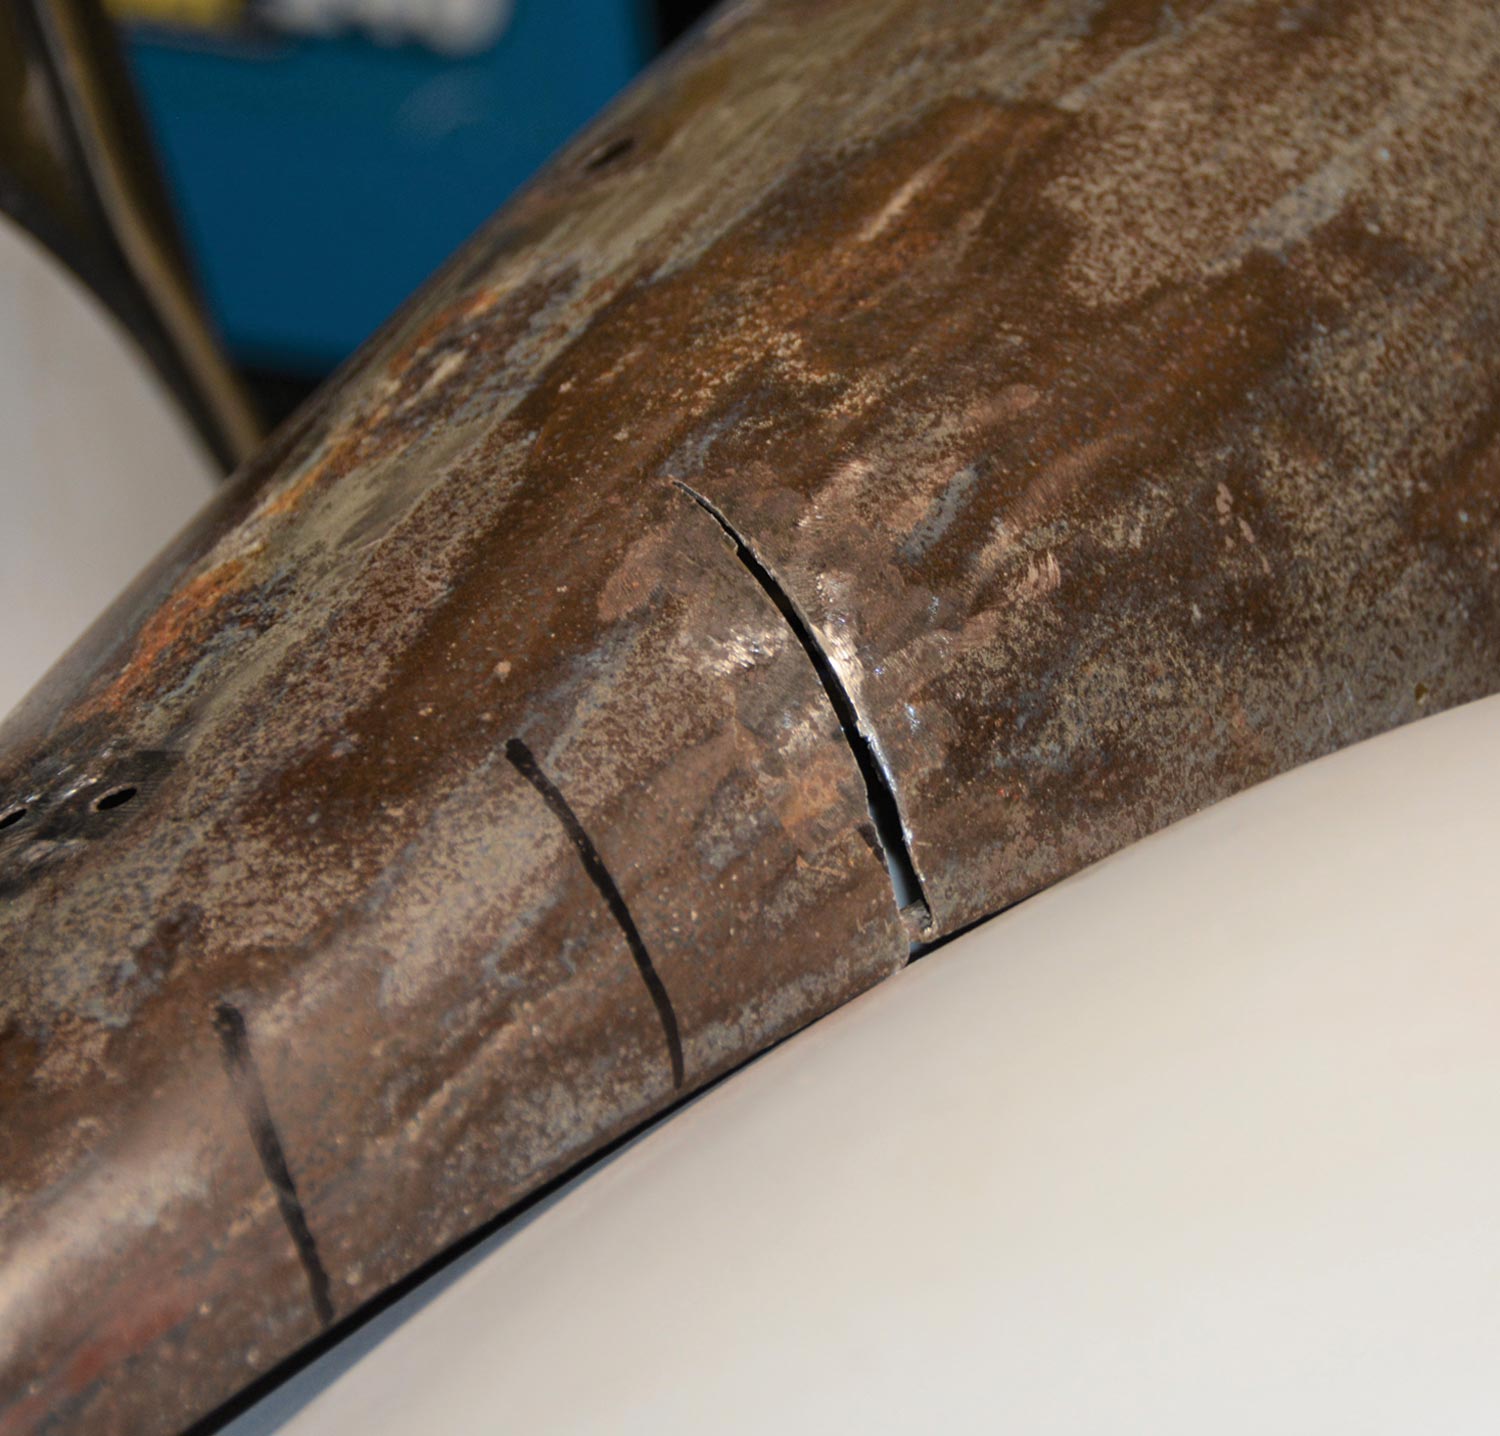
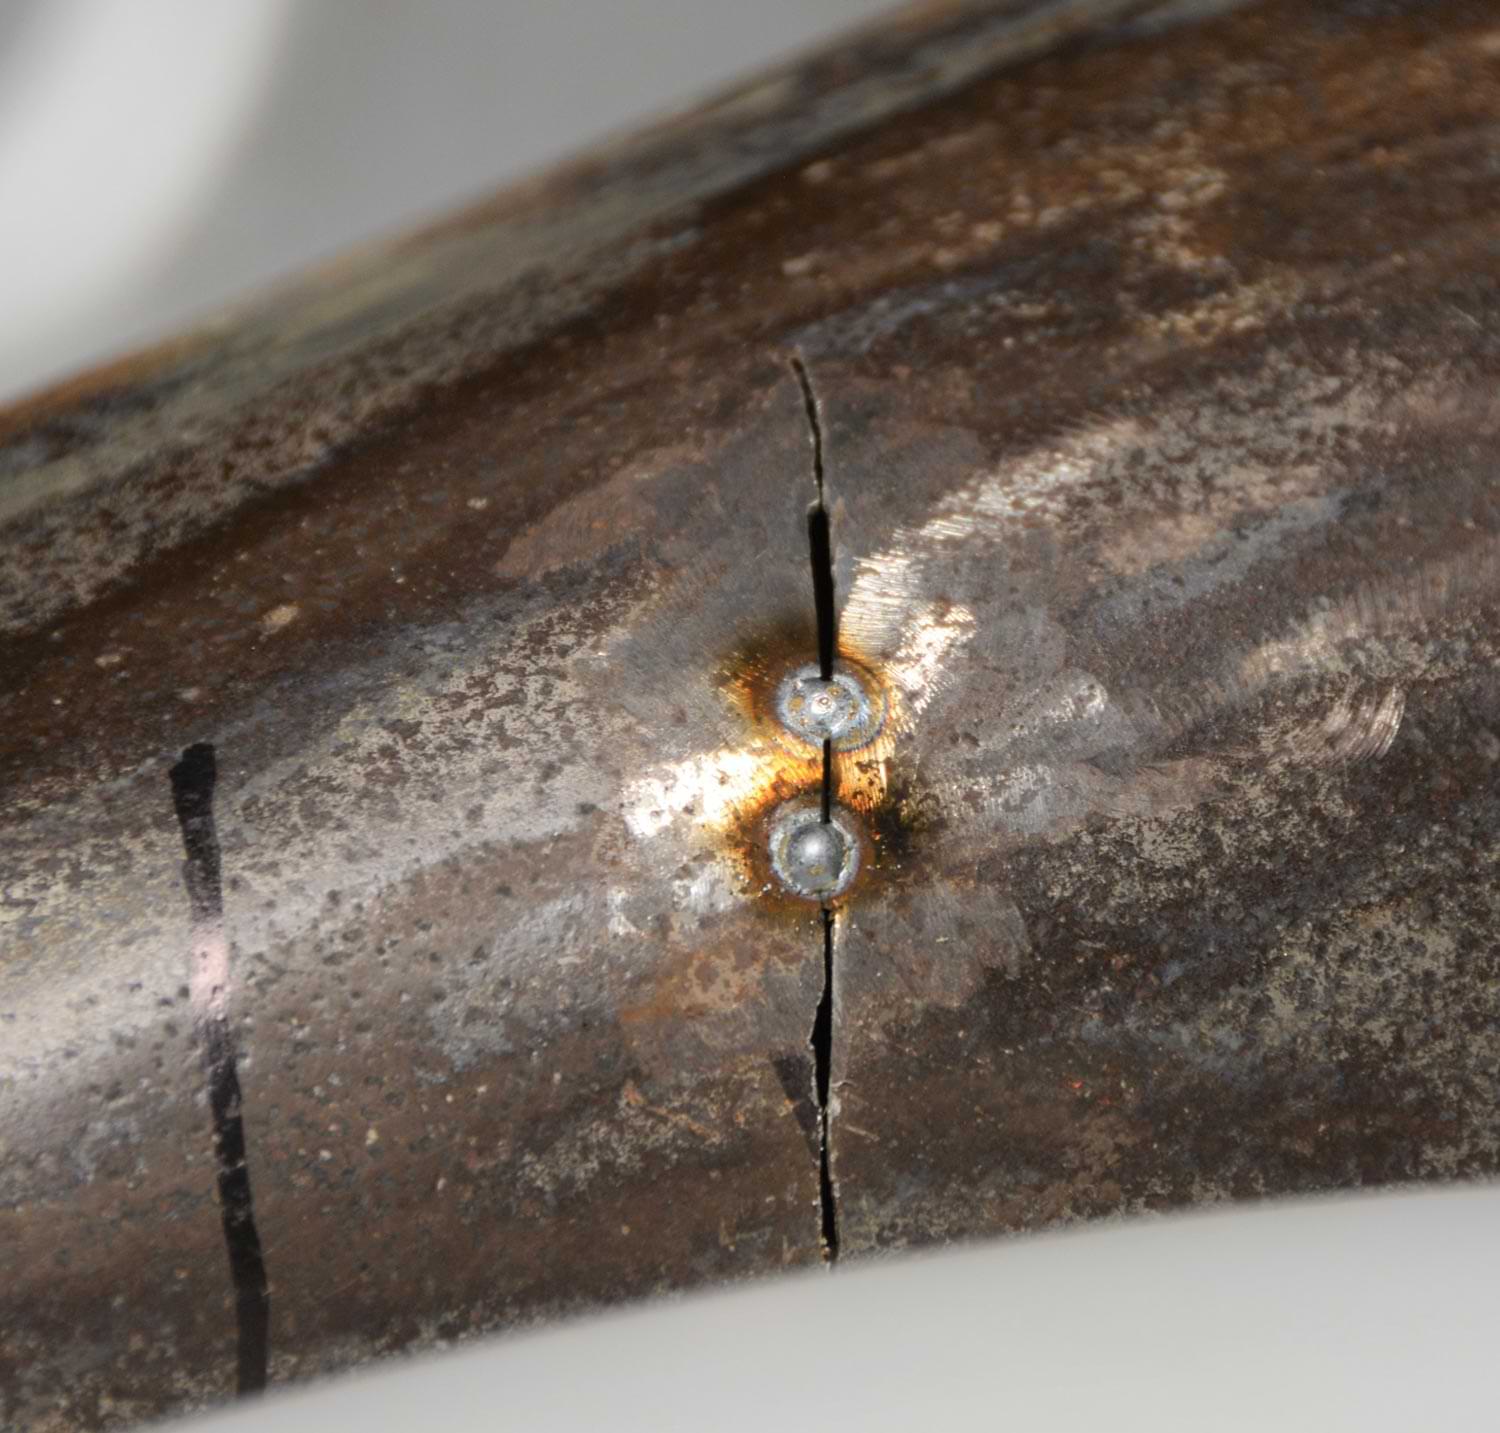
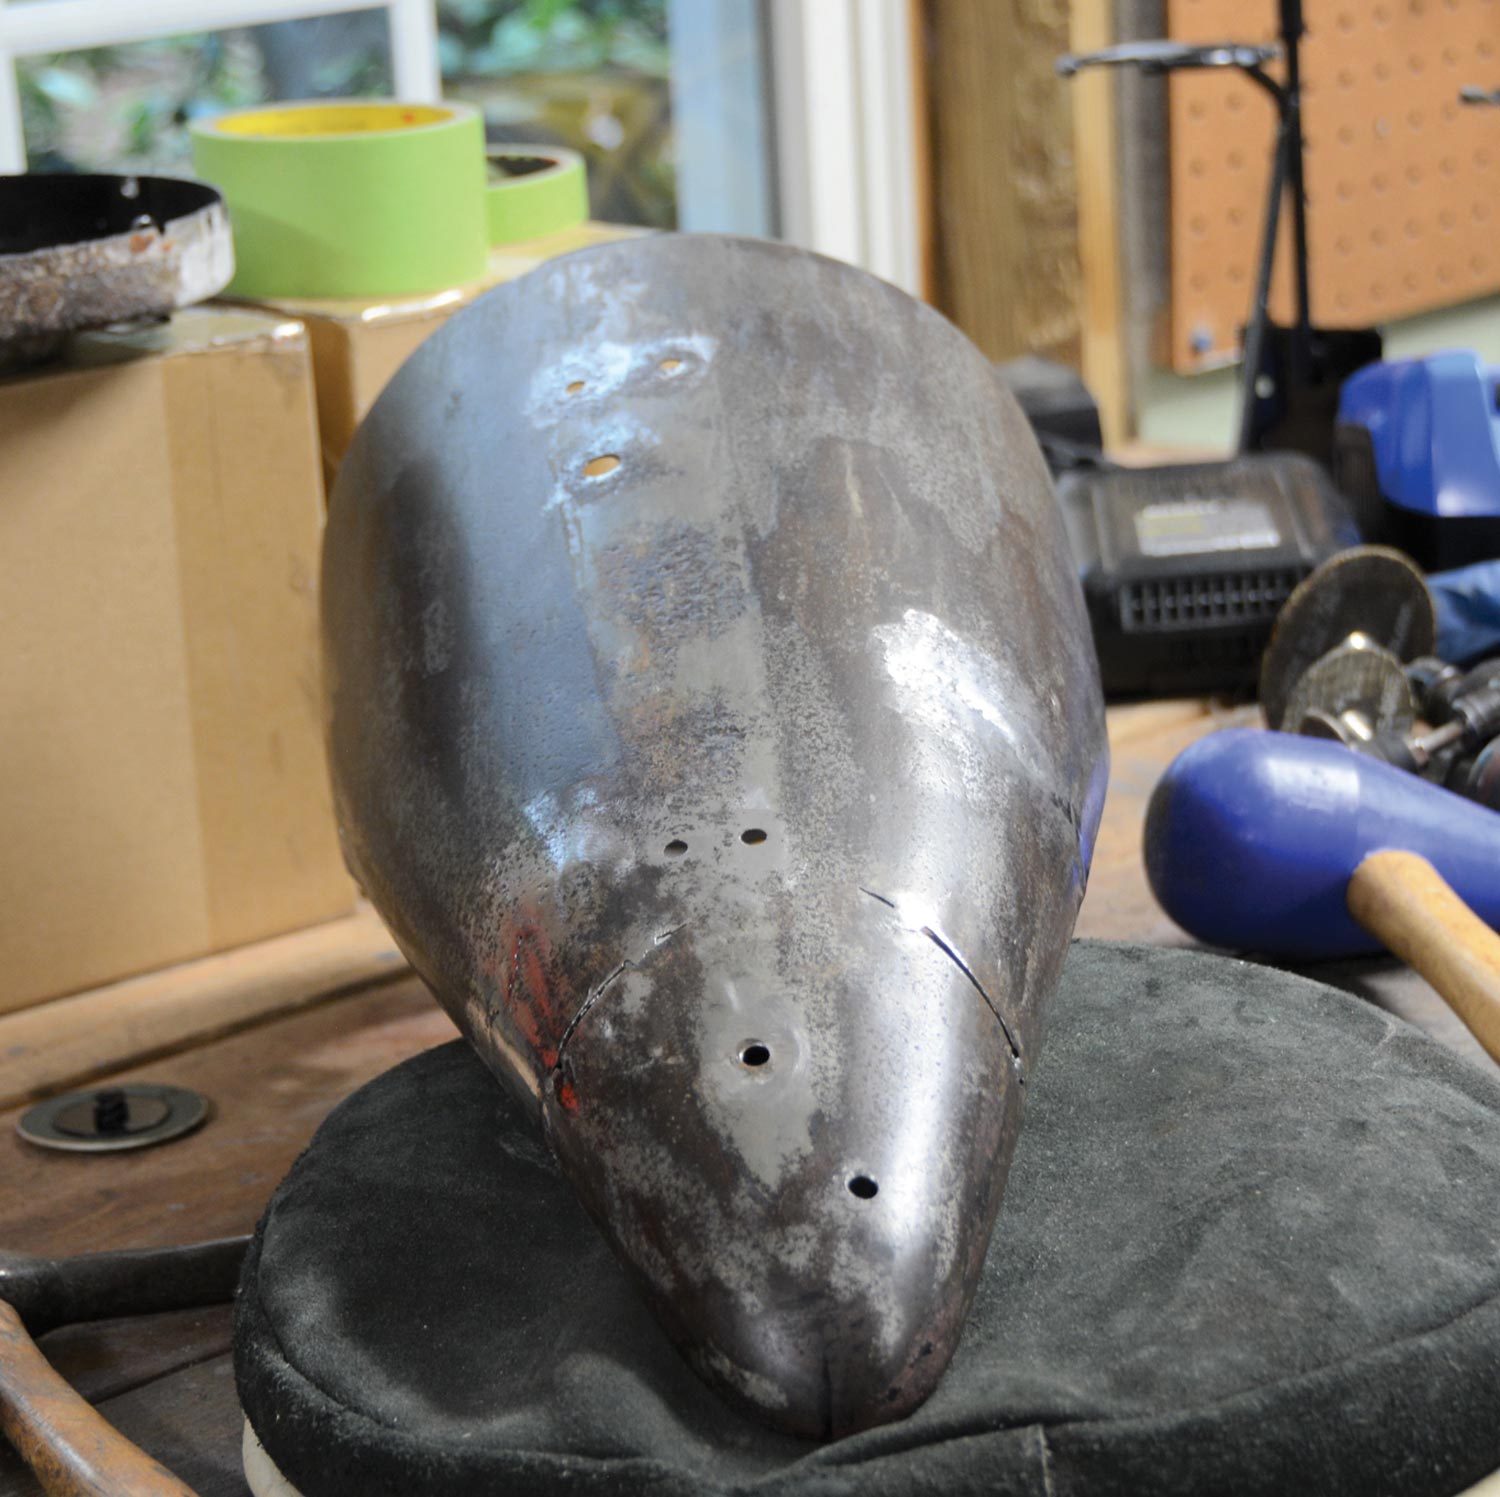
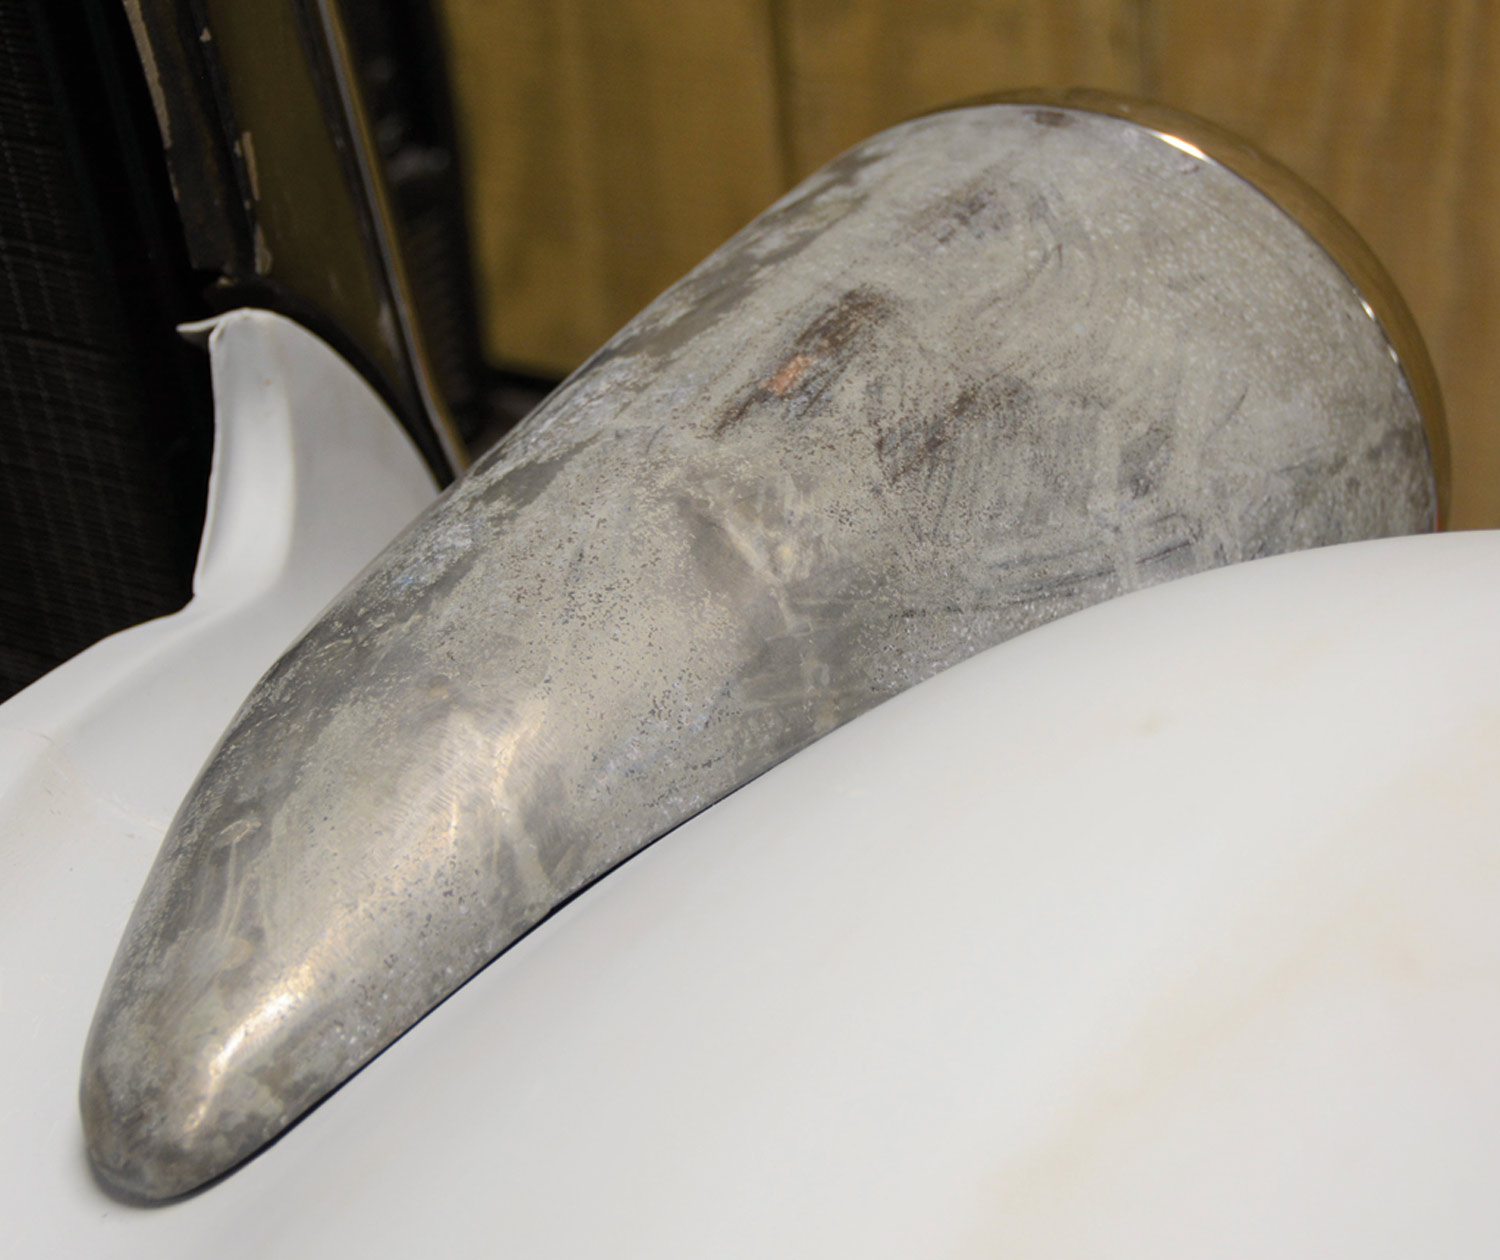
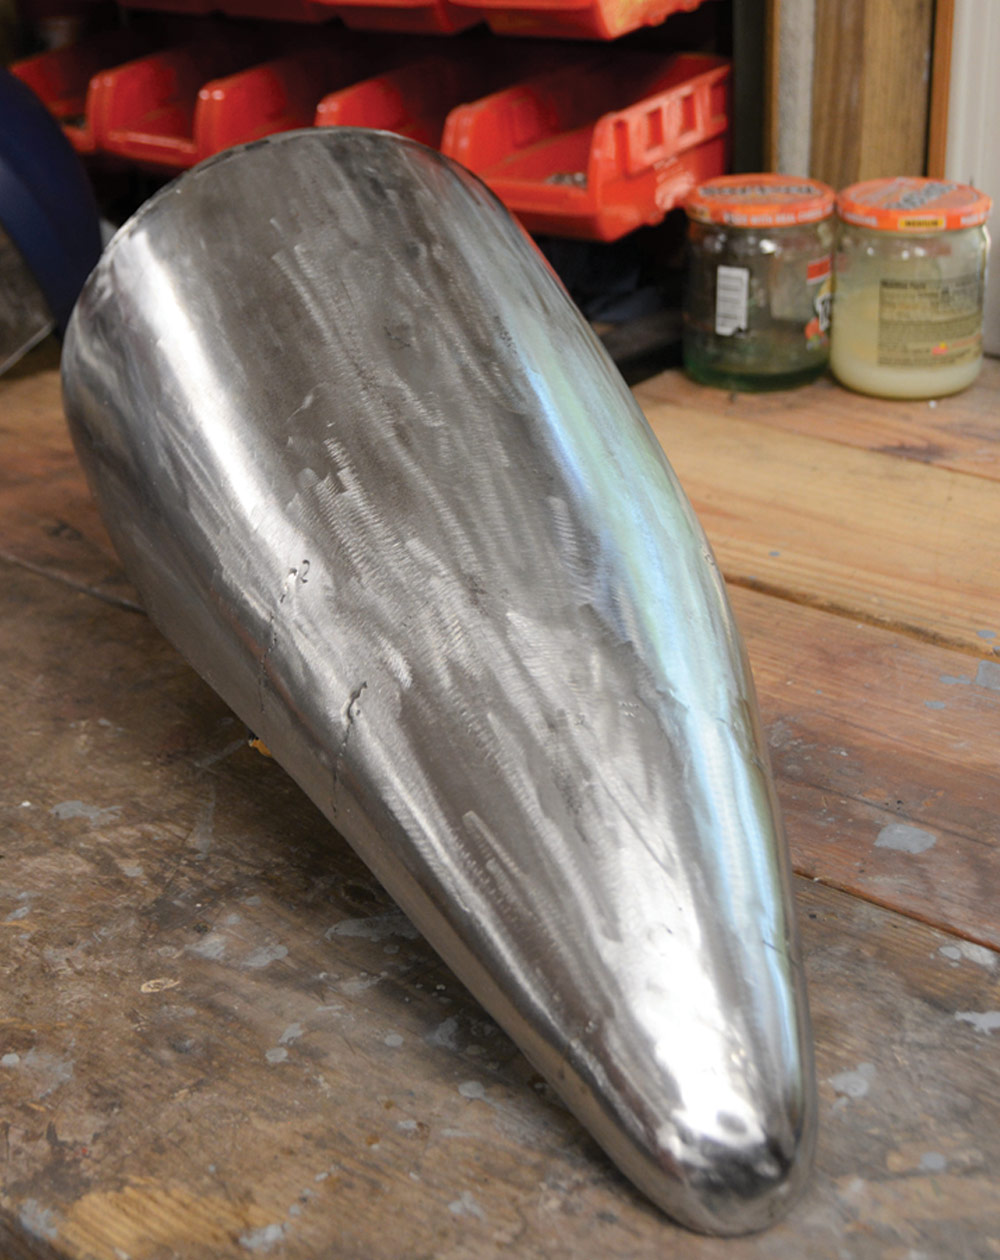
With the headlights finally located on the fender we drilled a hole through the light and through the fender to locate the rear of the light. We used a 3-inch-long screw designed for wood decks to hold it in place simply because that’s what was on hand. This single screw allowed us to still adjust the light side to side and also raise and lower the rear of the light. In the end the outside, front half of the light had a near-perfect contour for our ’36 fender, but the rear of the light was standing a full inch above the fender. So, the recontouring process would take place from roughly the center of the light rearward on the outside, while on the inside of the light we would be adding metal to the front half of the light to meet the fender, and also recontouring the back half. Under the front of the light metal must be added to extend the light back to the fender. If this sounds like a lot of work, it is, but work slowly (actually my only speed now) and it will work out quite nicely.
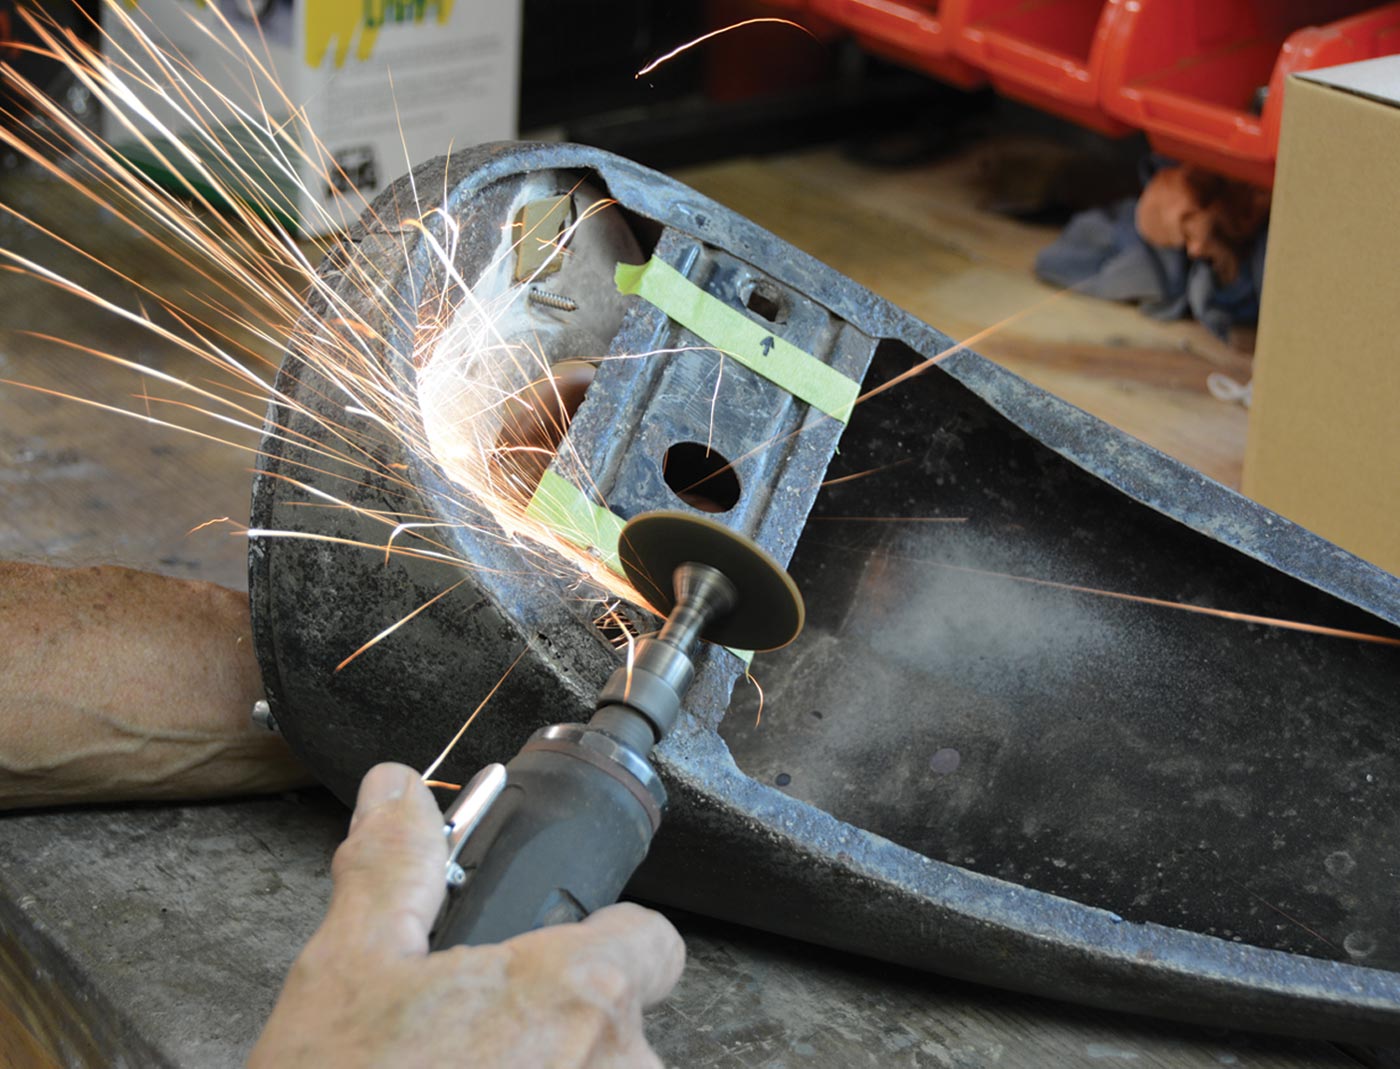
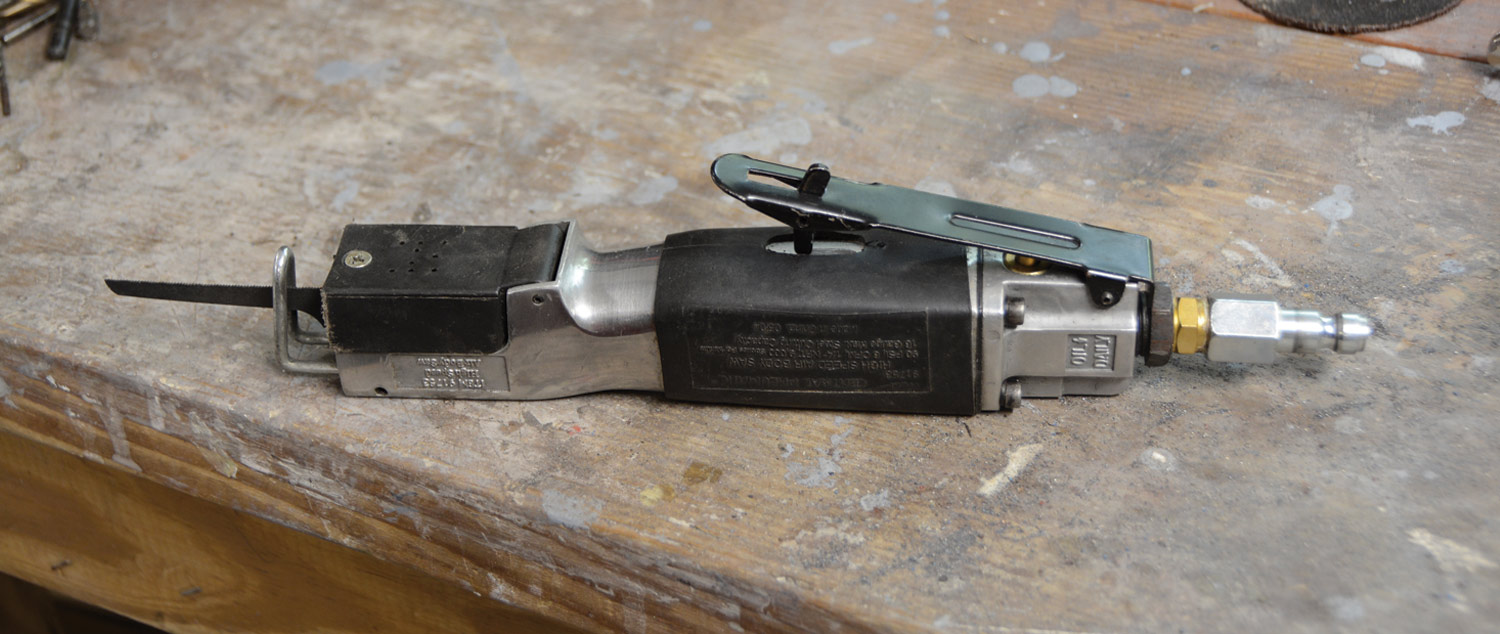
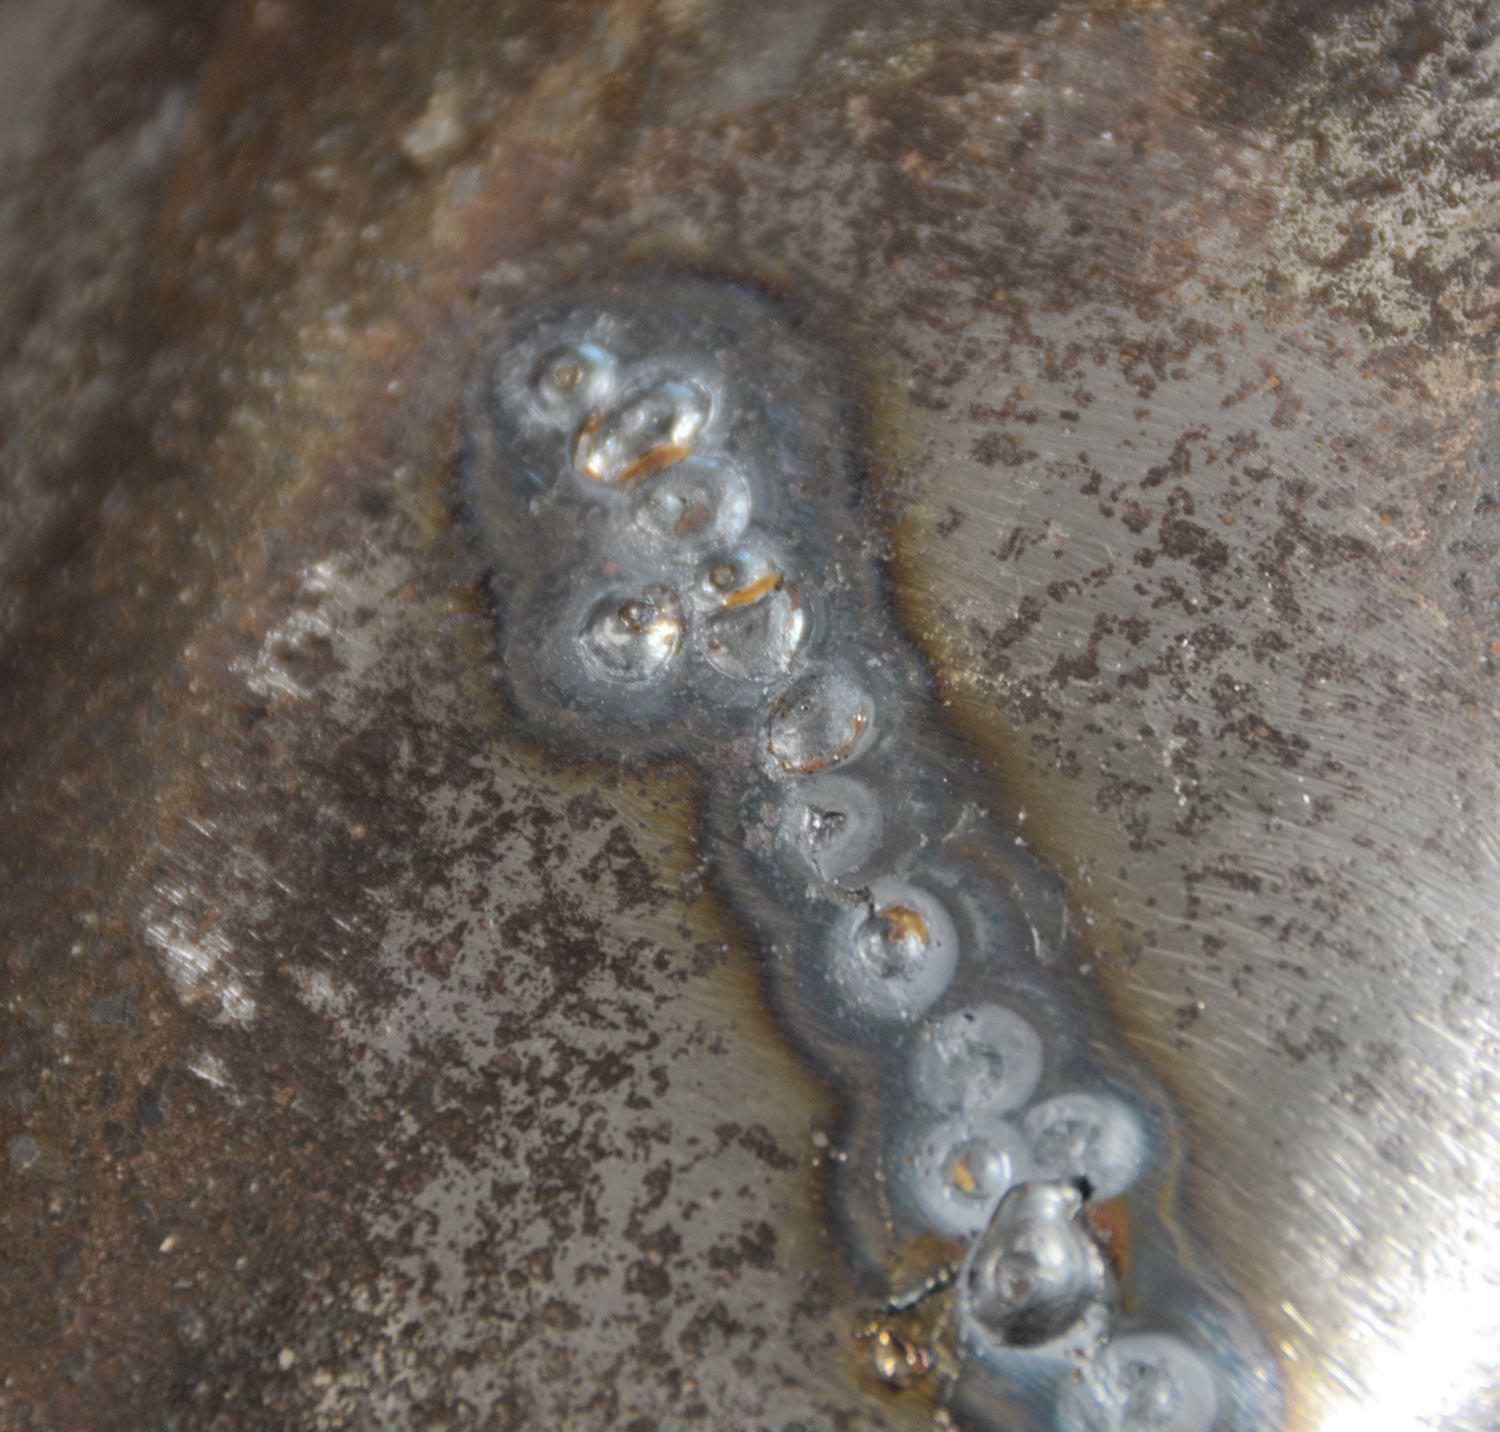
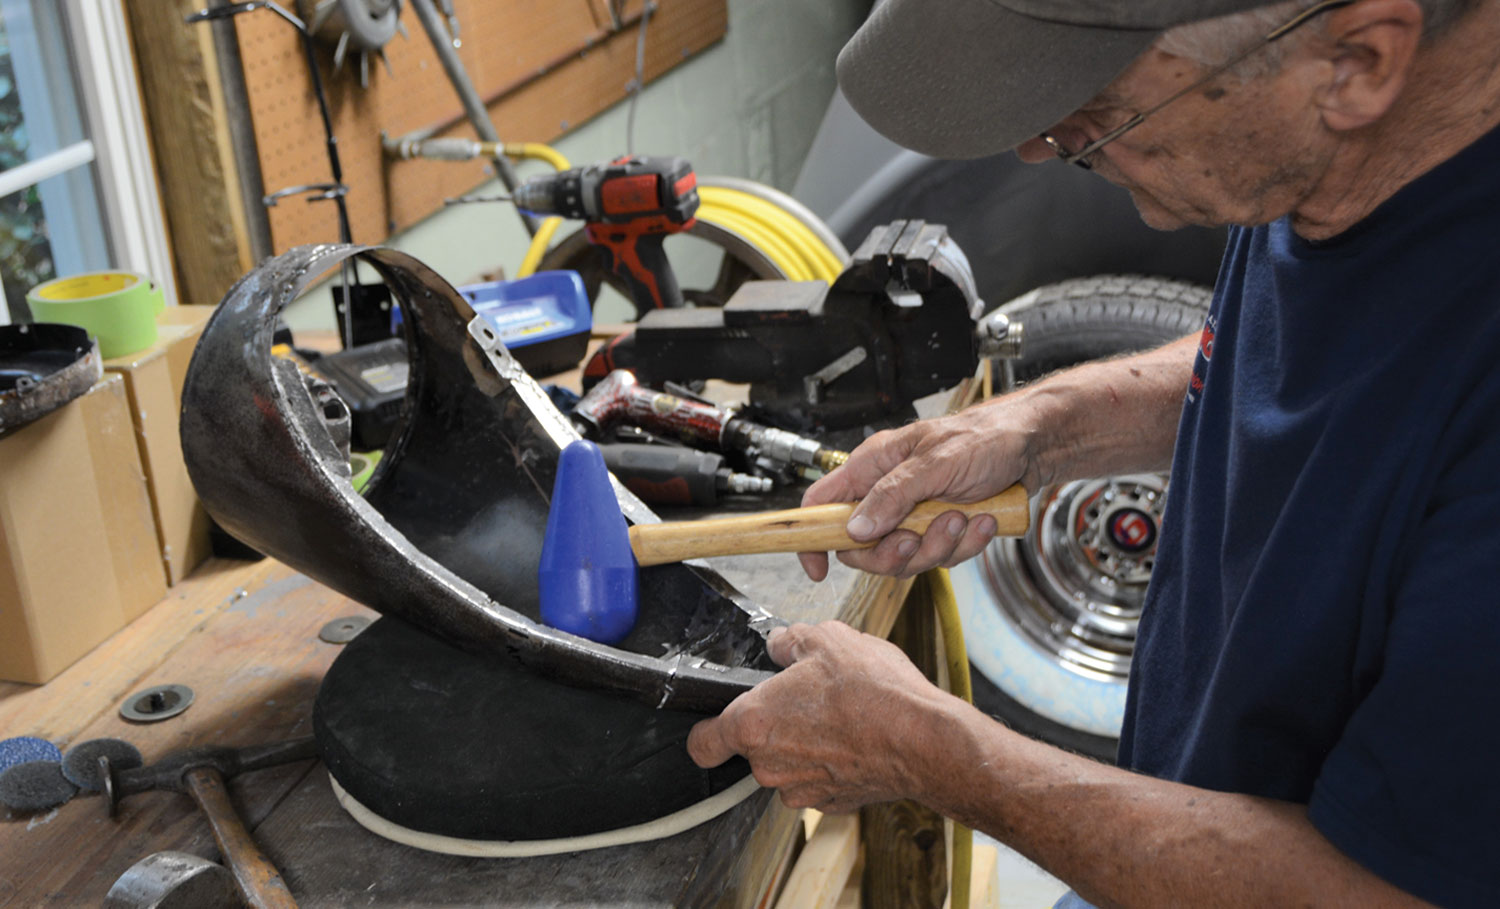
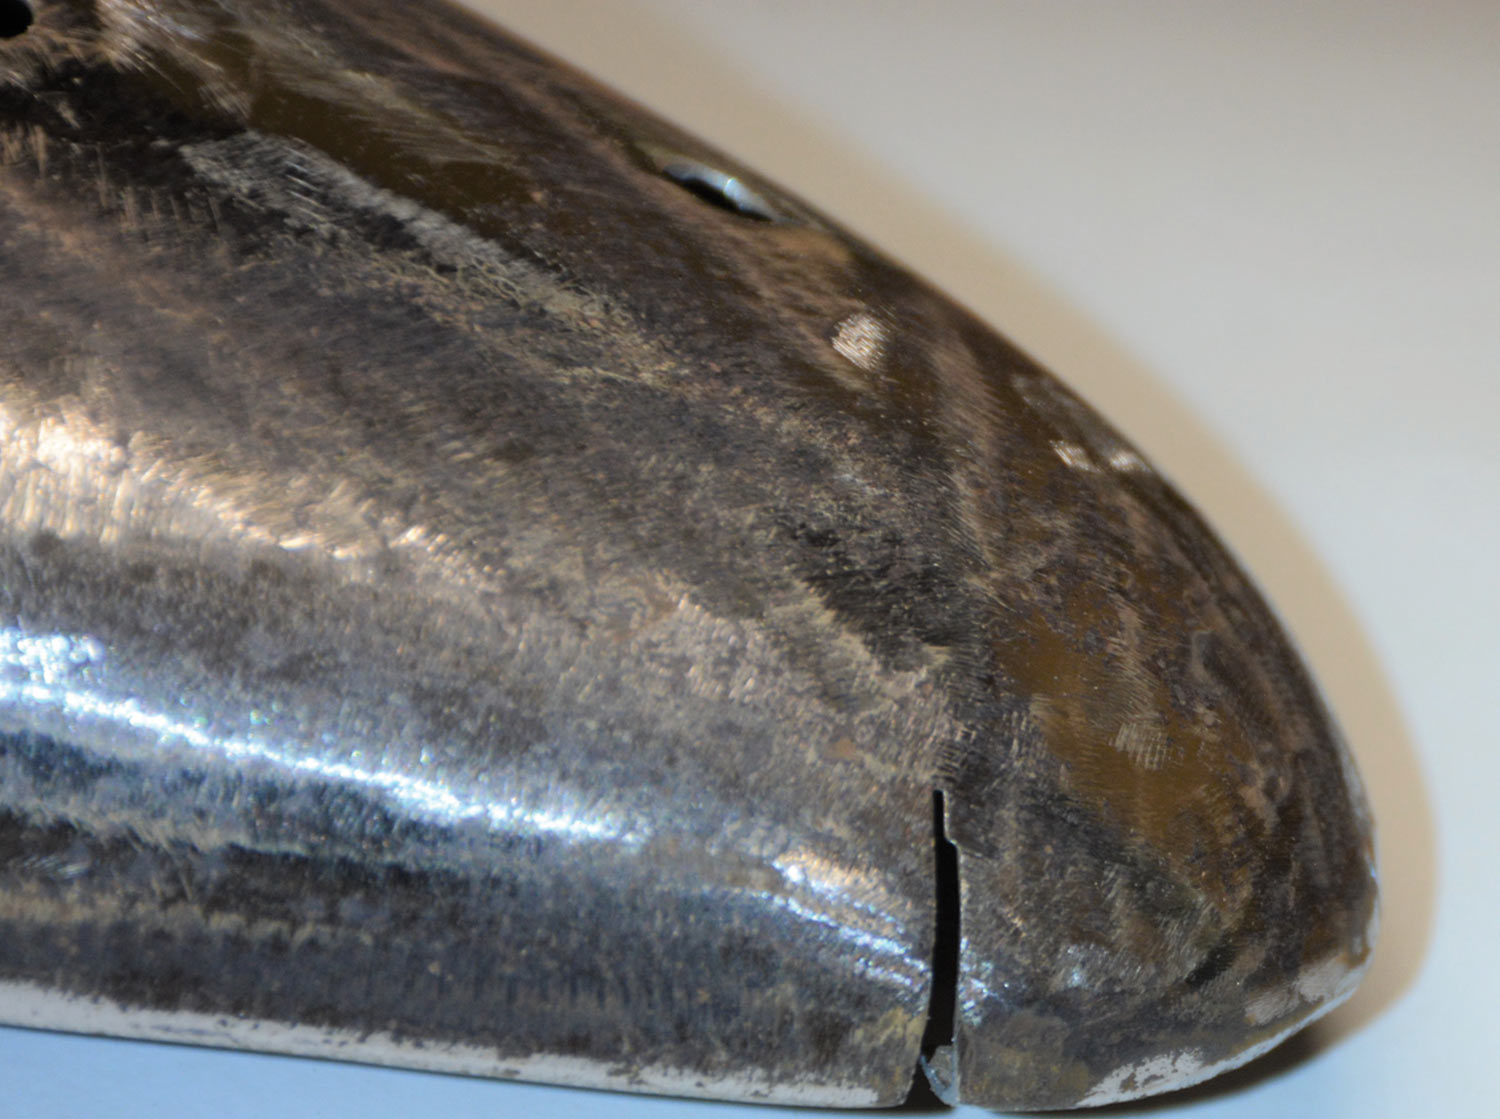
Tools required are basic bodywork tools, hammer, dolly, and bead bag, along with welding equipment. We found the small pneumatic saw from Harbor Freight to be invaluable in slicing the lights. After that it’s cutting, bending, and welding. We won’t go into great detail here, rather we will save the space for more photos showing the process. This is part one of the story, mounting the lights, in part two we will deal with re-indexing the seal beams so they are straight in the buckets. Since we opted to use Lucas PL700 tri-bar, curved lens lights this was critical. But for now, let’s get those headlights mounted.
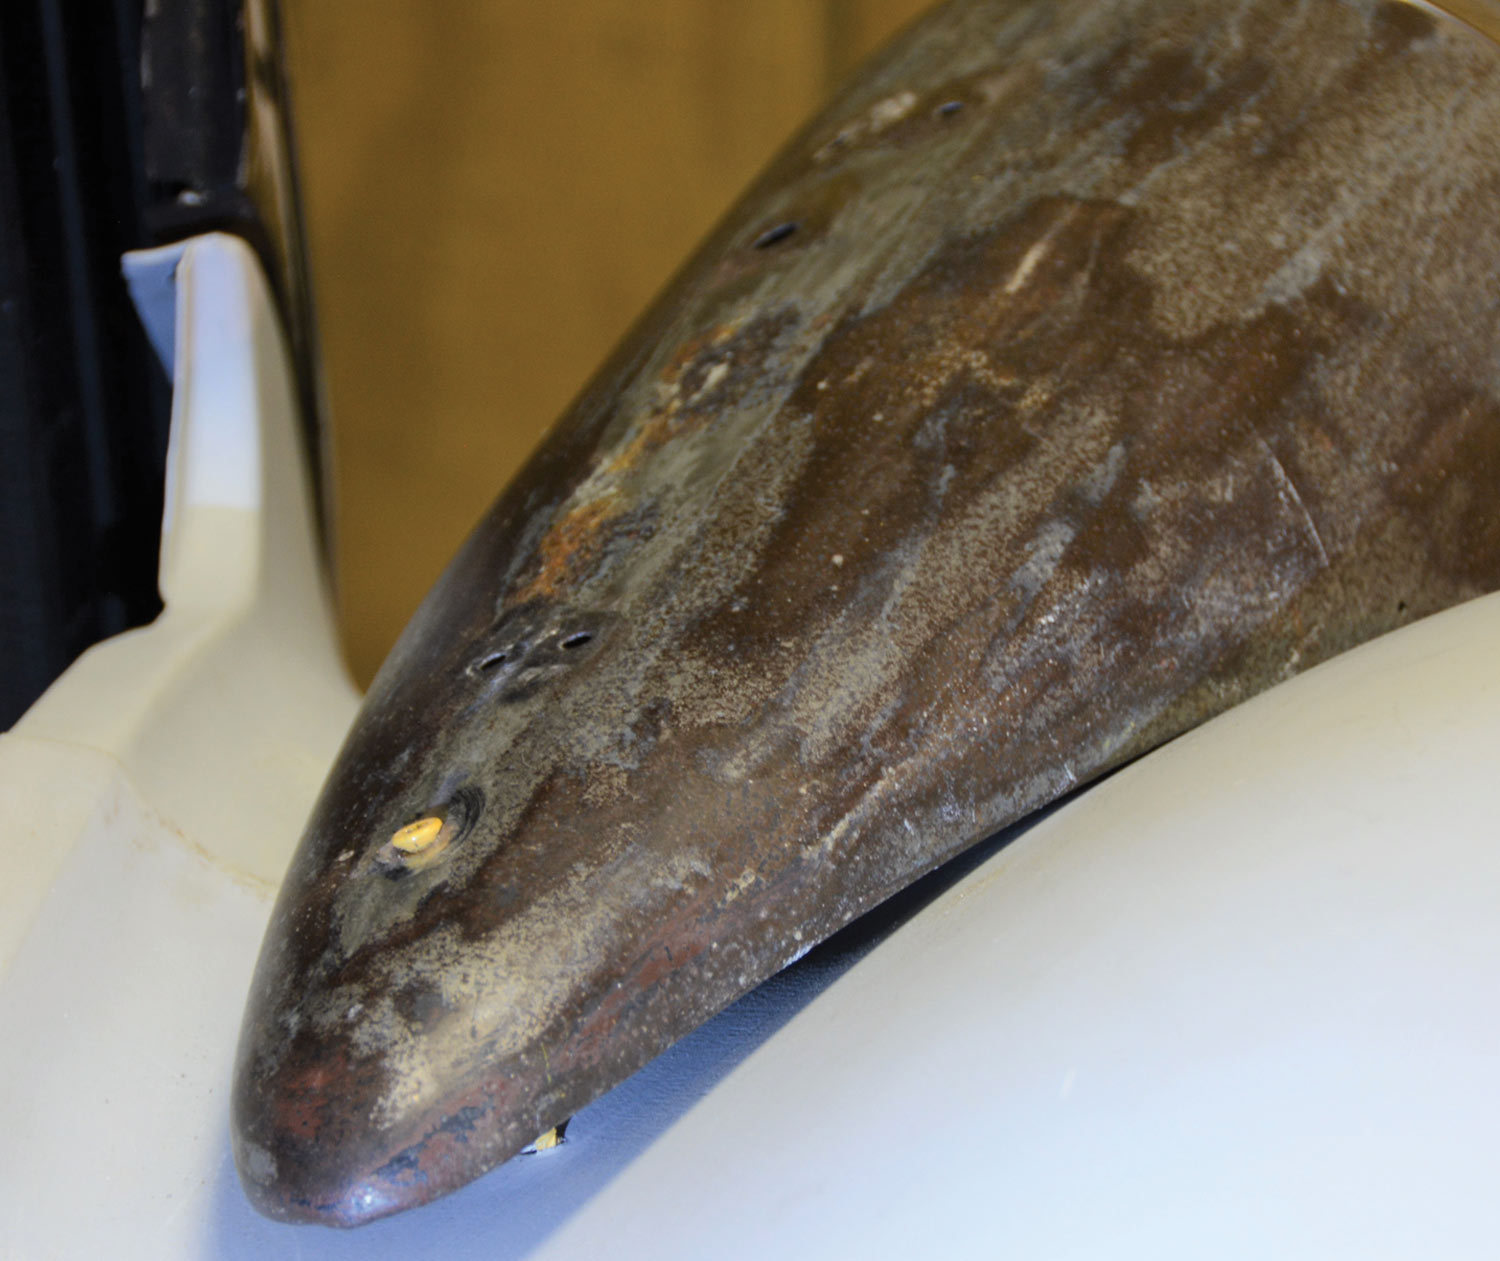
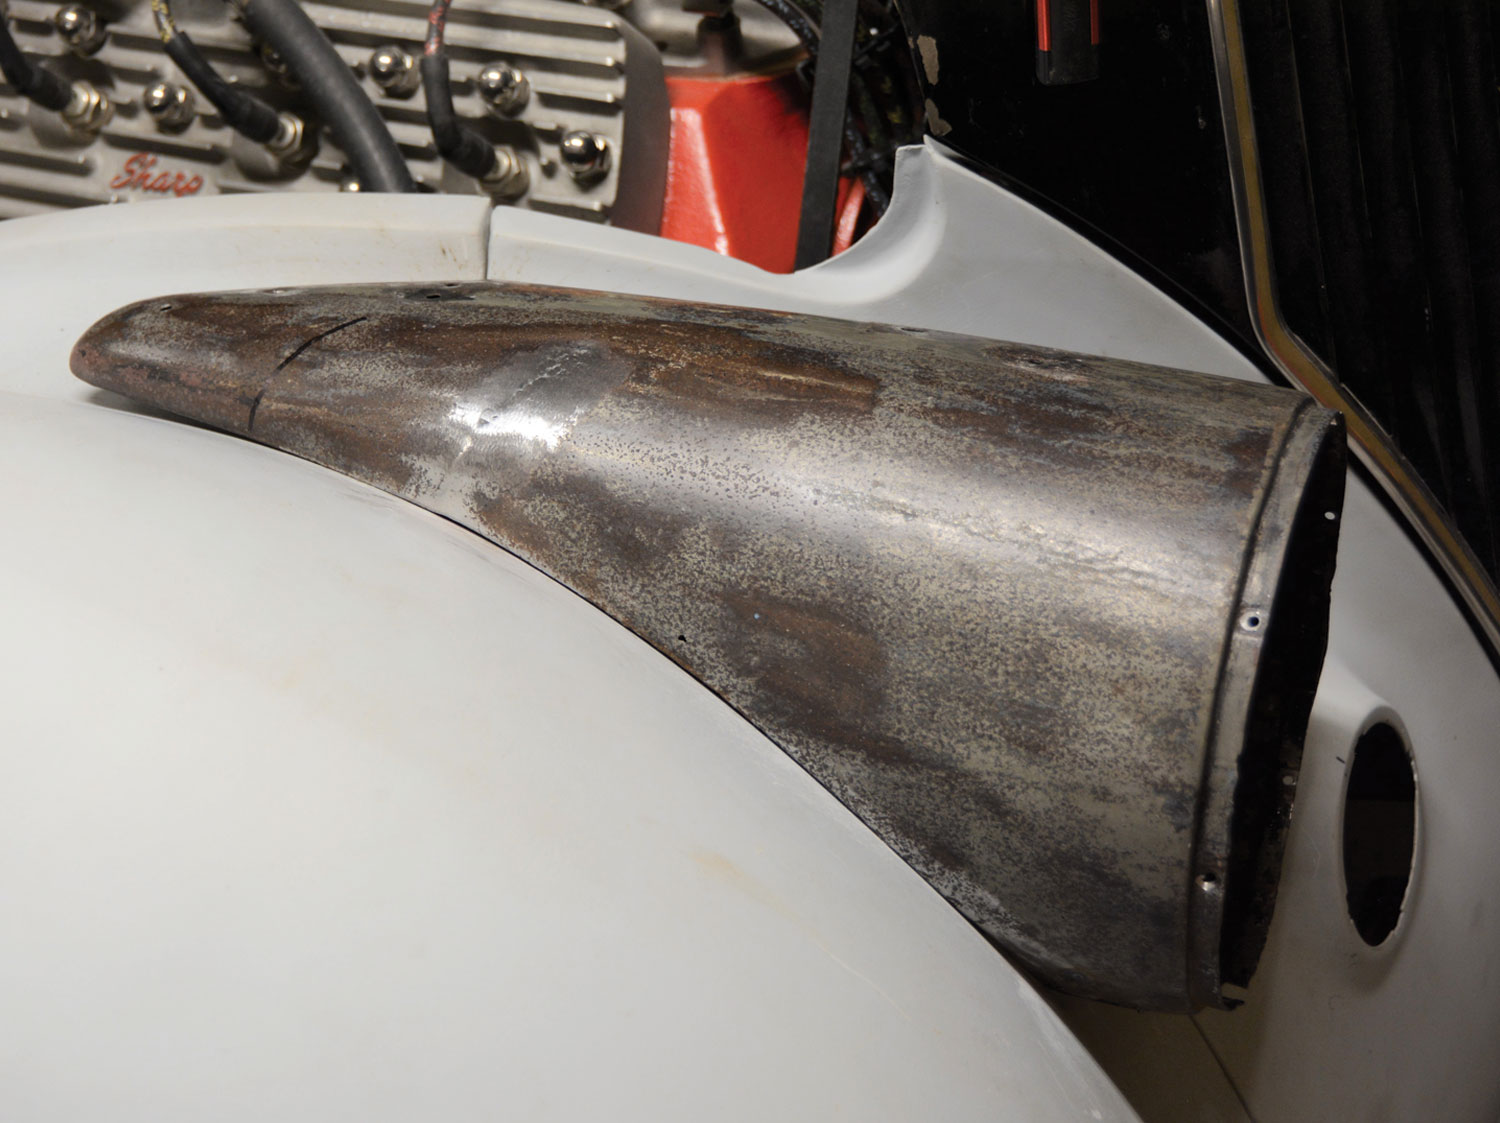
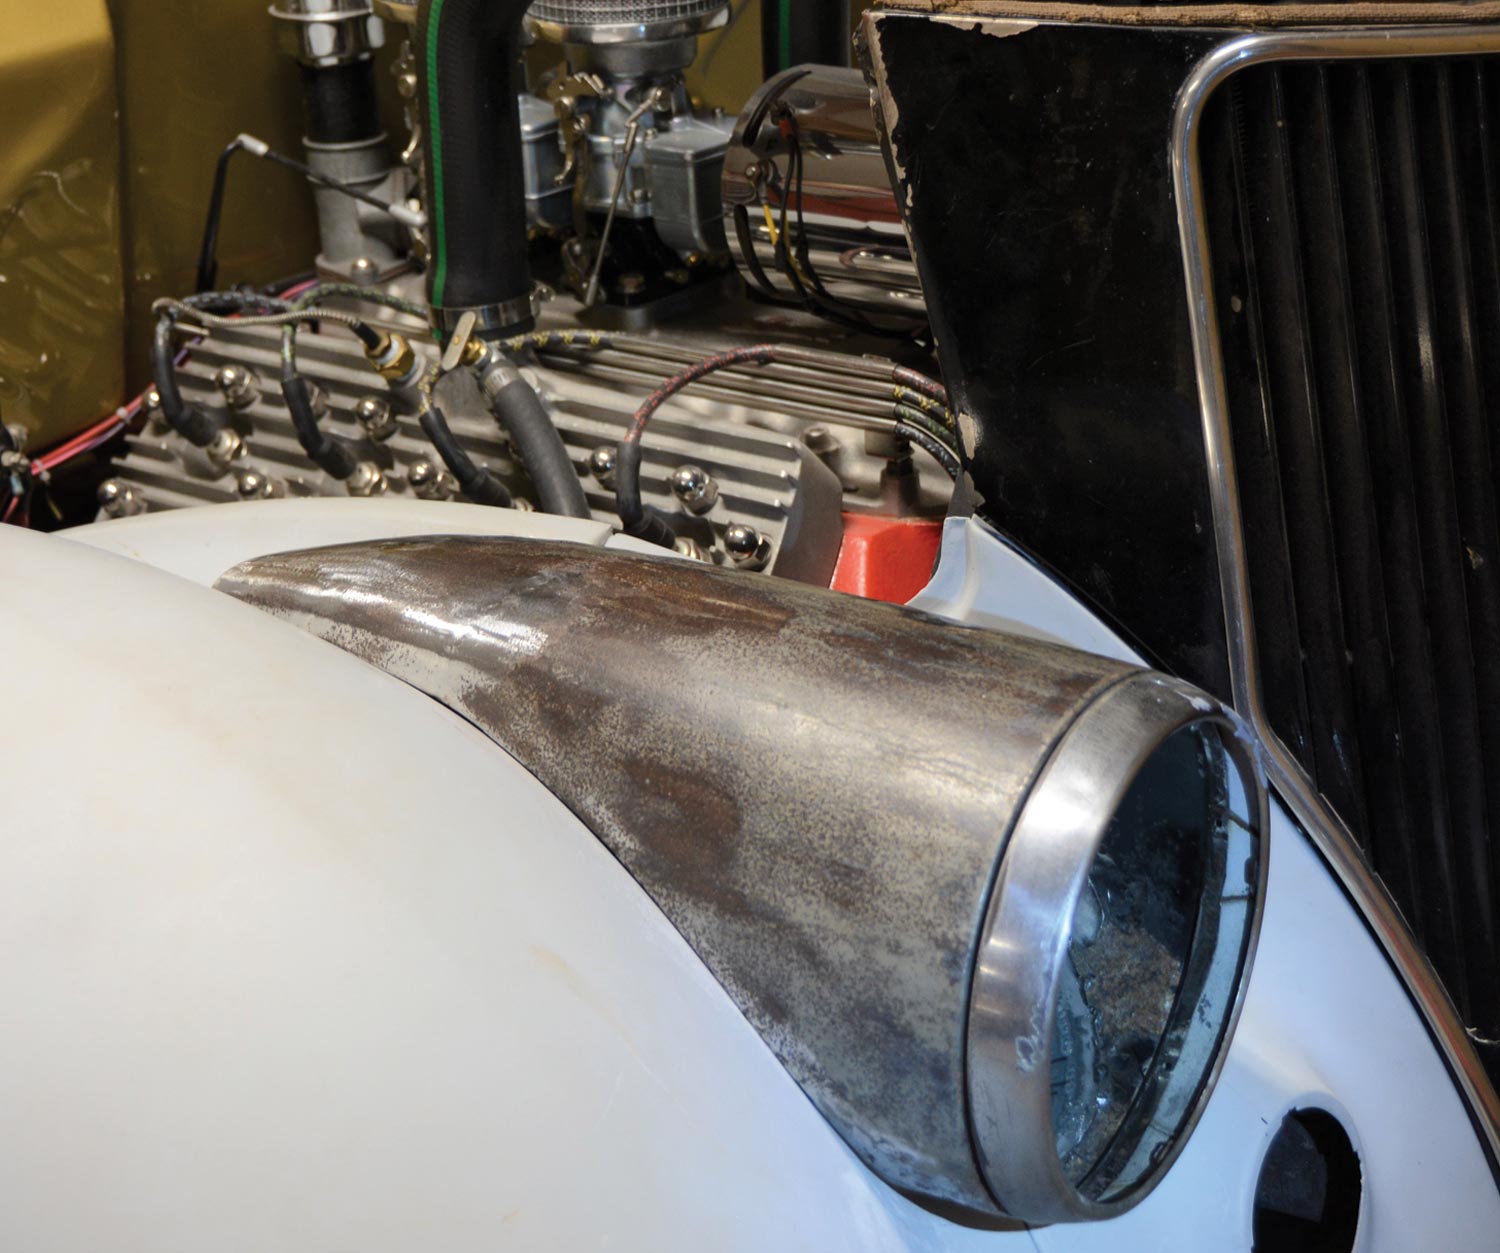
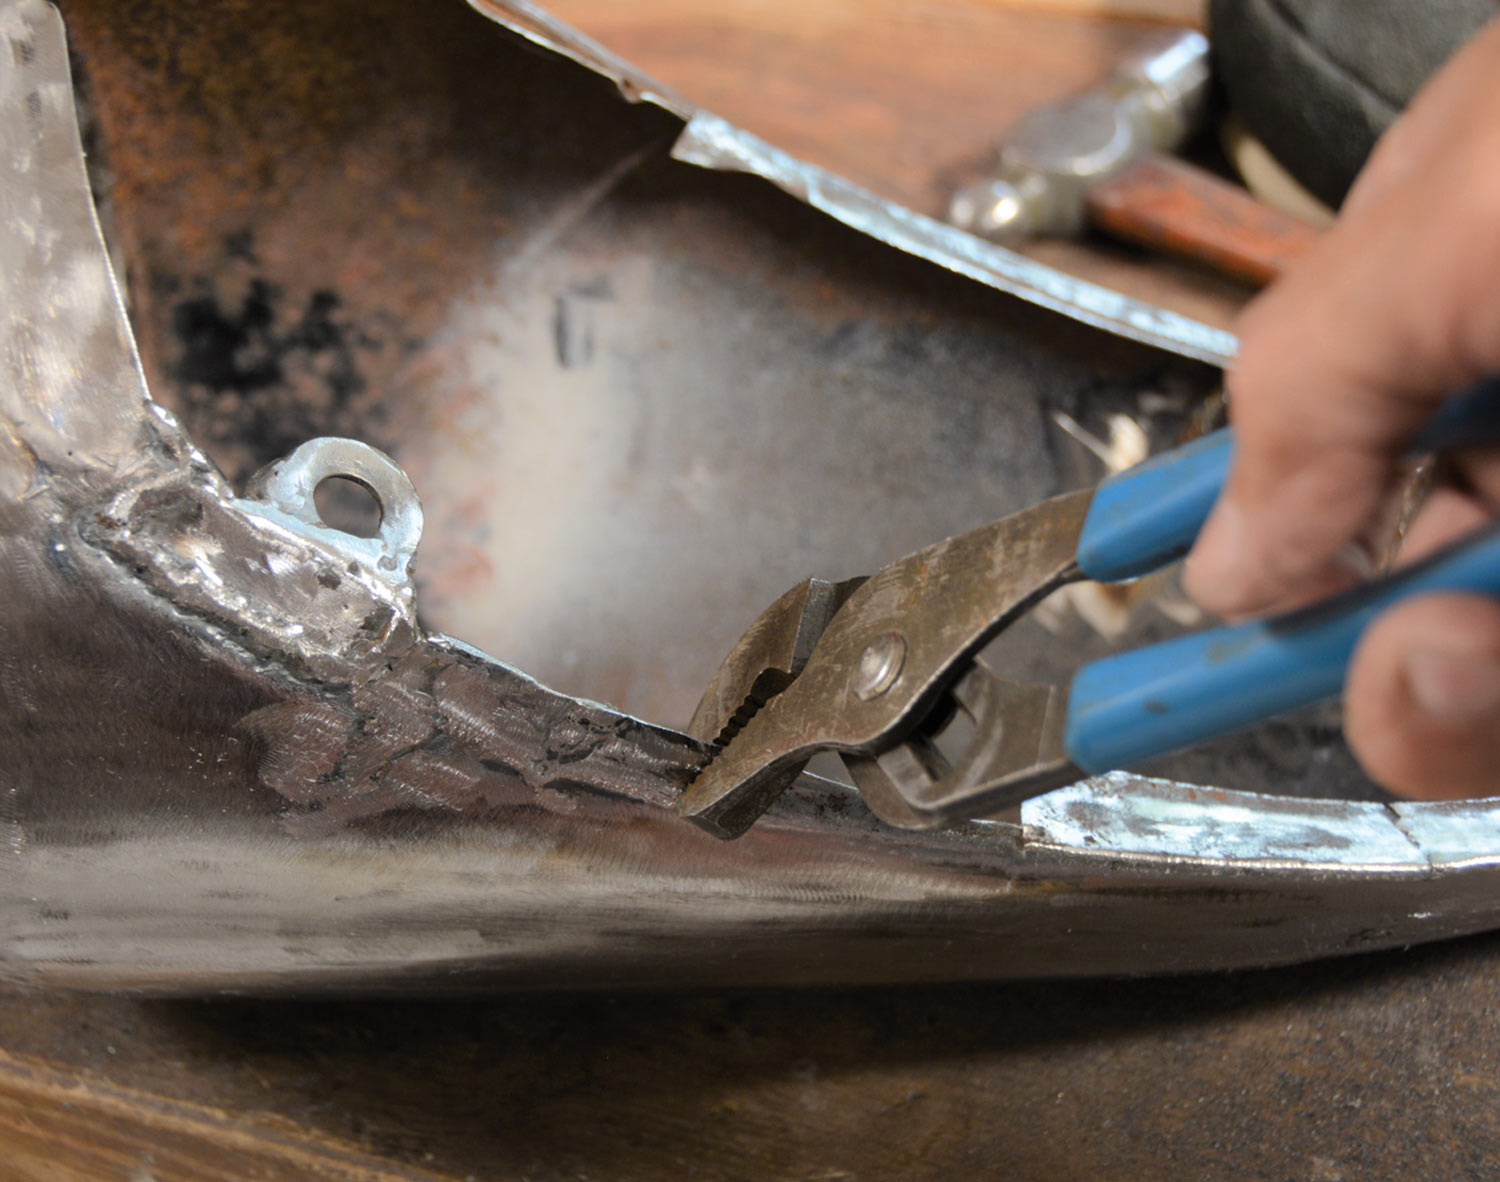
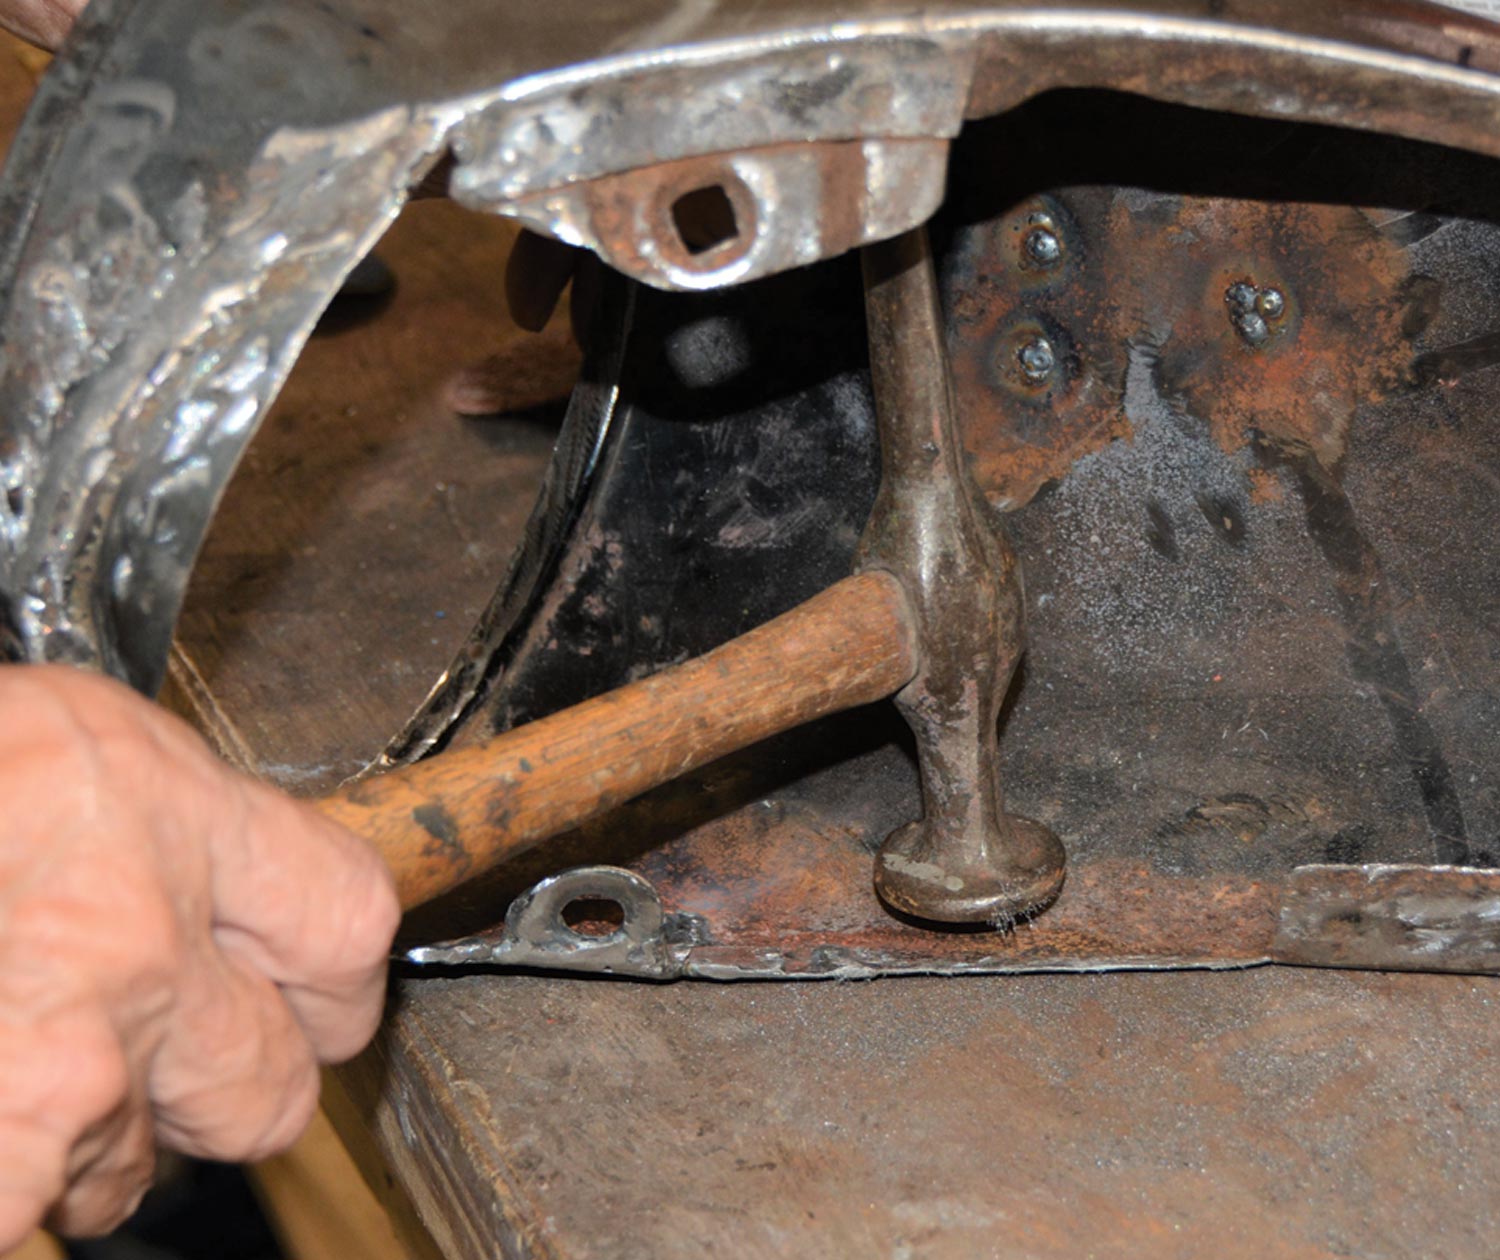
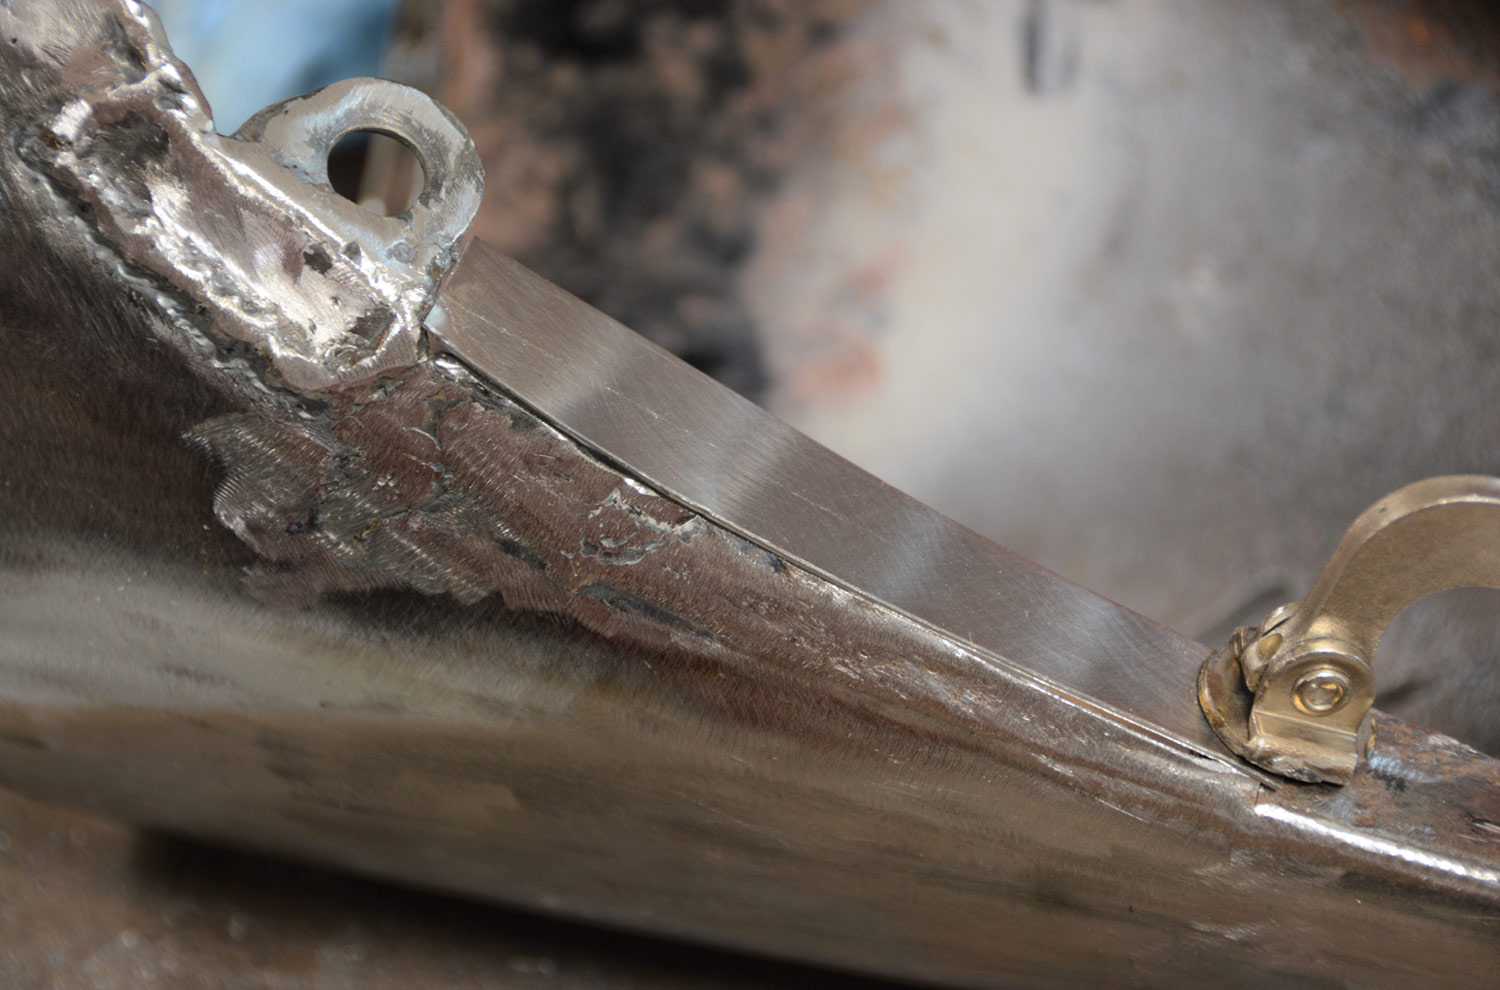
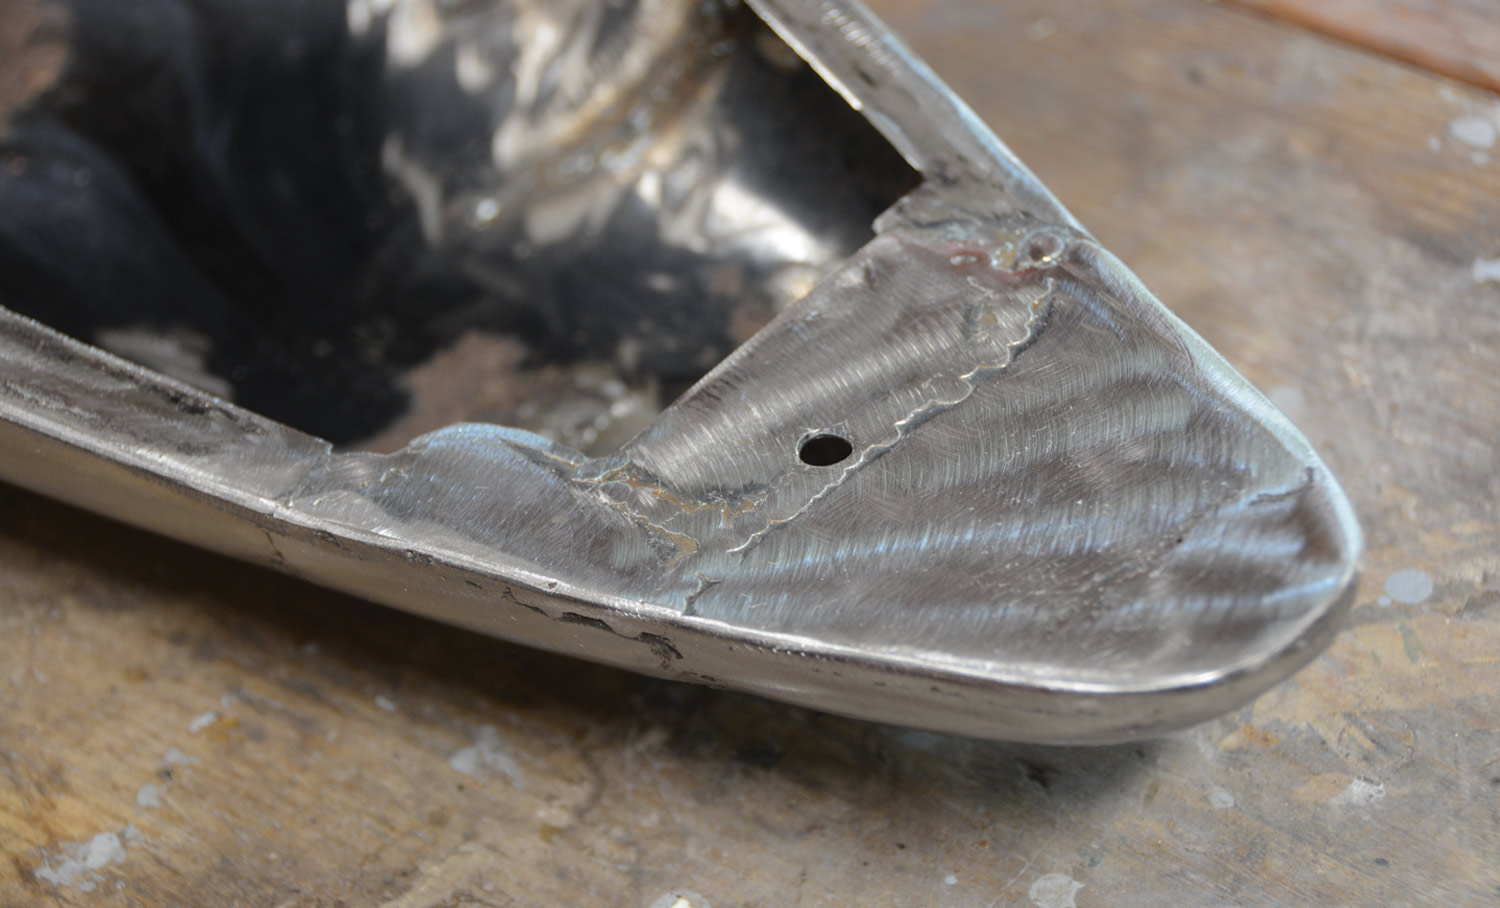
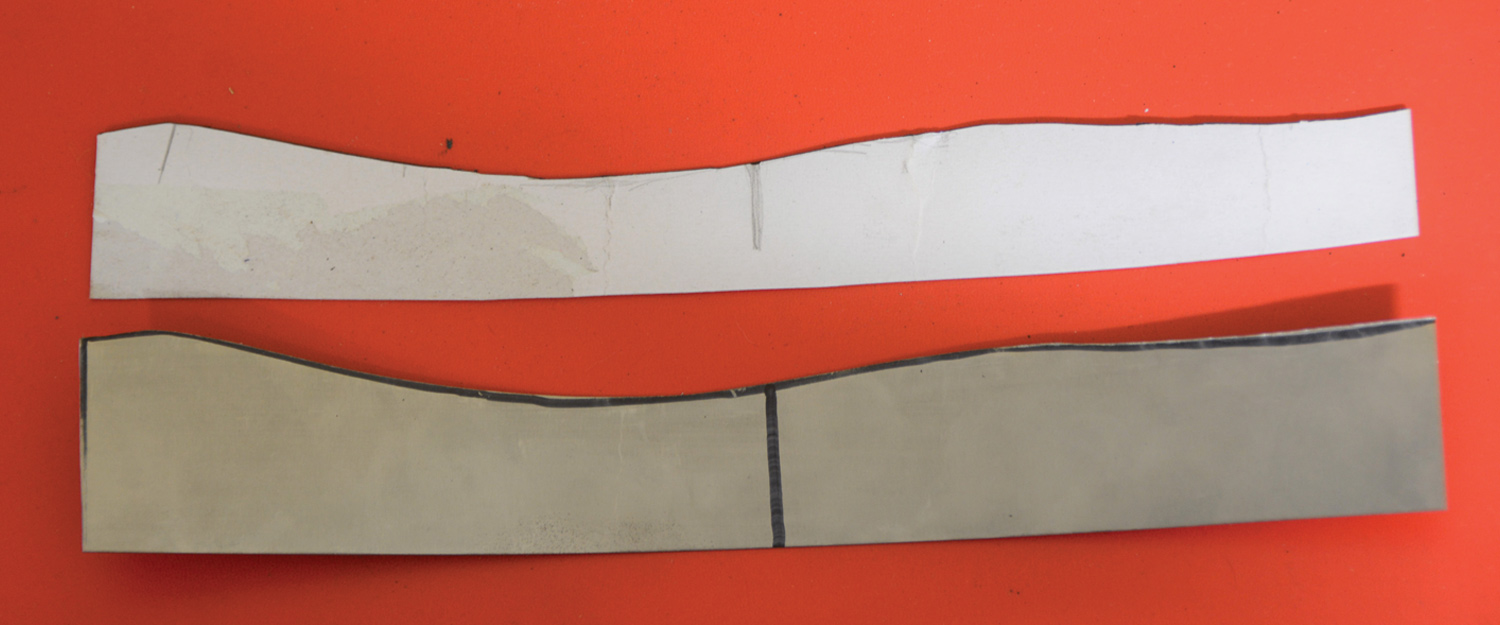
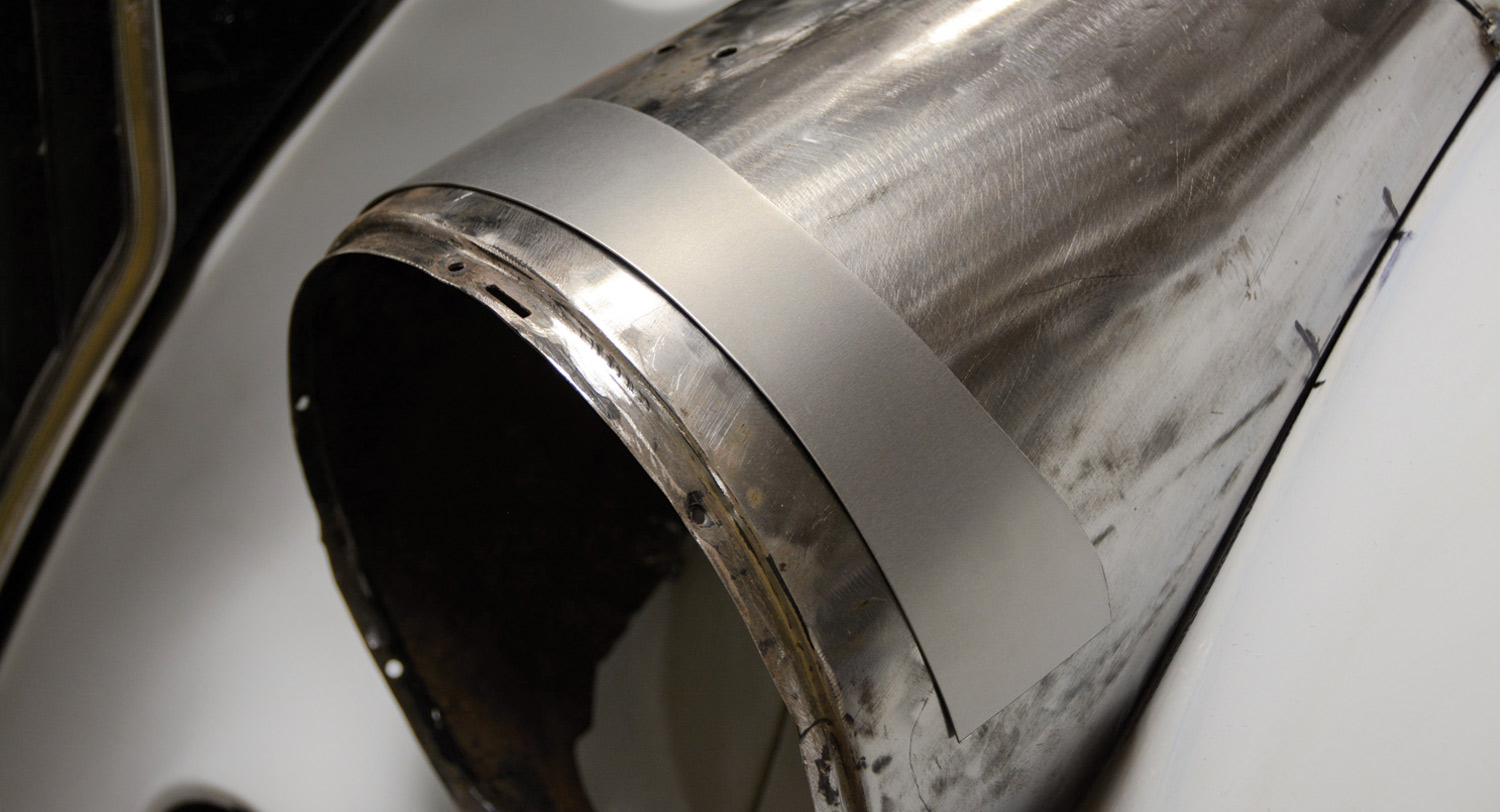
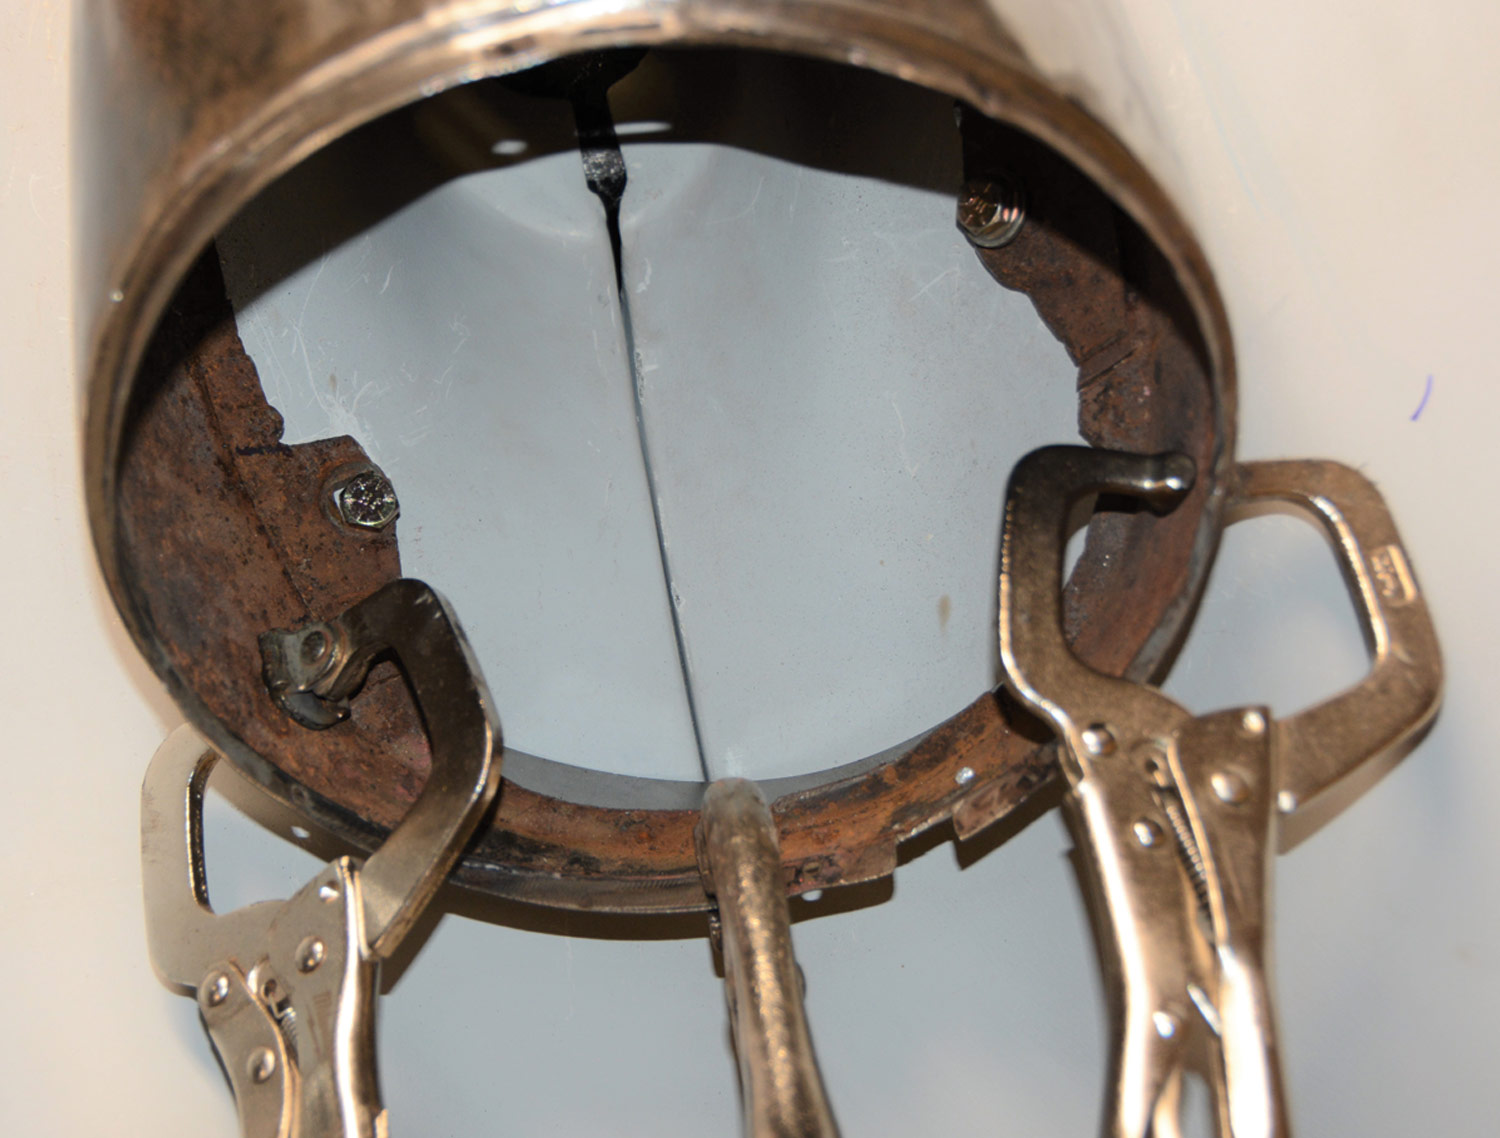
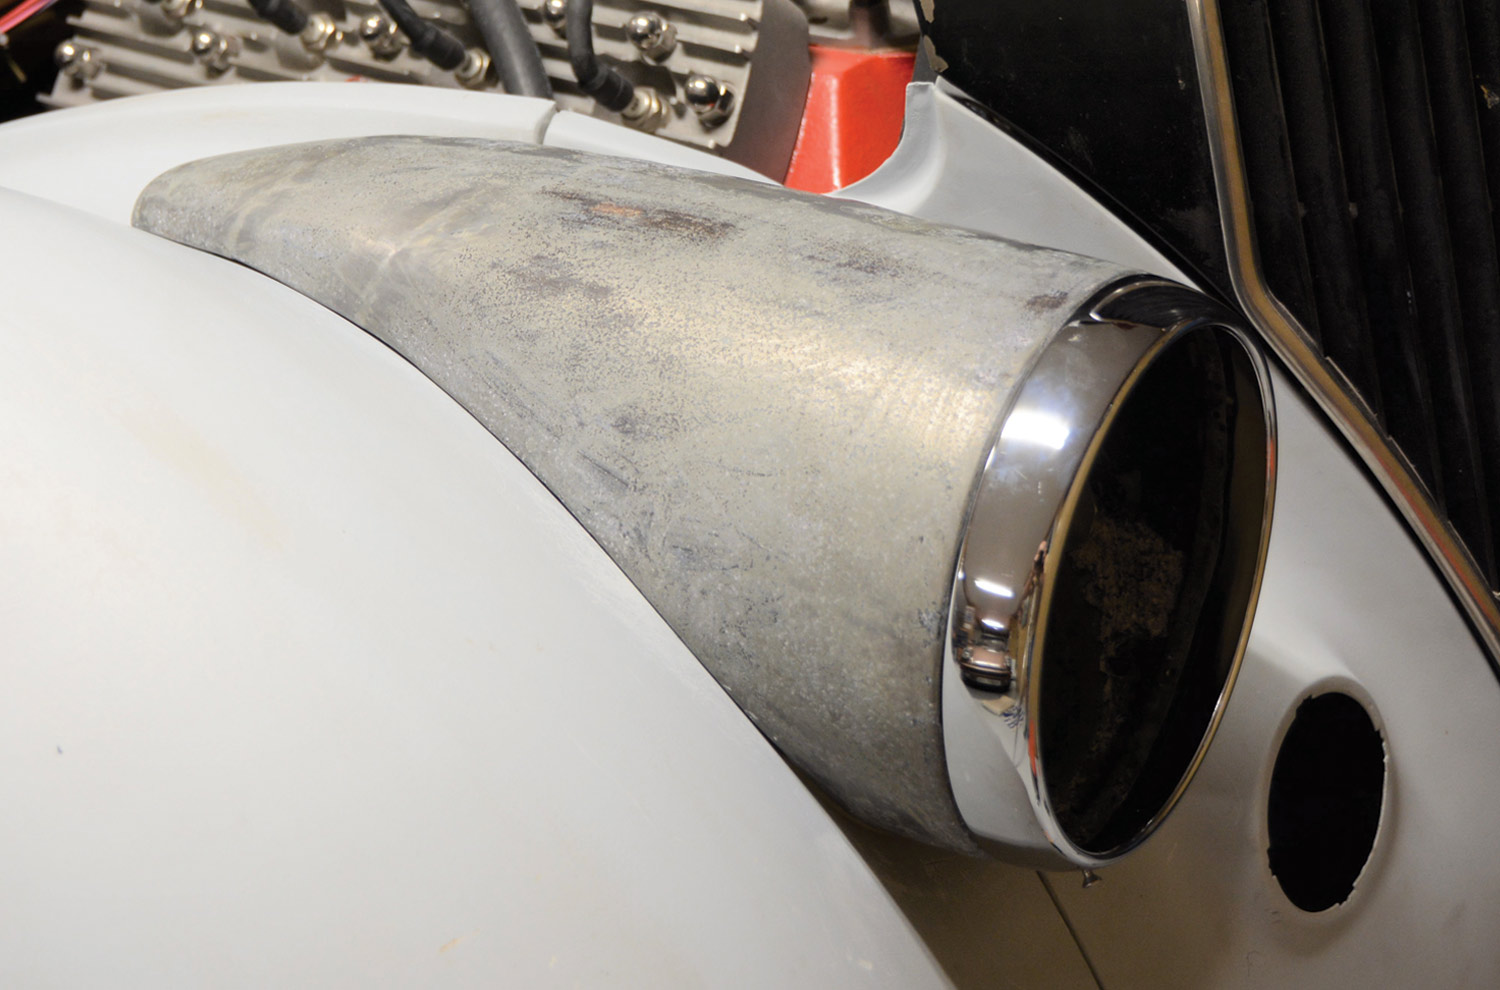
26. The lights now fit the fender very nicely on both sides, but there was a glaring gap at the bottom of the headlight below the seal beam. After making a cardboard template we cut a piece of 18-gauge sheetmetal.
VOLUME 3 • ISSUE 16 • 2022