Modern Rodding Tech
InTheGarageMedia.com
By Brian Brennan  Photography by Tim Sutton
ast month we kicked off what it was going to take to handle your own custom panel or lace paintwork on any hot rod, especially on the roof of a wagon. To wrap up we headed back to Kraftsman Autoworks in Torrance, California, and checked in with Jack Fields. As a fulltime painter and one who has his hands, literally, daily in custom paintwork, it was back to finish what we had begun. Fields is a proponent of House of Kolor (HOK) paint materials and that’s exactly what we wanted for the ’60s Ford wagon we are working on. Remember, we have just finished the prepping, masking, and the layout of our design. Now comes the application of paint and how to use lace material to achieve our desired results.
We’ve heard the term “fisheyes” but what causes them? Typically, it’s some airborne contaminant such as oil, wax, grease, dust, dirt, and so on. When this occurs, it’s basically back to square one to remove the fisheyes properly and leave the surface now ready for paint.
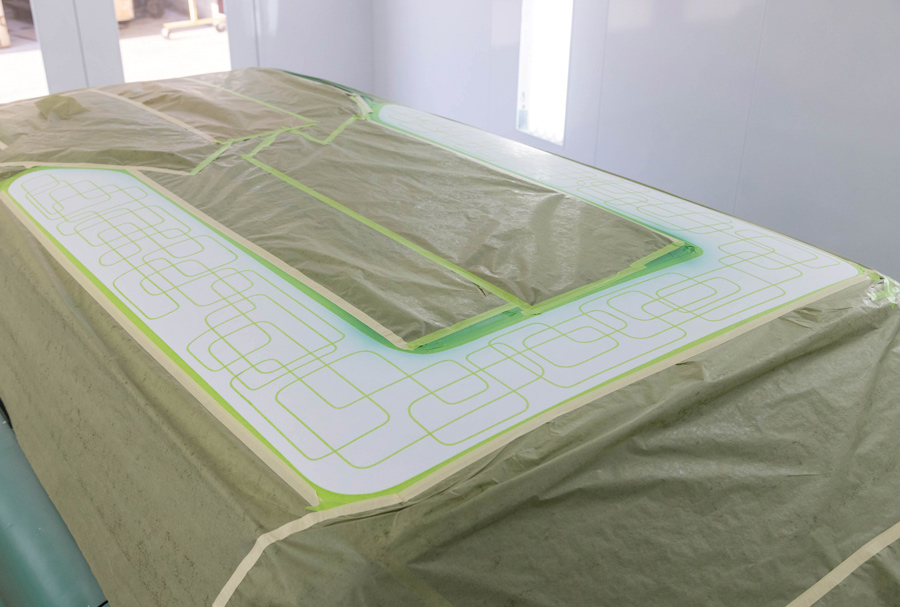
We’ve previously spoken about masking. Proper masking prevents overspray on undesirable surfaces. If your masking isn’t done correctly the resulting overspray can not only ruin your current project work but can cause you hours of needless work.
Current Modern Rodding freelancer and former custom painter John Gilbert has provided us with a handful of handy dos and don’ts. “Positive space is exposed and negative space is masked off.” Anyone who has been around a paint shop realizes overspray can, and will, go everywhere. Places you would have never thought of will end up “covered.” Once masking is done it might be a good idea to then use plastic sheeting to cover all areas that are outside the subject but you still don’t want overspray. Something like Visqueen, a brand of polyethylene plastic sheeting, a low-density polyethylene, is ideal for covering.
The next tip. A professional spray booth will provide the necessary space to work around your subject. However, if you are like 99 percent of us, we turn our garage or some other “out building” into a makeshift paint booth and space becomes limited. The tip here is to keep your subject on wheels, if it’s a car, chassis, or a body then place it on dollies. It will allow you to gain space by moving the subject around to gain the best angle.
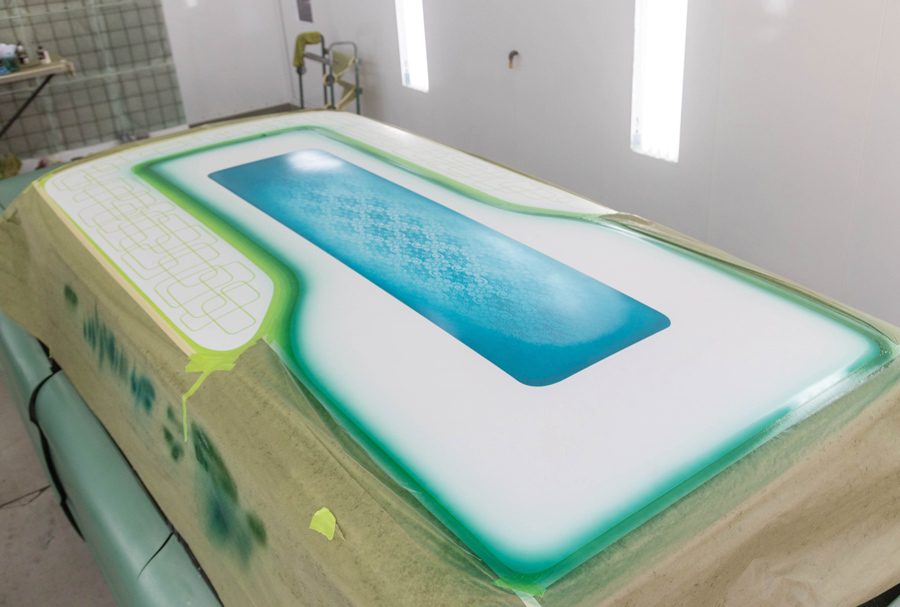
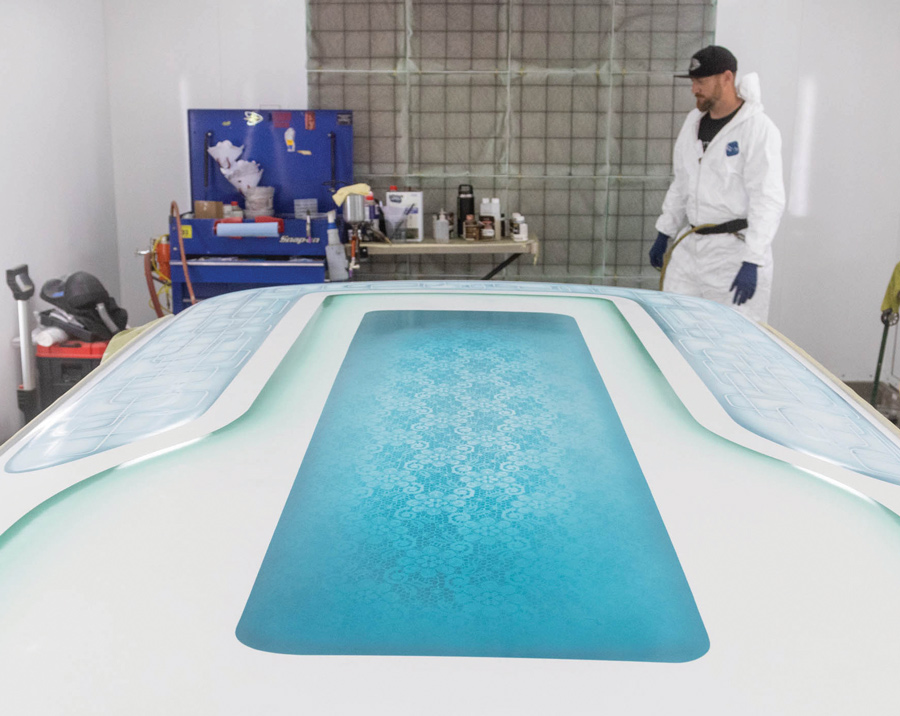
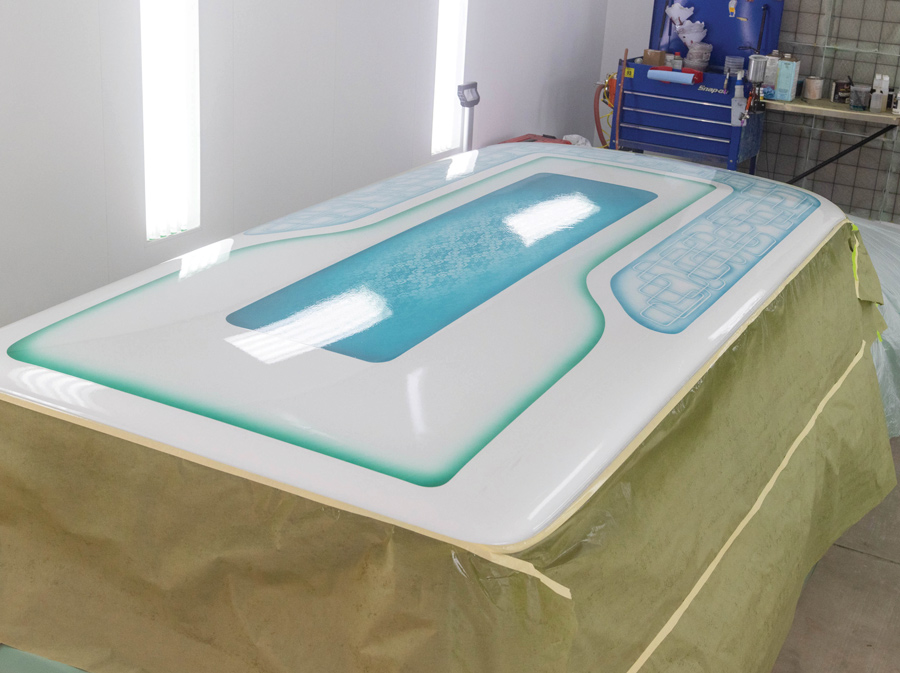
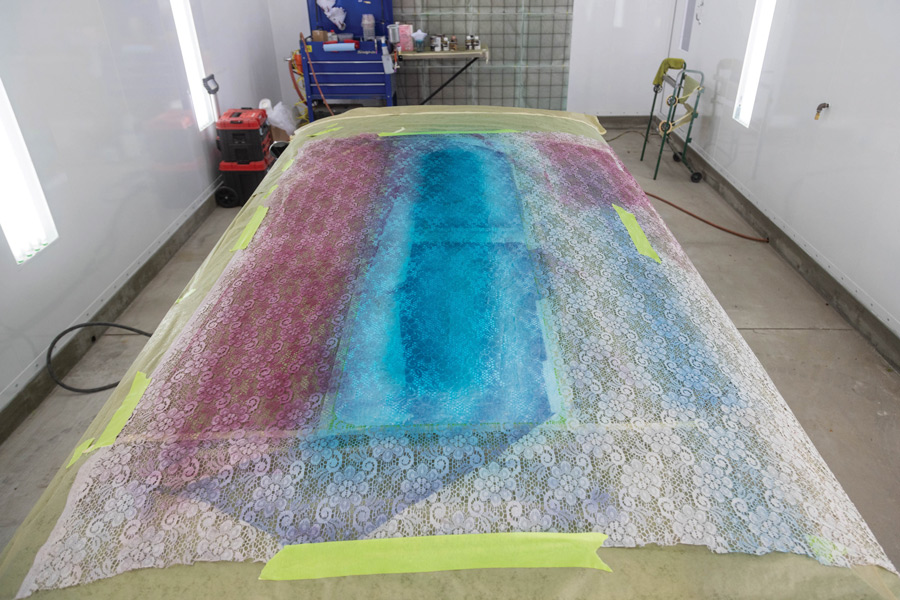
When selecting colors for any lace painting Fields reminds us “… to think in terms of bright or striking colors.” By using a white basecoat, as we did, you now have a wide selection of colors to select from that will yield a striking contrast and allow the lace work to show through.
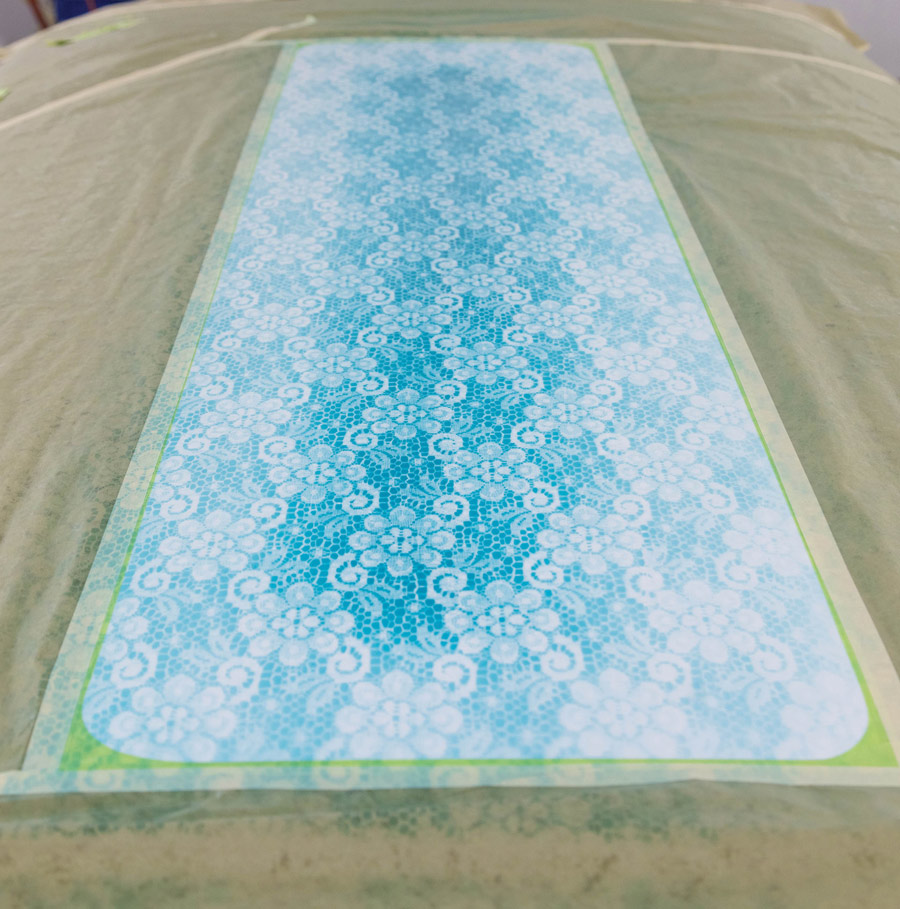
What type of lace should you select? We have found through experimentation that a thin lace with nylon in its fabric makeup works well. Also, pull the lace as tight as possible without distorting the pattern. You might even use a heat gun to shrink the lace to conform around the corners. This helps to make the pattern crisp but also by pulling tight in the corners will also prevent, or help to prevent, sprayed-on paint from getting underneath. (Our nemeses–overspray.) You will need to practice this a bit on your workbench before graduating to the roof of your hot rod.
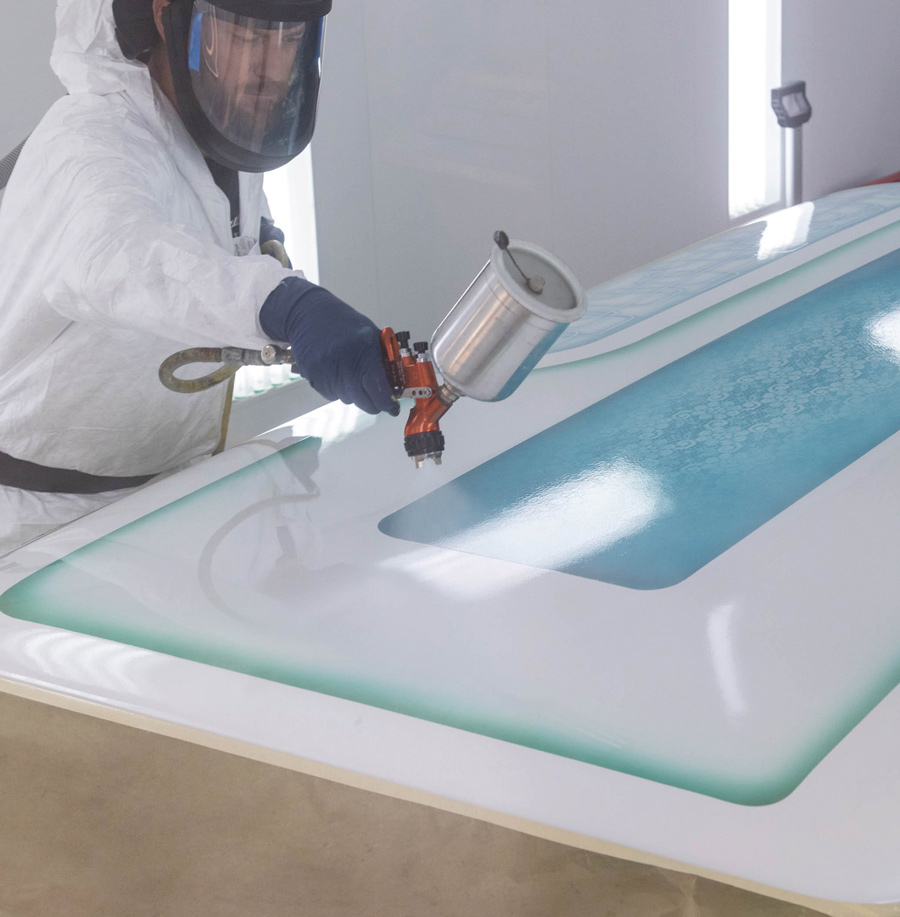
But there’s another trick to keep paint from “creeping” underneath the lace pattern. Fields tells us to hold your spray gun pointed straight down at 90 degrees to the lace. Should you spray at an angle you will “blow” the lace away from the surface and it will be here the edges will appear fuzzy. Fields does tell us, “When you want a softer edge to the paint then you do introduce an angle to the spray gun as this will soften the paint edges.”
Kosmoski’s success also caused other major paint companies to take a look at what he was doing, introduce their line of custom colors, yet there was a significant difference. He uses pure organic pigments, which often cost three to four times more than the inorganic. Inorganic was the “go to” product for others. He never believed in cutting quality, even though price difference was noticeable, he wanted to maintain his philosophy of, “I wanted the best paint for me to use.”
If you have spent any time looking at an HOK paintjob you will see there’s an inherent “vibrance” or “explosion of color,” as I refer to it. There’s no mistaking an HOK paintjob.
KC20 is intended for the final wipe down before using a tack and prime, sealer, or paint material is applied. It’s a post sanding cleaner that removes sanding residue as well as dirt and other minor contaminants, such as the oil from your hands. It also eliminates static electricity that can occur during the working of substrates. It’s also designed to be used after the use of KC10.
KC10 is to be used over unsanded surfaces and OEM finishes. HOK recommends that you do not use KC10 over polyester fillers, primers, sealers, or during any step of paint application. For low-VOC areas, use KC20. There are general information tech sheets that are easily downloaded on all HOK materials such as KC10 and KC20. As always, follow the manufacturer’s instructions for best results.
Keep in mind both of these products are intended for use within the U.S. so make sure to follow HOK guidelines based on what area of the country you live in.
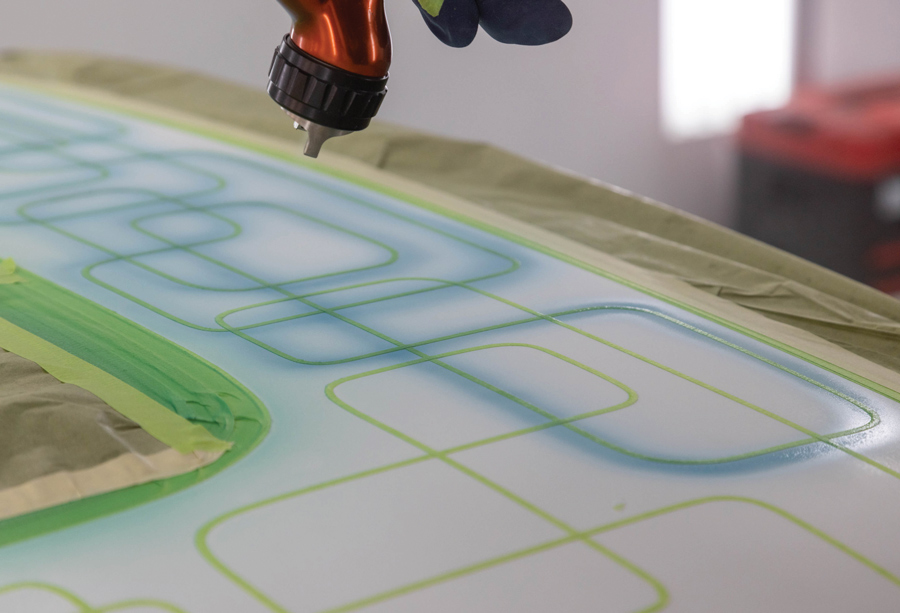
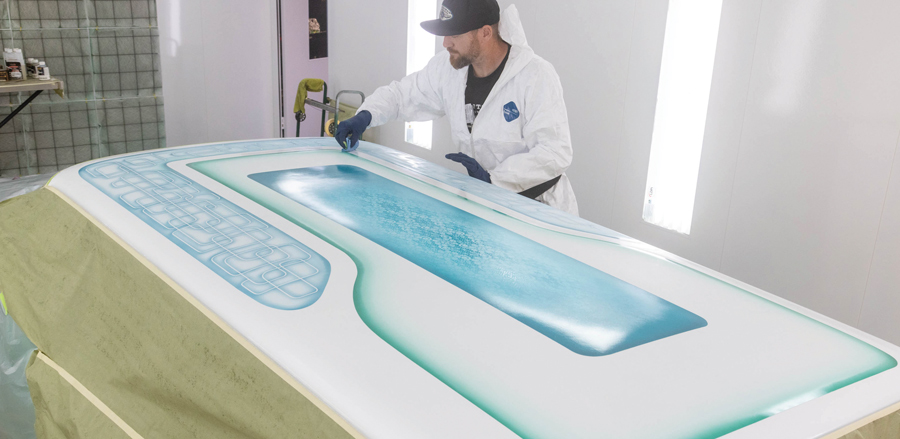
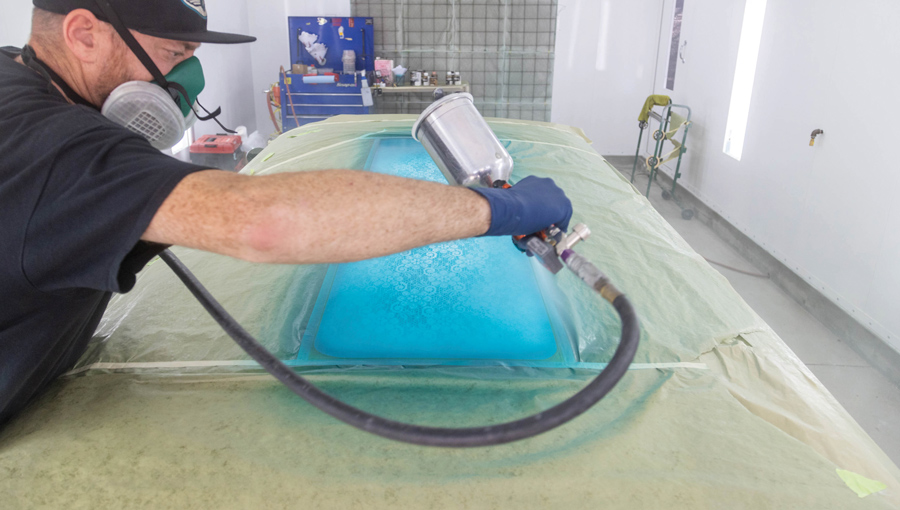
As mentioned earlier always check with the HOK tech sheet for mixing ratios and to check on your local area low VOC or national rule reducers. Remember to blow off and tack your application area. Hold the gun 8 to 10 inches parallel to a piece of masking paper and perform a spray test. Your spray gun trigger should be 75 percent (practice will teach you how to “read/feel” your individual pull) and the gun distance should be at 6 inches when applying. Make sure you apply the first coat with a 50 percent overlap on the pattern. Always keeping the gun parallel to the panel. Be sure to walk along long subjects to be painted, such as the roof of a station wagon, in invisible straight lines. Allow paint to flash, afterwards you should apply two additional coats following the same application procedure.
HOK recommends that now’s a good time to clean your spray equipment with the recommended (legally compliant) spray gun cleaner. Once the basecoat application is complete, you can move onto the Kandy Coat or the Klear Coat.
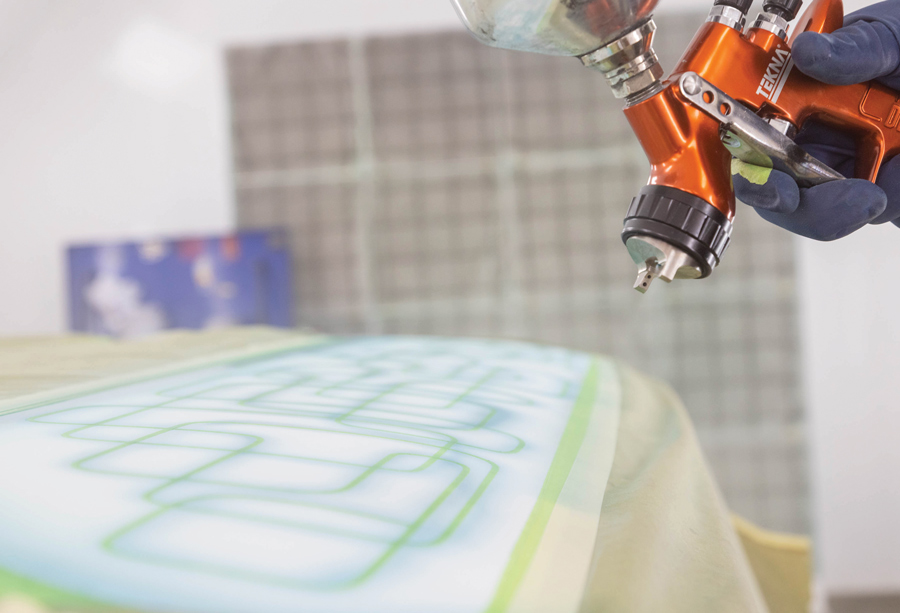
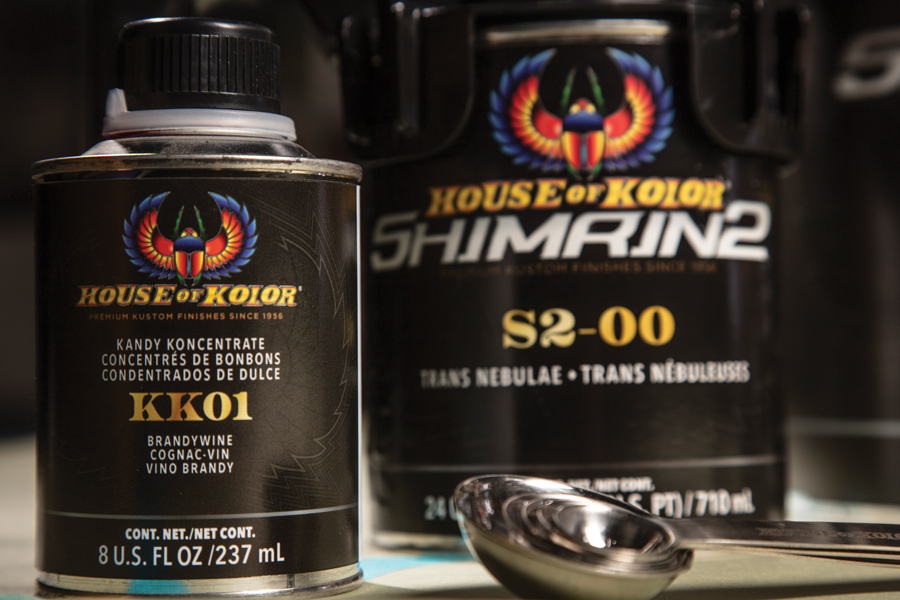
According to HOK, for maximum kandy durability use S2-00 Trans Nebulae or Shimrin2 UKK01 Kandy Karrier with KK Kandy Koncentrates. Intercoats may be used to make low solid Kandys by mixing with any of HOK Kandy Koncentrates. The Intercoats are advised when multiple tape outs are required under urethane topcoats. Perfect for small parts or graphics when speed is a factor. Reduce SG100 2:1 with RU310-313 Standard Series Reducers (RU300 or RU301 in low-VOC areas), then add 2-4 ounces of Kandy Koncentrates per sprayable quart.
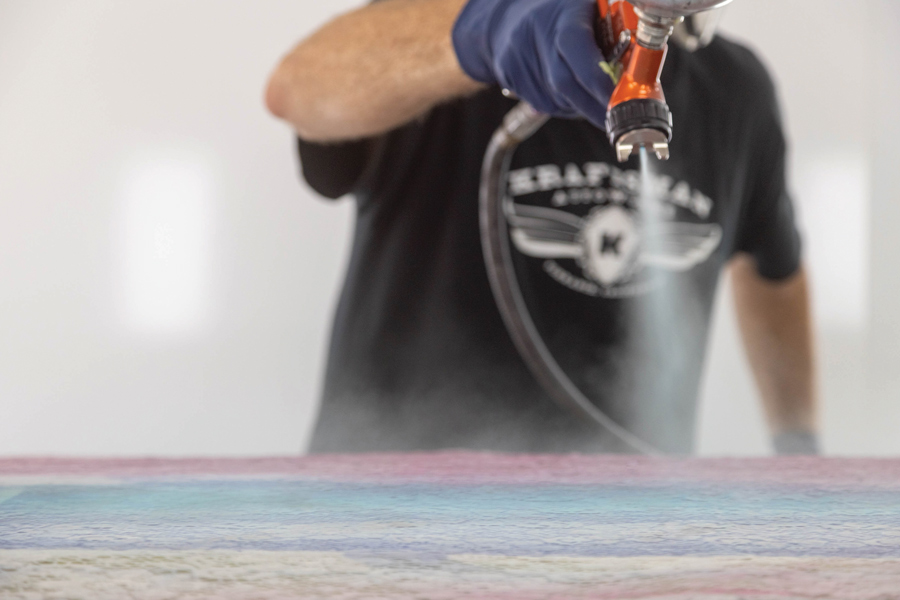
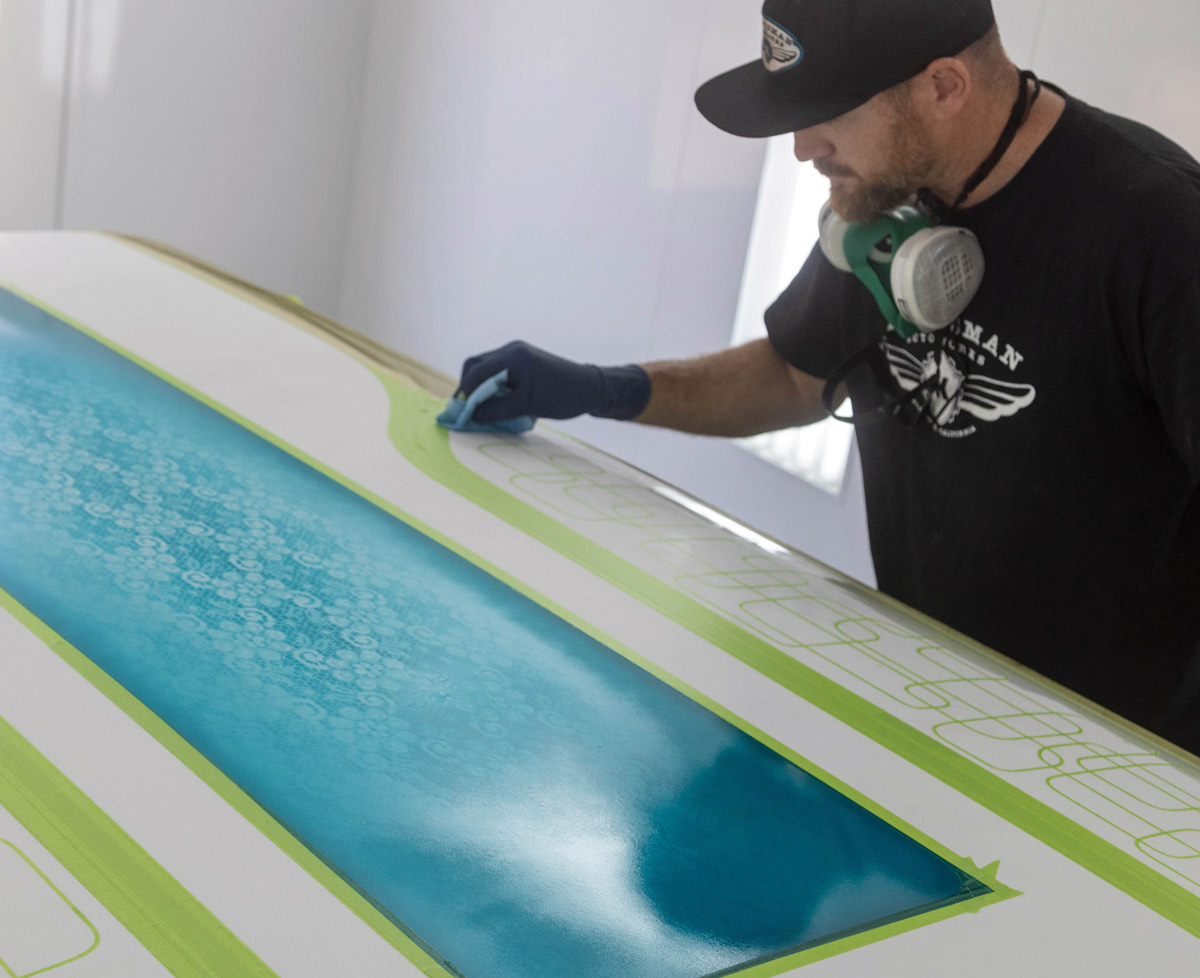
After applying the final “coverage” coat, begin to step out the blend. Take your final basecoat mix and combine 1:1 with SG100 (blend mix) and apply light coats over the tapered edge until the edge “melts.” If additional edge “melt” is required, step out blend once more by reducing the “edge mix” 1:1 with reducer (RU300 or 301 in low-VOC areas), and apply light coats until the edge “melts.” View with bright light, if satisfied then topcoat with clear.
Again, the trigger pull on your spray gun should be in the 50 to 75 percent range and, once again, set yourself up with a test area. Spray on a piece of masking paper and you should be about 6 inches from the paper. Then apply the first three coats with a 50 percent pattern overlap remembering to allow 10 to 12 minutes of flash time between coats. You may want to apply an additional two coats.
You should’ve reached your desired look so the next step is Klear coat.
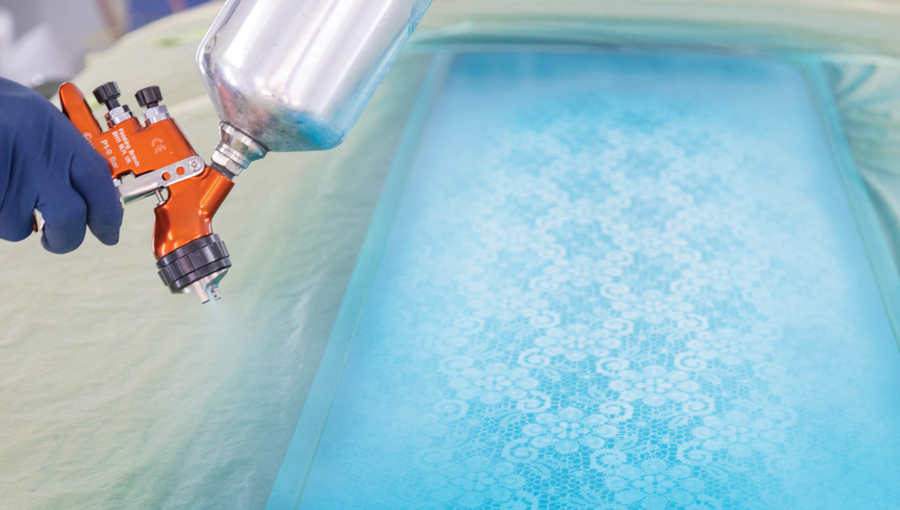
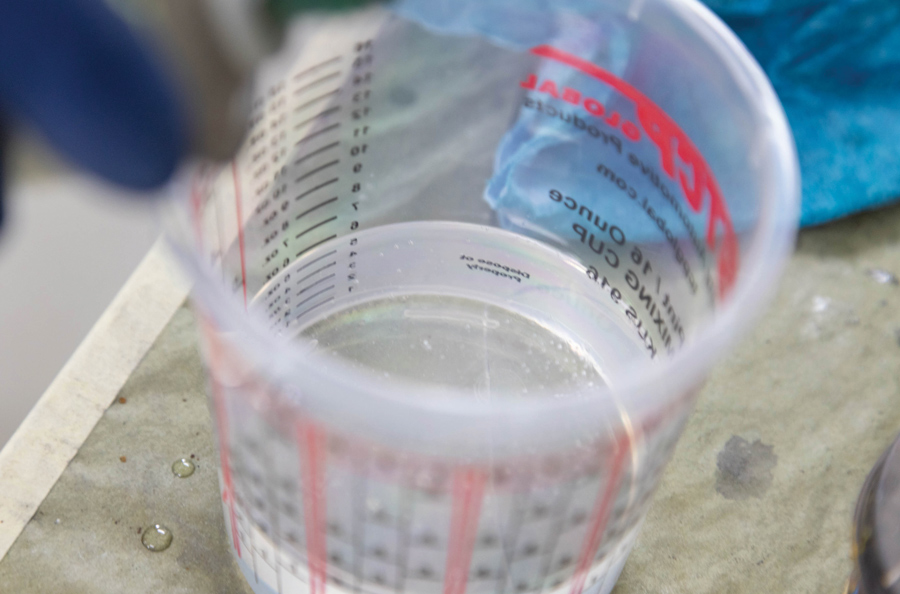
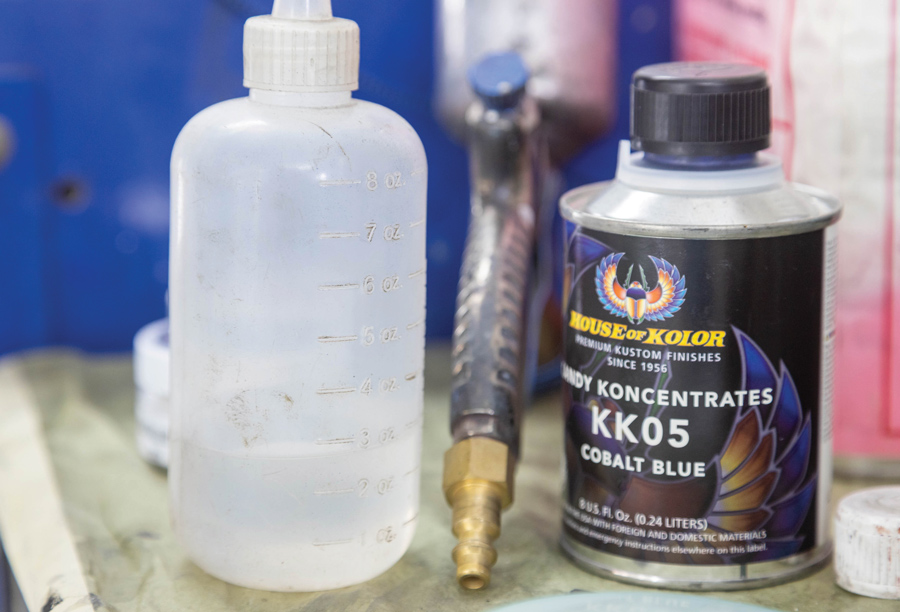
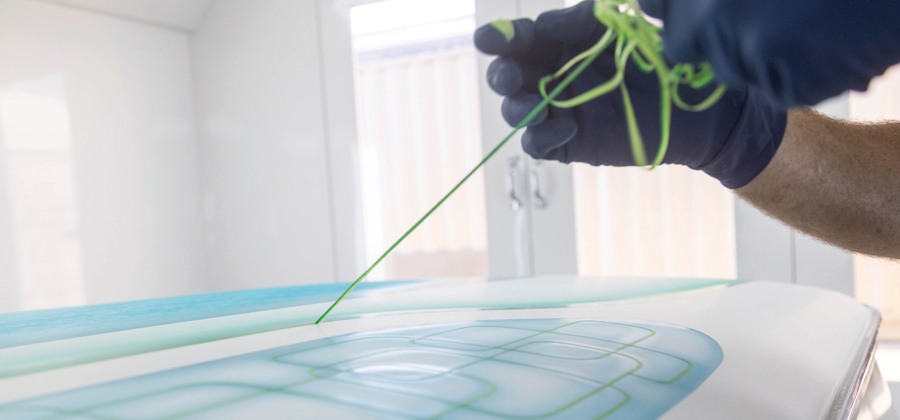
7. … then add 2-4 ounces of Kandy Koncentrates per sprayable quart. Here Fields used KK05 Cobalt Blue Kandy Koncentrates.