Modern Rodding TECH

InTheGarageMedia.com

1. Probing a vehicle’s charging system using a multimeter can tell us a lot about the system’s health and whether the components are performing as intended, but a visual inspection can result in information that can be just as valuable. The incorrectly sized alternator cable and lack of ground wire tells us this ’33 Ford isn’t charging as well as it could be, regardless of what the readings are on the multimeter.
Charging Forward
Diagnosing and Fixing a Faulty Alternator
By Ryan Manson Photography by THE AUTHOR
S

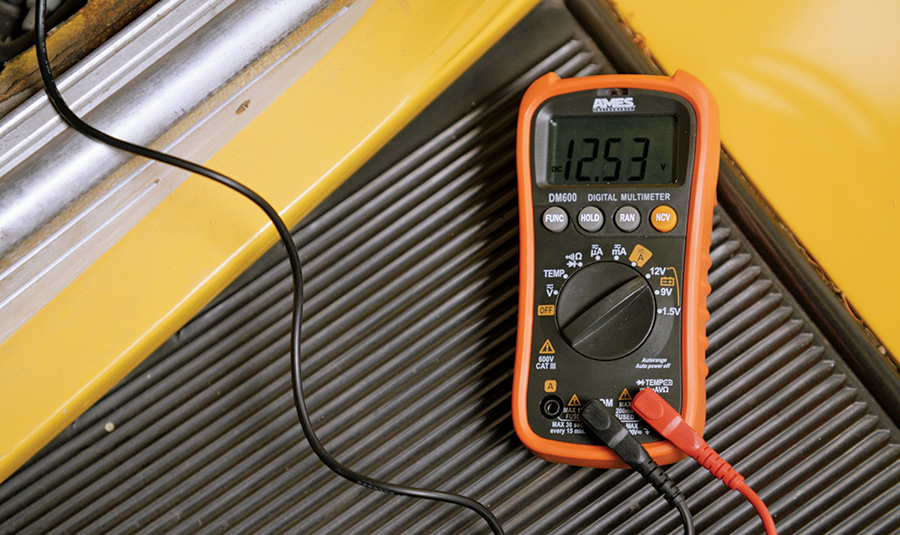
igns of a charging system that’s on the brink can vary from dim headlights to a dead battery. But, regardless of the symptoms, they’re not to be ignored. An improperly operating alternator can damage sensitive electronic components if not adequately addressed, not to mention the potential of leaving one stranded once the battery is sufficiently discharged. Speaking of a deeply discharged battery, oftentimes traditional flooded cell batteries cannot be recharged once significantly discharged, requiring the replacement of not only the impaired alternator but what may have been a perfectly fine battery as well. Long story short, if you find that voltmeter reading anything less than 13 V going down the road, you might want to have a look at your charging system and give the guys at Powermaster Performance a call.

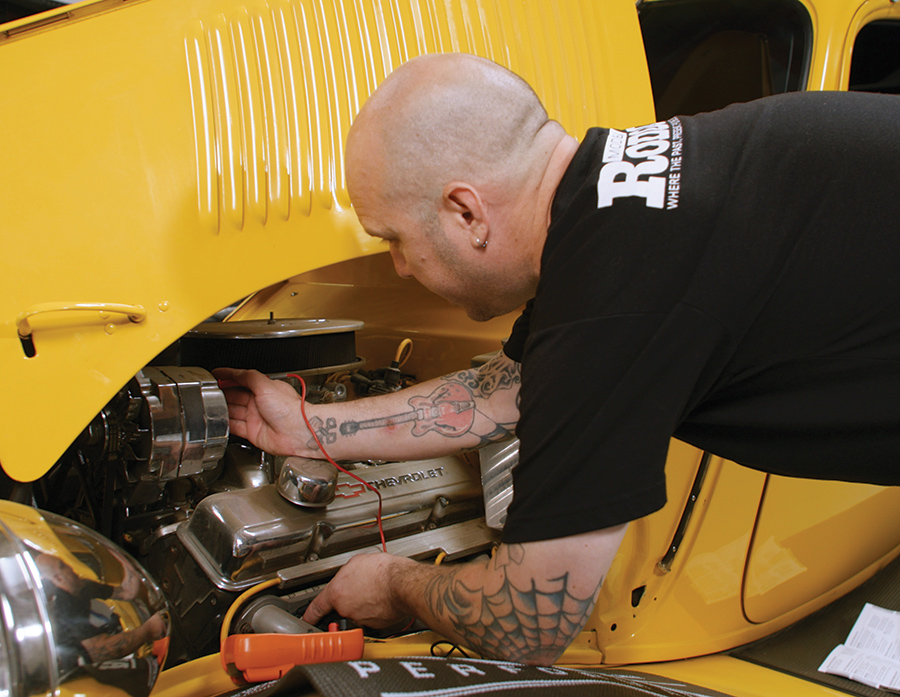
Thankfully, diagnosing charging system issues can be a simple task to be tackled in the home garage with a multimeter from Harbor Freight and access to the battery and alternator. While it’s not possible to apply a load on the charging system with a multimeter, we can take readings from the vehicle’s electrical system with its own loads applied and compare those readings to give us an indication of whether the alternator is malfunctioning, if it’s time for a new battery, or if there’s another culprit at play.

Recently, a customer noticed their headlights were dim and would sometimes go out completely, resulting in an unsafe situation for sure! Turns out the charging system was on the fritz and their ’33 sedan was running on electrical “fumes.” A quick visual inspection followed by some probing with our Ames DM600 multimeter from Harbor Freight provided us with enough intel to determine that the alternator was at fault. A quick phone call to the folks at Powermaster Performance set us up with a replacement one-wire alternator that was matched to the amperage requirements of the sedan, as well as the required upgraded wiring components.

While typical “mechanics code” is to tackle one thing at a time when it comes to diagnosing and fixing a component, we found multiple issues in the overall charging system of the ’33 and decided to make the appropriate improvements when we installed the new alternator. After all, anything that makes the wiring in our hot rod perform better and operate safer is always an improvement.

Someone Using a Digital MultiMeter in a car
A Digital MultiMeter
2-3. We begin our inspection first by probing the fully charged battery with our Ames DM600 digital multimeter purchased from Harbor Freight. A fully charged battery should read right around 12.6 V but battery life and voltmeter accuracy can vary, so for our simple tests, any reading over 12 V with no loads applied shall suffice as a baseline.
A Duralast Battery
4. A new battery from Duralast’s Gold line takes that out of the equation when it comes to possible culprits to our charging system woes and will provide the sedan with plenty of power for its accessories.
Someone reading the alternator charge post
5. Next, we want to see what the reading is at the alternator’s charge post. With the key off, this should be the same as that of the battery. A reading that is less than that of the battery points to resistance in the circuit, which could mean damage to the wiring, improperly sized wiring, internal alternator failure, and so on. If these two readings jive then it’s time to turn the key on and repeat the test. Similar results should be found, but if a significant drop in voltage is noticed, the source of this draw needs to be addressed. In some instances, key-on components, such as an electric fuel pump or cooling fan, will draw a sizable number of amps, resulting in a drop in voltage until the engine is started and the alternator makes up for this draw. In this case, removing the fuse(s) for these key-on components can help us get a more accurate reading as we’re looking to get a baseline voltage number with as little loads on the system as possible.
A Picture of a Multimeter
6. The next test requires the engine to be started and brought to a steady idle. Traditional, OE-style alternators energize the charging system inside the alternator via a separate circuit wired through the ignition switch. This style alternator begins charging as soon as the alternator spins. Alternatively, the common one-wire alternator utilizes a special sensing circuit inside the alternator that senses rotation of the rotor to energize the voltage regulator. This is worth noting when checking the charging output on a one-wire alternator, so make sure it is “excited” and charging before checking the voltage. Once the alternator detects this engine speed, charging begins and remains active until the engine is shut down, regardless of engine speed. With the engine running and the alternator charging, our voltage reading should have increased. Instead, it’s stayed the same and is, in fact, slowly decreasing, telling us the alternator is failing to do its job. Applying a load to the electrical system, such as turning on the headlights or electric cooling fan, further aggravates the situation.
A table of the total AMP Draw
7. With our initial charging problem solved, our attention is turned to selecting the proper replacement alternator. Instead of walking into the local auto parts store and hoping the over-the-counter item is sufficient in size to power our application, we went to PowermasterPerformance.com to first determine our vehicle’s amp load. This is a list of the vehicle’s components and their amp usage.
A picture of an alternator
8. Our amp load calculations and application pointed us to Powermaster’s 12si-style alternator line—more specifically, their 150-amp version (PN 37293). This one-wire unit will be a direct replacement for the failing alternator and is capable of 100 amps at idle, 125 amps at cruising speeds, and a maximum of 150 amps at the top end.
Table chart with the AMP numbers and wire lengths
9. The other fault we found in the sedan’s charging system was determined via visual inspection based on previous experience and Powermaster’s instructions, which cemented this info; our charging wire is woefully undersized. Based on Powermaster’s info, our 150-amp alternator requires at least a six-gauge wire to safely transmit the electrons to the battery and since the battery is under the passenger side floor we’re going to go with an abundance of caution and increase that size to four-gauge since resistivity goes up as the wire length increases.
Picture of a wires and a electric screwdriver
10. Another fault we found is the lack of a grounding wire. This needs to be of similar size as the charging wire and ran to a good chassis ground if not the battery itself. Turns out powdercoated brackets are not great conductors. Here, crimped eyelets of the appropriate size have been installed and insulated heat shrink is being applied to protect the connectors and provide a neat, clean finish.
A picture of wires in someones hand
11. The wires are further protected by woven split loom and carefully routed to avoid any possible damage.
An Alternator Installed in a car

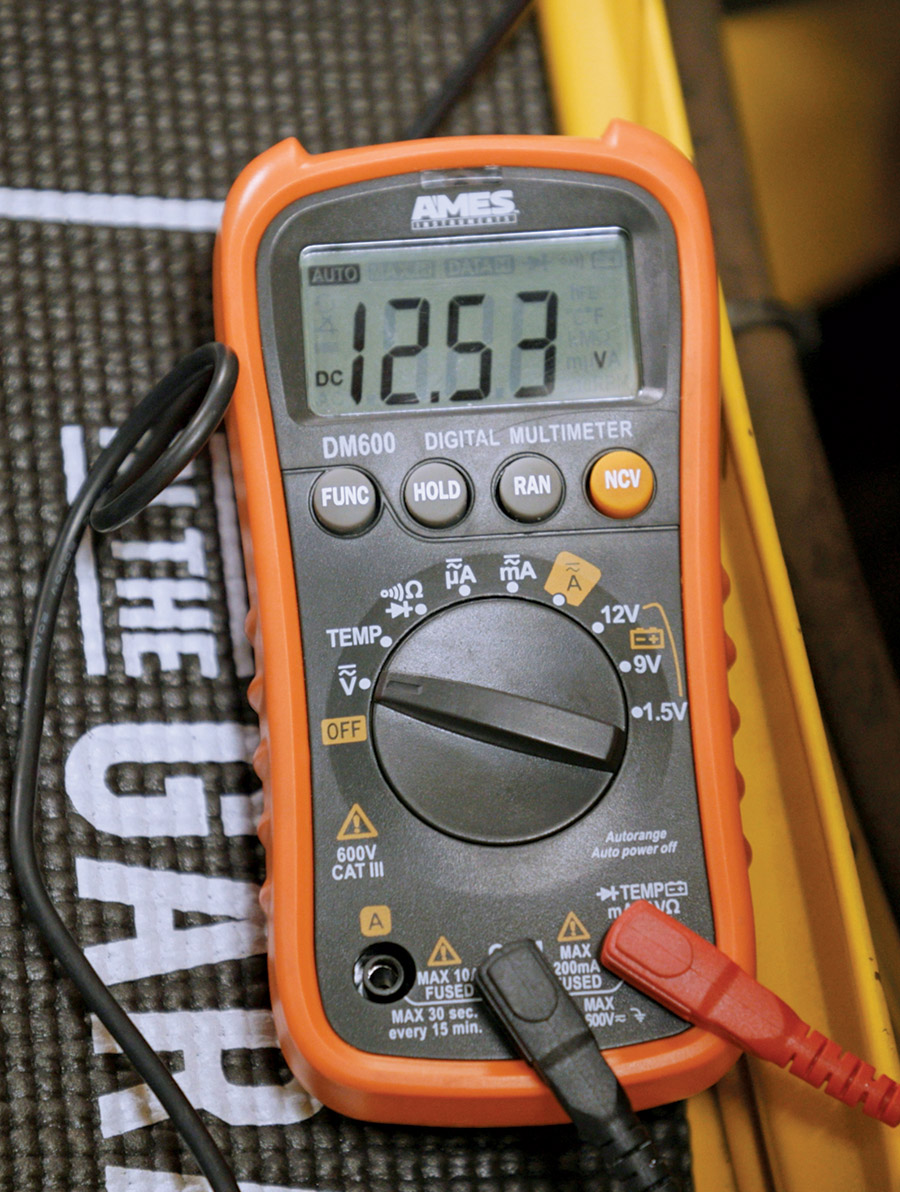
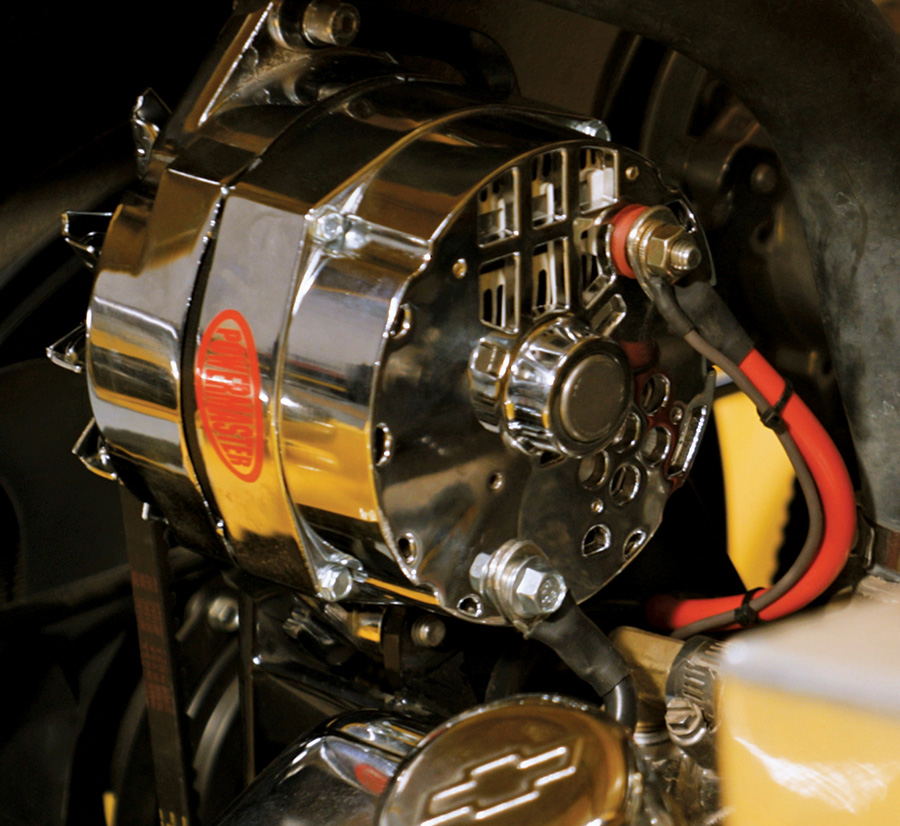
12. With the new alternator installed and both the charge and ground wires connected, we’re now showing 14.6 V on our multimeter at idle, and the headlights are nice and bright. The modern bearings in Powermaster’s alternators are upgraded when compared to the OE-style found back in the day, so it’s possible to get that V-belt nice and tight without worrying about damaging the internal components. Note that many of Powermaster’s alternators come with a specific grounding terminal on the case.

In the Garage Media
Clampdown Competition
clampdowncomp.com
Harbor Freight
harborfreight.com
Powermaster Performance
(630) 957-4019
powermasterperformance.com
Modern Rodding

VOLUME 4 • ISSUE 29 • 2023