
Add Stainless Molding for a Dash of Detail
 Photography by THE AUTHOR
ur project ’36 phaeton is making steady progress. Reshaping and modifying the dashboard has been a fun project that has been involved and has also evolved. One example of this was putting the final touches of detail on the dashboard. We had already mounted our ’47 Ford speedometer and clock, then we hit SpeedwayMotors.com to order up some super traditional black Stewart-Warner gauges. Once all the gauges were mounted we thought the dash could use a bit more sparkle, so we are searching for some small stainless steel moldings for the dashboard.
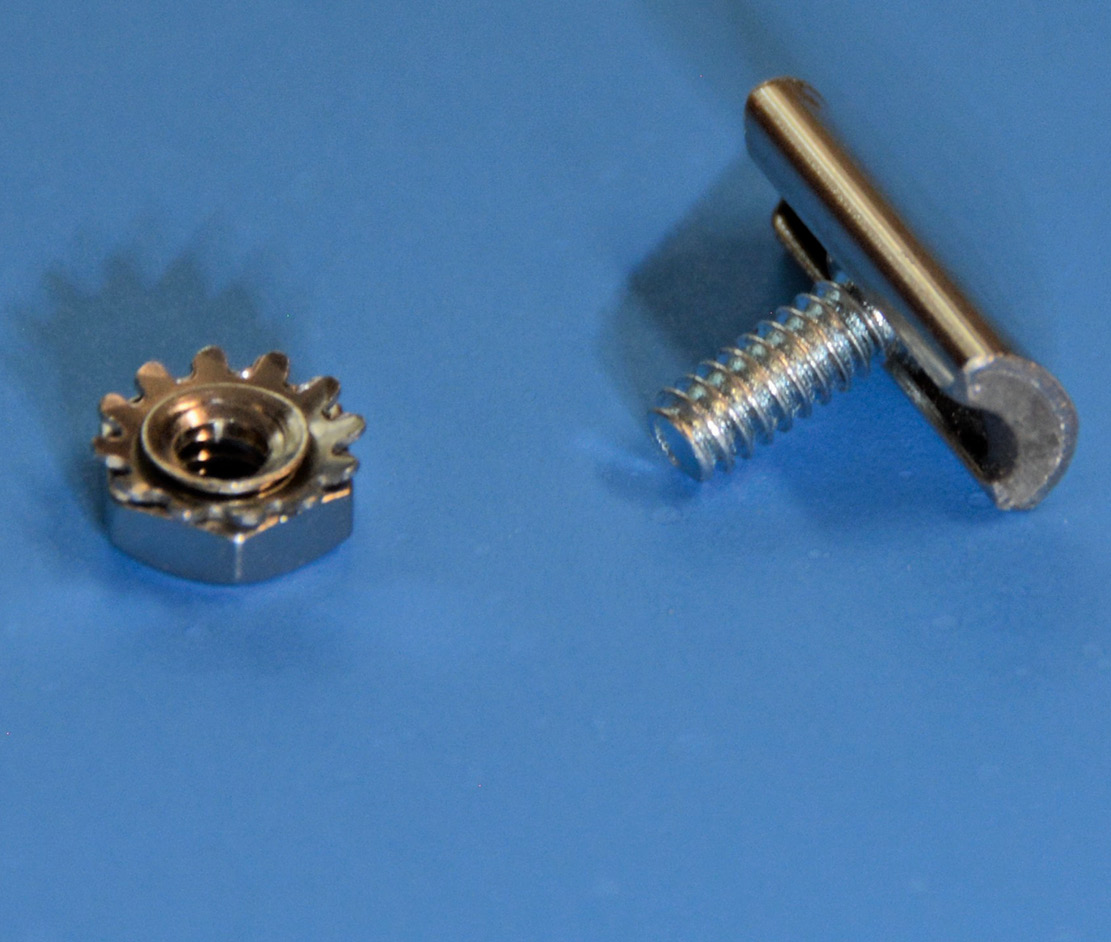
After a bit of research, we discovered ’35 Ford hood trim was 9/32-inch wide, making it the perfect width for our application. We also found the ’35 Ford stainless steel hood trim to be affordable. As an added bonus, the reproduction pieces come with a new mounting system involving small bolts that slide in the trim, as opposed to the original push-in clips.
We experimented with several ways to cut the trim and in the end we used our trusty Harbor Freight pneumatic saw (https://bit.ly/3VssuDE) fit with a fine-tooth blade. It made nice, clean cuts on the small trim.
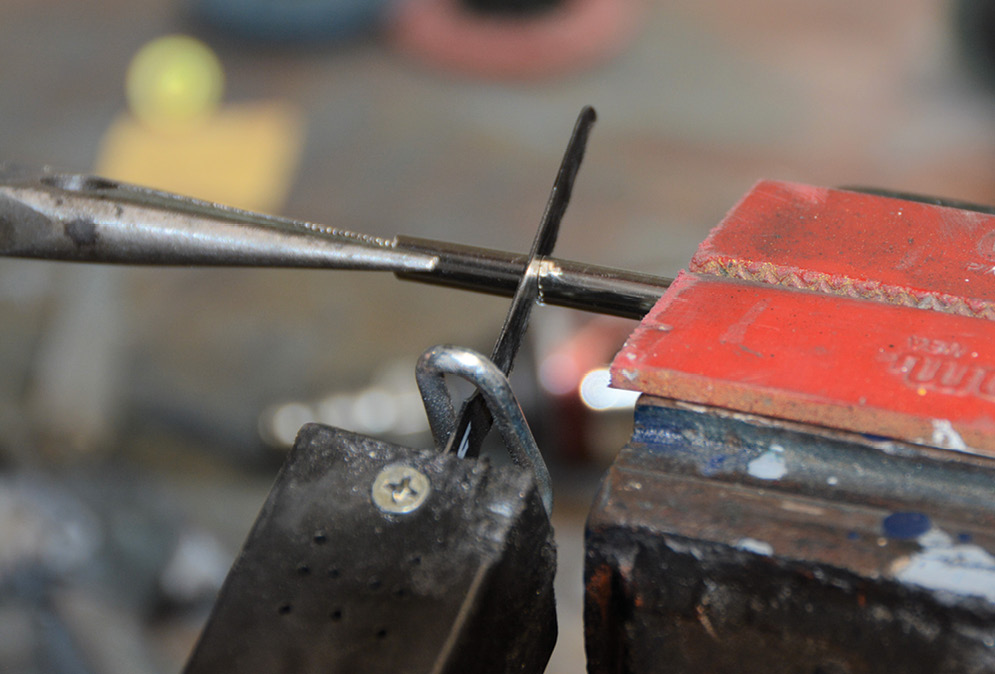
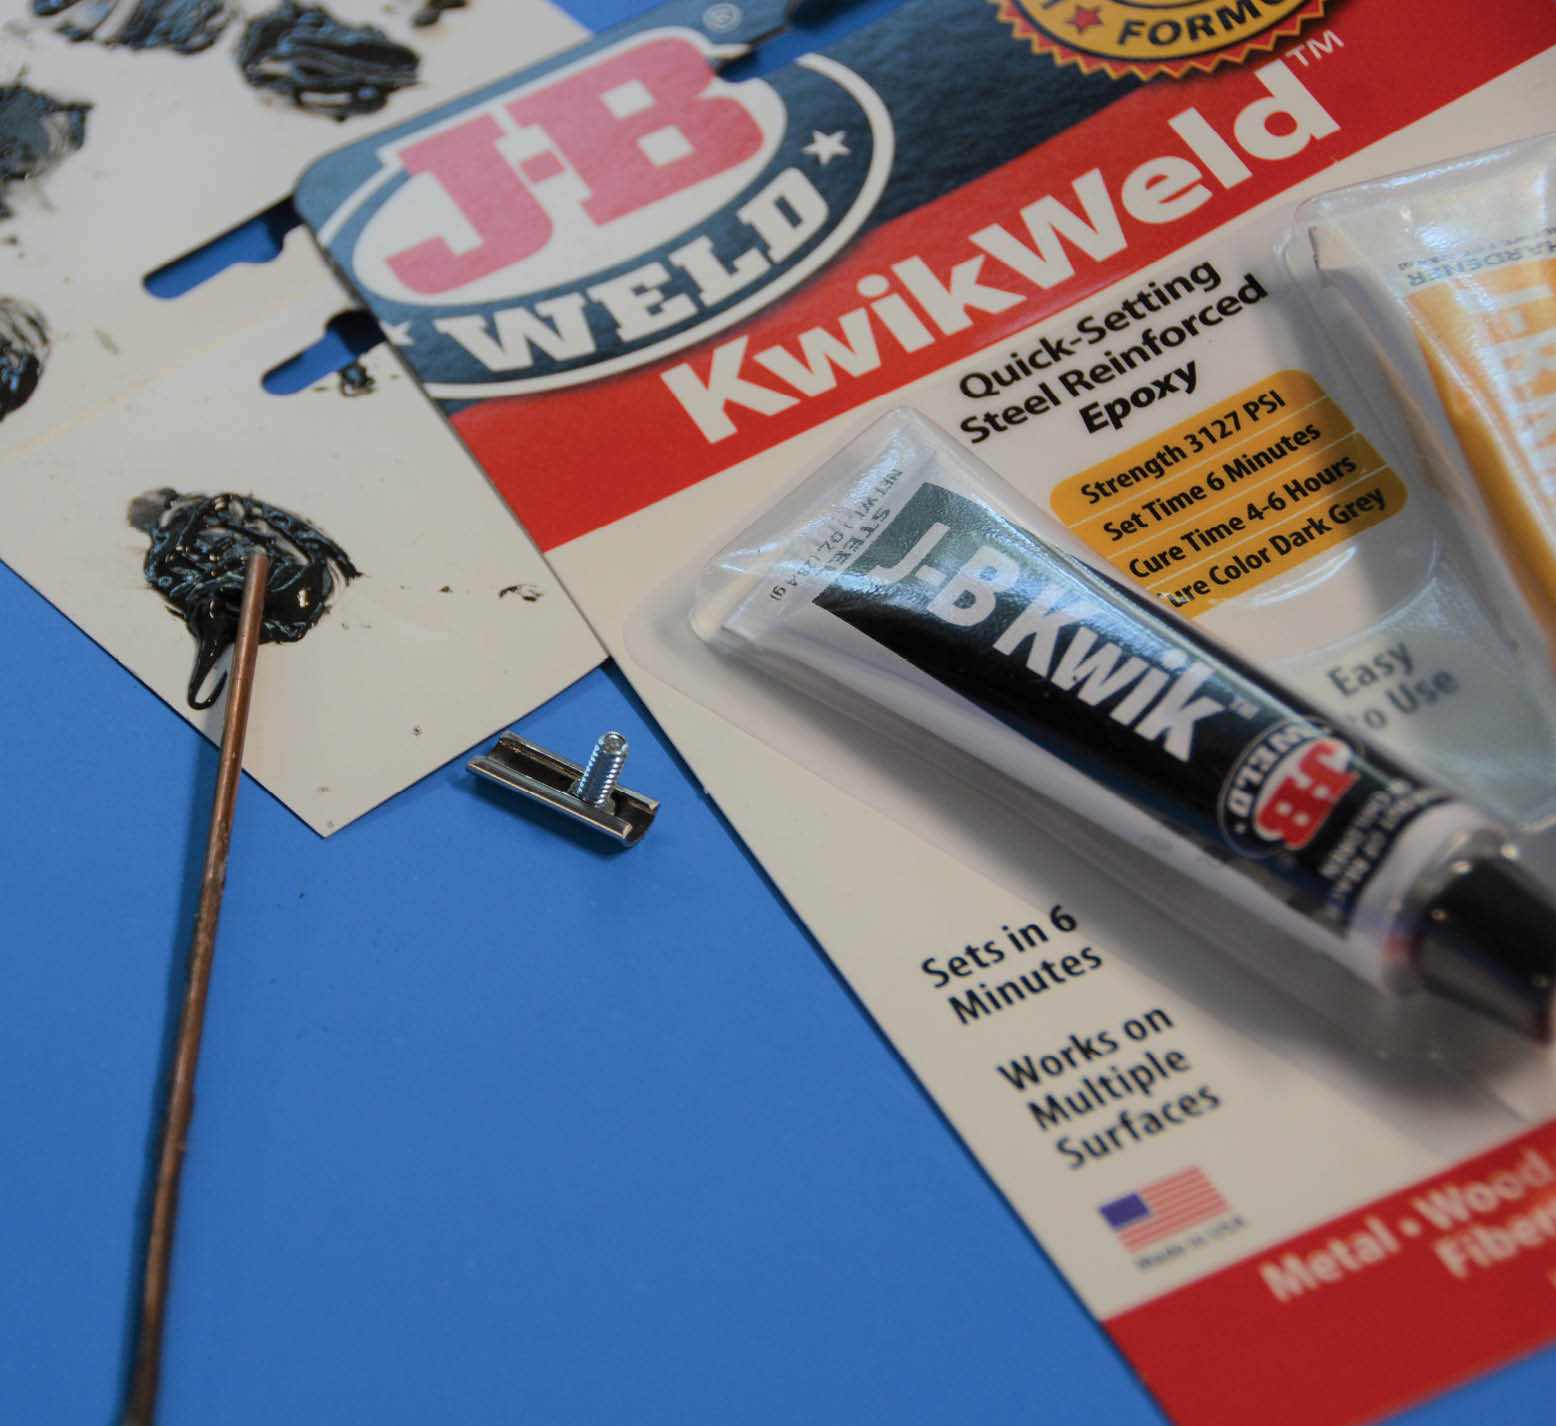
Mounting the trim involved drilling a hole on the centerline between each gauge, then cutting a piece of trim to fit the gap between the gauges. Each gauge gap is minutely different, so cut and fit each piece individually. Remember this must fit perfectly since you will be staring at this every time you drive. Once the pieces were cut, we slid a mounting bolt into the trim and filled the ends of the trim with a small dab of JB Weld. We extended the molding onto our glovebox door to add a bit more sparkle. This is one of those fun little projects that makes a big difference in the overall appearance of the dashboard.

2. This is all it takes. Most hot rodders have these things in the shop, if not, one quick trip to Harbor Freight will get the tools. Also shown is the trim and the attaching bolts, and the original-style mounting clips for “blind fastening” the trim.

3. We used 1/4-inch fine line tape to locate the centerline of the long piece of trim on the bottom of the dashboard. This is a simple method to locate hole centers on a curved panel.

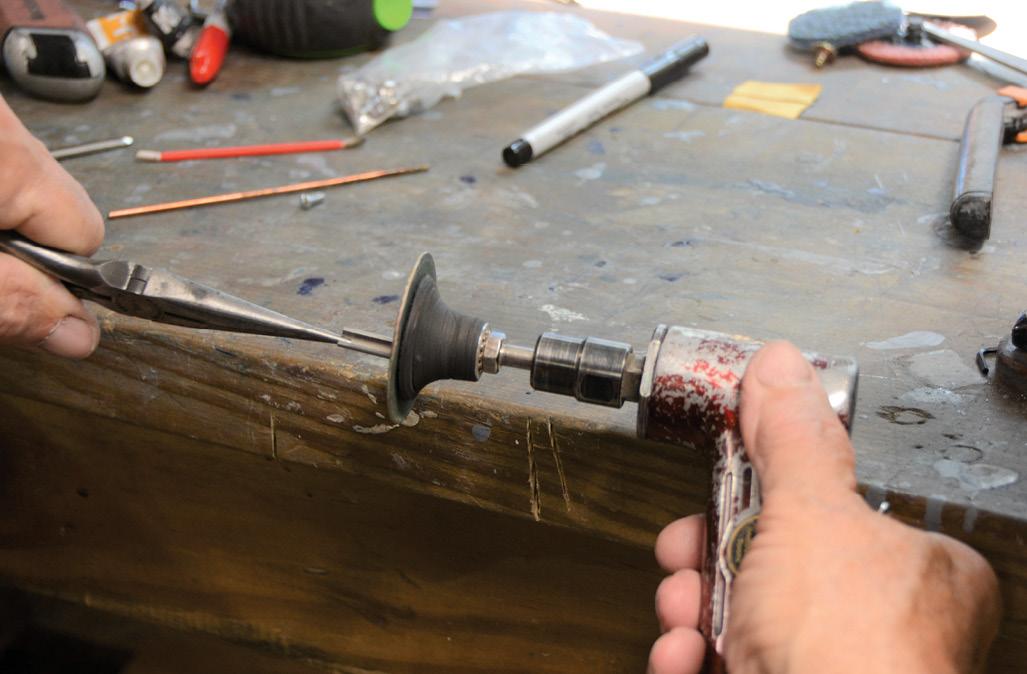
5. “Soft jaws” in our vise held the trim without hurting it, while the Harbor Freight saw, and a fine-tooth blade, made neat, clean cuts.

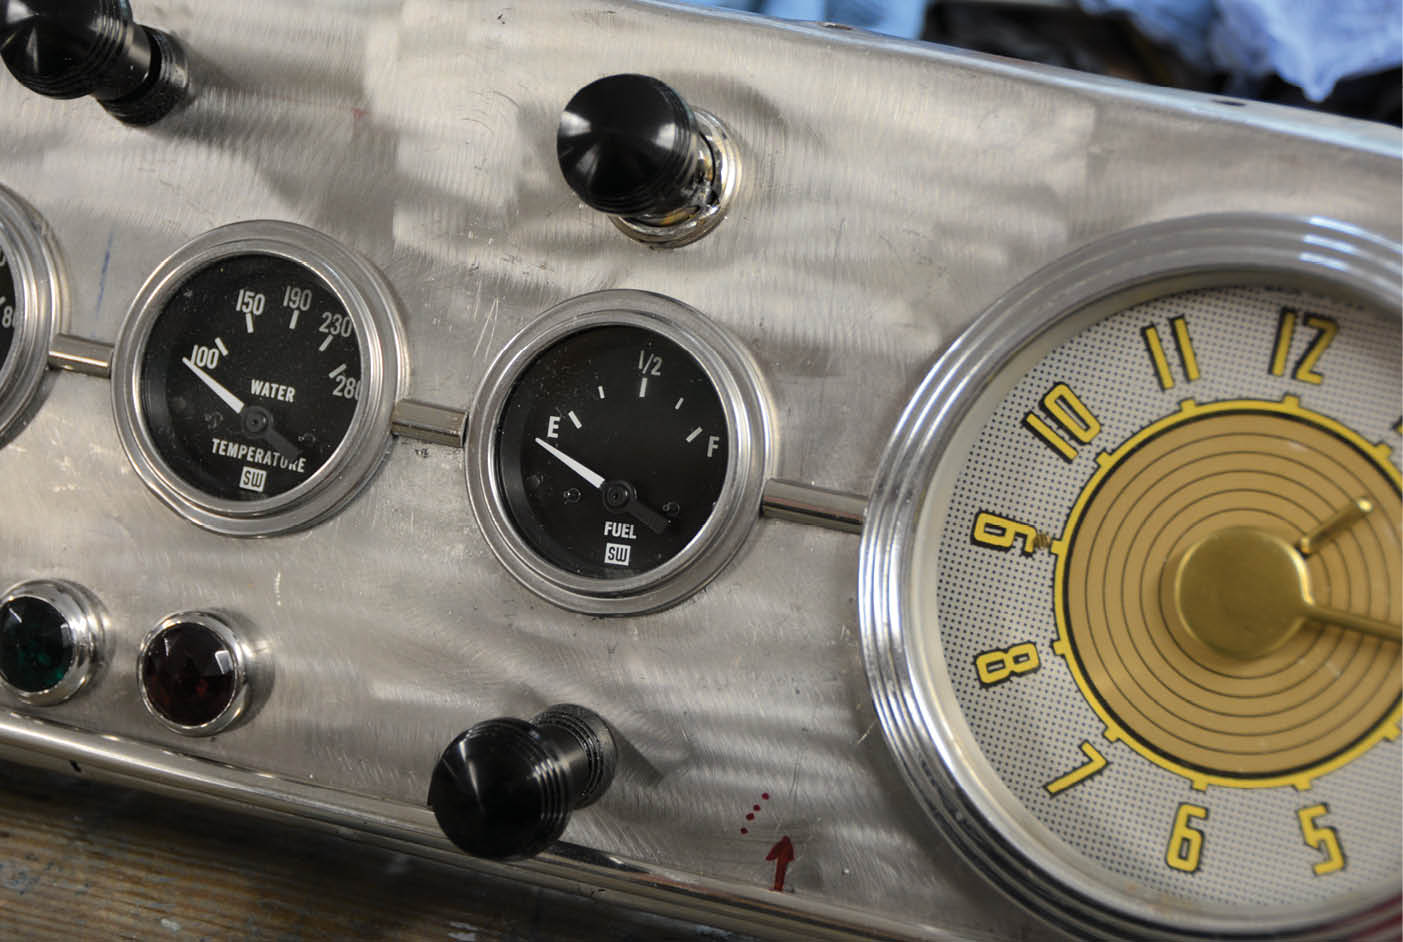
10. Here we can see the small pieces of trim between the gauges have a big impact on the overall look of the dash … small touches, big results.
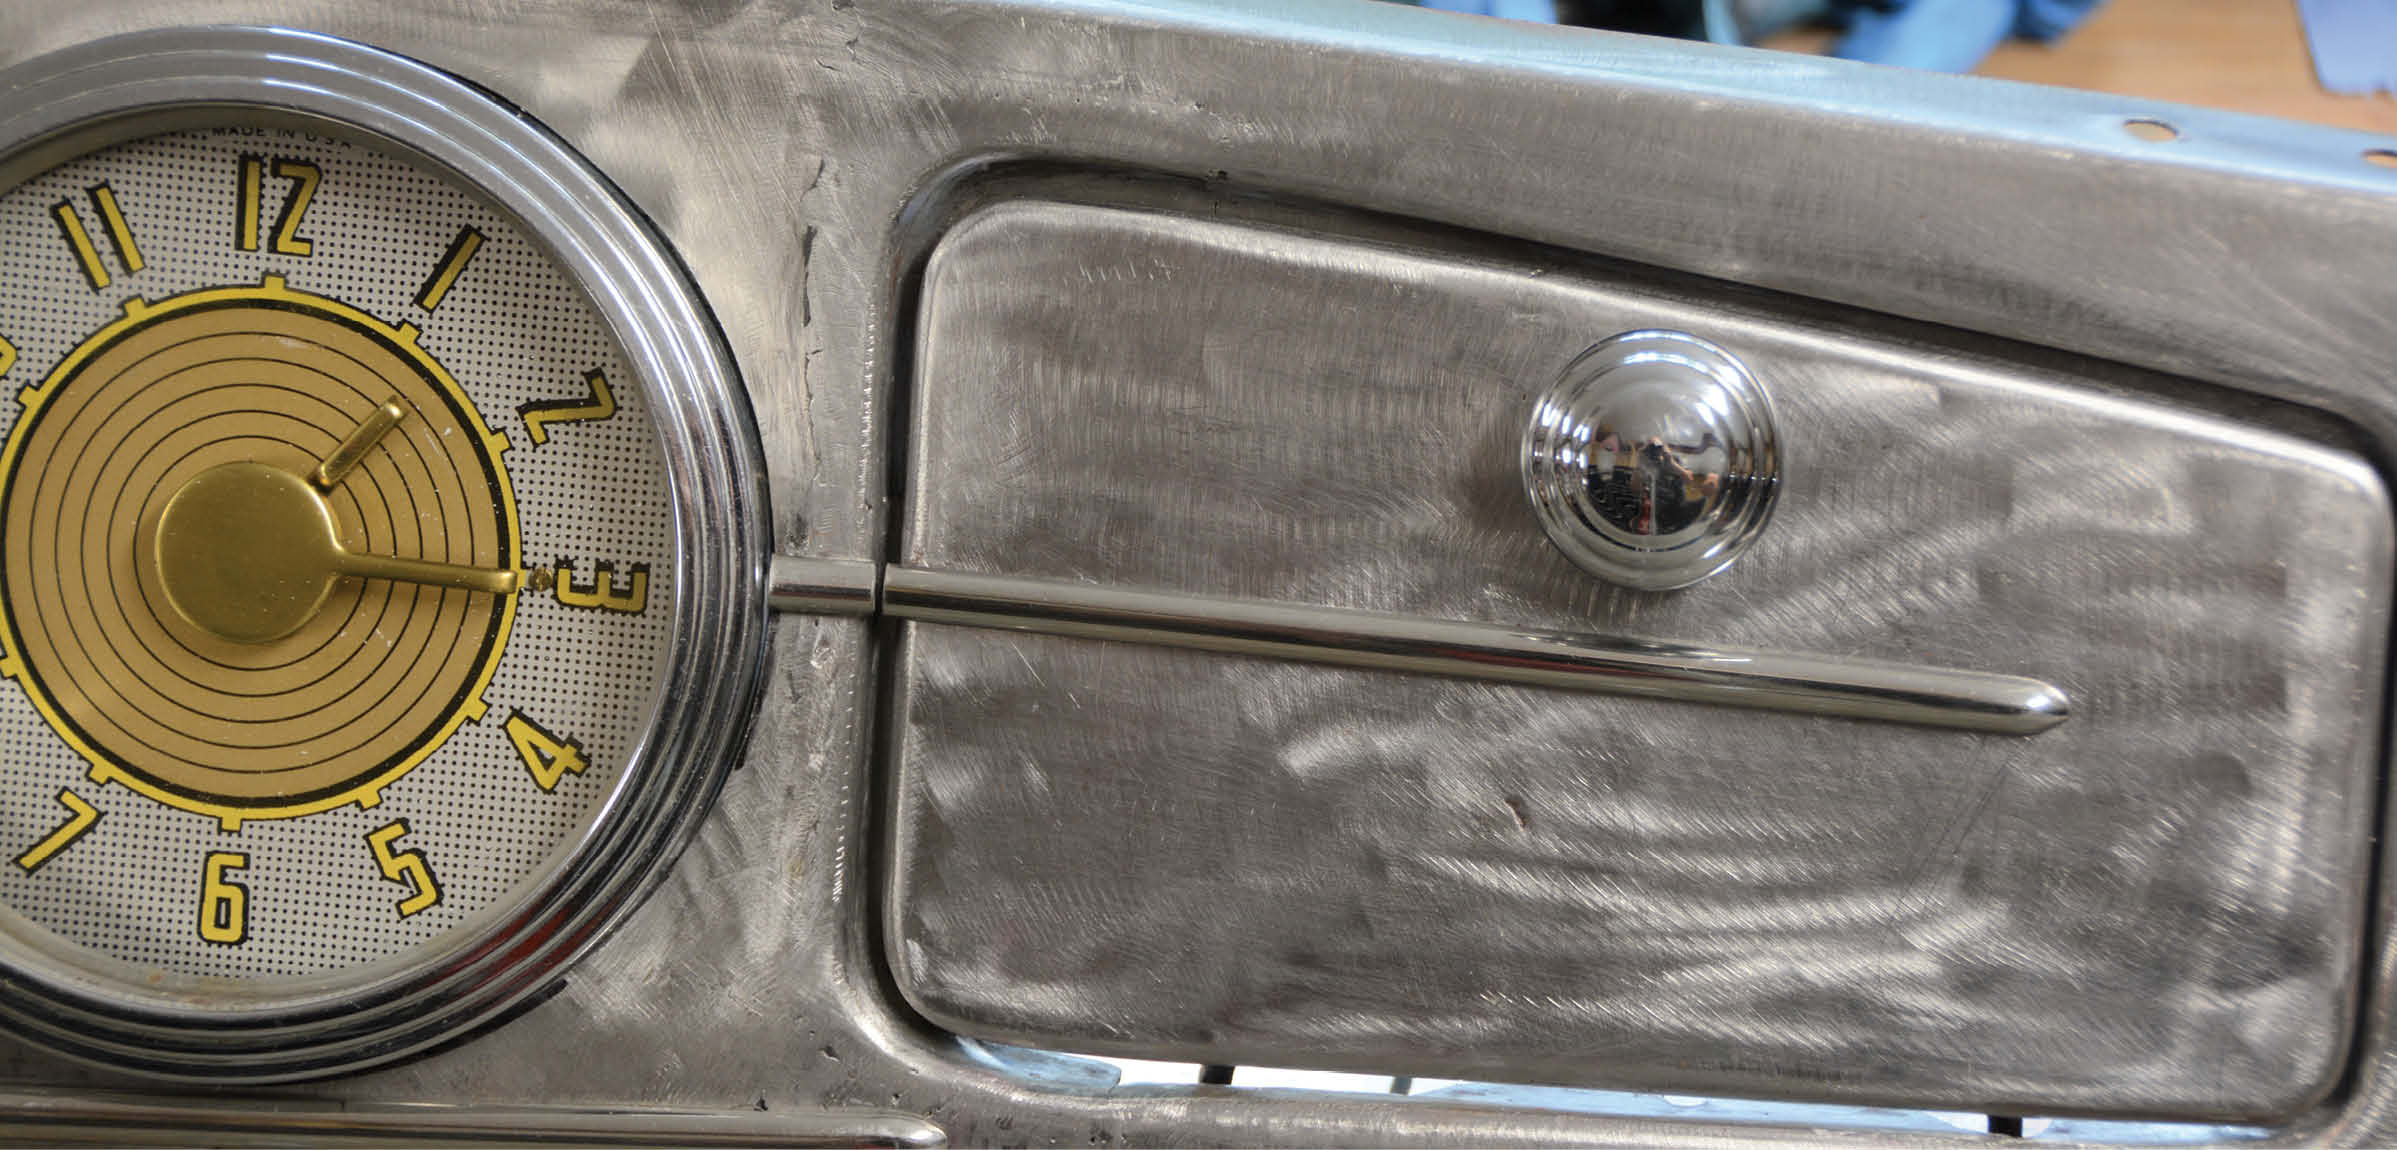
11. We ran a longer piece of trim onto our shortened glovebox door. Notice we have slid the trim to a smaller gap than the door. This visually closes the gap of the original glovebox opening. The Lokar knob is the finishing touch.
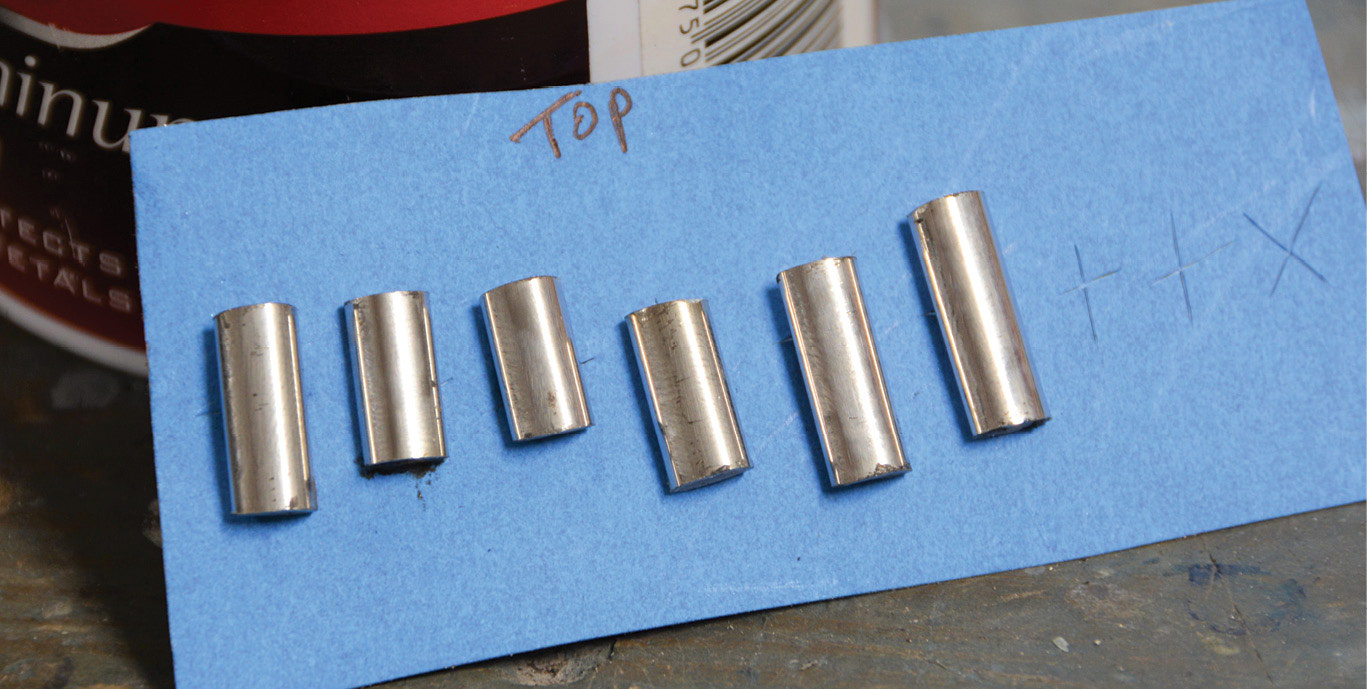
12. After we fit and filled all the pieces, we made a simple card to hold them in proper order. This will make final assembly of the dashboard much easier.
SOURCESVOLUME 4 • ISSUE 29 • 2023