Modern Rodding Tech
InTheGarageMedia.com
axishifts
axishifts
The Right Shift typography
Lokar’s New AxiShift and AxiShift Pro Open Many More Possibilities
By Brian Brennan
E

ngine swaps are at the very core of hot rodding. Without the engine swap you didn’t have the first hot rods and as part of that swap a transmission was sure to be close behind. Engine swaps were really engine and trans swaps with the engine getting all the glory. I remember my first engine swap. Out came the 265 with a three-speed and in went the 327 with a four-speed transmission. Life couldn’t get any better, as driving my hot rod suddenly became a great deal more fun—but there was a hiccup.

“Say, where exactly did the shifter come up through the floor and why isn’t it where I need or want it?” That’s a question heard often and with rarely a simple answer. Clearly, we are talking about manual transmissions as the automatic shifter problems were resolved a while back. It was the manual tranny that posed a bit of a head-scratcher. Lokar Performance Products, long known for their problem-solving throttle, e-brake, and automatic transmission cables, now offers rodders everywhere one more problem-solving solution. Placing the shift lever in just the right position.

The AxiShift and the AxiShift Pro
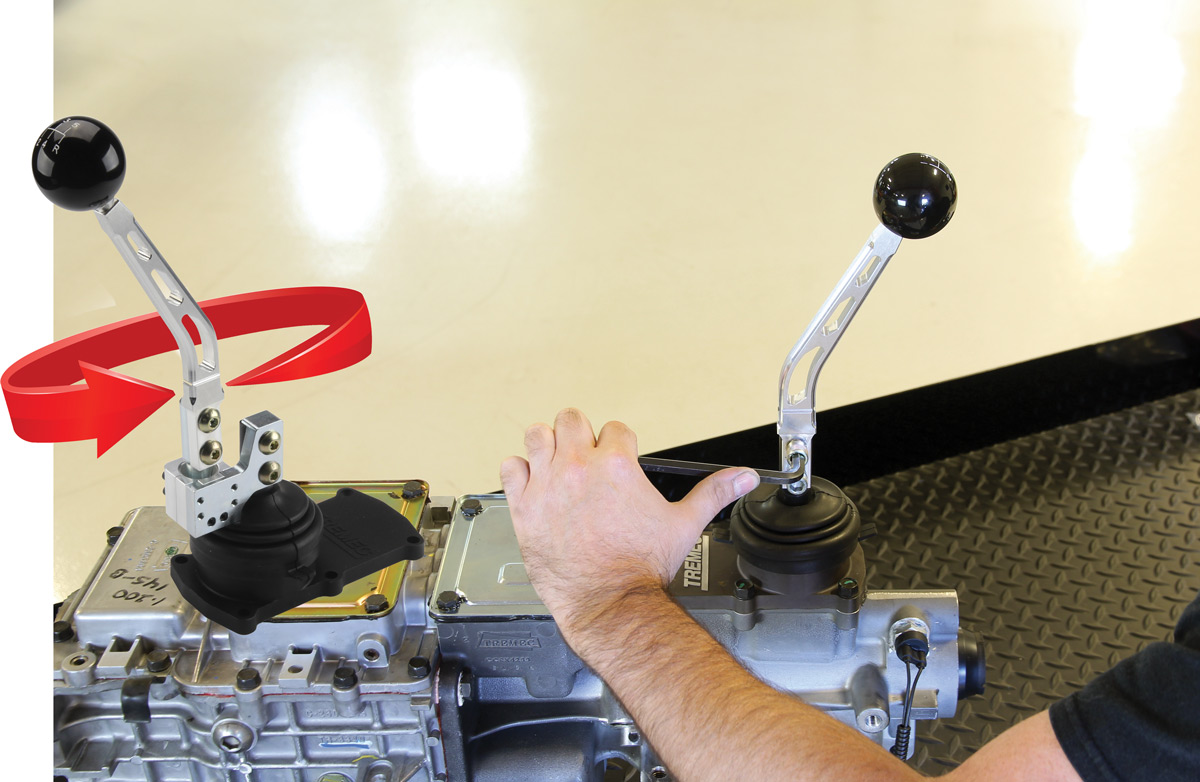
These two products solve the problem of shift handle location once the lever comes through the floor. There’s little we can do about where the shifter enters the interior (well, without major tranny mods) but we can do something about the final adjustment before locking down the shift handle location. That’s where the Lokar AxiShift and AxiShift Pro come into play. These products were designed with the hot rodder in mind as each shift lever adaptor allows the do-it-yourselfer to make precise adjustments prior to locking in the desired shifter position. This is achieved by providing 360 degrees of axial rotation of the shifter lever as well as having the ability to tilt 15 degrees in any direction. The standard AxiShift simply bolts onto the very popular TREMEC TKO 500/600, T56 Magnum, or the new TREMEC TKX shifter location. It will also fit any manual box that has a standard 7/8-inch center-to-center mounting dimension. The AxiShift Pro is designed specifically for the TREMEC TKO 500/600 manual and requires replacing the shifter stub and ball-joint assembly with the new parts provided in the Lokar kit. The AxiShift Pro has all the features of the standard AxiShift but adds an additional level of both horizontal and axial adjustment by giving you the option to offset the shifter side-to-side or front-to-back. The adaptor also includes a splined, indexable main shaft for more precise tuning of the shifter position. You are afforded the ability to place the shift lever in a comfortable position, in that way enhancing your driving experience.

Should you find yourself with any of the TREMEC TKO 500/600, T56 Magnum, or TKX manual boxes then the AxiShift or the accompanying Pro model should be on your “parts list” from the get-go. Remember, Lokar also offers a handful of shift levers in either a straight or curved build that come in different lengths. There are three prominent shift lever series: the billet aluminum line (brushed or black), the Goolsby Edition by Lokar (polished or black), and the steel (chrome or black). Between these selections you have the option of going modern looking or keeping the traditional style; it’s all driven by the build style of your hot rod. Also available are shift knobs in ivory, white, and black with the popular “H” pattern representing the four-, five-, or six-speed locations, with the properly noted Reverse position. To finish the install off Lokar also offers a wide variety of boots, bezels, and ring sets.

AxiShift
The AxiShift is the much quicker of the two shift lever adapters to install. The intent of this adapter is to move the shift lever location forward or rearward and to give you adjustability. Simply stated, the AxiShift bolts to the TREMEC or other manual transmission shifter stub lever in the position you determine. Once accomplished you will attach the shift lever of your choice and make all of the final adjustments.
AxiShift Pro
The AxiShift Pro was designed to give you a much greater range of positioning options. It was designed specifically for TREMEC TKO 500/600 transmissions. As such it will require that your TREMEC have the one-piece, cast-aluminum shifter turret plate. (Note: It will not fit the older two-piece machined billet aluminum TKO shifter.) Another point to be taken into consideration has to do with installation. The Pro may be installed without removing the shifter turret plate but take caution not to drop parts or hardware into the transmission during the installation process. (That one would seem obvious but alas that’s another story for another time, too!)

Once you’ve determined if you want the center position or the offset position, the most notable difference between the two AxiShift kits comes into play. That is the process you will go about installing an indexable shaft with pivot ball and pin that attaches to the TREMEC shifter stub lever. Follow along with the photos and you will see how the fundamentals of each installation are handled.

Anytime you are working on the transmission, while it’s in your (or anyone’s) car you should always block the wheels and disconnect the negative battery cable. (Editor’s note: There’s a story in there about a car rolling down the driveway, but that’s for another time! —B.B.) Lokar also recommends using an antiseize on all aluminum threads you may run across in the installation process.

Follow along with the photos as we take you through the installation of both the AxiShift and the AxiShift Pro.
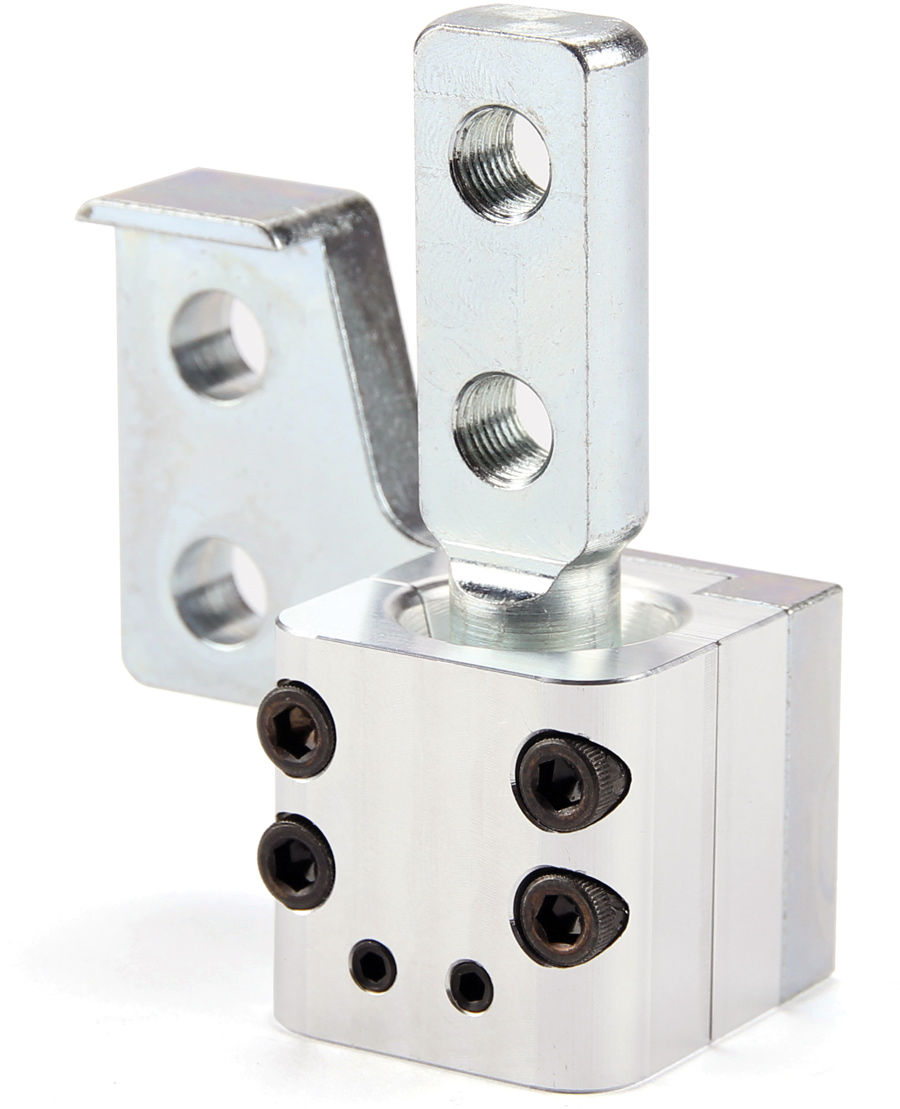
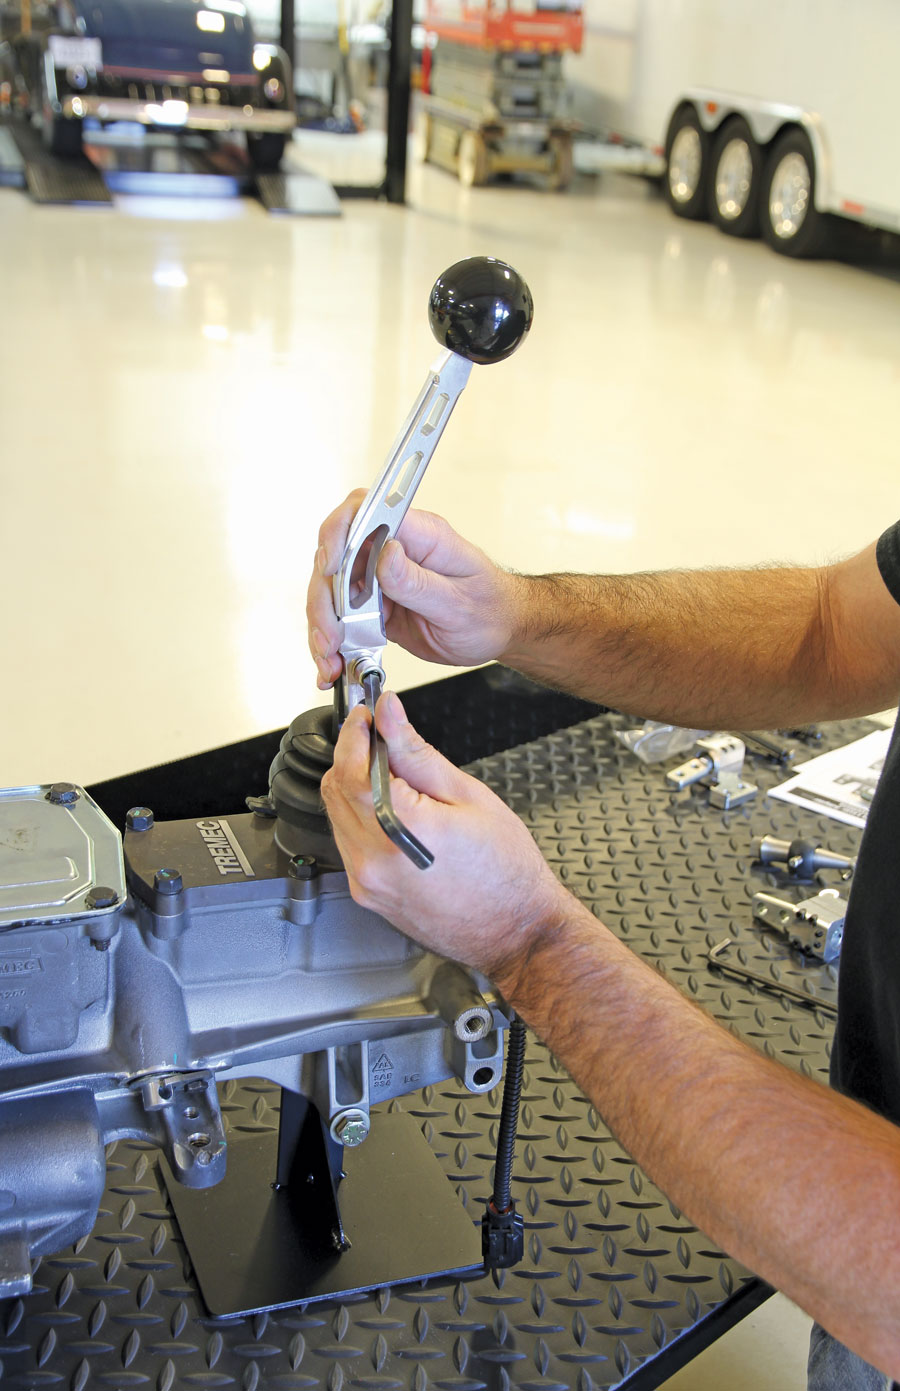
close up of an AxiShift
1. AxiShift will move the shift lever forward or rearward depending on your choice of position.
man installing the AxiShift
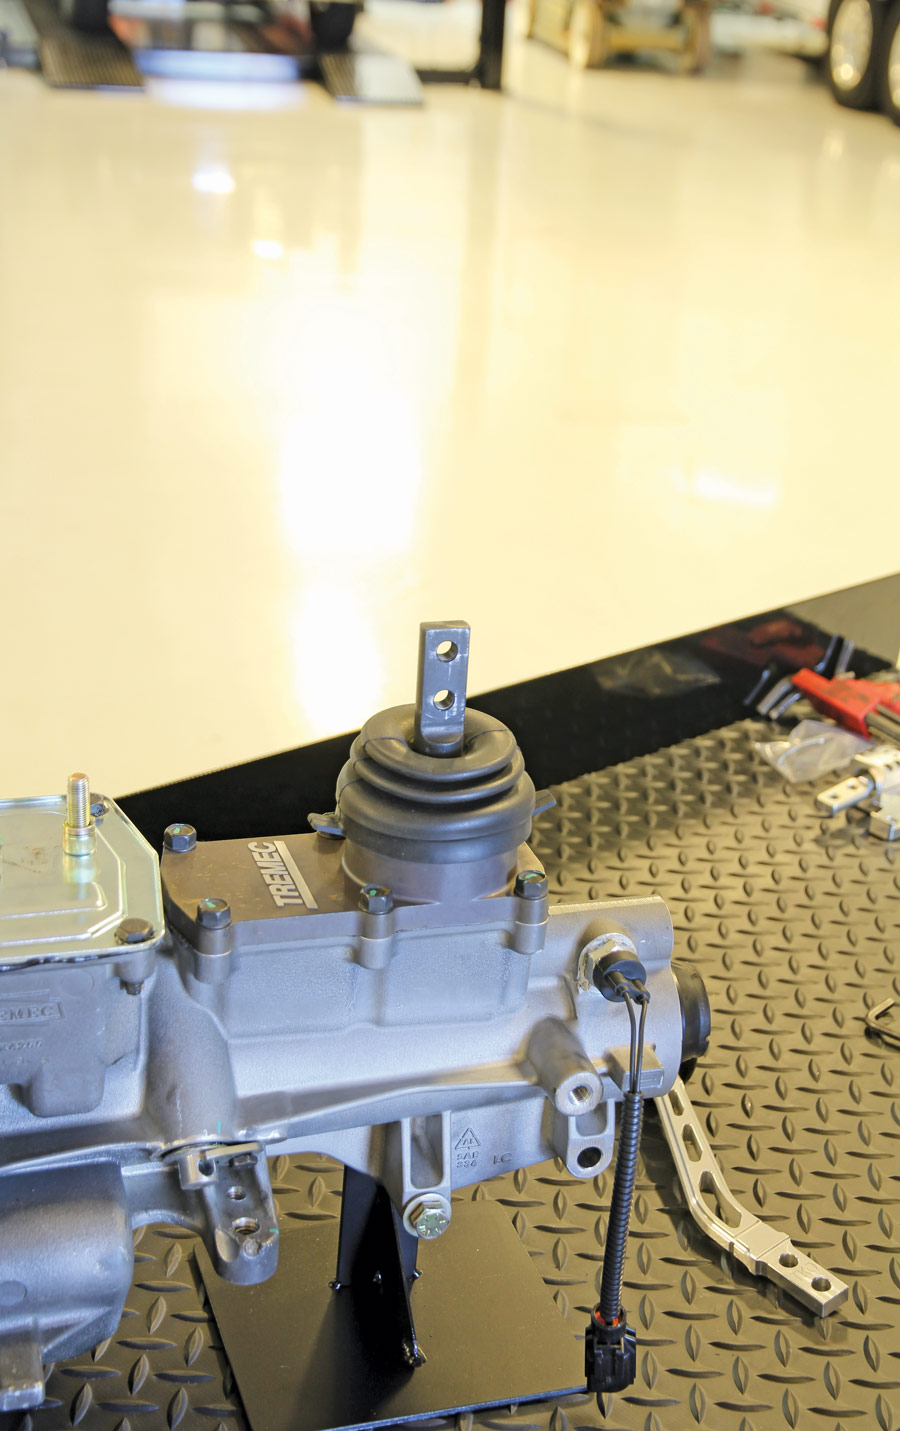
2. When installing the AxiShift, the initial steps will include removing whatever shifter you have on your TREMEC box at the time.
close up of a Shifter boot
3. You can leave the shifter boot in place throughout the installation.
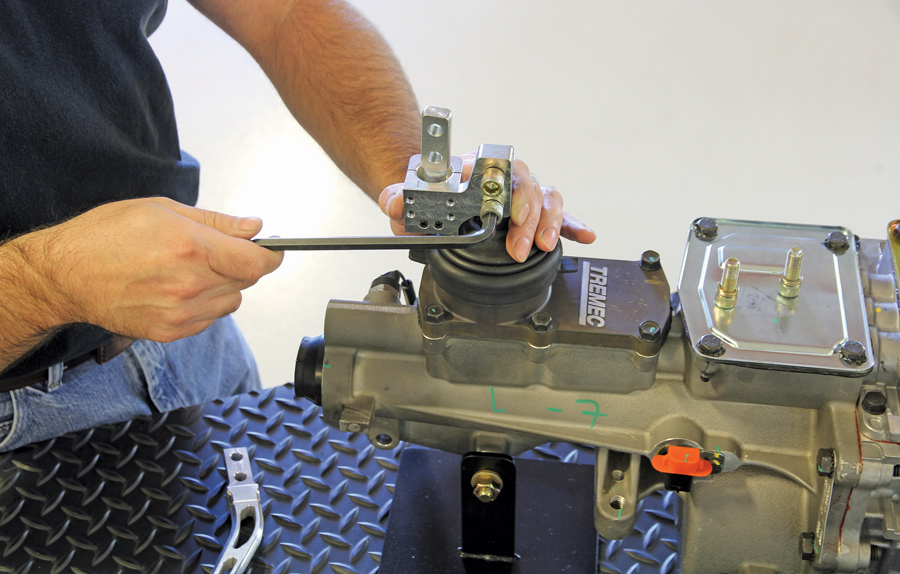
Attaching the AxiShift
4. Attach the AxiShift by using two 3/8-24 bolts to hold the unit in place. You will need to keep your original hardware or obtain these bolts.
shift lever installation
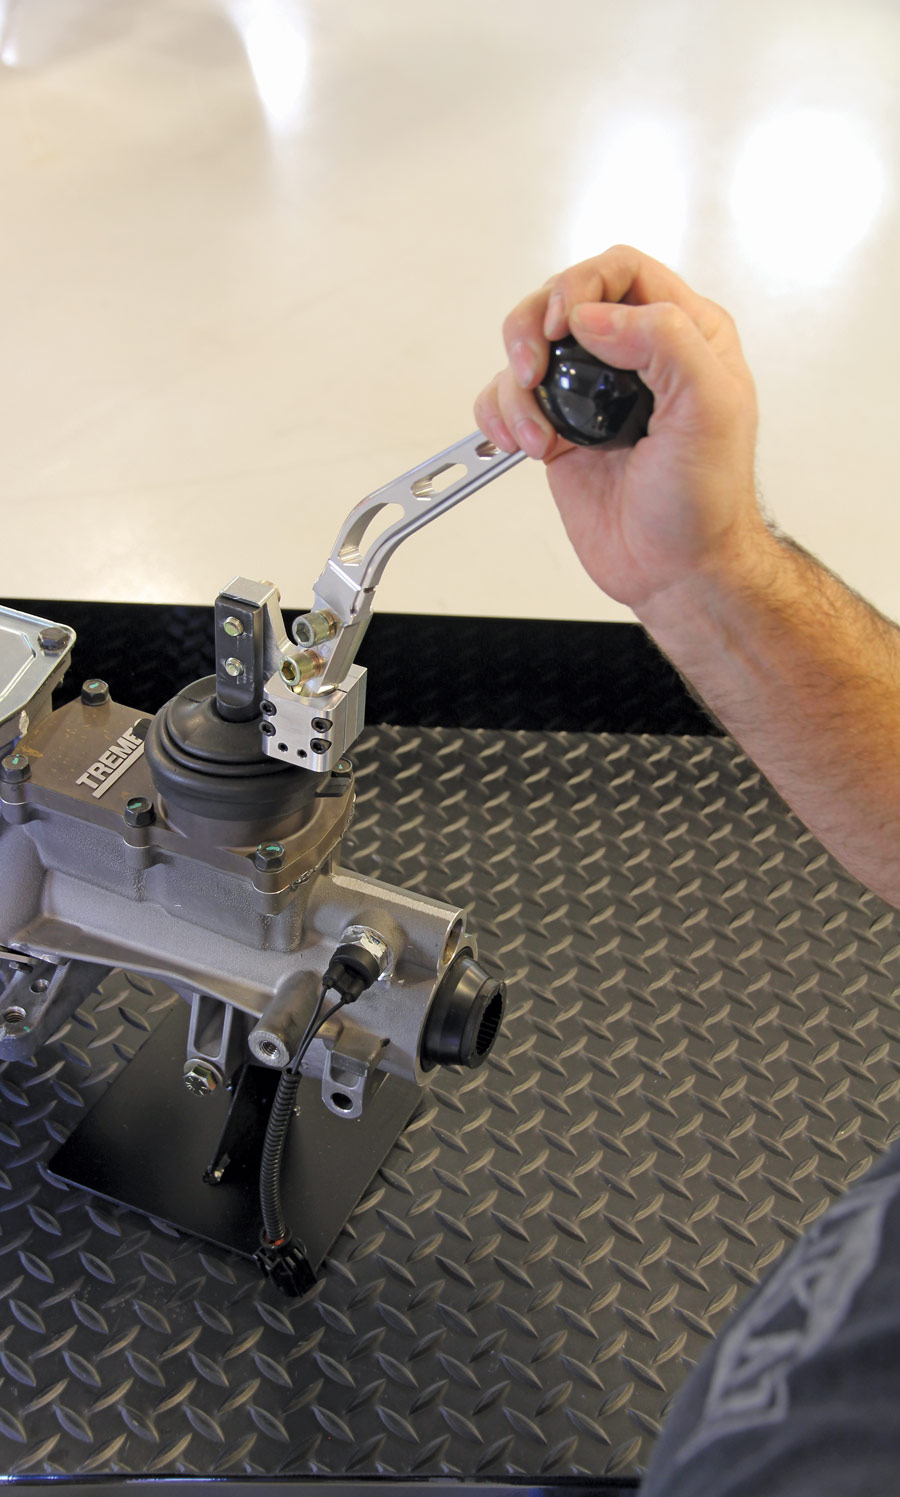
5. Here the shift lever is installed using a pair of 3/8-24 bolts. Lokar offers several different shift lever lines in different finishes and they will all work with the AxiShift.
positioning the lever
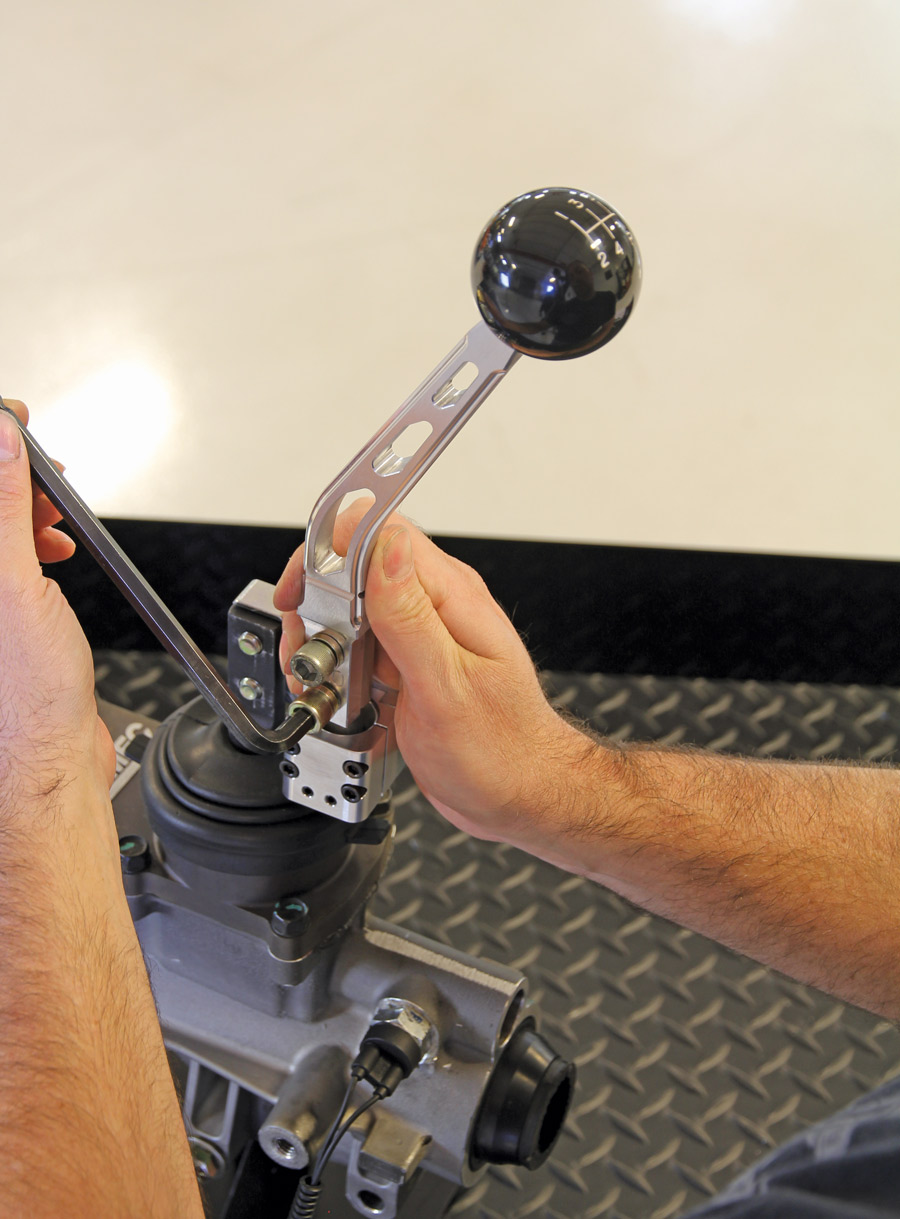
6. Once the system is in place, and that includes the shift lever, you will want to position the lever to your comfort level.
final shift lever adjustment
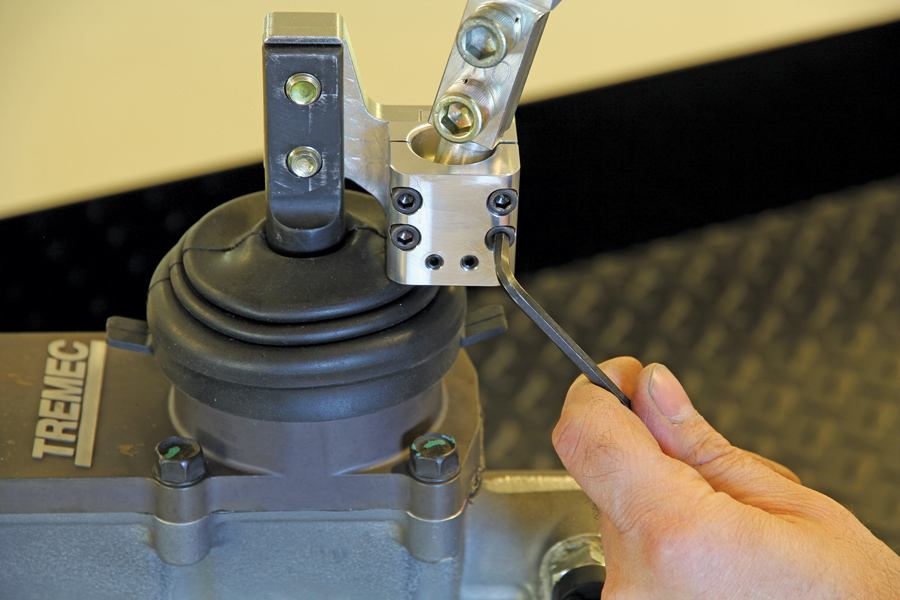
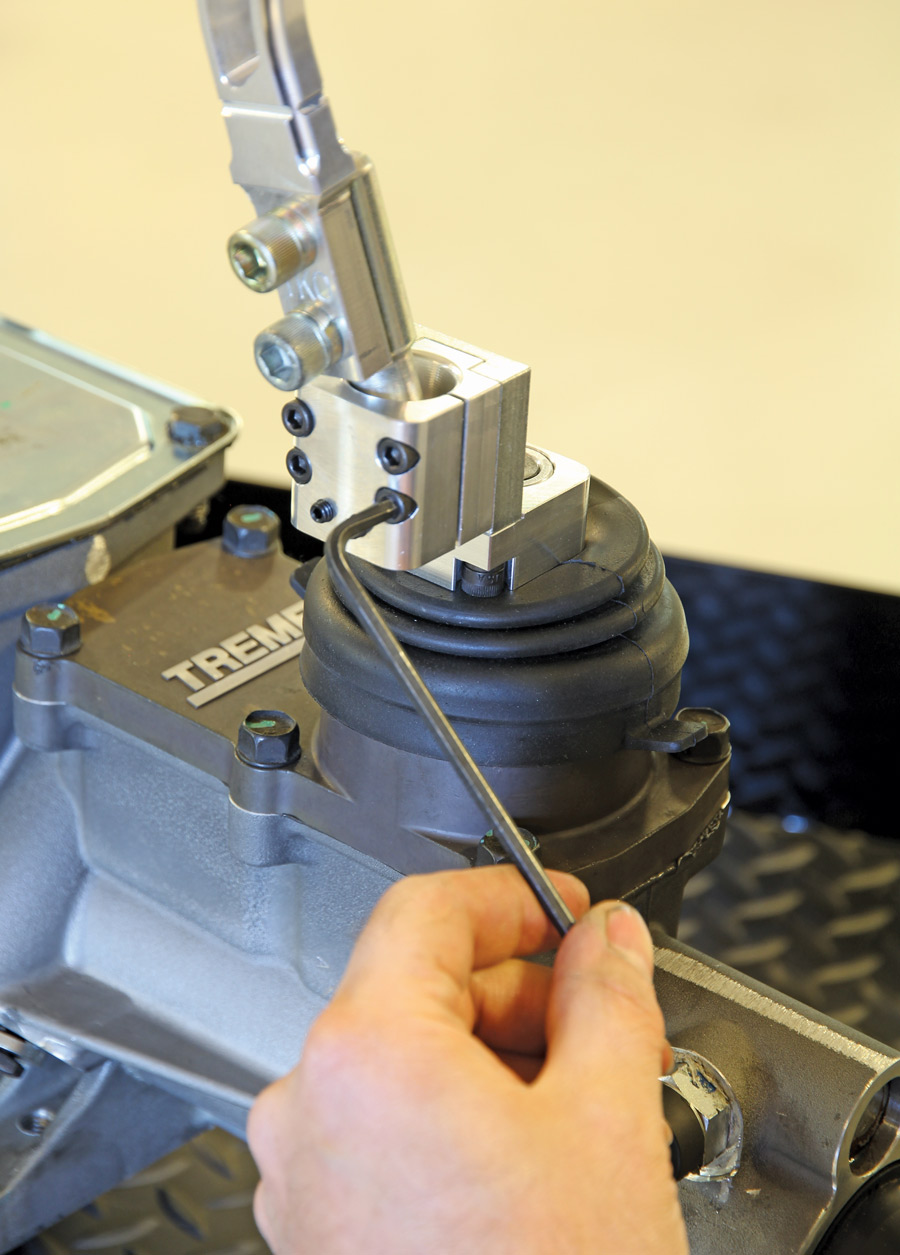
7. To lock down the final shift lever adjustment you will need to break out two Allen wrenches from your toolbox; a 3/32 to tighten the lower bolts and a 5/32 (shown) to tighten the upper bolts.
close up of the AxiShift Pro
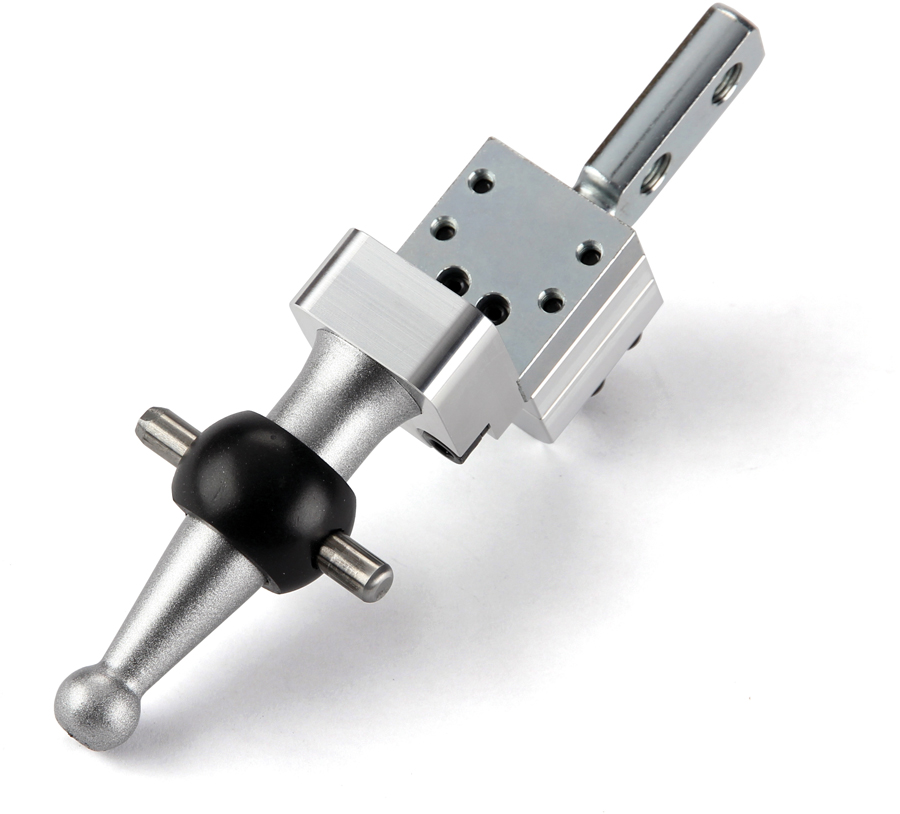
8. The AxiShift Pro does perform all of the basic tasks but it also has an additional level of both horizontal and axial adjustment.
AxiShift Pro installation
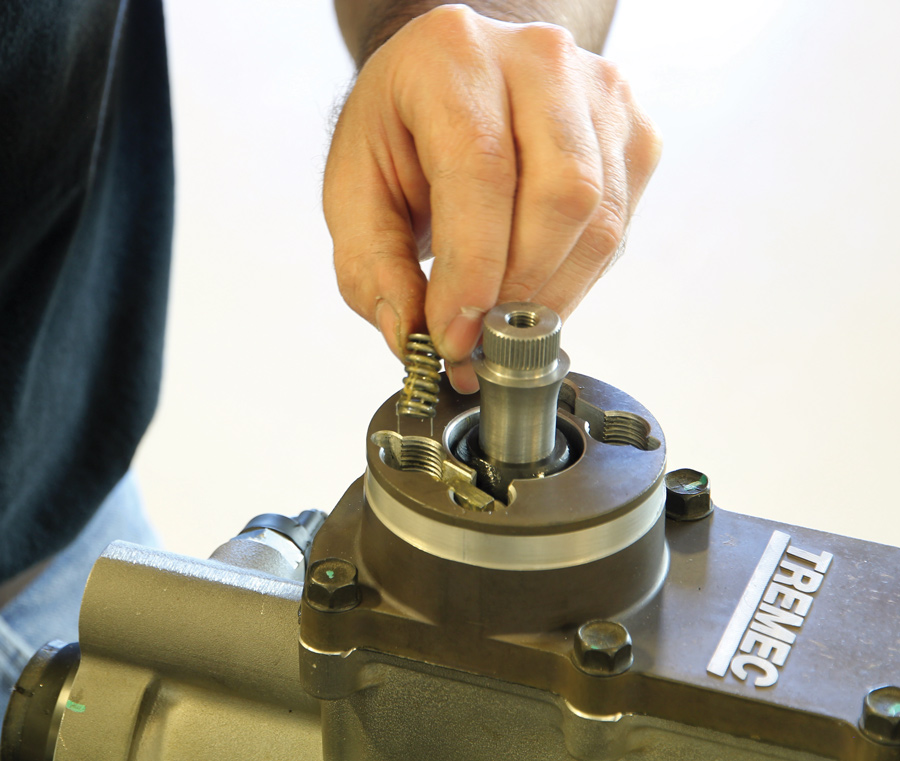
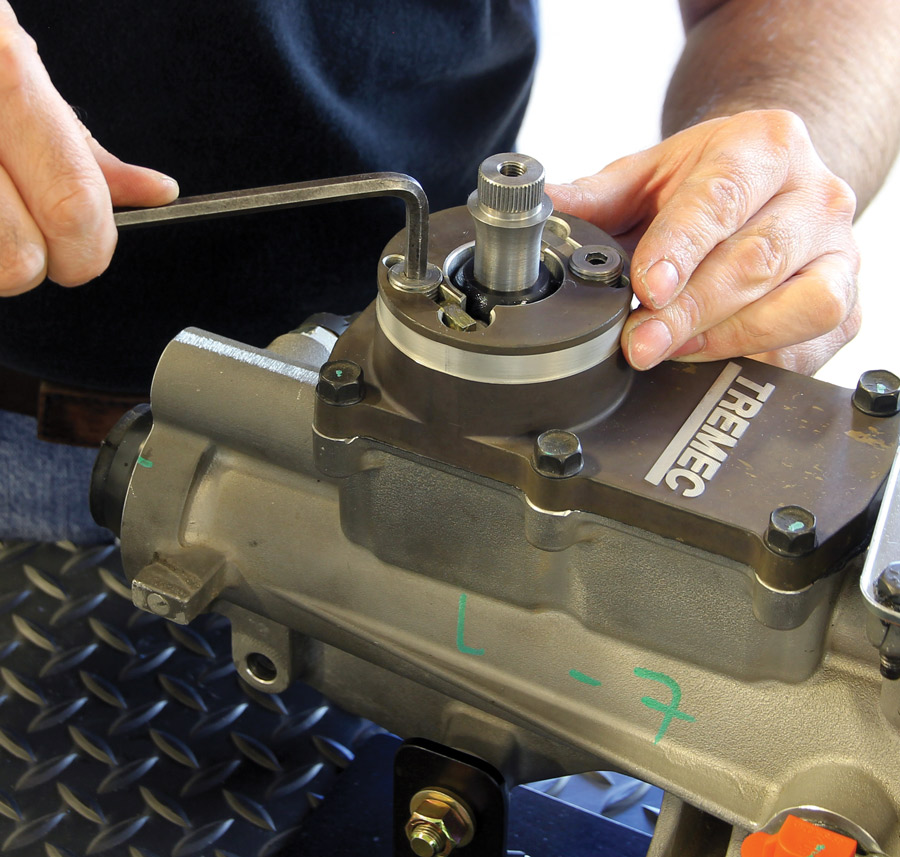
9. In order to install the AxiShift Pro you will need to disassemble the TREMEC turret plate. This will require a 6mm Allen wrench in order to remove threaded plugs from the shifter plate then the springs, spring levers, retainer caps, and the shifter stub lever.
Plug and spring
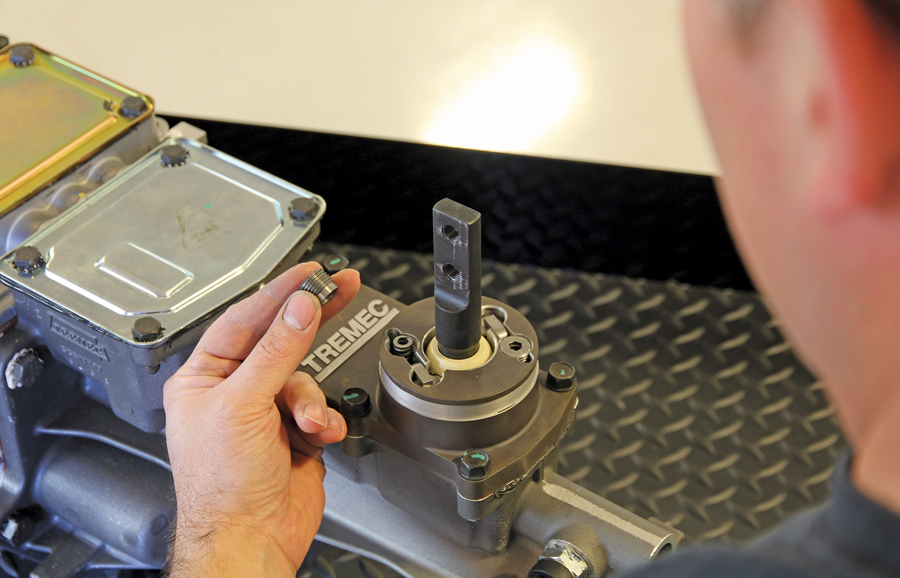
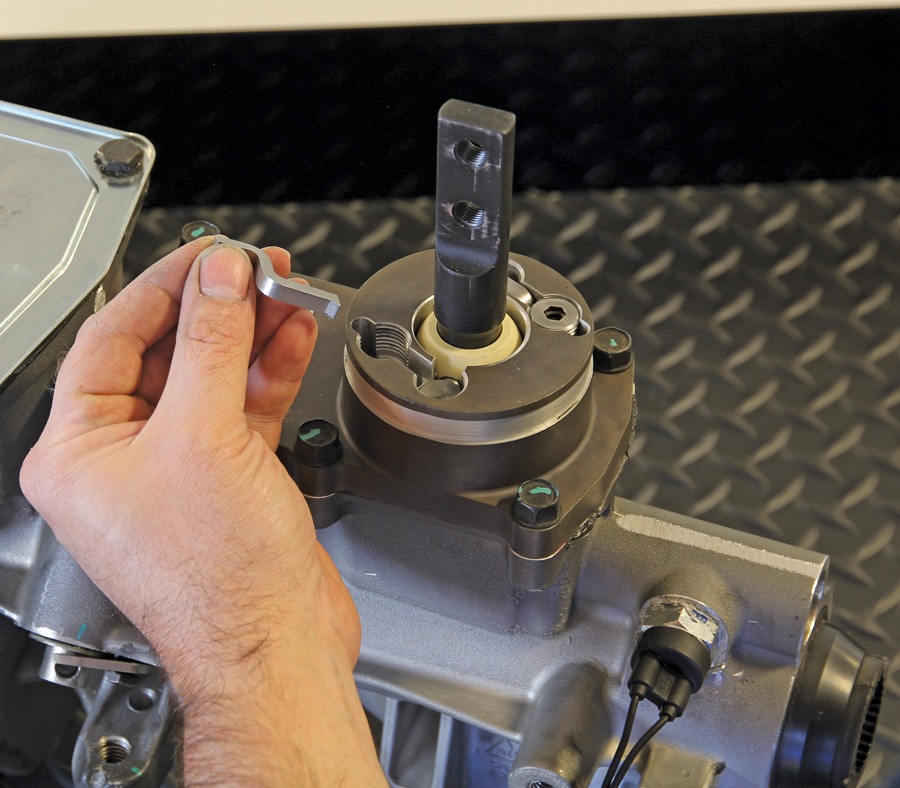
10. Plug and spring are removed (photo left) and the first of two spring levers (in hand) are now removed.
Lifting out the TREMEC shifter stub lever
11. With the two retainer caps (one on each side) removed, you may lift out the TREMEC shifter stub lever (as shown).
turret
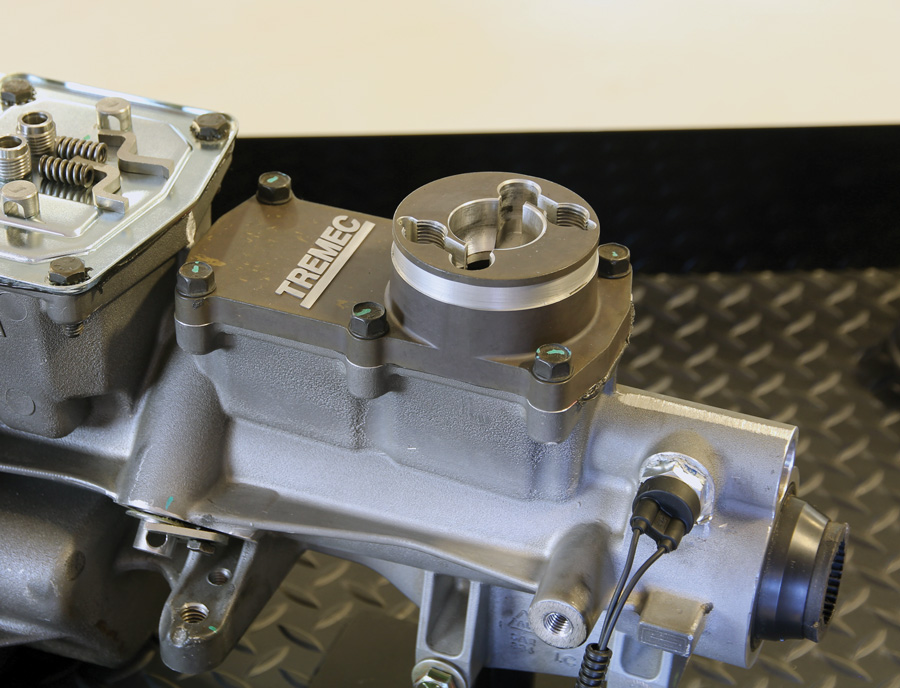
12. With all hardware removed (note photo left for individual pieces removed and to be reused) the turret is ready to accept the AxiShift Pro.
car parts before installation
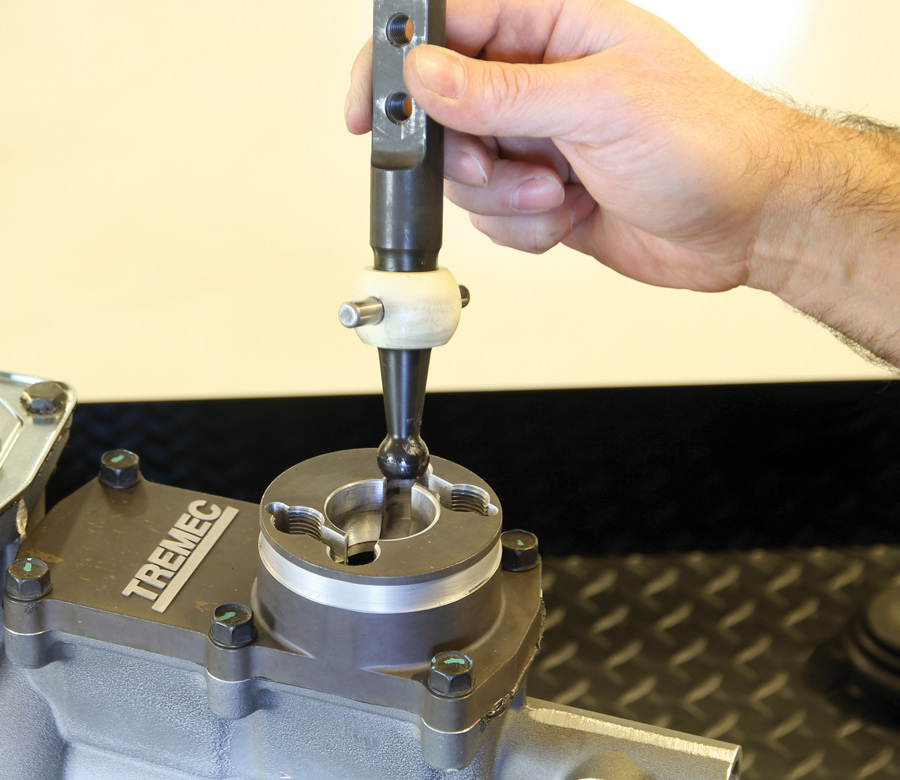
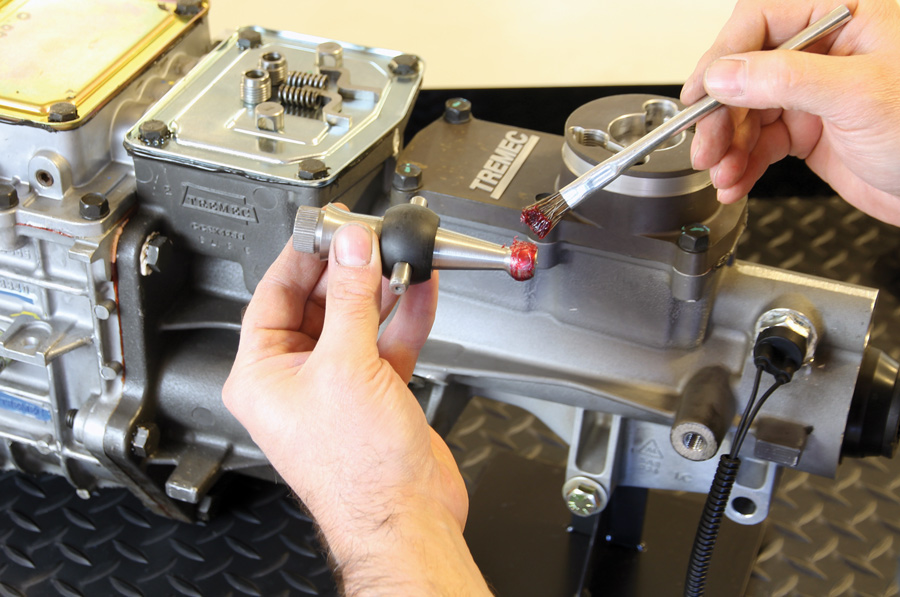
13. Before installing the indexable shaft, pivot ball, and pin, make sure to apply a heavy-duty grease, such as automatic transmission assembly lube.
dropping the AxiShift Pro shaft into place
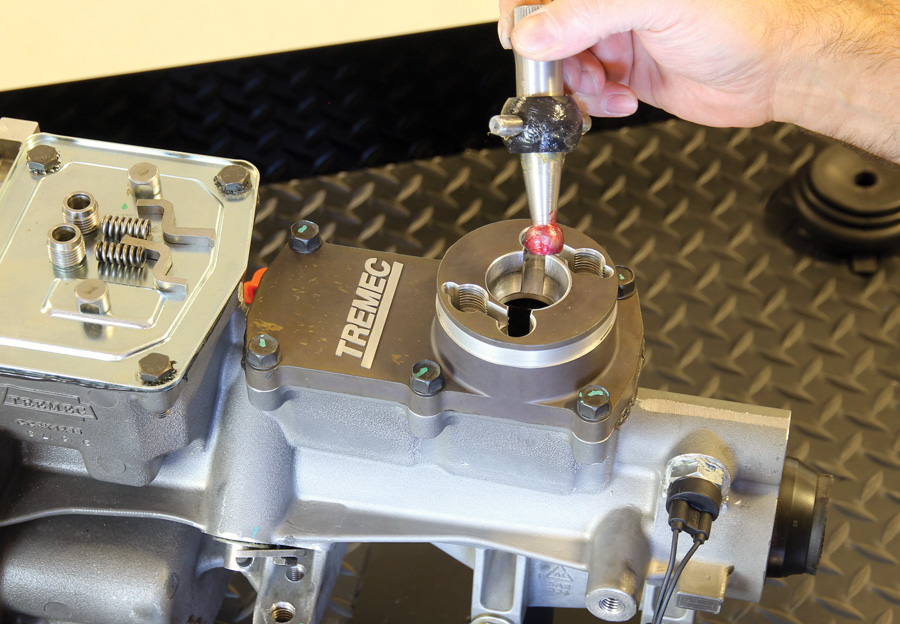
14. Before dropping the AxiShift Pro shaft into place, also make sure that the pivot ball section is greased, too.
car part installation
15. Indexable shaft, retainer cups, spring levers, and now springs are dropped into position.
tightening screws
16. Break out your 6mm Allen wrench and tighten down the threaded plugs and you have finished the new shaft and pivot ball installation.
screws tightened
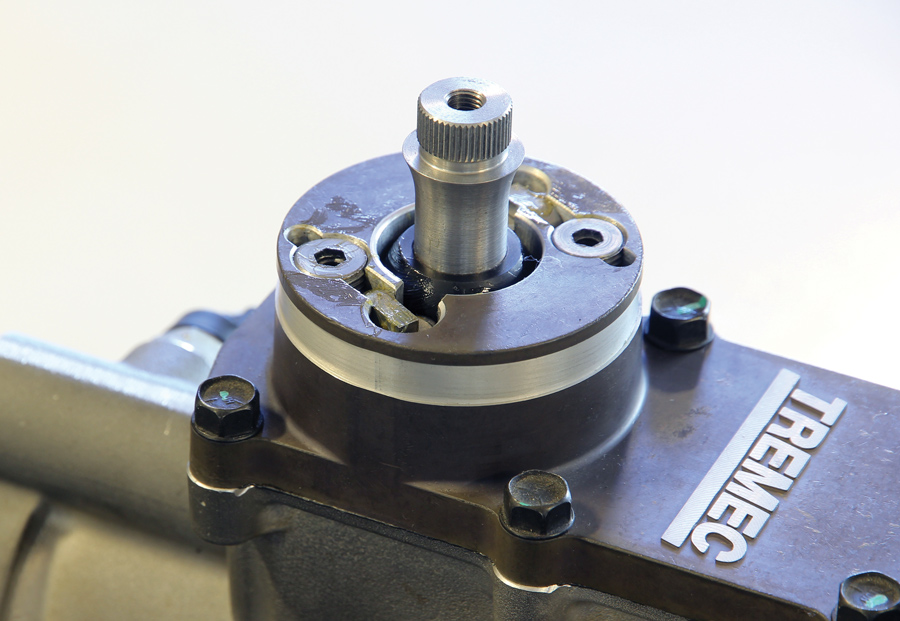
17. All buttoned up, note that grease was used on the spring levers, springs, and caps. Remember, these parts move and need lubrication.
dropping the TREMEC rubber boot back into position
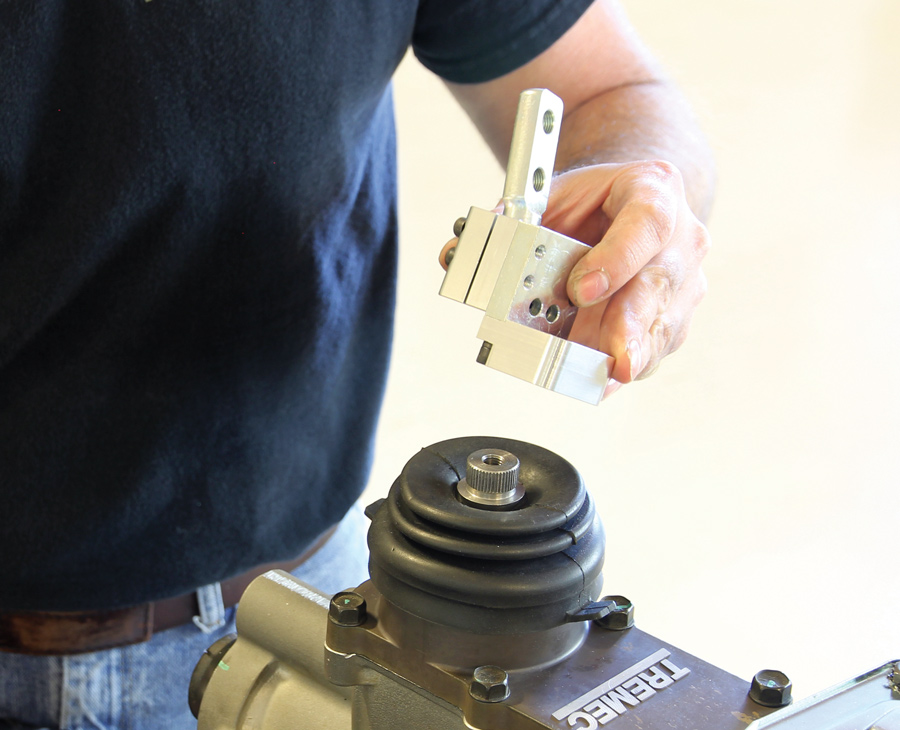
18. Drop the TREMEC rubber boot back into position and now it’s time to install the main block with shift lever adapter shaft onto the splined end of the AxiShift Pro indexable shaft.
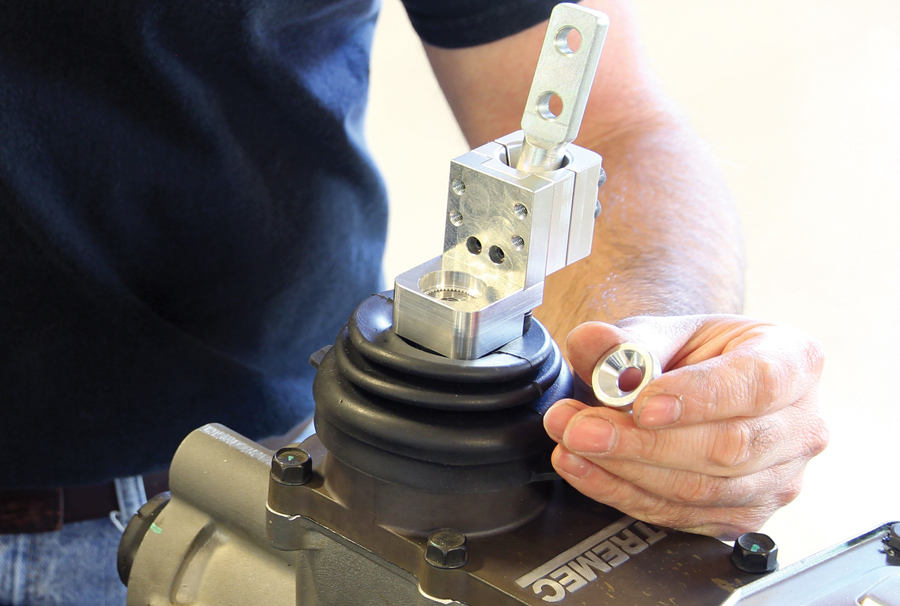
man holding Adapter washer
19. Next up is the adapter washer (shown), which drops into the “well” within the indexable base.
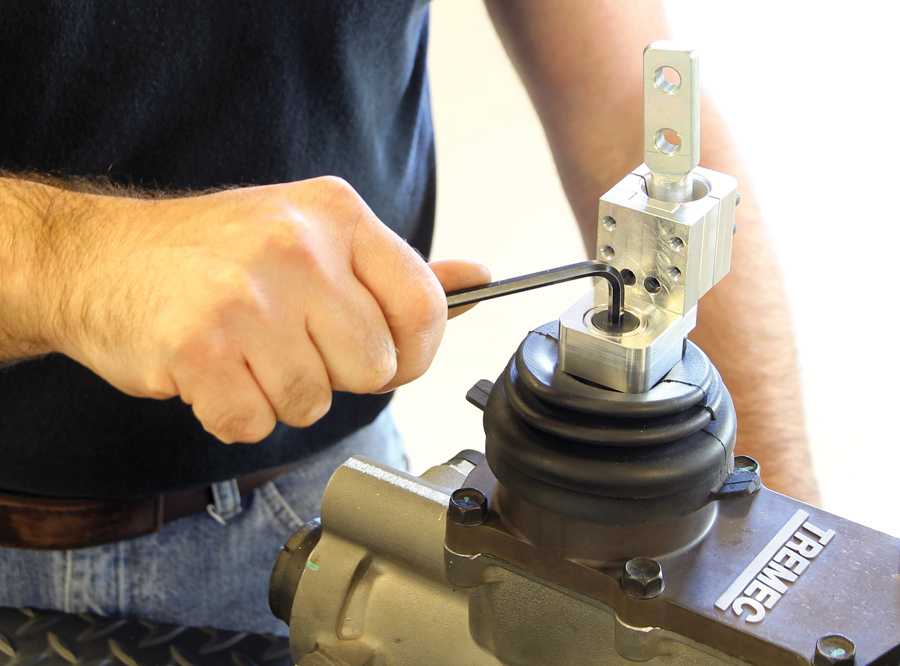
5/16-24 flathead bolt
20. A 5/16-24 flathead bolt rests within the adapter washer and screws into the indexable base now holding the assembly onto the AxiShift Pro shaft.
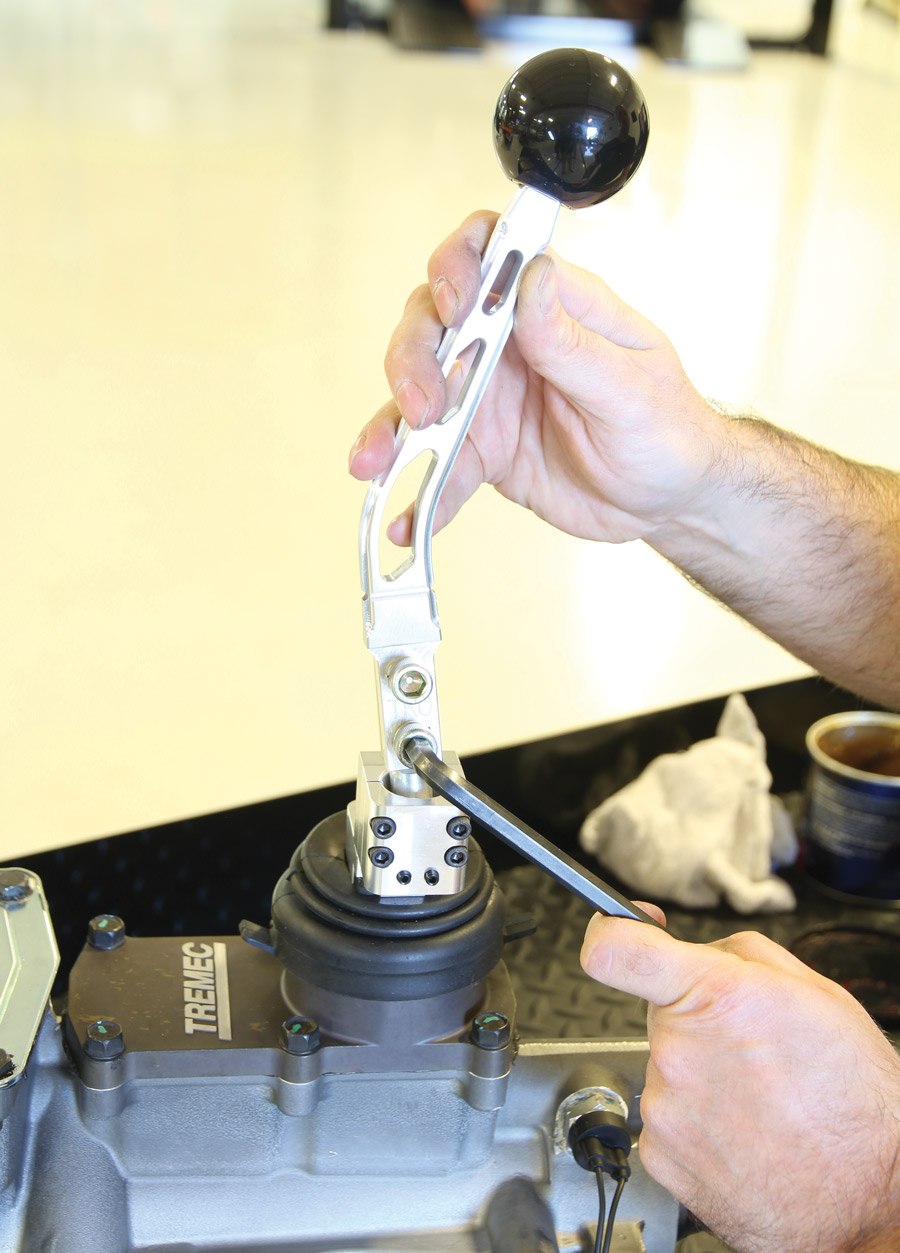
Shift lever itself
21. The shift lever itself is held onto the AxiShift Pro (same as the AxiShift) by affixing to the adapter shaft via two 3/8-24 bolts with lock washers. (This hardware should come from the original shifter handle. If you don’t have it then you will need to make a trip to your automotive hardware supplier.)
Lock washers
22. There are a pair of #10-32×1/2-inch set screws and a pair #10-32×3/8-inch set screws that will need to be tightened once shift lever position is determined within the main cap. There are also four #10-32×1-1/4-inch socket head machine screws with lock washers that are used to hold the main cap to the back plate and sandwich the adapter shaft.
 SOURCE

Lokar Performance Products
(877) 469-7440
lokar.com

Modern Rodding
VOLUME 2 • ISSUE 2 • 2021