Modern Rodding TECH

InTheGarageMedia.com

car battery that is about to be worked on
1. There are numerous battery trays available. Whatever one you use make sure it holds the battery securely in place for those long days with lots of hours and miles of drive time.
Battery Basics and Beyond!
A Foolproof Plan for a Reliable Power Supply
By Ryan Manson Photography by The Author Videography by Ryan Foss Productions
A

properly charged and maintained battery is a must for any classic car, but especially so when it comes to those equipped with all mod cons like EFI, digital gauges, A/C, and more. The more advanced the component, the more sensitive they seem to be to a steady, reliable 12V signal. Many systems, in fact, will cease to operate properly if provided with anything south of 11 V. That leaves a small margin of error when it comes to the alternator providing steady charge under normal driving conditions or to the battery itself if left to sit idle for too long a period. Leaving a trickle charger attached to that hot rod with an expectant slumber of a period over a week or so has become common practice.

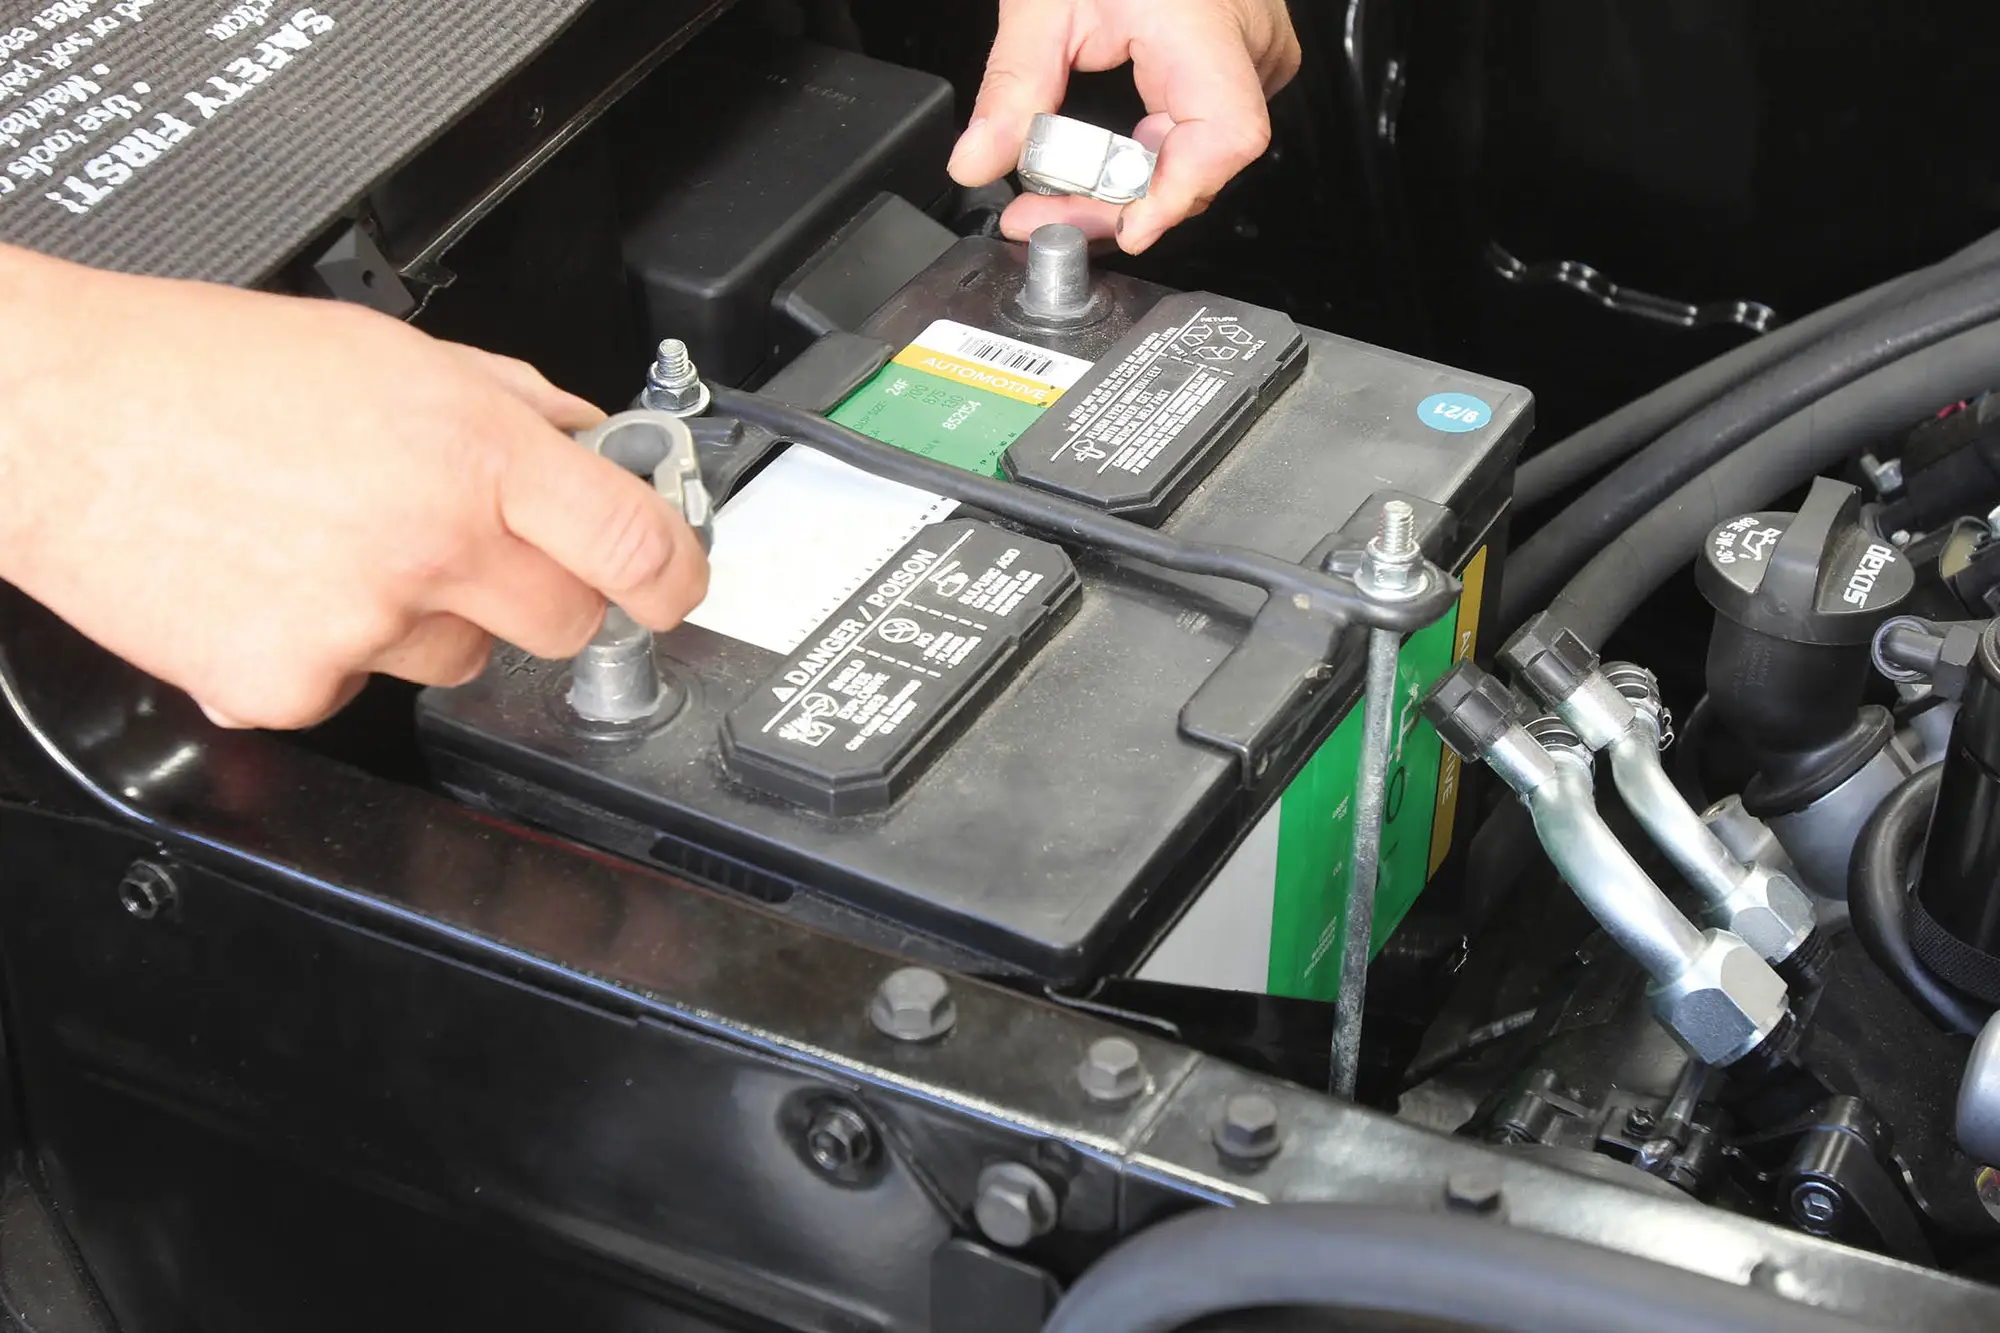
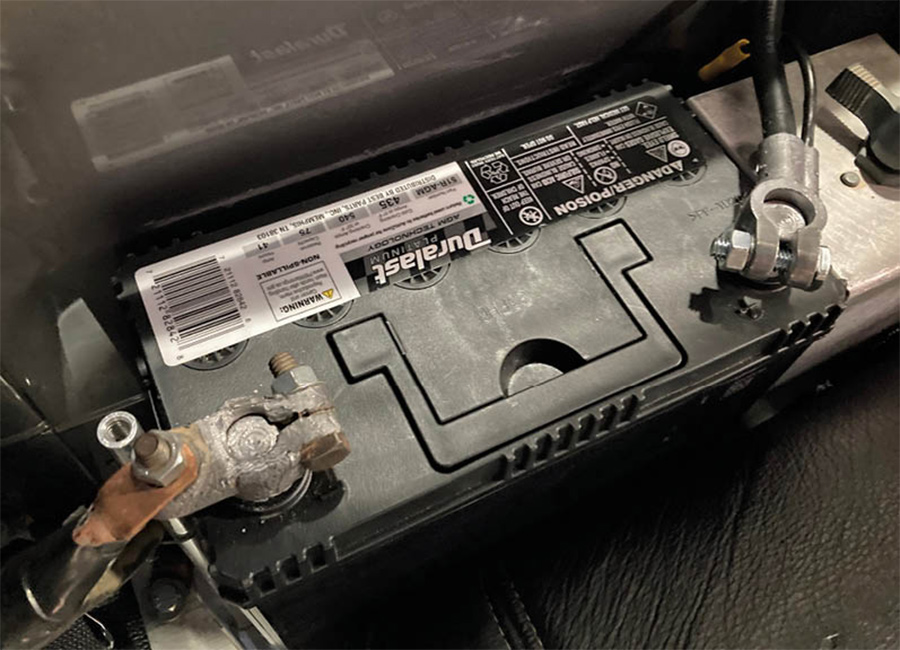
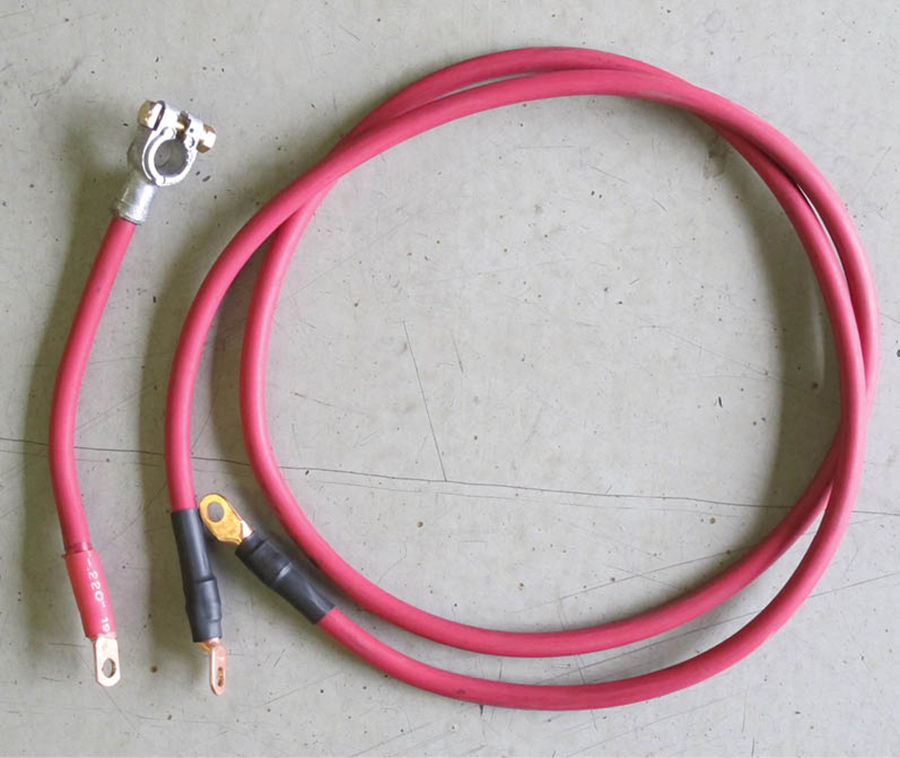
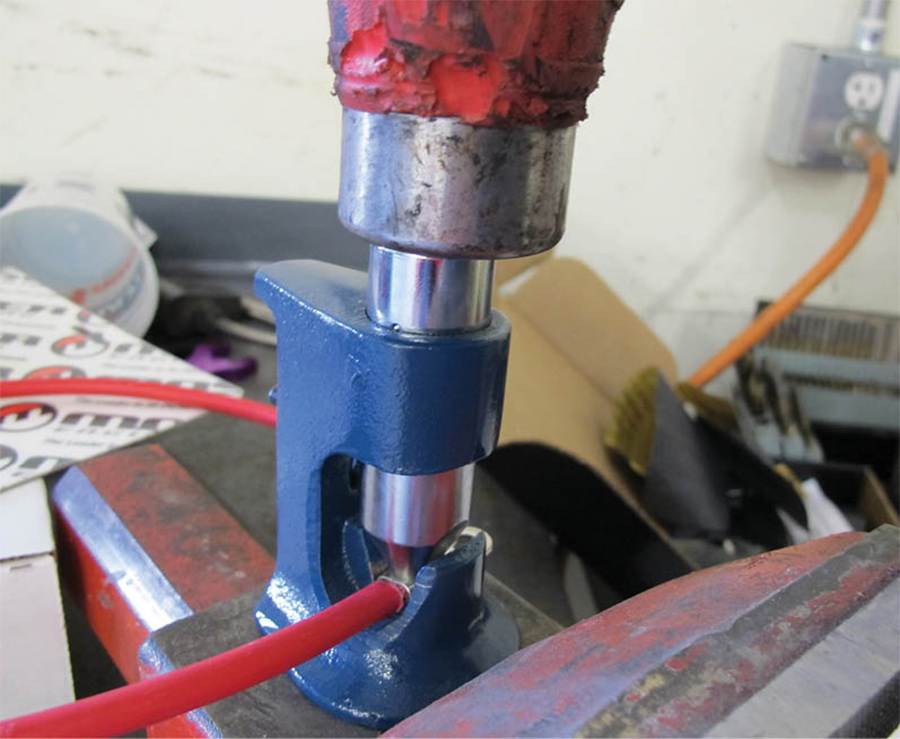
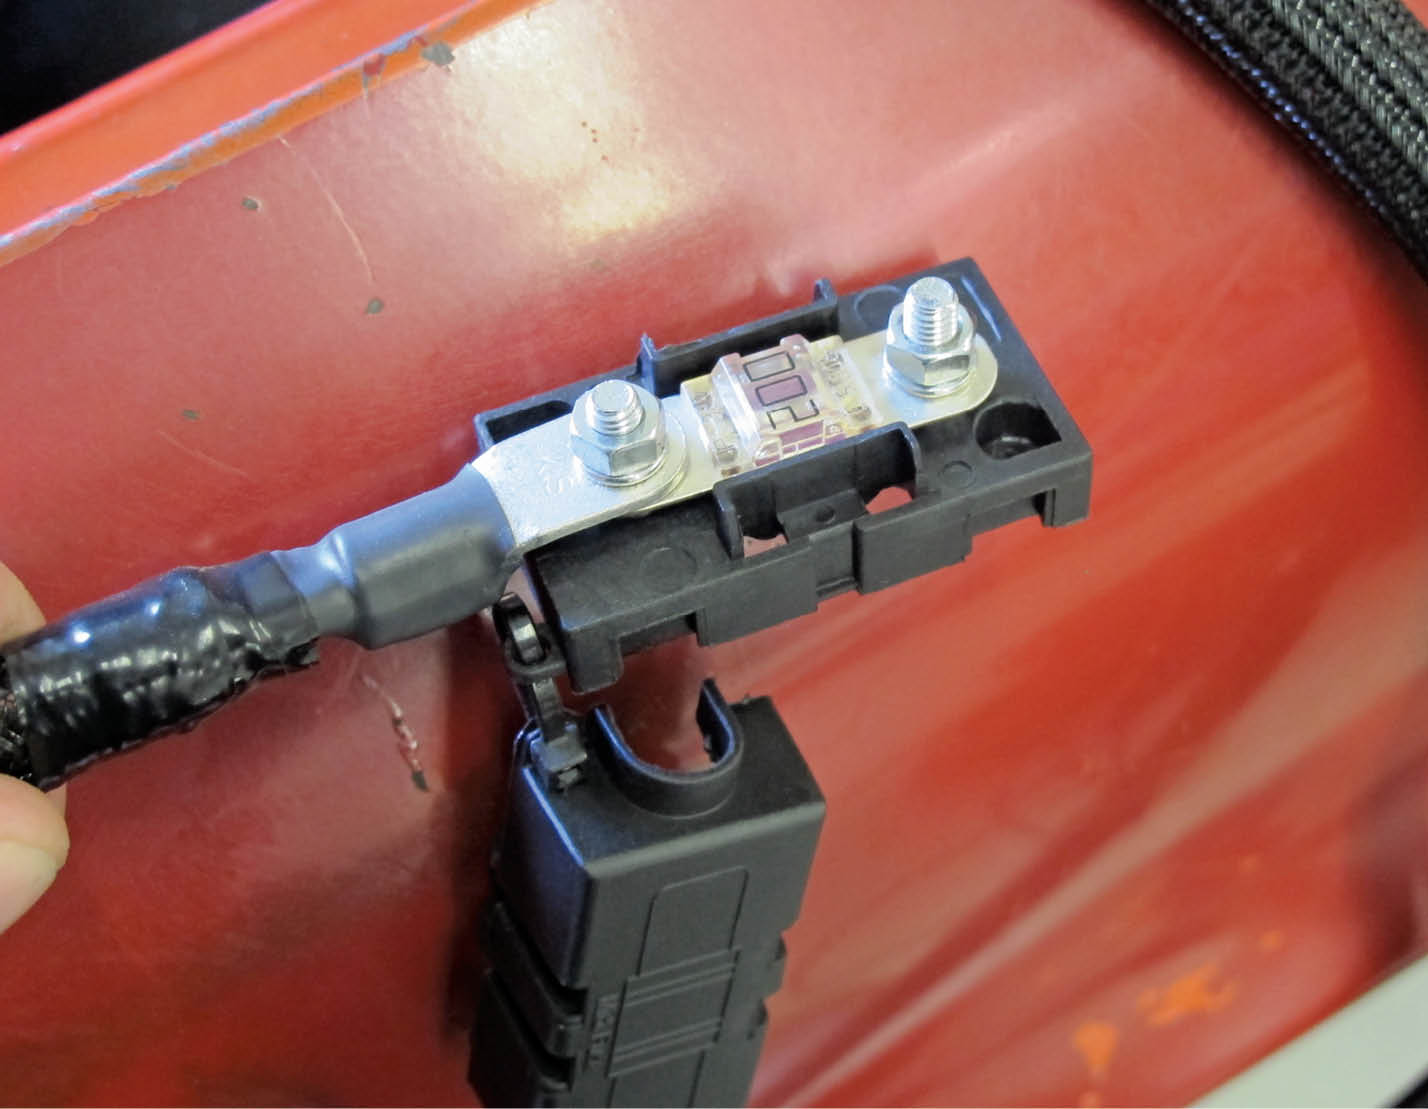
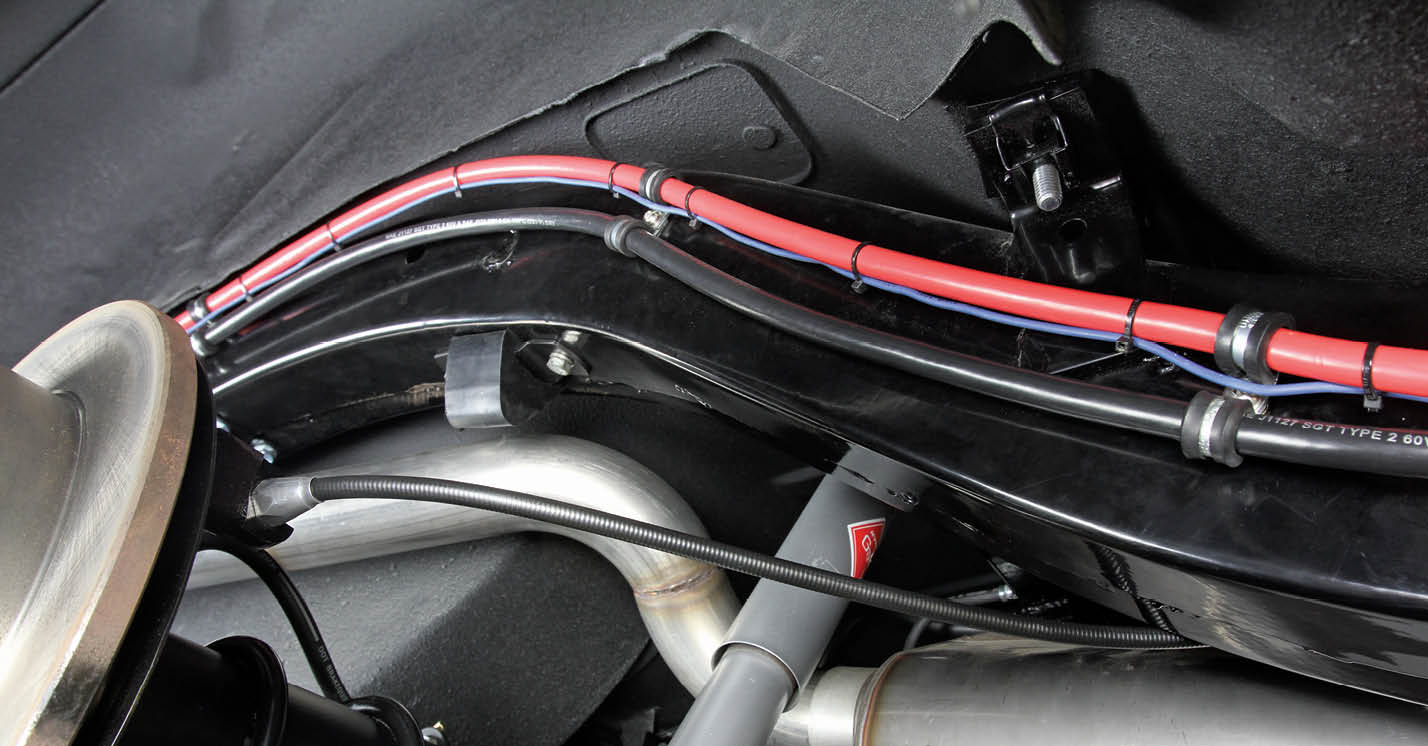
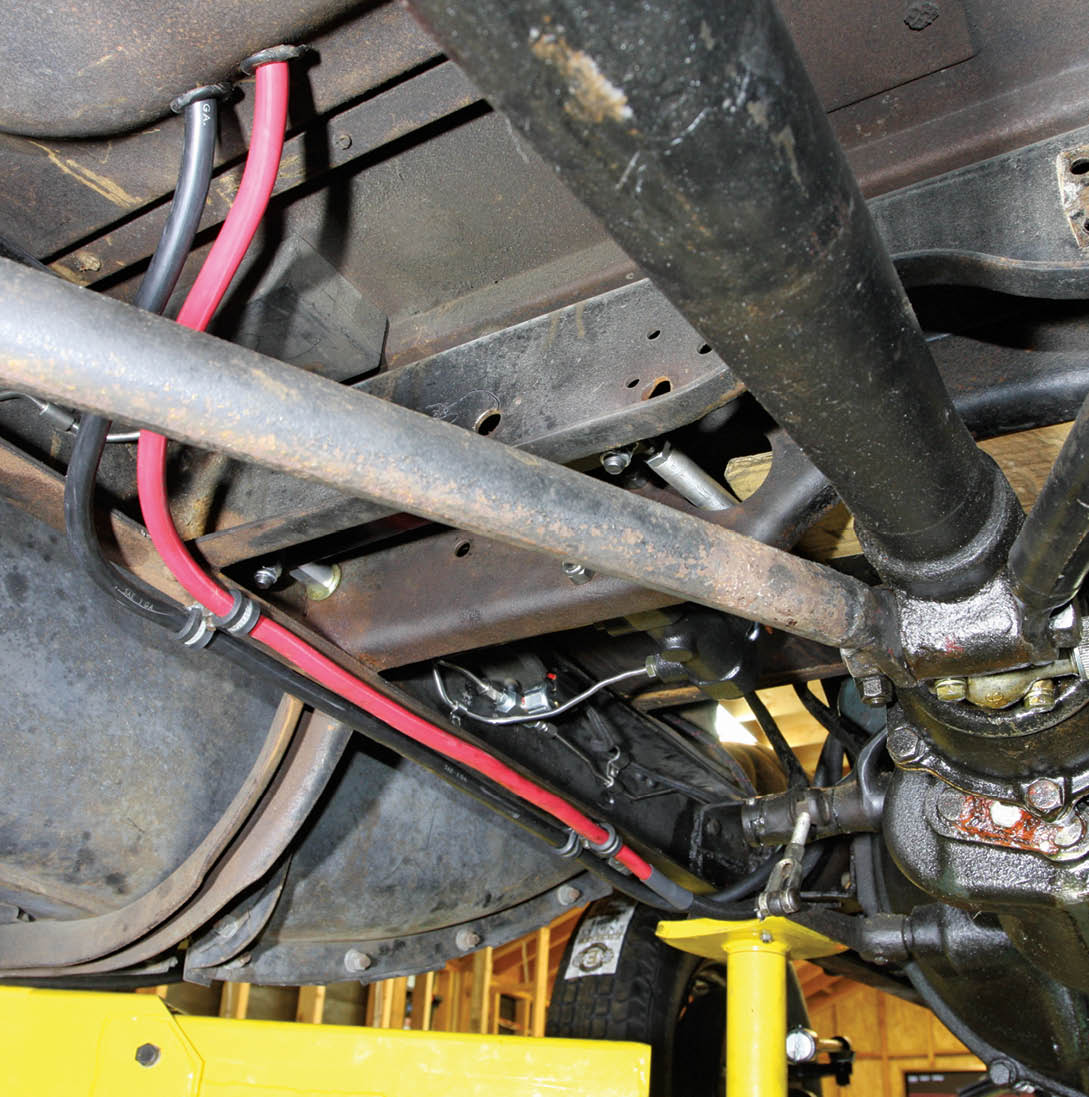
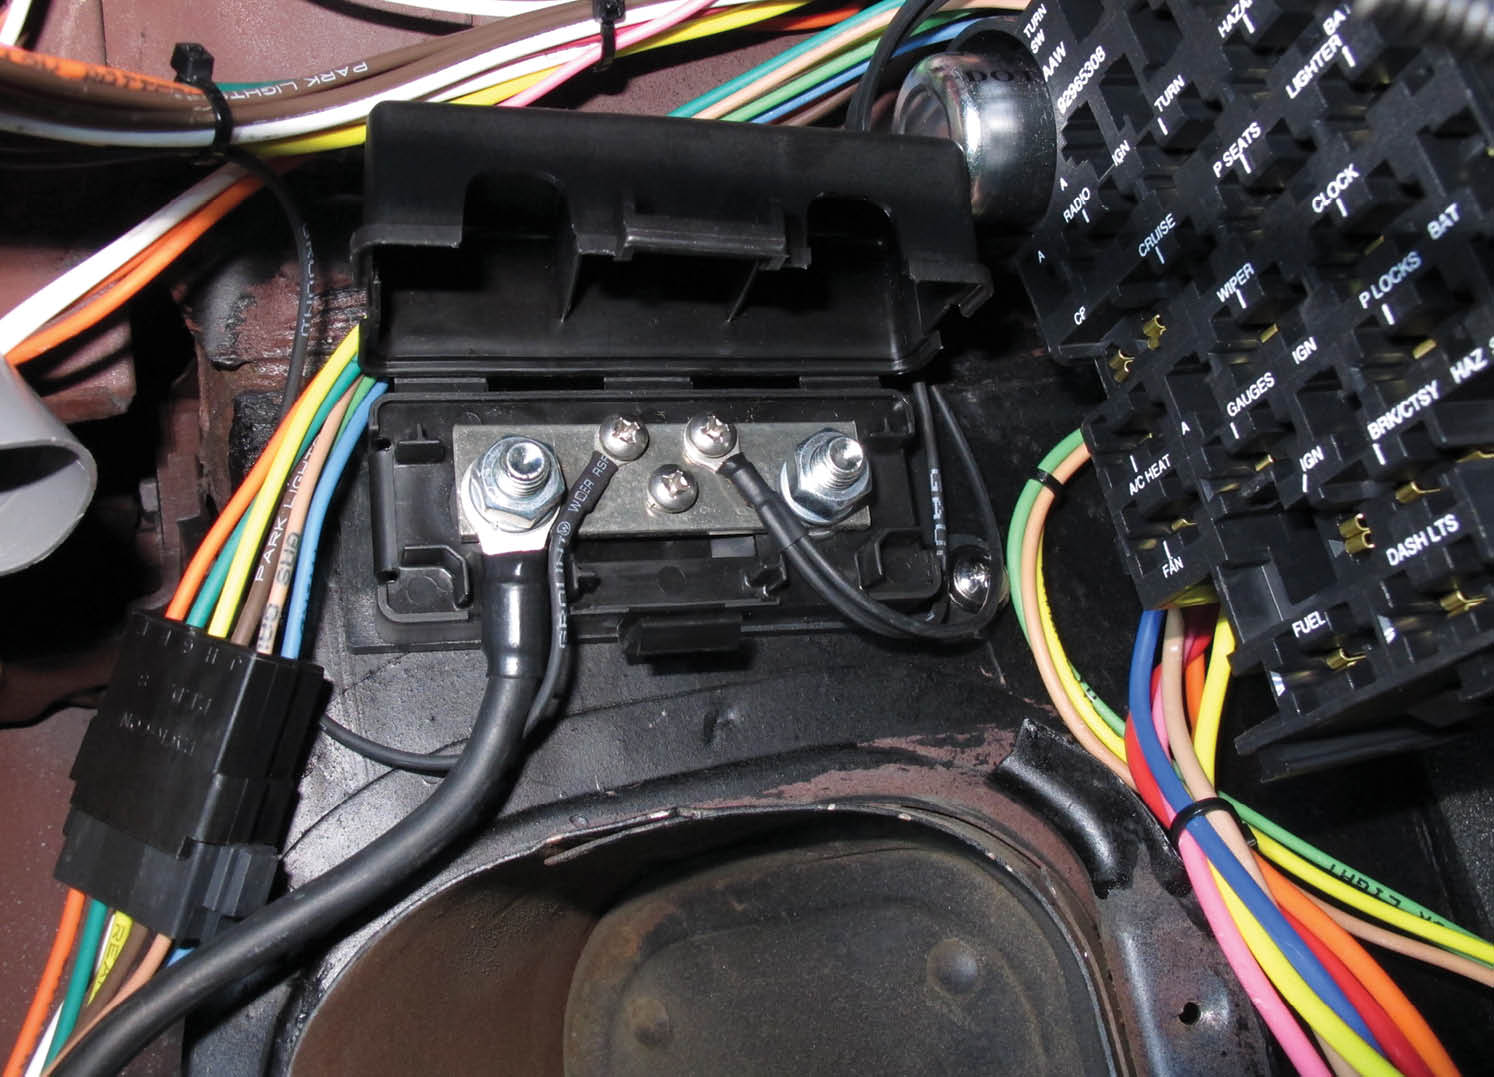
But before we can even worry about proper maintenance of the battery and charging system, we need to be sure that the system’s wiring and cables are properly sized, fabricated, and ran safely across the vehicle to further ensure the system’s reliability and performance. Long runs of battery and charging cables need to be sized properly, securely terminated, and properly protected. As lengths increase, so does diameter size to overcome the resulting resistance in said wire/cable. For example, a 10-gauge wire on a 30-amp circuit has an acceptable run of around 10 feet. Extend the run of that wire another 2 feet and the size requirement jumps to 8-gauge. The longer the wire, the more resistance in the wire, hence the larger size to make up the disparity. Now, this is based on a rough set of specifications related to wire temp and percentage of acceptable voltage drop. A wire that runs through the passenger compartment will see more moderate temps than one that runs from the engine compartment and alongside the exhaust, so other factors need to be considered as well, all based on individual circumstances. Like many things in the hot rod world, these are baselines and not hard and fast rules. Suffice it to say, when in doubt, run a larger-gauge wire.

Getting power to the component, however, is only half the battle. Once there, the current needs to pass through the load and make its way back to the source (the negative terminal on the battery) to complete the electrical circuit. That’s where the ground wire comes into play. Every component on your vehicle has a ground circuit, but some are more obvious than others. Many have a separate ground wire that will connect to either the steel body or chassis or directly back to the battery itself. Others may use a point of contact (housing, mounting screw, and so on) that connect the ground side of the circuit to the body/chassis. Regardless of how this circuit may be connected, they all need to route back to the battery without interruption. This is why it’s imperative to have clean grounding straps between the battery/frame, frame/body, frame/engine, and so on. In fact, it is even better to run a complete grounded circuit that all the components can attach to that doesn’t require a perfect bond between an eyelet connector and a painted/powdercoated chassis, for example. As we mentioned earlier, a number of modern components can be very sensitive to proper ground connections, especially when it comes to EFI sensors and other precision equipment, making the case for a good ground even more important.

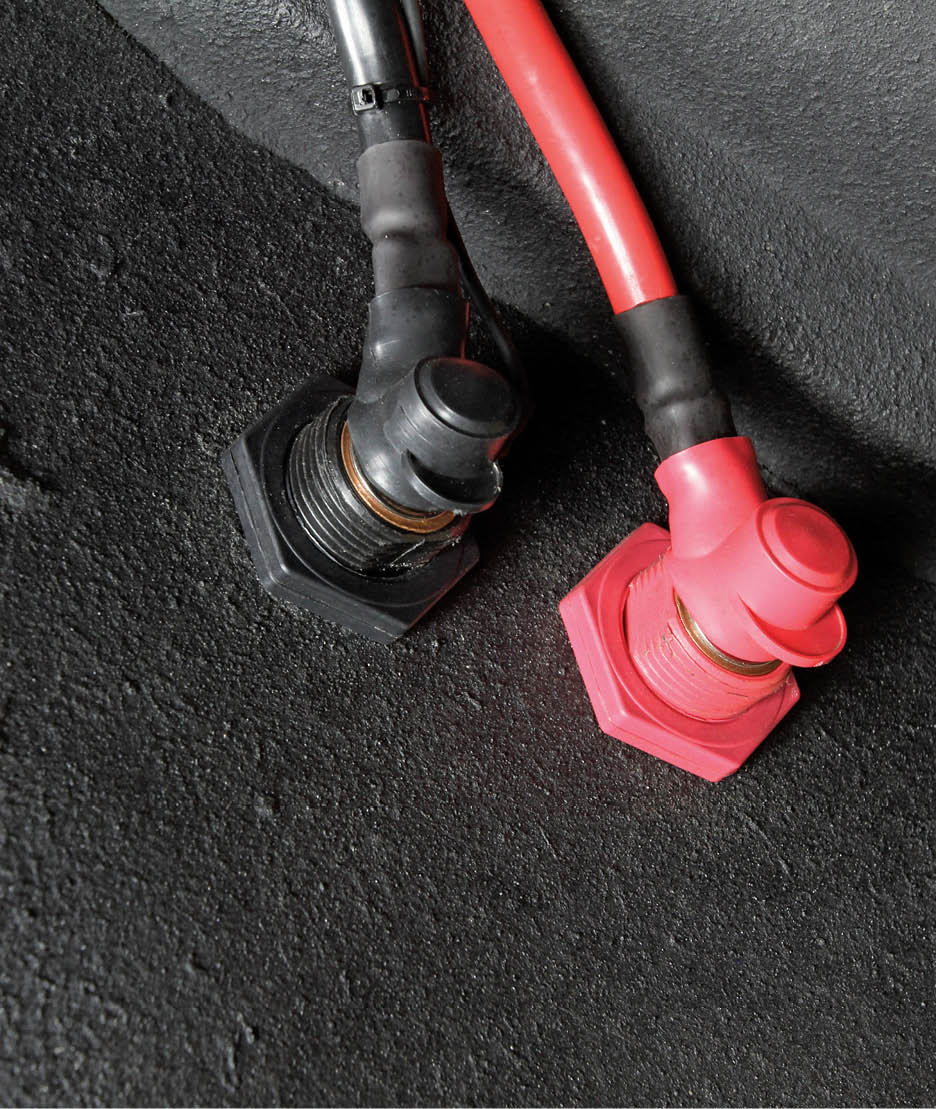
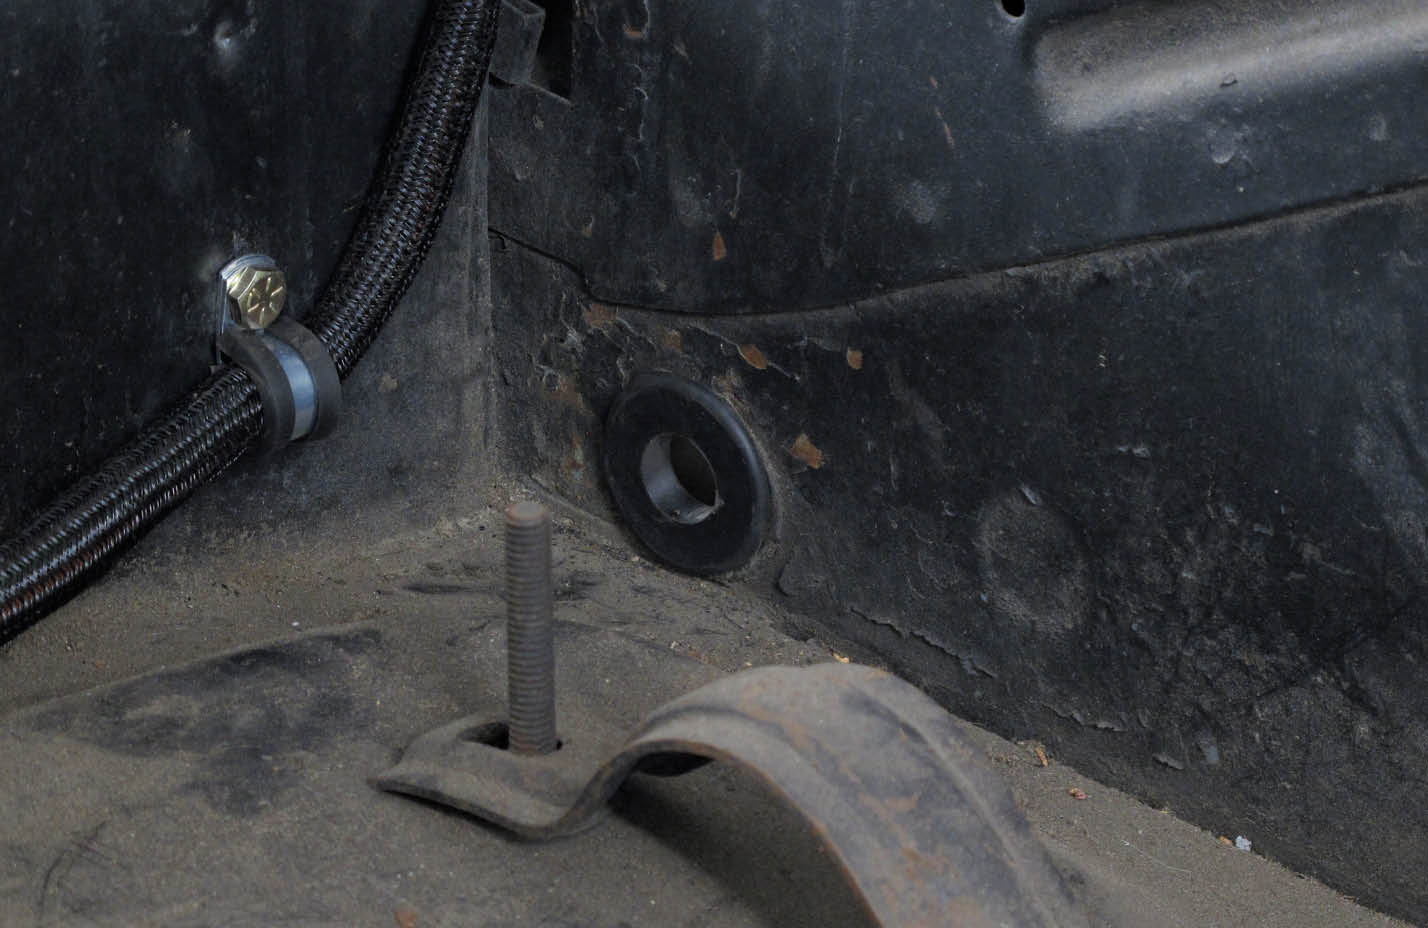
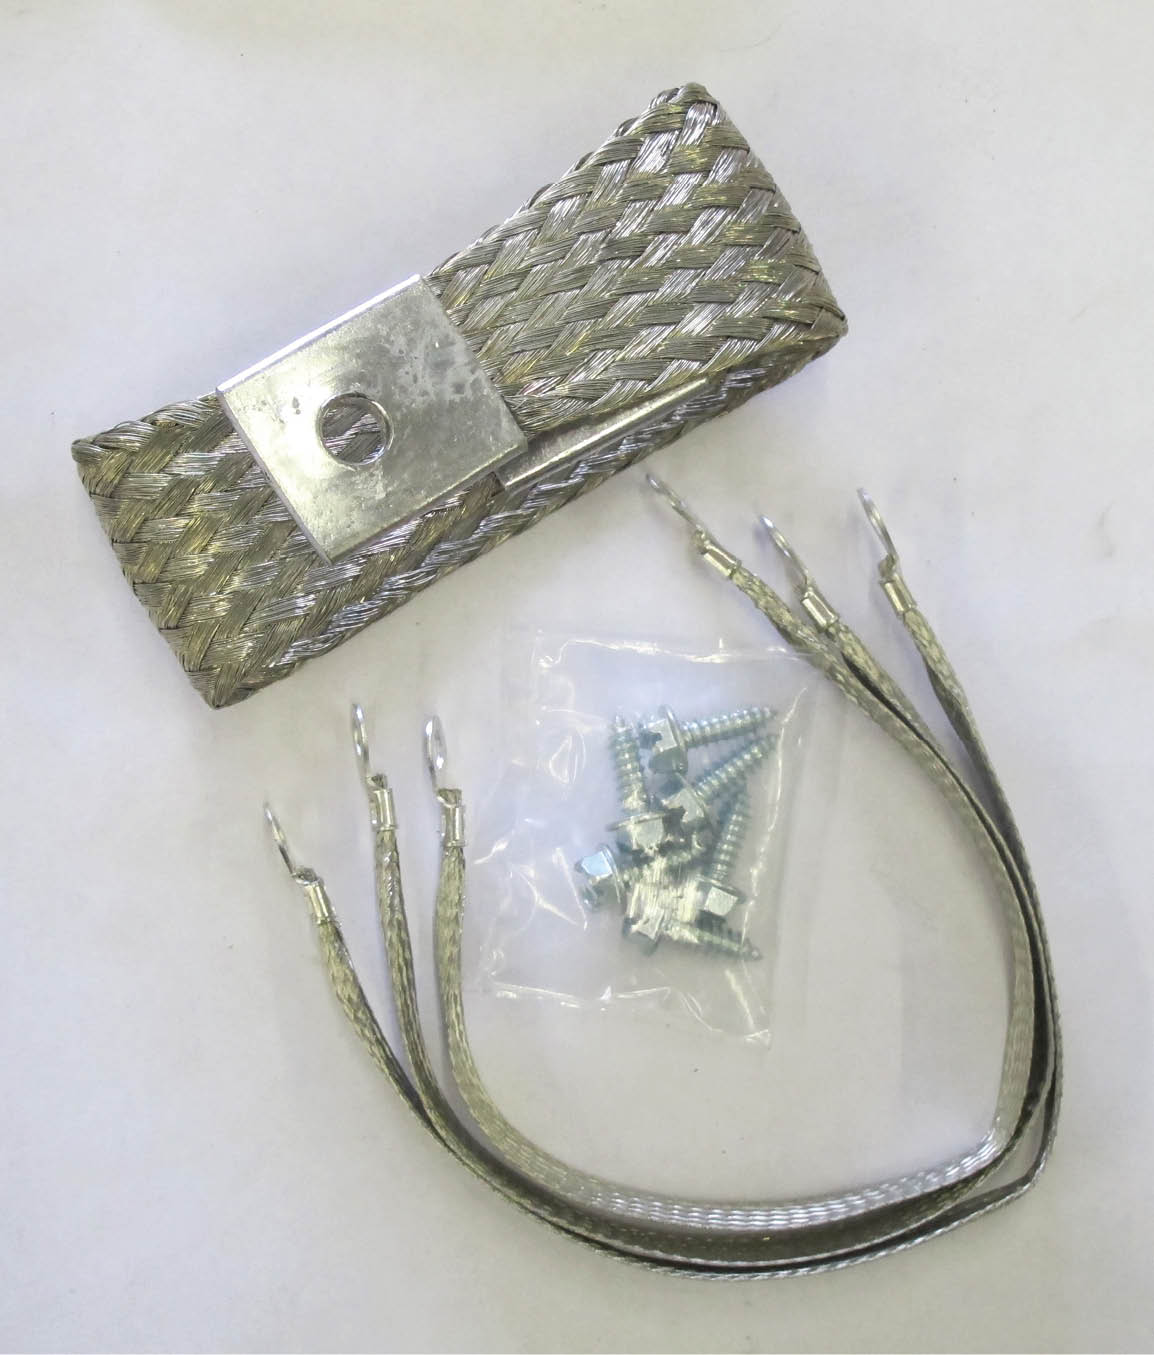
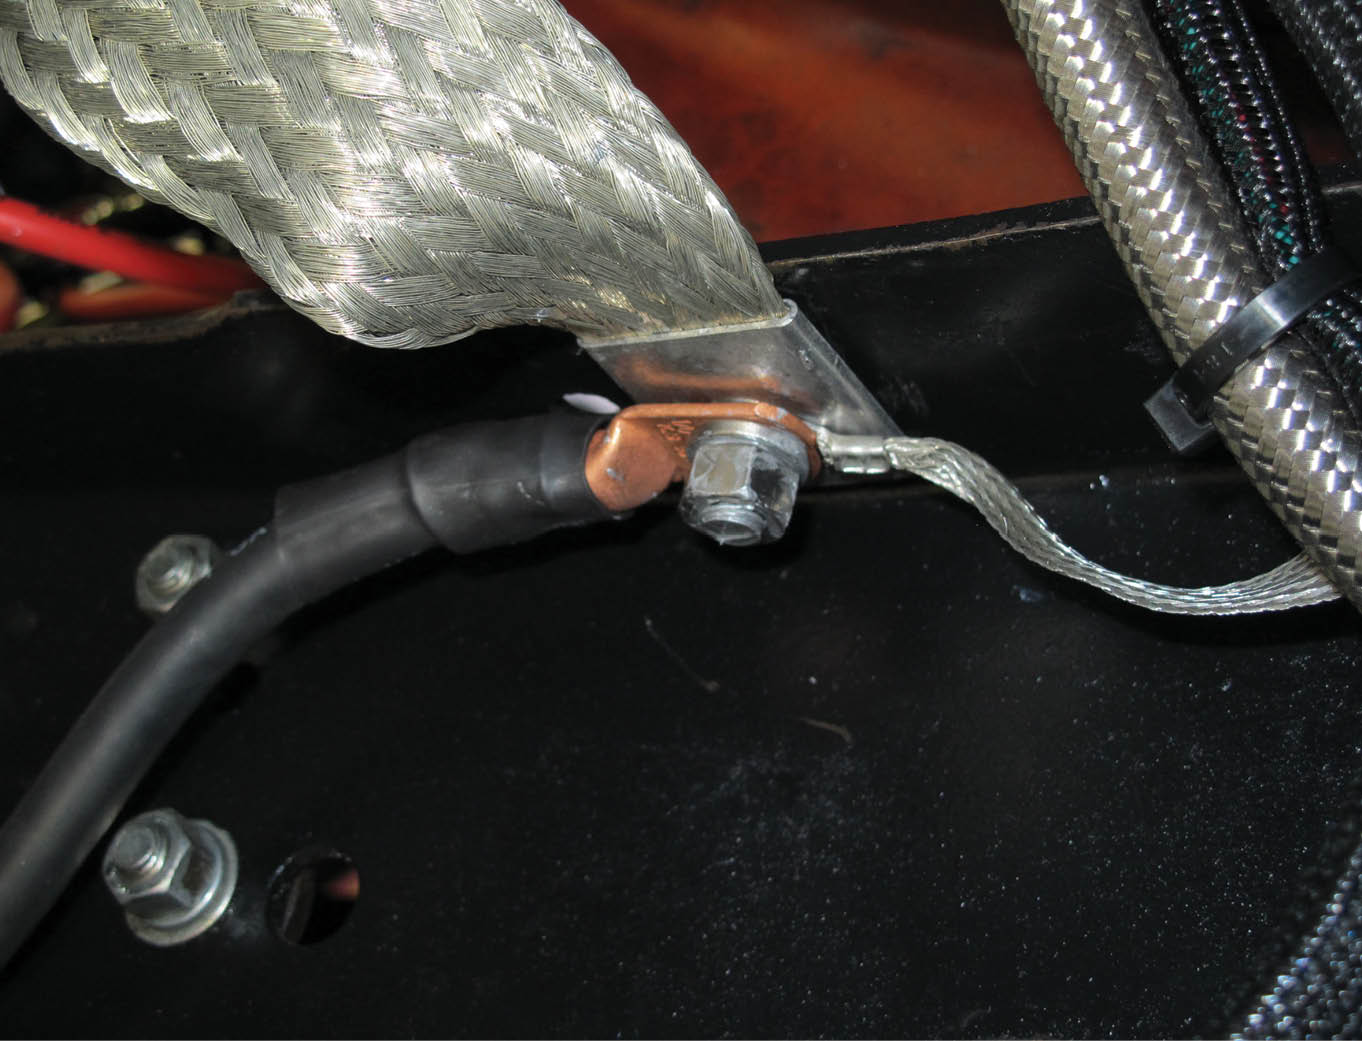
The foundation for that foolproof charging system comes down to a few simple points. Size the wire correctly and make clean, secure connections, including the grounding circuit. Do this and you should never find yourself stranded, at least not for lack of trying!

We replaced an old, tired box in a recently resurrected ’32 Ford roadster with a new Duralast Platinum AGM battery. The mounting location behind the seat made for limited options due to the size constraints, but we were still able to find a unit capable of 540 cranking amps in the relatively small Group 51R confines, thanks to the vast Duralast line.
2. We replaced an old, tired box in a recently resurrected ’32 Ford roadster with a new Duralast Platinum AGM battery. The mounting location behind the seat made for limited options due to the size constraints, but we were still able to find a unit capable of 540 cranking amps in the relatively small Group 51R confines, thanks to the vast Duralast line.
Properly sized battery and charging cables are very important to a reliable charging/power system. Here, we’ve made a set of 1/0-gauge wires to relocate a battery to the trunk area of a ’55 Chevy. These cables will run from the battery, to a remote disconnect solenoid, and then onto the starter.
3. Properly sized battery and charging cables are very important to a reliable charging/power system. Here, we’ve made a set of 1/0-gauge wires to relocate a battery to the trunk area of a ’55 Chevy. These cables will run from the battery, to a remote disconnect solenoid, and then onto the starter.
Making custom battery and charging cables isn’t difficult, given the proper tools. Here, we’re using a Battery Cable End Crimper from Summit Racing (PN KYS-10068859) to assemble the previous set of cables. Good connectors, a solid crimp, and protective heat shrink tubing is the key.
4. Making custom battery and charging cables isn’t difficult, given the proper tools. Here, we’re using a Battery Cable End Crimper from Summit Racing (PN KYS-10068859) to assemble the previous set of cables. Good connectors, a solid crimp, and protective heat shrink tubing is the key.
Proper protection of the various circuits, be it to/from the alternator or the fuse panel, is good practice. Here, a 200-amp midi fuse will be used between the battery and the alternator/fuse panel feed.
5. Proper protection of the various circuits, be it to/from the alternator or the fuse panel, is good practice. Here, a 200-amp midi fuse will be used between the battery and the alternator/fuse panel feed.
Routing big battery cables through sheetmetal panels can be a tricky affair but can be done safely by using bulkhead connectors such as these items from Summit Racing (PN SUM-CSUMG1431).
6. Routing big battery cables through sheetmetal panels can be a tricky affair but can be done safely by using bulkhead connectors such as these items from Summit Racing (PN SUM-CSUMG1431).
Of course, if it can’t be done using that method, use of a grommet to protect the wire is a must.
7. Of course, if it can’t be done using that method, use of a grommet to protect the wire is a must.
cables with insulated clamps
routed cables
8-9. Down the framerail, proper support of both cables is a must using insulated clamps, routed as such that they can’t risk rubbing against anything and are well clear of any potential heat source.
Good grounds are absolutely a necessity and this engine/body ground strap kit from Painless Performance Products (PN 40140) is a perfect start to linking all the components back to the ground side of the battery.
10. Good grounds are absolutely a necessity and this engine/body ground strap kit from Painless Performance Products (PN 40140) is a perfect start to linking all the components back to the ground side of the battery.
Here, the main ground going back to the battery is on the left and connects to the body grounding wire at right and the engine grounding strap, all while attaching firmly to the chassis.
11. Here, the main ground going back to the battery is on the left and connects to the body grounding wire at right and the engine grounding strap, all while attaching firmly to the chassis.
Taking the grounding game further, American Autowire offers an All-Copper Grounding Kit (PN 500717) that eliminates the reliance on the chassis as a grounding component and effectively links all the components in the wiring system together and directly to the battery for a trouble-free grounding system.
12. Taking the grounding game further, American Autowire offers an All-Copper Grounding Kit (PN 500717) that eliminates the reliance on the chassis as a grounding component and effectively links all the components in the wiring system together and directly to the battery for a trouble-free grounding system.
finished battery placement
13. The goal of all this is to develop a battery/charging system that provides all the power possible to run all those components successfully and reliably. The alternator being a big part in this system, it’s imperative that the wiring for the alternator is not undersized for not only the positive side of things but for the grounding side as well. A Powermaster Performance alternator has been equipped with two 4GA wires, one on the positive side (with the boot) and one on the negative side (at the stud). The addition of a proper ground wire can increase the alternator’s output and performance, but it must be sized accordingly (i.e., same as the positive cable).
SOURCES
American Autowire
(800) 482-9473
americanautowire.com
Clampdown Competition
clampdowncomp.com
Painless Performance Products
(800) 423-9696
painlessperformance.com
Powermaster Performance
(630) 957-4019
powermastermotorsports.com
Summit Racing
(800) 230-3030
summitracing.com
Modern Rodding
VOLUME 4 • ISSUE 39 • 2023