Modern Rodding TECH

InTheGarageMedia.com

Close-up landscape photograph perspective of an auto body shop mechanic man using the small color sanding grit paper square padding object with his hand to apply it onto the black painted surface part of a vintage vehicle
1. There is no shortcut to prepping a body for paint … time, effort, and attention will lead to great results you can achieve with a little pre-planning.
Sand & Deliver
Part 2: Paying for Paint Prep Feeling Like Highway Robbery? Here’s How.
By Chris Shelton Photography by Brian Brennan
I

f you’re reading this, chances are you read the first entry of this two-part series in the Nov. ’23 issue. And if you read that, you probably got a little miffed that we cut off smack-dab in the middle of the process required to take a body from straight to perfect. But you know … space limitations and all.

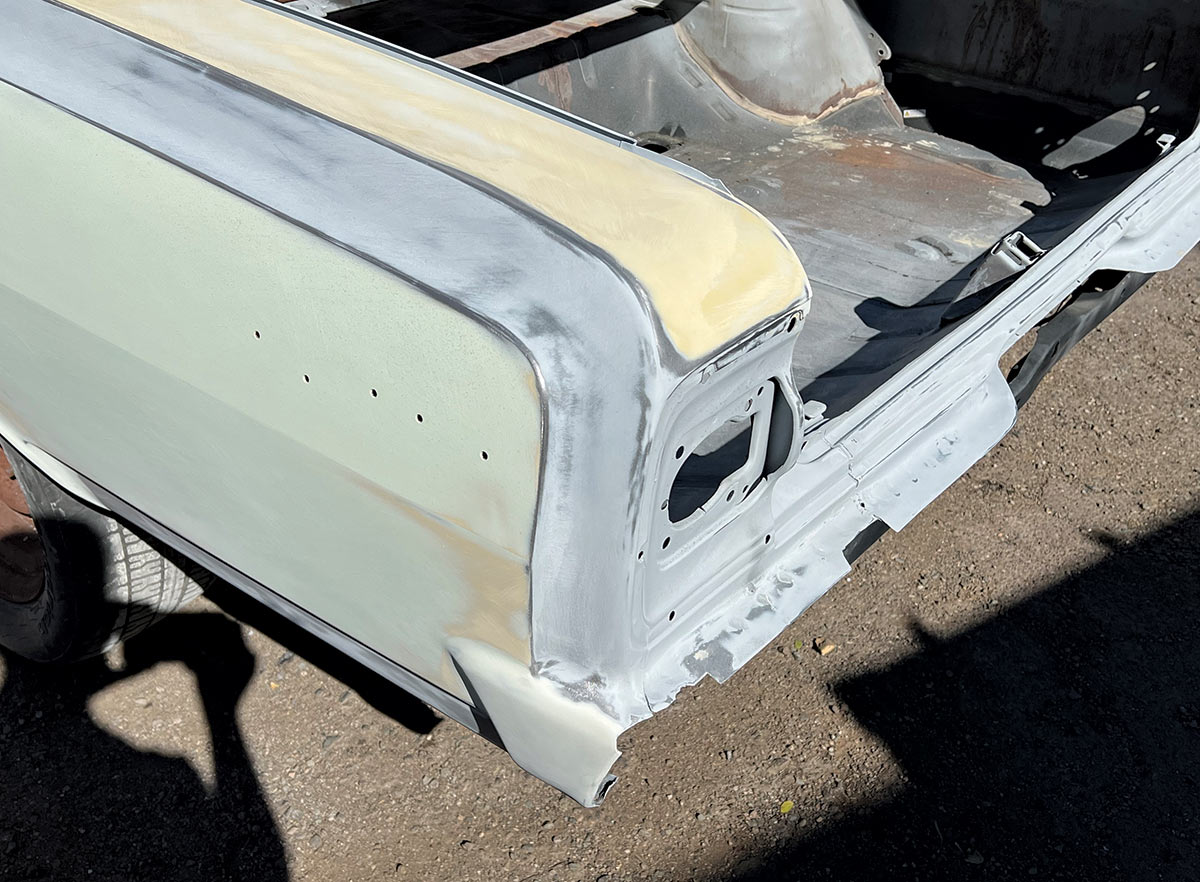
Just like the real world of sanding, this month is more of the same. But we’re projecting beyond where most sanding stories end. Instead of closing at paint, we’re following through the post-production phase.

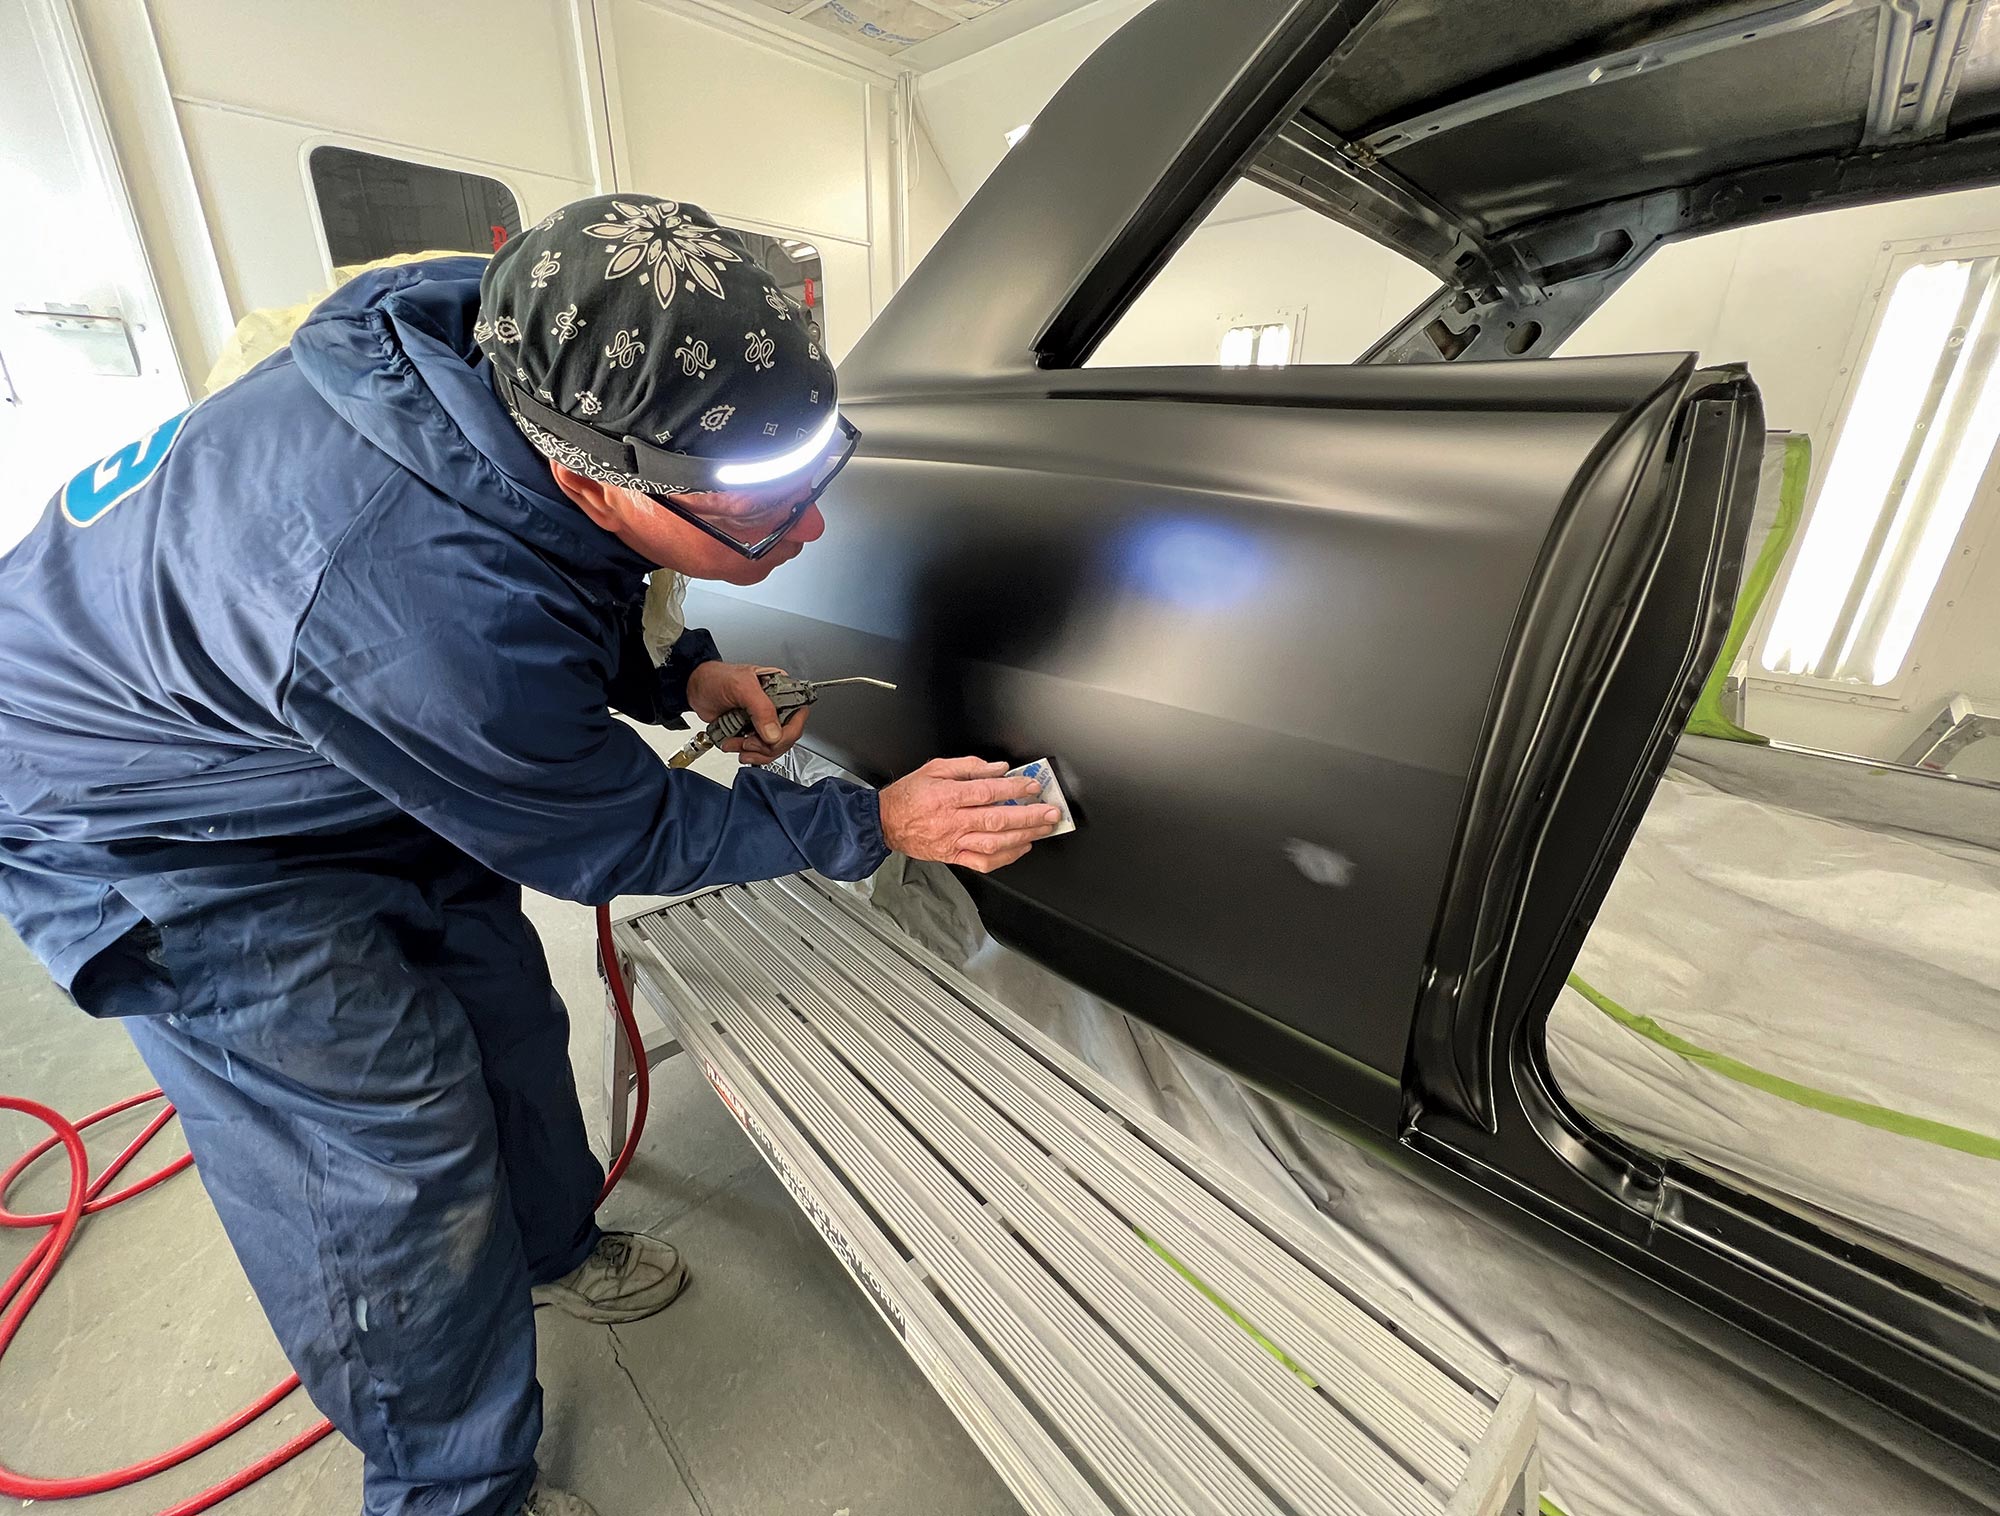
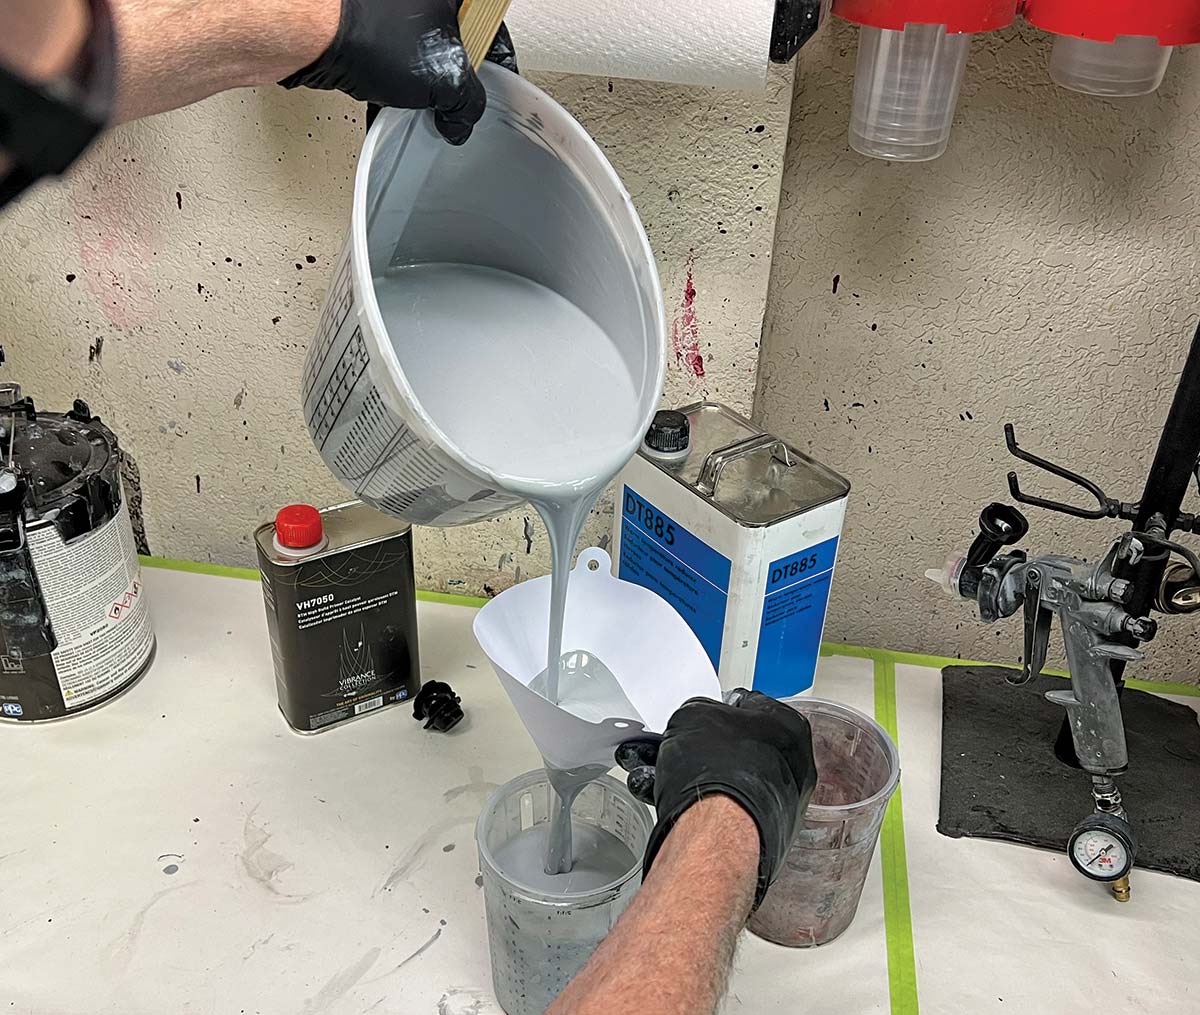
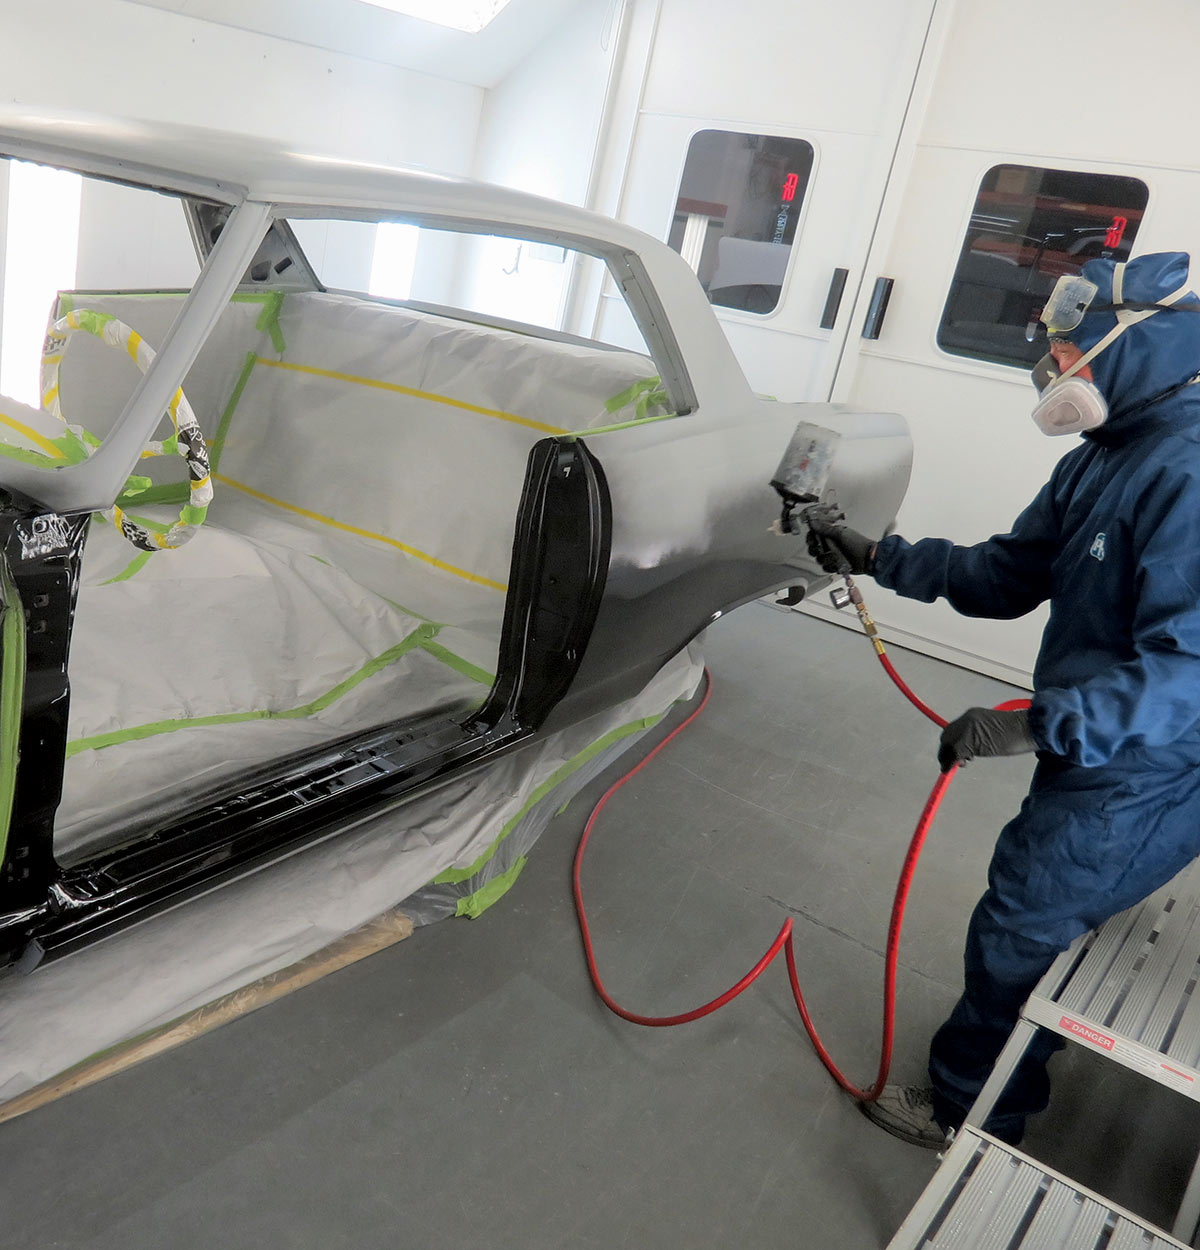
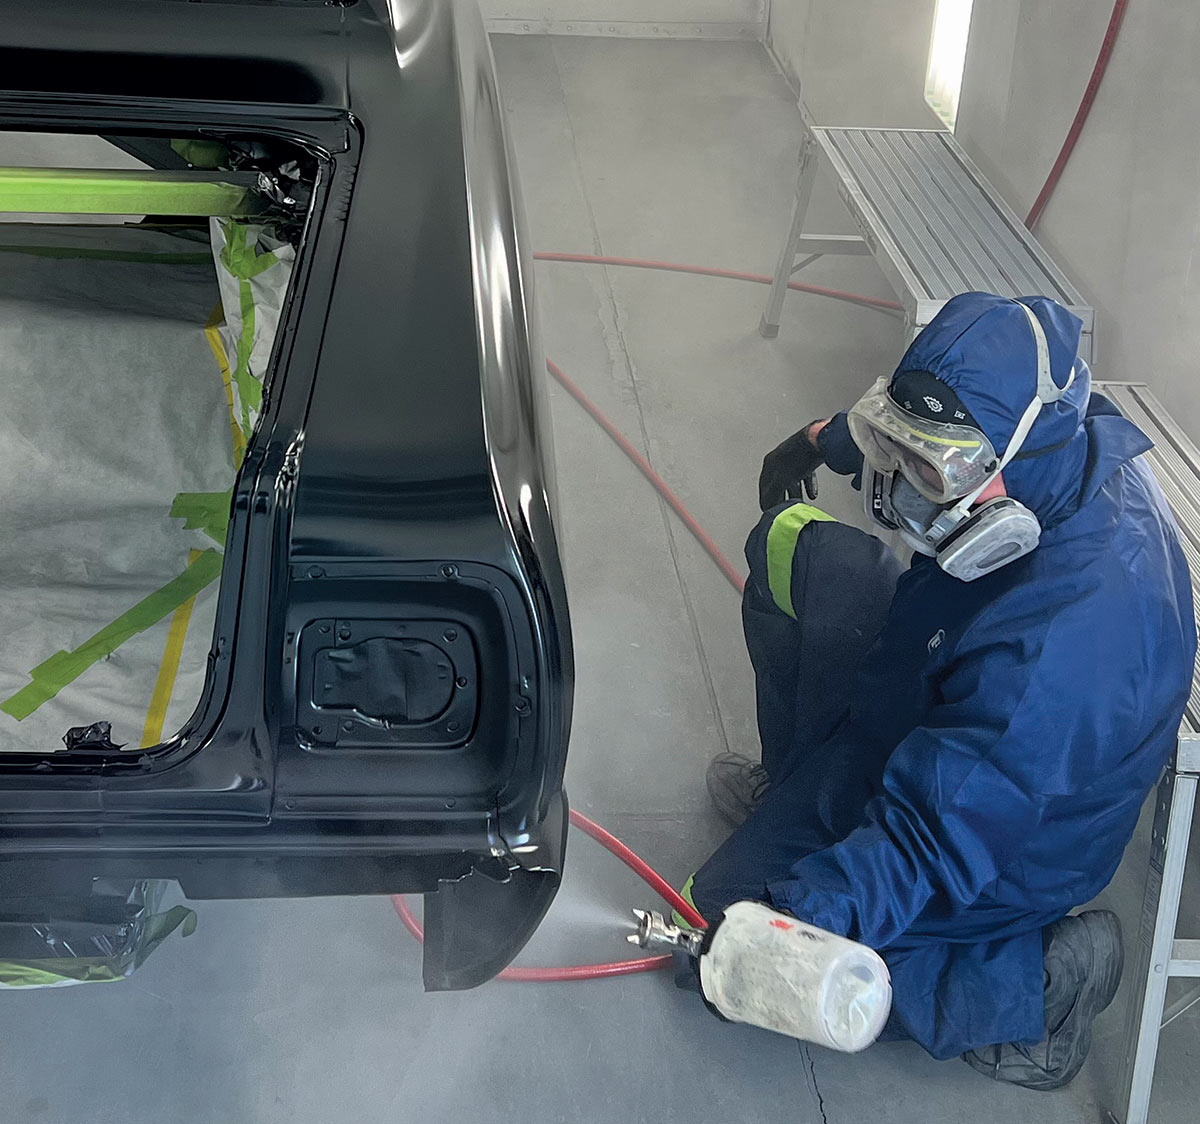
With technology available today, it’s possible to create a glassy, wet-look finish right out of a gun. But as good as a gun finish can look, it can be better—a whole lot better.

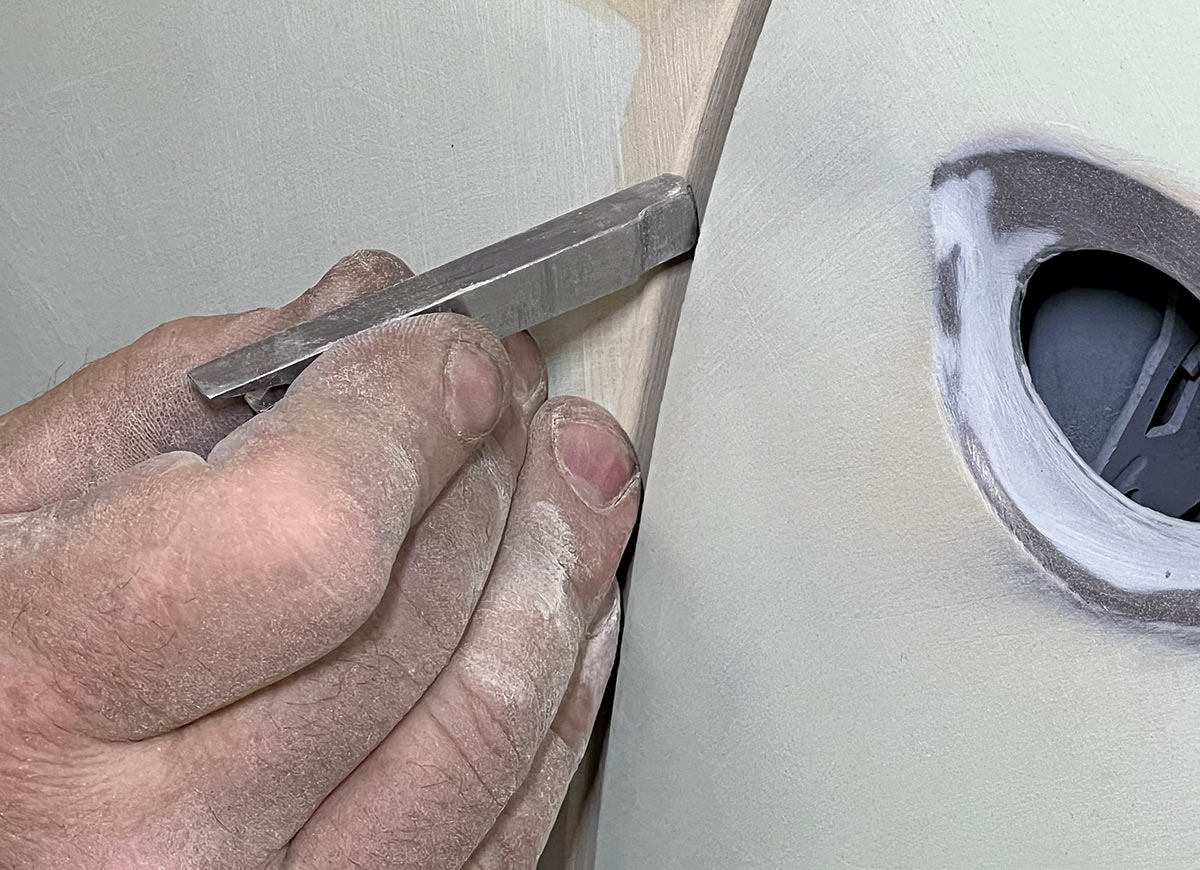
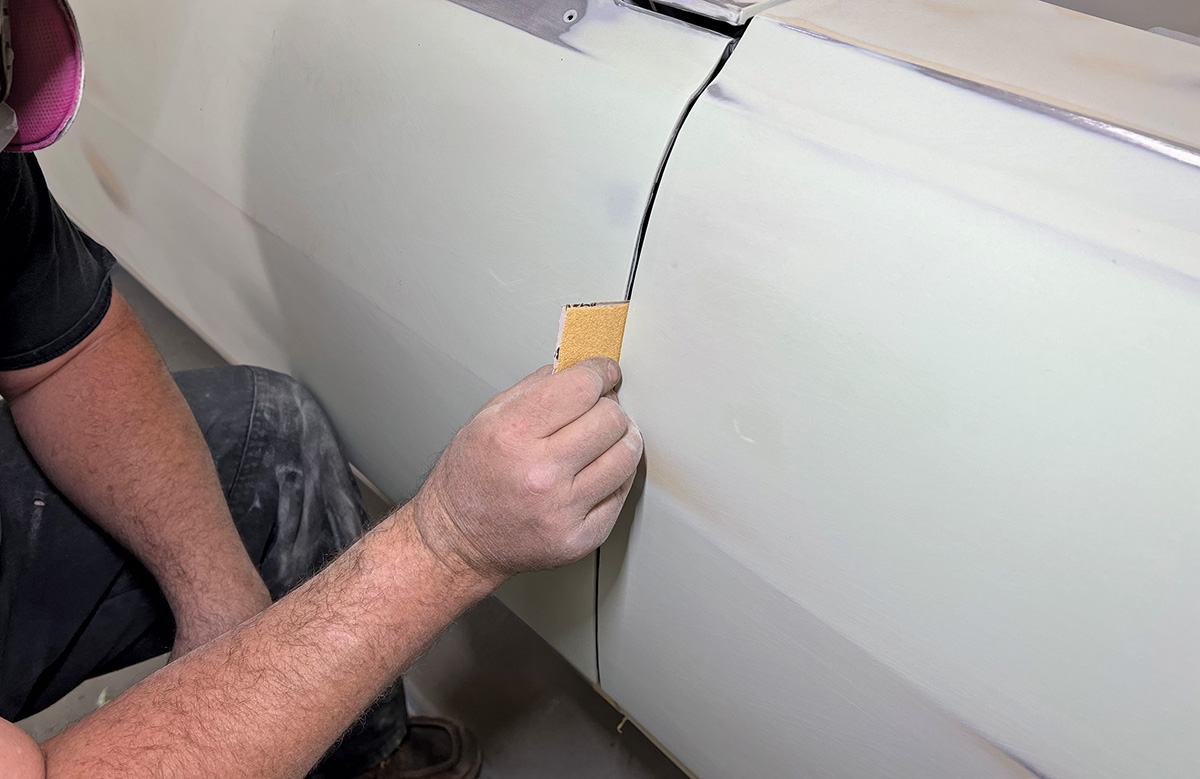
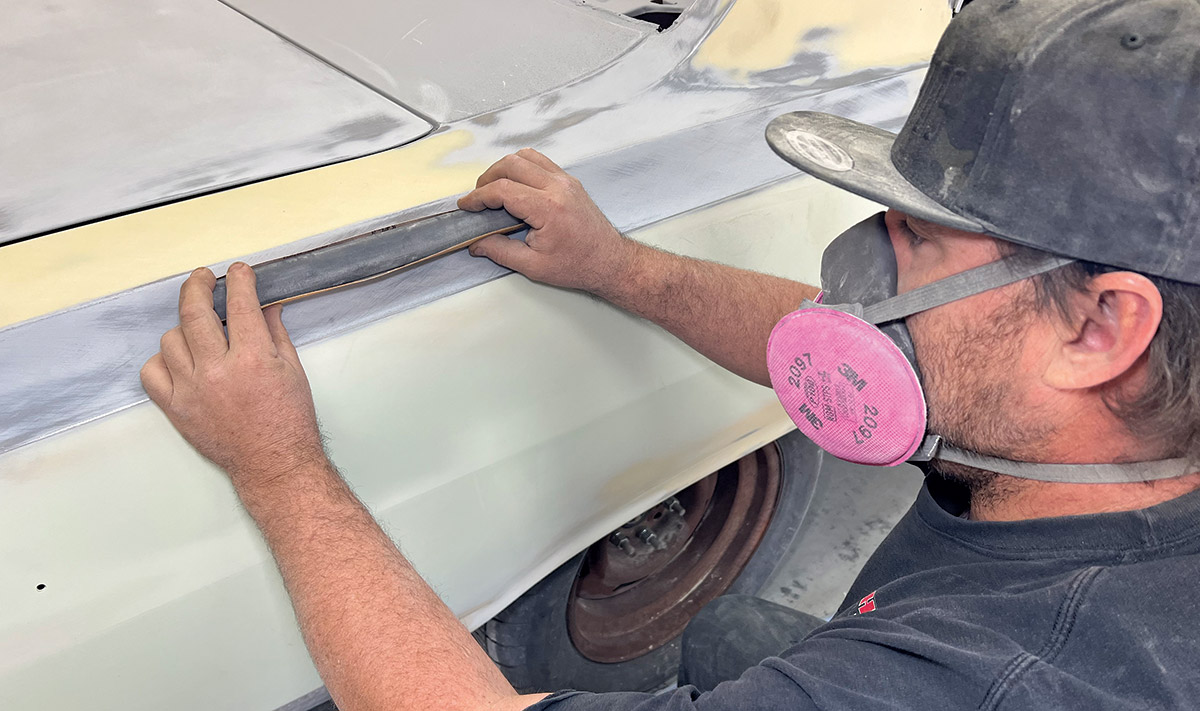
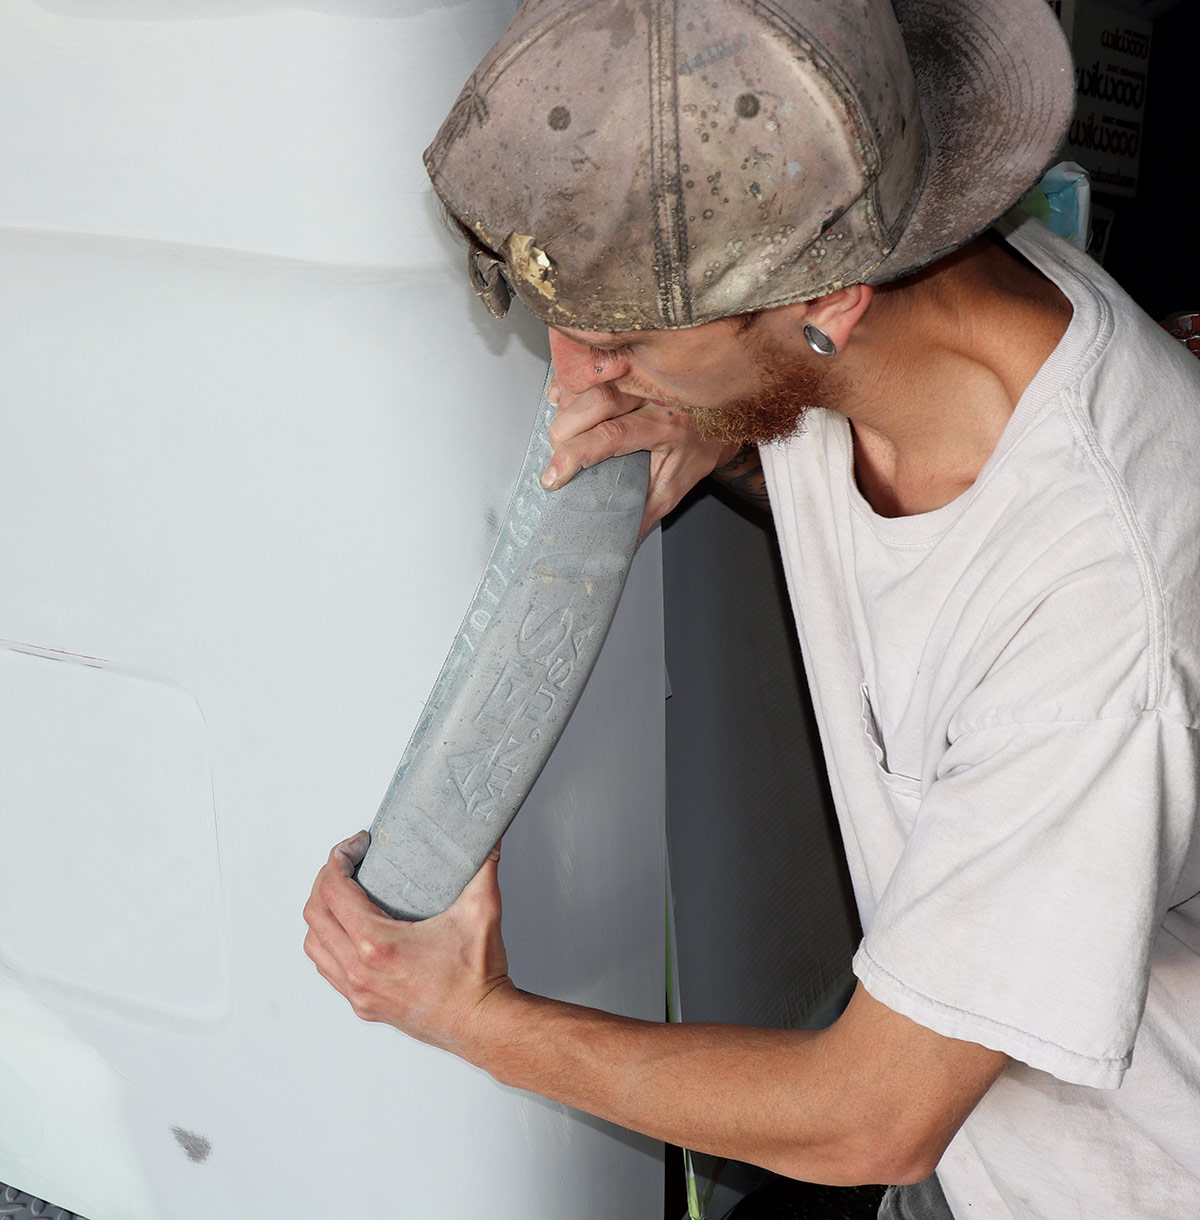
No matter how good a finish lays out, it will always have flaws. They might be barely perceptible, but they’re there. These are the bulges at seams and edges, steps caused by tape lines in graphics, the light ripples across an otherwise-flat surface, and even nibs caused by that one speck of dust left in the booth.

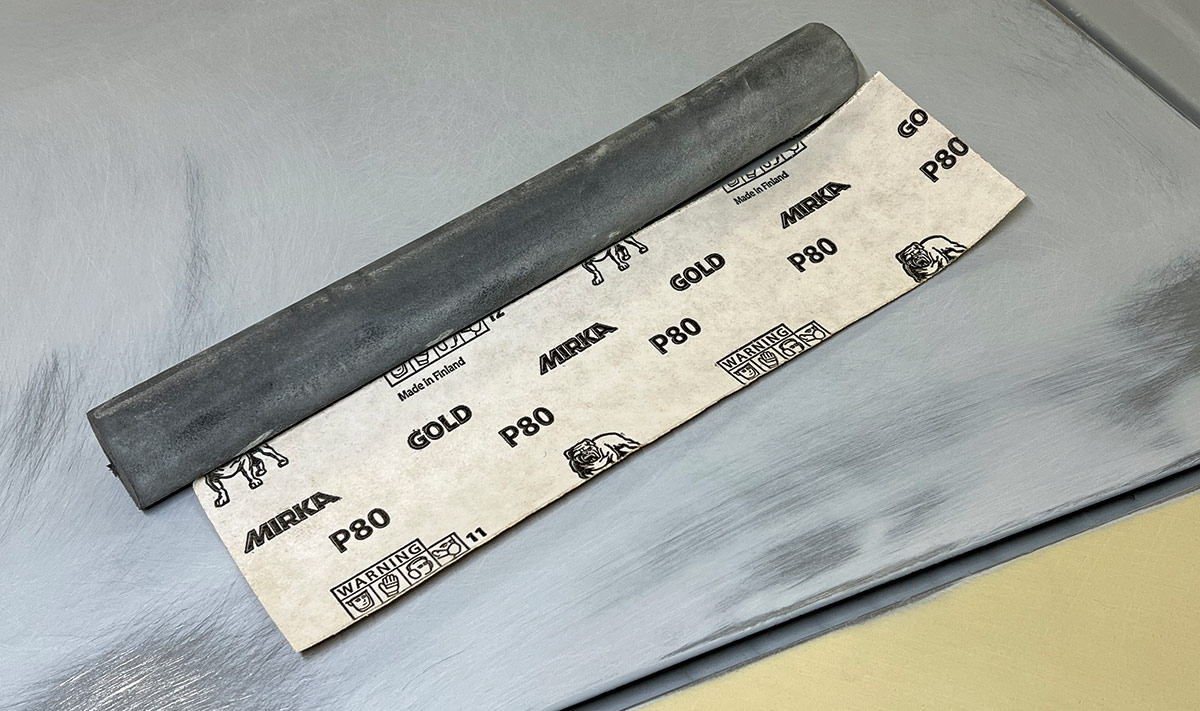
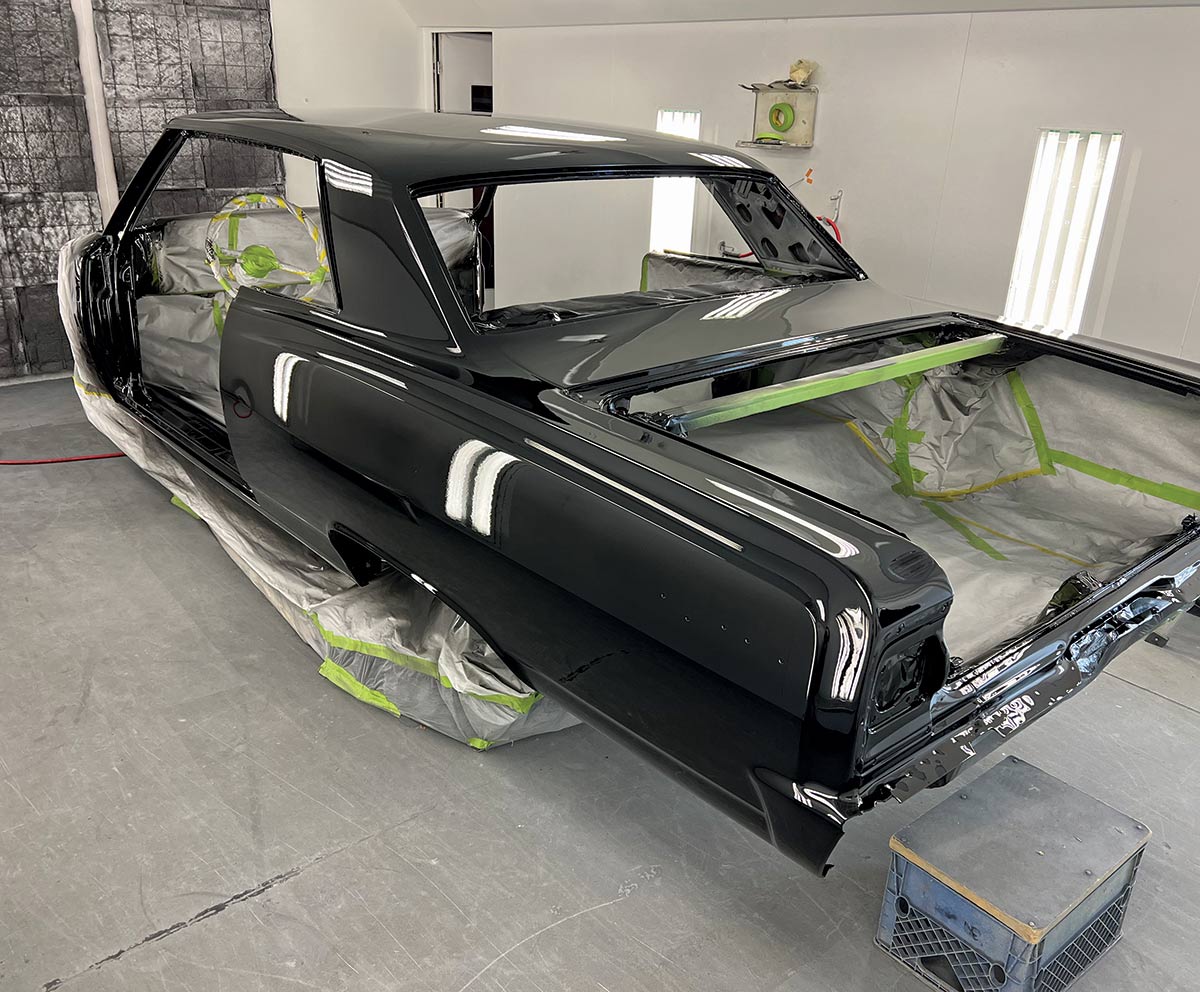
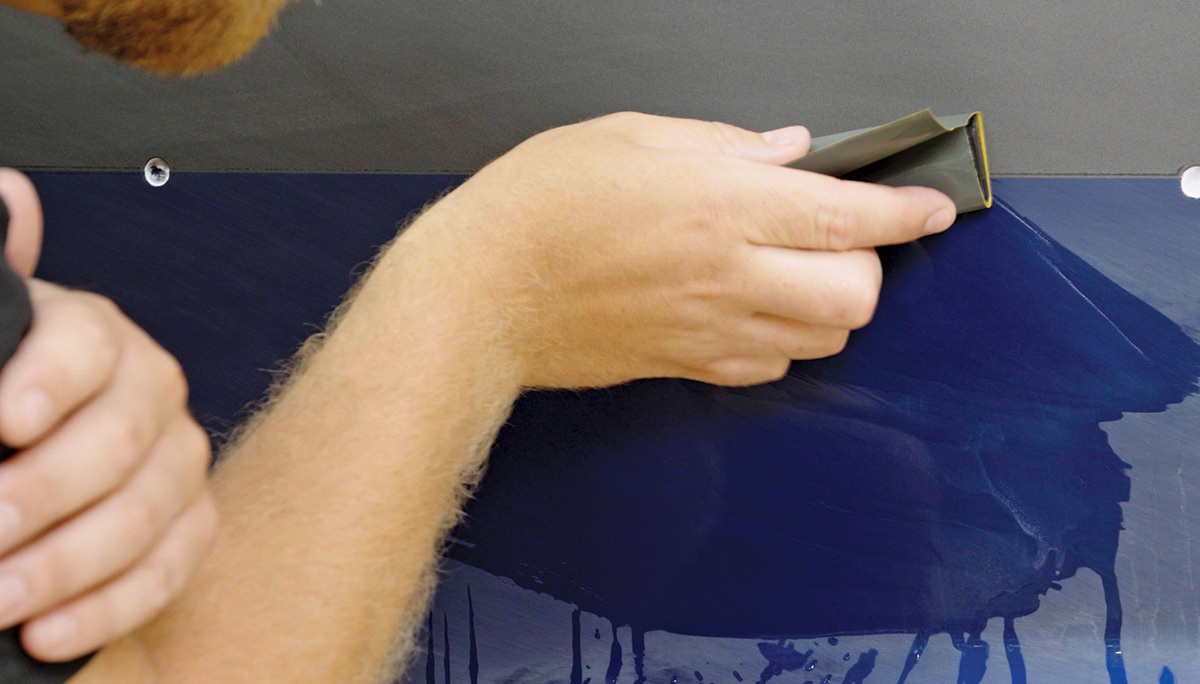
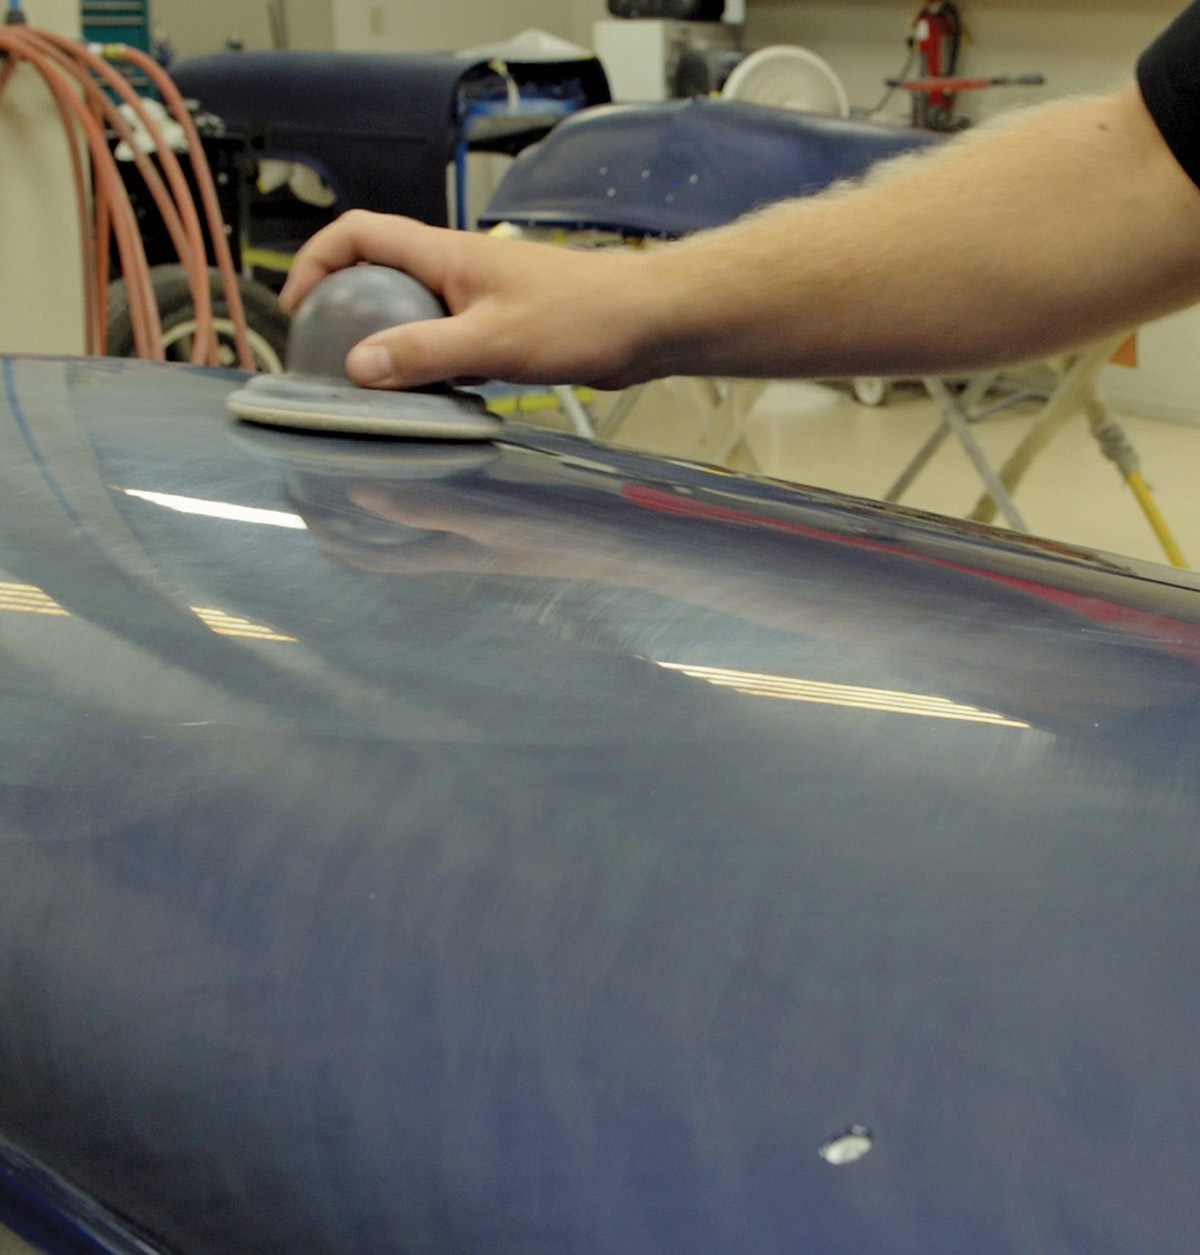
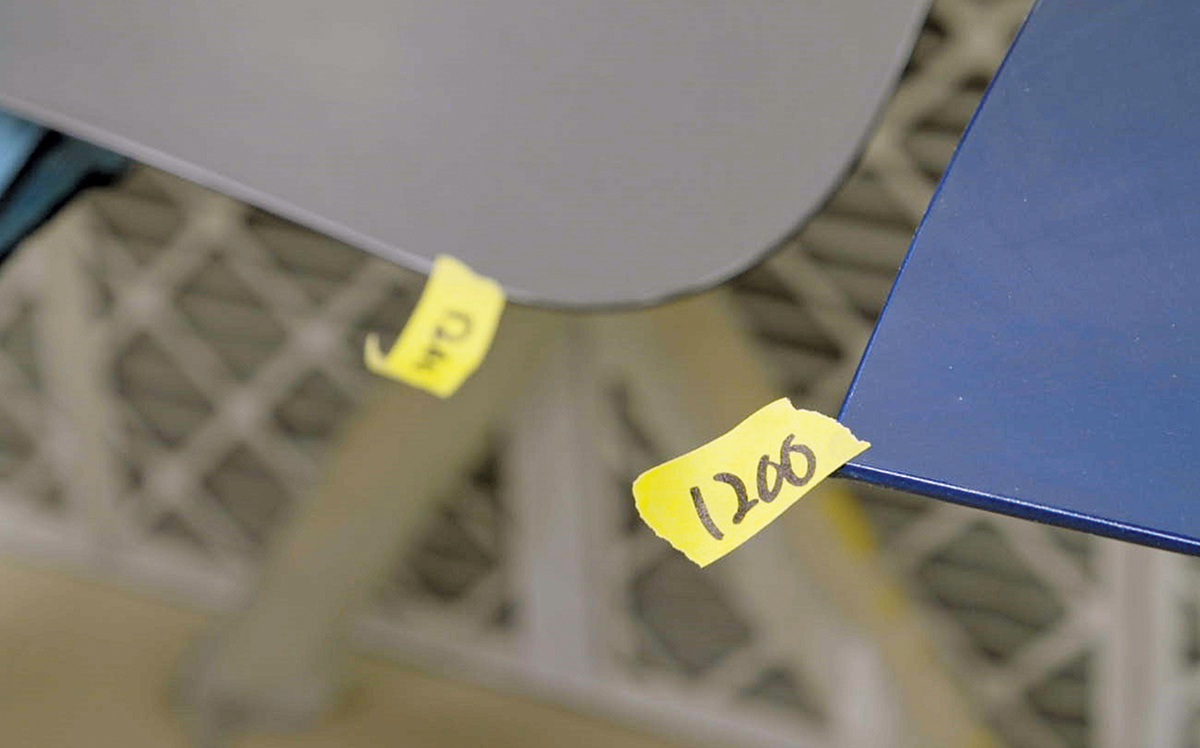
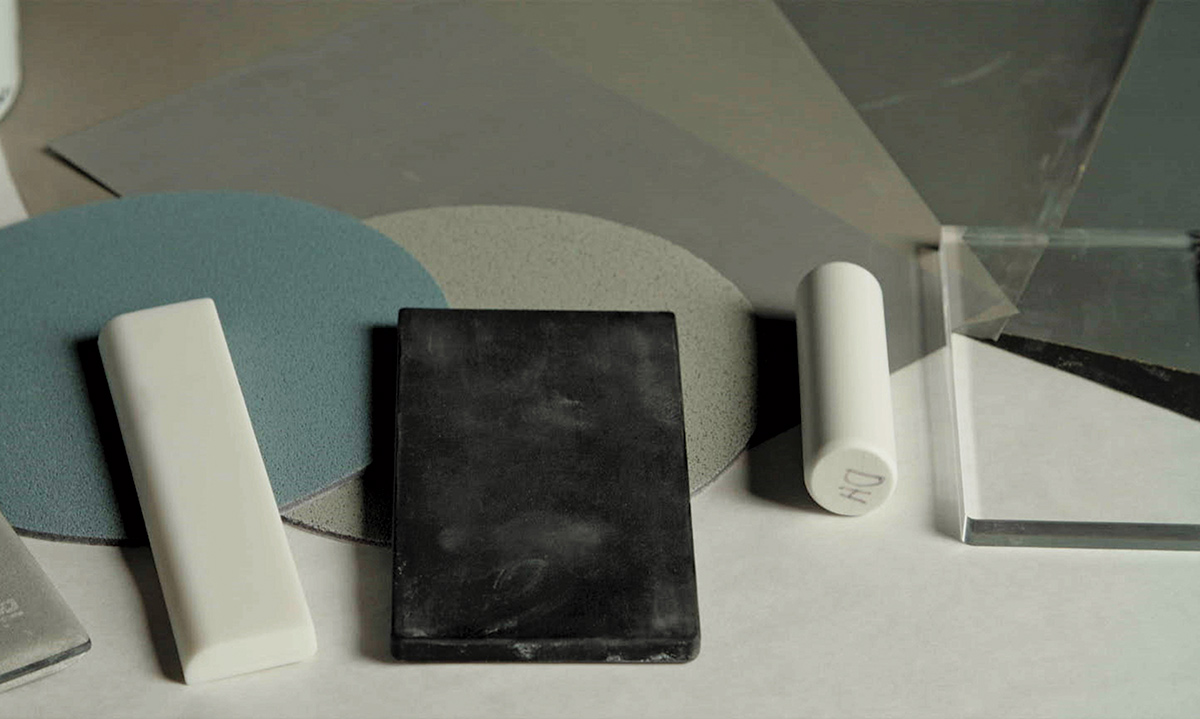
Part of what differentiates the finishes produced by masters like Charley Hutton, Alloway’s Hot Rod Shop, Darryl Hollenbeck, and Zane Cullen is the work they put in after the paint dries—and by work we mean more sanding. The grits differ but the process remains basically the same: remove anything that interrupts a smooth, consistent finish. Color sanding eliminates flaws/imperfections, just on a much finer scale. Where we drew the line, though, is at the polishing stage. That’s its own subject.

It may take a trained eye to spot the flaws that we can eliminate by sanding. But the training is well worth it. From across a parking lot, even a rank amateur can tell the difference in the finished product. And it’s those little differences that really matter.

Close-up landscape photograph perspective of a person's fingers covered in sprinkles of sand as the individual is using a small metal tool to polish in between a gap area piece of wood
2. After sanding the panels flat, tune up the gaps among them. Don’t bother with a measuring tape. Instead, grind the end of some bar stock and use it as a go/no-go gauge.
Close-up landscape photograph perspective of a person's hand covered in sprinkles of sand as the individual is holding a small 80-grit sand paper object
3. The technology for tuning gaps is remarkably simple: Wrap a bit of 80-grit paper around a piece of 1/8-inch flat stock. This is another great application for paint stir sticks.
Close-up landscape photograph perspective of a person's hand covered in sprinkles of sand as the individual is applying the small 80-grit sand paper object to polish in between a gap area piece of wood on the cream colored paint of a vintage vehicle
4. Fine-tune the panel gaps around the body. Work slowly and patiently: Thin strips of filler practically disappear under even the lightest pressure.
Close-up landscape photograph perspective of a small 11-inch round Dura-Block sand paper object
5. Concave shapes require convex blocking tools. Here’s an 11-inch round Dura-Block.
Close-up landscape photograph perspective of a man in a hat and gas mask covered around his nose and mouth using his hands to sand diagonally to the 11-inch round Dura-Block’s shape to prevent that narrow contact band from cutting a groove in the filler of the surface paint of a vintage vehicle
6. The block has a tighter radius than this cove, which concentrates pressure along a very narrow ridge. That would dig grooves in the panel if sanding parallel to the block’s shape. But sanding diagonally to the block’s shape prevents that narrow contact band from cutting a groove in the filler.
Close-up portrait photograph perspective of Tate Radford (Radford Auto) sanding diagonal to the shape of the block, which works out to purely vertical sanding strokes; Flipping the block to the inverse angle (the top toward the left and the bottom toward the right at the same angle) lets Radford sand toward the bottom of the cab corner
7. Convex surfaces present special challenges. Hard blocks increase the paper’s tendency to cut flats in the surface. That’s where very flexible blocks come in handy. Here Tate Radford (Radford Auto) sands diagonal to the shape of the block, which works out to purely vertical sanding strokes. Flipping the block to the inverse angle (the top toward the left and the bottom toward the right at the same angle) lets Radford sand toward the bottom of the cab corner.
Close-up rear landscape photograph perspective of the remaining filler emerging out so thin that it fades away entirely in spots of the paint surface of a vintage vehicle; The thickest filler in these panels is probably around 1/16 inch; the majority is probably around 1/32 inch.
8. The remaining filler emerges out so thin that it fades away entirely in spots. The thickest filler in these panels is probably around 1/16 inch; the majority is probably around 1/32 inch.
Close-up landscape photograph perspective of a person's hands pouring grey paint (primers like PPG’s high-build VP2050) into a bucket
9. At this point, the surfaces are incredibly straight but rough due to the 80-grit paper. Sanding with a finer grit jeopardizes the surface you worked so hard to establish. Build up those surfaces with primers like PPG’s high-build VP2050. Think of it as a sprayable filler that lays out just thick enough to fill sanding scratches.
Close-up landscape photograph perspective of Ken “Spike” Ackman blowing off the body of the vintage vehicle and masking it as shown in the Nov. ’23 issue; Then he ran a tack cloth over every surface. These differ from regular towels in their complete absence of oils or waxes, and their anti-static properties remove the charge that keeps dust from sticking to panels.
10. Ken “Spike” Ackman blew off the body and masked it as we showed in the Nov. ’23 issue. Then he ran a tack cloth over every surface. These differ from regular towels in their complete absence of oils or waxes, and their anti-static properties remove the charge that keeps dust from sticking to panels.
Close-up portrait photograph perspective of a man in a white hazmat jump suit painting a vintage vehicle through reducing and catalyzing with PPG DT885 and VH7050 and shot the body; It doesn’t interfere with the panel’s shape, but it leaves a texture of its own. The VP2050 can be topcoated after an hour without any other preparation, but if left to sit for four days sand with 320-grit paper.
11. He reduced and catalyzed with PPG DT885 and VH7050 and shot the body. It doesn’t interfere with the panel’s shape, but it leaves a texture of its own. The VP2050 can be topcoated after an hour without any other preparation, but if left to sit for four days sand with 320-grit paper.
Close-up portrait photograph perspective of a man in a dark blue hazmat jump suit painting a vintage vehicle through spiking then sealing the paint surface of a vintage vehicle to prevent the subsequent finishes from attacking the underlying products; To improve coverage, choose PPG’s NCS2005 sealer close to the paint’s color (in this case black). It was then followed up with DMD1683 black basecoat.
12. Spike then sealed the surface to prevent the subsequent finishes from attacking the underlying products. To improve coverage, choose PPG’s NCS2005 sealer close to the paint’s color (in this case black). He followed that with DMD1683 black basecoat.
Close-up portrait photograph perspective of a man in a dark blue hazmat jump suit shooting multiple coats of PPG DCU2021 urethane clear by building up a layer thicker than required for production use onto the painted surface of a vintage vehicle
13. Over that, Spike shot multiple coats of PPG DCU2021 urethane clear. He built up a layer thicker than required for production use.
Close-up portrait photograph perspective of a body of a vintage vehicle; The body emerged incredibly straight and shiny. But a panel sprayed with the best materials and practices will still bear very minor surface flaws. Bobby Alloway refers to these bumps and ripples as fat.
14. The body emerged incredibly straight and shiny. But a panel sprayed with the best materials and practices will still bear very minor surface flaws. Bobby Alloway refers to these bumps and ripples as fat.
Close-up landscape photograph perspective of a person's hand applying a 600-grit grey sand cloth object onto the painted surface of a vintage vehicle
15. Alloway says to cut that fat in the post-production phase, which requires—you guessed it—more sanding. He recommends starting with 600-grit, which sounds aggressive because it is. But it’s the fastest way to knock down flaws.
Close-up portrait perspective of a person's hand polishing the final finishing touch surface of a vintage vehicle with a dry guidecoat applied by a pad
16. He insists working the way up the grit scale with 800-, 1,000-, 1,200-, 1,500-, 2,000-, and 2,500-grit paper. Sand in one direction for each grit but change direction when changing grits. That way prior sanding marks reveal themselves easier. A dry guidecoat applied by a pad reveals sanding marks well.
Close-up landscape photograph perspective of a vintage vehicle's panels with the last sand grit used on them marked up by a small yellow tape with black numbers on it
17. Charley Hutton has another trick: Mark the panels with the last grit used on them.
Close-up landscape photograph perspective of polishing objects used (white slim rectangular shape to the left, a black slim rectangular shape in the middle, and a white slim cylinder shape to the right)
18. Polishing is also an abrasive process, but on a finer scale and with a technique of its own that we can’t address here. If there’s any question why a top-shelf paintjob costs so much, consider the dozens if not hundreds of hours to achieve such fine results.
SOURCES
HOT RODS BY DEAN
(623) 581-1932
hotrodsbydean.com
CHARLEY HUTTON’S COLOR STUDIO
huttonscolorstudio@gmail.com
RADFORD AUTO
(208) 745-1350
Modern Rodding

VOLUME 4 • ISSUE 39 • 2023