Modern Rodding TECH

InTheGarageMedia.com

Jeff Jones tack welding patch panel onto car body
Installing a Patch Panel
1. Geoff Jones of Hot Rods by Dean (HRBD) is well into the process of removing old rusty sheetmetal and replacing it with fresh metal for the patch panel. If you are involved with old sheetmetal then working with patch panels will become a normal occurrence for you.
Our ’65 Chevelle Receives Fresh Metal
By Ron Covell Photography by Brian Brennan
R

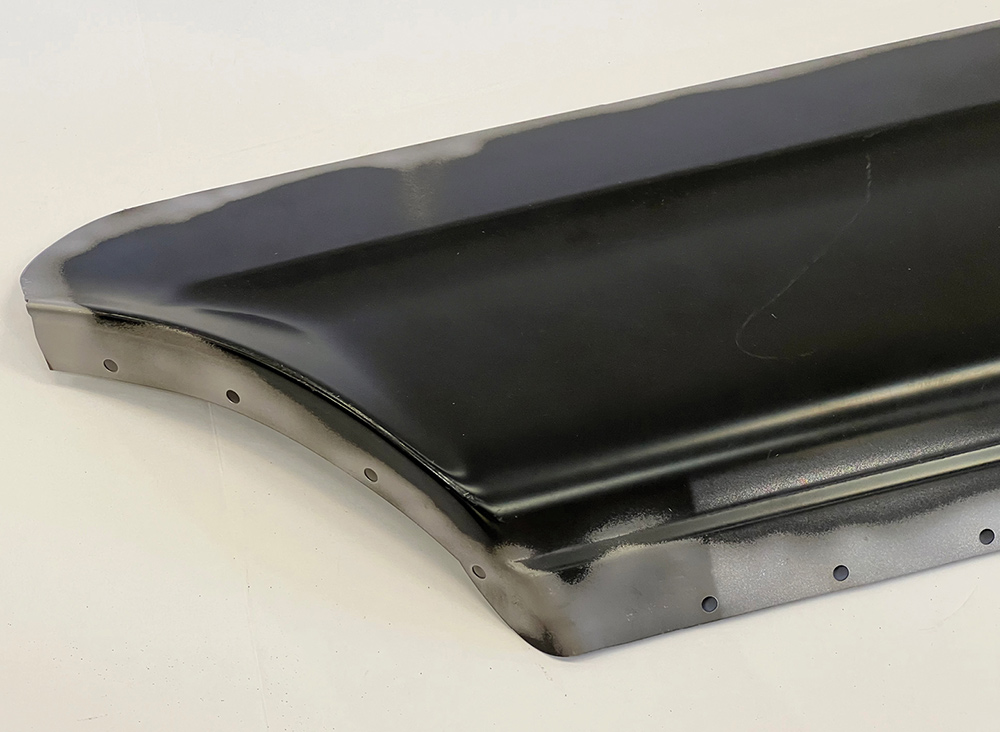
ust repair is often a part of any vintage car project. While it is possible to make a patch panel of any size and shape, there are ready-made panels available for a lot of popular cars, which can ease the job and save considerable time. Unless you are proficient at metal shaping, the ready-made patch panels are likely to have a better fit and finish than a handmade panel.

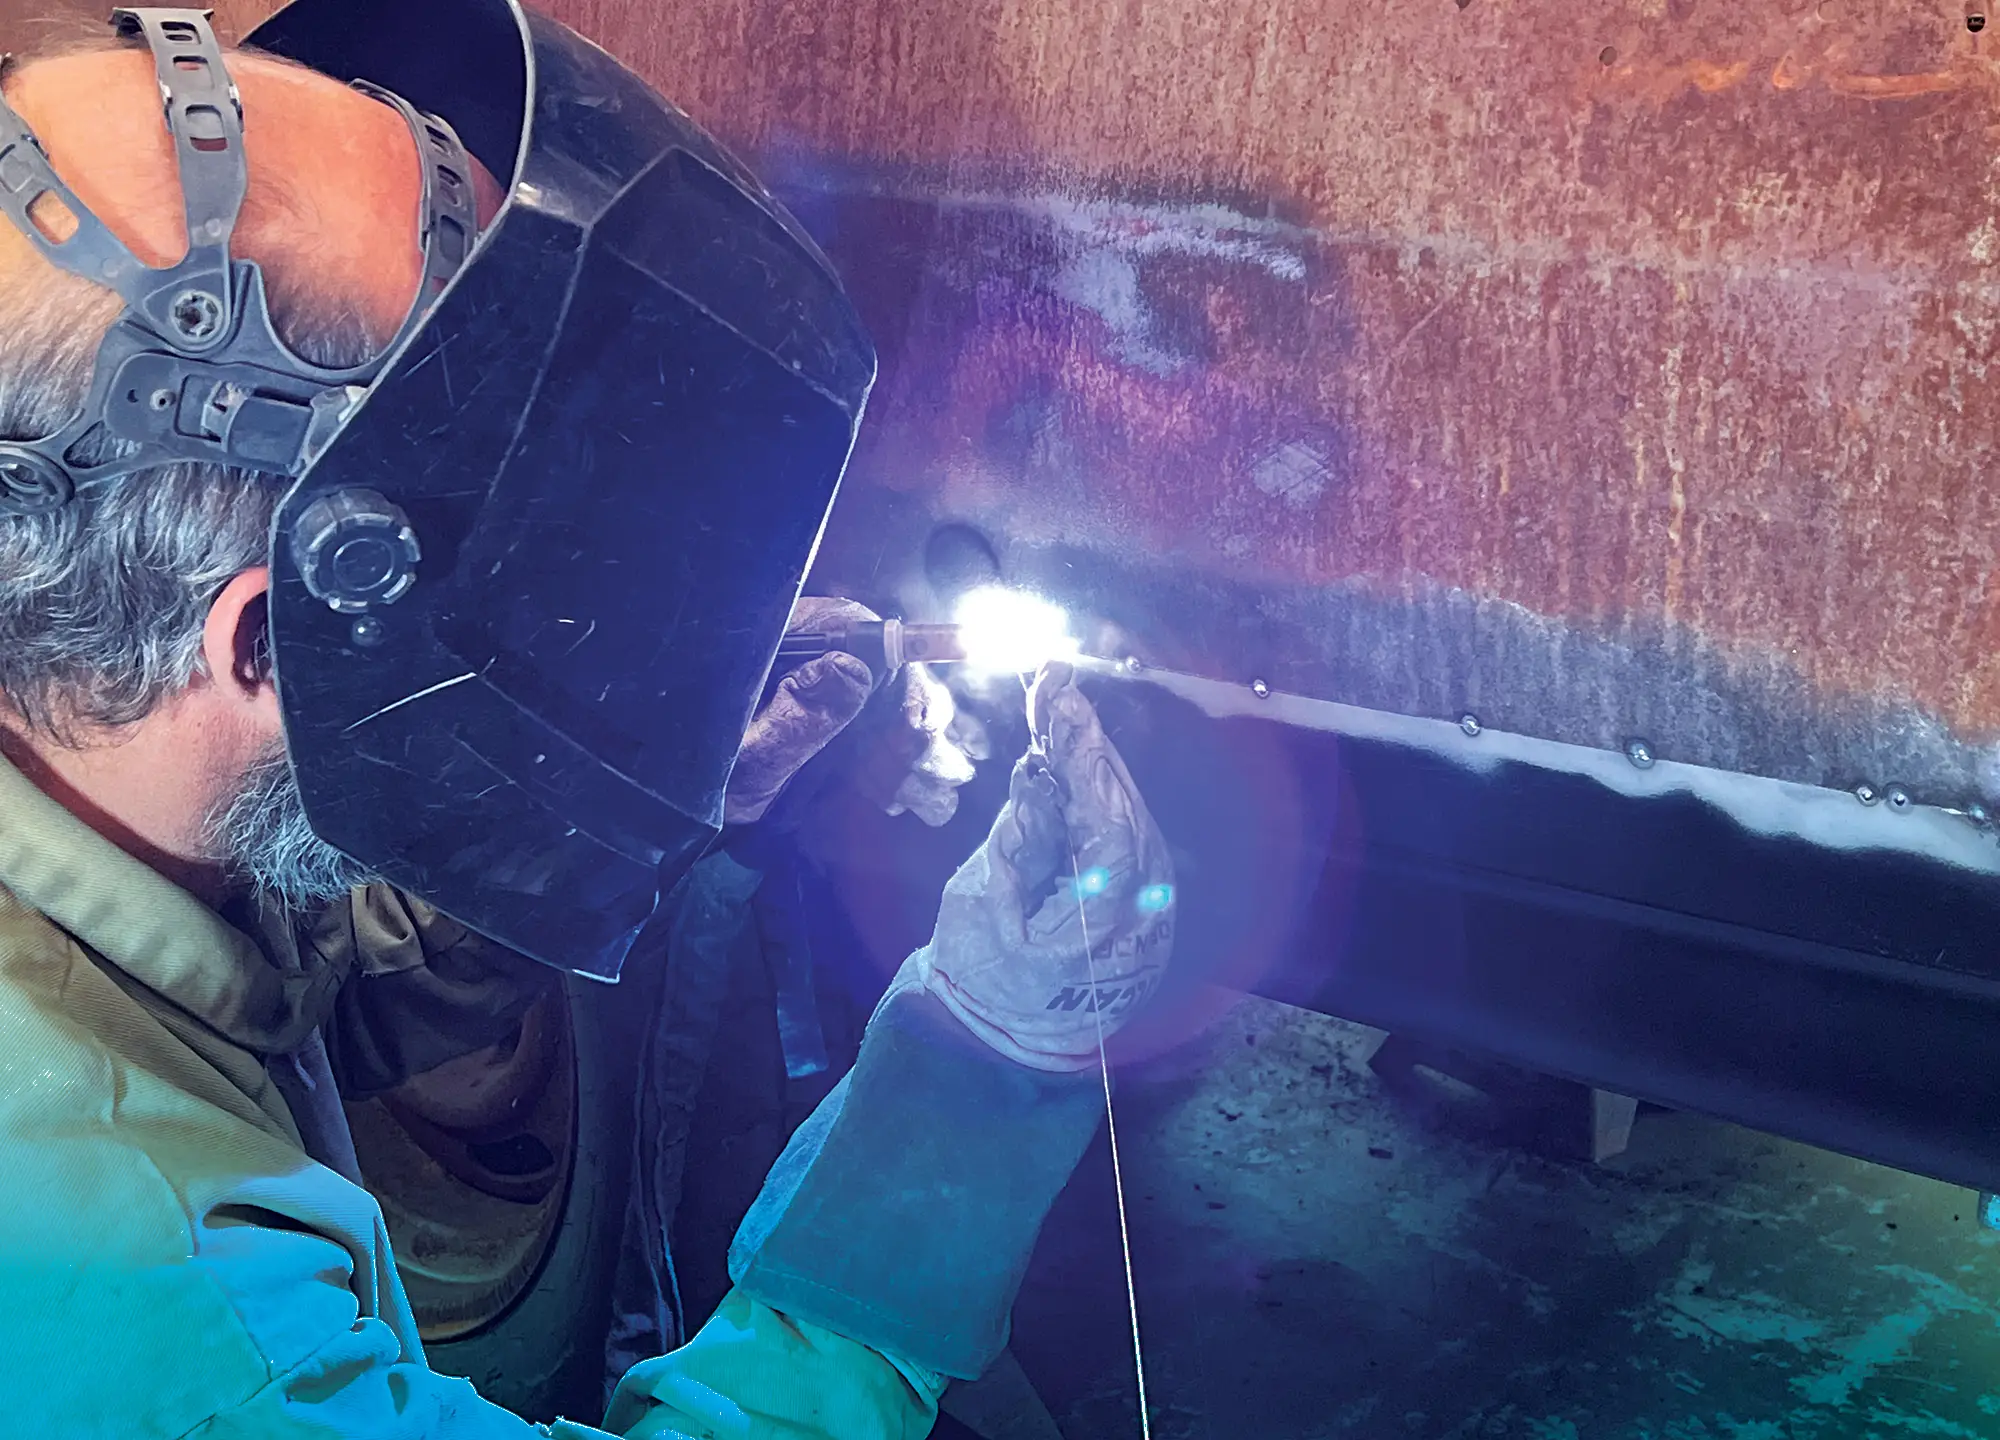
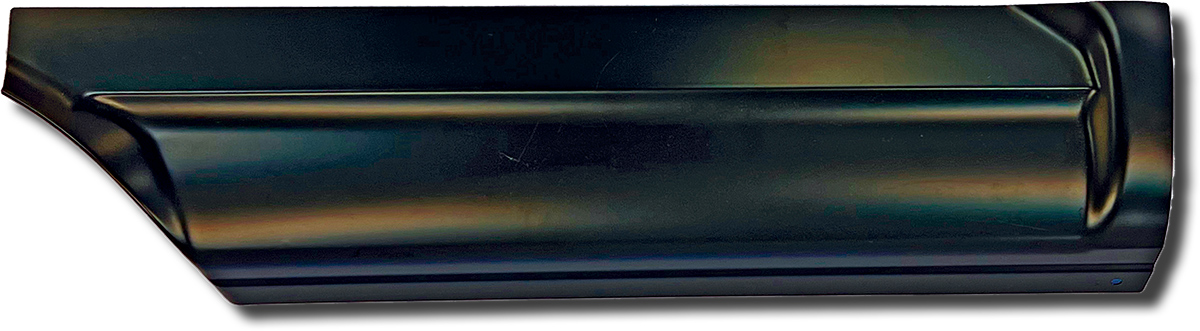
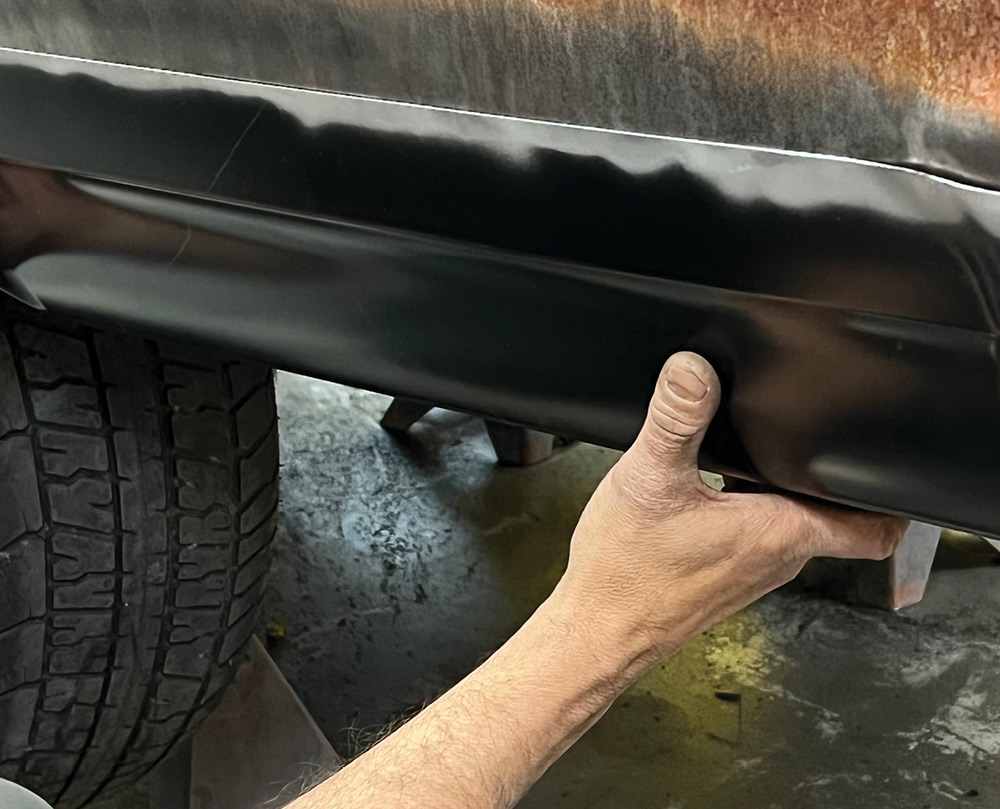
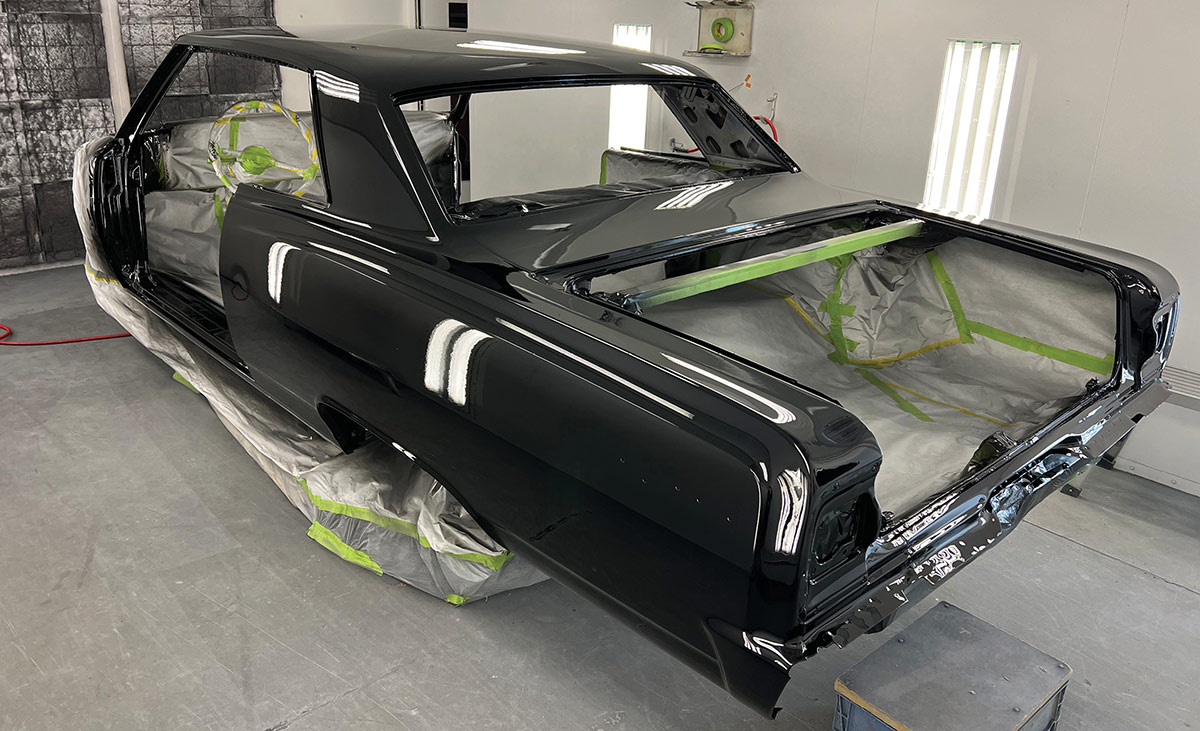
Hot Rods by Dean (HRBD), in Phoenix, was recently tasked with repairing rusted areas on the lower quarter-panel of a ’65 Chevelle and chose to use patch panels made by Golden Star Classic Auto Parts. Geoff Jones of HRBD is the man who did the installation, and as you will see the work was done in a very professional manner.

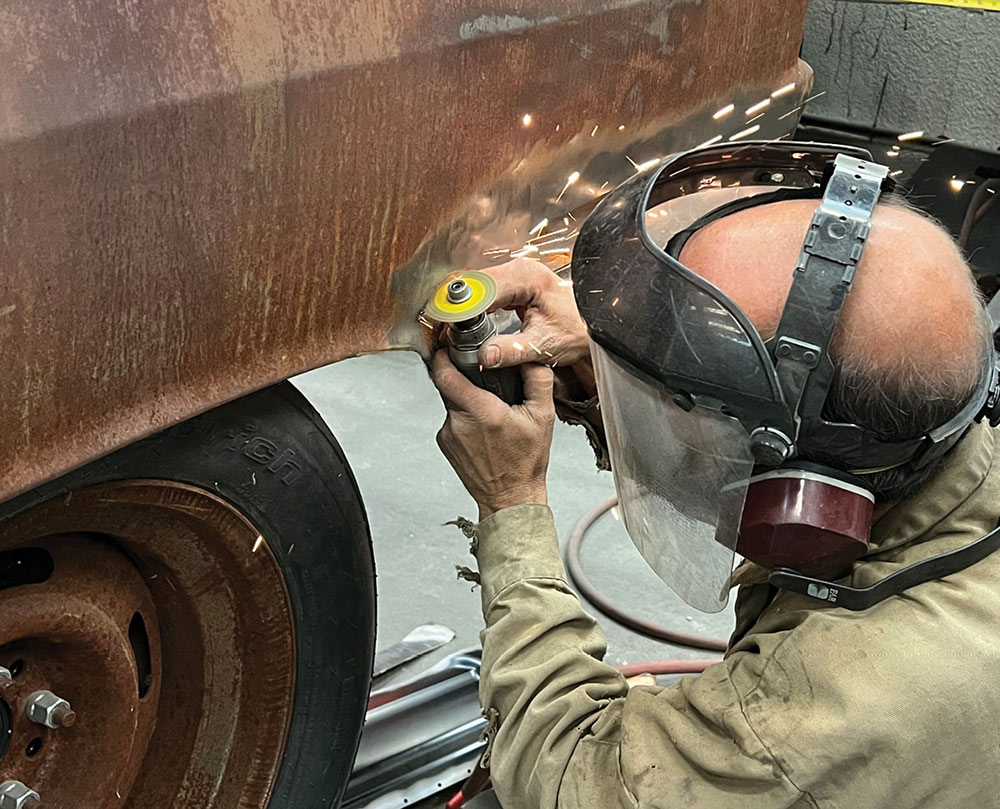
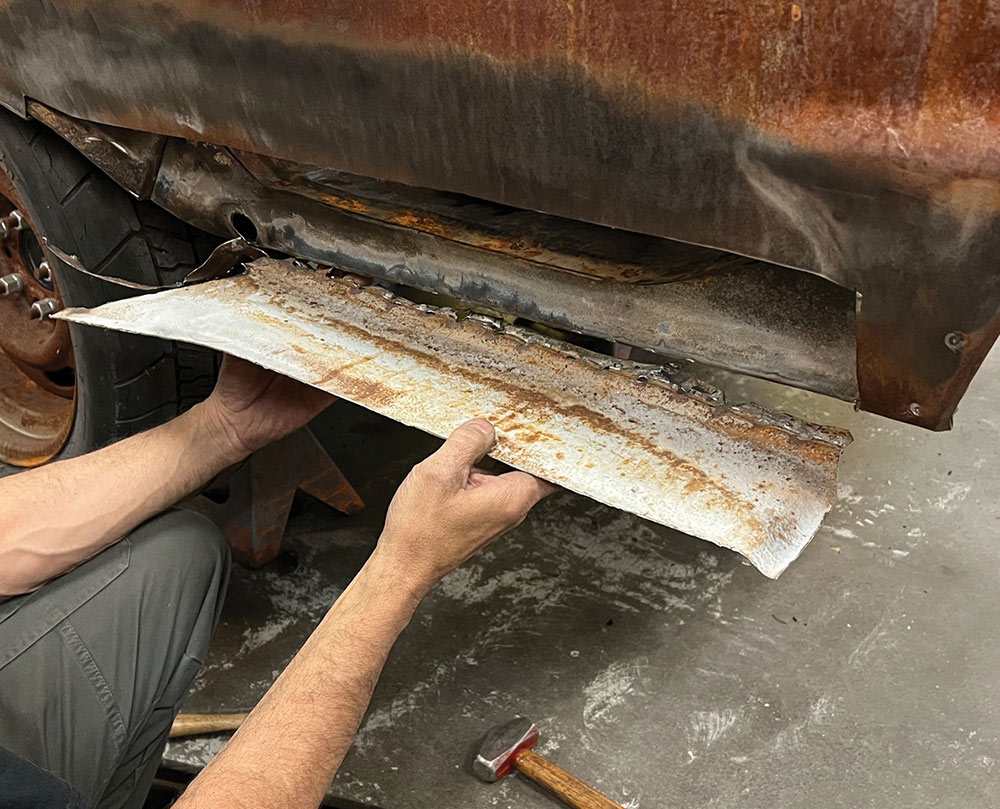
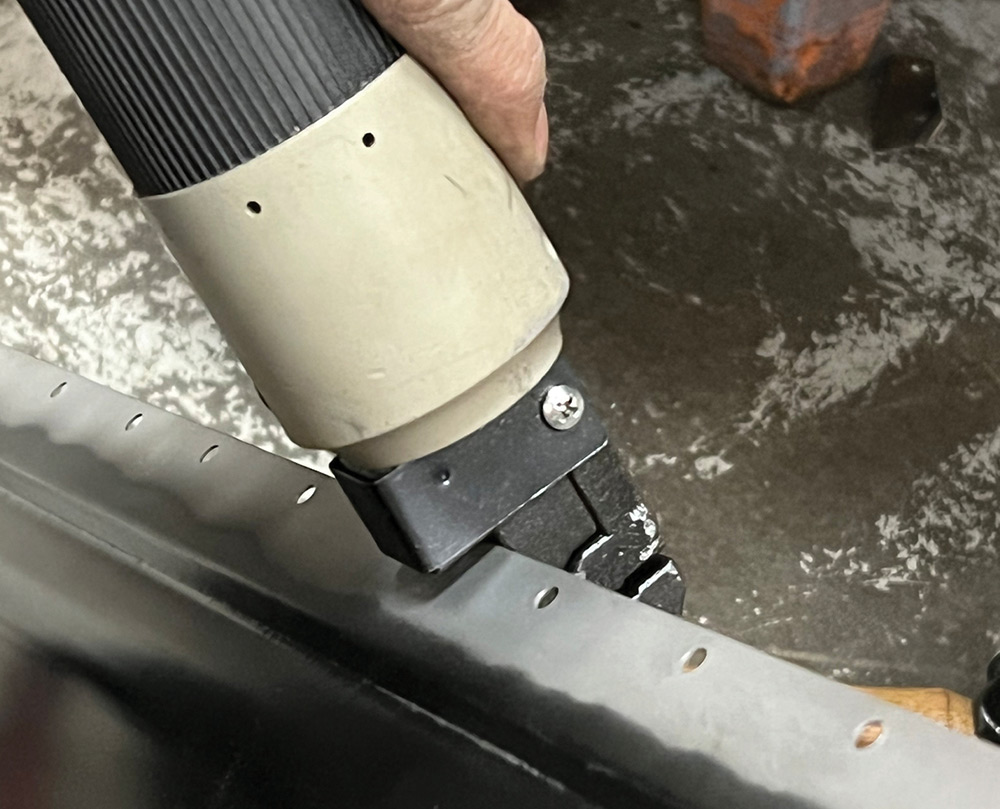
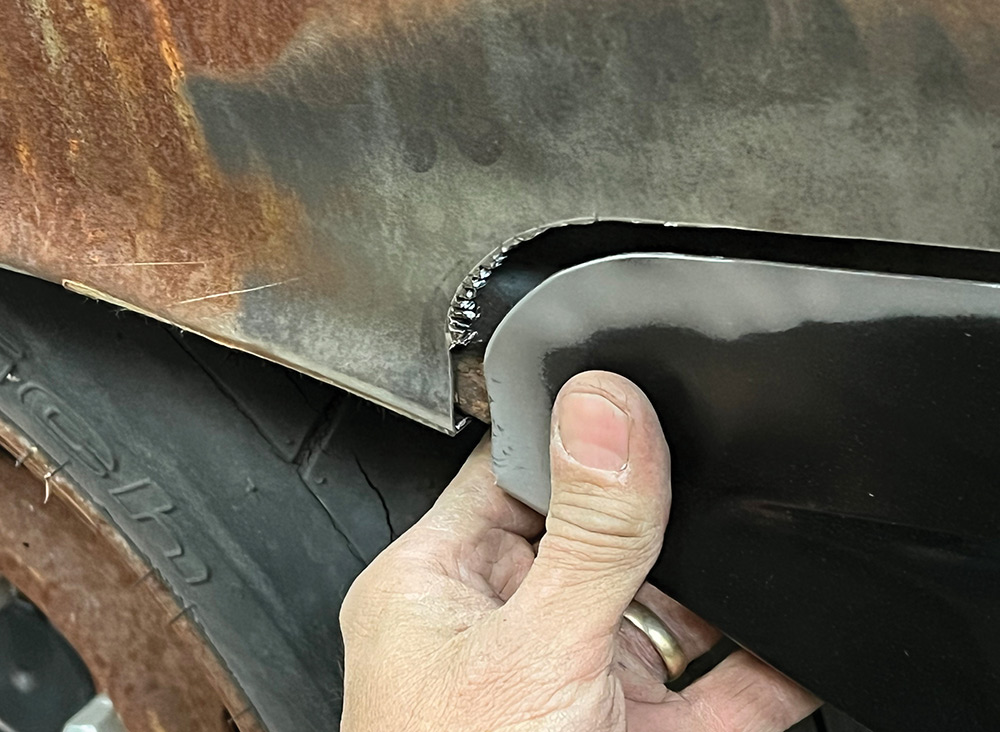
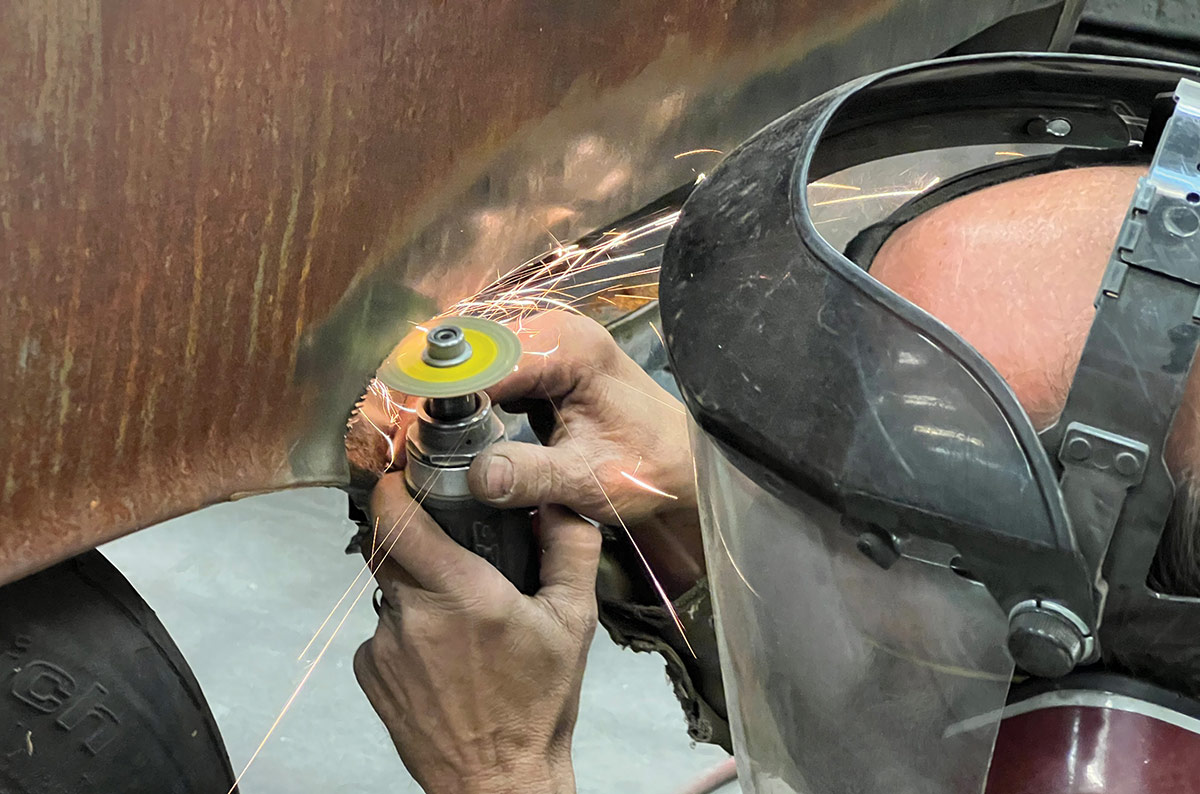
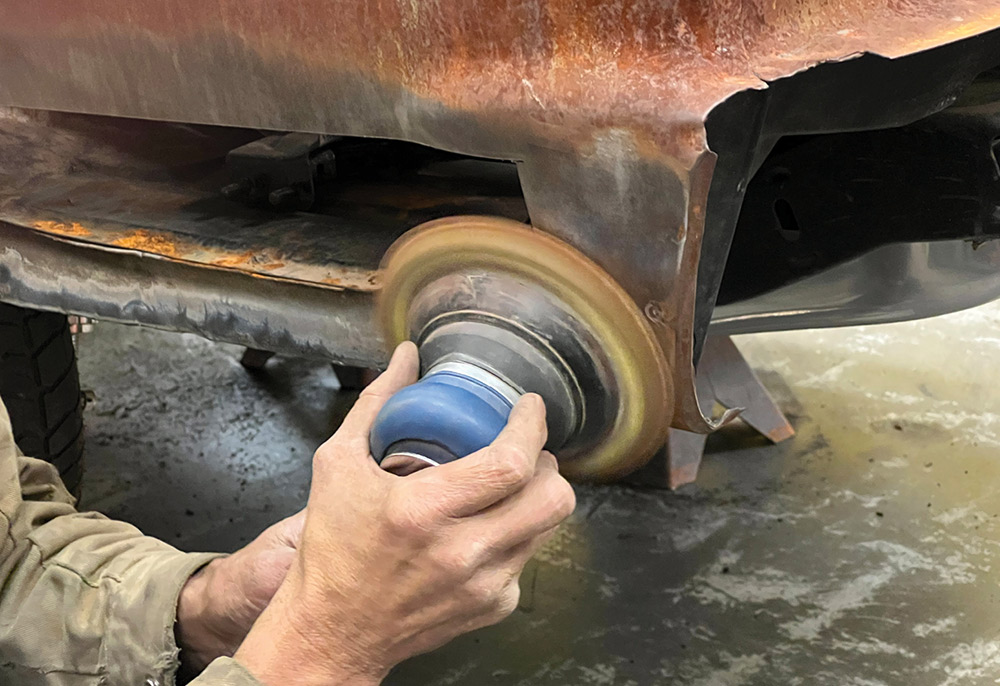
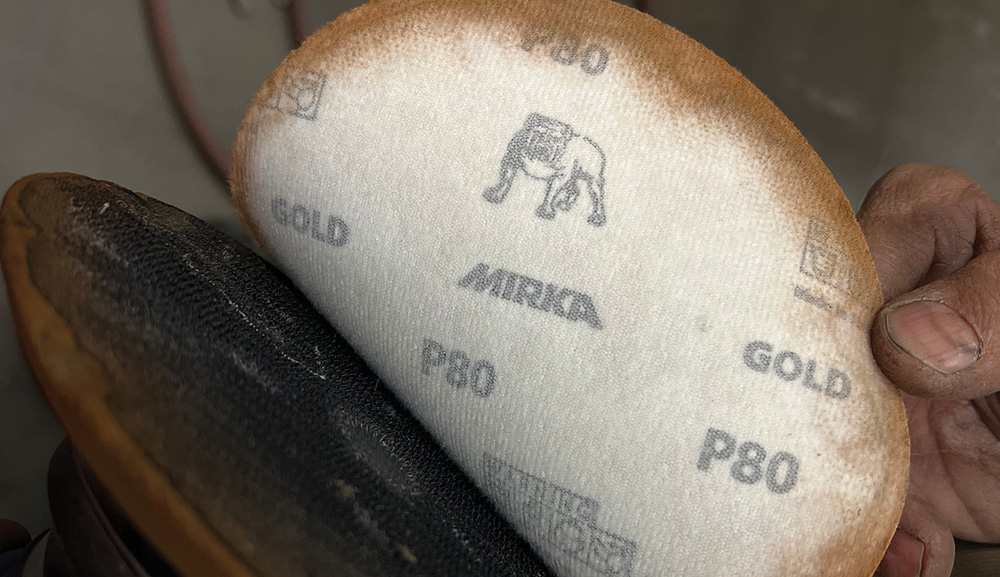
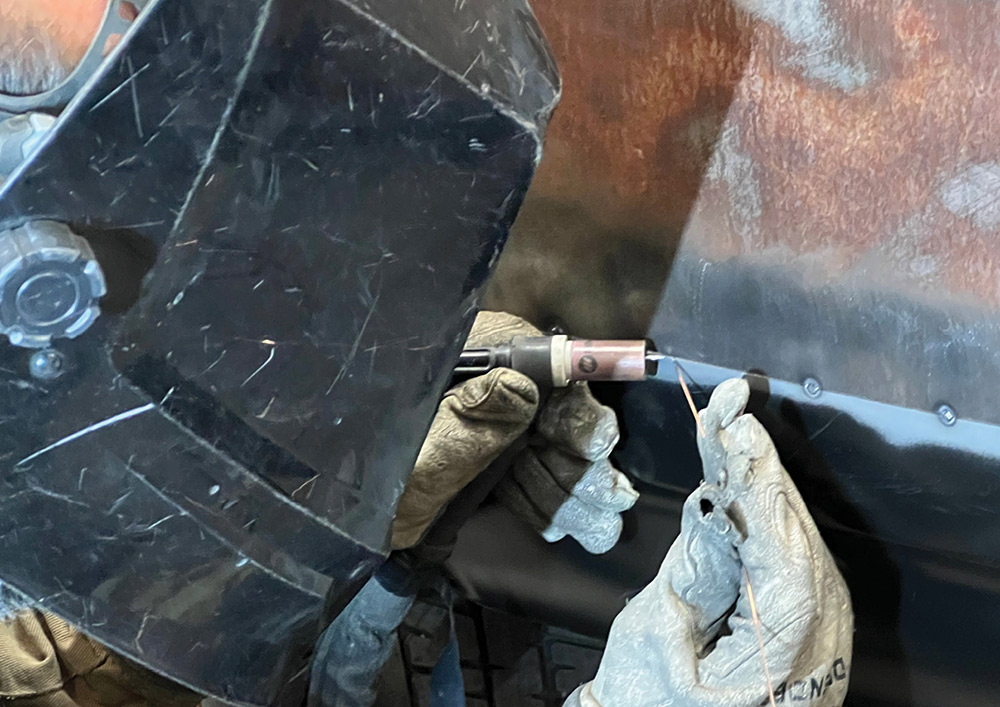
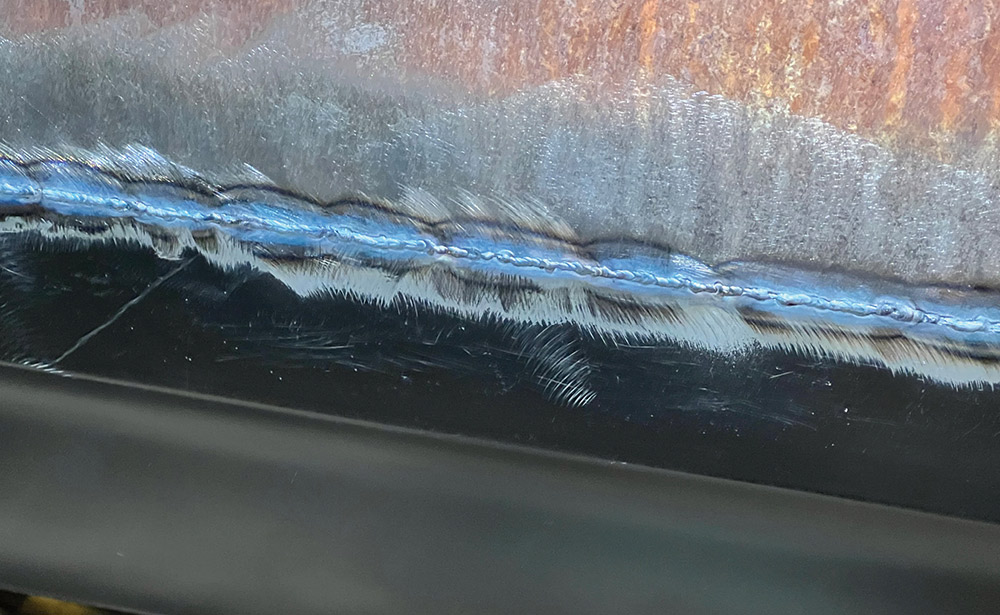
As you look through the photos, you’ll see each of the important steps needed to prepare, fit, and attach panels like these. For this job, the patch panels are joined with a butt joint and TIG welded, but the process would be very similar for an overlapped joint and for MIG welding. The flanges on the front and lower edges of this panel were originally spot-welded into place. A good way to reattach a new panel is to drill or punch a hole in the flange and plug weld through these holes into the metal behind the panel. Done properly, this will exceed the strength of a spot weld, and when ground down flush these plug welds become nearly invisible.

Install ready patch panel
2. This is a patch panel (PN QP03-64RR, righthand side) that’s intended for the rear part of the quarter-panel made by Golden Star Classic Auto Parts. It will make an excellent repair on a ’64-65 Chevelle fender with rust damage.
Jones cutting away rusty rear quarter panel
3. Here we follow Jones as he cuts away the bulk of the rusty metal. A thin cut-off wheel in a pneumatic die grinder makes fast work of this.
Bending cut panel away from body
4. With the rusty metal cut away, you can see if deeper repairs are necessary. Any metal with rust on it should be either scrupulously cleaned and sealed or replaced.
Test fitting patch panel on body
5. Many patch panels are made larger than needed for a particular repair. If beneficial, the panel can be cut down to any size needed. In this case, the patch panel was kept mostly intact, with only the slope on the leading edge being slightly modified. Once the patch is sized, the quarter-panel is carefully marked for the final trimming.
Using puncher on panel edge
6. Some panels have edges that are spot welded into place. The spot welds can be drilled out to remove the old panel, and a good way to attach new panels is to punch or drill holes and plug weld through these holes to securely hold the new panel into place.
Bottom edge of patch panel
7. The bottom edge of this panel and the flange that goes into the wheelwell opening are punched with holes for making the plug welds.
Radial corner cut into sheetmetal
8. A cut-off wheel is great for making straight cuts, but it can’t manage tight radius curves. A good strategy for making curves is to scribe a “limit line” and make numerous straight cuts right up to the line.
Cutting sheetmetal with small cut-off wheel
9. After making many small straight cuts, the material between them can be trimmed away, leaving a curve of any needed profile.
Sanding sheetmetal down to bare metal
10. Before welding a new patch panel into place, the metal around the joint must be cleaned of all paint, rust, or contamination. An orbital sander is being used here to clean the metal.
Mirka P80 abrasive disc
11. Hook and loop abrasive discs are excellent for this type of work. They are held securely for the sanding, but they can be easily peeled off and replaced when necessary.
Tack welding new patch panel onto body
12. This panel is being tack-welded into place with a butted fit using the TIG process. Some people use overlapped joints, but overlapped joints can trap moisture, leading to further rusting over time.
More tack welds on body
13. The tack welding is continued all around the perimeter of the panel. The first tacks can be several inches apart, but it’s best practice to keep adding tacks until they are no more than 1 inch apart.
Panel fully welded into place
14. Here is the patch panel completely tack-welded into place. The plug welds around the front and bottom edge can be completed at this time, too.
Close up of welds
15. Here’s a close-up shot of the completed weld. The TIG welding process leaves an exceptionally small weld bead, which is easy to clean up by grinding. MIG welding generally leaves a much larger weld bead, requiring a lot more grinding.
Chevelle body fully painted in black
16. Here’s a “cheater” photo. Our project ’65 Chevelle is fully painted and in the assembly process. We couldn’t pass up the opportunity to show you how a properly replaced patch panel will blend in with the factory sheetmetal once all the body- and paintwork is complete. PPG Black was applied to the Chevelle.
Golden Star Classic Auto Parts
(972) 315-3758
goldenstarauto.com
Hot Rods by Dean
(623) 581-1932
hotrodsbydean.com
Modern Rodding

VOLUME 4 • ISSUE 39 • 2023