Modern Rodding Tech
InTheGarageMedia.com
How to build a Model A '32 Title
Part 1: Top Swapping a Ford Model A for a Ford Deuce
By Eric Geisert Photography by The Author
E

very hot rodder knows one of the most special things about the ’32 Ford is it has many one-year-only features. Designer Eugene “Bob” Gregorie was tapped by none other than Edsel Ford to be in charge of the new look Ford vehicles would soon take, which would use both streamline and European styling cues.

In the early ’30s, vehicle manufacturers would introduce new looks almost every year, setting themselves apart from their competition, and Ford was no different. The look of Fords from 1931 to 1937 drastically changed seven times in that short time span, and it was an abrupt change each time. Whereas there wasn’t much of a radical change between 1933 and 1934, the changes between the ’31 Model A and the ’32 Ford five-window are pretty obvious.

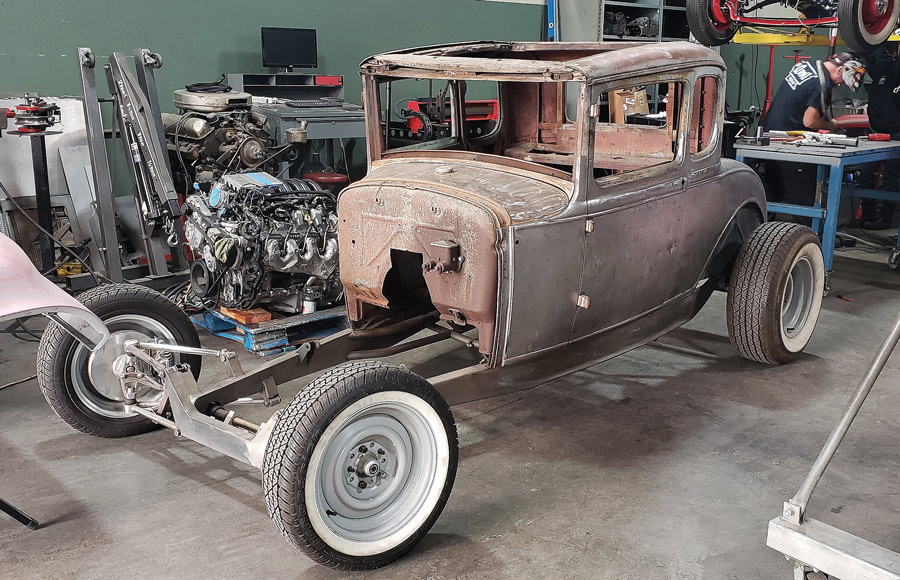
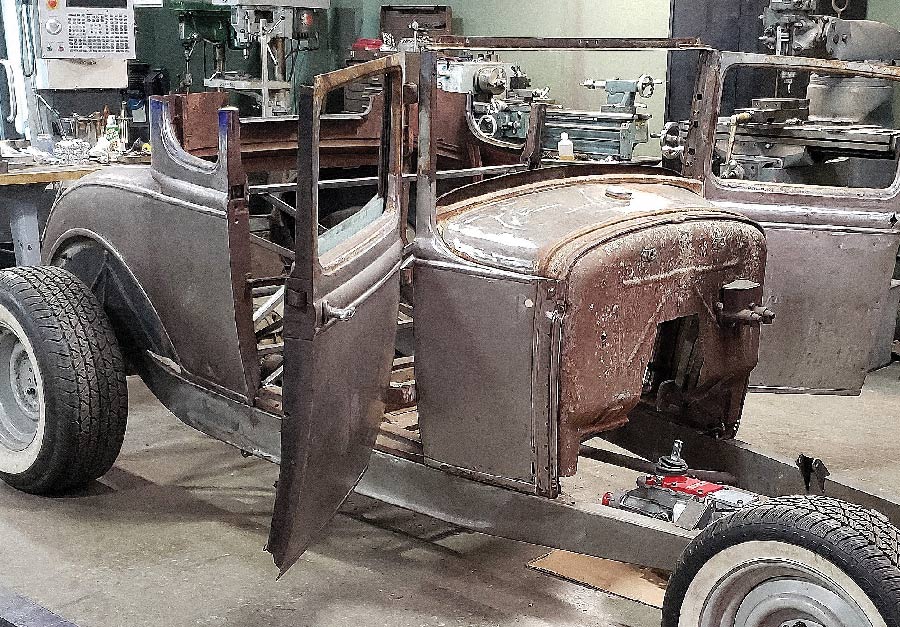
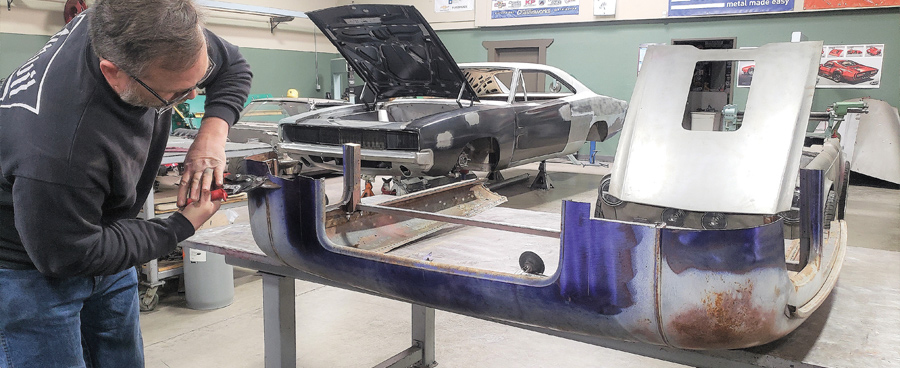
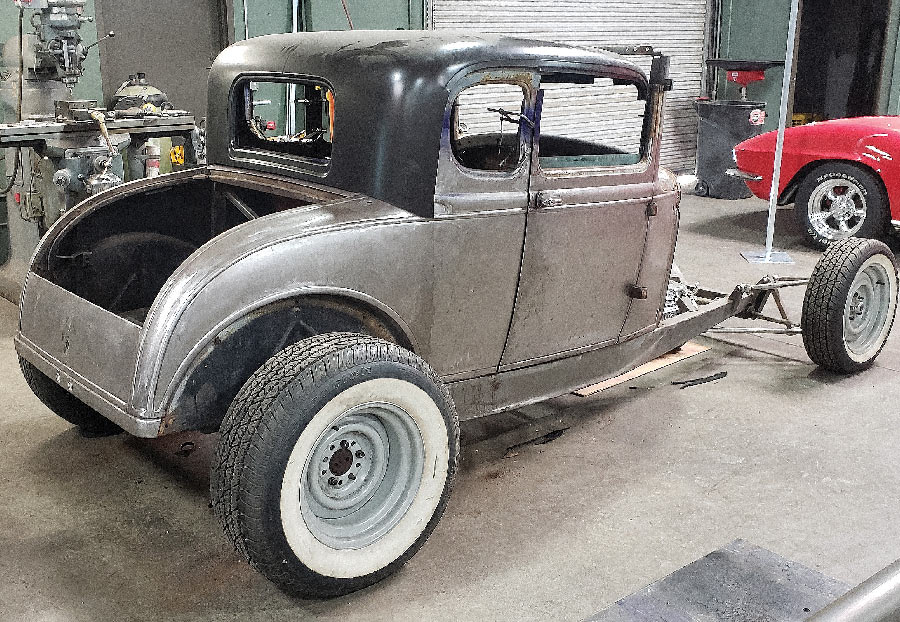
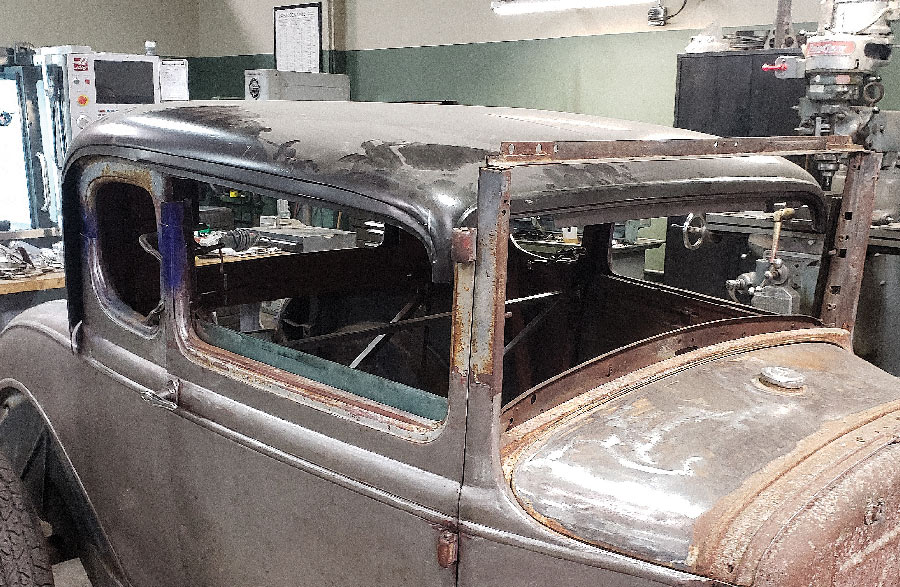
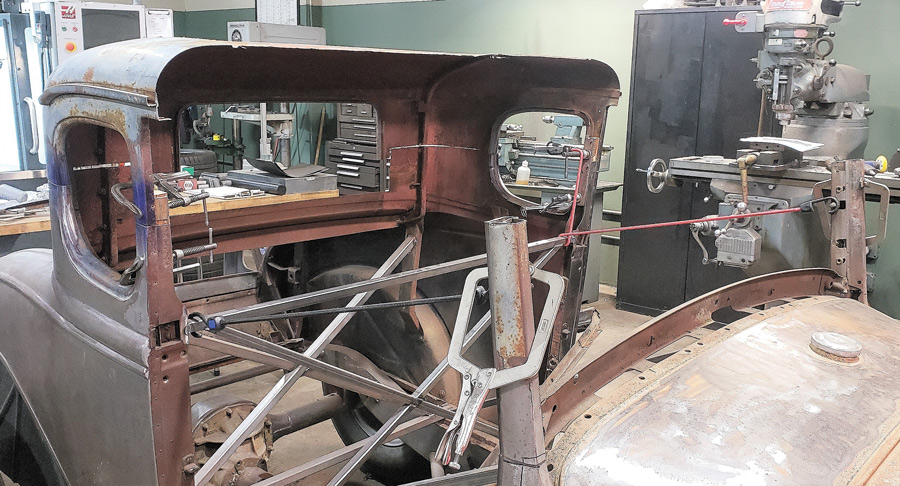
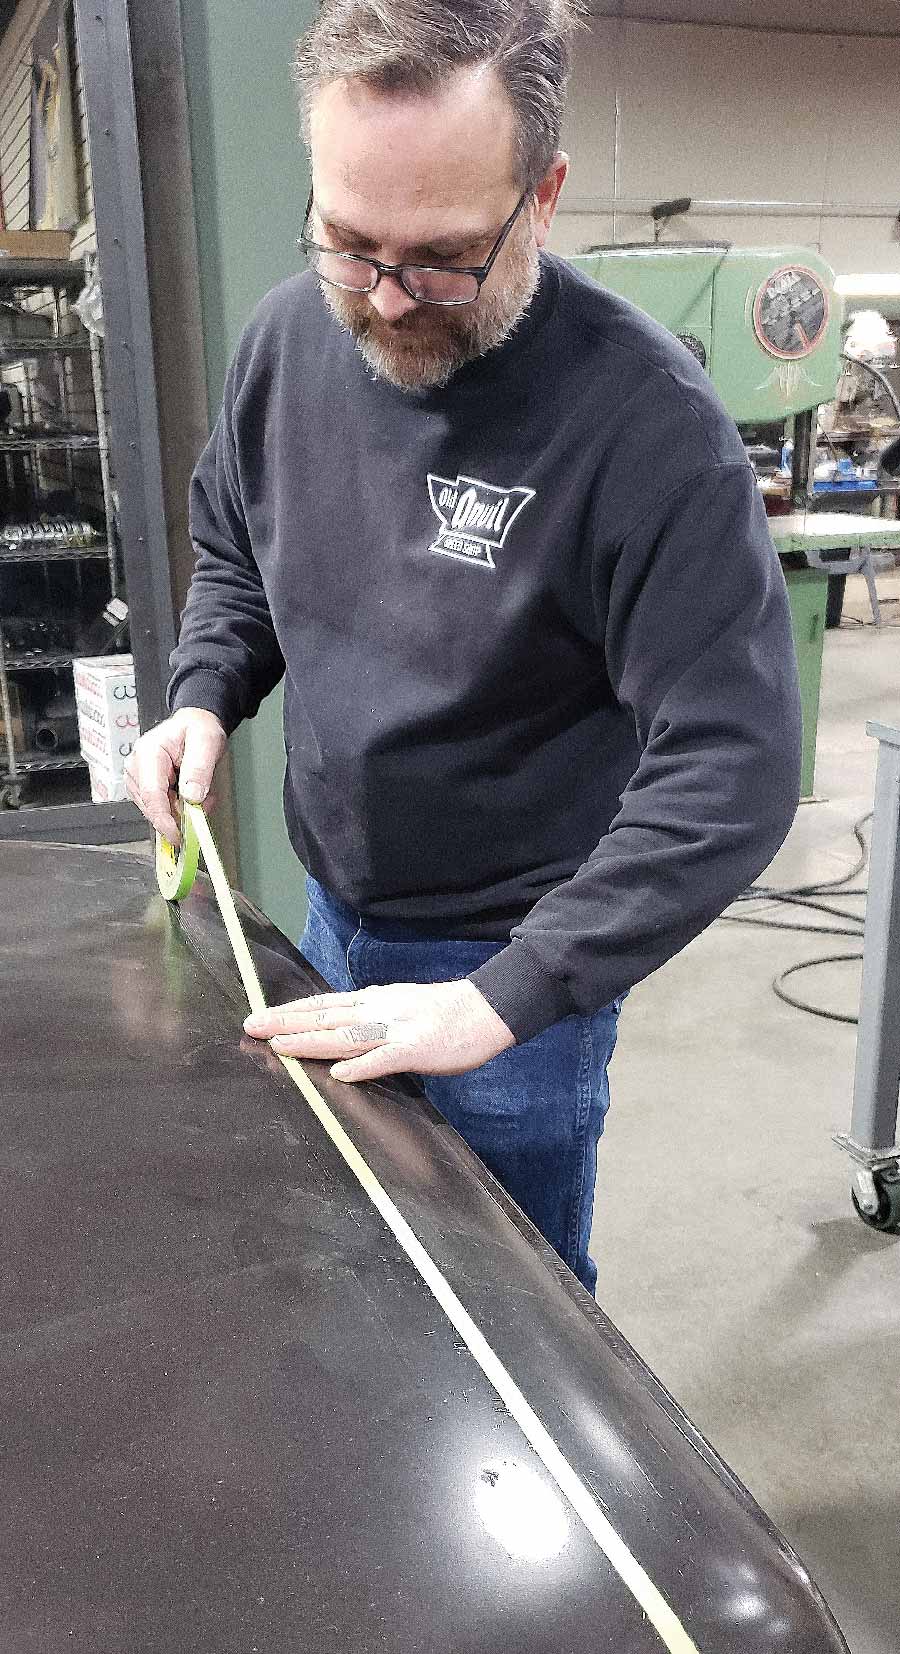
So, when Derryll Gehring, the owner of a ’31 Model A coupe (a car he has owned since he was 15) stopped in to talk to Paul Bosserman of Old Anvil Speed Shop in Orange, California, about a chop for his soon-to-be hot rod, the talk soon turned to adding a ’32 five-window roof to the A as well as the chop.

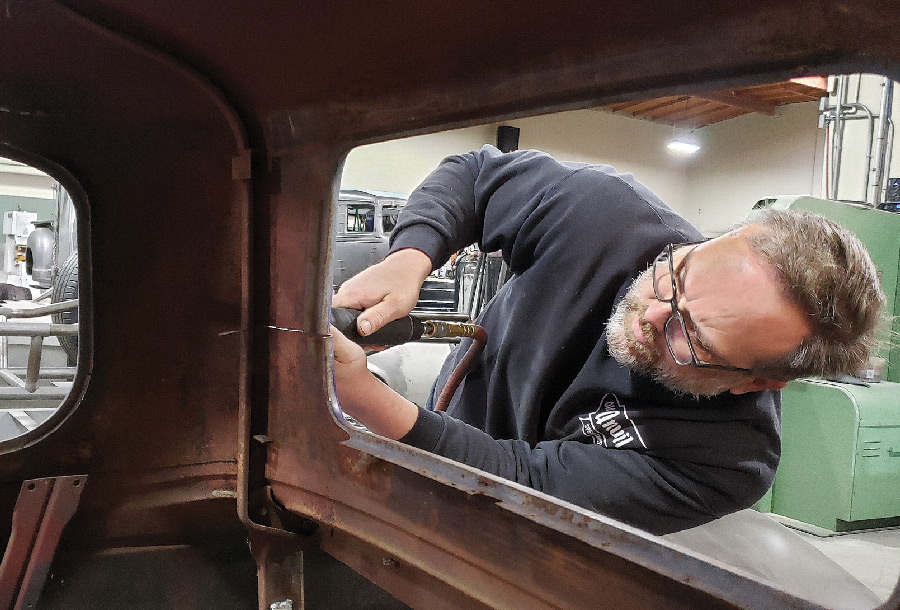
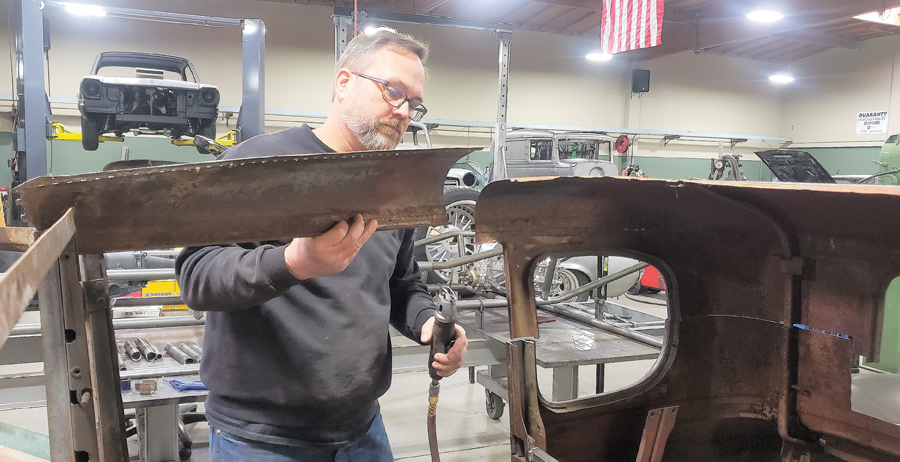
Though this modification has only been attempted a couple of times in the past by a few builders, there certainly wasn’t a template to go by, nearly all of this work was going to be done by eye—in other words what looked right to Bosserman. At first Bosserman thought he’d be using most of the new top section but, as work progressed, he discovered that much of the original Model A roof could be retained.

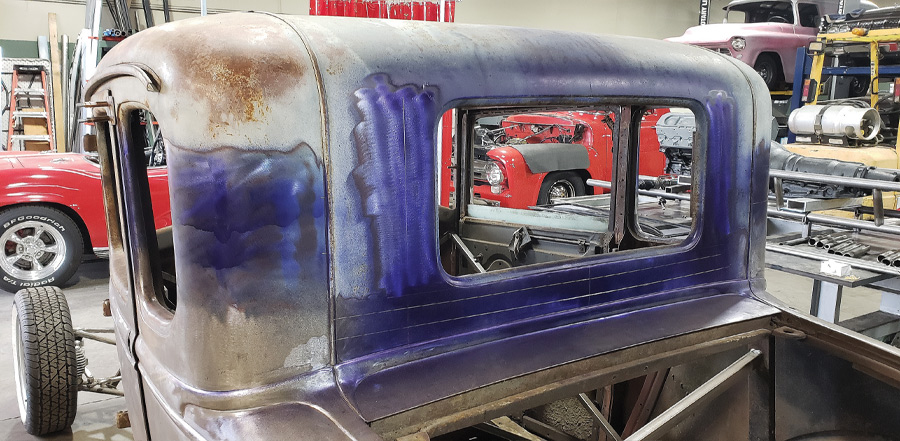
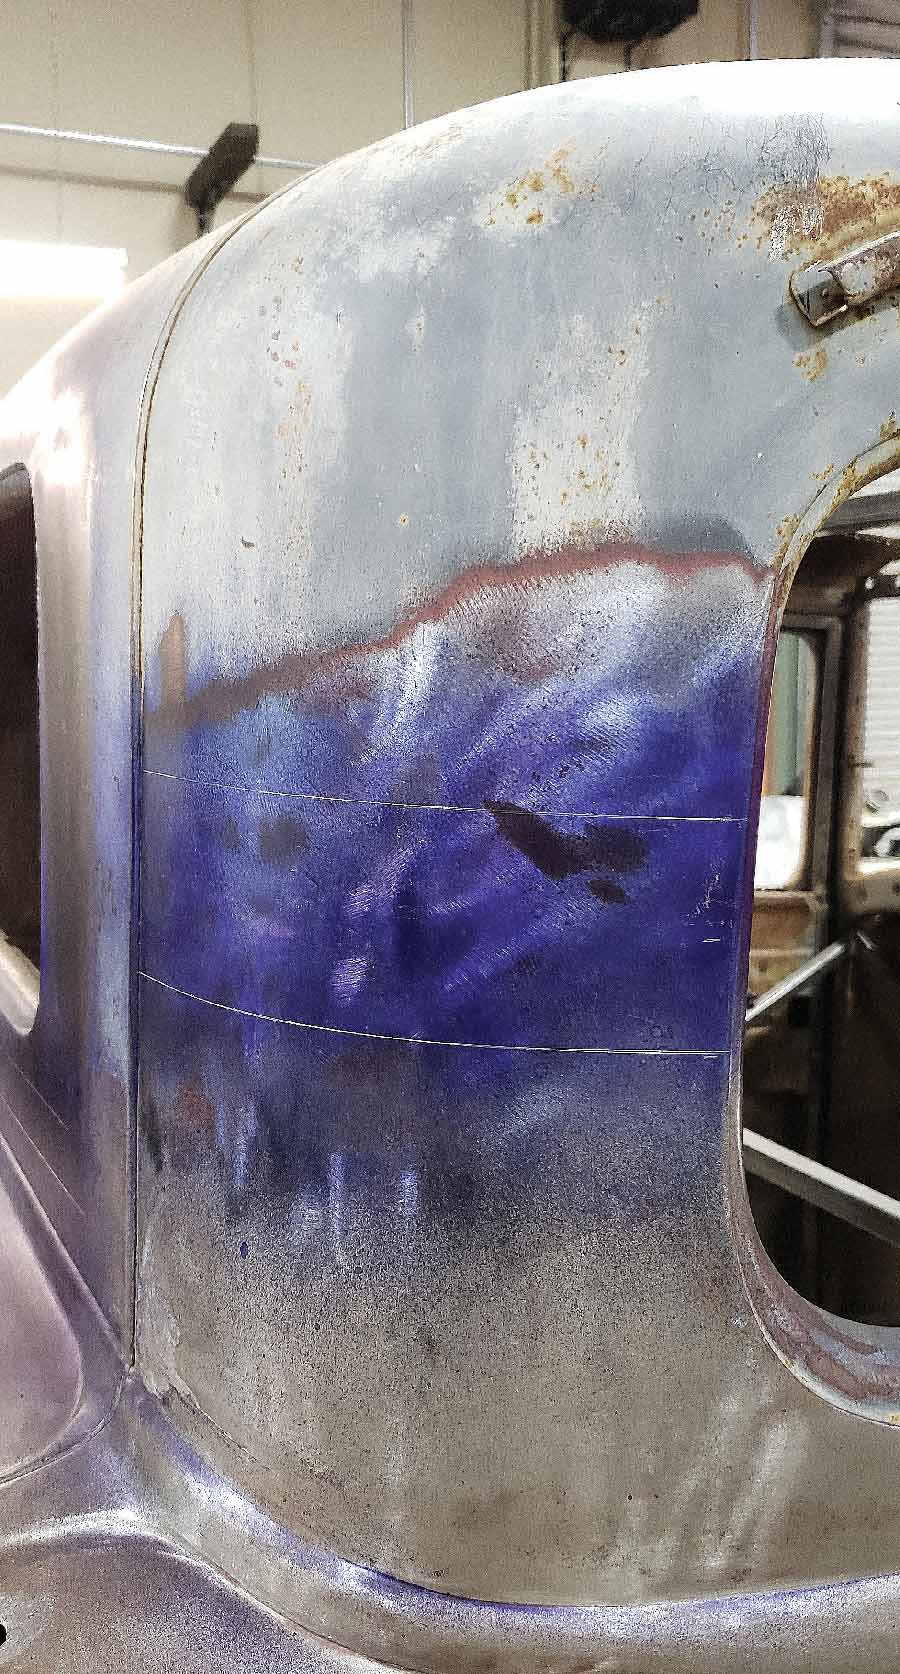
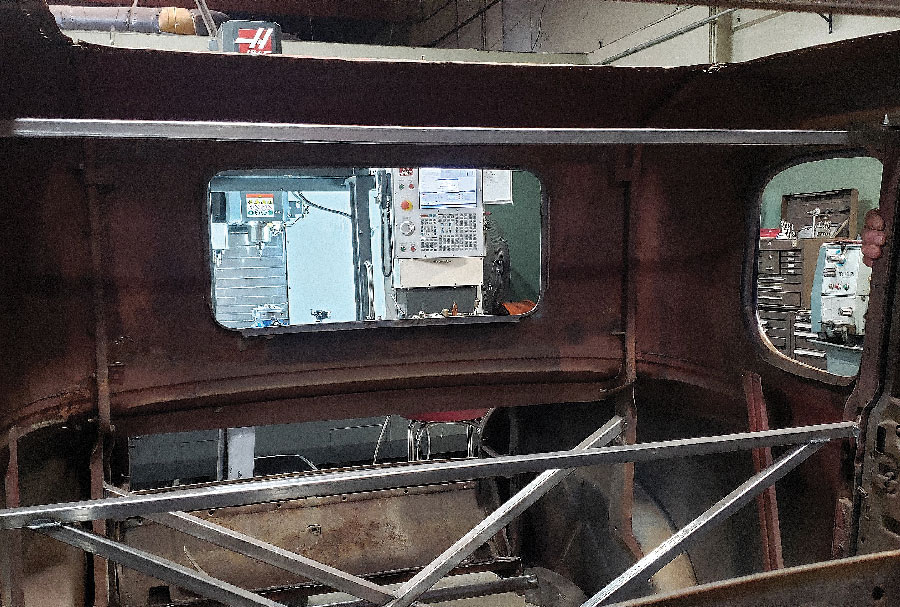
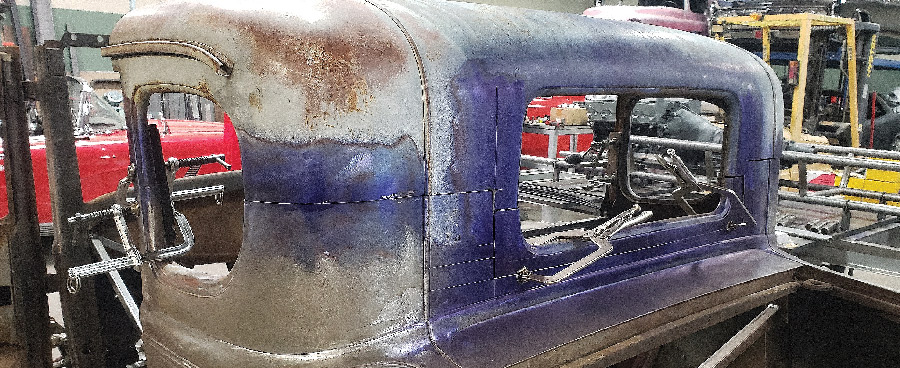
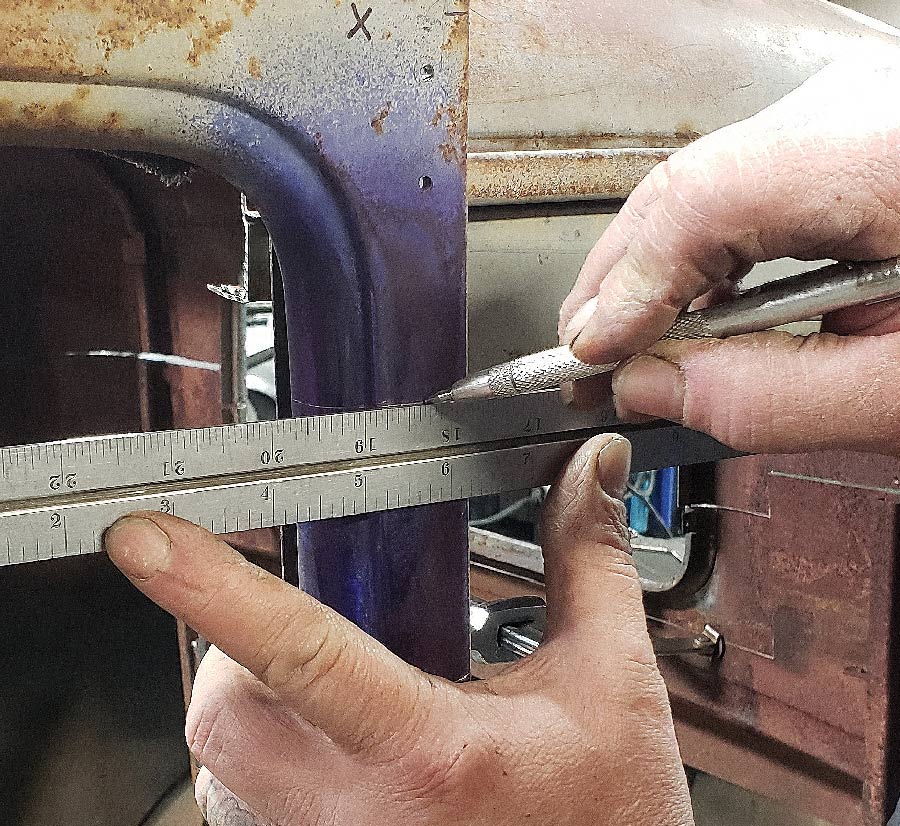
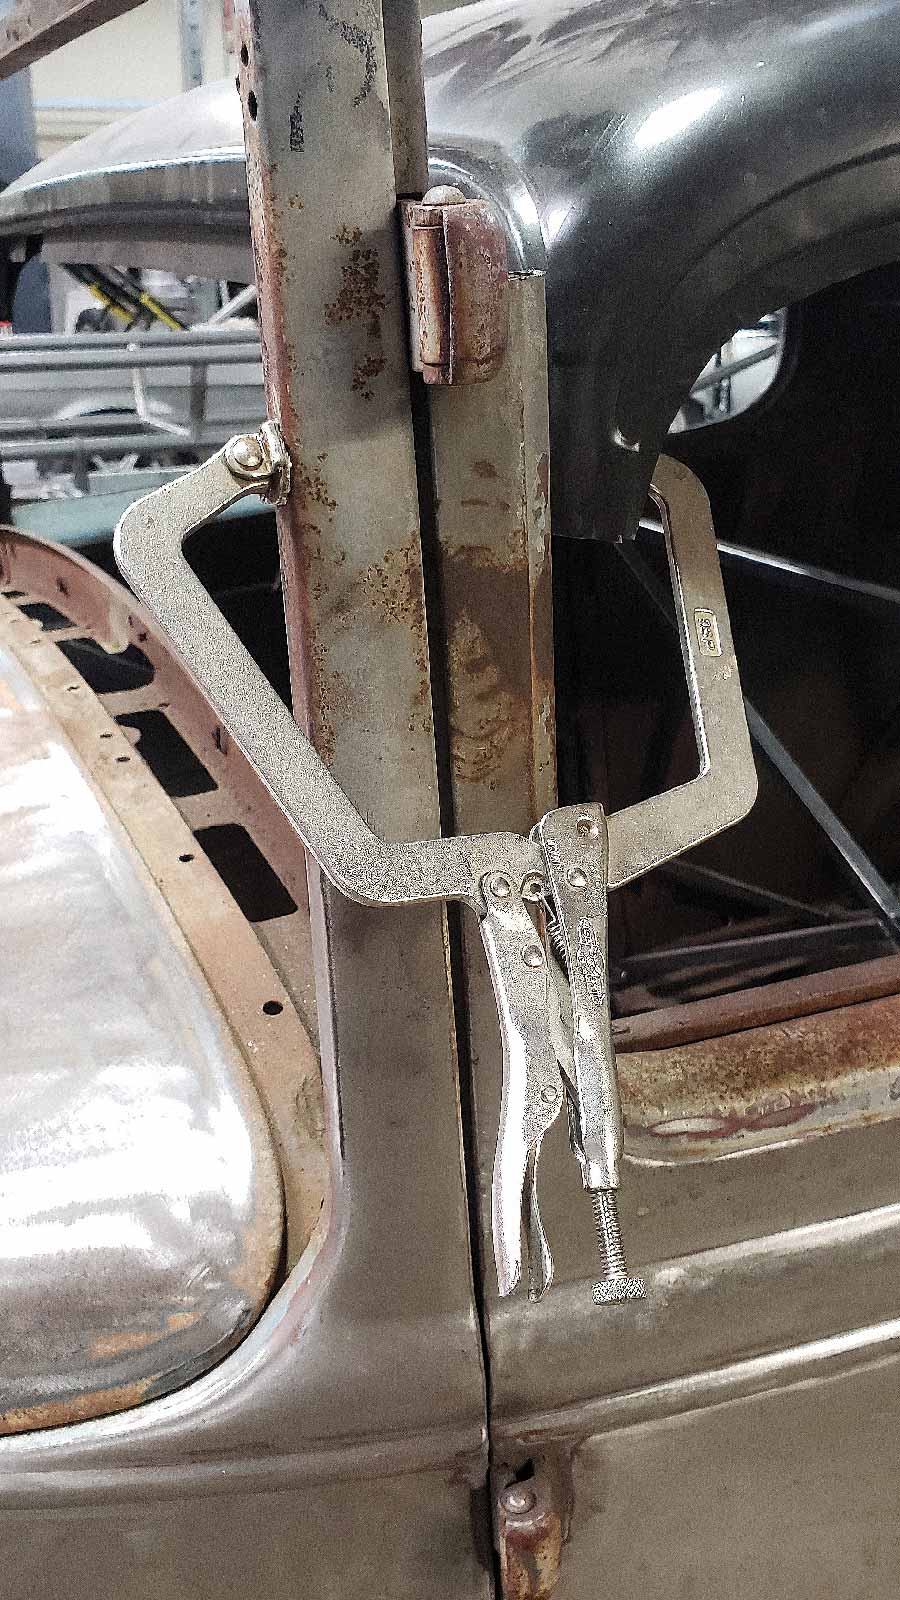
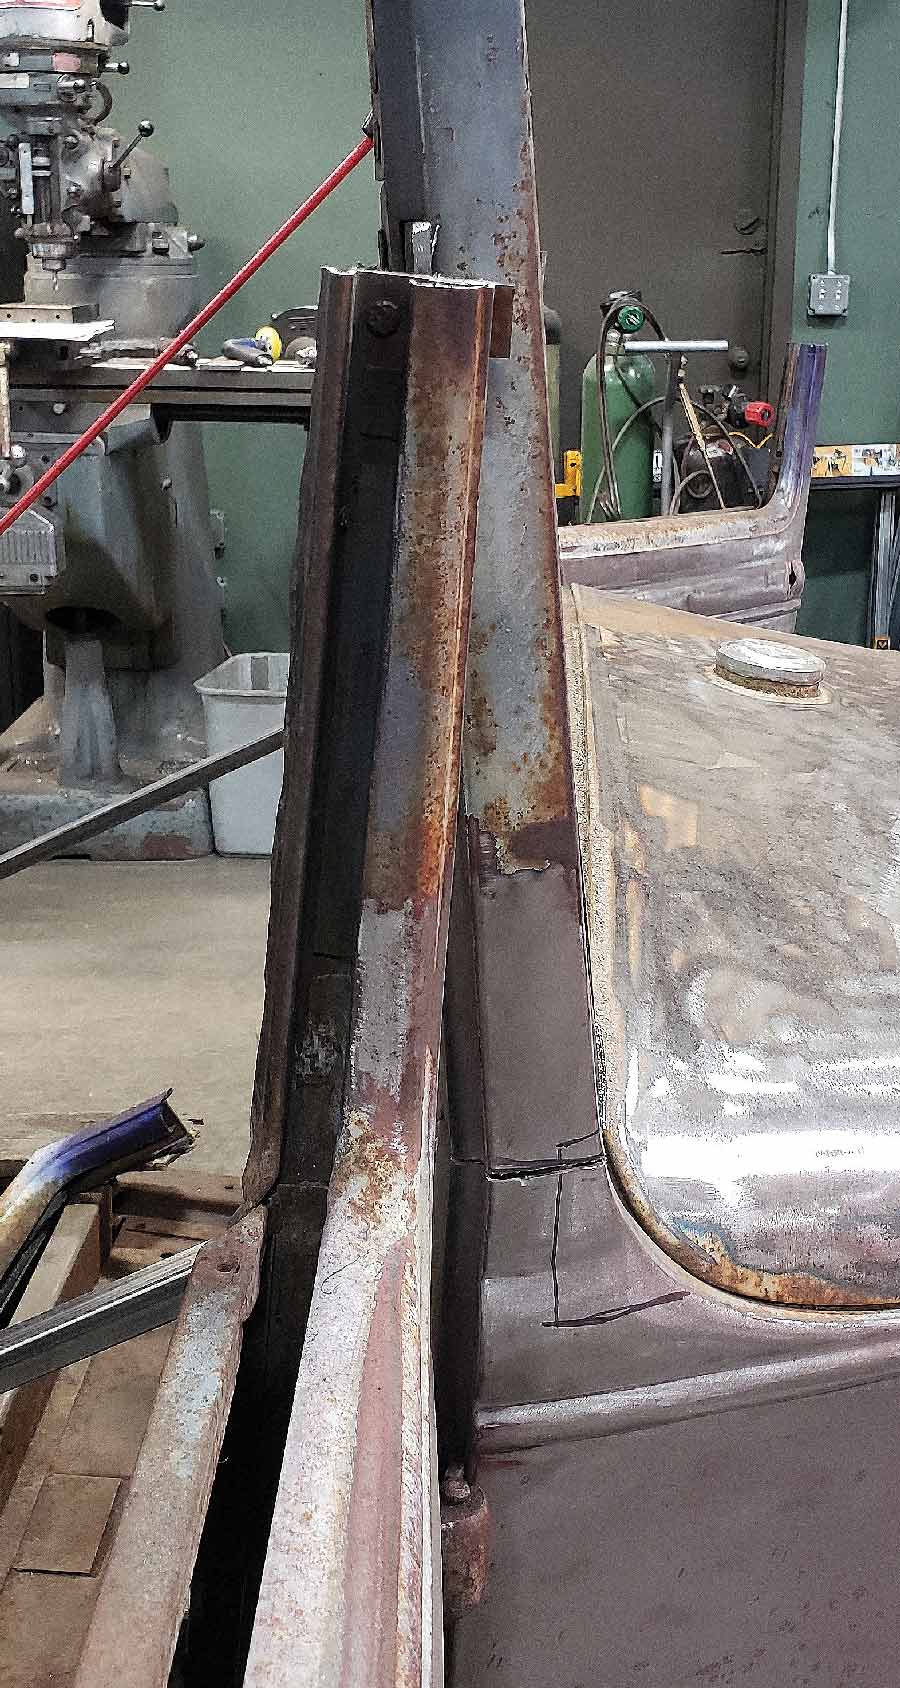
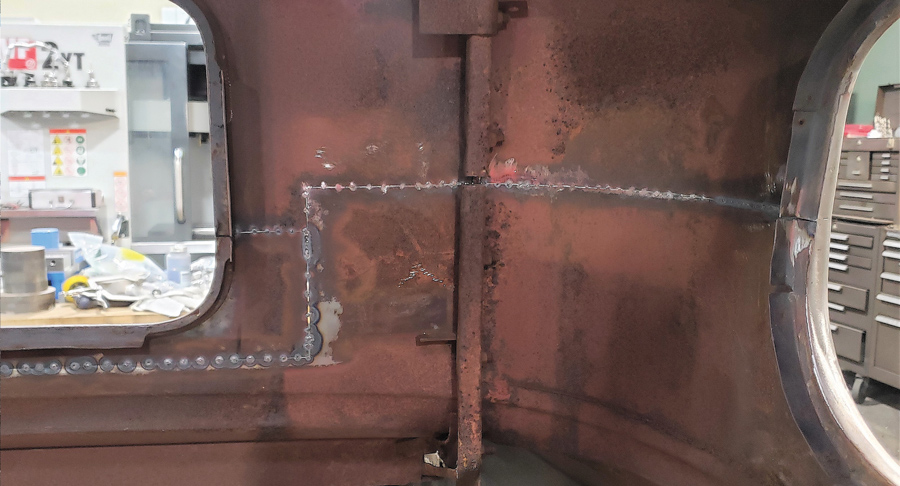
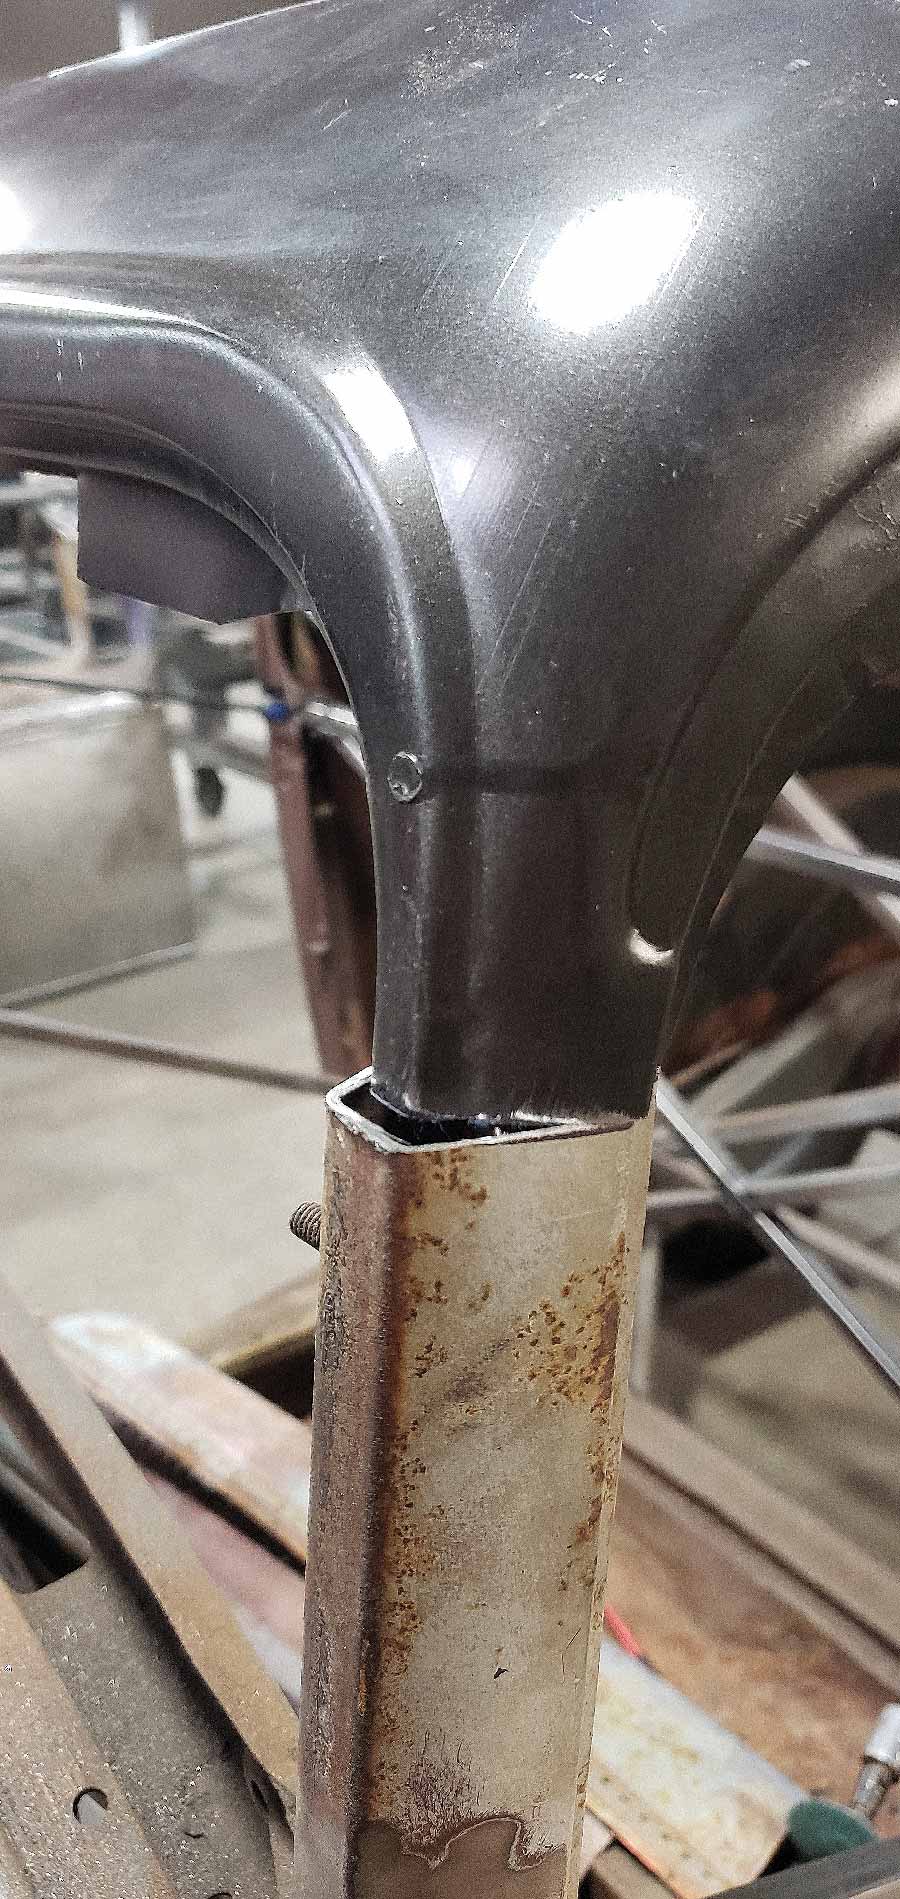
The work was done in three stages: first the rear section (from the B posts back) was chopped, which was a pretty straightforward task. But the tricky part was determining not only where the transition would be from the roof to the door top, but if it would be the Model A or the ’32 piece.

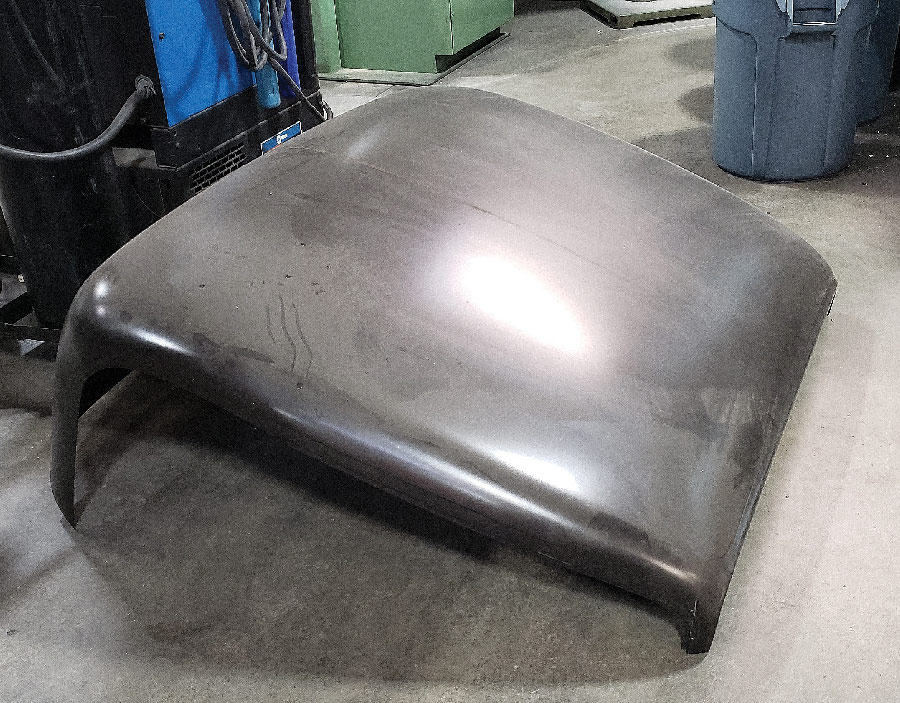
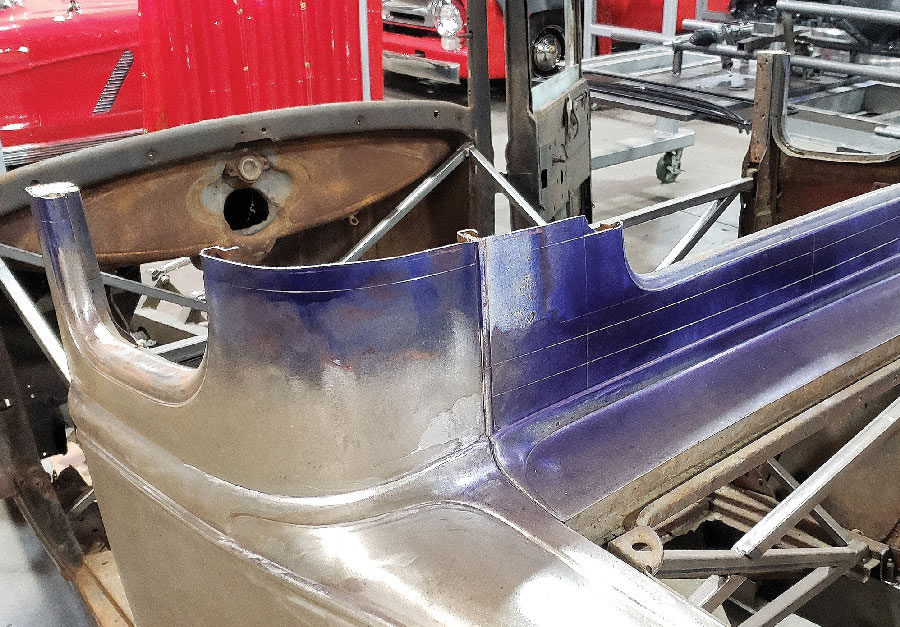
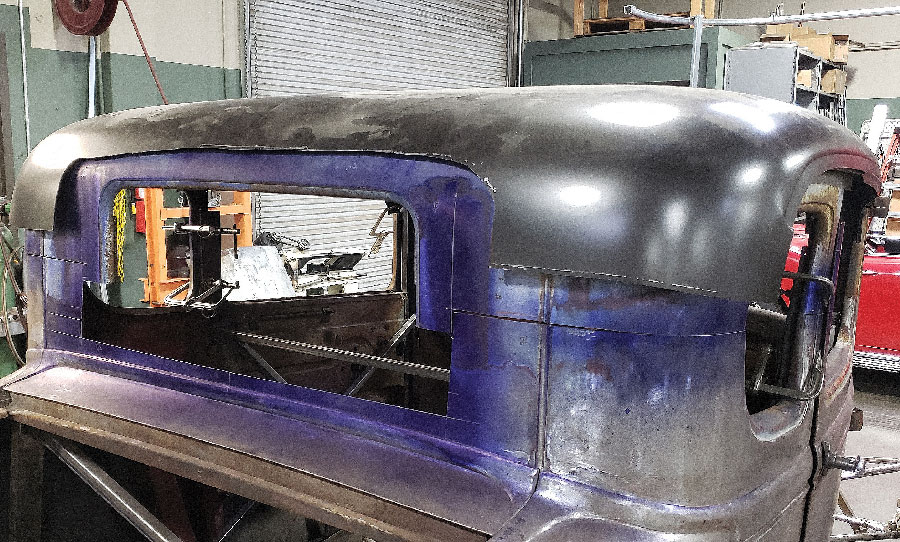
Bosserman was surprised on how close the ’32 roof fit to the old Model A roof—like hand-to-glove in many areas. It turned out the ’32 roof would be cut into four sections: the piece above the windshield, the left and right door top sections, and the middle section (the whole rear section of the ’32 with the window was not used at all).

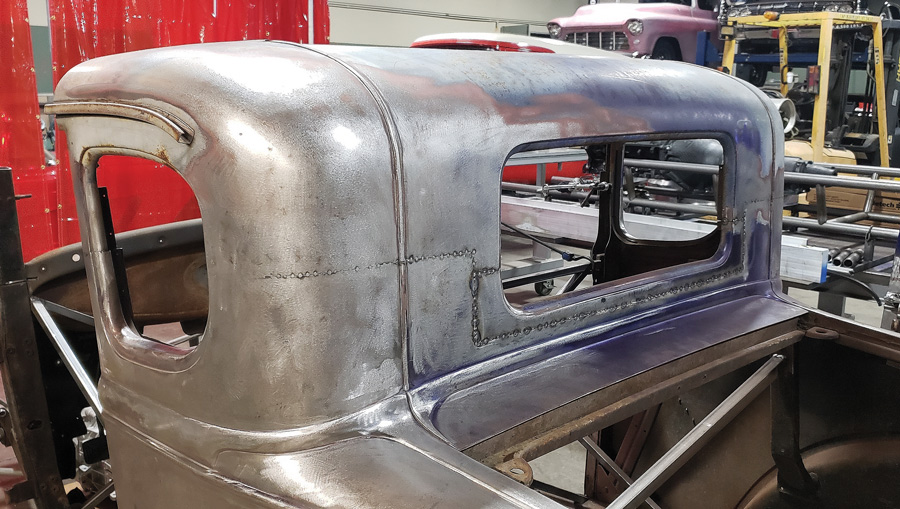
What turned out to be true is the amount of work it took to get this roof redo to look “right” might not yield the response from the general public it deserves. It’s so subtle only die-hard ’32 or Model A fanatics will get what happened, and chances are they’ll only see a portion of it—the work really is just that subtle.

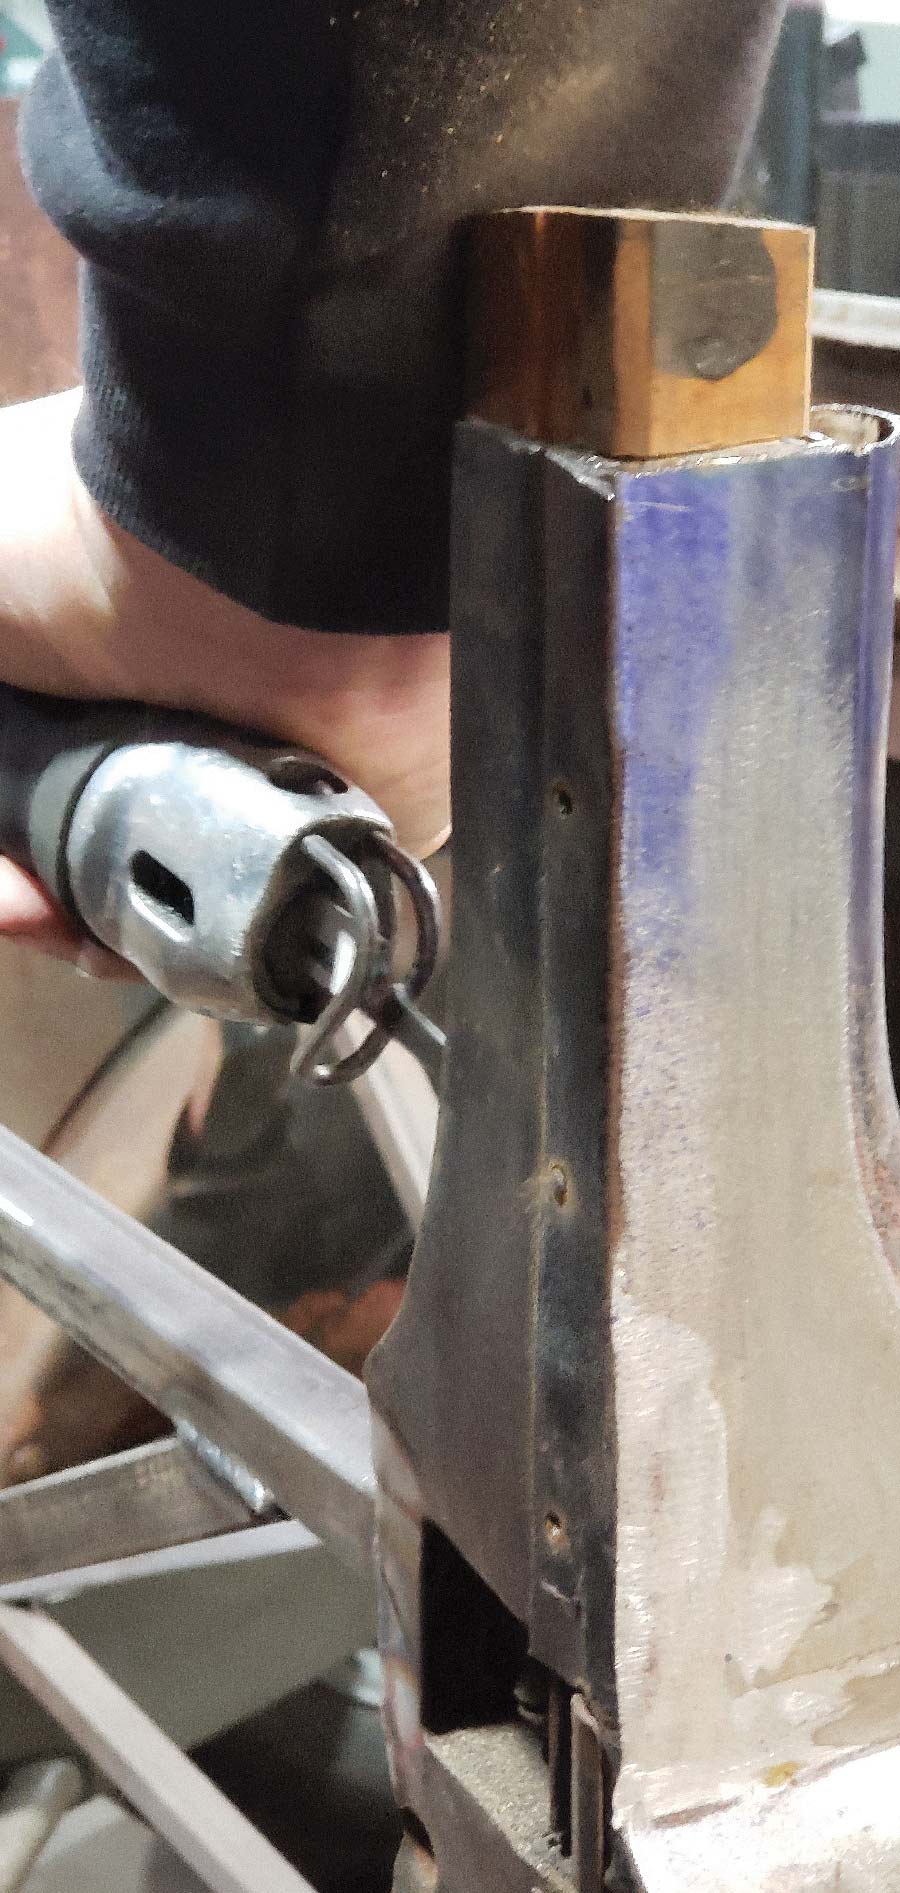
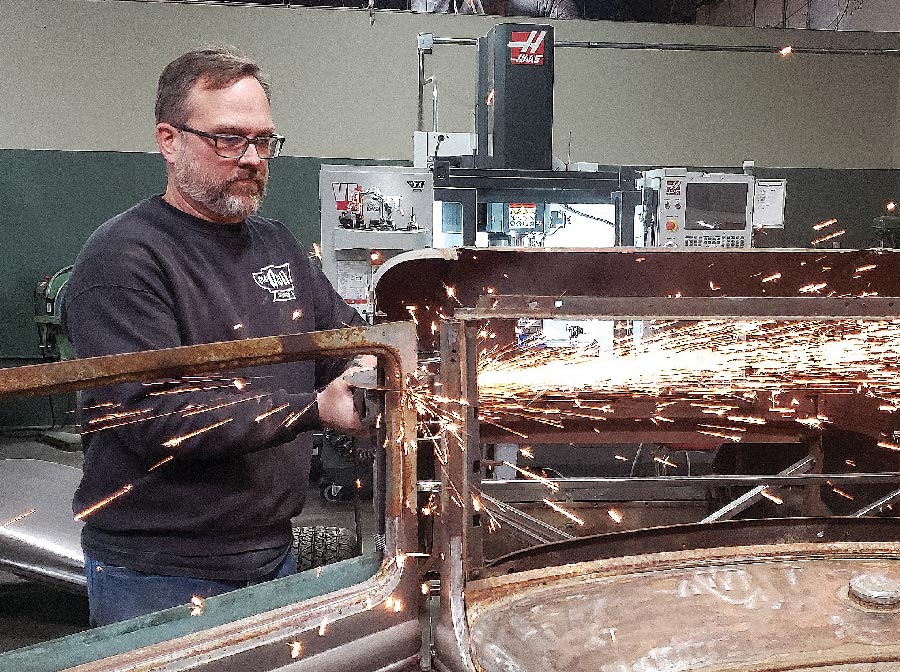
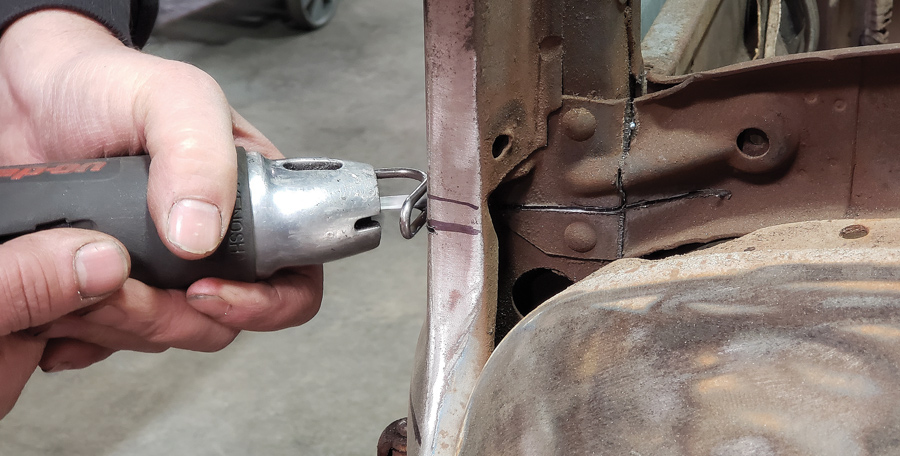
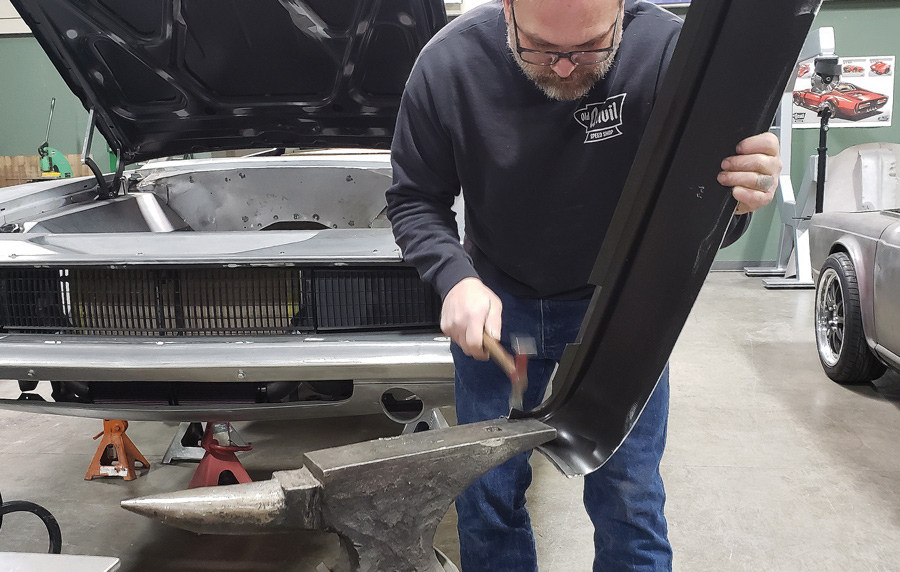
This is Part 1 of 2 on how it was done and how the work evolved as Bosserman surgically added and took away just the right amount of metal to create a chopped ’31-1/2 Model A.

The chassis, with a Kugel IFS, was brought to Old Anvil Speed Shop by the customer along with the 90-year-old Model A body with the roof apron section already removed
1. The chassis, with a Kugel IFS, was brought to Old Anvil Speed Shop by the customer along with the 90-year-old Model A body with the roof apron section already removed.
Blue Dykem ink and scribe marks show how Old Anvil will take an inch out below the rear window
2. Blue Dykem ink and scribe marks show how Old Anvil will take an inch out below the rear window, 2 inches out of the middle of the rear window, and 3 inches in the corners, which yields a combined 3-inch chop overall.
In the corners you can see the intended cut marks laying out the 3 inches to be removed.
3. In the corners you can see the intended cut marks laying out the 3 inches to be removed.
The complete '32 five-window roof stamping, but it’ll soon be cut up into much smaller pieces.
4. The complete ’32 five-window roof stamping, but it’ll soon be cut up into much smaller pieces.
Look at the bracing in the car
5-7. A lot of bracing was added (tying the B-pillars together, the dash to the floor, the quarter-panels diagonally to the opposite framerail, and so on) because when the roof comes off all of these location points will shift without them.
Paul Bosserman, of Old Anvil, is transferring the 3-inch chop marks around the rear corner to the B posts.
8. Paul Bosserman, of Old Anvil, is transferring the 3-inch chop marks around the rear corner to the B posts.
Cutting begins in the corners with an air saw, but cut inside the scribe marks as he’ll do a finer cut with handheld snips later.
9. Cutting begins in the corners with an air saw, but cut inside the scribe marks as he’ll do a finer cut with handheld snips later.
The top comes off; note how the A posts and doors have not yet been marked or cut.
10. The top comes off; note how the A posts and doors have not yet been marked or cut.
A closeup view shows the scribe lines that  Bosserman will follow with the tin snips.
11. A closeup view shows the scribe lines that Bosserman will follow with the tin snips.
The structural strength of a factory Ford coupe is aided by a wood framework (some of which is removed for this work) inside the B posts and throughout the body.
12. The structural strength of a factory Ford coupe is aided by a wood framework (some of which is removed for this work) inside the B posts and throughout the body.
The accuracy of the cuts is critical, as the better the seam lines up with its new counterpart the less corrective welding needs to happen, which is why Bosserman uses tin snips for precise trimming.
13. The accuracy of the cuts is critical, as the better the seam lines up with its new counterpart the less corrective welding needs to happen, which is why Bosserman uses tin snips for precise trimming.
The rear section is set back on the body for a trial fit—and it looks great. Note how the rear window was cut at different points to retain the factory reveals and proportions to the quarter window.
14. The rear section is set back on the body for a trial fit—and it looks great. Note how the rear window was cut at different points to retain the factory reveals and proportions to the quarter window.
Bosserman cuts the forward section of the Model A roof off in order to begin to figure out how it will (or won’t) be incorporated into the new roofline.
15. Bosserman cuts the forward section of the Model A roof off in order to begin to figure out how it will (or won’t) be incorporated into the new roofline.
Using a section of the door that appears to be the most straight (without taper or corners)  Bosserman scribes where the top cut line will be.
16. Using a section of the door that appears to be the most straight (without taper or corners) Bosserman scribes where the top cut line will be.
With a 3-inch section marked,  Bosserman cuts the door tops off.
17. With a 3-inch section marked, Bosserman cuts the door tops off.
The laying of the '32 roof over the Model A roof happened dozens of times, as  Bosserman was figuring out how much of which roof would be needed.
18. The laying of the ’32 roof over the Model A roof happened dozens of times, as Bosserman was figuring out how much of which roof would be needed.
The front view shows how much wider the '32 roof was to the Model A’s, and how the A post location on the ’32 would tell  Bosserman how far the Model A’s windshield post would have to be cut and leaned back.
19. The front view shows how much wider the ’32 roof was to the Model A’s, and how the A post location on the ’32 would tell Bosserman how far the Model A’s windshield post would have to be cut and leaned back.
In order to find where the '32 best mates up with the Model A roof  Bosserman begins to trim away multiple sections.
20. In order to find where the ’32 best mates up with the Model A roof Bosserman begins to trim away multiple sections.
Clamping the '32 roof to the Model A windshield posts helps  Bosserman determine what the car’s windshield height would be.
21. Clamping the ’32 roof to the Model A windshield posts helps Bosserman determine what the car’s windshield height would be.
Bosserman begins a pie cut on the windshield posts to start leaning them back, but doesn’t need to cut the front of the post as it’ll be retained.
22. Bosserman begins a pie cut on the windshield posts to start leaning them back, but doesn’t need to cut the front of the post as it’ll be retained.
The door has to be left open so the windshield posts can lay back.
23. The door has to be left open so the windshield posts can lay back.
A bungee cord on both A posts helps pull them back before the forward roof section is added.
24. A bungee cord on both A posts helps pull them back before the forward roof section is added.
With the rear section figured out to his satisfaction, Bosserman begins to stitch-weld the rear section together.
25. With the rear section figured out to his satisfaction, Bosserman begins to stitch-weld the rear section together.
The Model A’s vertical seam reveal (that comes up from the decklid opening to the top of the roof) is in place now but will be removed later.
26. The Model A’s vertical seam reveal (that comes up from the decklid opening to the top of the roof) is in place now but will be removed later.
Using tape to show where he will cut the front few inches of the '32 roof off allows Bosserman to begin lining it up with the body’s new A post location.
27. Using tape to show where he will cut the front few inches of the ’32 roof off allows Bosserman to begin lining it up with the body’s new A post location.
Bosserman was surprised how well the '32 roof fit side to side with no modifications, and the door side of this area lined up perfectly—only the face will need to be addressed.
28. Bosserman was surprised how well the ’32 roof fit side to side with no modifications, and the door side of this area lined up perfectly—only the face will need to be addressed.
Bosserman uses his great-grandfather’s anvil to help hammer out the shape needed to fit it to the top of the A posts. The second part of this story showing how the body was finished will be in the next issue of Modern Rodding.
29. Bosserman uses his great-grandfather’s anvil to help hammer out the shape needed to fit it to the top of the A posts. The second part of this story showing how the body was finished will be in the next issue of Modern Rodding.
Old Anvil Speed Shop
(657) 223-9889
oldanvilspeedshop.com
Modern Rodding
VOLUME 2 • ISSUE 15 • 2021