Modern Rodding Tech
InTheGarageMedia.com
1. Jack Fields of Kraftsman Autoworks in Torrance, CA, is making sure the surface (in our case the roof) is free of any dirt or other particles. He’s already used 600-grit wet-dry paper to scuff up the surface so that the new paint will bond (adhere) to the surface. Once the sanding is done a degreaser is used to remove any material, dirt, and such from the roof.
Jack Fields of Kraftsman Autoworks in Torrance, CA, is making sure the surface (in our case the roof) is free of any dirt or other particles.
1. Jack Fields of Kraftsman Autoworks in Torrance, CA, is making sure the surface (in our case the roof) is free of any dirt or other particles. He’s already used 600-grit wet-dry paper to scuff up the surface so that the new paint will bond (adhere) to the surface. Once the sanding is done a degreaser is used to remove any material, dirt, and such from the roof.
It’s a Fine Line Title Typography
It’s a Fine Line
PART 1: Custom Panel Painting Provides a Novel Touch
By Brian Brennan Photography & Videography by TIM SUTTON
T

o get a better feel for what it takes to add your own custom touch through panel painting and added lace artwork to your hot rod or custom we visited with Jack Fields of Kraftsman Autoworks in Torrance, California. Fields regularly uses House of Kolor paints and as luck would have it, Fields had a station wagon going through the paint process and its owner wanted something special for the roof. (We are seeing more and more custom panel and lacework painting done to roofs of cars while the remainder of the paintjob is straightforward. It’s proven particularly popular on station wagons, customs, and Gassers builds.)

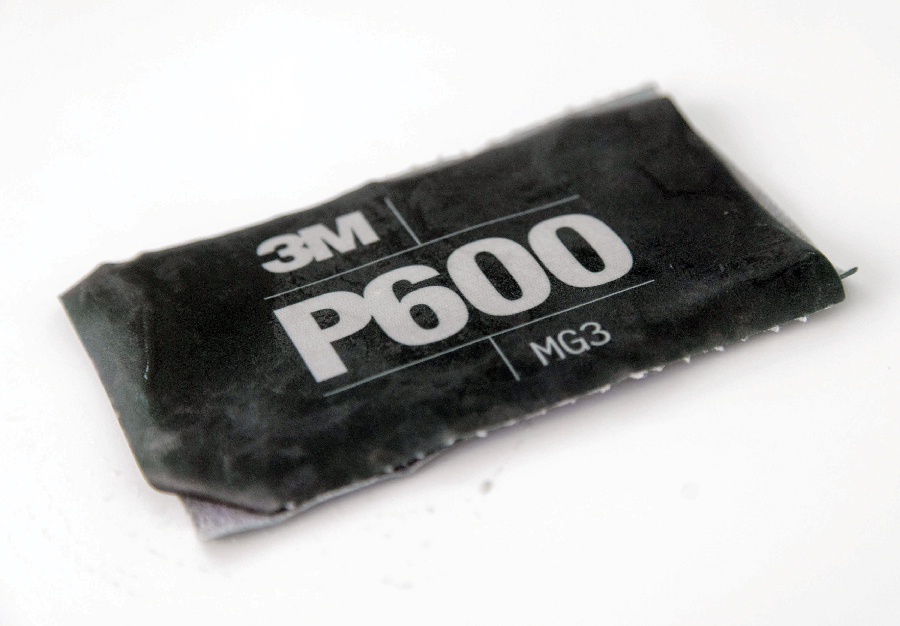
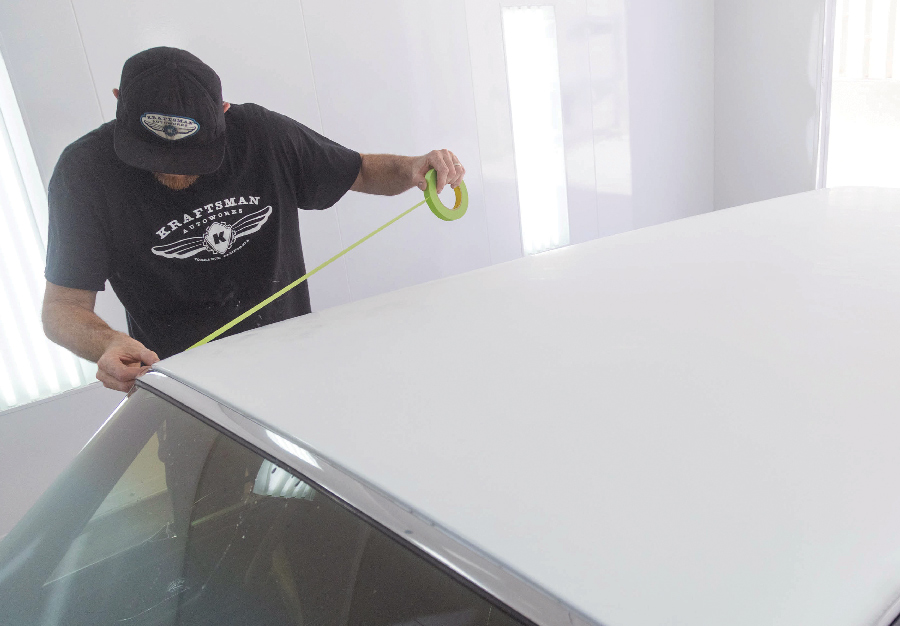
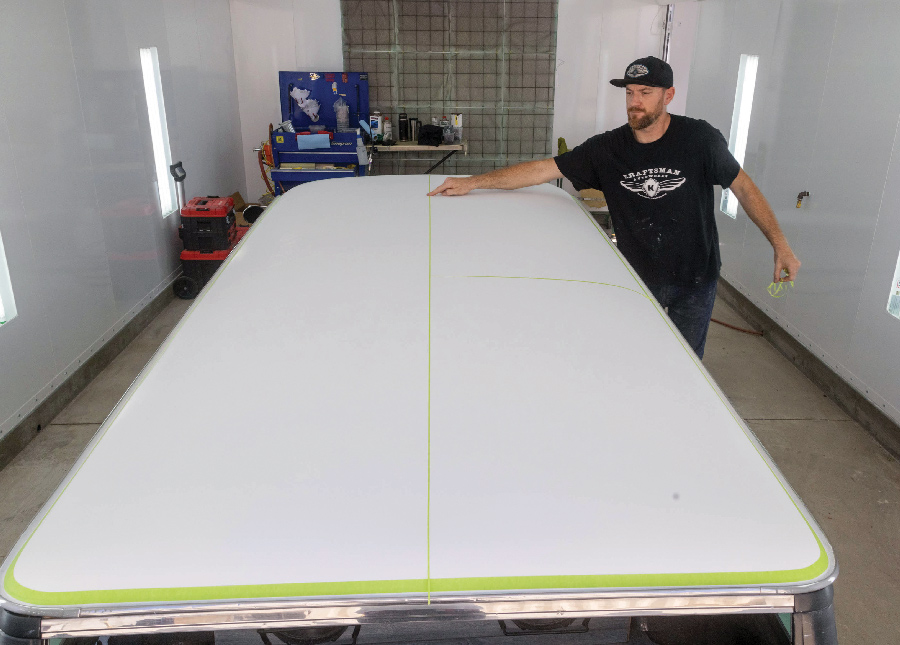
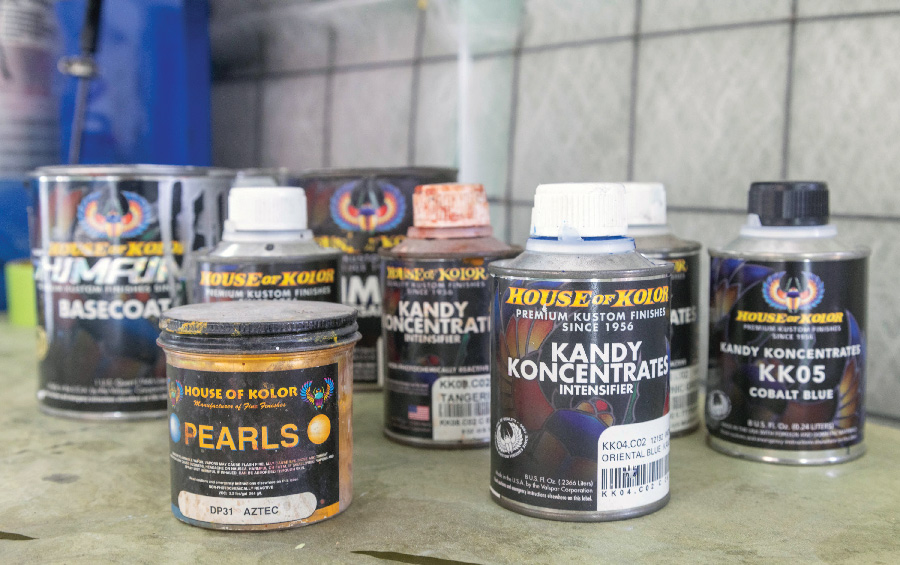
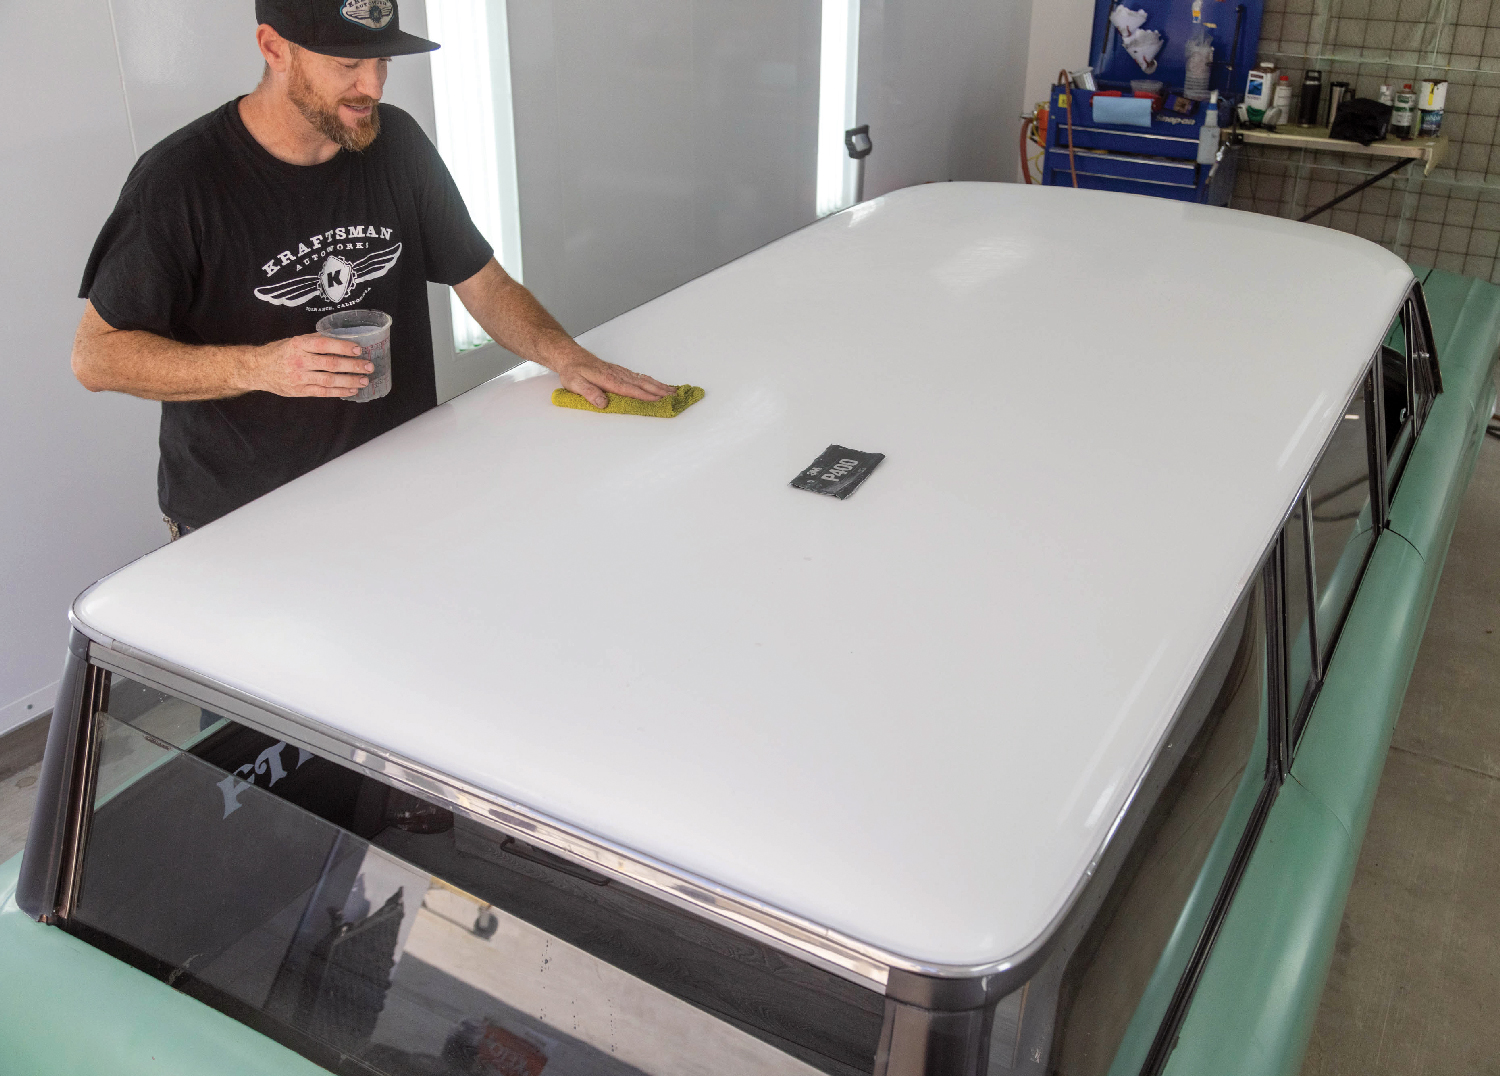
We followed along and watched Fields who has the experience, creativity, and patience to do this type of work. Basically, as with any paintwork, it’s all in the preparation. Here Fields preps the roof of this wagon. He began with a degreaser to make sure that the surface is clean and free from any and all “baddies.” Next up he’s now going over the roof (or the surface to be painted) with 600-grit paper wrapped around a soft sanding block. If there was some “orange peel” to work around then you might start with a 400-grit paper. The intent is to knock off the shine and prep the color (there’s no clear sprayed over the paint at this time) so that the new designs can be sprayed on and it will “grip” (adhere to) the base color. House of Kolor (HOK) offers a solvent-based, California-compliant white paint that was used on our project wagon. (Many other companies have gone with waterbase paints but HOK has achieved success utilizing a solvent-based paint.) Fields also used Kandy Koncentrates, which was developed by HOK to intensify the base color. It will also speed up your spray process by using it to tint your base color and sealer. (It is also recommended for airbrushing.)

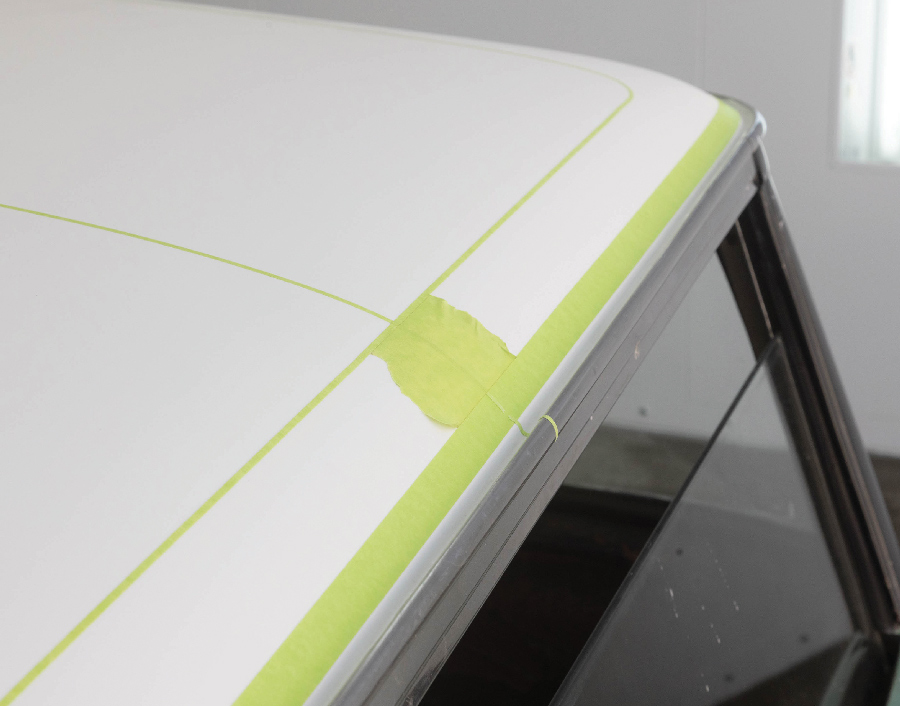
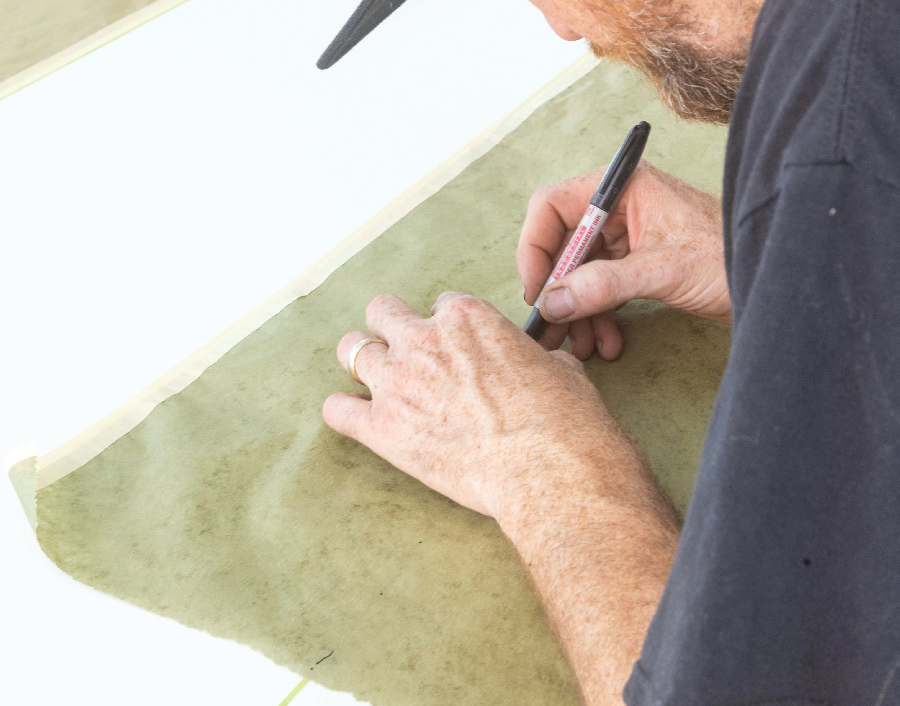
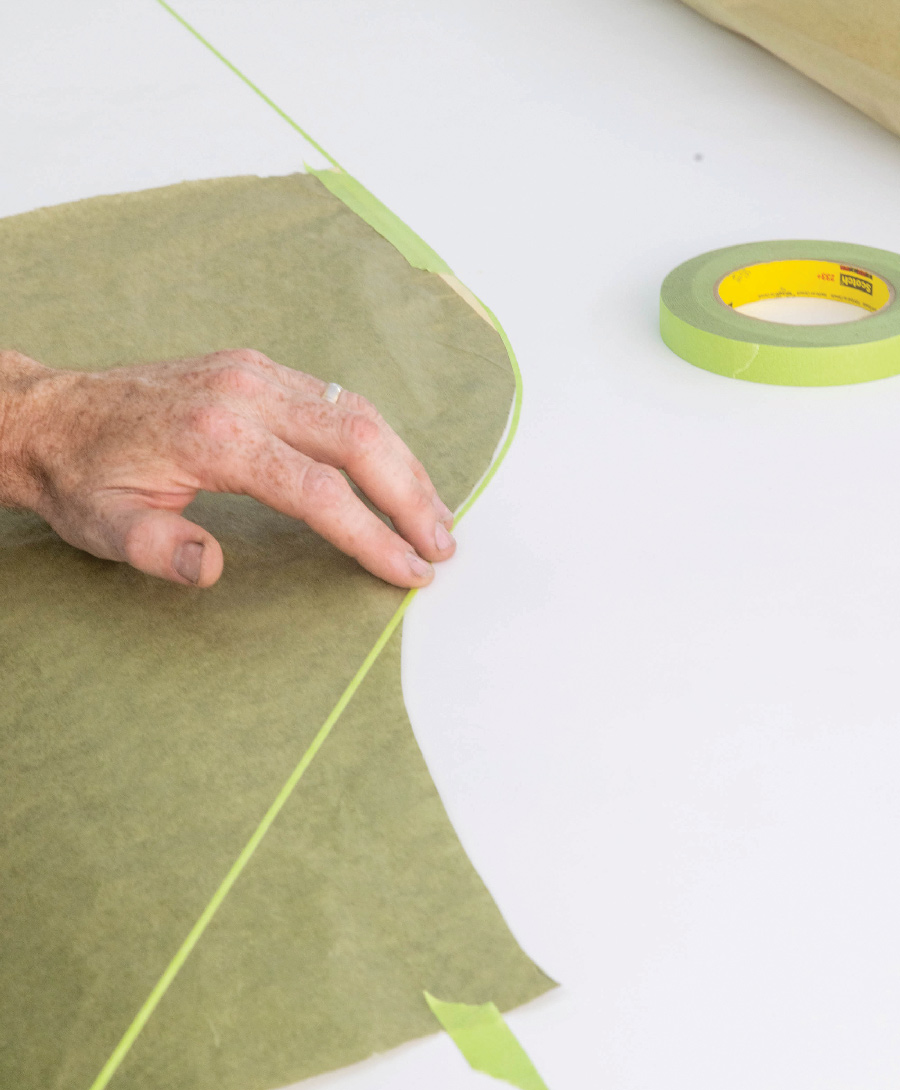
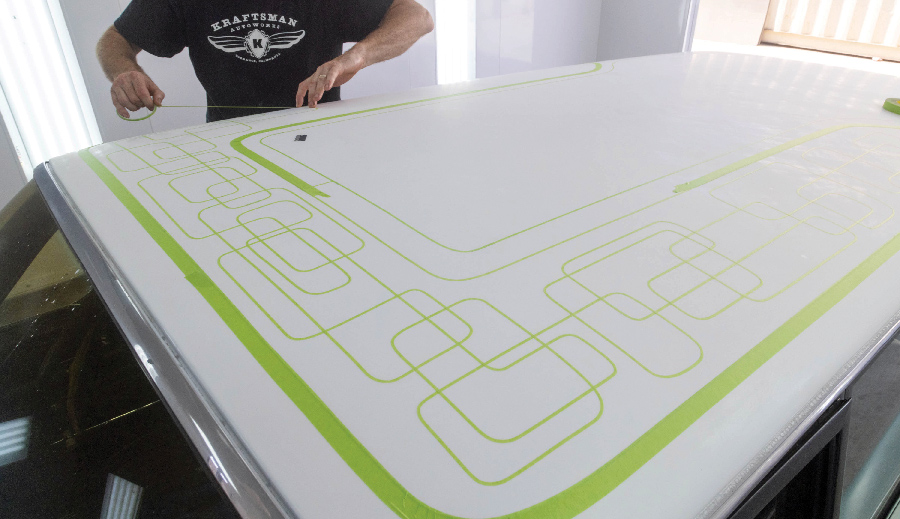
After degreasing and sanding comes the initial design phase. Here Fields begins the fun part, laying out the design, which in this case relies on a great deal of free-form art so that’s why you go to someone like Fields who has an artistic sensibility and can conceptualize the result, knows how to get there, and what it will look like.

You will notice that he starts with 3/4-inch masking tape that’s compliant and offers a nice straight line. Look closely and you will see that he has positioned his tape approximately 3/4 inch away from the rain gutter. He didn’t want any additional paint to flow into the rain gutter area so it will be masked off. Next up the thin masking tape is used to find the centerline of the roof through the use of two lines of tape laid down; one will be to find the roof’s width centerline while the second will find the roof’s length centerline. Fields does this by laying the tape all the way across the roof while selecting the same ending point on each side. Then he will take one side and peel it back and lay the tape over itself until both ends are evenly matched. The center point of the tape (and roof) will then be that point where the tape begins to go back over itself. This is very important if any of your panels or artistic designs are symmetrical. Of course, if your designs are to be asymmetrical then having the centerline may be less of a consideration, but it’s a good reference point to have.

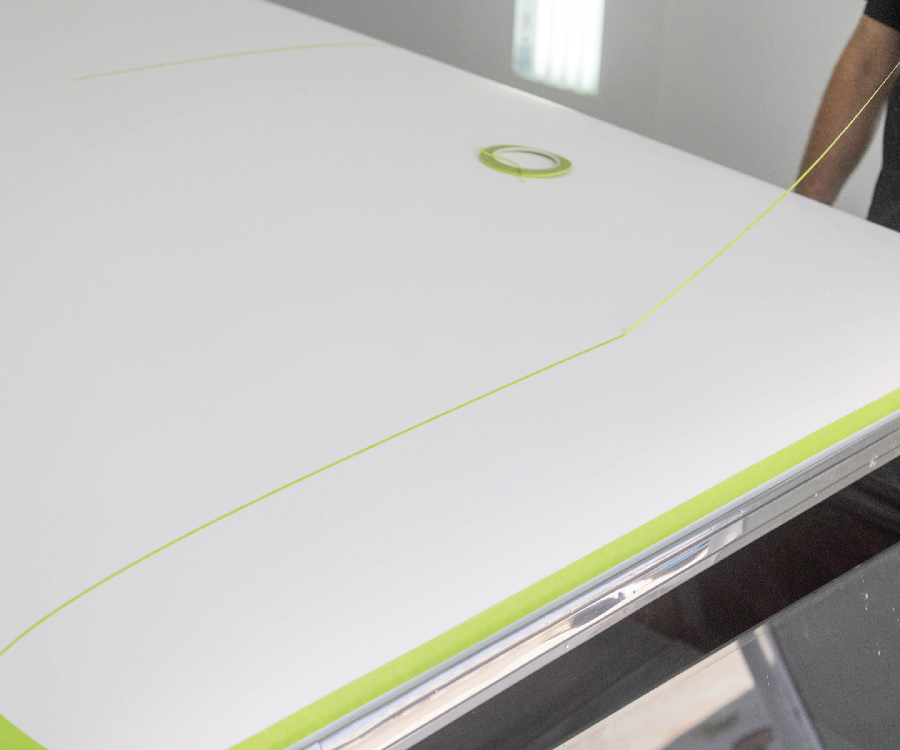
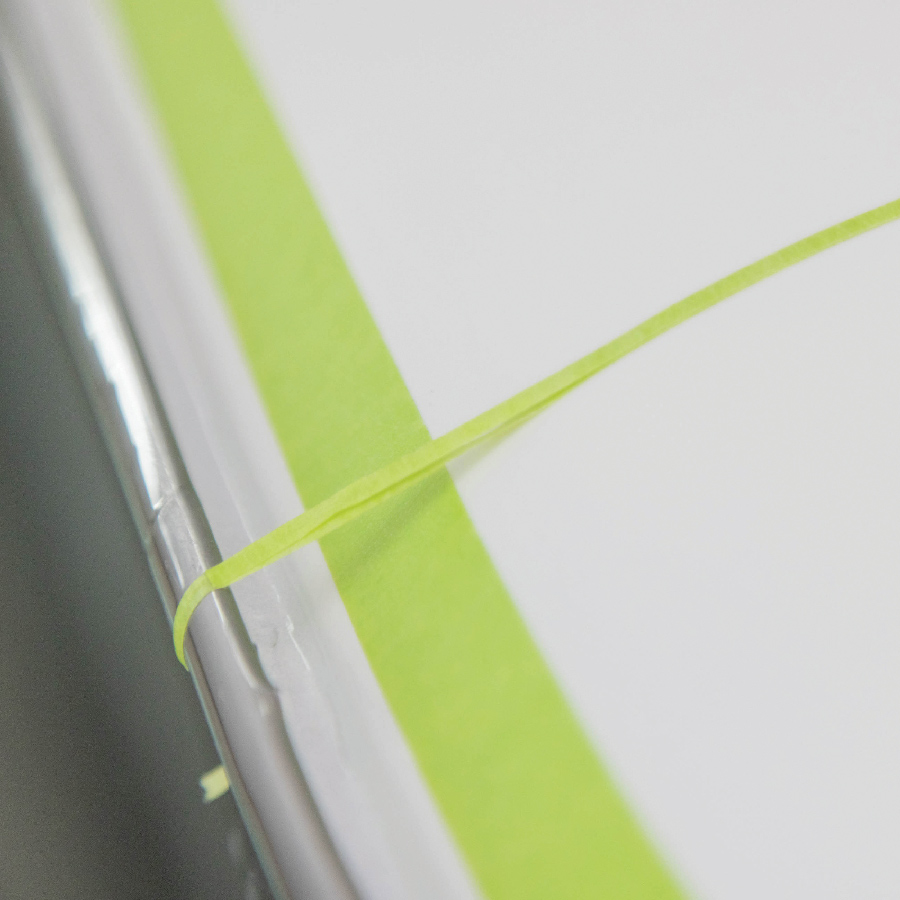
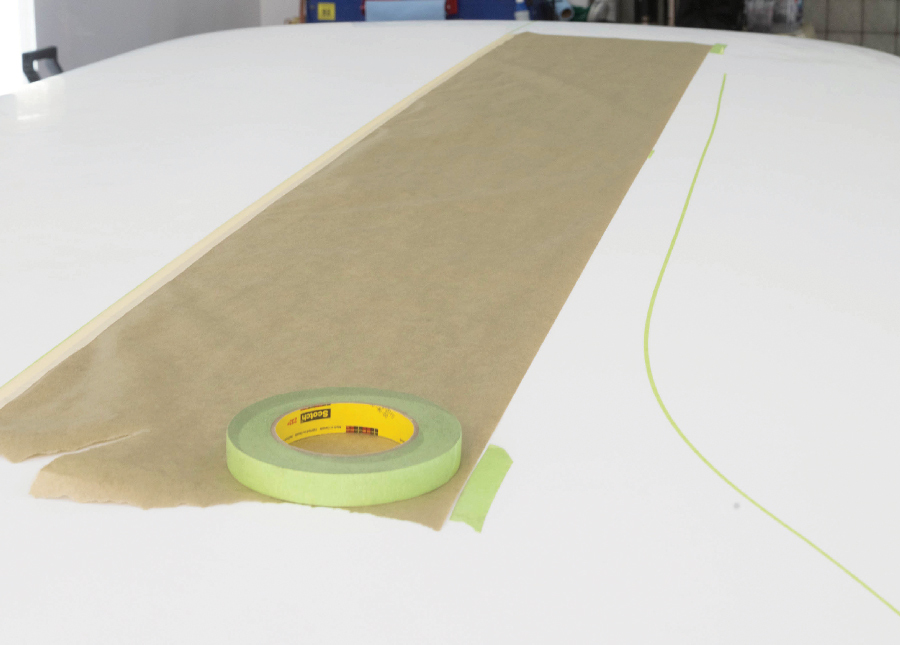
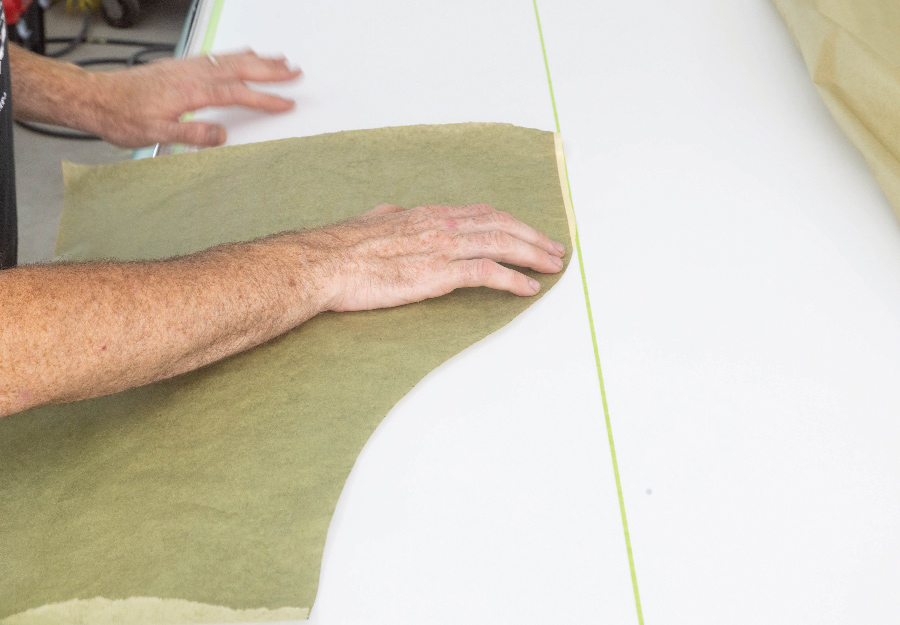
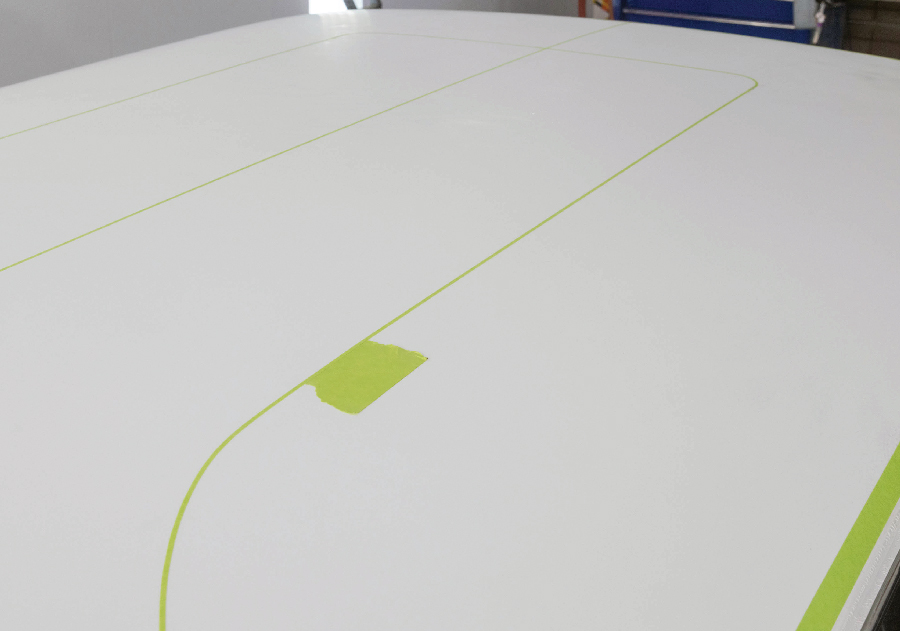
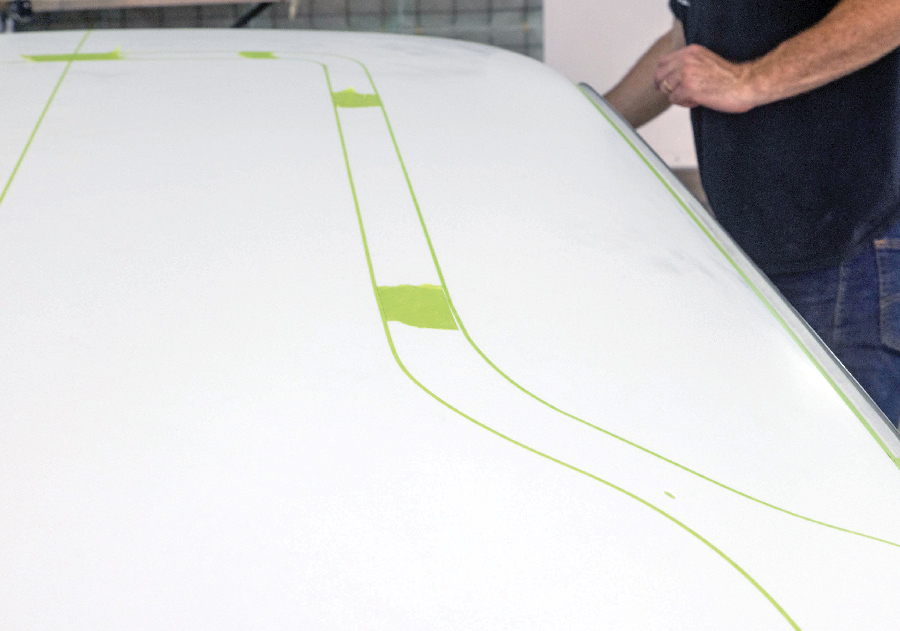
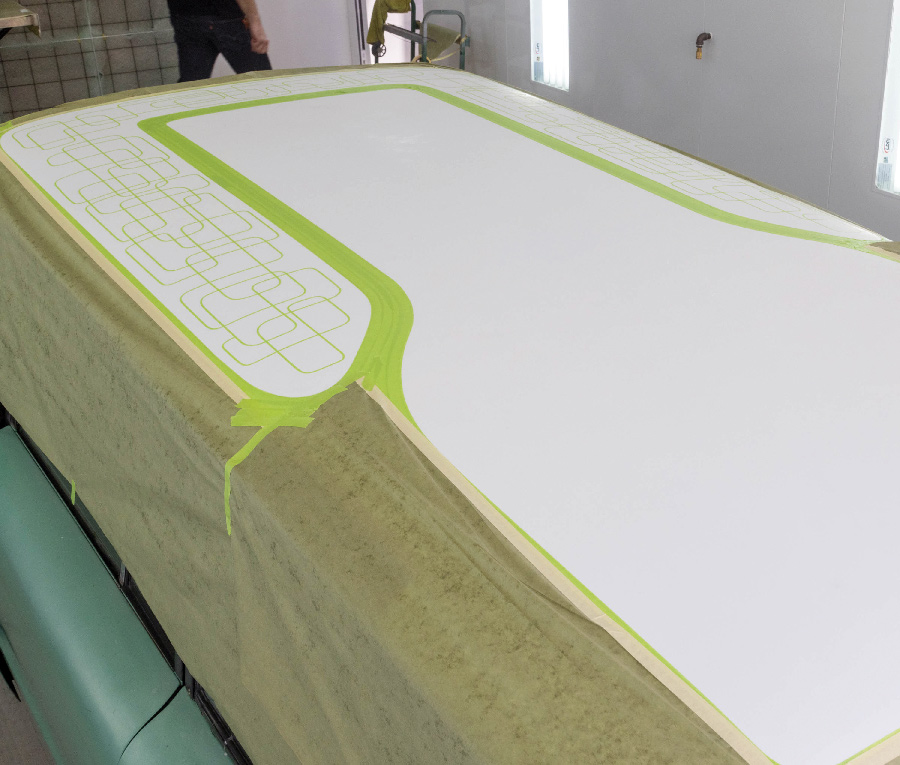
Fields has a pair of parallel and free-flowing lines as well as symmetrical panels in his roof design and as such he needed a way of keeping the parallel lines to stay parallel even though they bend during their flow from front to the rear of the roof. Here he uses a handful of pieces of 2-inch-wide masking tape to maintain spacing between the parallel lines as they traverse the roof. From here it’s a series of trial-and-error shapes to find out what shapes yield the design most desirable. Fields also uses a series of “endless lines” that gives the asymmetrical shapes that occur.

Fields selected the use of HOK candy-colored paints because the roof was done in a white pearl that has a metallic in it. The candy is a transparent paint so that the pearlescent color of the flake will stand out. From here when you spray the candy colors over the metallic it will reflect back through the pearl. Next month we will deal with the painting and lacework.

600-grit paper
2. Fields used 600-grit but if there is visible orange peel or any imperfections in the paint you may want to begin with 400-grit paper.
Here Fields is beginning the masking process.
3. Here Fields is beginning the masking process. By establishing the perimeter of his “canvas” he lays down tape around the outer edge, keeping it 3/4 inch away from the rain gutter as he didn’t want any additional paint buildup in this area.
This tape that runs from side-to-side and one down the middle will determine the centerline of the roof, providing the areas intended for symmetrical shapes.
4. This tape that runs from side-to-side and one down the middle will determine the centerline of the roof, providing the areas intended for symmetrical shapes.
 the thin fineline tape is doubled over itself
5. If you look very closely you will see that the thin fineline tape is doubled over itself. When the edges are matched up then go to where the tape bends back over itself as that will be the middle, your roof’s centerline.
Here’s the main line that runs down the center of the roof from the windshield to the tailgate yielding the centerline that was achieved by the tape that ran across the top from the driver side to the passenger side.
6. Here’s the main line that runs down the center of the roof from the windshield to the tailgate yielding the centerline that was achieved by the tape that ran across the top from the driver side to the passenger side.
Masking paper and tape is now used to covert those areas that will receive other colors and designs.
7. Masking paper and tape is now used to covert those areas that will receive other colors and designs.
the edge tape and a inner thin line that runs the full parameter of the roof.
8. Here you see the edge tape and a inner thin line that runs the full parameter of the roof. Note the wide piece of tape between these two lines? That guarantees that the spacing between the two lines will remain constant around the parameter.
Fields is beginning to lay out the first of several designs he wants on the roof.
9. Fields is beginning to lay out the first of several designs he wants on the roof.
Here  Fields has cut the shape he wishes out of the masking paper and is now positioning it and will mask the tape down into its final position.
10. Here Fields has cut the shape he wishes out of the masking paper and is now positioning it and will mask the tape down into its final position.
Once the shape is transferred to the masking paper then he uses 1/8-inch fineline tape to hold the paper in position. The fineline tape will serve as the edge.
11. Once the shape is transferred to the masking paper then he uses 1/8-inch fineline tape to hold the paper in position. The fineline tape will serve as the edge.
Tape along the roof of the car
12-13. Before any masking is done all of the shapes are in position and the 2-inch-wide masking tape is used to set up where the inside line will be placed. The wider pieces of tape are used every so often to maintain the spacing between the two painted areas.
Fields begins to lay down his endless lines yielding a myriad of shapes within the area to be painted.
14. Here the fun starts as Fields begins to lay down his endless lines yielding a myriad of shapes within the area to be painted.
the outer edges are down and the center area is masked off.
15. OK, the outer edges are down and the center area is masked off. It’s this center area that will receive the next treatment, which is the laying down of color and the lace artwork.
Fields uses House of Kolor paints and here is an example of the pearls and “Kandy Koncentrates” that he will mix in. Kandy Koncentrates was specially designed by HOK to solely intensify color.
16. Fields uses House of Kolor paints and here is an example of the pearls and “Kandy Koncentrates” that he will mix in. Kandy Koncentrates was specially designed by HOK to solely intensify color.
House of Kolor
houseofkolor.com
Kraftsman Autoworks
(424) 271-5930
kraftsmanautoworks@gmail.com
Modern Rodding
VOLUME 2 • ISSUE 15 • 2021