Modern Rodding TECH

InTheGarageMedia.com

(Left to right, up and down) Mr. Greene, Derek, Zach, Mrs. Rotten, Mr. Hunter, Tharen, Brock, and Rodney Bauman
1. (Left to right, up and down) Mr. Greene, Derek, Zach, Mrs. Rotten, Mr. Hunter, Tharen, Brock, and some guy who resembles yours truly. Now let’s get technical, shall we?
A in Auto Shop
High School Hot Rodders Install a Rearend
By “Rotten” Rodney Bauman Photography by THE AUTHOR
I

f you as a youngster were fortunate enough to attend any type of high school industrial arts classes, you’ll more-than-likely acknowledge their value. I’ll tell you straight; back in the mid ’70s I gained from my own experience. Sadly, things are different today. High school vocational courses where heads and hands work together (apart from just keyboards and screens) have become fairly rare exceptions.

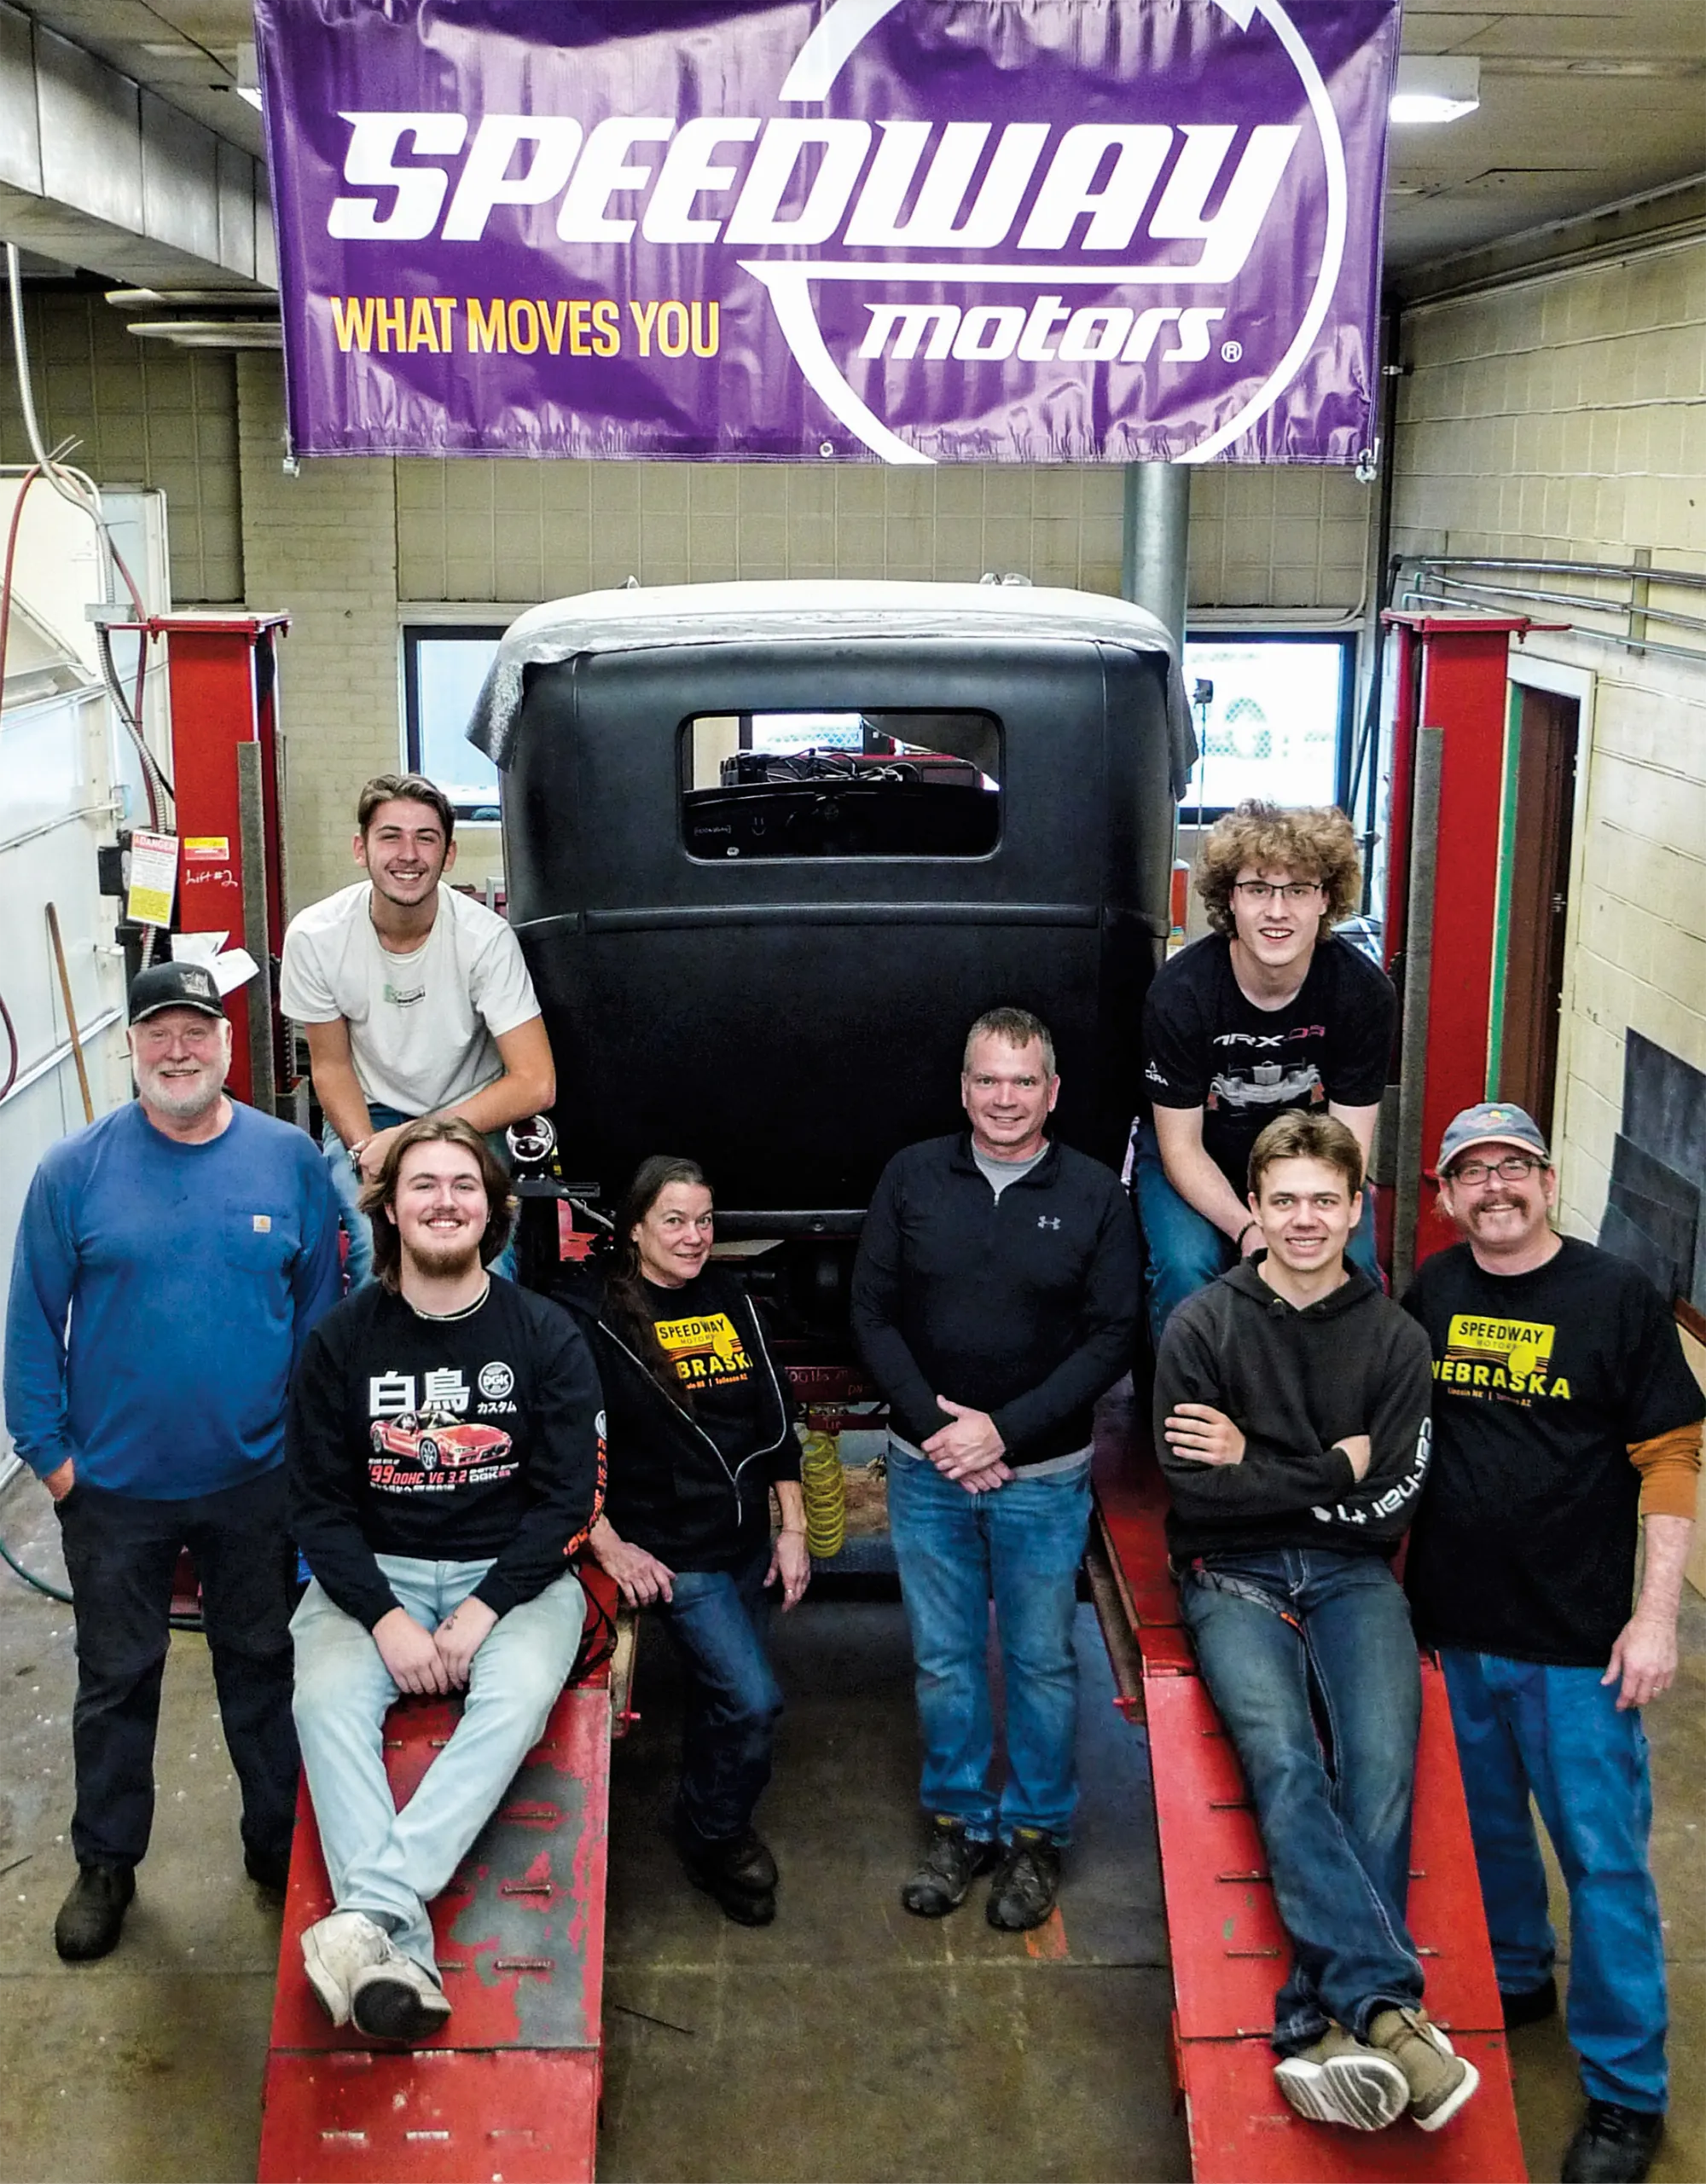
When our rod-building buddy Greg Greene clued us into a long-ongoing ’28 Model A Tudor project in the Auto Shop of Montana’s Flathead High, Mrs. Rotten and I were intrigued. Upon our first visit, we knew we’d return. We couldn’t help but get involved—and we’ve continued going once or twice a week.

Before we go further, let’s talk about the teacher, Rob Hunter. He’s been right there at Flathead High since 2001. For Mr. Hunter, juggling all the high school grade levels, with Auto 2 and Auto 3 in the same building at the same time, adds up to a heaping-full plate.

Next, let’s talk about the hot rod project. It’s been there longer than the teacher—as far back as the ancient ’90s. We’re told it started out with a shortened ’80s GM intermediate chassis—yep, you read that correctly.

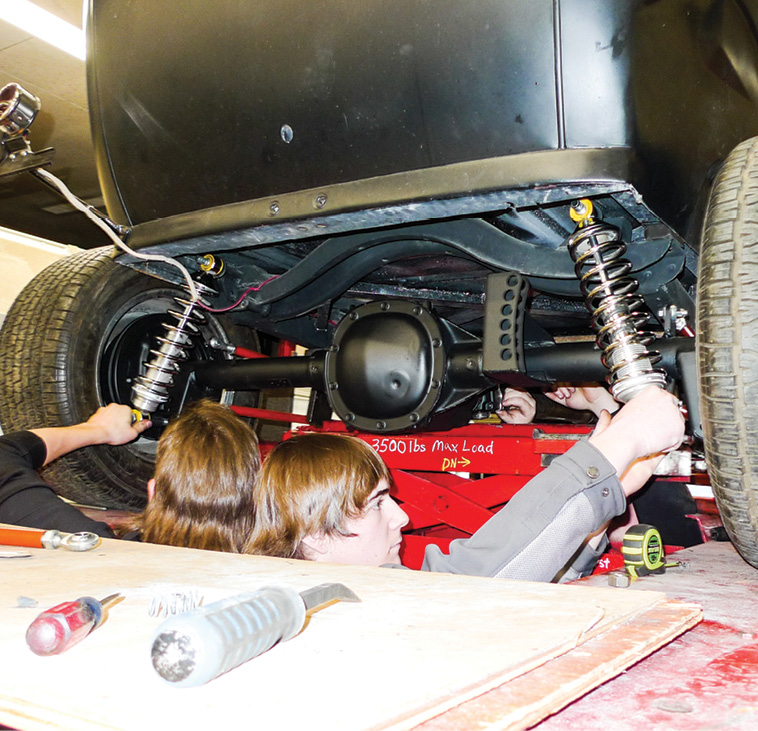
In its current stage of reconstruction, the ’28 Ford Tudor build is based on a properly boxed Model A frame. Between the ’rails resides a familiar Chevrolet 350/350 combination with a 10-bolt GM differential bringing up the rear.

The project’s finished bodywork is actually very good. Come to find out, it was our friend Scott Christensen of Rocky Mountain Rod & Custom who’d guided students through that phase years ago.

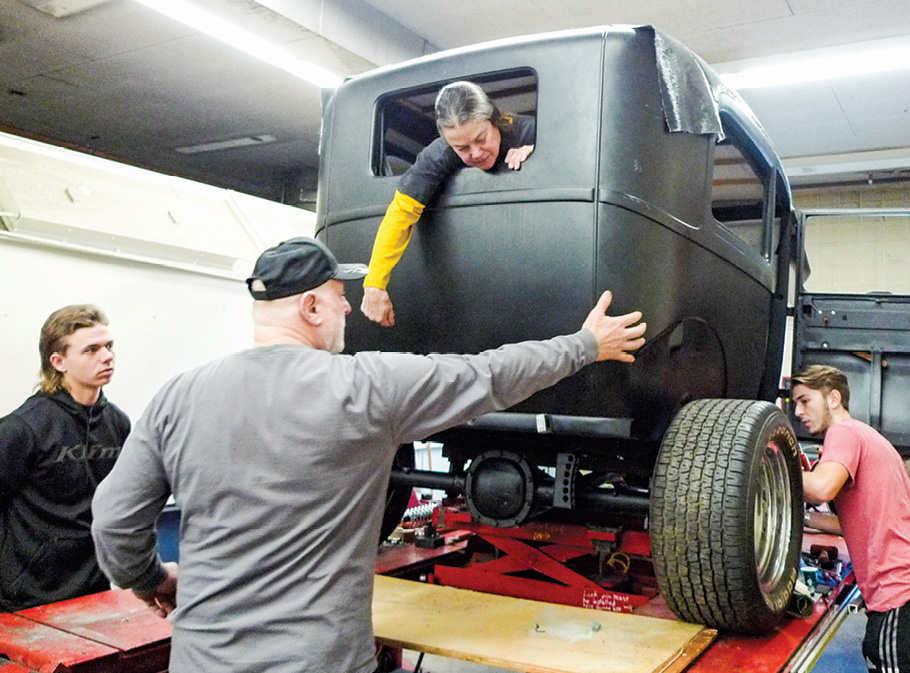
Now, let’s talk about The Class Of 2023. With eagerness to listen and learn, this group exudes natural, hands-on ability. They’re car-smart, too, but at one point it did become apparent that they hadn’t been raised by “traditional” hot rodders. When one suggested a high-tech crate engine, it seemed it was time for a talk. As I began, students gathered—and heads nodded as they were clearly paying attention.

“You guys are going to some trouble to build a hot rod here. You wouldn’t want it to go out of style right away, would you? For that, the best prevention is steering clear of current trends. On the other hand, if you study hot rod history, you’ll learn that past trends can make lasting comebacks. A well-executed ’50s- or ’60s-style build, for example, won’t go out of style a second time.

“For style guidance, a stack of old magazines can be helpful. Just pick a year, or a span of two or three, and try to adhere loosely to a theme from a specific era. Here your A Tudor project is already a bit dated, but mostly in one minor respect. Before we go there, let’s discuss what’s already right.

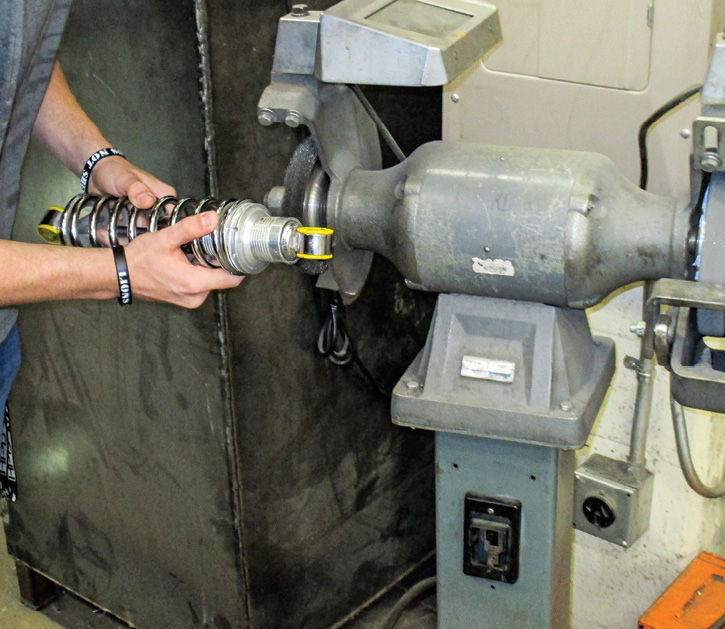
“Having been available to hot rodders since the mid ’50s, a small-block Chevrolet like the 350 you already have will continue to be an acceptable mill. Front and rear, your existing suspension is kit-form stuff from Speedway Motors. It’s designed for installation ease and strength, but style-wise it’s appropriate, too. As it all came from Speedway, your 4-inch-drop I-beam and visible hairpins can be considered timeless, so you’re good there. For your build, perhaps apart from rolling stock, there’s not much backing up to do.”

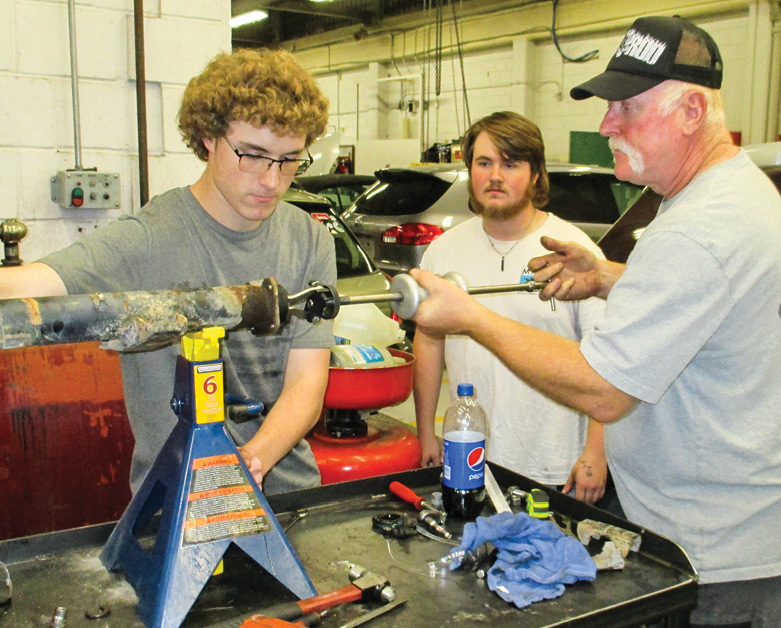
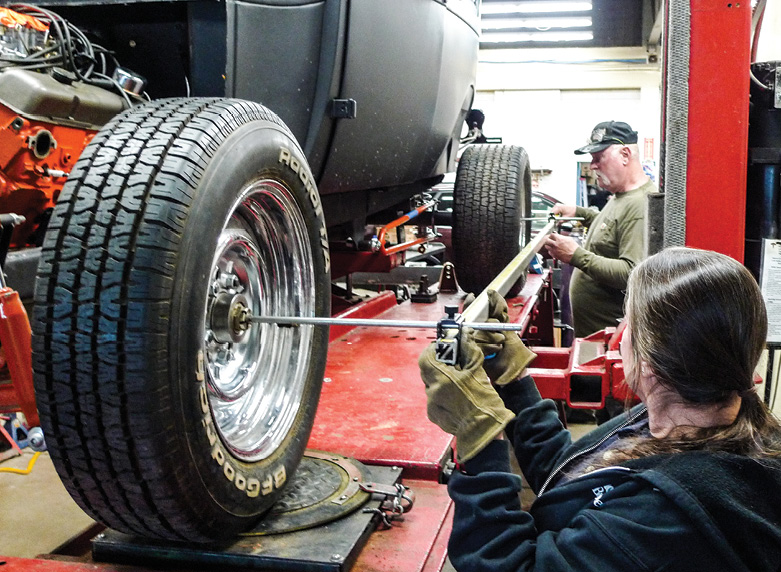
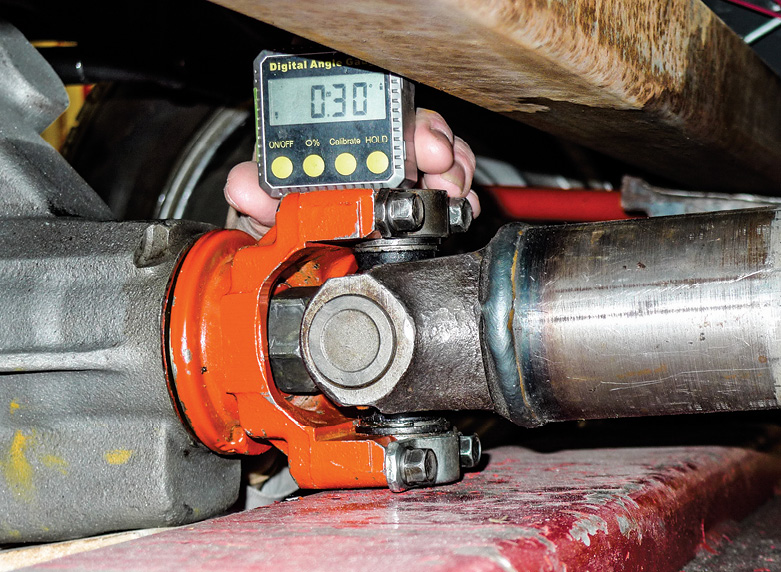
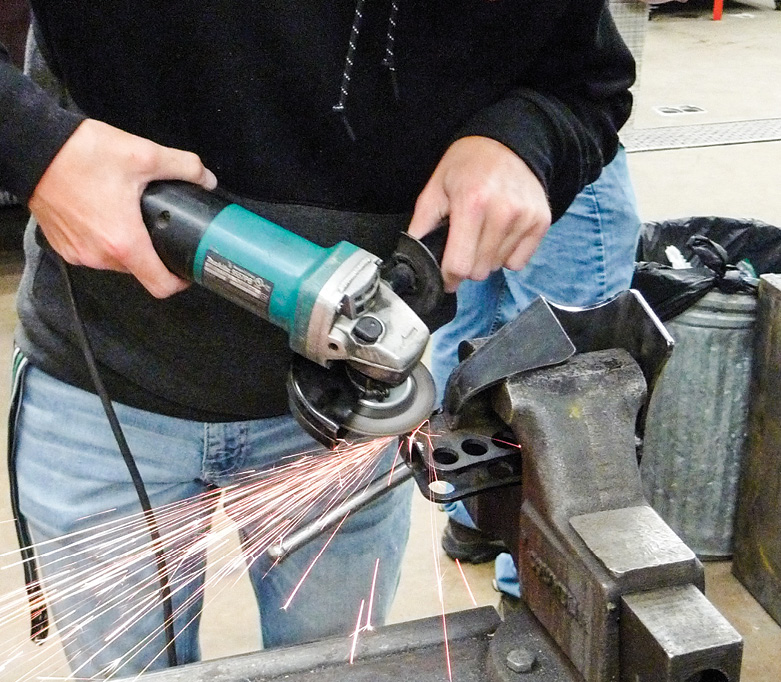
Once our little talk concluded, sparks took flight as the first order of business was to swap in a better rearend. Getting a clean restart wasn’t difficult. There was an appropriate-fit GM differential assembly sitting just outside the building so students brought it in for visual inspection of its internal workings. As it turns out, it’s positraction with a more-favorable 3.73:1 gear ratio, so following its rebuild something will indeed be gained.

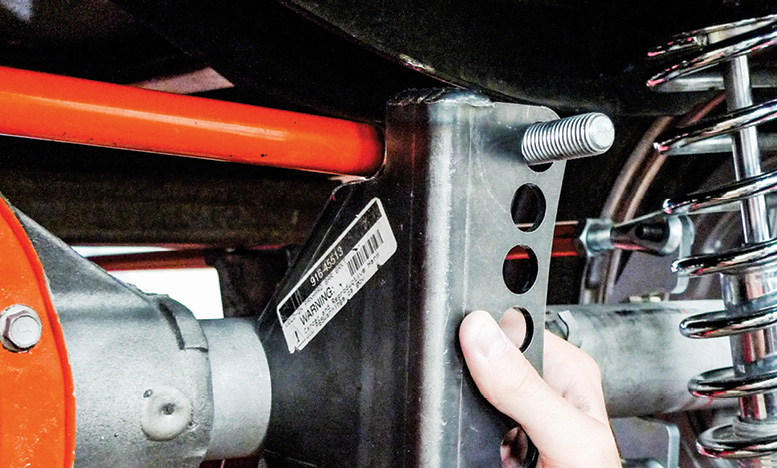
Since the previous rearend’s weld-on brackets would be difficult to salvage for reuse, Mr. Hunter placed another order with Speedway Motors for exact duplicates—and a better-fitting Panhard rod bracket. Wouldn’t you know that the order arrived in time for our next visit.

In a nutshell, this year’s goal is to make the project driveable enough to safely run in an upcoming local parade—mainly so the group’s seniors get something for their efforts prior to graduation. Providing next year’s students show similar interest and aptitude, I’ll personally propose that we scatter the project for paint. First things first, there’s some fabrication work to do.

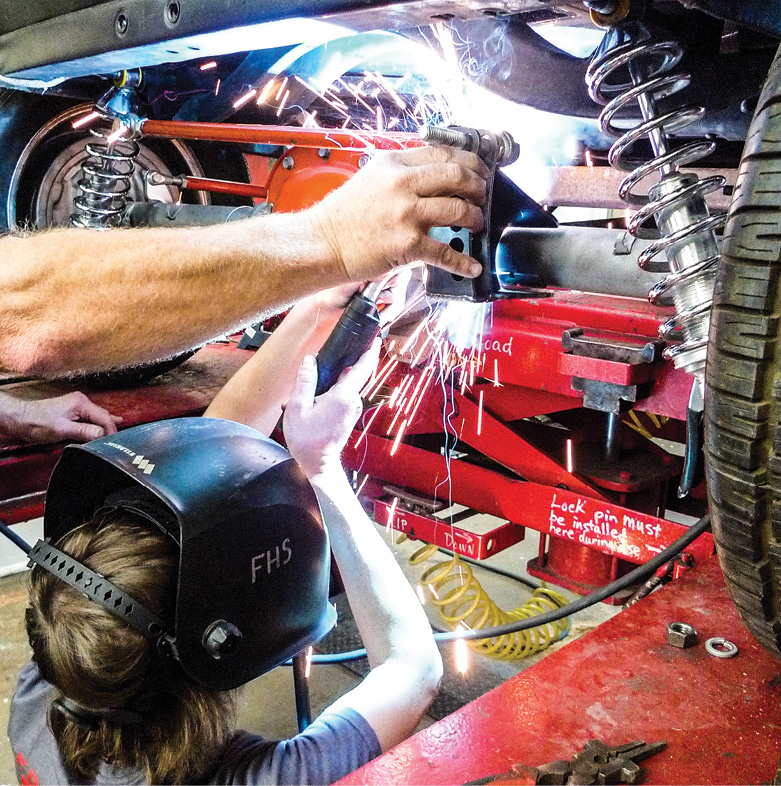
Of a much larger class, we’ll be working with five main players: Brock, Derek, Mason, Tharen, and Zach. For Mr. Greene and us Rottens, this’ll be a little different as we’re not used to working through the hands of others. We’re mainly here as consultants. This is all about the students honing their skills—in this instance with the proper installation of an upgrade rearend.

Flathead High’s ’28 Tudor project
2. Having already spent 30-some years in this same ol’ building, here’s Flathead High’s ’28 Tudor project, as it was when we first joined in.
Boxed next door in Metal Shop, the Ford Model A frame is solid.
3. Boxed next door in Metal Shop, the Ford Model A frame is solid. Here at this end, however, we see problems: upside-down coilovers and Panhard rod interference, just for starters.
a student dons safety glasses and spins a wire wheel for necessary thread cleanup
4. Following instructions from Mr. Greene, a student dons safety glasses and spins a wire wheel for necessary thread cleanup. Next time these coilovers are installed and adjusted their threads will receive a bit of antiseize.
students pull the inspection cover for a look around inside
5. So, this was just brought in by students from an outdoor stash of parts. From a ’90s S-10 Blazer here’s the upgrade rearend. First things first, students pull the inspection cover for a look around inside. Sure enough, it’s positraction. It’s also in need of attention.
Axles and bearings will be replaced as necessary. Here Mr. Greene demonstrates seal removal. Youngsters Tharen and Zach get it, so they’ll pull the opposite-side seal.
6. Axles and bearings will be replaced as necessary. Here Mr. Greene demonstrates seal removal. Youngsters Tharen and Zach get it, so they’ll pull the opposite-side seal.
With the upgrade rearend stripped to an empty housing, OE spring saddles still must go. Here for dueling grinders, welding helmets are double-effective eye protection.
7. With the upgrade rearend stripped to an empty housing, OE spring saddles still must go. Here for dueling grinders, welding helmets are double-effective eye protection.
Just in from Speedway Motors, coilover and hairpin brackets are duplicates of what we’ve had. The new Panhard rod bracket will allow a bonus bit of adjustment.
8. Just in from Speedway Motors, coilover and hairpin brackets are duplicates of what we’ve had. The new Panhard rod bracket will allow a bonus bit of adjustment.
For initial tack welds the rearend must be properly located first. Here young Mason (shop foreman) takes some measurements for side-to-side centering.
9. For initial tack welds the rearend must be properly located first. Here young Mason (shop foreman) takes some measurements for side-to-side centering.
Before we ever started, wheel alignment was good. Now that it’s centered side-to-side, Mr. Greene and Mrs. Rotten employ Auto Shop’s tram bar to square the fresh rearend.
10. Before we ever started, wheel alignment was good. Now that it’s centered side-to-side, Mr. Greene and Mrs. Rotten employ Auto Shop’s tram bar to square the fresh rearend.
At this point with alignment A-OK, Mason snugs the hairpins’ Heim joint jam nuts. Next, let’s see if we can establish an acceptable pinion angle.<br />
11. At this point with alignment A-OK, Mason snugs the hairpins’ Heim joint jam nuts. Next, let’s see if we can establish an acceptable pinion angle.
 Here a small magnetic angle finder is handy. For an equal opposite of the transmission tailshaft angle, we’ll keep trying for 2 degrees up at the pinion.
12. Here a small magnetic angle finder is handy. For an equal opposite of the transmission tailshaft angle, we’ll keep trying for 2 degrees up at the pinion.
We believe this Panhard rod bracket is intended to be on the left where the opposite-end bracket is already welded. With a notch ground in for clearance, this’ll still work.
13. We believe this Panhard rod bracket is intended to be on the left where the opposite-end bracket is already welded. With a notch ground in for clearance, this’ll still work.
Our test-fit was tight, so for an ounce of prevention, Derek is grinding his notch a couple tads wider. This way, when it’s time for bounce-testing, we’ll know it’ll pass.
14. Our test-fit was tight, so for an ounce of prevention, Derek is grinding his notch a couple tads wider. This way, when it’s time for bounce-testing, we’ll know it’ll pass.
At this stage the rearend is centered, wheel alignment is satisfactory, and so is our pinion angle. Speedway’s brackets are fitting well, but we’re only tack welding for now. Lastly, let’s locate and tack weld the new Speedway Panhard bracket to the right-side axle housing. Welding and holding are Mason and Mr. Greene.
15. At this stage the rearend is centered, wheel alignment is satisfactory, and so is our pinion angle. Speedway’s brackets are fitting well, but we’re only tack welding for now. Lastly, let’s locate and tack weld the new Speedway Panhard bracket to the right-side axle housing. Welding and holding are Mason and Mr. Greene.
Our Speedway hairpin, coilover, and Panhard rod brackets are now tack welded in place. Here Mrs. Rotten and Tharen roll the rearend back out for final welding. After Derek, Mason jumped in. To protect the new bearings, the ground clamp is kept close to each weld. Time to prepare this assembly for painting.
16. Our Speedway hairpin, coilover, and Panhard rod brackets are now tack welded in place. Here Mrs. Rotten and Tharen roll the rearend back out for final welding. After Derek, Mason jumped in. To protect the new bearings, the ground clamp is kept close to each weld. Time to prepare this assembly for painting.
The finished rearend assembly is now ready to reassume its position for keeps. Providing Heim ends and clevises have not been disturbed, alignment should be good. We’ll double-check all that, of course.
17. The finished rearend assembly is now ready to reassume its position for keeps. Providing Heim ends and clevises have not been disturbed, alignment should be good. We’ll double-check all that, of course.
Brock, Mr. Greene, and Derek are just beginning to install the replacement rearend. Inside the car, Tharen (just out of view) and Mrs. Rotten are allegedly working on wiring.
18. Brock, Mr. Greene, and Derek are just beginning to install the replacement rearend. Inside the car, Tharen (just out of view) and Mrs. Rotten are allegedly working on wiring.
Here Derek and Mr. Greene are wiggling fasteners in for the right-side hairpin. We’re not quite sure what Mrs. Rotten is doing, but we’ll continue to refer to it as “wiring.”
19. Here Derek and Mr. Greene are wiggling fasteners in for the right-side hairpin. We’re not quite sure what Mrs. Rotten is doing, but we’ll continue to refer to it as “wiring.”
Toward the end of this chapter, Brock and Mason reinstall the coilovers—in a proper up-side-up fashion this time around.
20. Toward the end of this chapter, Brock and Mason reinstall the coilovers—in a proper up-side-up fashion this time around.
As this phase’s finishing touch, Brock handles the preadjusted Panhard rod installation. Sure, some double-check measurements were taken, and we’re good.
21. As this phase’s finishing touch, Brock handles the preadjusted Panhard rod installation. Sure, some double-check measurements were taken, and we’re good.
SOURCE
Speedway Motors
(800) 979-0122
speedwaymotors.com
Modern Rodding

VOLUME 4 • ISSUE 35 • 2023