 Photography by Jason Chandler
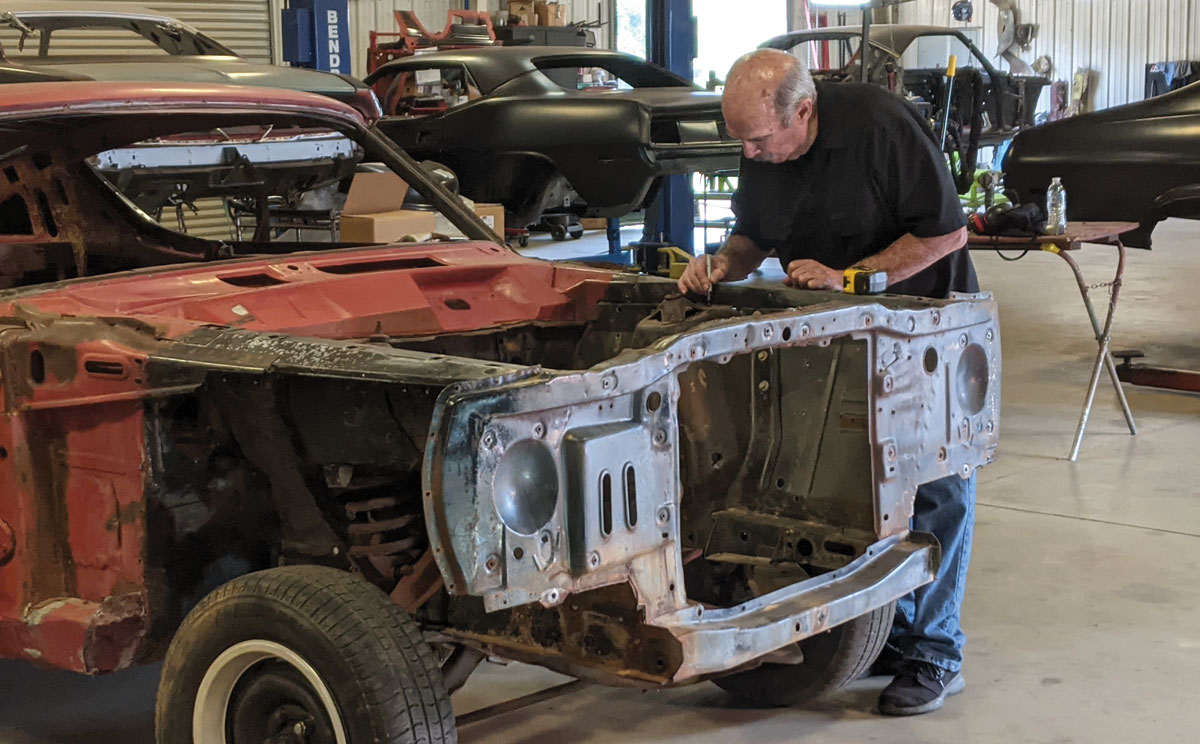
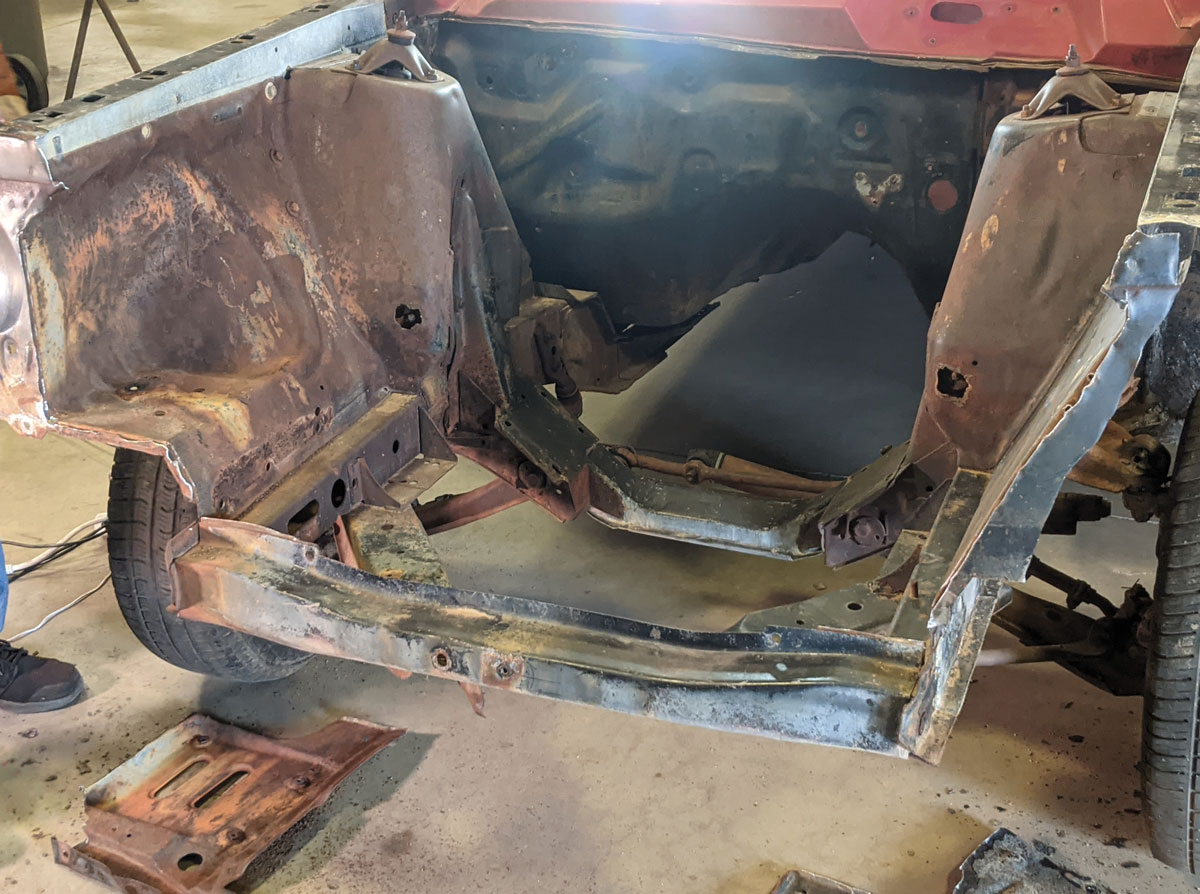
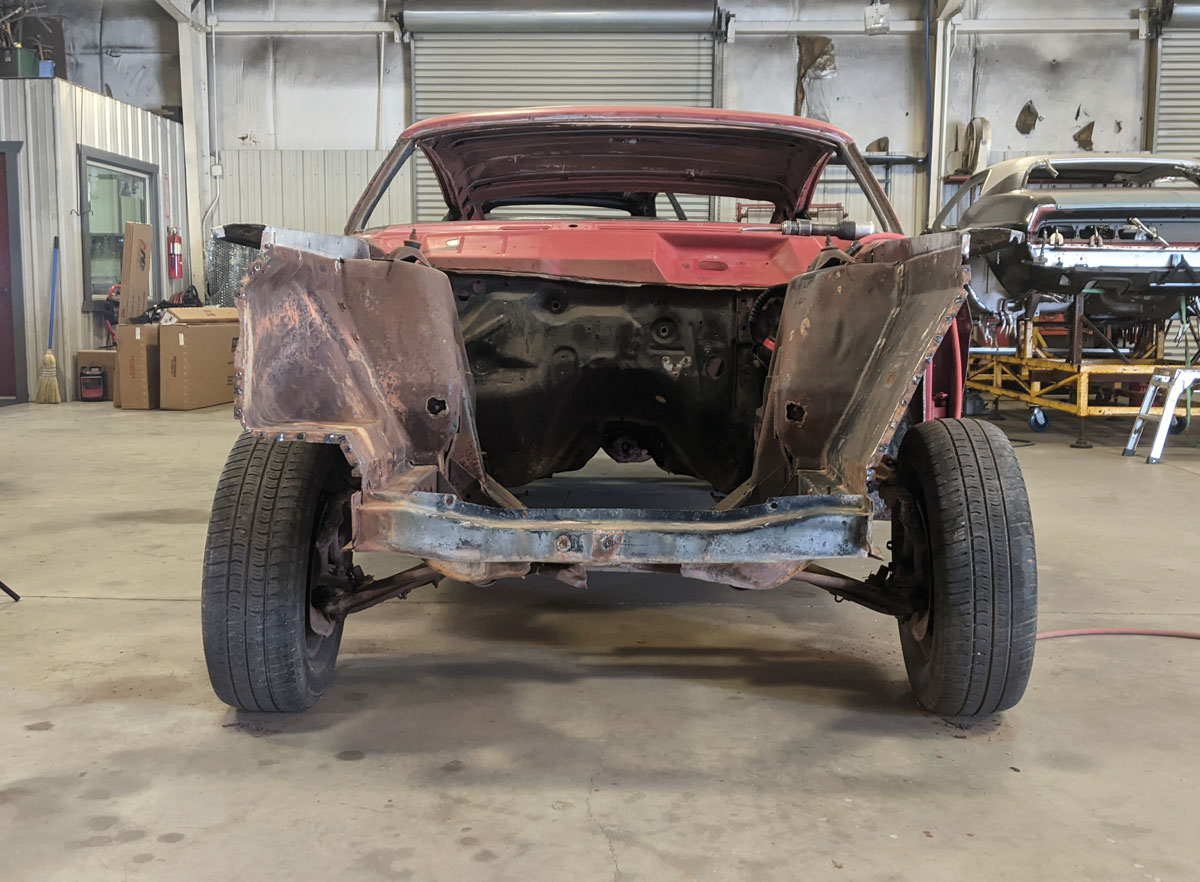
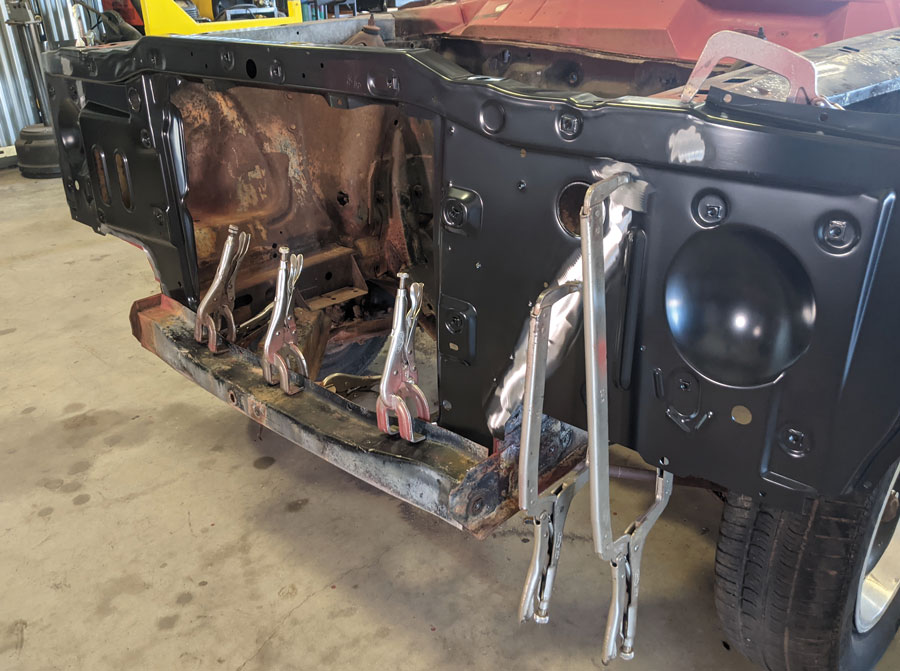
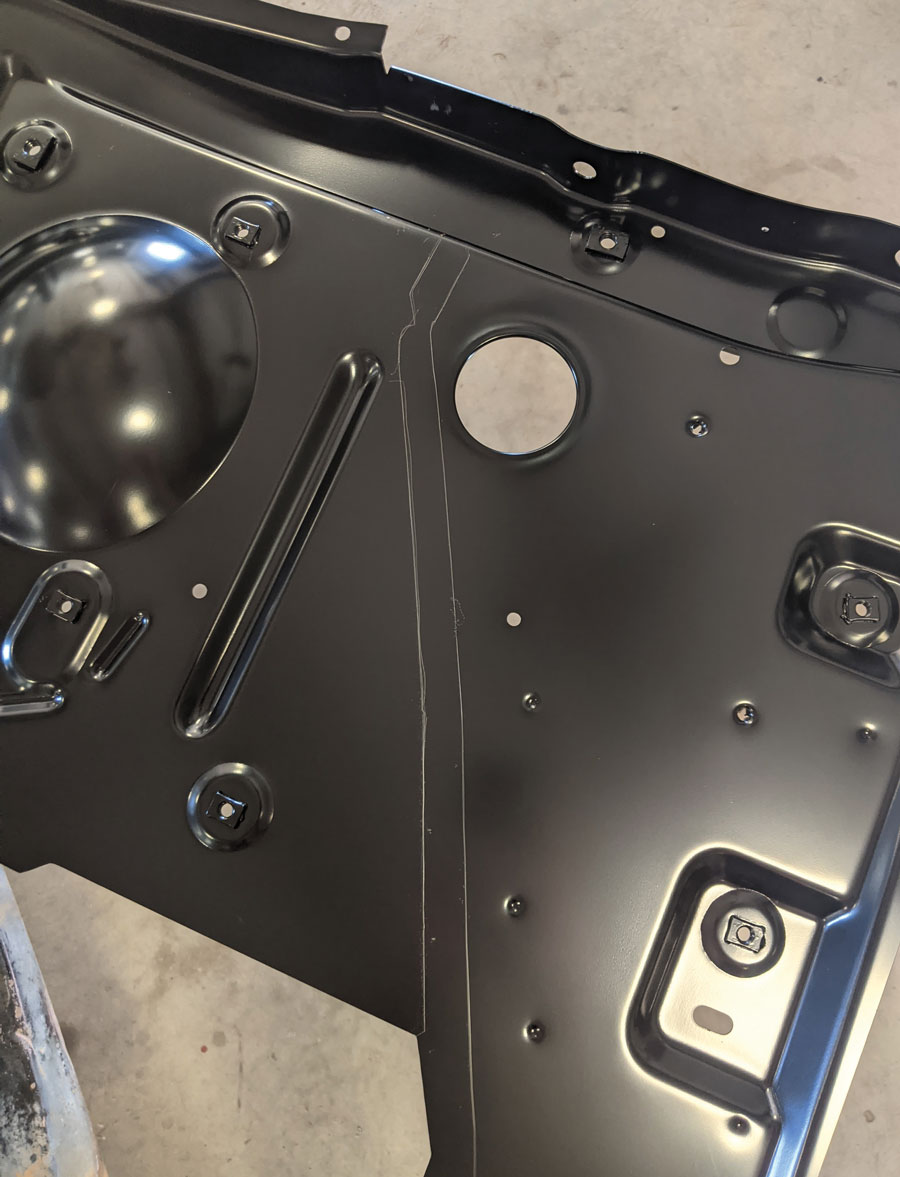
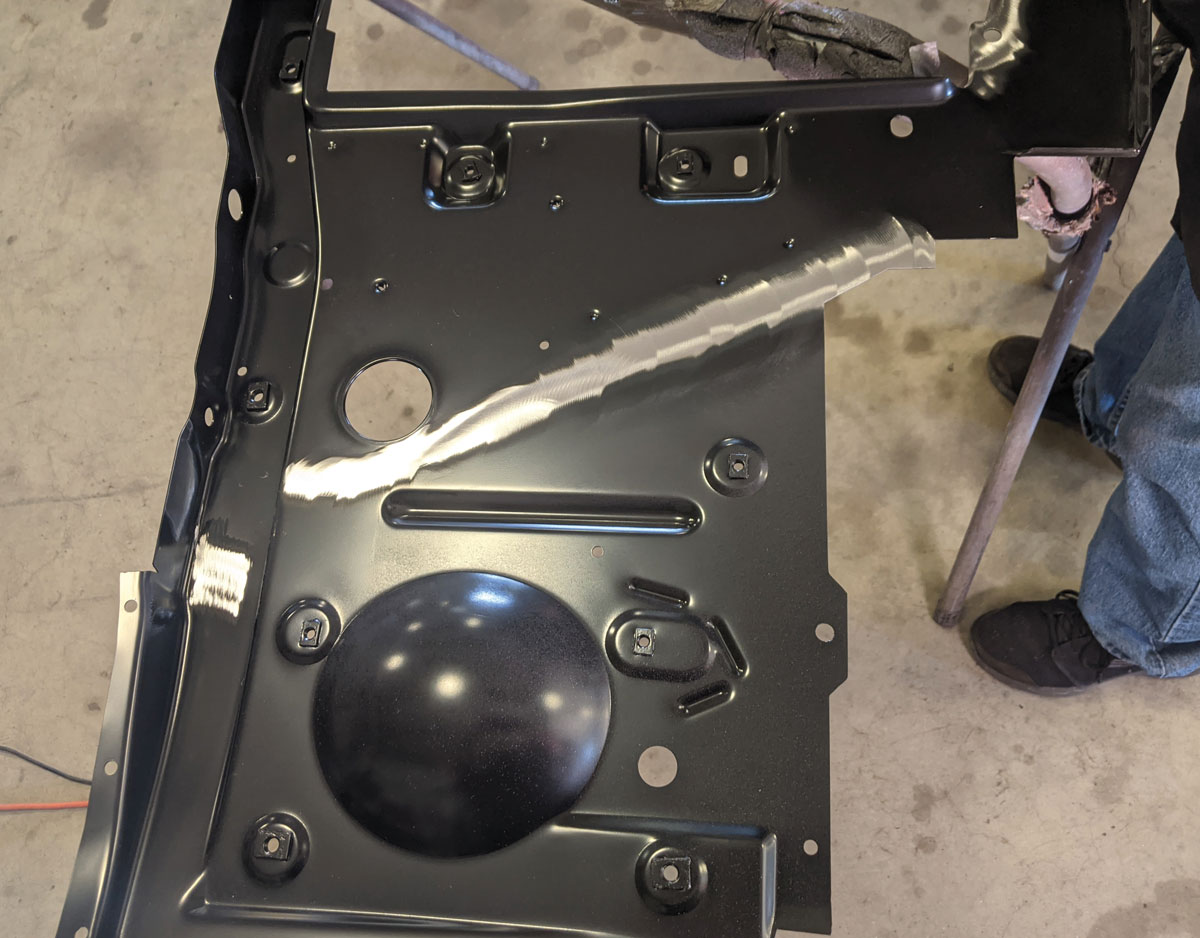
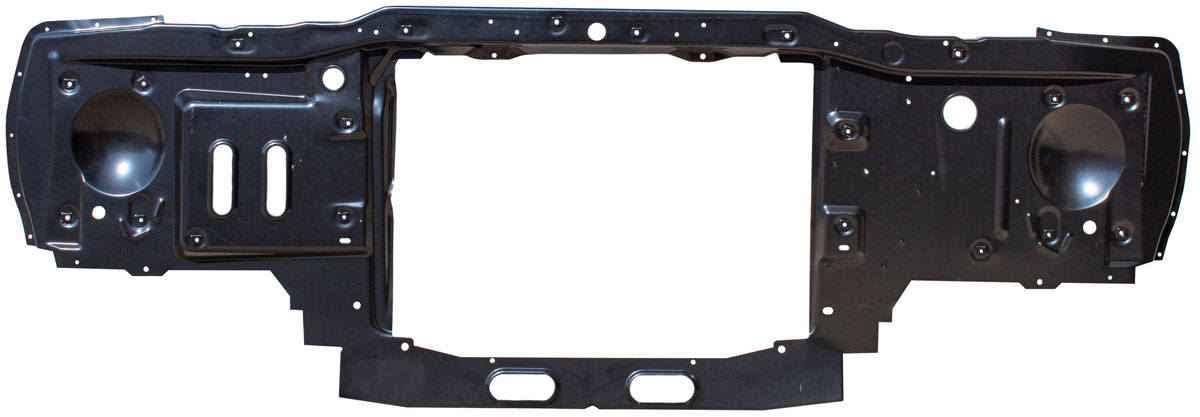
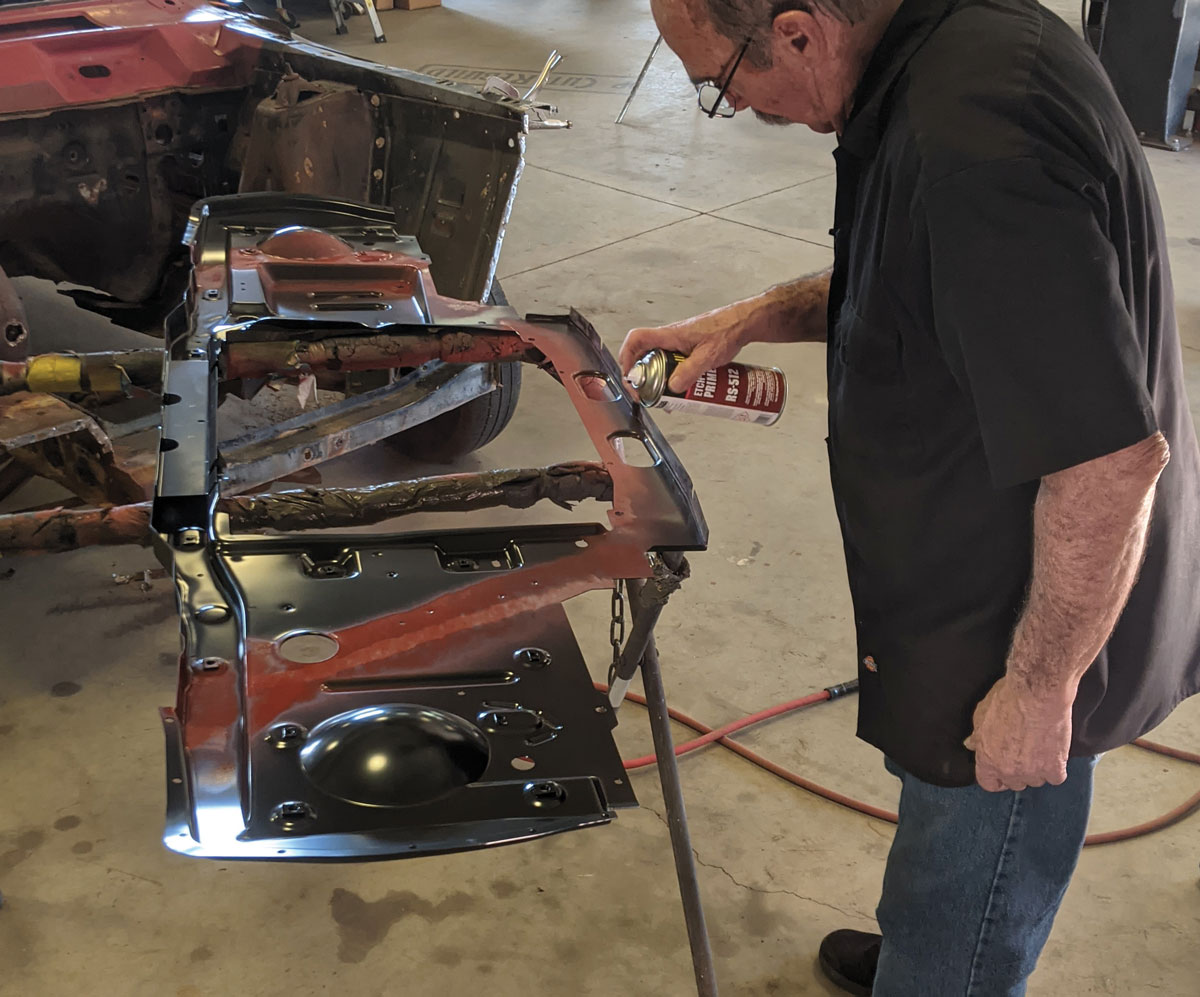
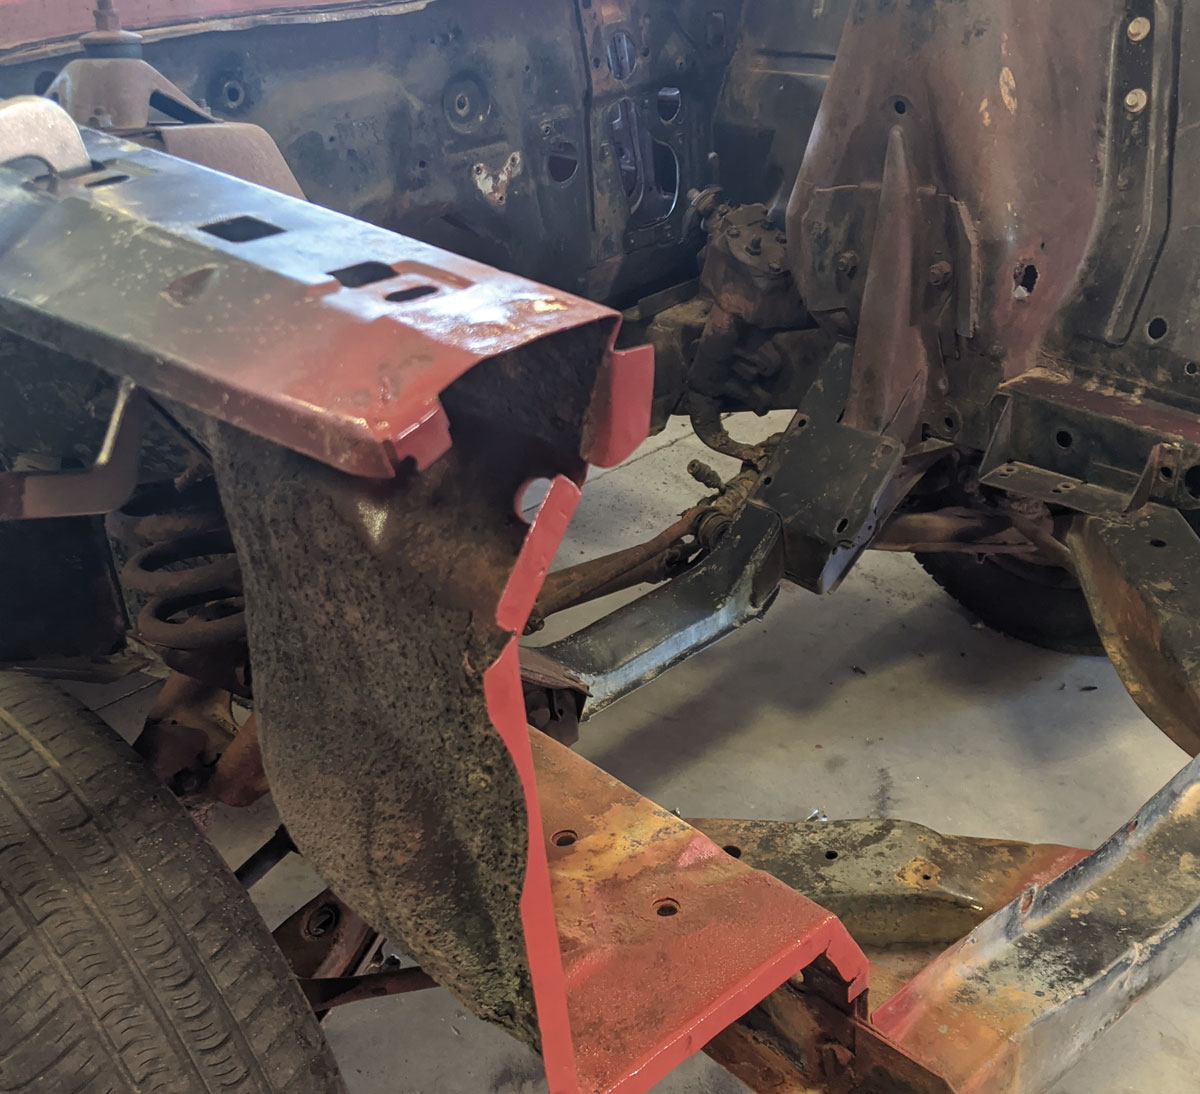
hink back a few months (May ’21 issue) to our 1969 Ford Torino Cobra Jet 428 4V Q-code project. We’re back! The last time we replaced the passenger side quarter-panel. Yep, our Torino was in dire straights and needed lots of attention. Knowing this, we rounded up a fresh radiator core support (PN 350-8469) from Auto Metal Direct (AMD) and visited Craig Hopkins at The Installation Center where he quickly showed us how to replace a tired, worn, and/or rusted radiator core support.
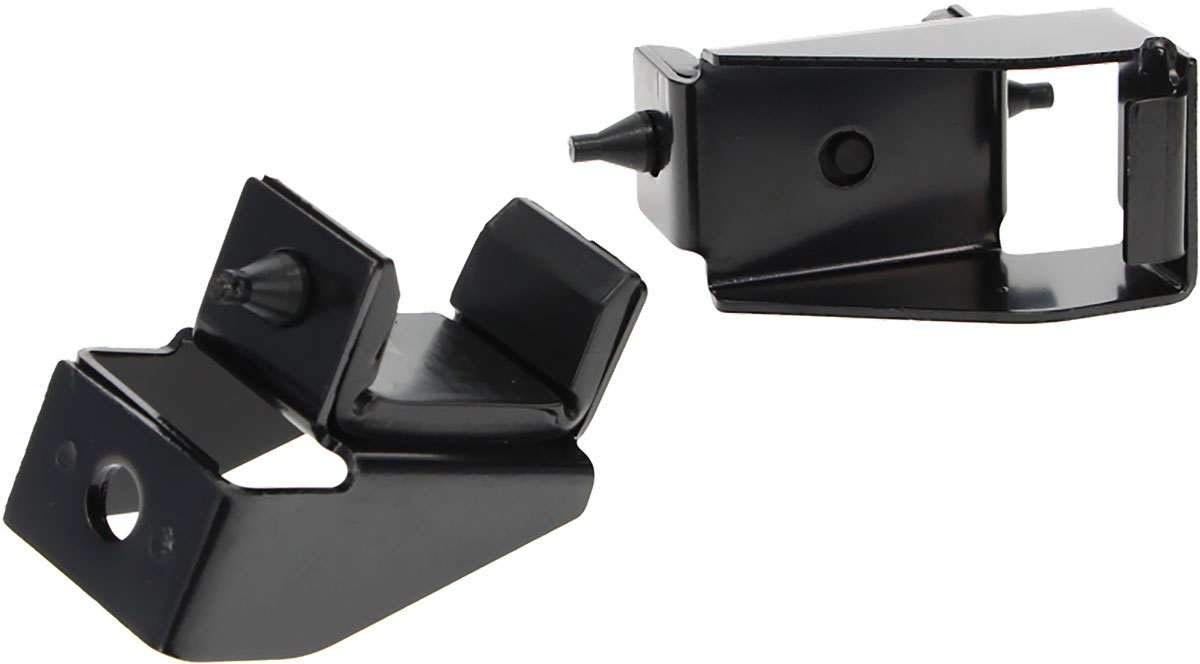
While it truly fits our Torino Cobra Jet, this radiator core support will also work on 1966-1969 Torinos, Fairlanes, and Rancheros. There is a second core support for the same vehicles for 1970-1971. While you are at it, you might want to also consider replacing both upper and lower radiator support mount brackets (upper, PN 351-8467-3 replaces factory PN C7OZ-8A193-A; and lower PN 351-8467-2 replaces factory PN C7OZ-8052-A).
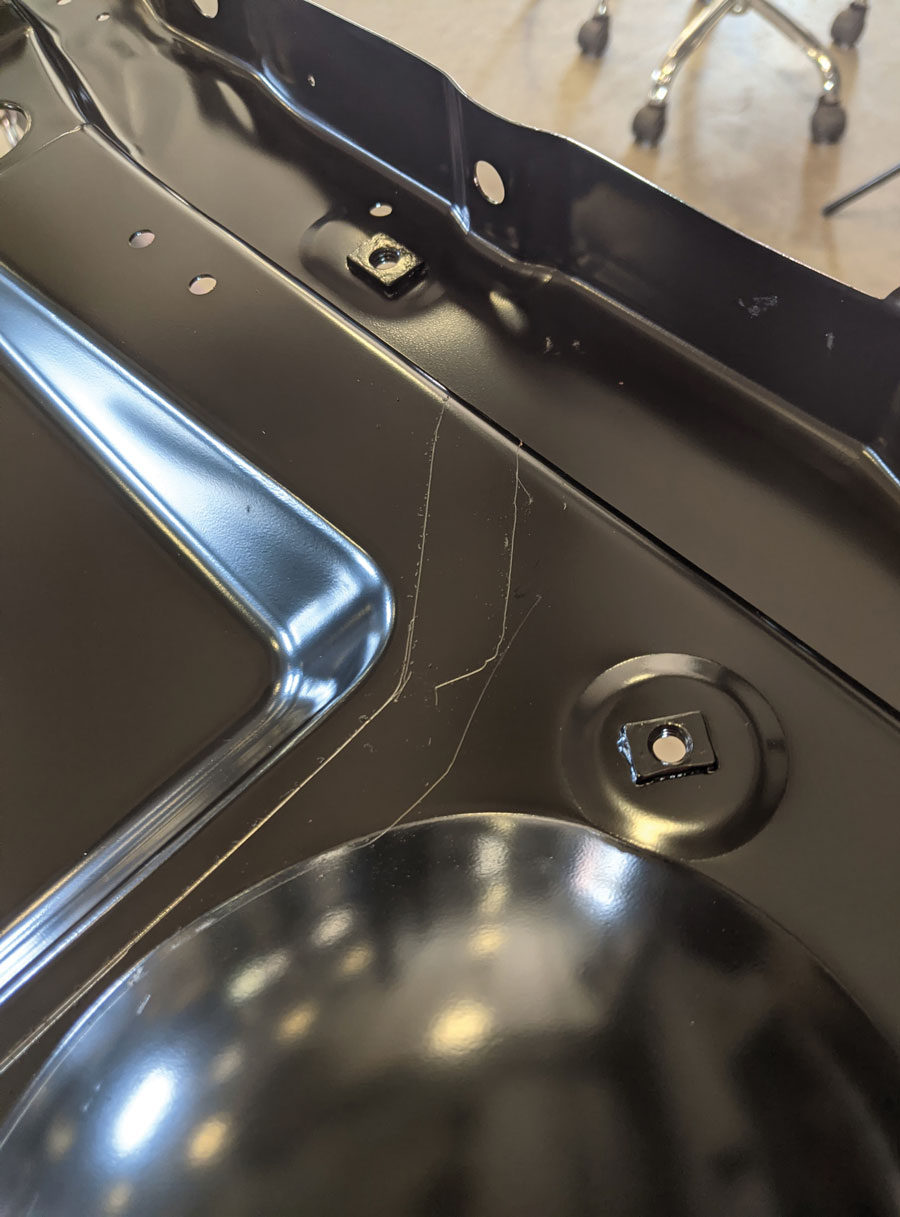
A little more on fit. The reproduction radiator core support will work on all engine sizes except the six-cylinder model. According to AMD, “It’s stamped from a high-quality OE 20-gauge steel on new tooling and each radiator core support features the correct original shapes, size, bends, tabs, and holes as the original.” It comes bathed in an EPD coating to protect it against corrosion. (EPD is “electrophoretic deposition” or more commonly called “electro coating.” It’s an immersion wet paint process that uses electrical current to help the paint product bond to the metal surface.)
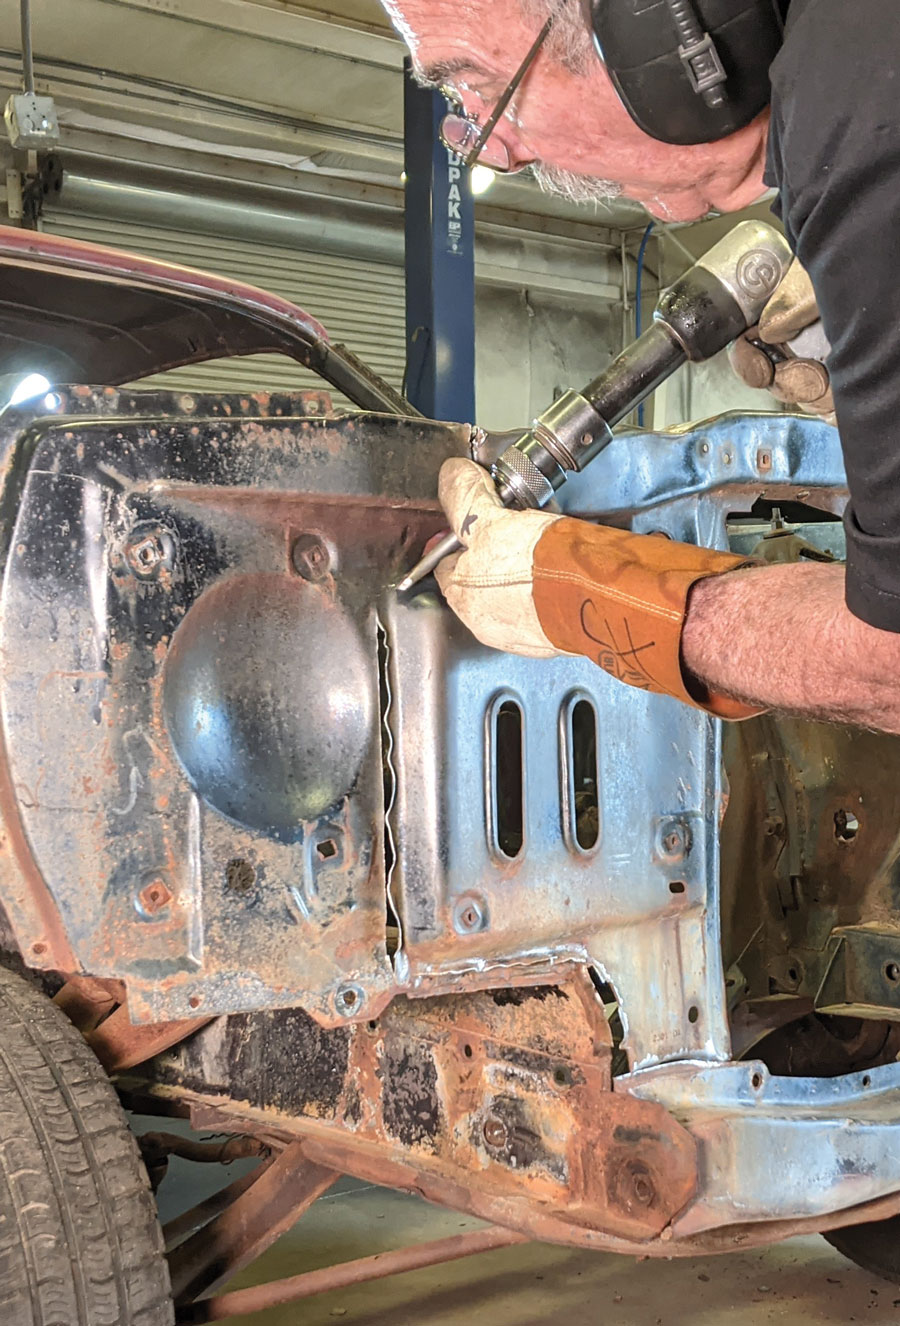
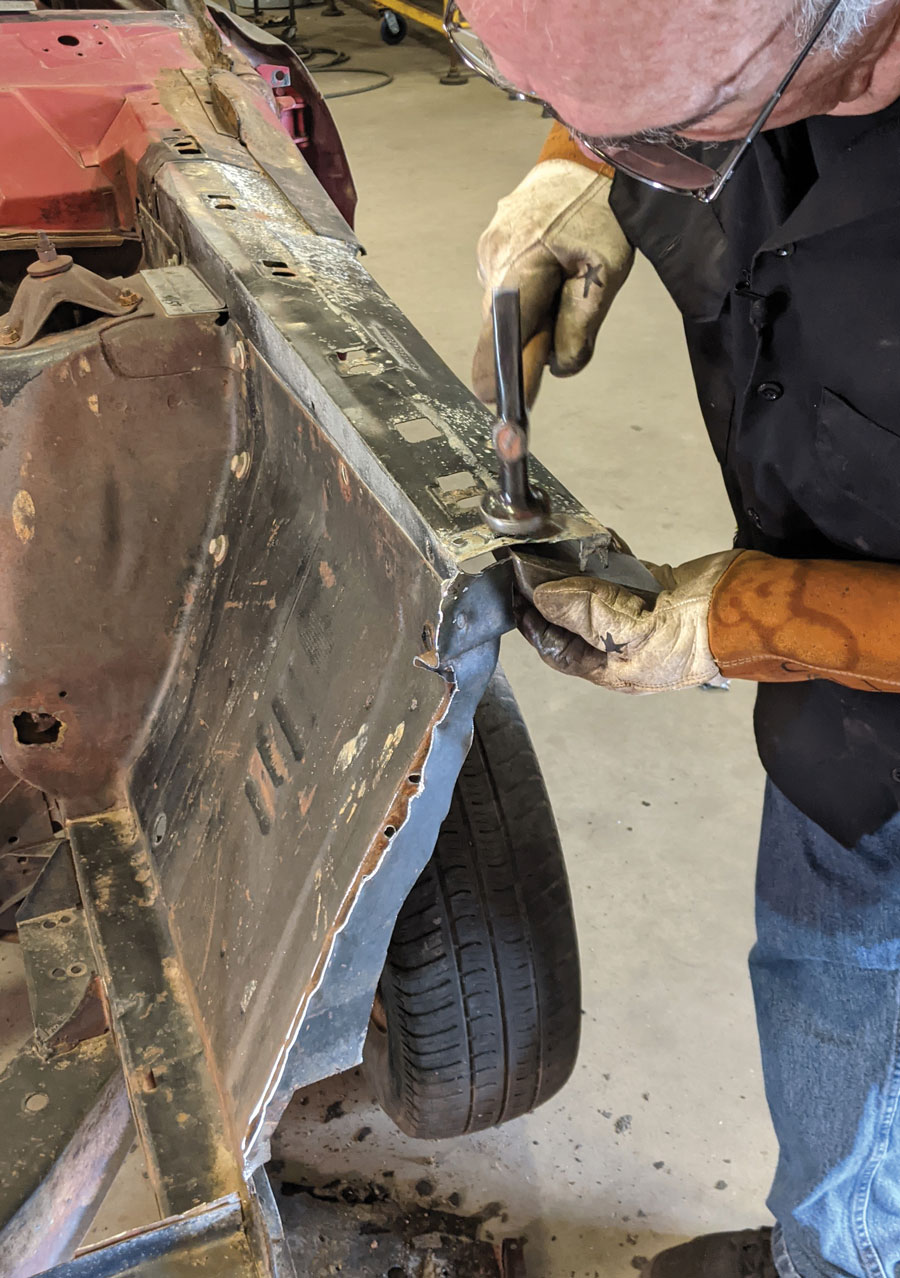
Of course for Hopkins, performing any magnitude of sheetmetal work is just “another day at the office,” having done this type of job hundreds of times over the years. Throw in a full complement of tools and a proper workspace and a task such as this is well within his capabilities. The best part while he was doing the work, he could take the time to tell us the best way to approach such a project all the while “hammering and banging” on sheetmetal without missing a beat (no pun intended).
Anytime you are working on sheetmetal on a vintage piece of tin you want to make sure what you see is really what was intended by the original designers and the factory assembly team. How do you do that? Well, in our story here, make sure the fenders and hood are in good shape and that they line up (gaps) to your satisfaction. If they do you are good to go; if not, you will want to give some consideration as to where the problem is and make the necessary correction.
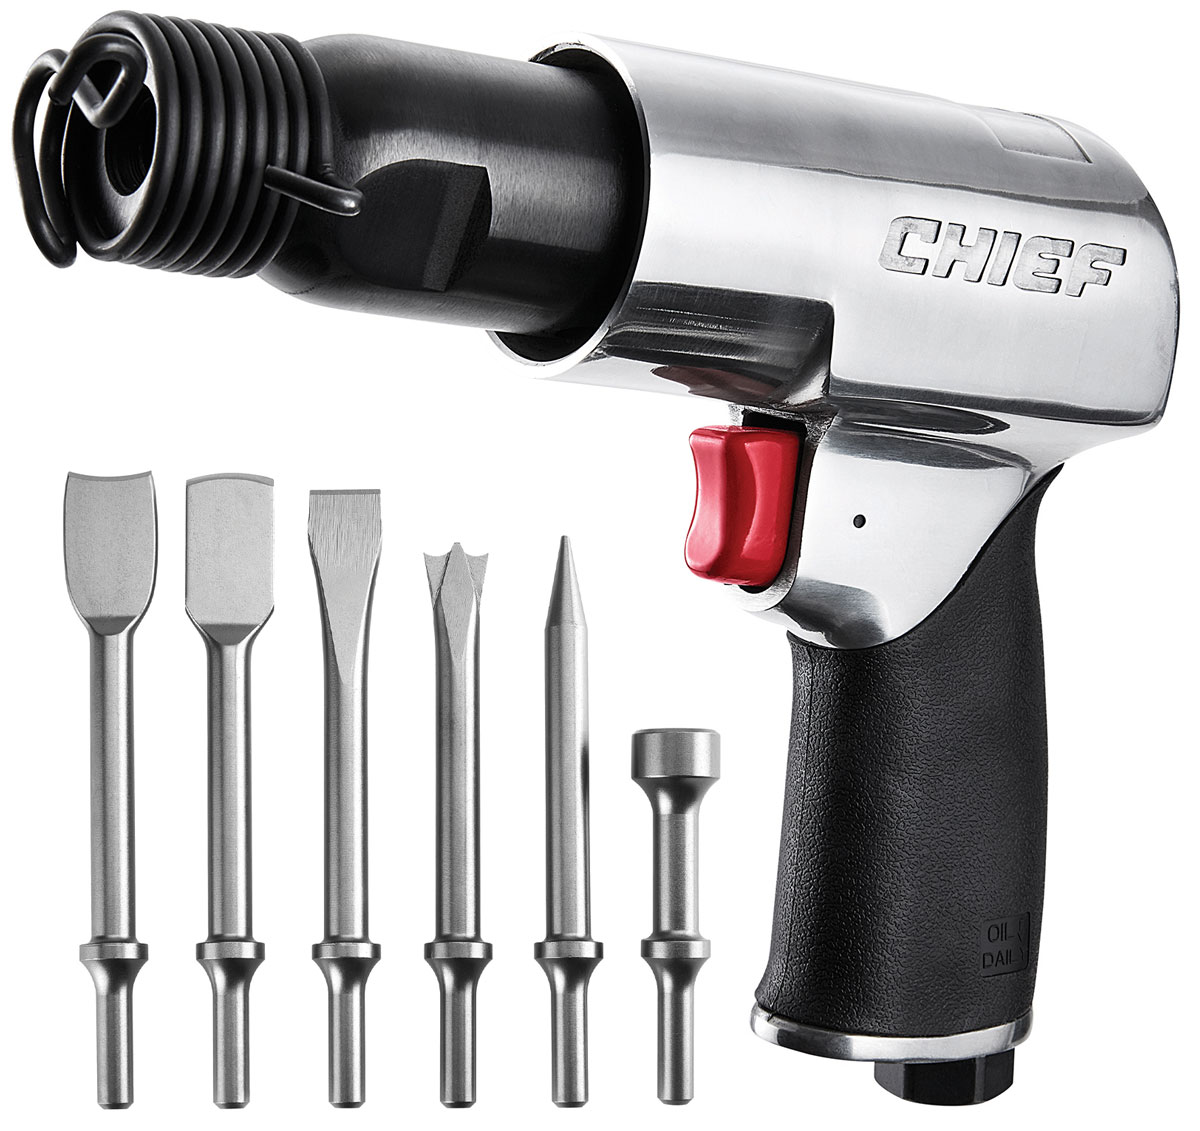
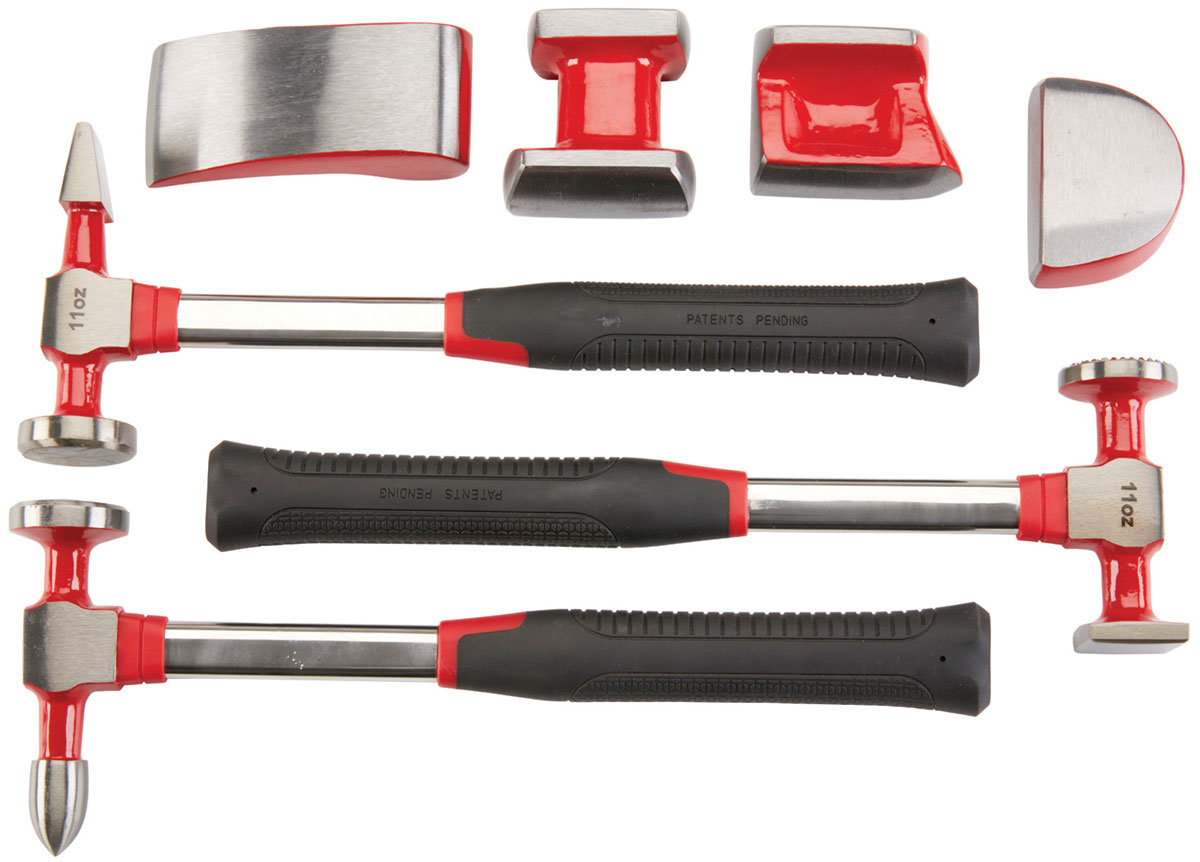
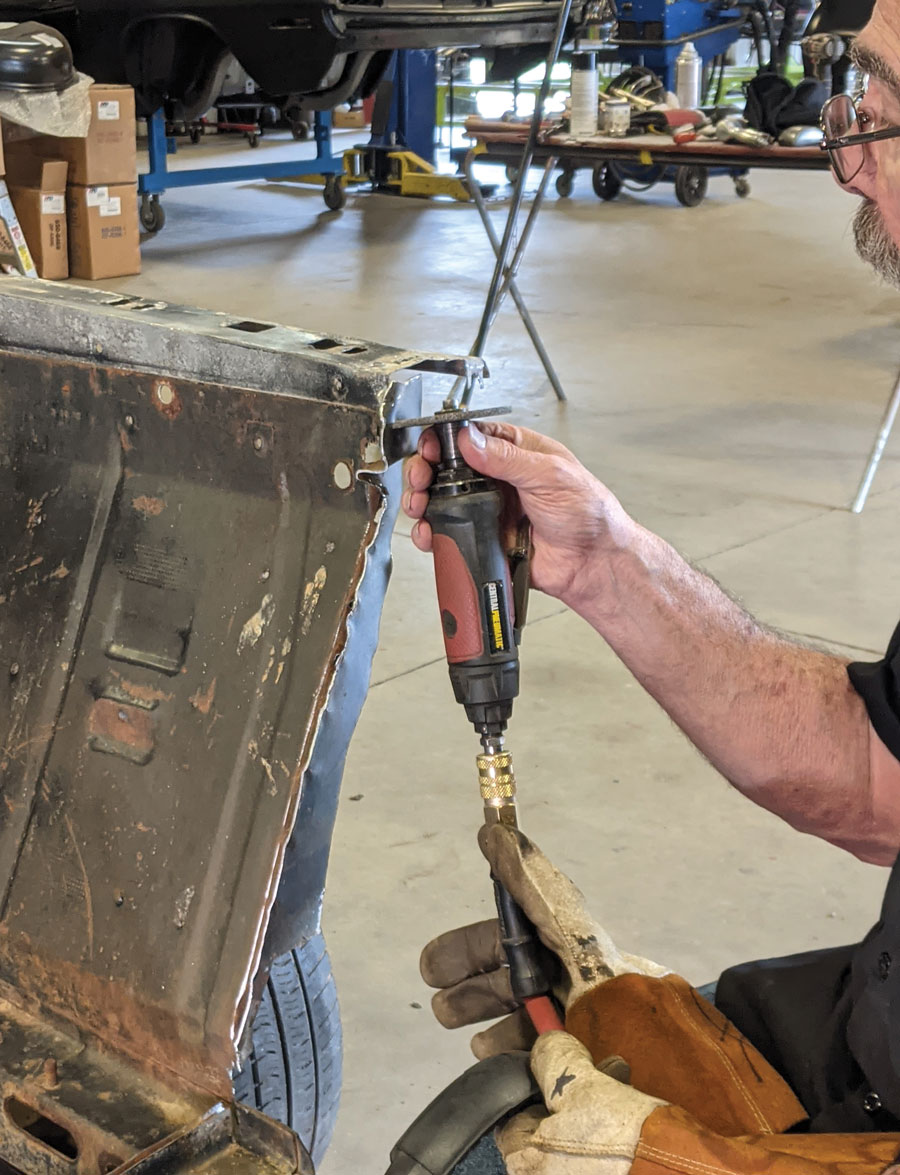
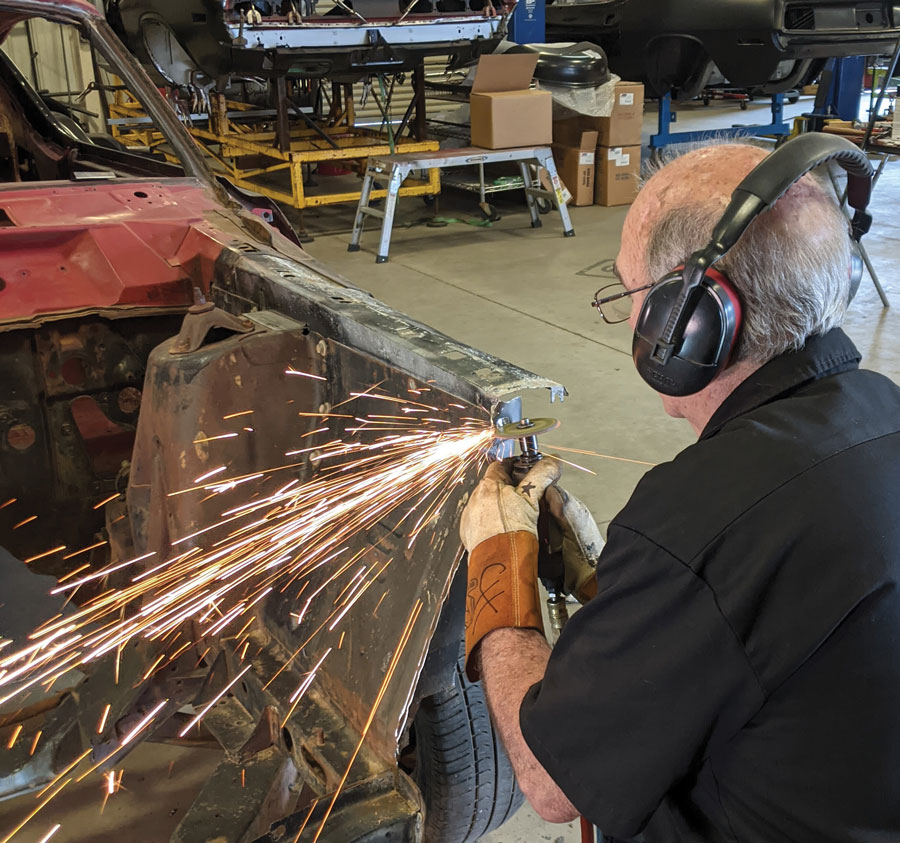
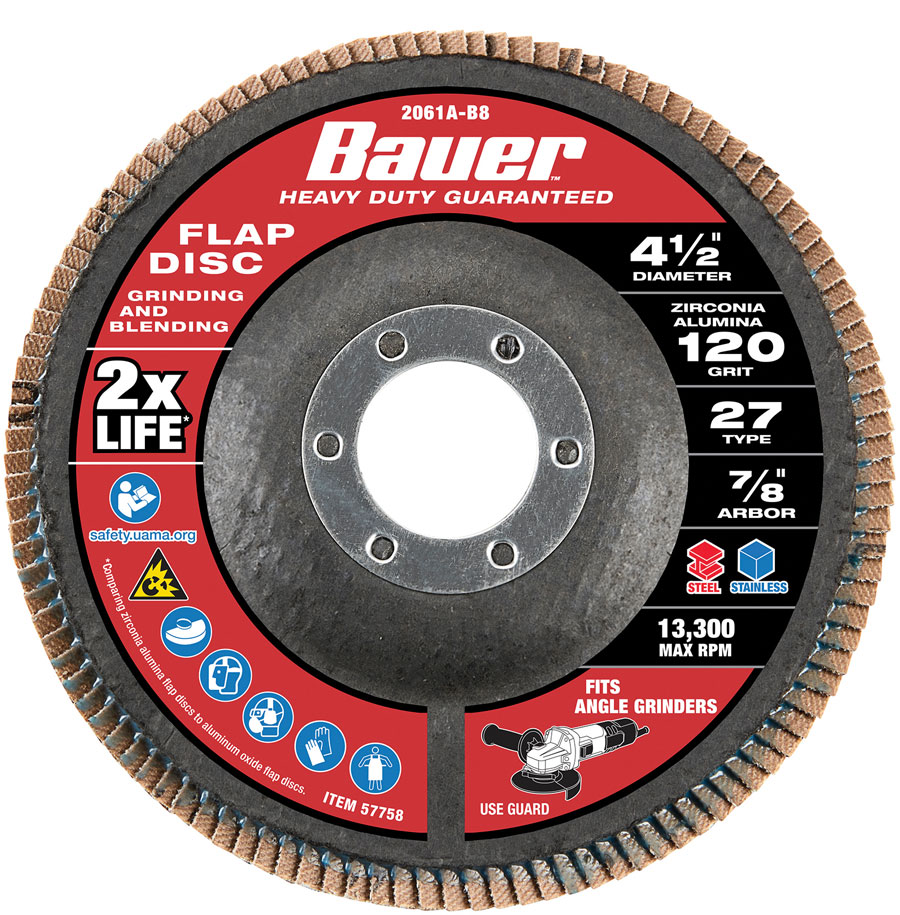
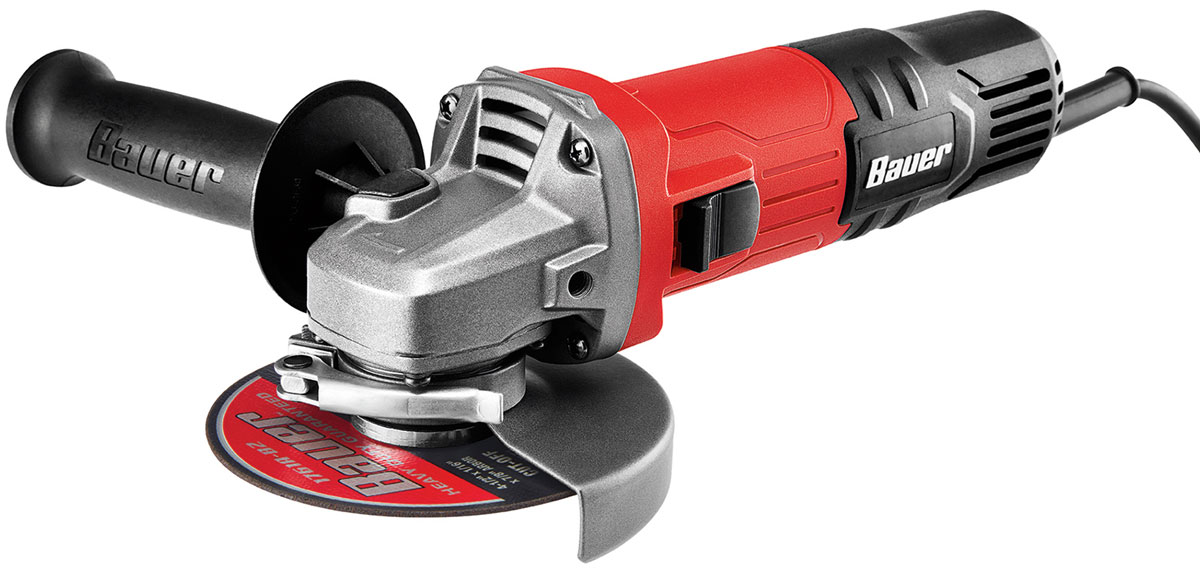
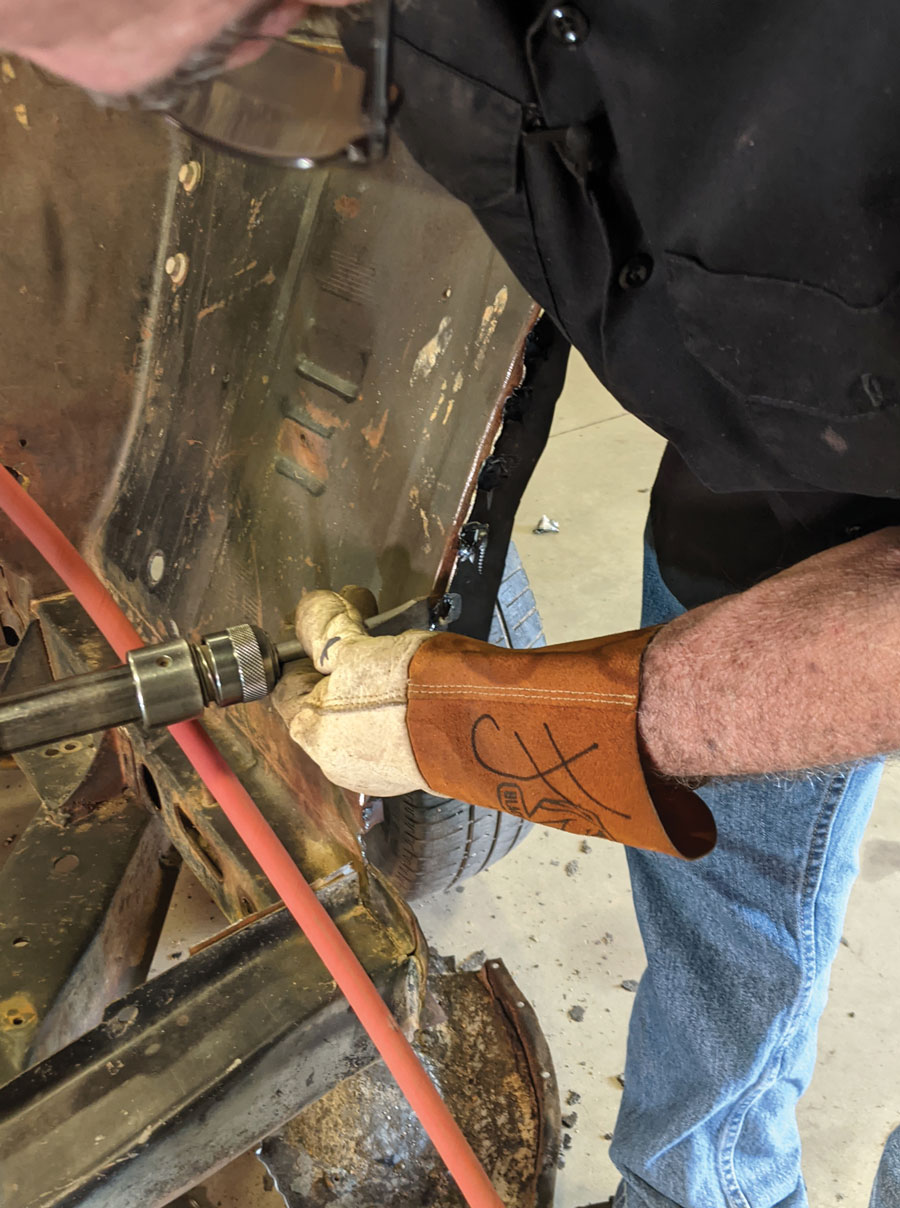
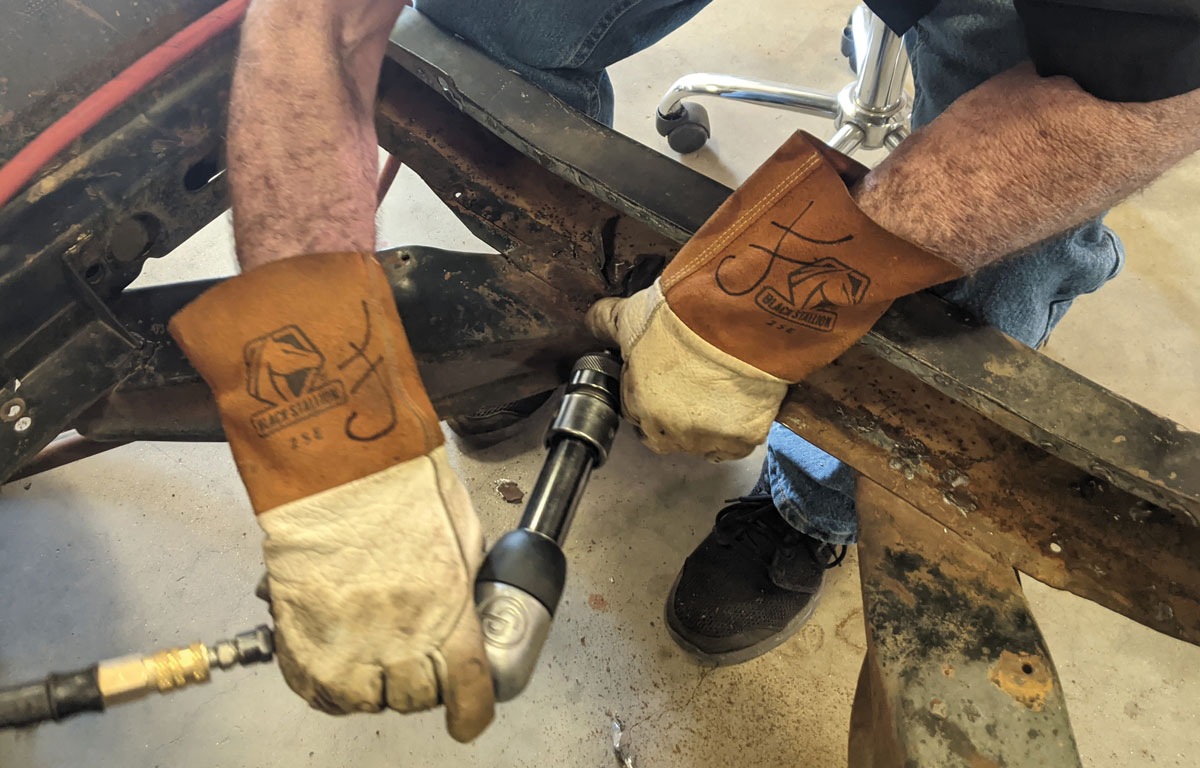
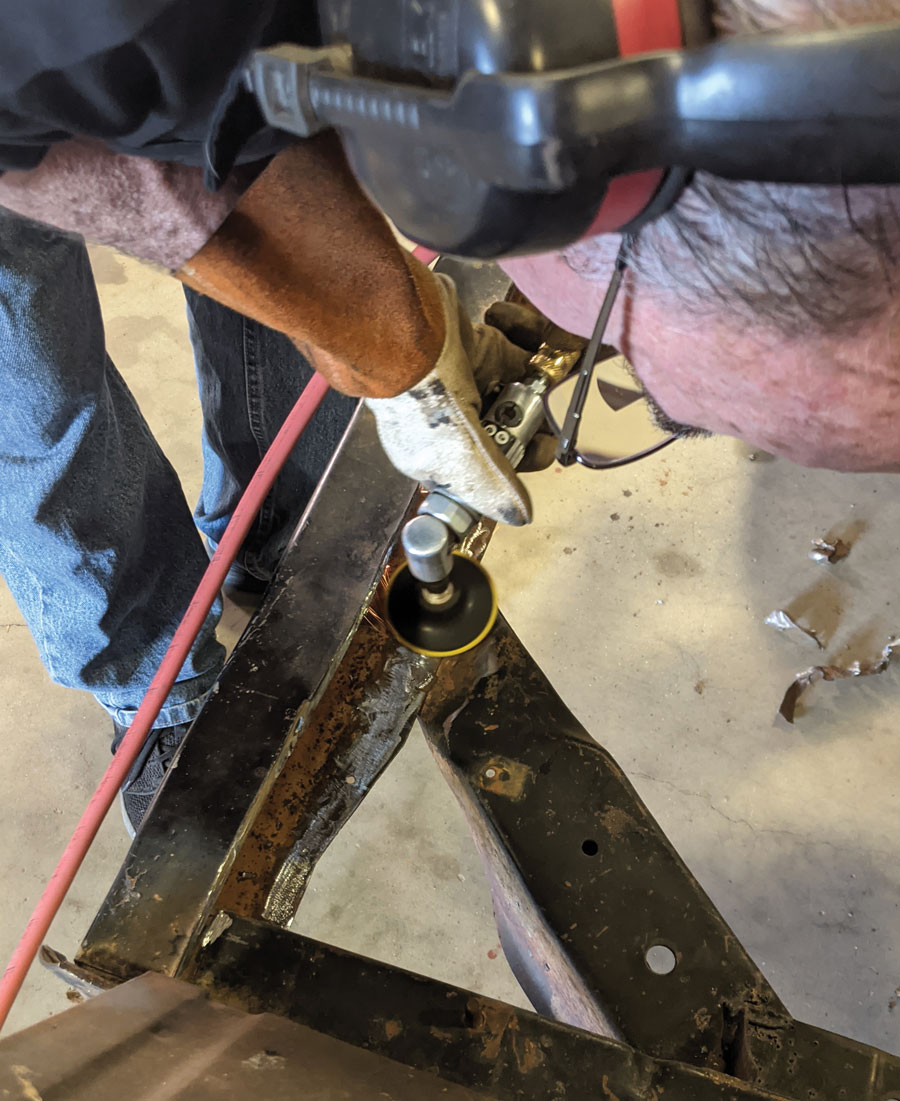
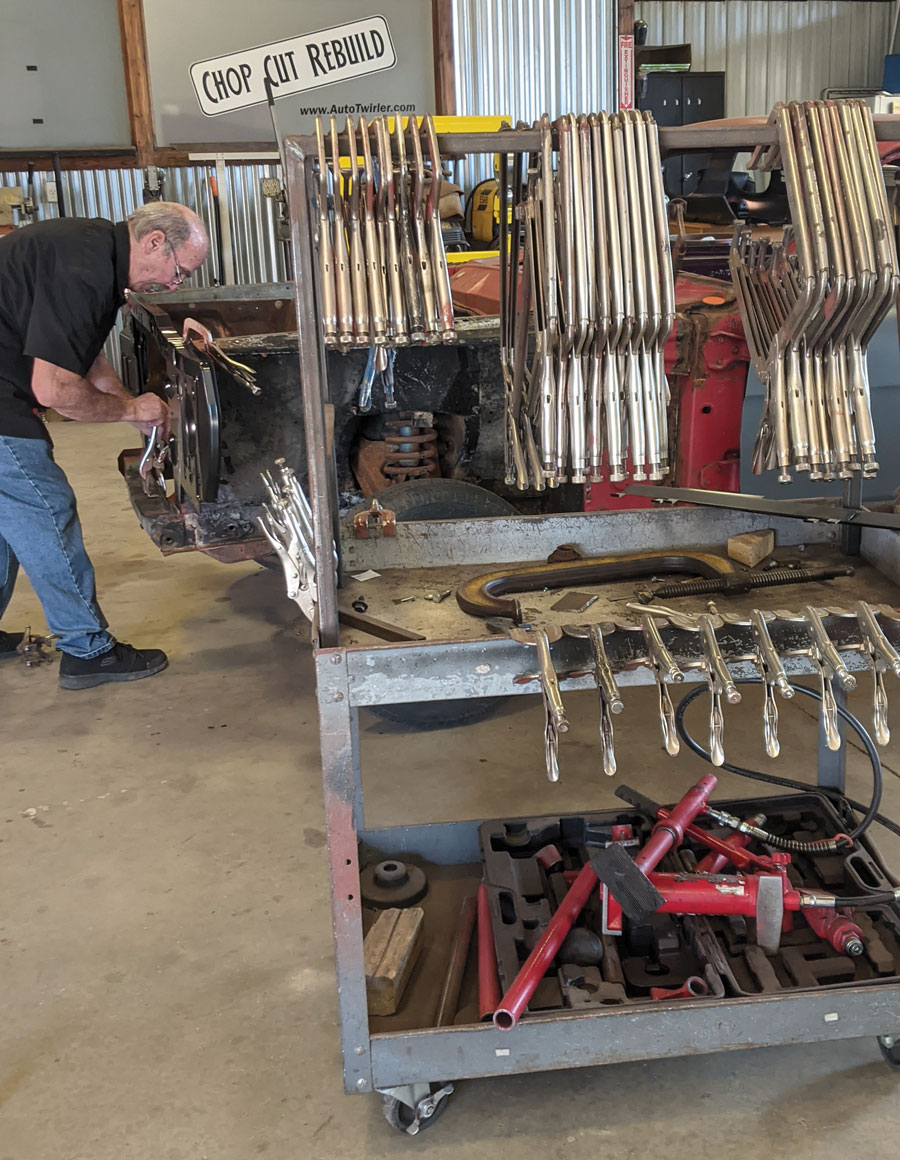
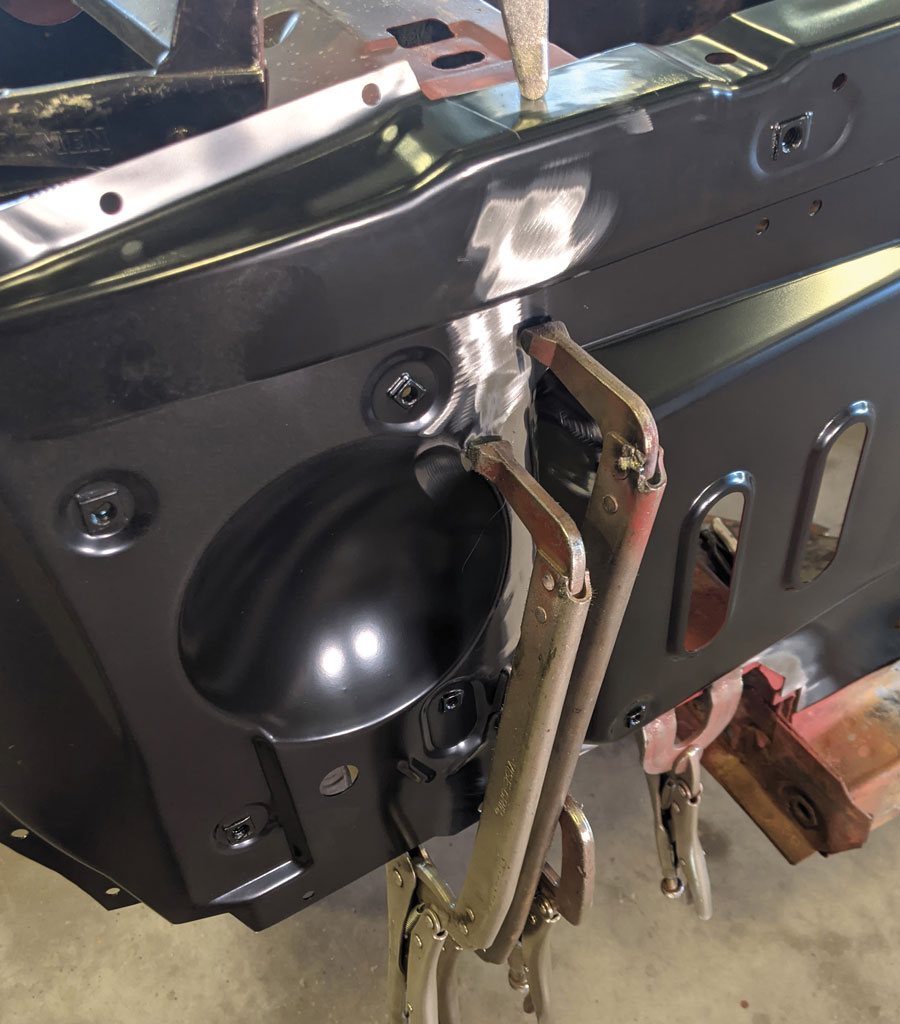
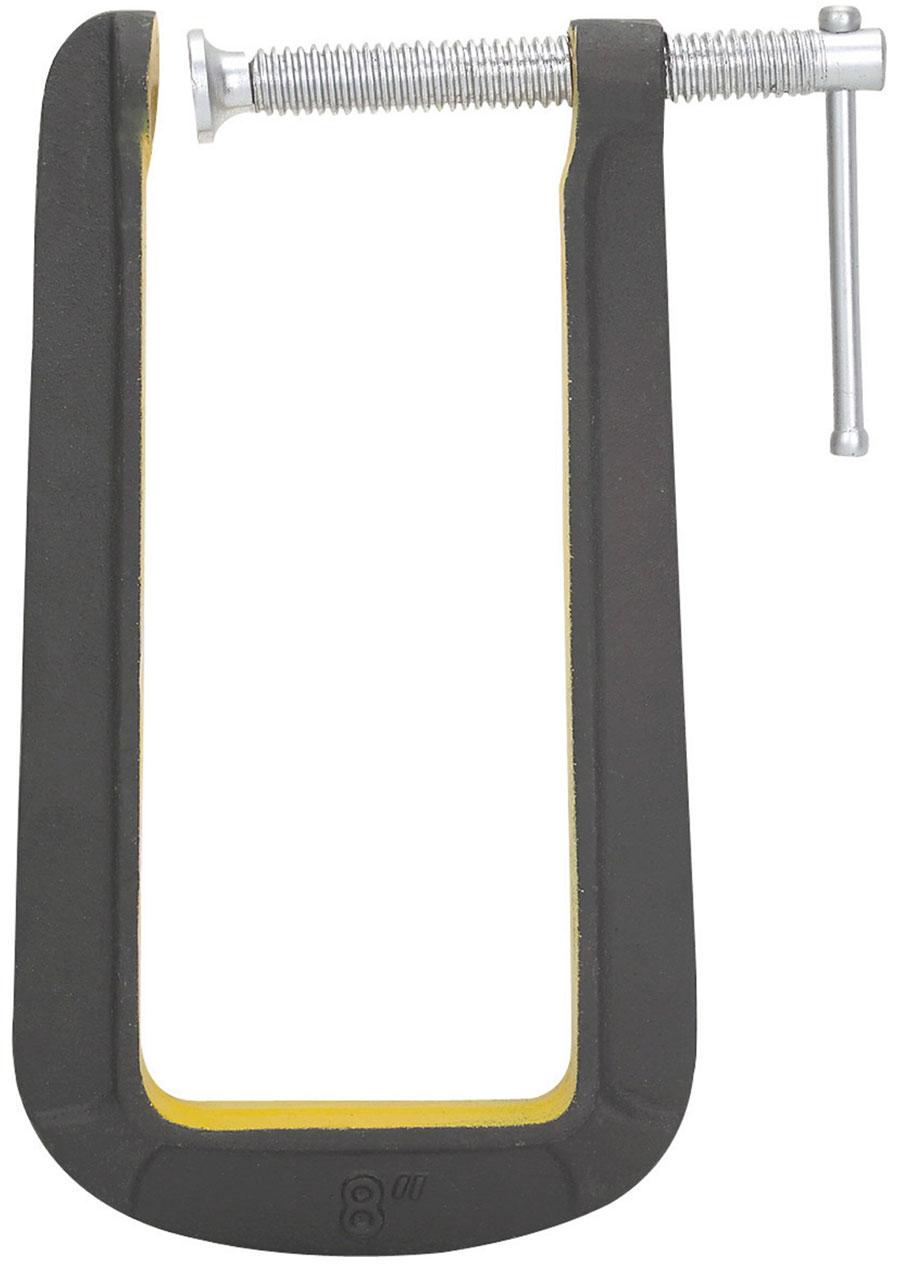
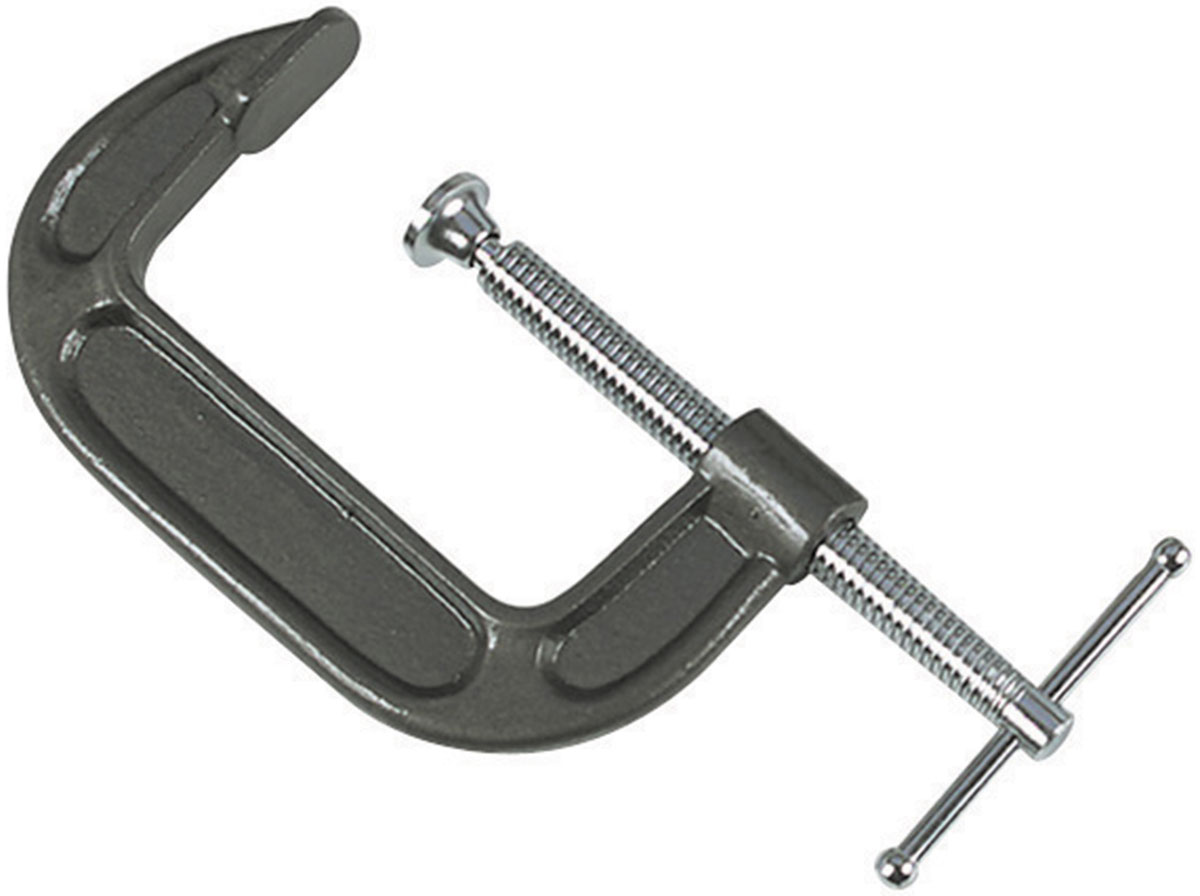
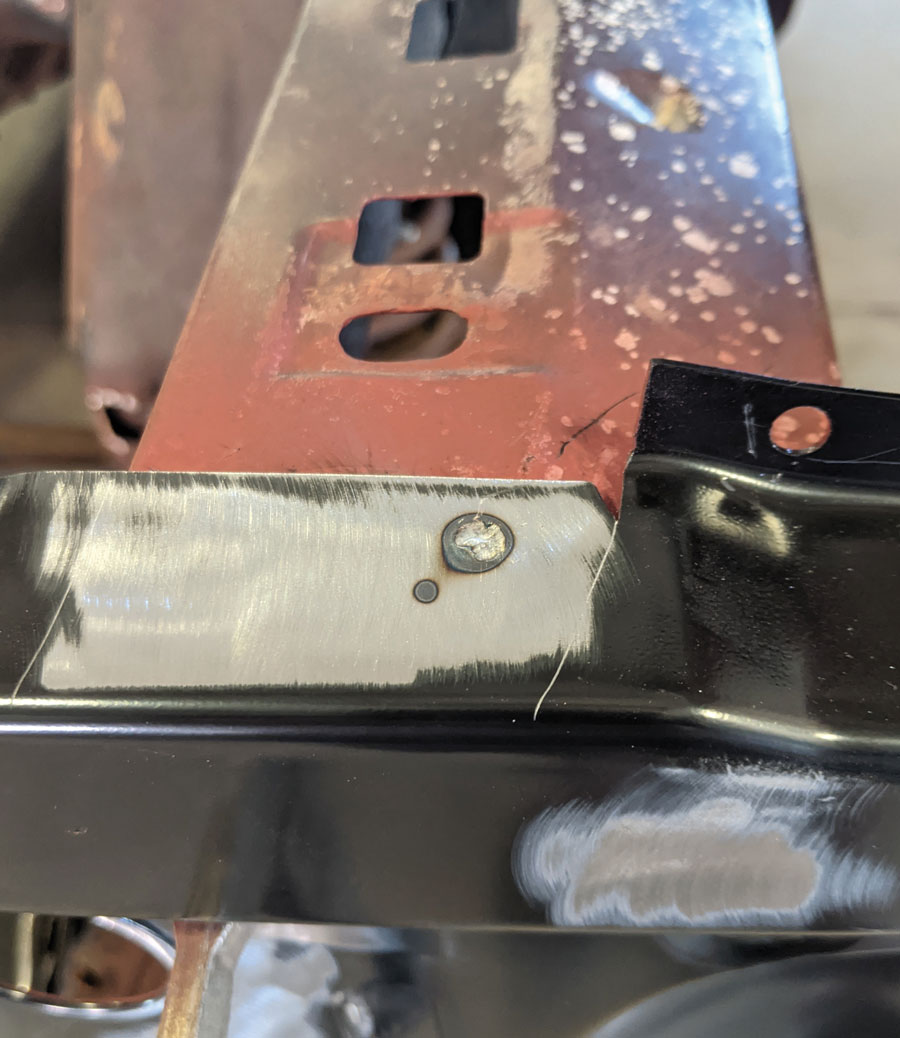
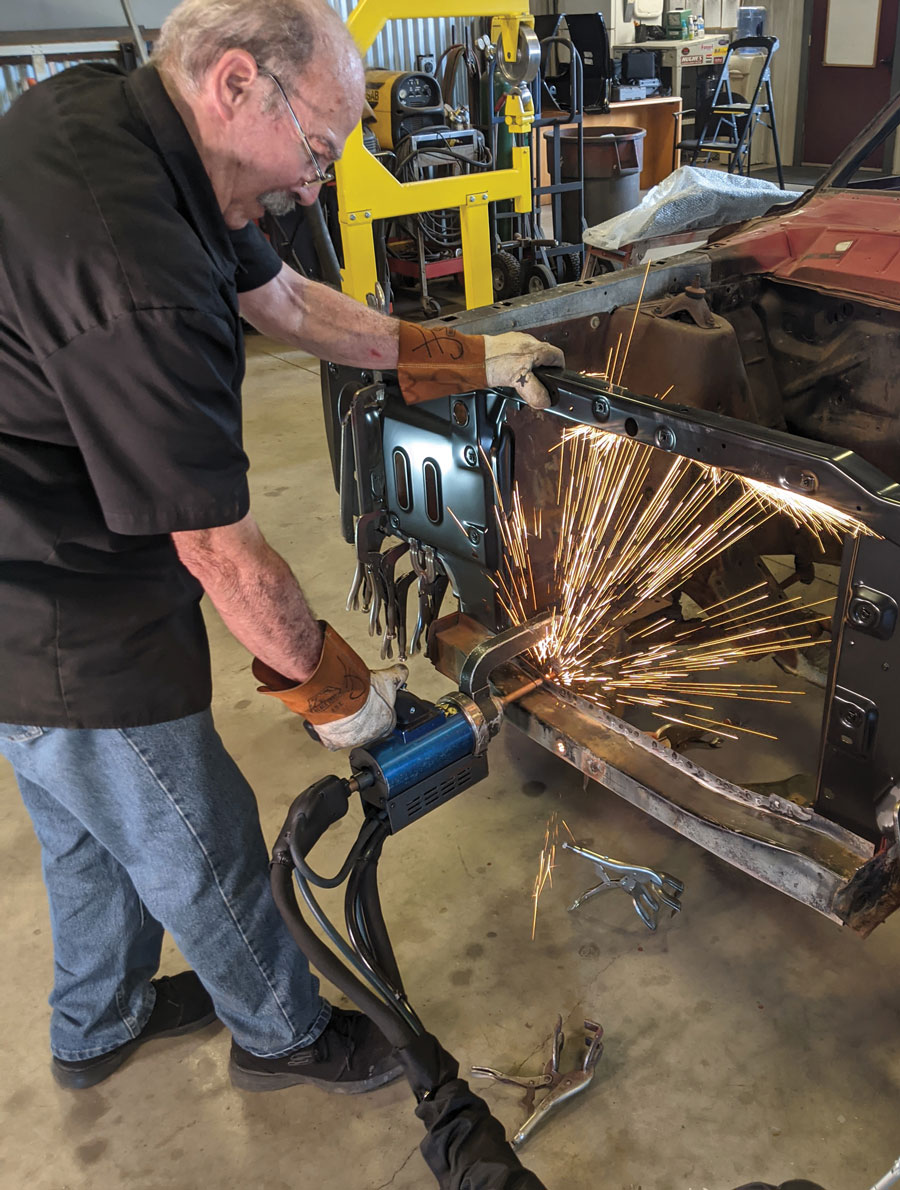
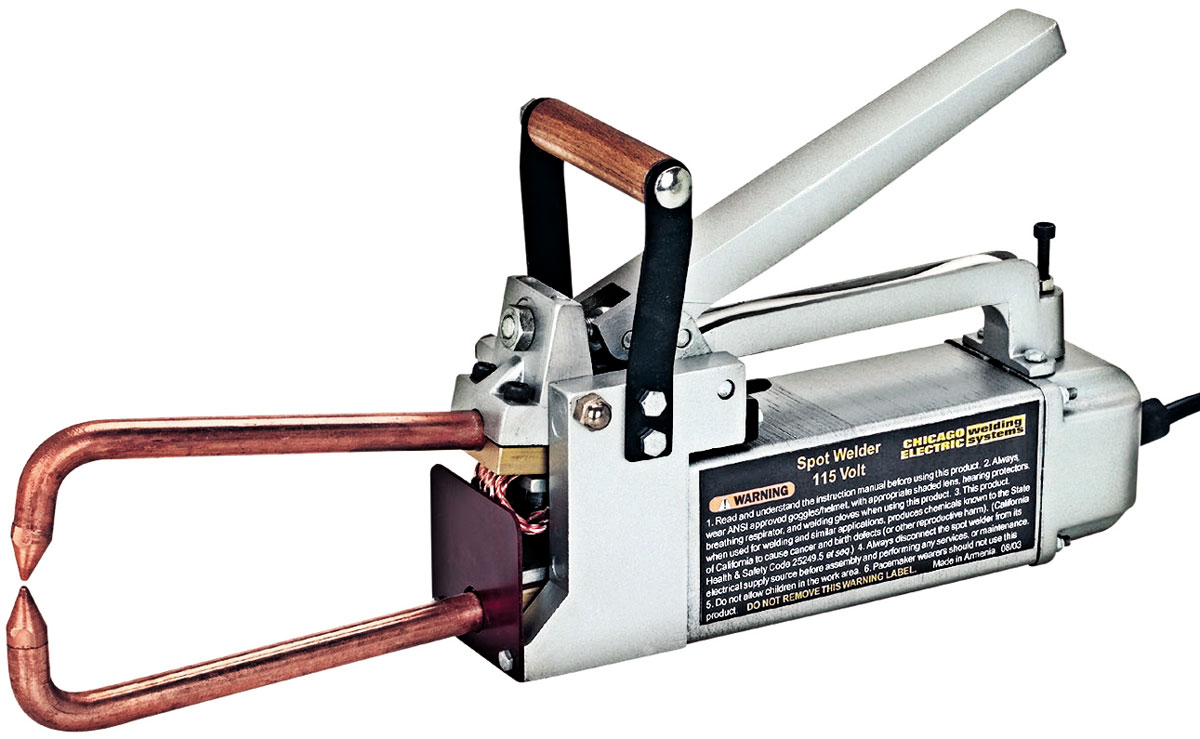
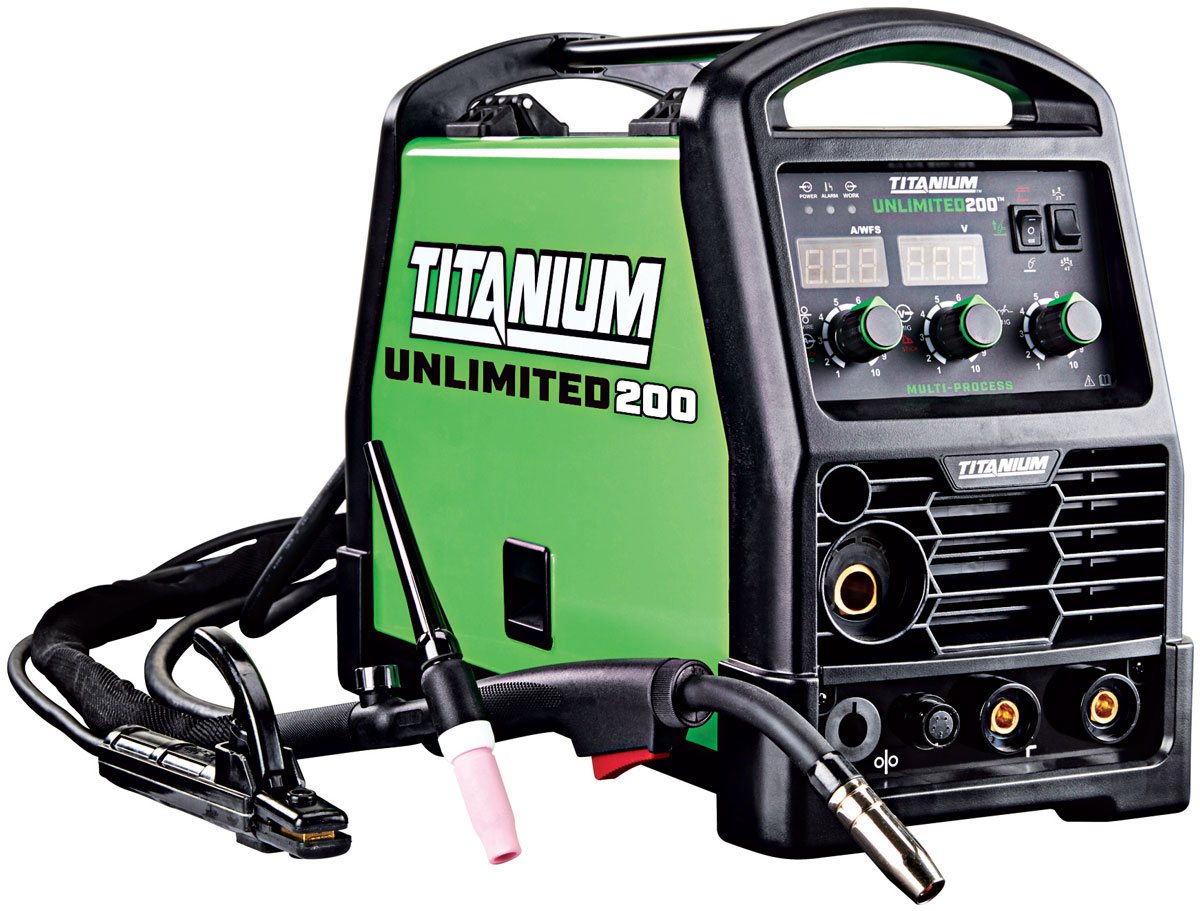
As for tools you will want to make sure that you have a proper air chisel, welder, spot welder, hammer and dollies, 3/16-inch grinding disc to remove spot welds, vise grips, weld-through primer, and a full collection of C-clamps, both “deep and shallow throw.” To answer this question, we visited our local Harbor Freight store (which for me is online) and rounded up a handful of examples of the tools that will come in handy when doing a job of this nature or any number of other sheetmetal projects.
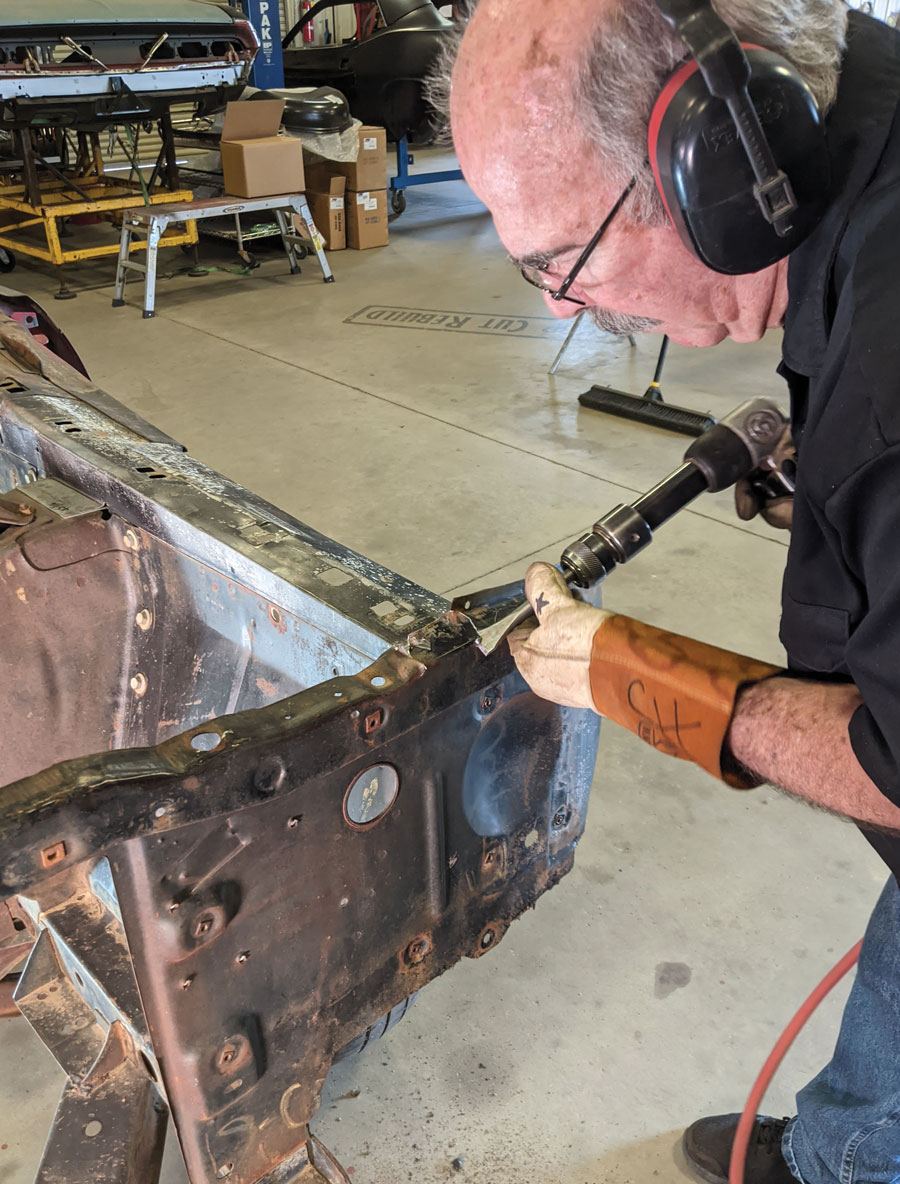
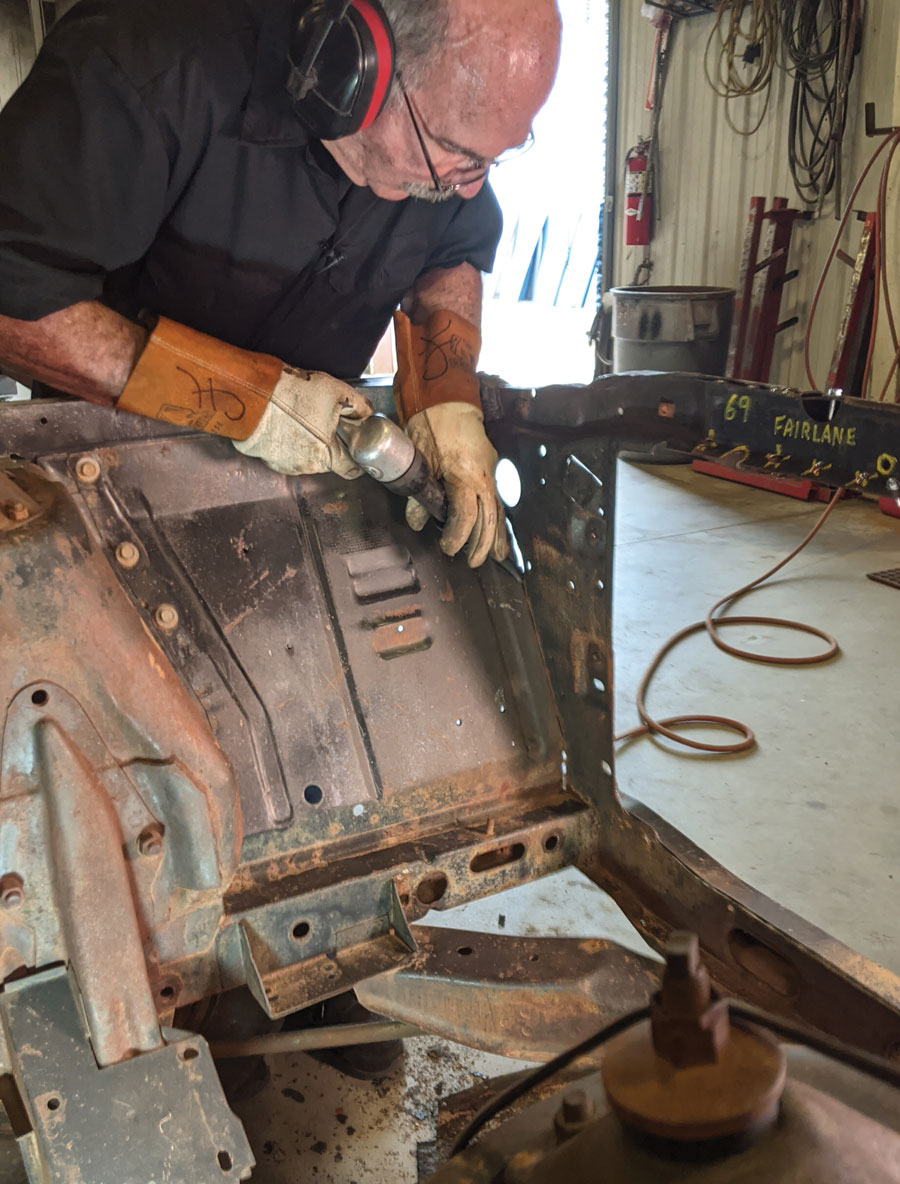
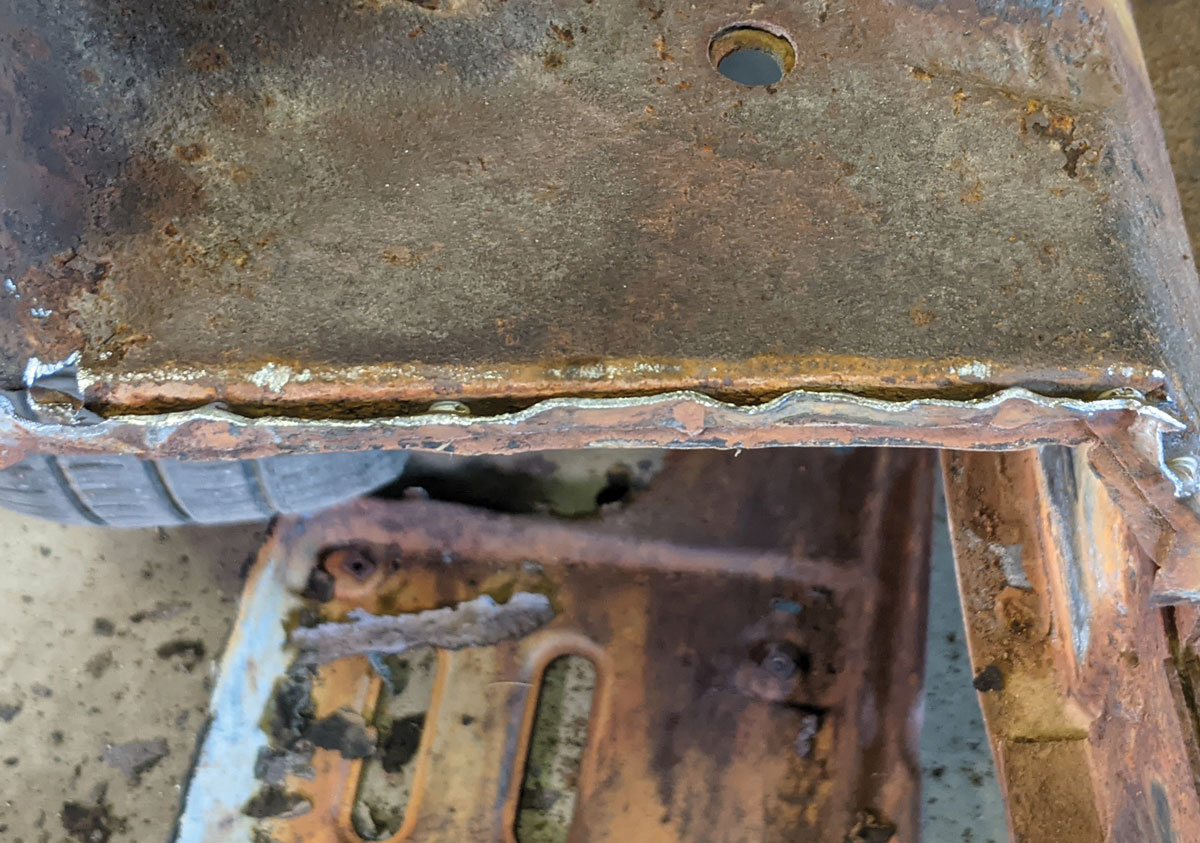
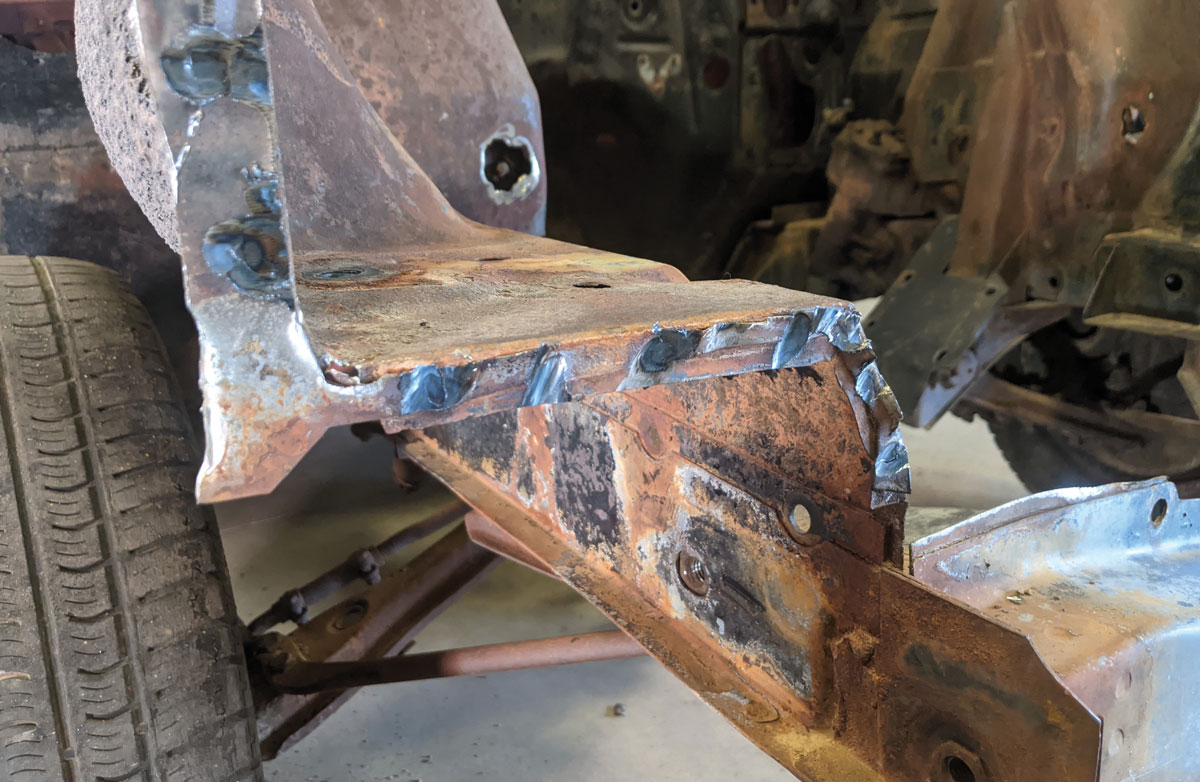
Unless you have copious amounts of time and a great deal of experience don’t expect this to be a weekend project. It can be but odds are this is going to take you three or four weekends to accomplish the task. Patience and safety will always yield the best results. Follow along with the photos and watch how Hopkins performs a step-by-step operation for changing out the radiator core support.

 SOURCES
The Installation Center
(706) 348-6653
amdinstallation.com