Modern Rodding Tech
1971 plymouth duster shell white body disc brakes engine install in progress
Lookin' Good
1. With the exterior of the Duster completed, it was time to begin work on the interior.
Lookin' Good
Project 1971 Duster Gets an Interior Makeover
By Ron Covell Photography by BBT FABRICATIONS
W

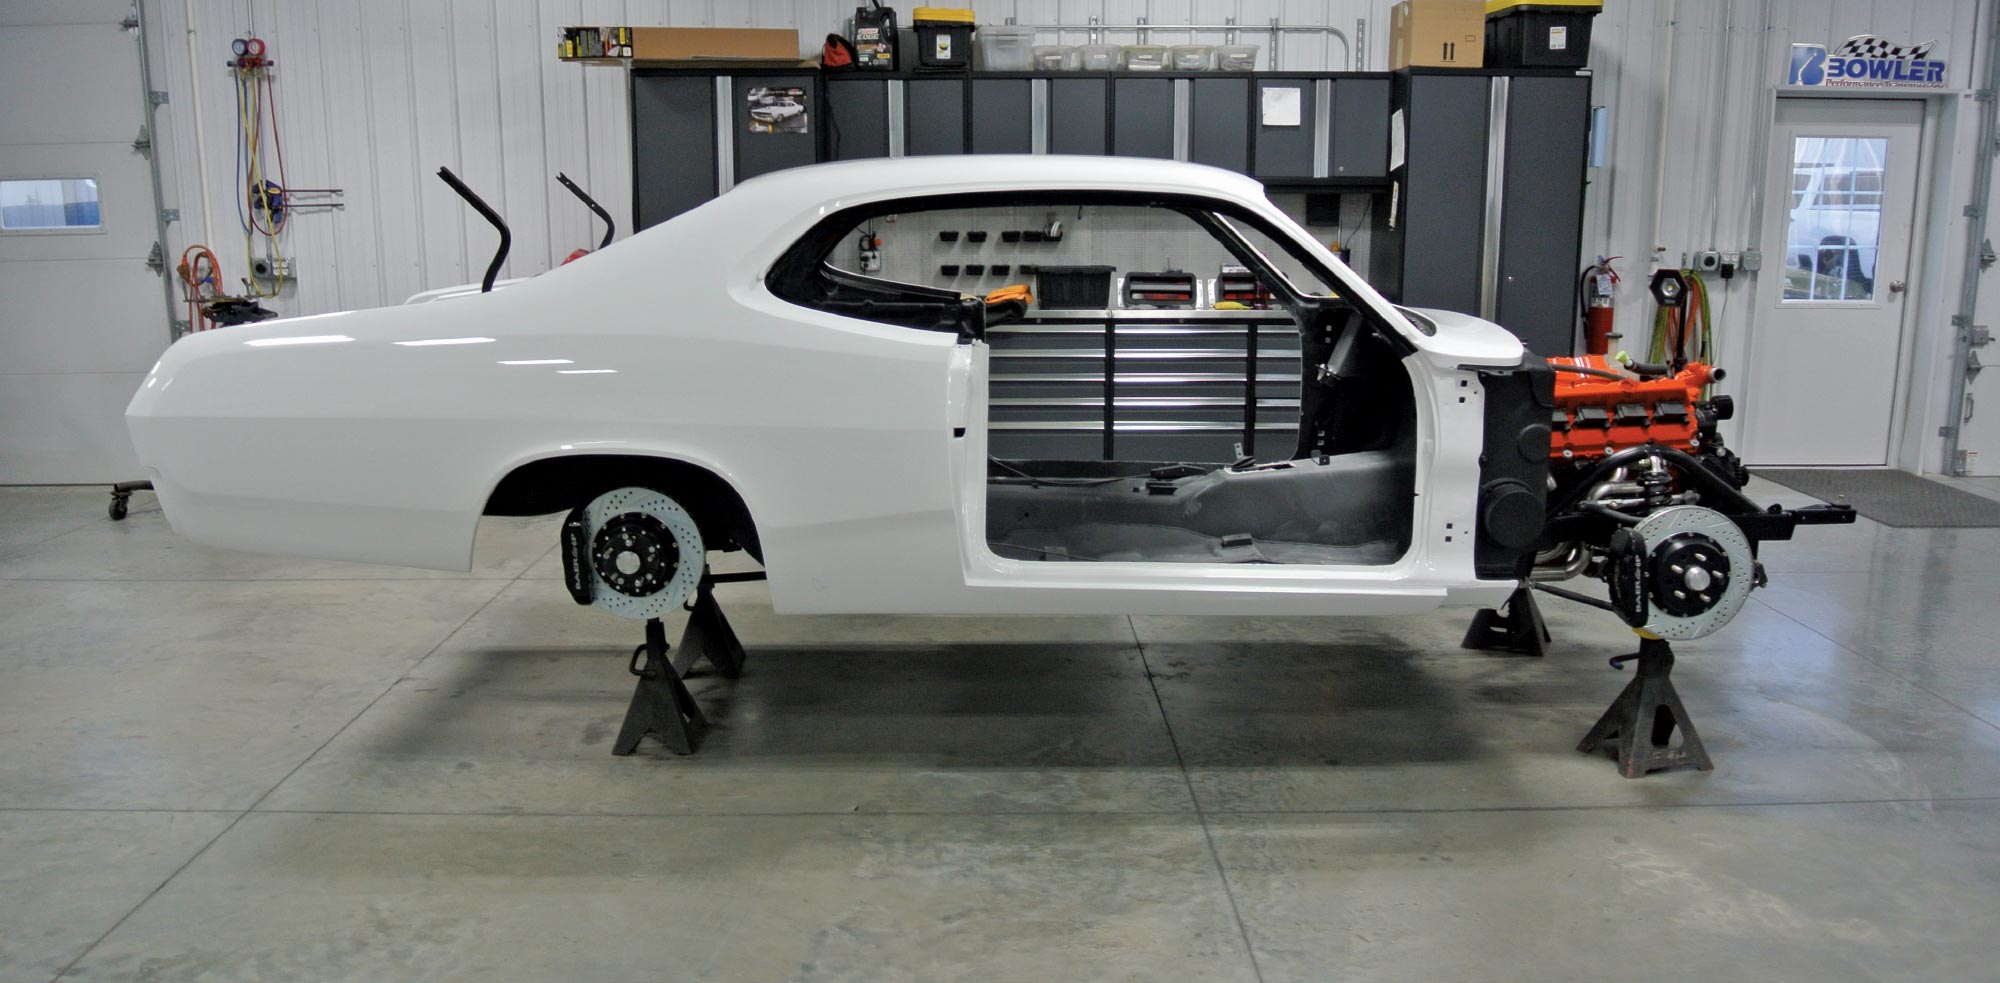
e previously reviewed several stages of fabrication on this outstanding 1971 Duster being built at BBT Fabrications. This time around, we’re stepping inside to see the interior—where thoughtful details come together to elevate a classic design.

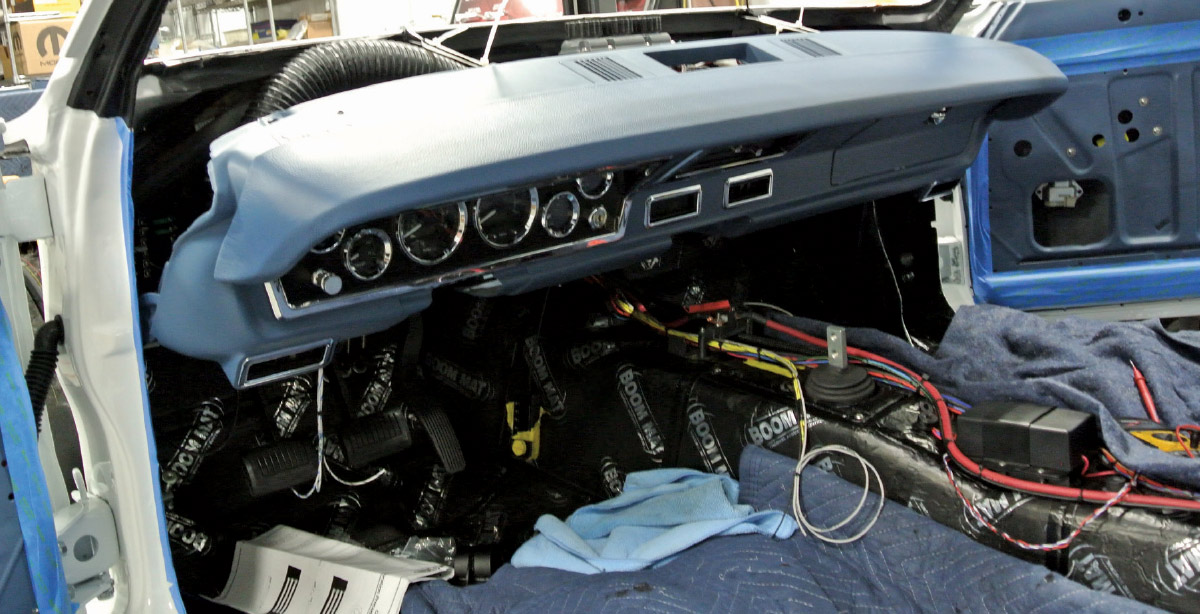
One of the first priorities was controlling noise. Generous amounts of Boom Mat sound-deadening material were applied to the interior surfaces, helping keep the cabin quiet and comfortable and making the car much more enjoyable to drive.

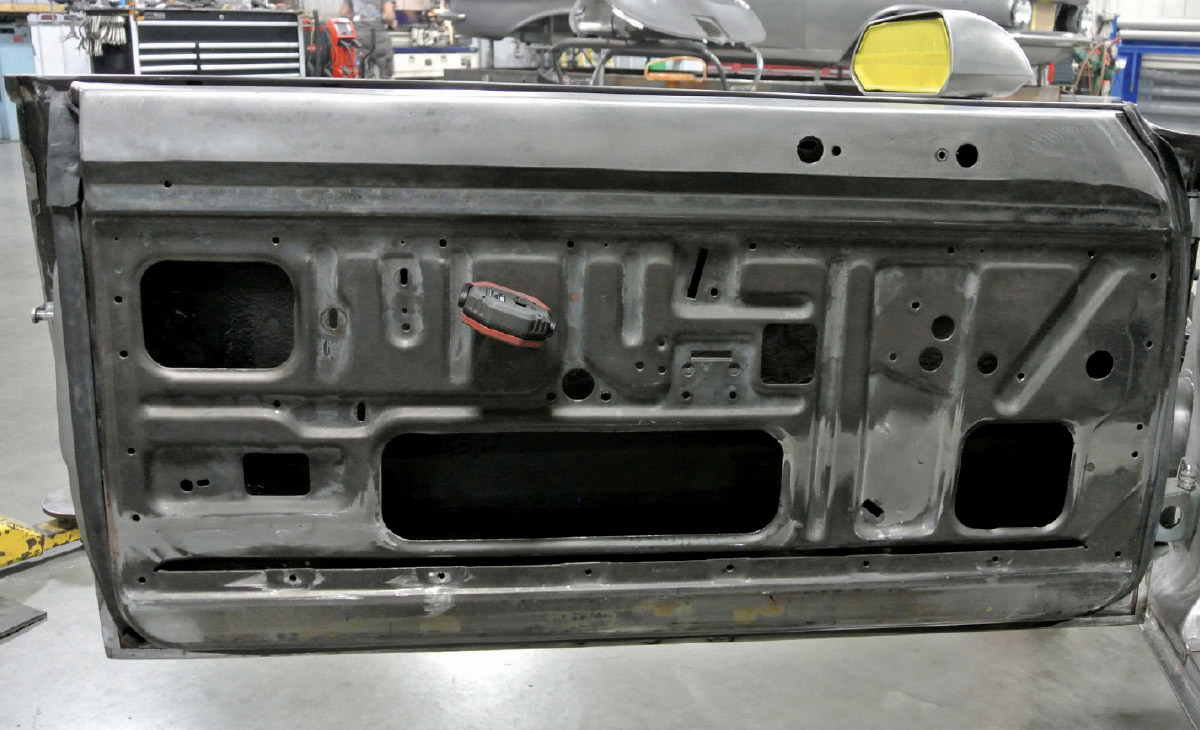
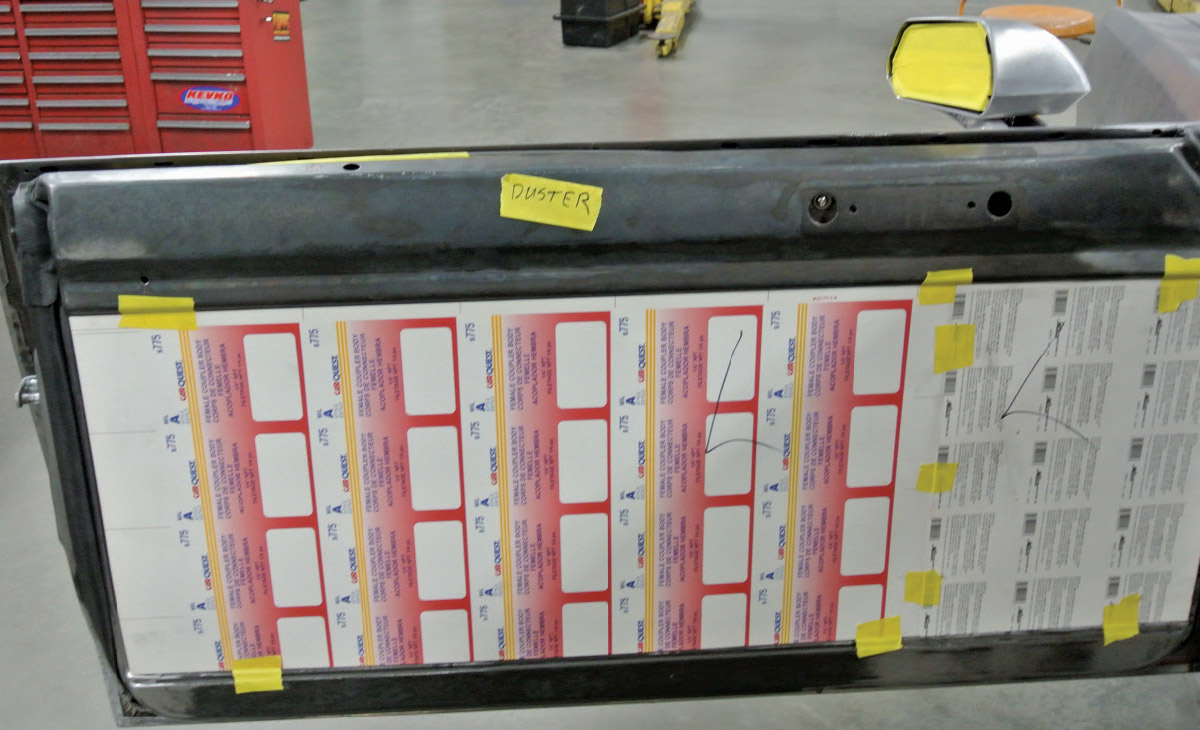
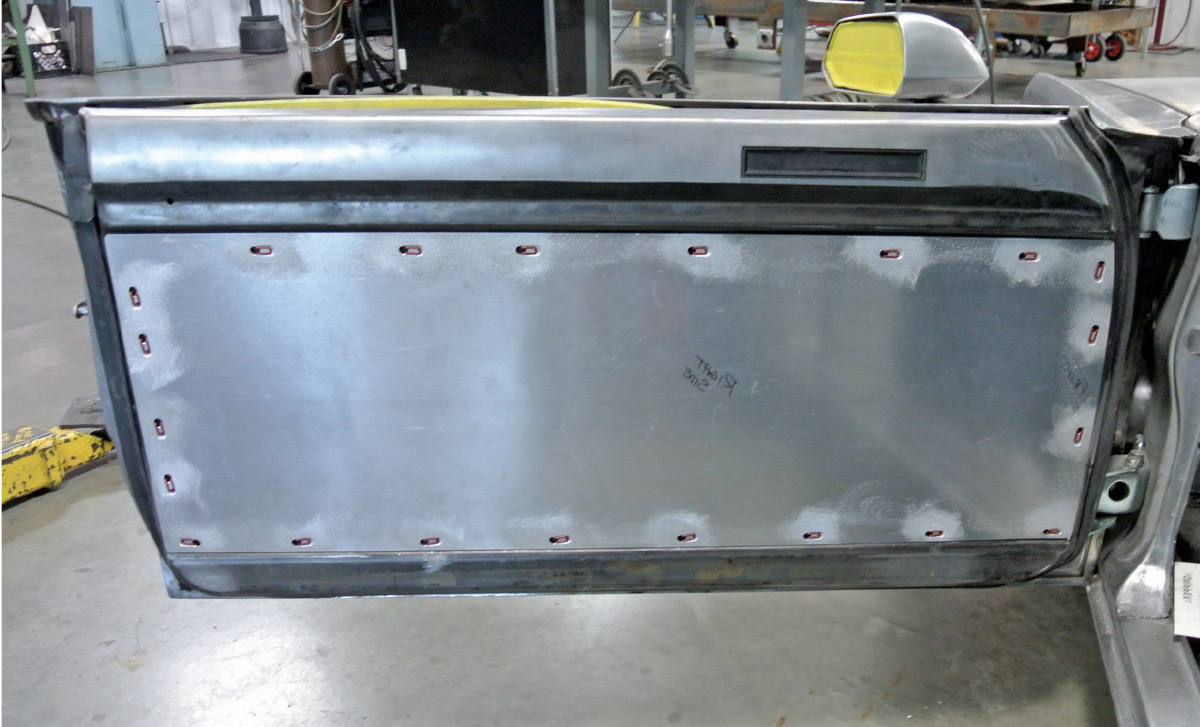
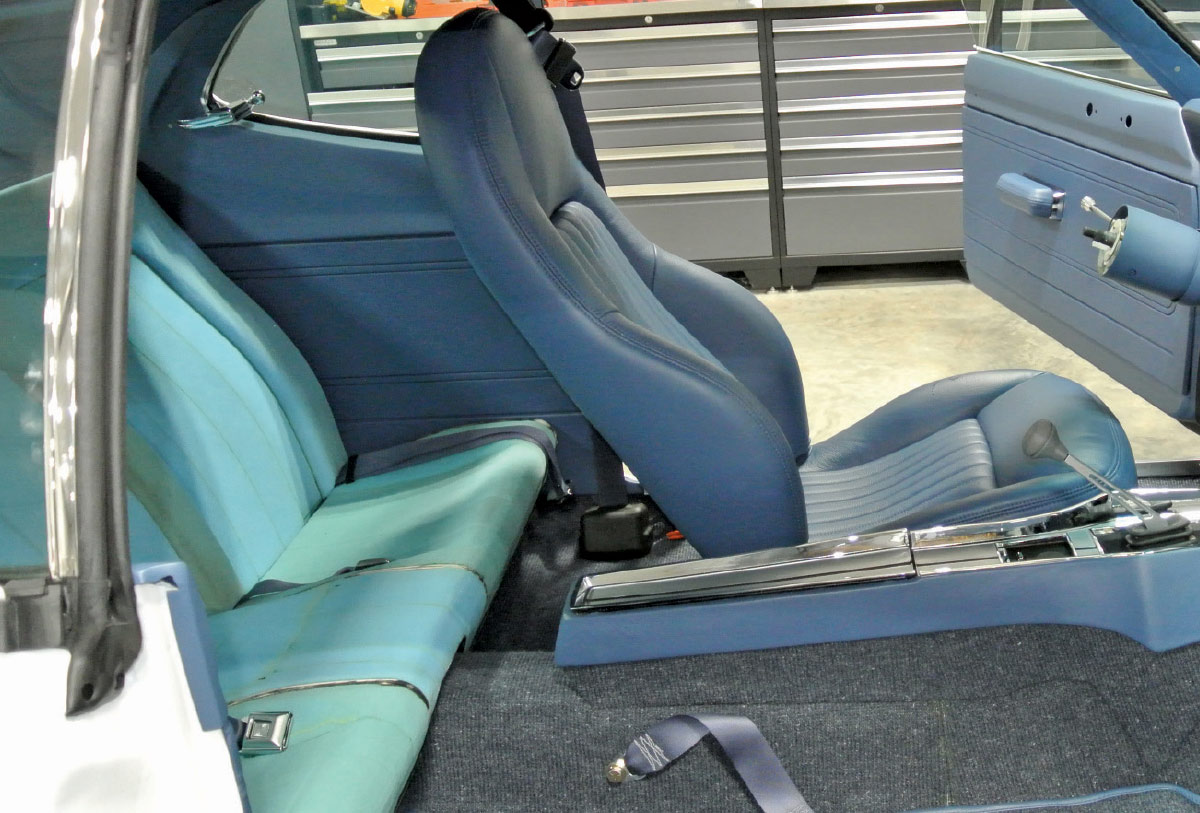
The door panels are all new and made from sheet aluminum, which holds its shape far better over time than the composite panels often used in custom interiors. To keep the upholstery perfectly smooth, a special die was used to create small recesses in the panels so the spring clips sit flush and won’t telegraph through the finished surface.

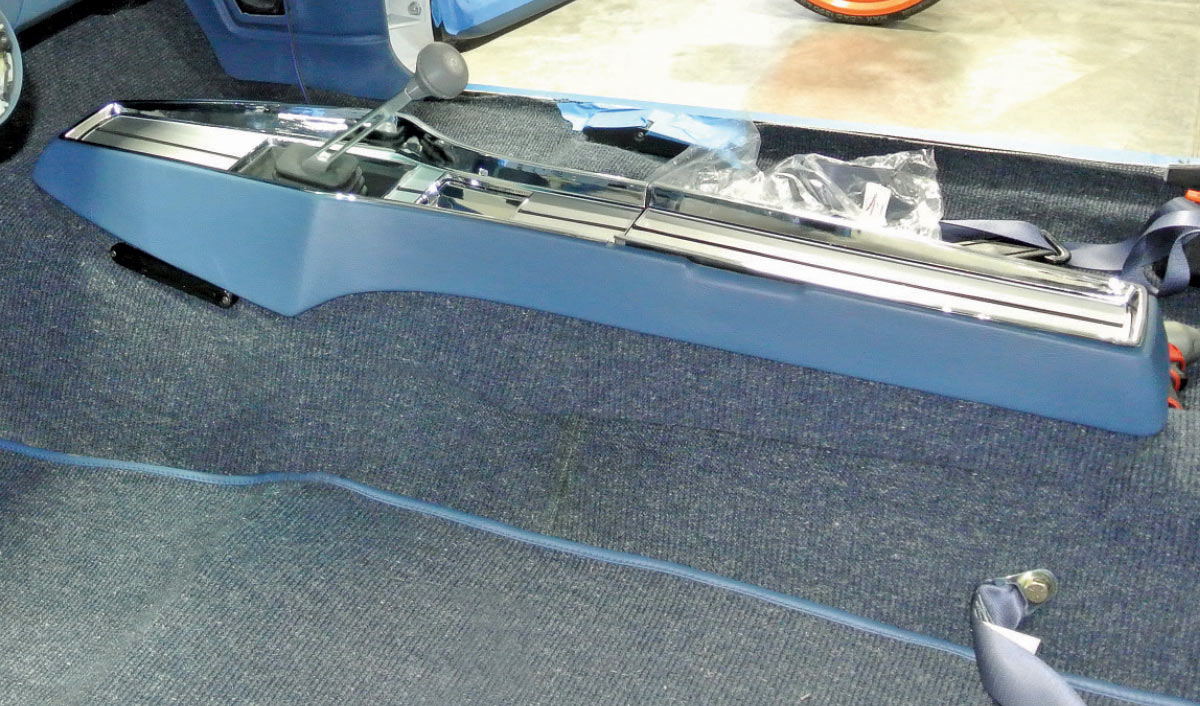
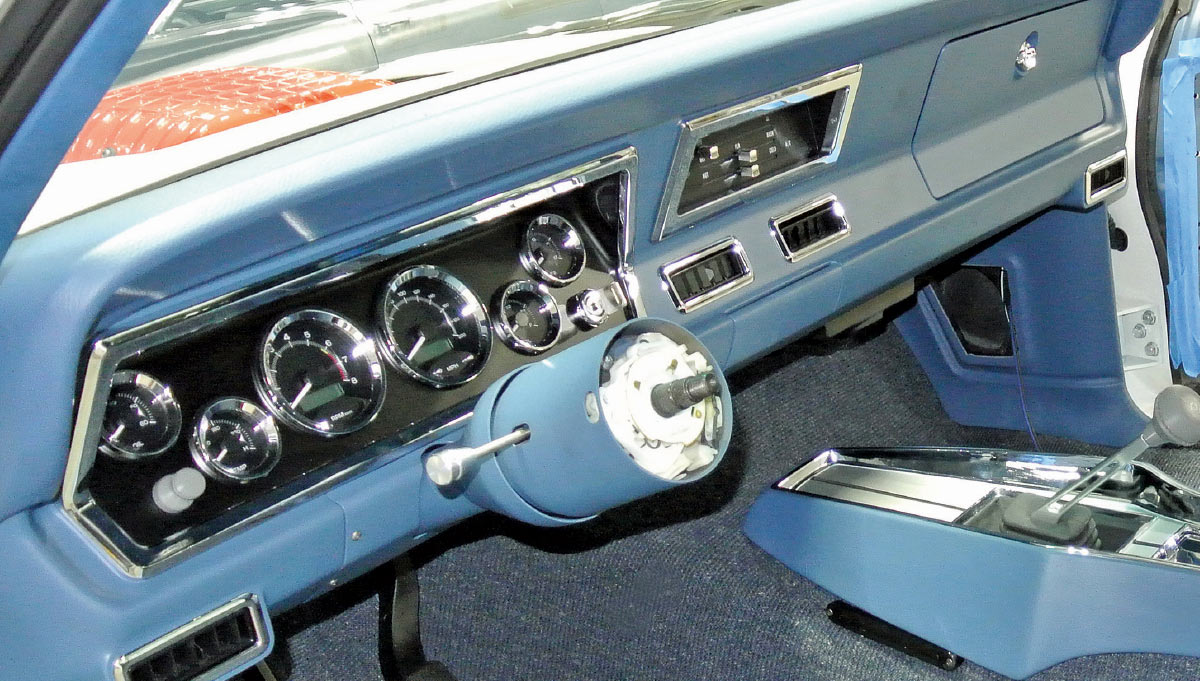
The center console also received a lot of attention. It was redesigned to fit the larger transmission tunnel, and the original die-cast top trim was skillfully refinished. These updates help preserve the character of the original car while adding modern improvements.

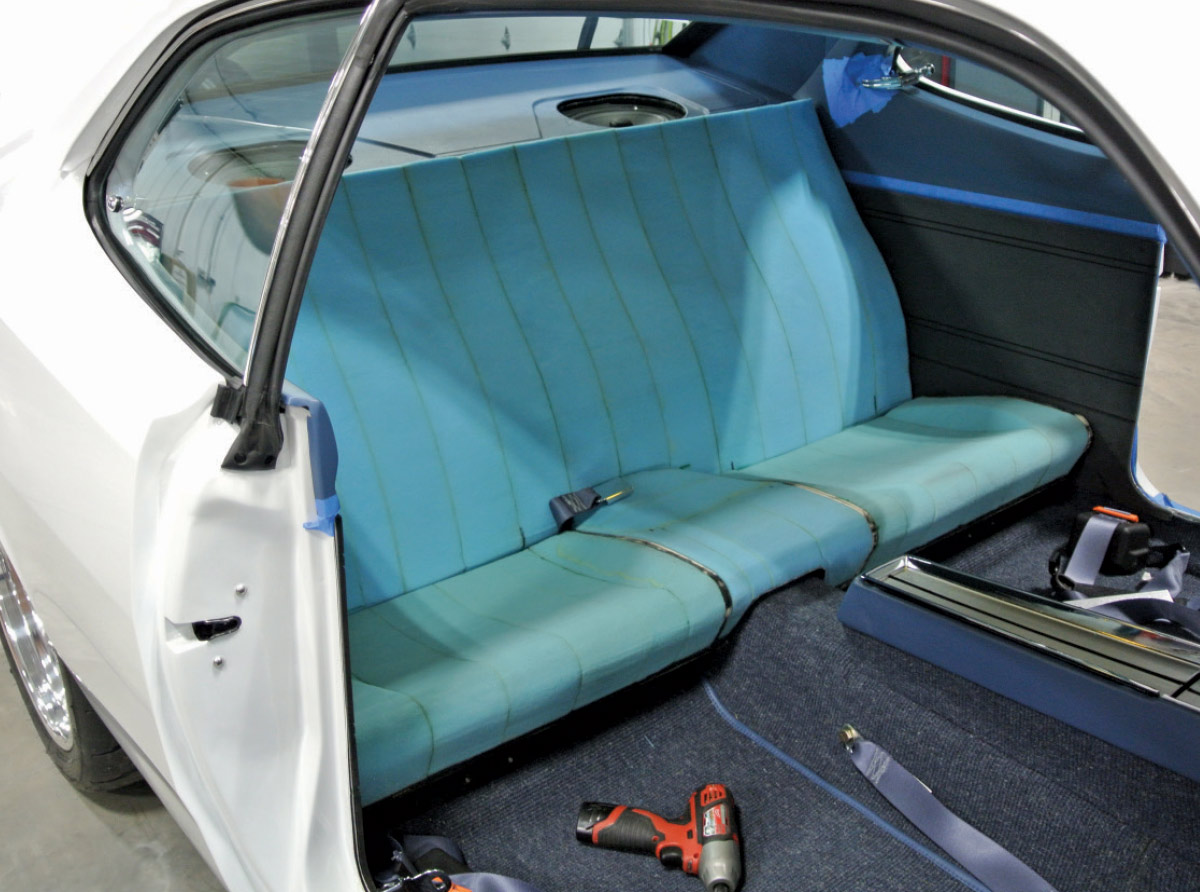
Out back, the rear seats are entirely hand built. They began as simple foam blocks, which were carefully carved into smooth, flowing shapes that match the style of the front bucket seats. The result is a custom look that feels unified and intentional.

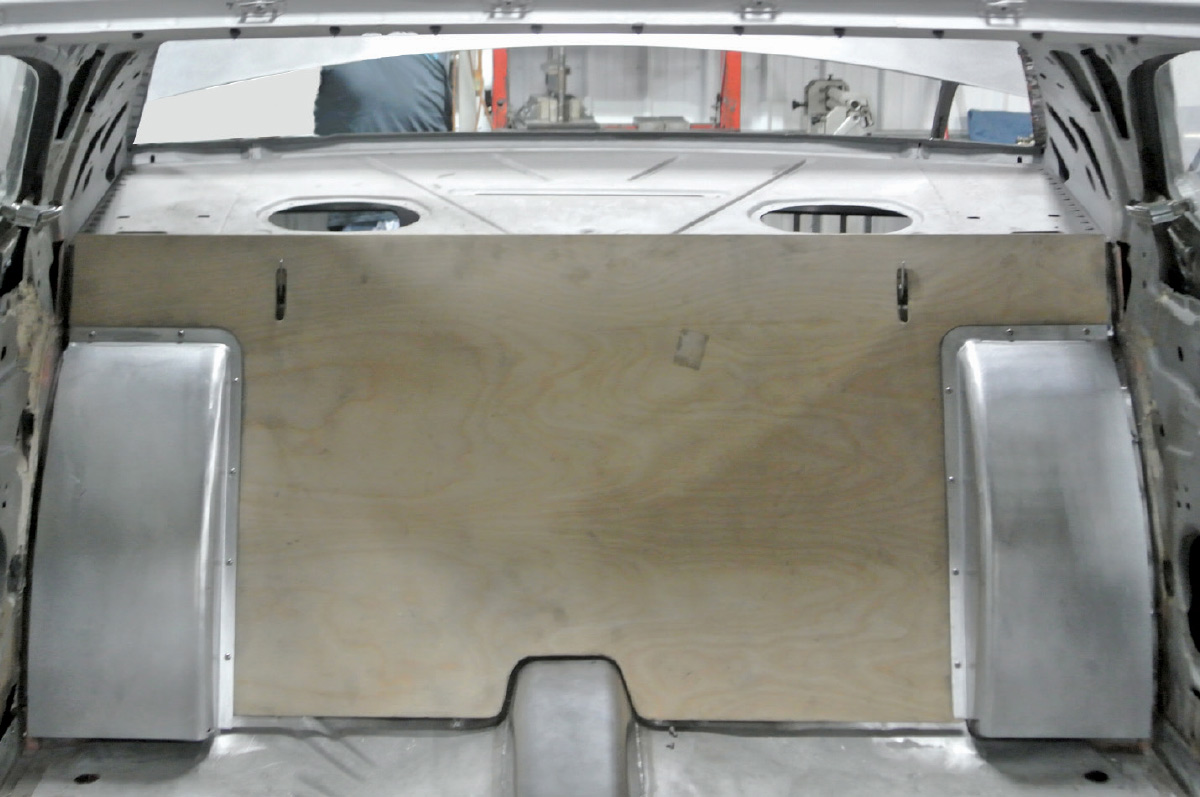
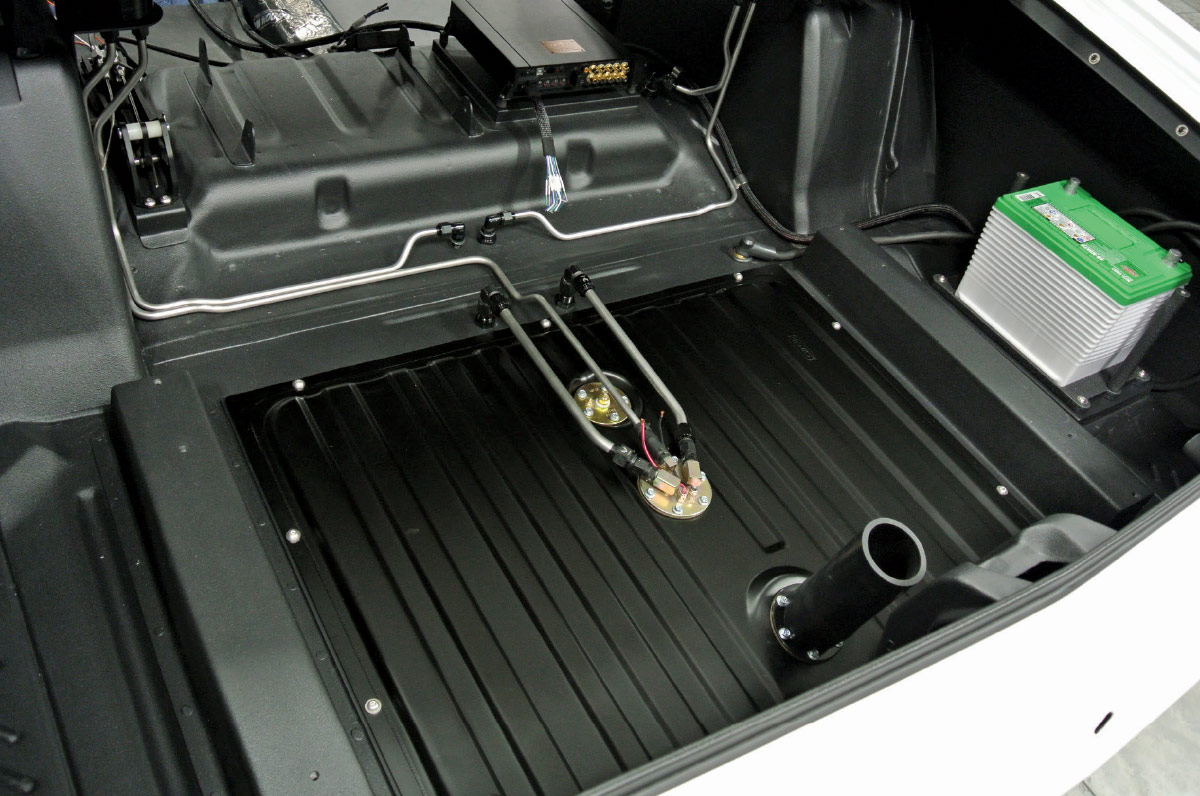
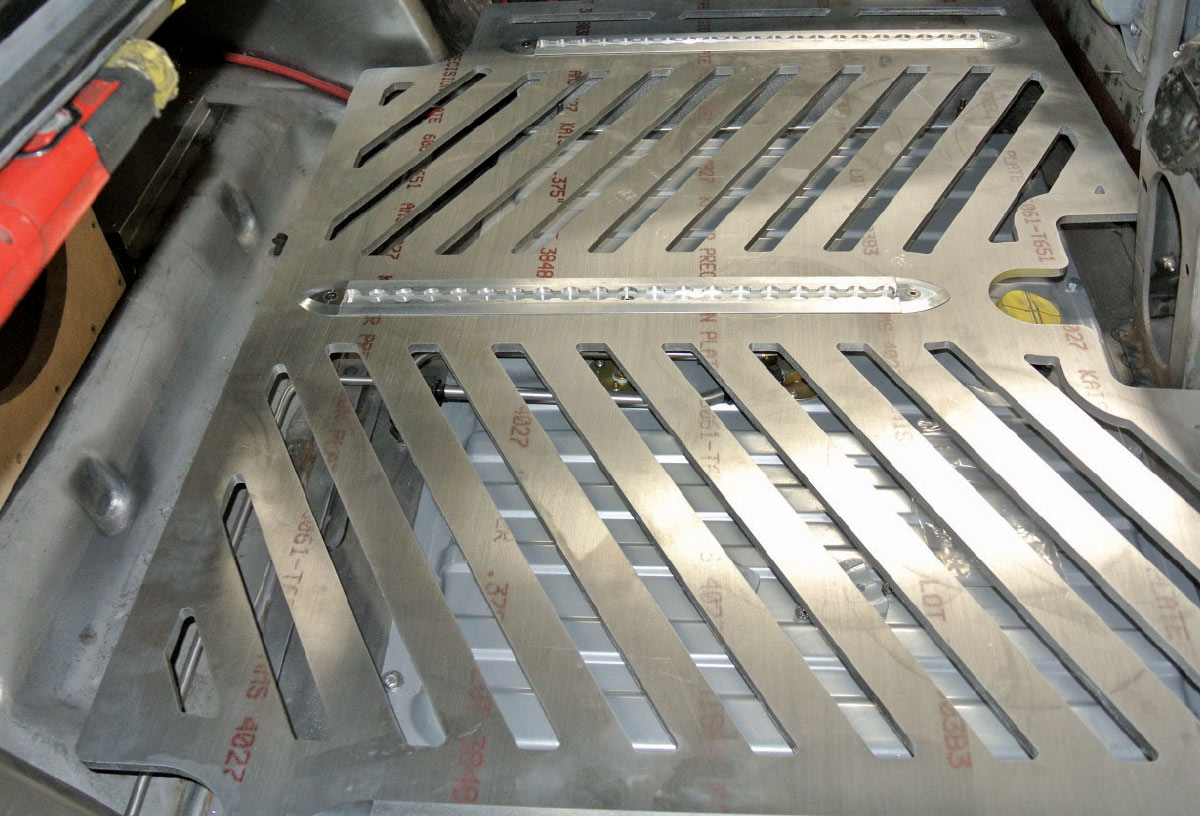
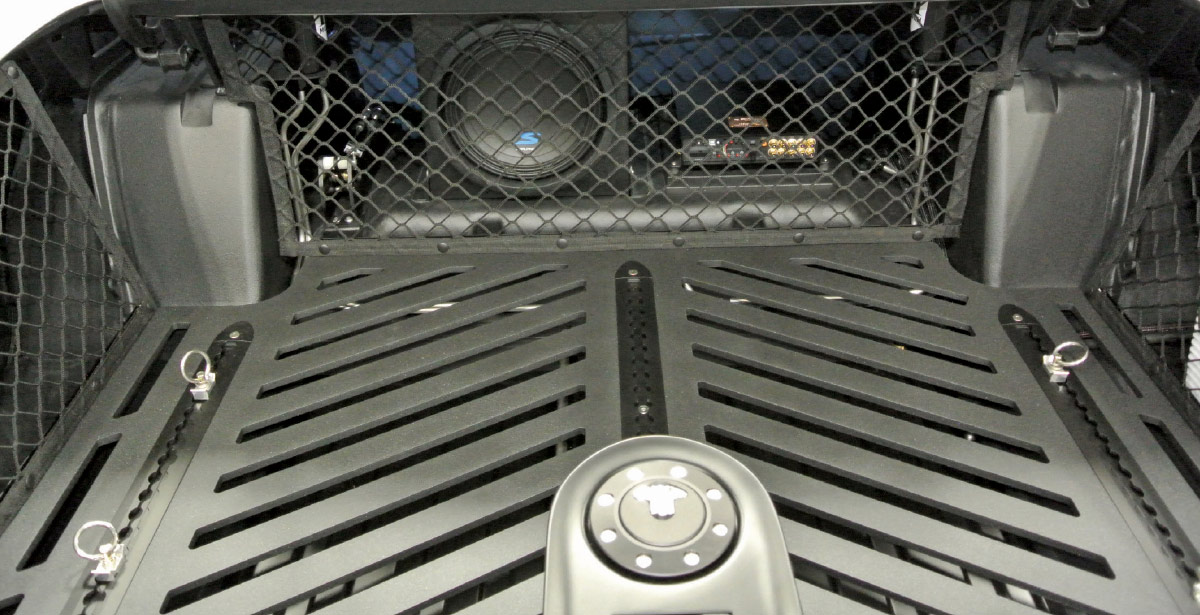
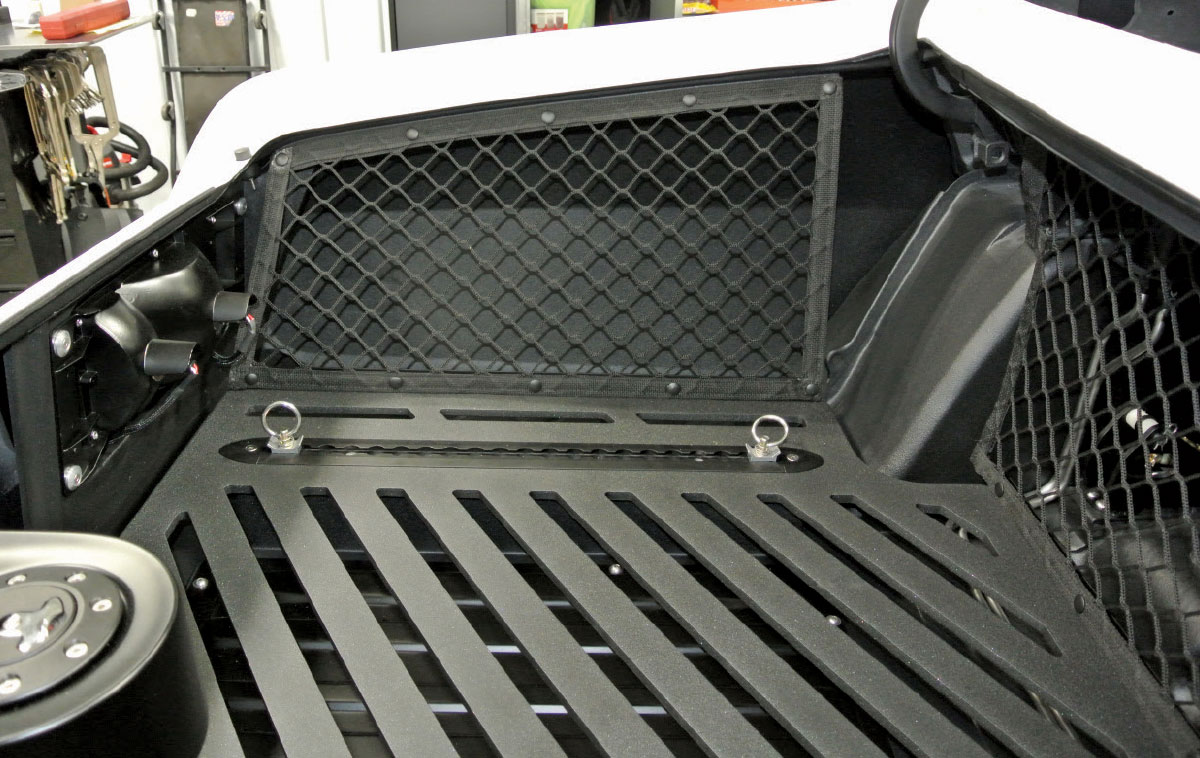
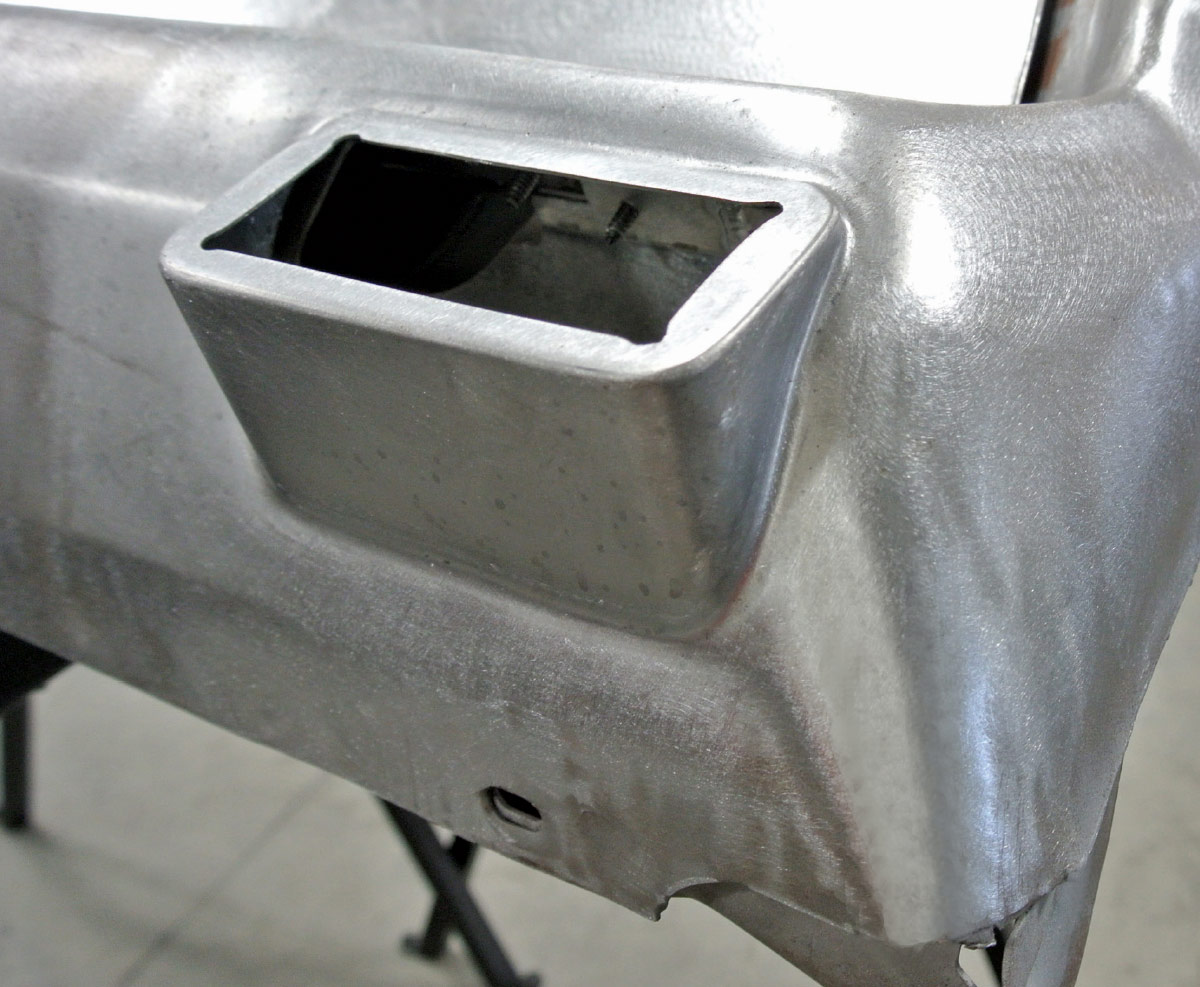
The gas filler cap was moved from the quarter-panel into the trunk, where a custom-built riser positions it at a convenient height just ahead of the decklid latch. The trunk was finished with the same level of care as the interior, featuring a machined-aluminum cargo floor with built-in tracks for hold-down straps to keep contents secure. Everything in the trunk was painted satin black, giving it a clean, understated look.

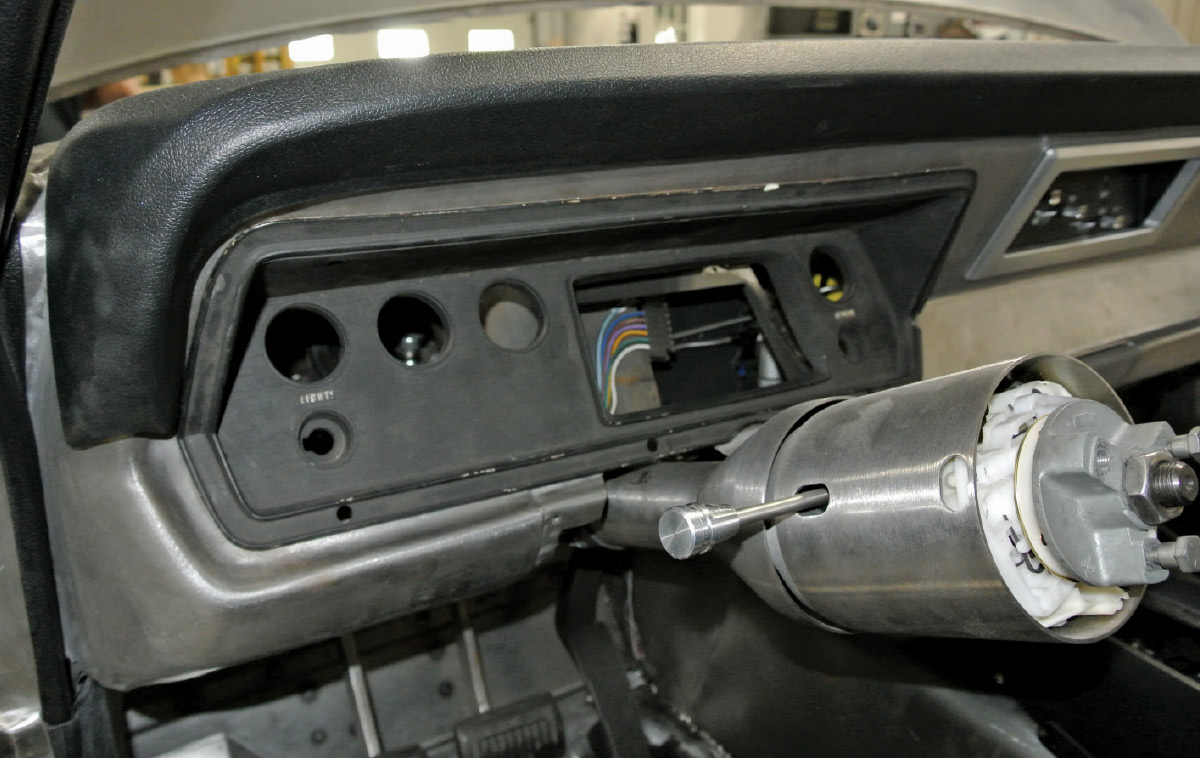
A lot of custom work also went into the dashboard and instrument cluster. The original Duster gauges were quite basic, so a new panel was built with a similar overall shape but with a much more refined look. Classic Dakota Digital round gauges were carefully installed, and a custom insert was added to neatly fill the gap around the Ididit tilt steering column, using Intek Otto wicks. As a final touch, four rectangular vents were molded into the dash for the Vintage Air climate-control system, designed to appear factory installed.

To tie everything together, the dash and console were painted to closely match the upholstery, giving the interior a unified, finished feel. As you look through the photos, it’s easy to see how the crew at BBT Fabrications handled each detail with the kind of thoughtful craftsmanship that has become their signature.

1971 plymouth duster bare interior stripped floor no insulation prep stage
2. The floor of this car was extensively modified to accommodate the chassis and drivetrain.
1971 plymouth duster interior boom mat sound deadener installation firewall floors
3. Self-adhesive Boom Mat sound-deadening material is applied to the firewall.
1971 plymouth duster rear seat wall custom aluminum and wood panel fabrication
4. In the rear of the passenger compartment, a new bulkhead was fabricated to support the rear seat.
1971 plymouth duster boom mat insulation closeup rear quarter panel area
5. The rear bulkhead and wheelhousings are carefully covered with sound deadener as well.
1971 plymouth duster inner door raw steel surface ready for panel install
6. The inner door structures are prepped for the new door panels.
1971 plymouth duster door panel mock-up cardboard templates test fit
7. Paperboard is used to dial in the fit of the door panels. This serves as the pattern for cutting the finished panels.
1971 plymouth duster custom metal inner door panel fabricated install
8. An aluminum panel is used as the backing for the door panel. A custom dimple die was made to recess the spring clamp legs that hold the panel in place, ensuring there are no bumps on the finished side.
1971 plymouth duster blue interior door panel fully installed clean restoration
9. The finished door panel follows the simple, clean style of the interior.
1971 plymouth duster center console chrome shifter bezel original interior part
10. The trim for the top of the console was beautifully refinished.
1971 plymouth duster blue center console installed chrome trim vintage shifter
11. The console is fitted to the top of the transmission tunnel.
1971 plymouth duster rear seat turquoise vinyl partially installed classic interior
12. The rear seats were completely custom-built. Blocks of foam are being fitted into place here.
1971 plymouth duster rear seat view speaker shelf blue trim restoration in progress
13. The foam blocks are sculpted into shape, creating attractive inset panels for the seat backs.
1971 plymouth duster front rear seat blue interior modern bucket install
14. The front seats are test-fitted into position.
1971 plymouth duster front seats blue leather custom metal panel rear
15. Custom aluminum panels were shaped to smooth the backs of the front seats.
1971 plymouth duster custom fuel filler neck aluminum panel fabbed piece
16. In the trunk area, a special riser was built to hold the gas cap and incorporate the latch for the decklid. A hose connects the filler to the gas tank below.
1971 plymouth duster trunk fuel system wiring amp battery clean modern upgrade
17. Stainless hardline plumbing for the fuel system is neatly tucked away in the trunk, along with the battery and stereo system.
1971 plymouth duster custom aluminum trunk floor panel slotted ventilation
18. An elegant trunk floor was fabricated from machined aluminum plate. It incorporates grooves for track-style mounts to accept hold-down straps.
1971 plymouth duster trunk panel install fuel access subwoofer amp netting upgrade
19. The machined aluminum floor is fitted into place with the strap tracks installed.
1971 plymouth duster trunk audio sub amp finished setup
20. Expanded metal panels are used to protect the stereo system components.
1971 plymouth duster trunk net panel tie downs installed
21. Additional expanded metal panels are used along the sides of the trunk area.
1971 plymouth duster dash shell stripped column exposed
22. The original instrument panel is very basic and clearly due for an upgrade, while an Ididit tilt steering column outfitted with Intek Otto wicks are now used.
1971 plymouth duster custom gauge panel raw aluminum
23. A new aluminum dash insert is fabricated, and paperboard discs are used to check the placement of the new instruments. A grid marked on the panel helps ensure symmetry.
1971 plymouth duster gauge panel mockup cleco test fit
24. An insert panel is made to close the gap between the original dash and the new steering column. Clecos temporarily hold the panel in place.
1971 plymouth duster dash fab stage gauge holes cut
25. The new instrument panel and column insert are fitted into position.
1971 plymouth duster dash panel detail vent corner metal
26. New vents are gracefully molded into the dash for the climate-control system.
1971 plymouth duster dash gauge cluster insert chrome ring
27. The instrument panel is painted satin black and a chrome bezel is fitted into place.
1971 plymouth duster restored dash blue paint chrome trim
28. The dashboard is painted a subtle gray-blue to complement the upholstery color.
1971 plymouth duster dash installed wiring visible interior work
29. Once all components are assembled, the dashboard is carefully installed. This step is challenging because the wiring and Vintage Air climate-control systems are already in place.
1971 plymouth duster completed dash gauges console installed blue interior
30. The completed dashboard, equipped with Dakota Digital gauges and Vintage Air A/C, is a significant upgrade from the original while still maintaining the classic 1970s style. The shifter and column wicks came from Intek Otto.

Modern Rodding
VOLUME 7 • ISSUE 67 • 2026