


 Photography by The author, Brian Brennan & courtesy of Vintage Air
hen it comes to passenger comfort, one of the most significant additions that can be made to a modern hot rod is the installation of air conditioning—or, more precisely, a contemporary heat and cool climate-control system. Like most things, the more you know about these systems, the easier it will be to select one that is right for your application, install it, and maintain it properly.
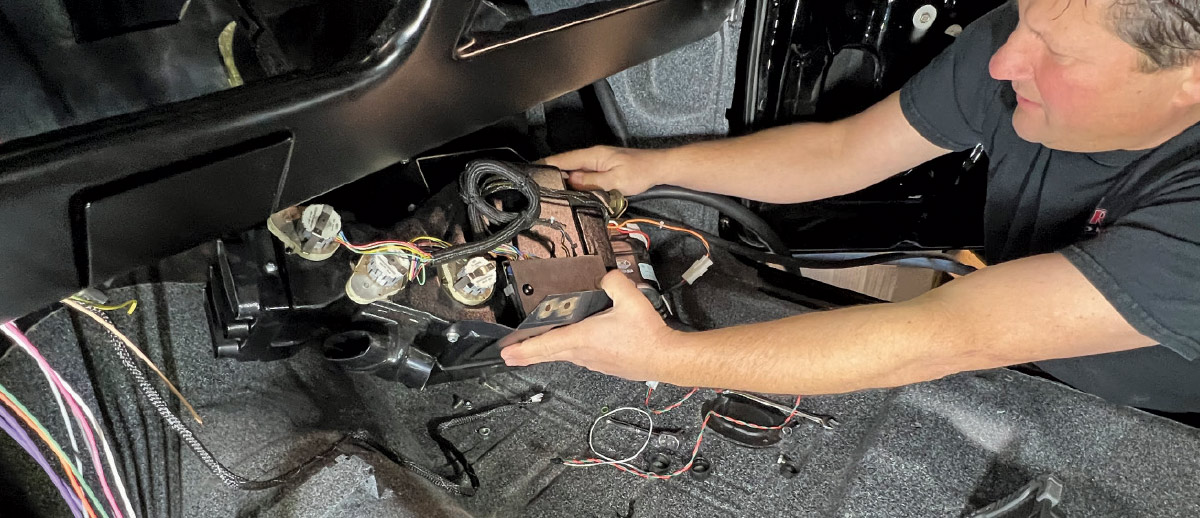
While there are aftermarket units that are air conditioning (A/C) only, true climate-control systems that include A/C, heat, and defrost are the most often installed. These systems can be divided into two types: those for universal applications and those designed for specific vehicles, such as Vintage Air’s SureFit series. But regardless of the type being installed, the same individual components are involved and they work the same way.
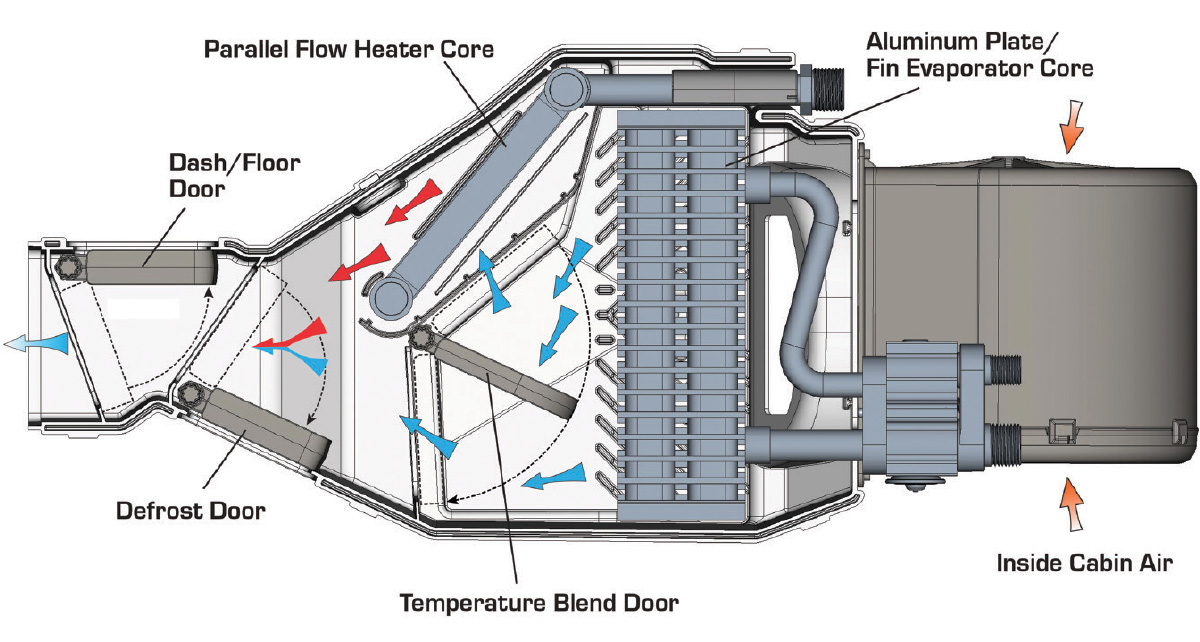
While the heater’s functions are easy enough to understand, the A/C system is a little more complicated. The simple explanation is the primary purpose of A/C is to remove heat and humidity from the passenger compartment; it does that by taking air from that confined area, forcing it across a coil in the underdash evaporator where the heat is absorbed and the humidity converted to water droplets that drain to the outside. Cooled air is pushed out by a fan through the vents onto the occupants while the heat is carried to the condenser in front of the radiator to be dissipated to the outside.
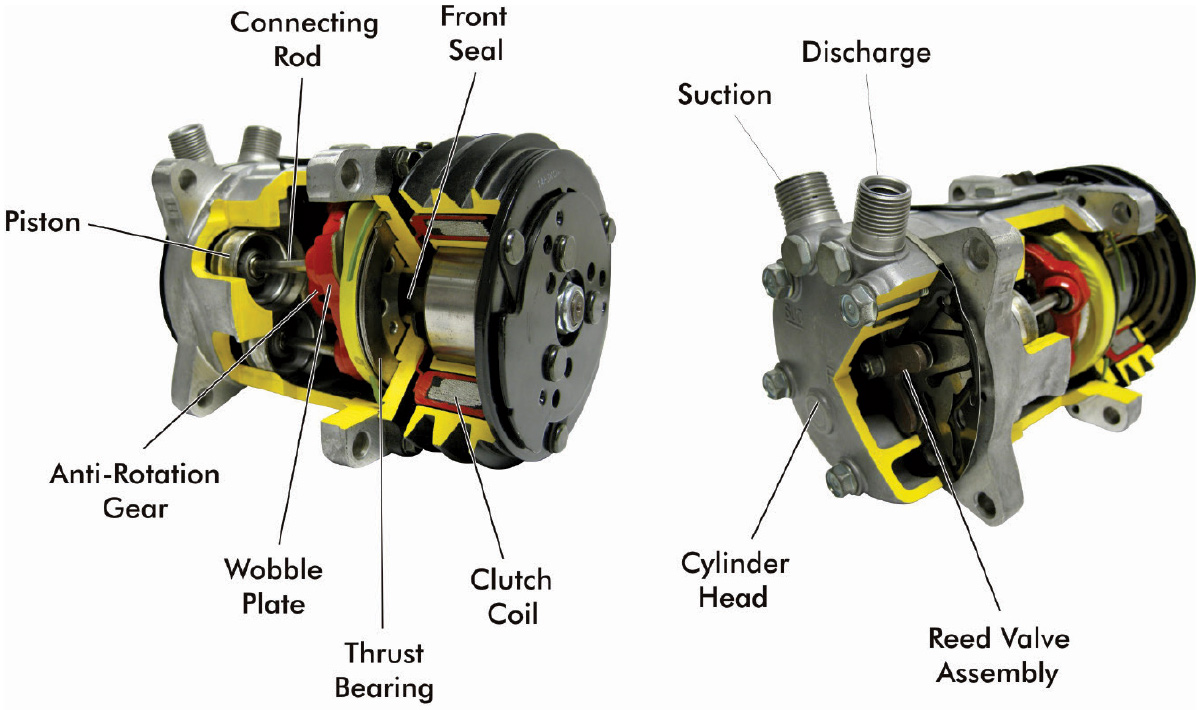
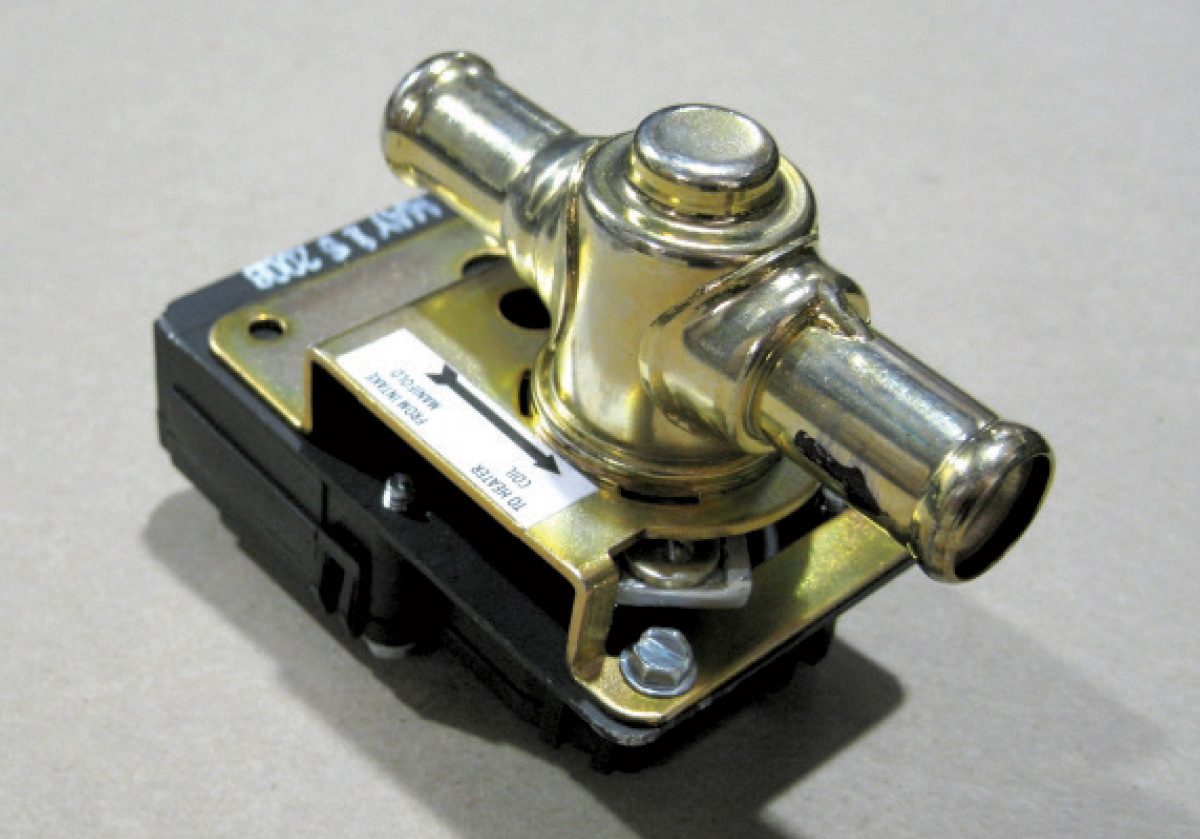
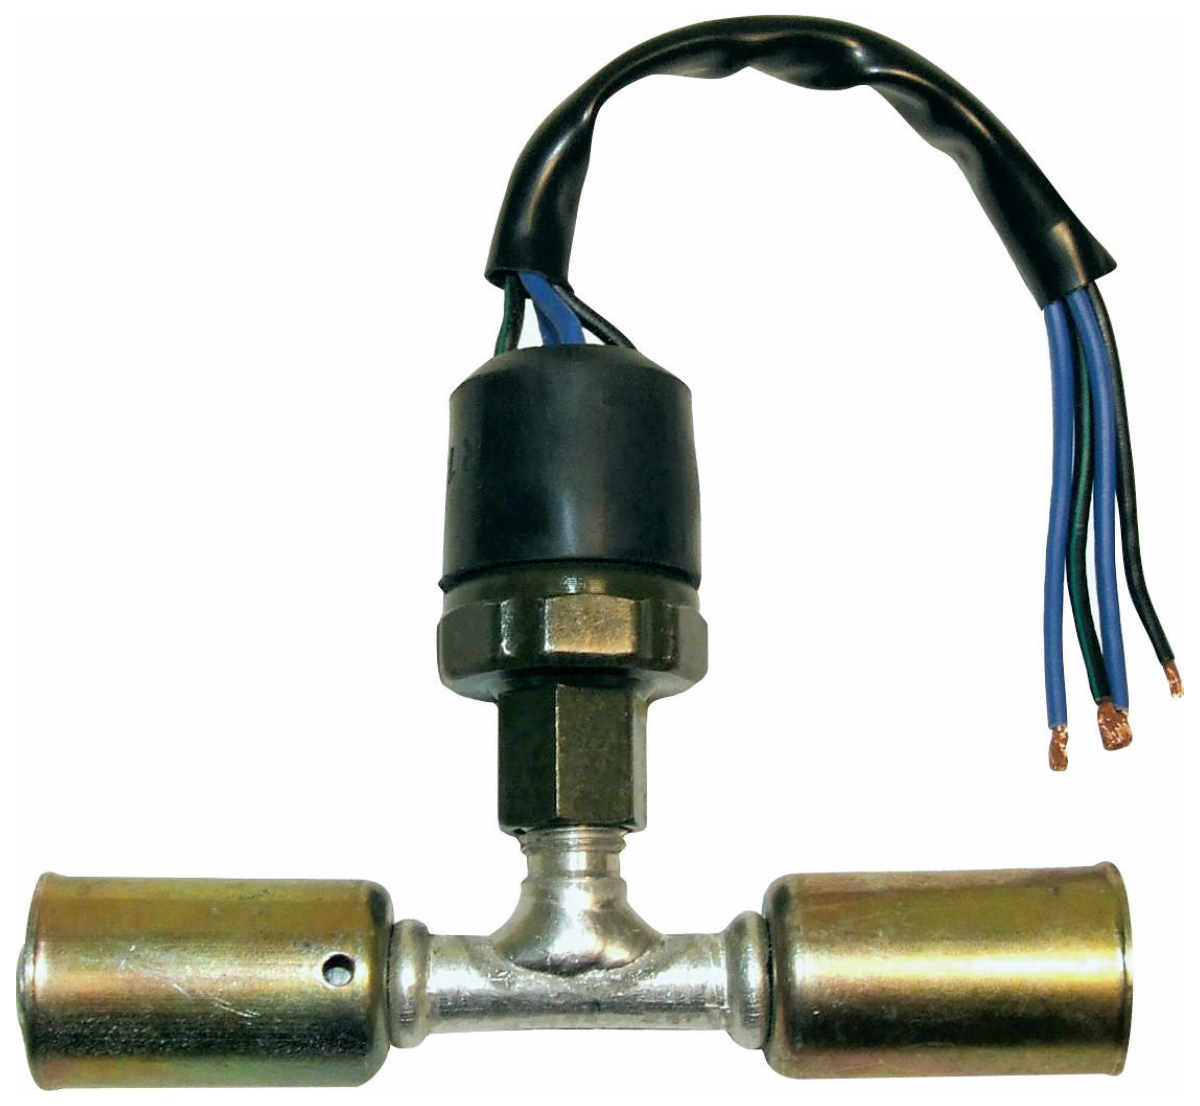
For a complete understanding of A/C’s intricacies, we turned to Rick Love, of Vintage Air. As he explains it, “There are seven basic components needed to air-condition any car with a conventional system: the compressor, compressor brackets, evaporator with expansion valve (inside car unit), condenser (outside heat exchanger), hoses and fittings, drier, and a safety switch or switches.
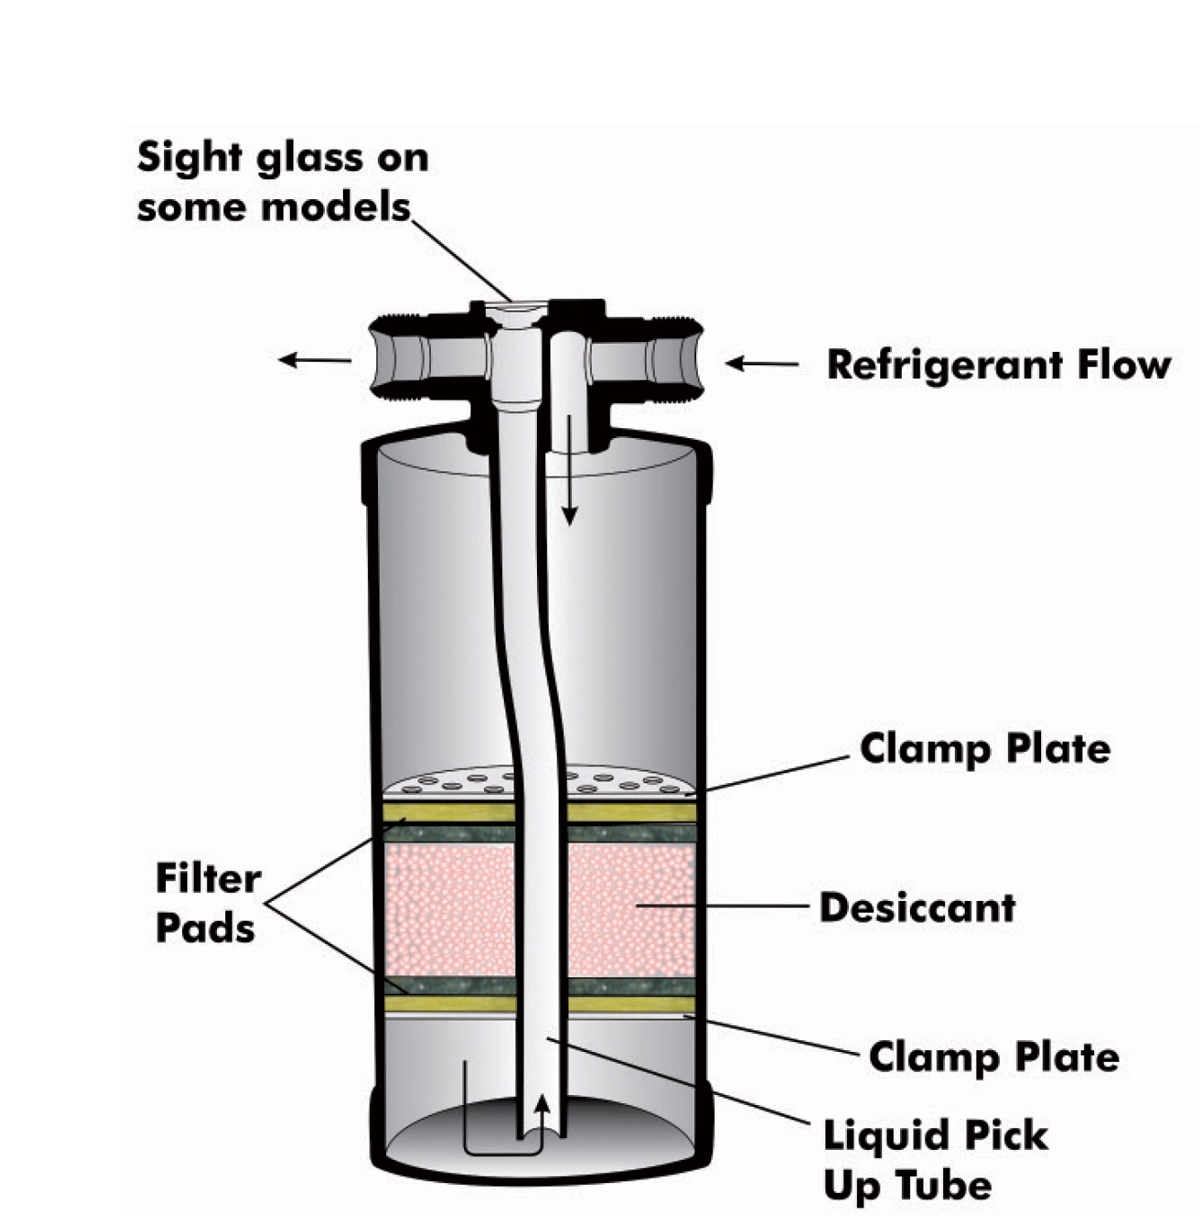
“In operation, the compressor pumps refrigerant, in gas form, into the high-pressure gas discharge line. This gas is loaded with heat and absorbed from the air flowing over the evaporator coil inside the vehicle. As the heated high-pressure gas reaches the condenser, the air flowing through the condenser carries off the heat; the refrigerant condenses into a liquid, which then pours into the receiver/drier and falls to the bottom of the canister. A pick-up tube that extends almost to the bottom of the cannister has an open end that is always below the liquid if the system is fully charged. This provides pure liquid through the liquid line to the expansion valve—the orifice that varies in size according to the temperature of the evaporator coil. By changing the size, the refrigerant is metered according to the demands of the evaporator. When warm, the orifice is largest and gets smaller as the evaporator gets colder. This orifice provides a pressure drop, resulting in a drop in refrigerant temperature. The high-pressure liquid sprays into the larger opening of the evaporator, and the low-pressure liquid droplets begin to pick up heat as they evaporate, which expands the refrigerant to a low-pressure (super-heated) gas, which then returns to the compressor to start the cycle all over again.”
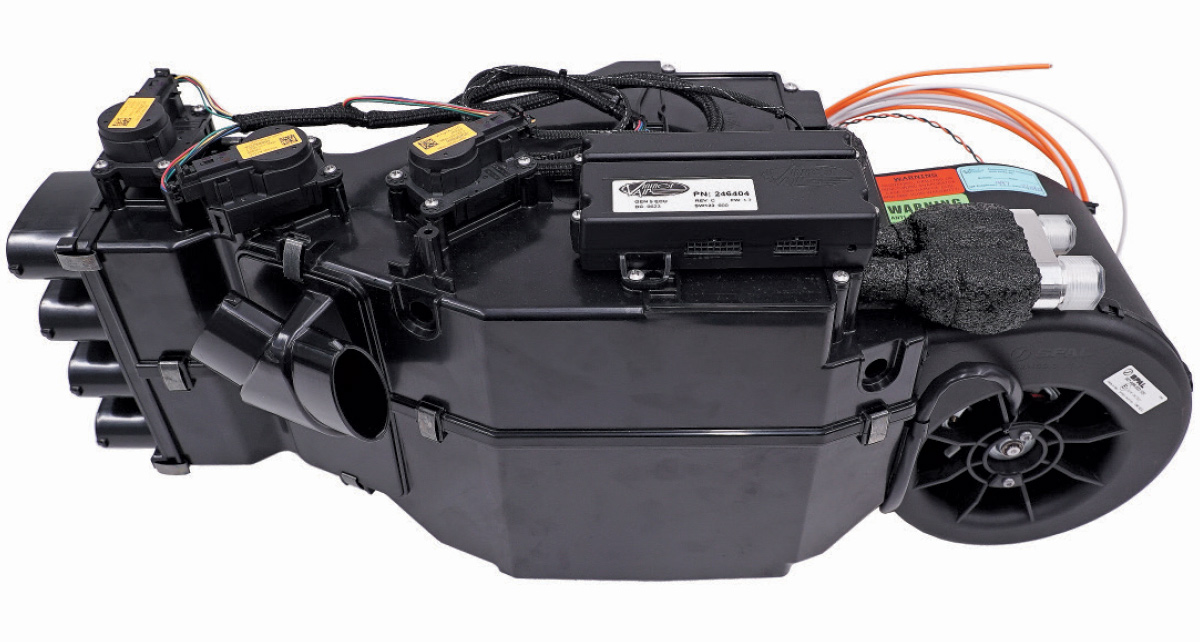
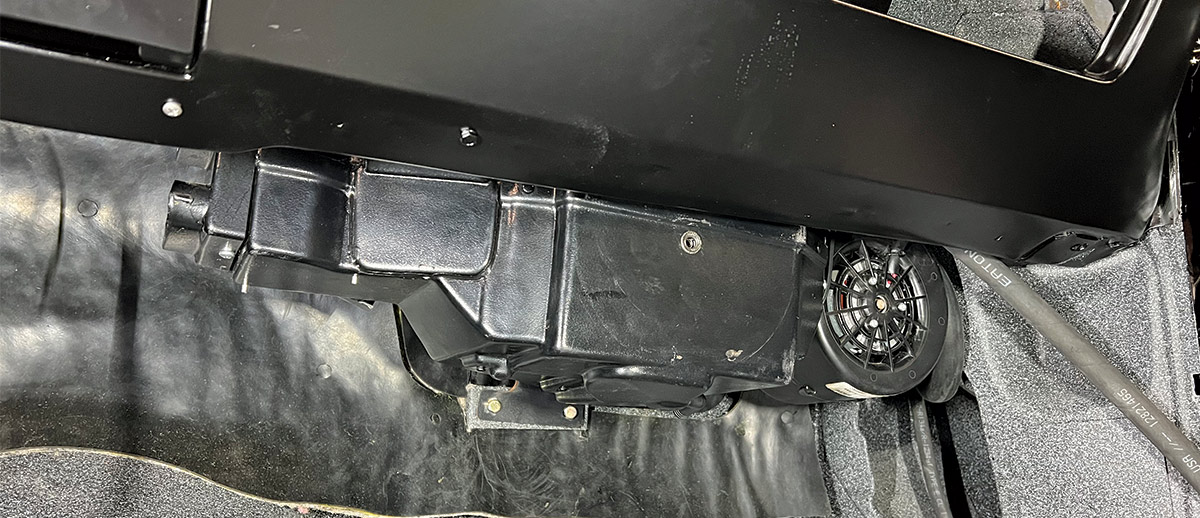
All evaporators have multiple discharge outlets built into the case regardless of the type. If there are outlets that are not used, they should never be closed off as that can disrupt airflow, reducing the system’s performance and cause the evaporator core to freeze. For that reason, unused outlets should be left open. They can have short hoses or special ducts attached that allow them to discharge behind or below the dashboard toward the floor.
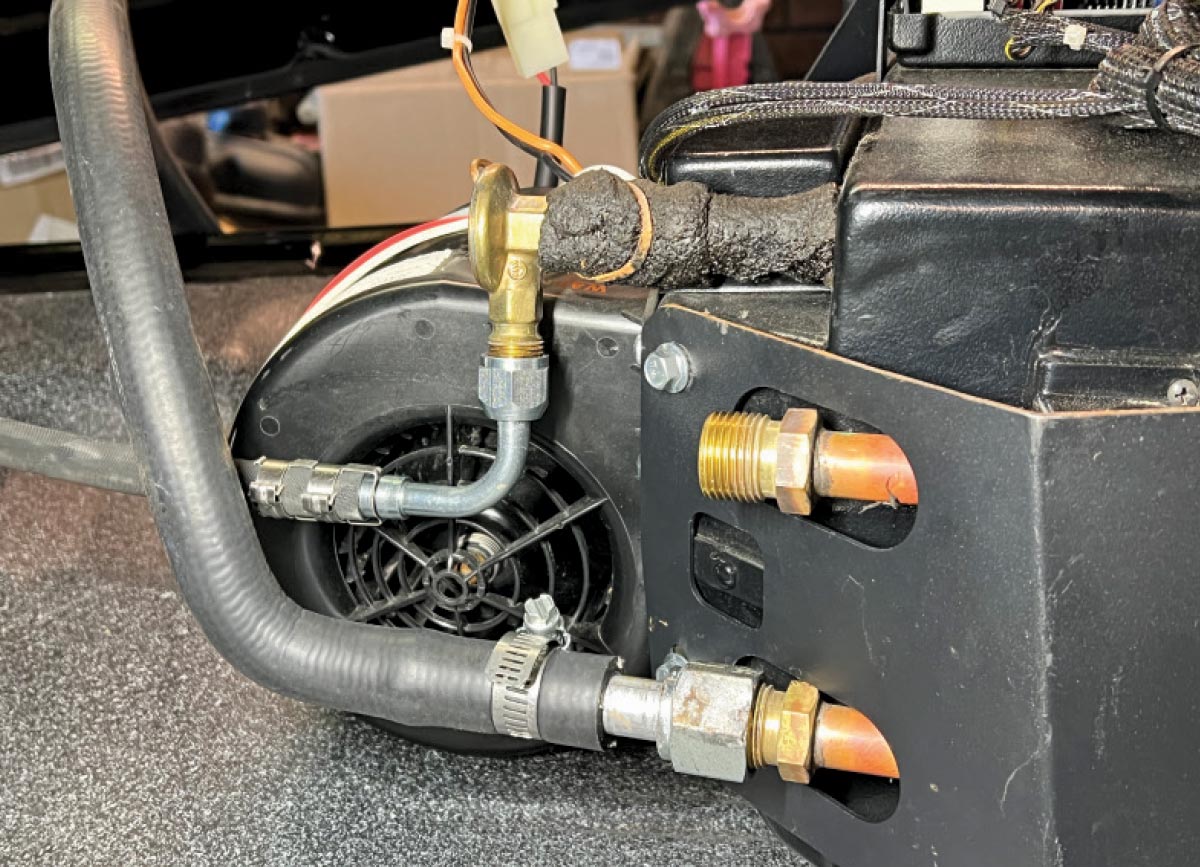
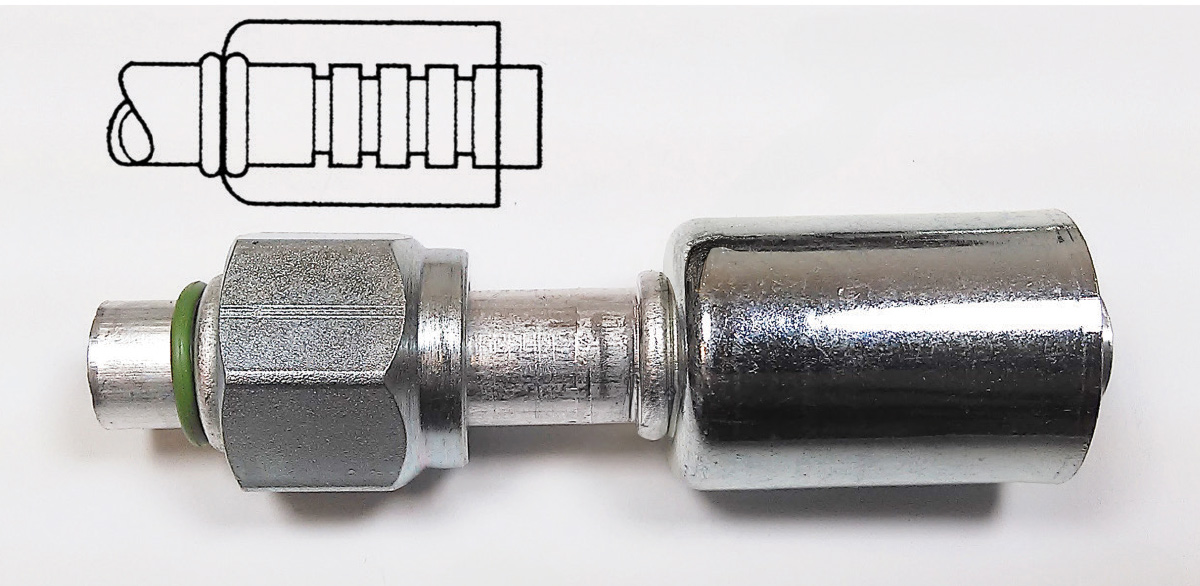
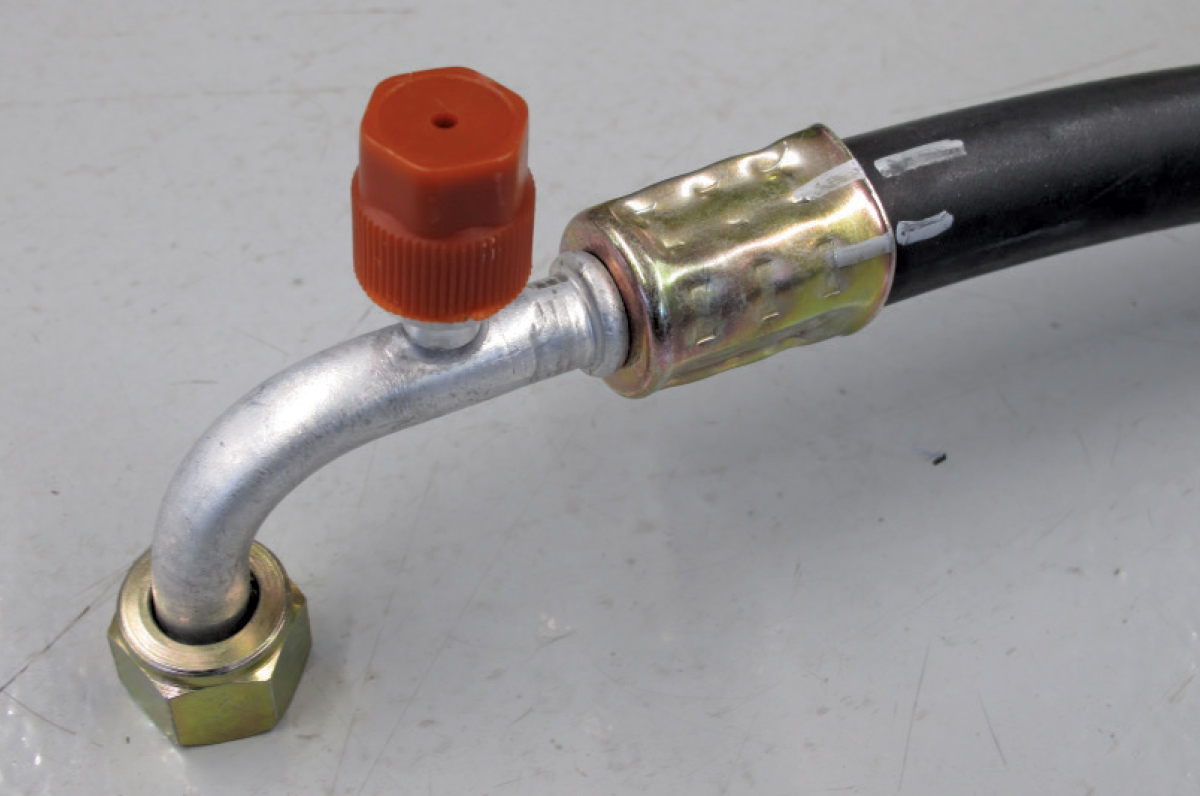
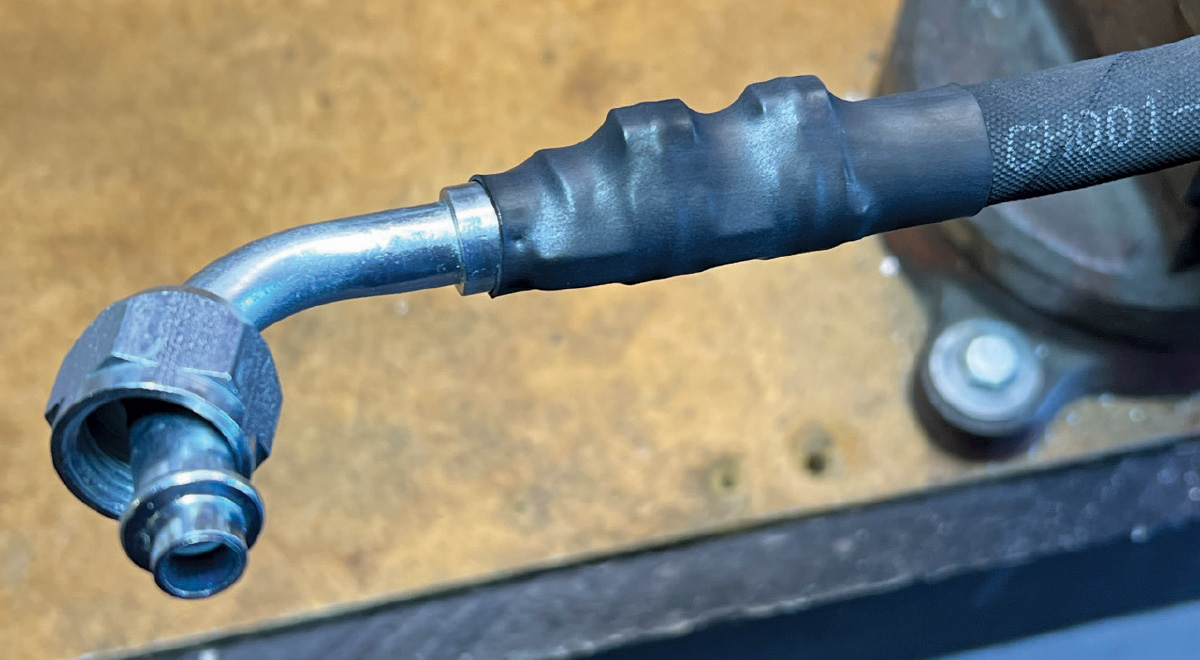
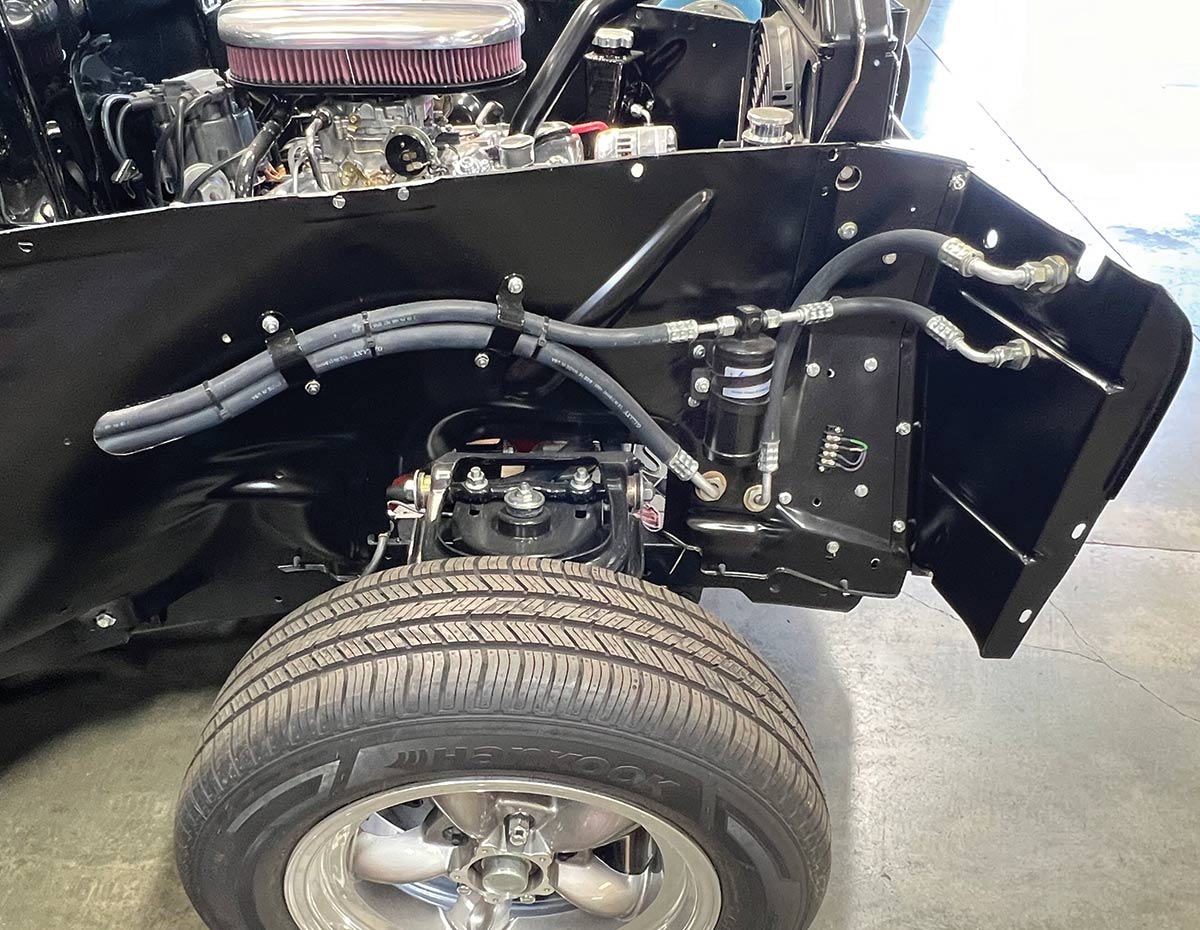
As the molecules found in R134a are smaller than those in the previously used R-12, a dedicated barrier hose with an inner liner is required to prevent leakage. Vintage Air systems use three sizes of A/C hoses: #6 liquid from the condenser to the evaporator, #8 liquid from the compressor to the condenser, and #10 suction hose from the evaporator to the compressor. Heater hoses are 5/8 inch.
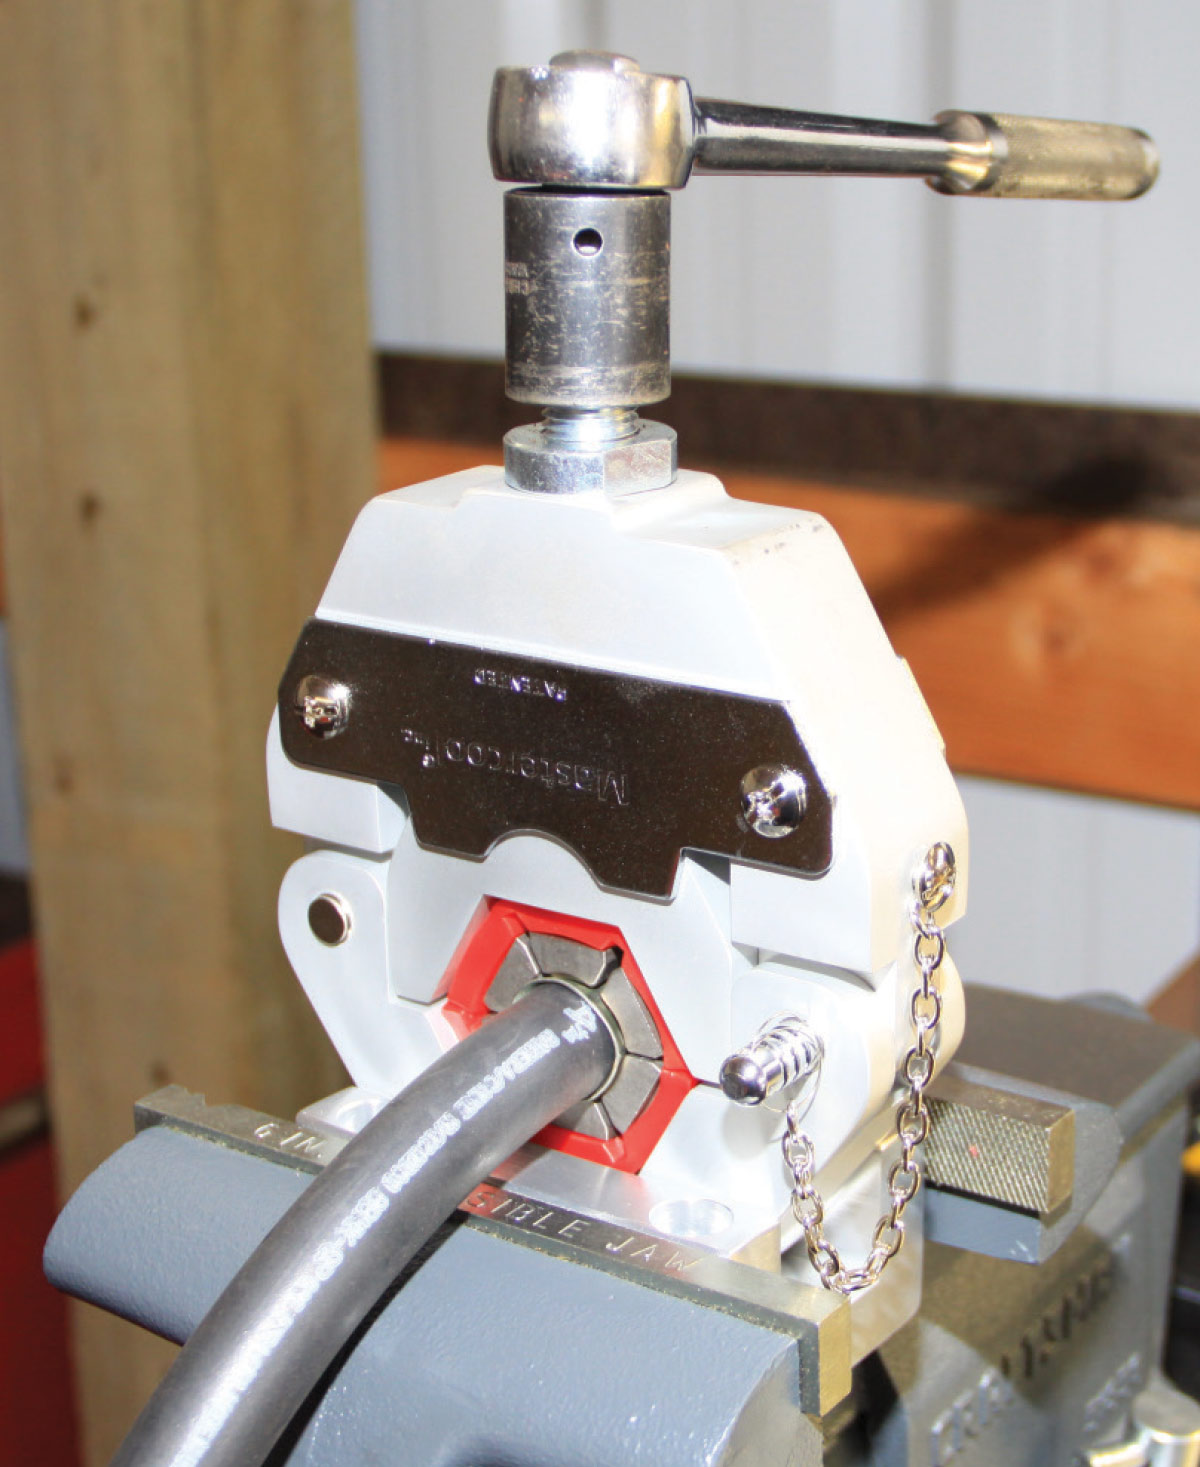
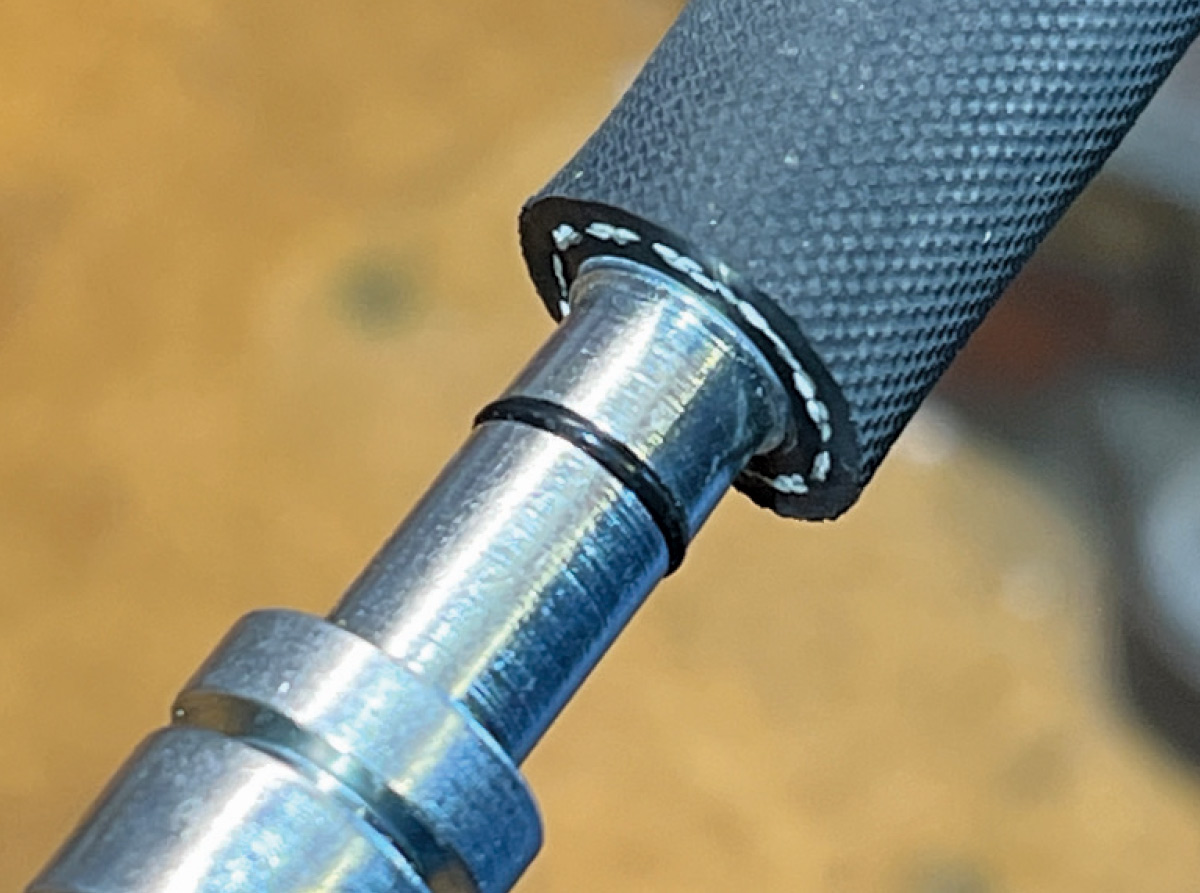
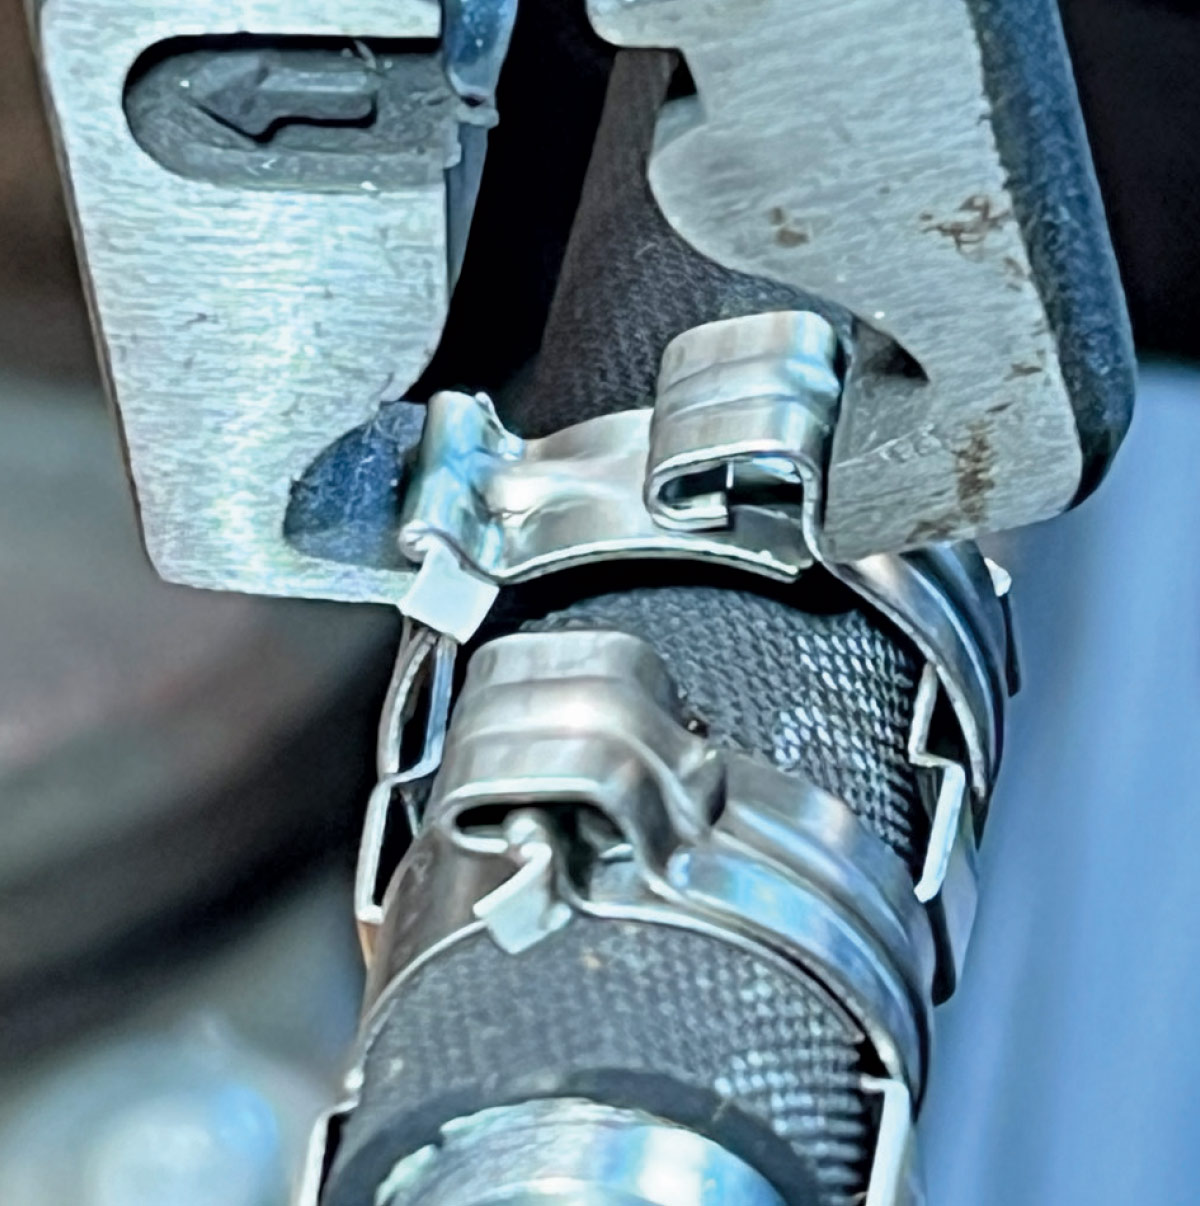
Typically, A/C hoses use ends that are crimped on. As an alternative, Vintage Air now offers a reduced od barrier hose (the id is the same as standard hose) that uses E-Z clips that are easy to assemble at home and are retained with clamps.
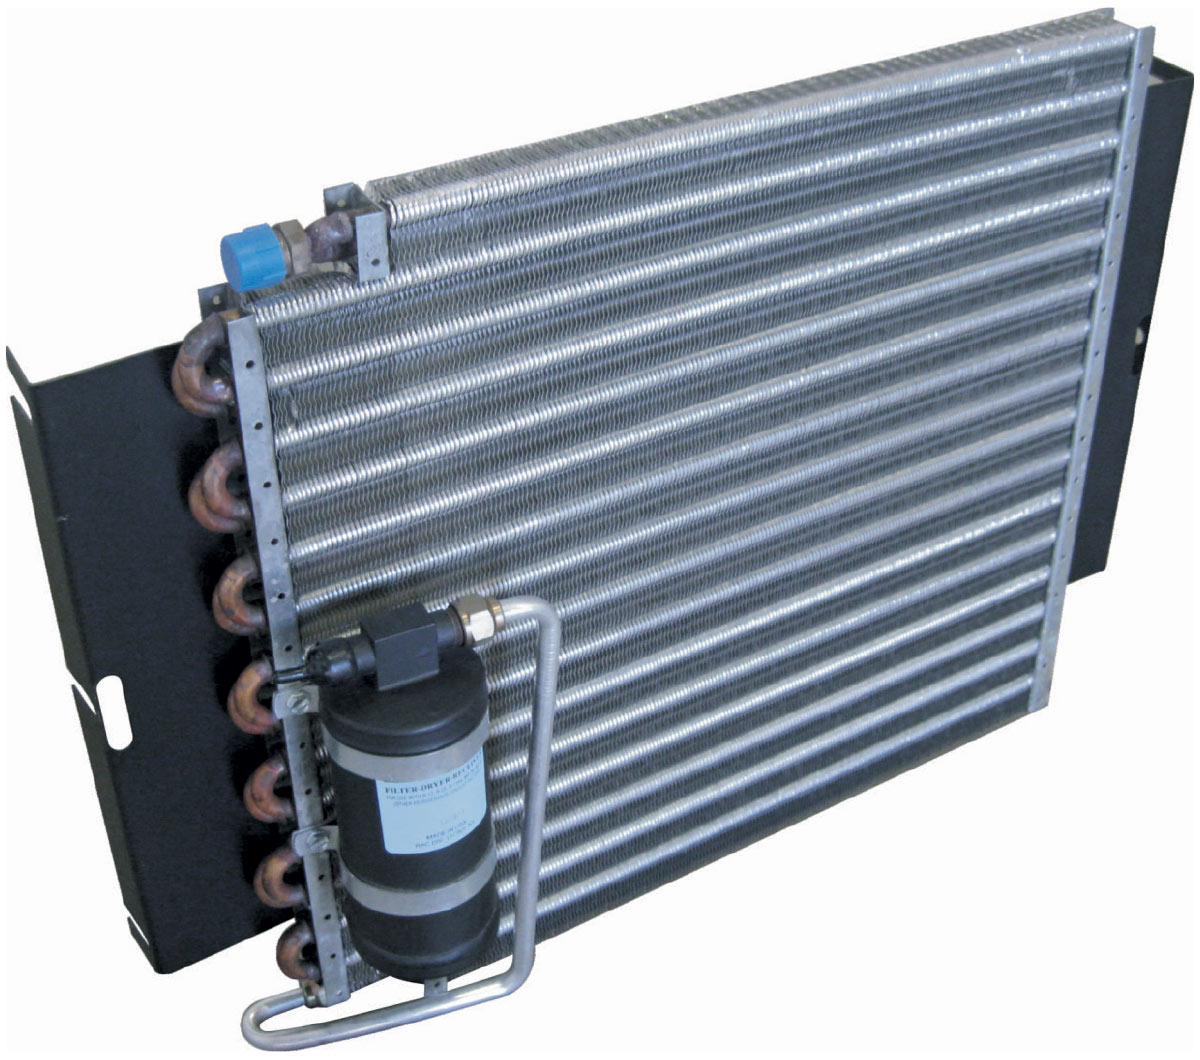
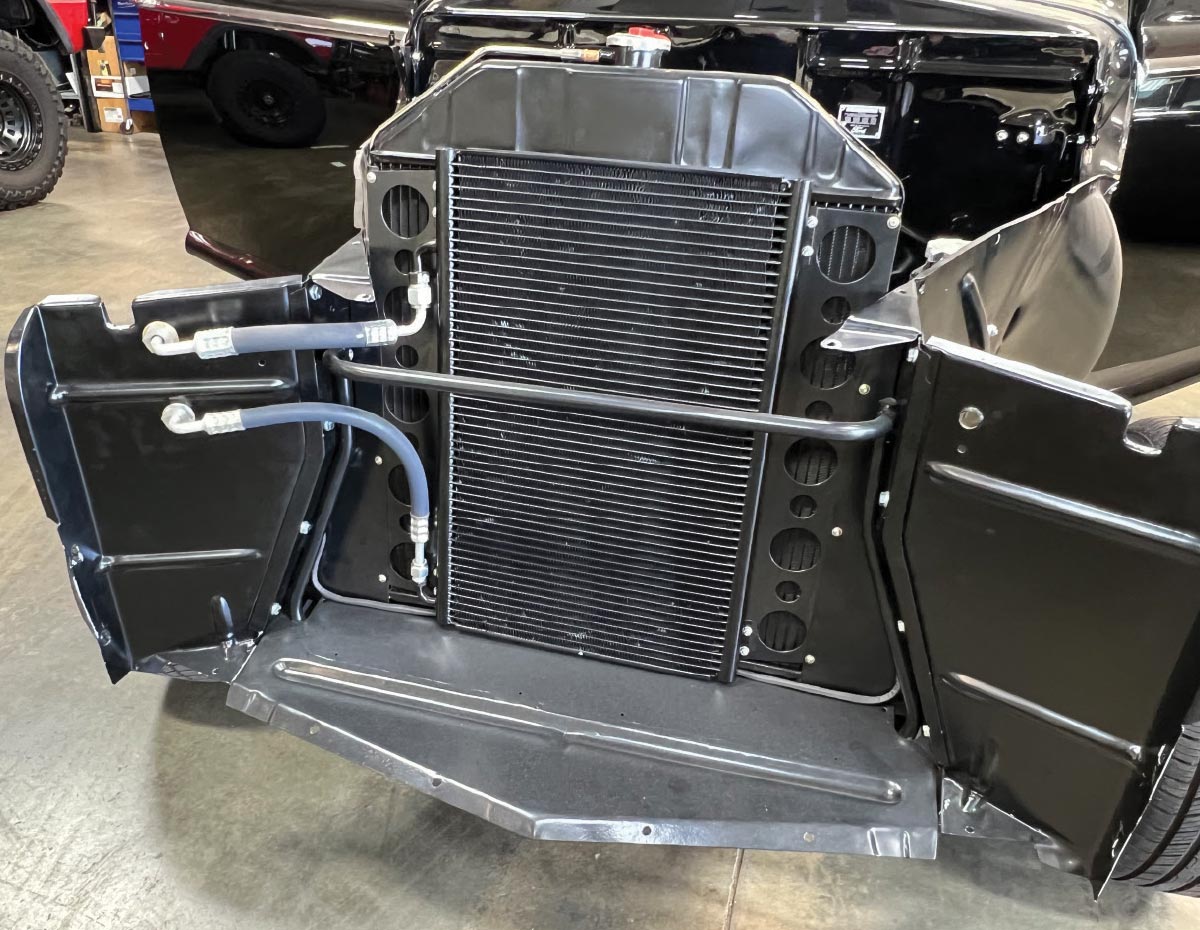
At one time, tube and fin condensers were commonly used with R-12 refrigerant. Still, it was found that parallel flow condensers offered 25 percent more capacity in the same size package, making them better suited for use with R134a. In addition, as oil flows with the refrigerant in the system, it can settle in the lower loops of a tube and fin condenser, obstructing the flow of liquid and increasing internal pressure of the high side of the system, reducing its ability to function effectively.
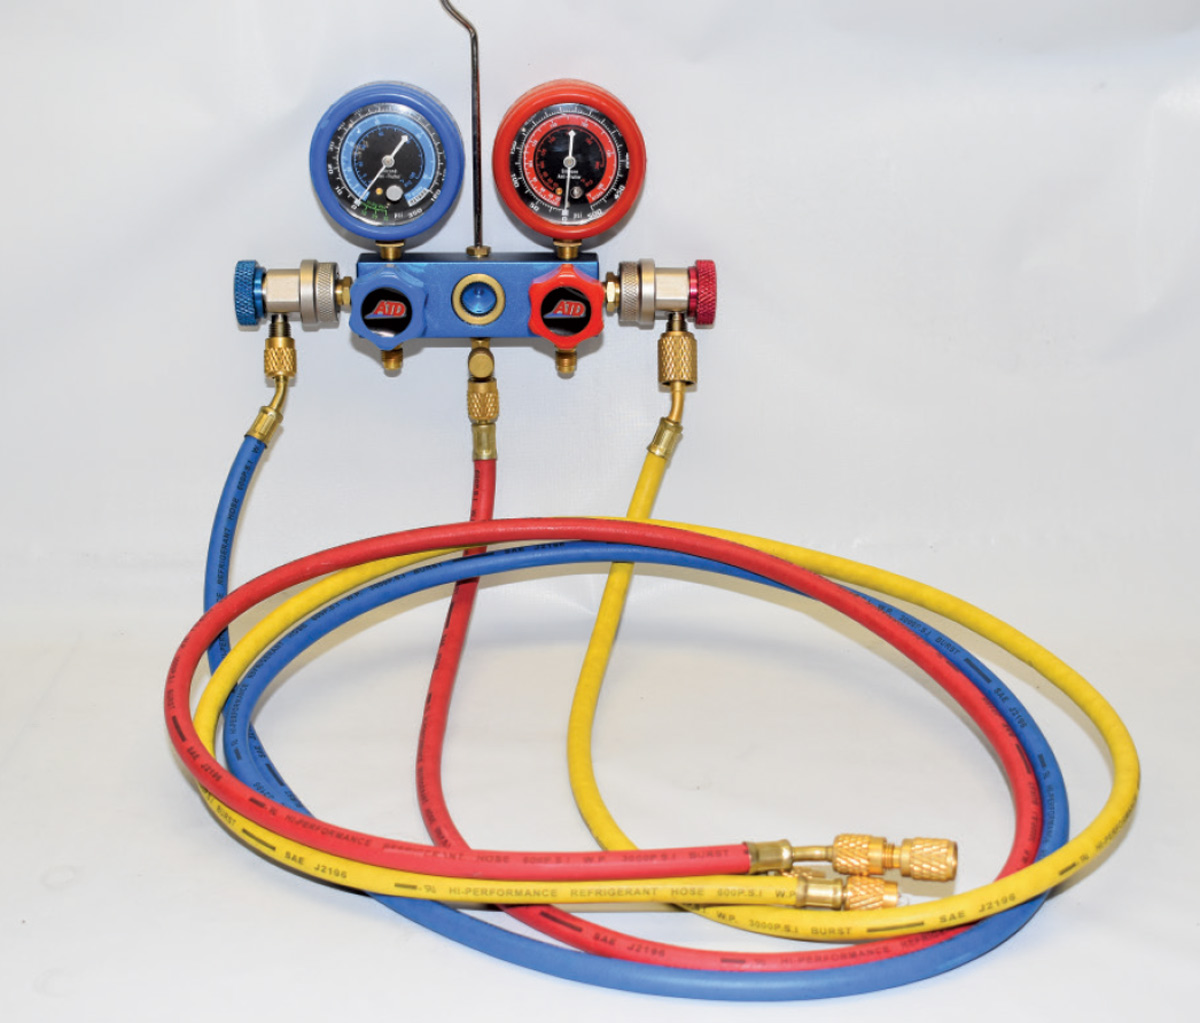
To accurately determine if an A/C system is charged properly dedicated gauges that show low- and high-side pressures are required. A general rule of thumb is that high-side pressure is two times ambient temperature plus 15 to 20 percent, while low-side pressure should be 18 to 22 psi. An overcharged system (too much refrigerant or oil) produces higher system operating pressures and poor performance. An undercharged system will show lower operating pressures and poor performance as well.
When adding refrigerant to a Vintage Air system, it should always be done by weight (1.8 ounces) using a scale. Only R134a refrigerant should be used, and Vintage Air does not recommend using blends. Additionally, we did not use the parts house kits with simple gauges on the refrigerant canister. These kits are designed for OEM systems that typically operate with higher pressures, so relying on them will likely cause the system to be overcharged.
Insulate the firewall, floor, and roof to keep heat from the engine, exhaust, and sun from entering the passenger compartment. Make sure that all the weatherstripping is in good condition and consider tinted windows to help reflect the sun’s heat. Of course, all these precautions also make it easier to keep the interior warm when the heater is needed.
Another critical consideration is the alternator and the charge wire. In most cases, high-output alternators are installed when increased electrical loads such as A/C, electric fans, EFI, and other devices are added to an electrical system. However, a common mistake is not adding an appropriate charge wire from the alternator to the battery. The charge wire found in OEM harnesses designed to handle 60 amps or less is a fire looking for an opportunity when a high-output alternator is installed. The safest plan is to follow the alternator supplier’s recommendations for an appropriately sized charge wire.
Installing a sophisticated climate-control system, like those available from Vintage Air, can provide all the heat, defrost, and cool functionality of an OEM system. It’s a great way to make cruising in a modern hot rod comfortable on the inside, regardless of what Mother Nature is doing on the outside.


 SOURCES
(562) 243-8541