Modern Rodding Tech
InTheGarageMedia.com
Upholstery shop worker spraying adhesive for a 1970 Chevy Nova headliner installation
1. Daniel Hurtado of Bell Auto Upholstery installed his first headliner at age 15 with his father’s guidance; he’s lost track of how many he’s installed since.
Interior Decorating
Project 1970 Nova Gets a New Headliner
By Ron CeridonoPhotography by Brian “Tuck & Roll” Brennan
B

ell Auto Upholstery is remarkable for a variety of reasons; they not only handle projects from high-end show cars but also daily drivers with the same level of care and quality. Started by Manny Hurtado Sr. and his three brothers, Bell Auto Upholstery has been in business for over 60 years. Today, Daniel Hurtado and his brother Manny Hurtado Jr. carry on the family tradition.

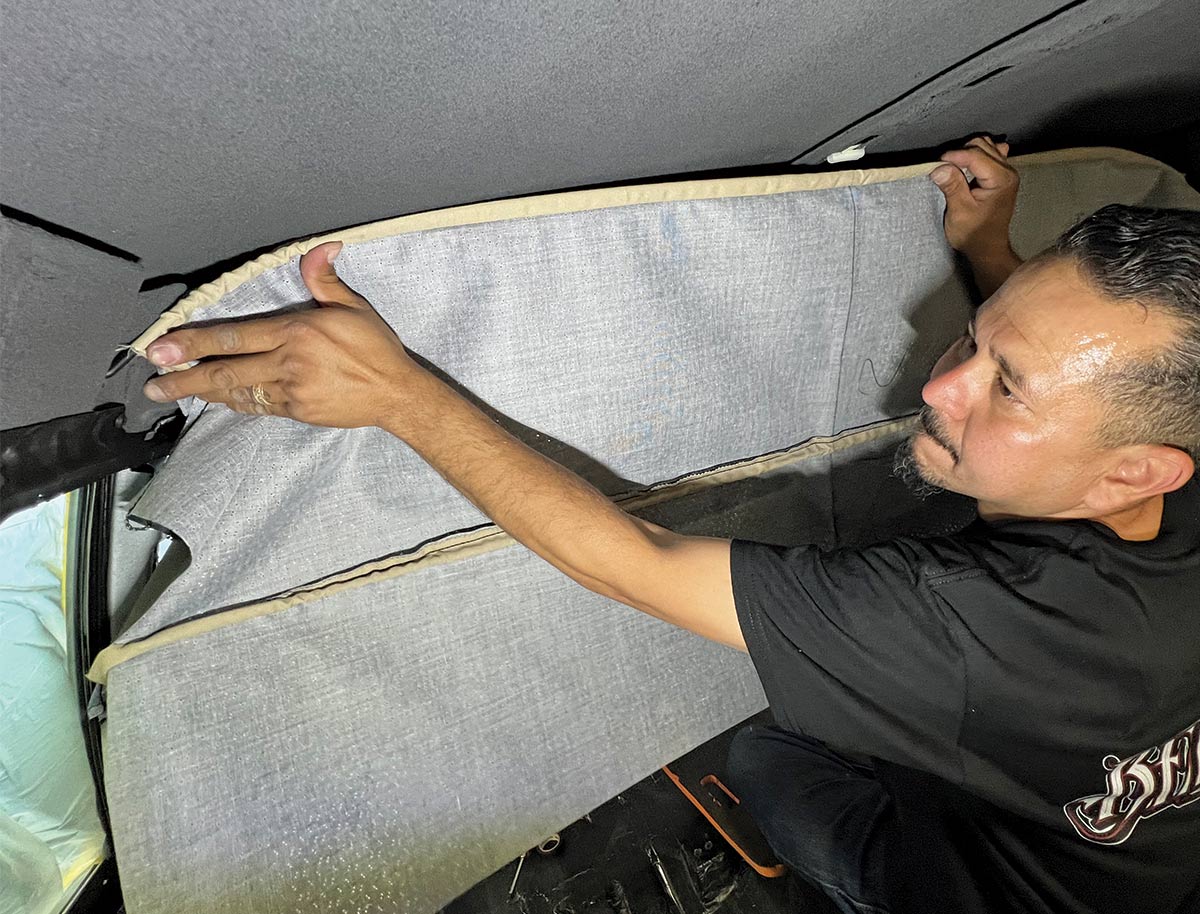
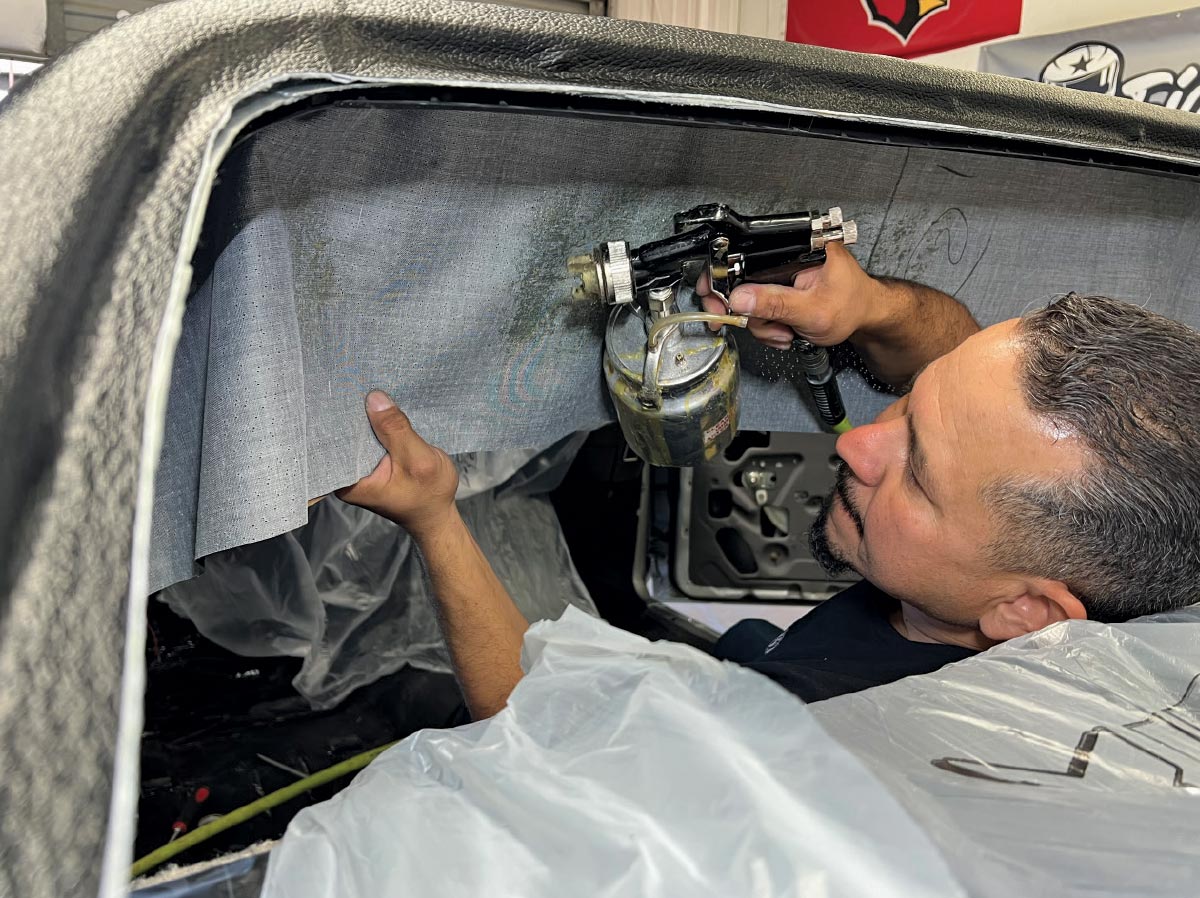
Recently, our cub reporter, Brian Brennan, stopped by and found Daniel installing a headliner in a 1970 Chevy Nova. With his trusty box camera in hand, Brennan followed along, only occasionally getting in Daniel’s way.

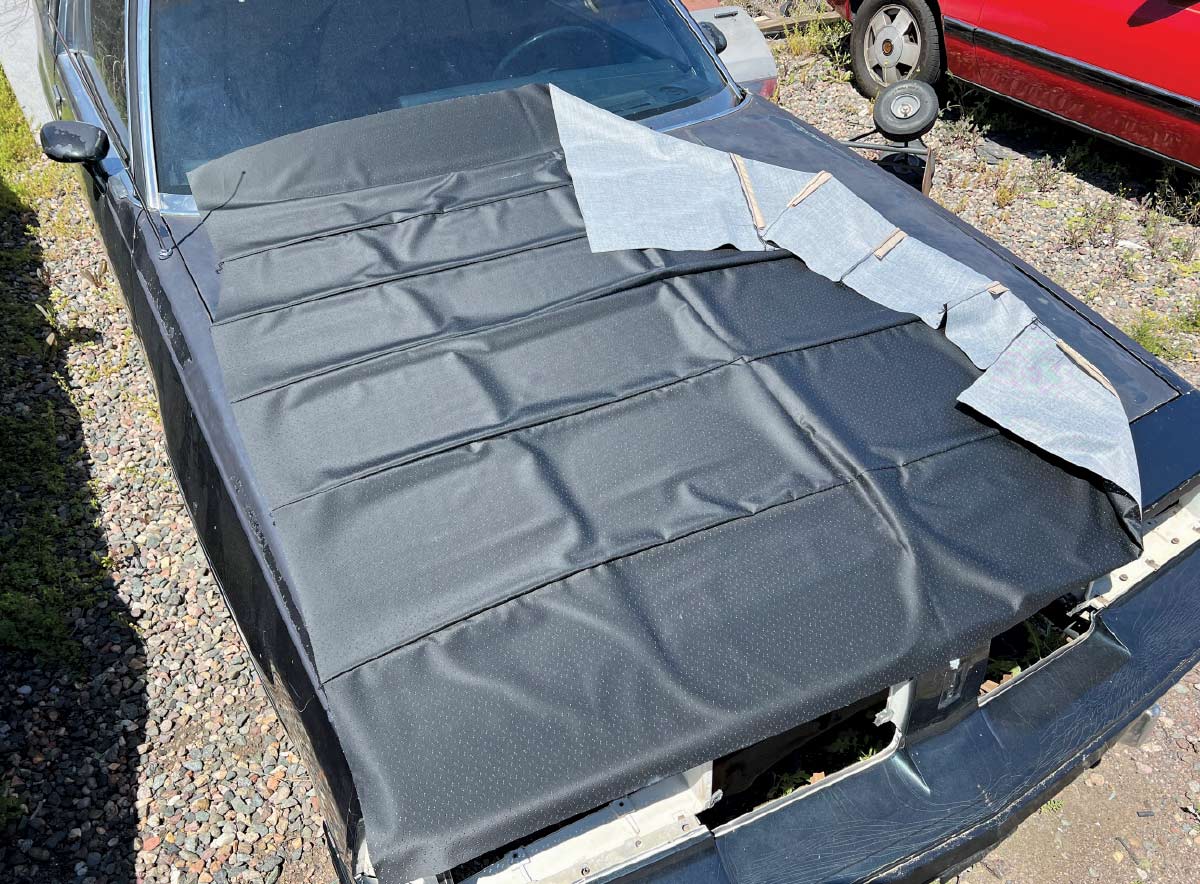
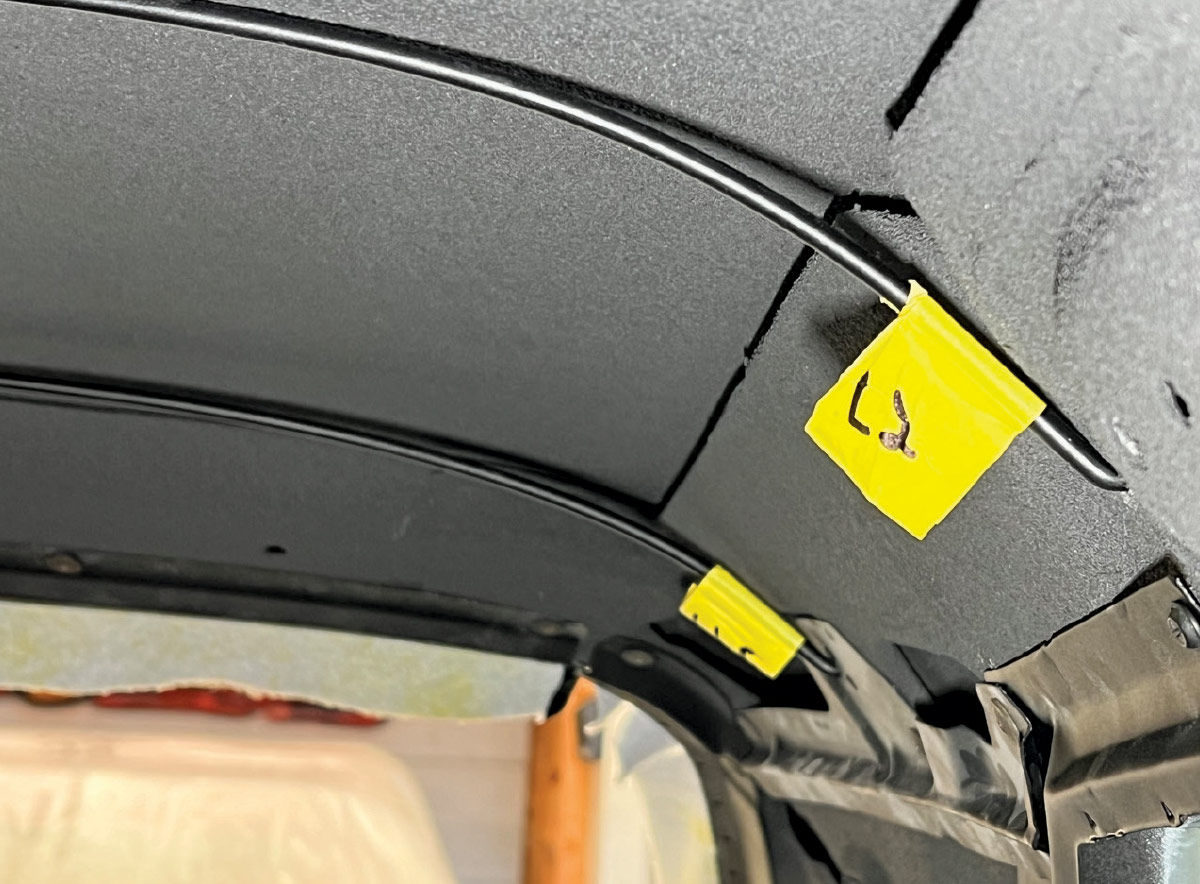
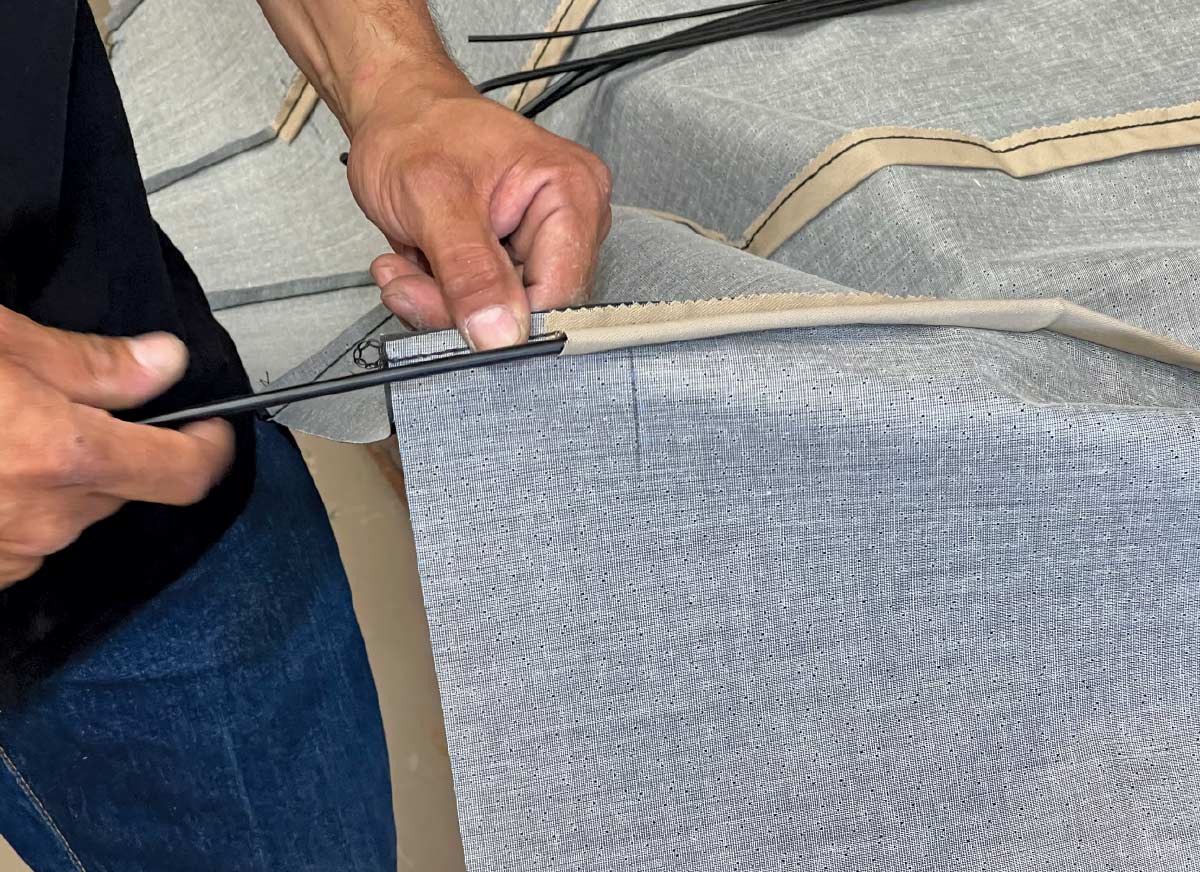
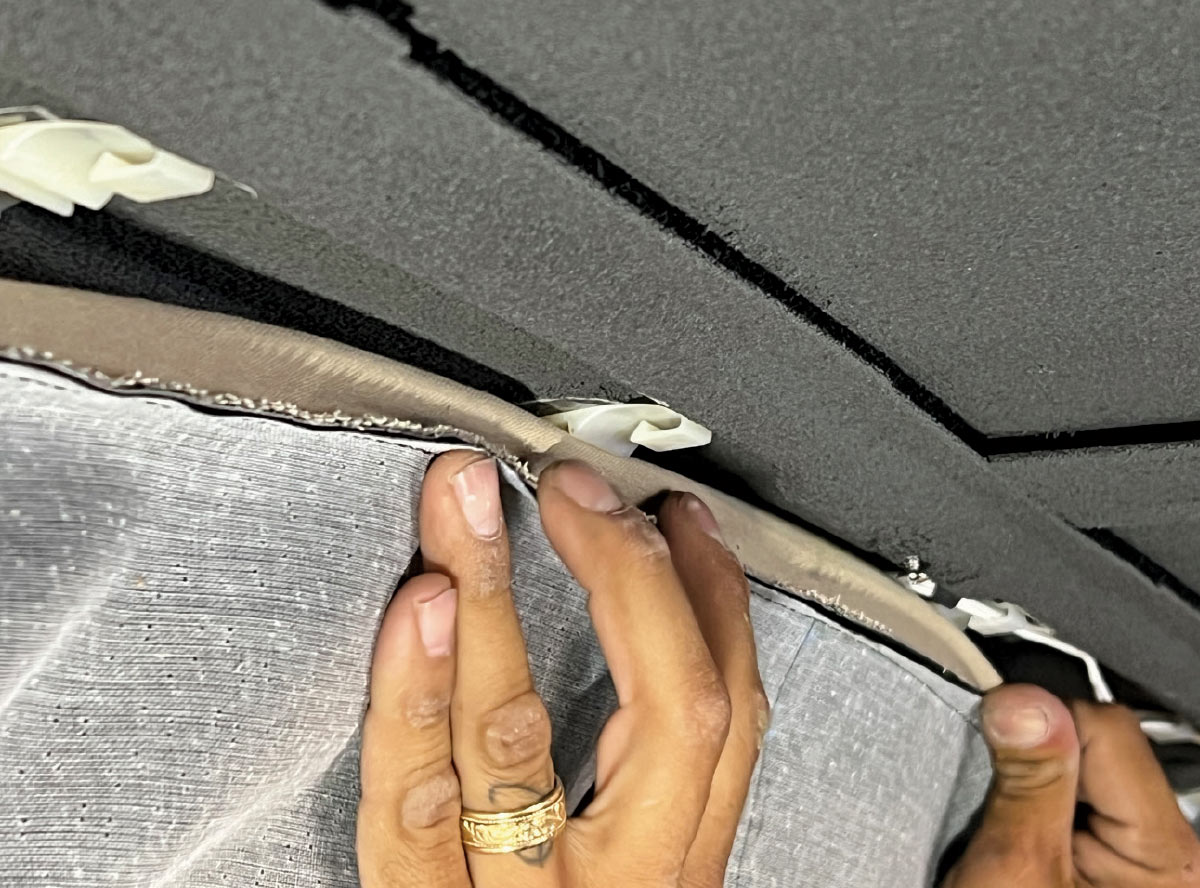
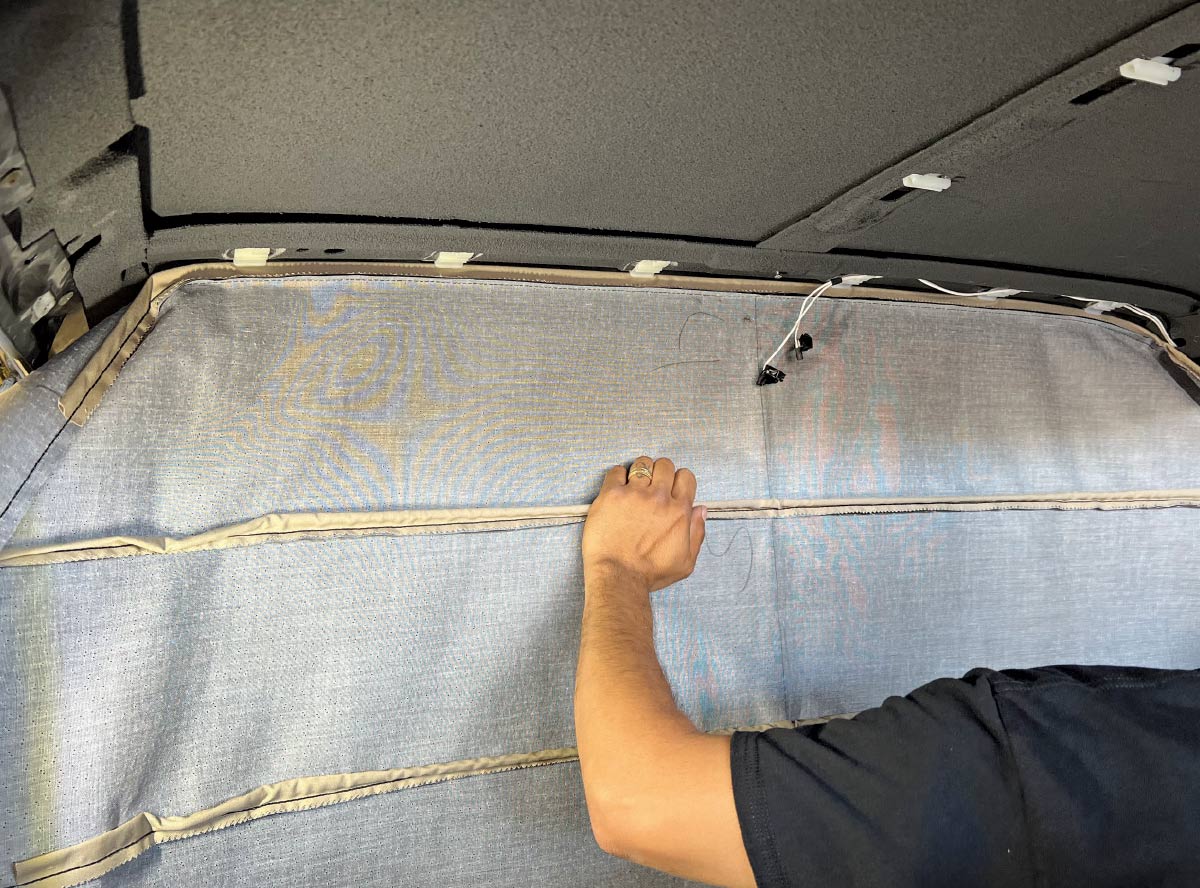
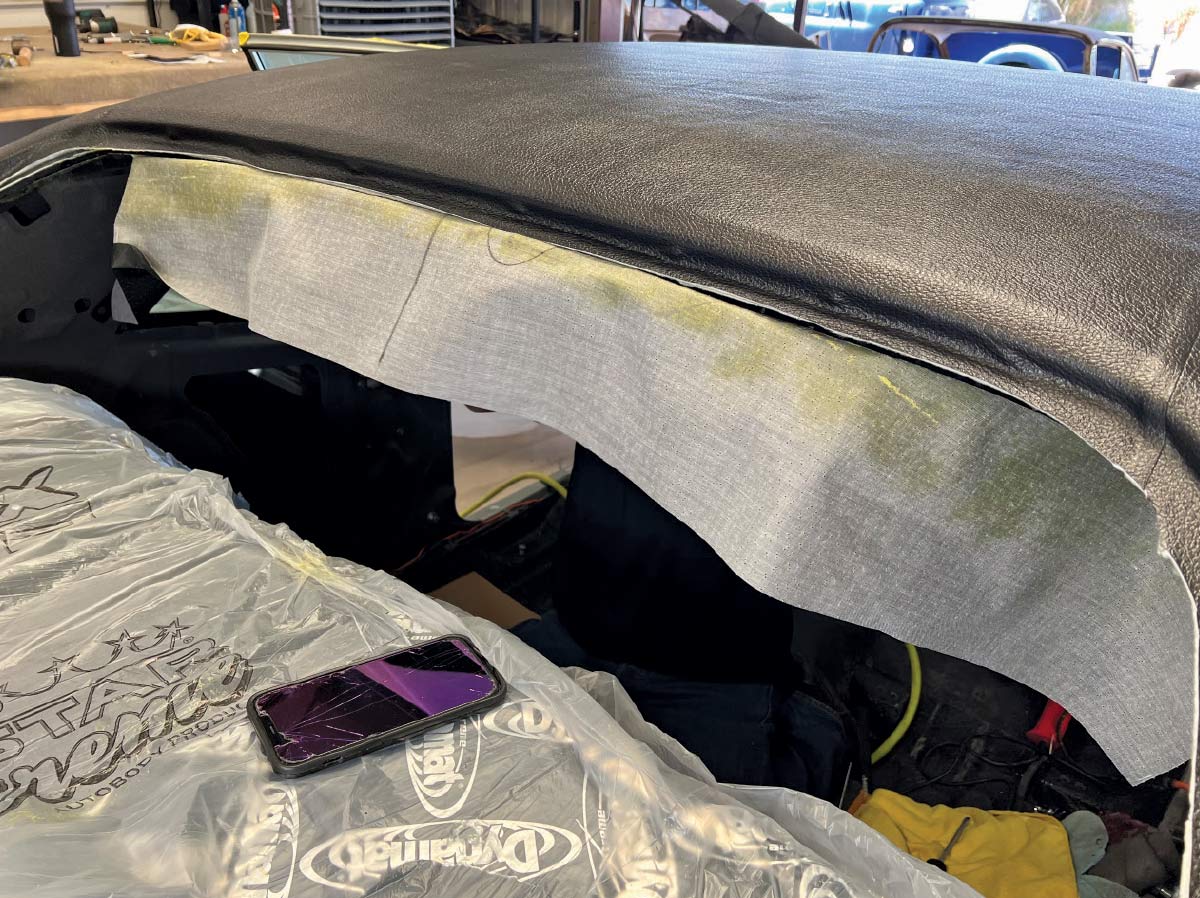
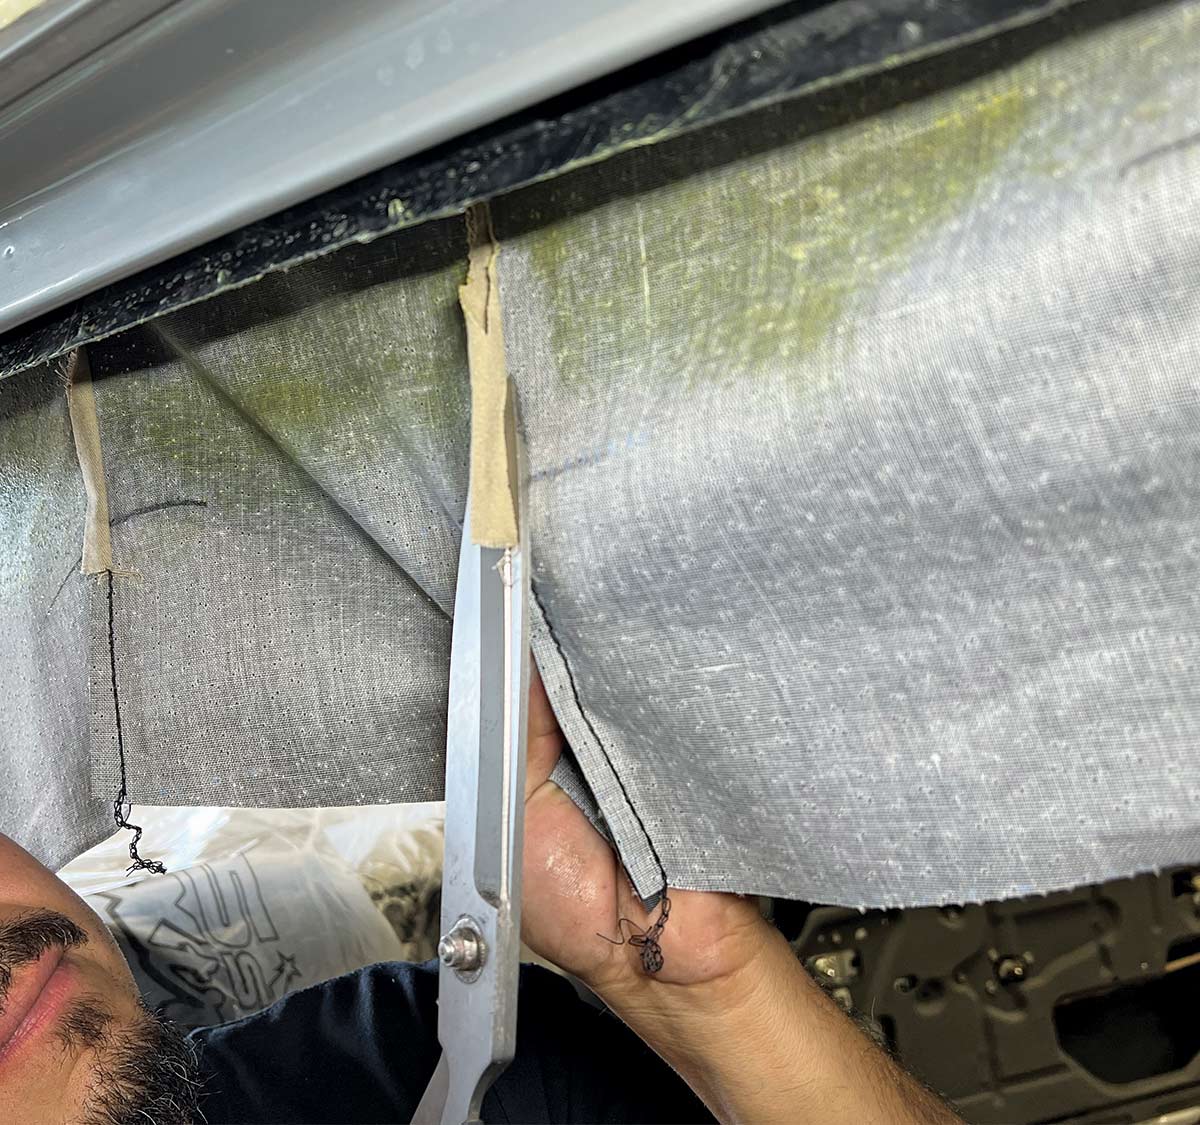
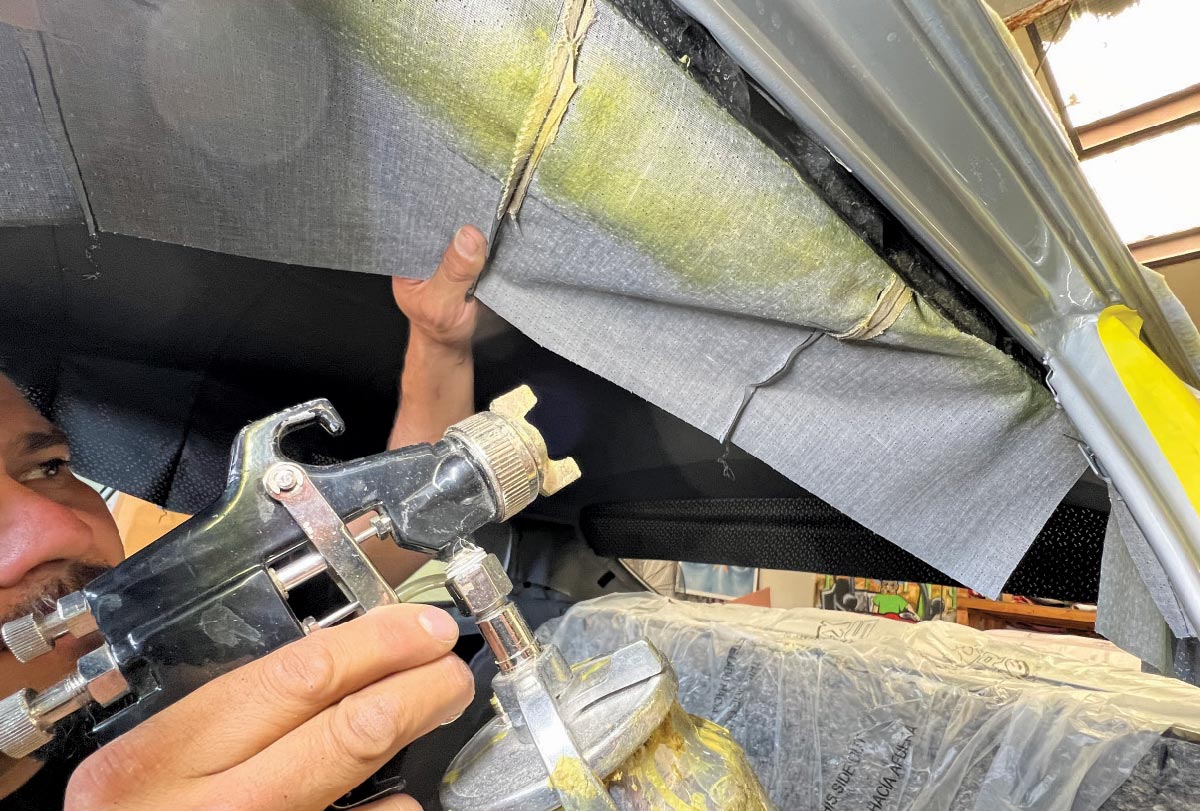
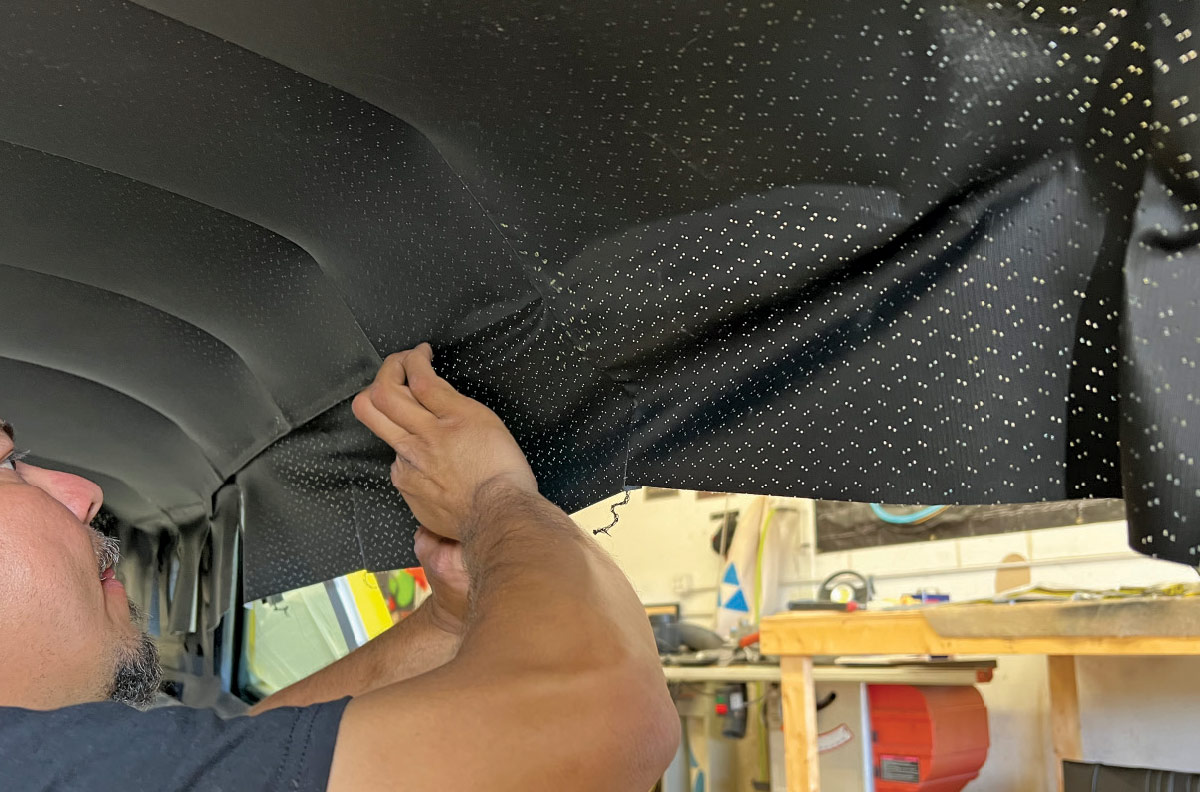
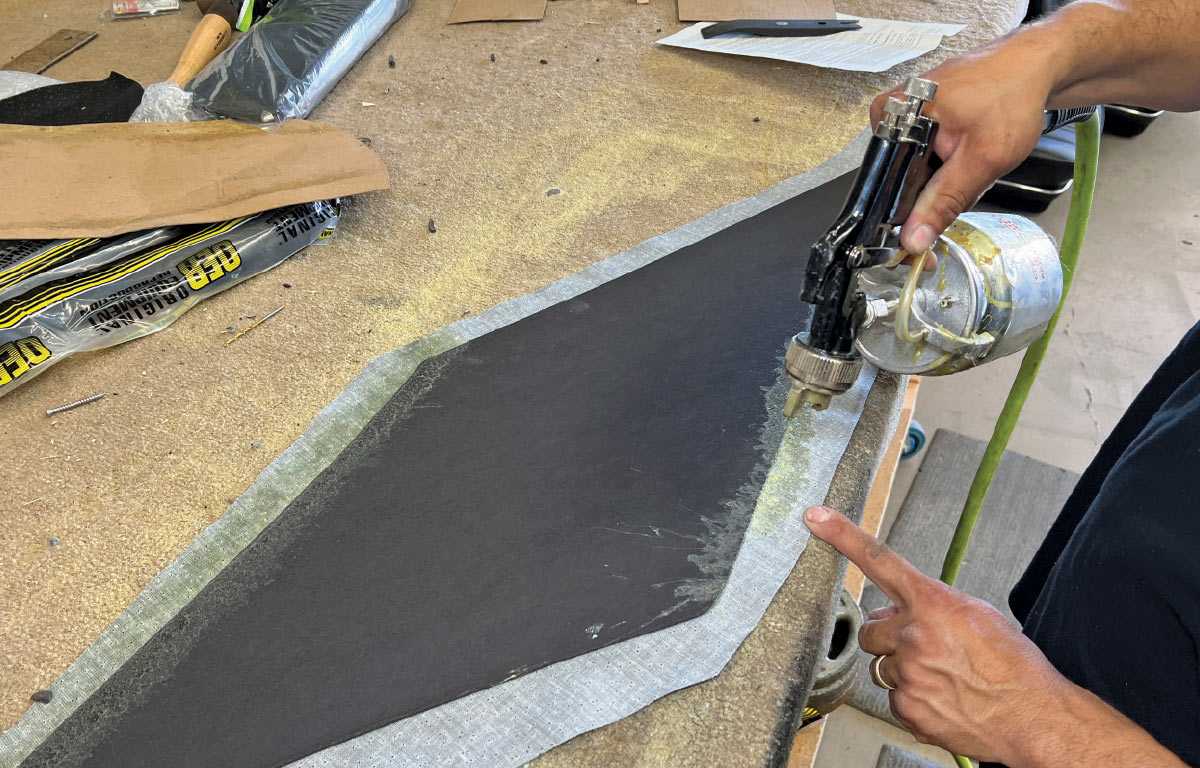
Typically, headliners are given their shape with metal bows inserted into channels sewn into the material with the edges secured with some sort of trim. In that regard, the Nova shown here isn’t unusual as it uses curved steel rods for bows and a combination of metal trim at the front and rear glass and plastic trim for a finished look and to secure the material. Of course, contact adhesive is also used to hold the headliner in place. A replacement vinyl headliner was installed for this application as it duplicated the pattern found in the original material.

To the casual observer, installing a headliner may look like someone trying to erect a tent from the inside, but with Daniel’s experience, the steps involved look easy and make sense. The end result was a smooth, wrinkle-free installation—this is interior decorating at its best.

New black headliner fabric laid out on the roof of a 1970 Chevy Nova
2. Although the Bell crew often installs custom headliners, this 1970 Nova used a factory-style vinyl replacement. It was set out in the sun to reduce wrinkles and make it more pliable.
Interior roof structure of a 1970 Chevy Nova prepared for headliner installation
3. Typically, headliners are shaped by metal rods, or bows, that extend from one side of the passenger compartment to the other. Note the roof of this car had been sprayed with an acoustic/thermal insulator.
Worker inserting support rods into the headliner fabric for a 1970 Chevy Nova
4. Stitched into the headliner material are sleeves, called listing, that the headliner bows slip into.
Worker holding prepped headliner fabric before installation in a 1970 Chevy Nova
5. Here, all the bows are in place, and the curve at the ends of the bows follows the contour of the roof. Look closely and you’ll see a line indicating the center of the headliner.
Securing the headliner bow into the roof frame of a 1970 Chevy Nova
6. Each headliner bow fits into a factory hole in the roof. It’s not unusual for the listing (and the headliner) to be wider than necessary, and that’s why the bow sticks out of the sleeve.
Worker stretching and fitting the headliner fabric into place inside a 1970 Chevy Nova
7. Daniel starts the headliner installation with the center bow; with the headliner centered on the support in the roof, the bow is hooked to the body on both ends.
Clipping and securing the headliner edges for a proper fit in a 1970 Chevy Nova
8. To support the headliner, there are factory clips in the roof the bows snap into; each bow has a specific location.
Final adjustments and smoothing of the headliner fabric in a 1970 Chevy Nova
9. Here, the center bow has been completely installed. The wires for the dome light also clipped in place again using adhesive.
Applying adhesive and securing the edges of the 1970 Chevy Nova headliner for a clean finish
10. With the remaining bows in place, Daniel tacks the front of the headliner in place with adhesive, then stretches the vinyl to the rear and tacks it in place.
Partially installed headliner with exposed edges in a 1970 Chevy Nova
11. The trick to installing a headliner is first pulling it tight front to back removing the wrinkles.
Worker trimming excess fabric for a precise headliner fit in a 1970 Chevy Nova
12. The excess material is cut off after the headliner pulled tight to the rear.
Cutting the headliner material near the edges for proper installation in a 1970 Chevy Nova
13. With the front and rear of the headliner secured, Daniel turns his attention to the sides. First, he trims away the excess listing to prevent wrinkles.
Applying adhesive to secure the headliner fabric inside a 1970 Chevy Nova
14. Once again, adhesive is applied and the headliner is pulled to one side.
Using a heat gun to smooth out wrinkles in the 1970 Chevy Nova headliner
15. To make the material more pliable while pulling out any wrinkles, heat is carefully applied.
Worker stretching and fitting the headliner for a clean finish in a 1970 Chevy Nova
16. The sides of the headliner are wrapped around the edge of the body to determine how much material must be removed.
Trimming and adjusting the rear window area of the headliner in a 1970 Chevy Nova
17. Once the vinyl is pulled tight and wrinkle-free, the excess material is cut off.
Completed headliner installation with a factory-style look inside a 1970 Chevy Nova
18. After trimming the edges of the headliner are carefully wrapped around the edges of the top; the adhesive will hold them in place.
Wiring exposed through a hole for dome light installation in a 1970 Chevy Nova headliner
19. With the headliner properly located and secured, the holes for the dome light wires and screws are carefully located—no time to make a mistake.
Spraying adhesive onto a trim panel for final upholstery touches in a 1970 Chevy Nova
20. The replacement sail panels (they fit between the rear and quarter windows) were covered with the same material used for the headliner—it is glued in place.
Wrapping and securing the edge of the headliner fabric for a clean finish in a 1970 Chevy Nova
21. Relief cuts were made in the vinyl so it would wrap smoothly around the edges of the hardboard panel.
Black rubber trim seal ready for installation on a 1970 Chevy Nova
22. This readily available U-shaped trim is used on both sides of the headliner to give the edges a finished appearance.
Close-up of the textured edge of the rubber trim seal for a 1970 Chevy Nova
23. The trim’s design allows it to push into place easily and follow curves, but it grips the material to stay in place.
Fully installed headliner with a factory-style dome light inside a 1970 Chevy Nova
24. The finished headliner, with the sail panel and trim in place, is smooth—and wrinkle-free—a testament to Daniel’s skill.
SOURCE
Modern Rodding
VOLUME 6 • ISSUE 55 • 2025