Modern Rodding TECH

InTheGarageMedia.com

A Supercharged Situation
work table with car parts
1. The beginnings of building our Summit Racing–packed small-block Chevy topped off with a blower.
A Supercharged Situation
Assembling a Combination for a Boosted Crate Engine
By Ryan Manson Photography by Jason Scudellari
W

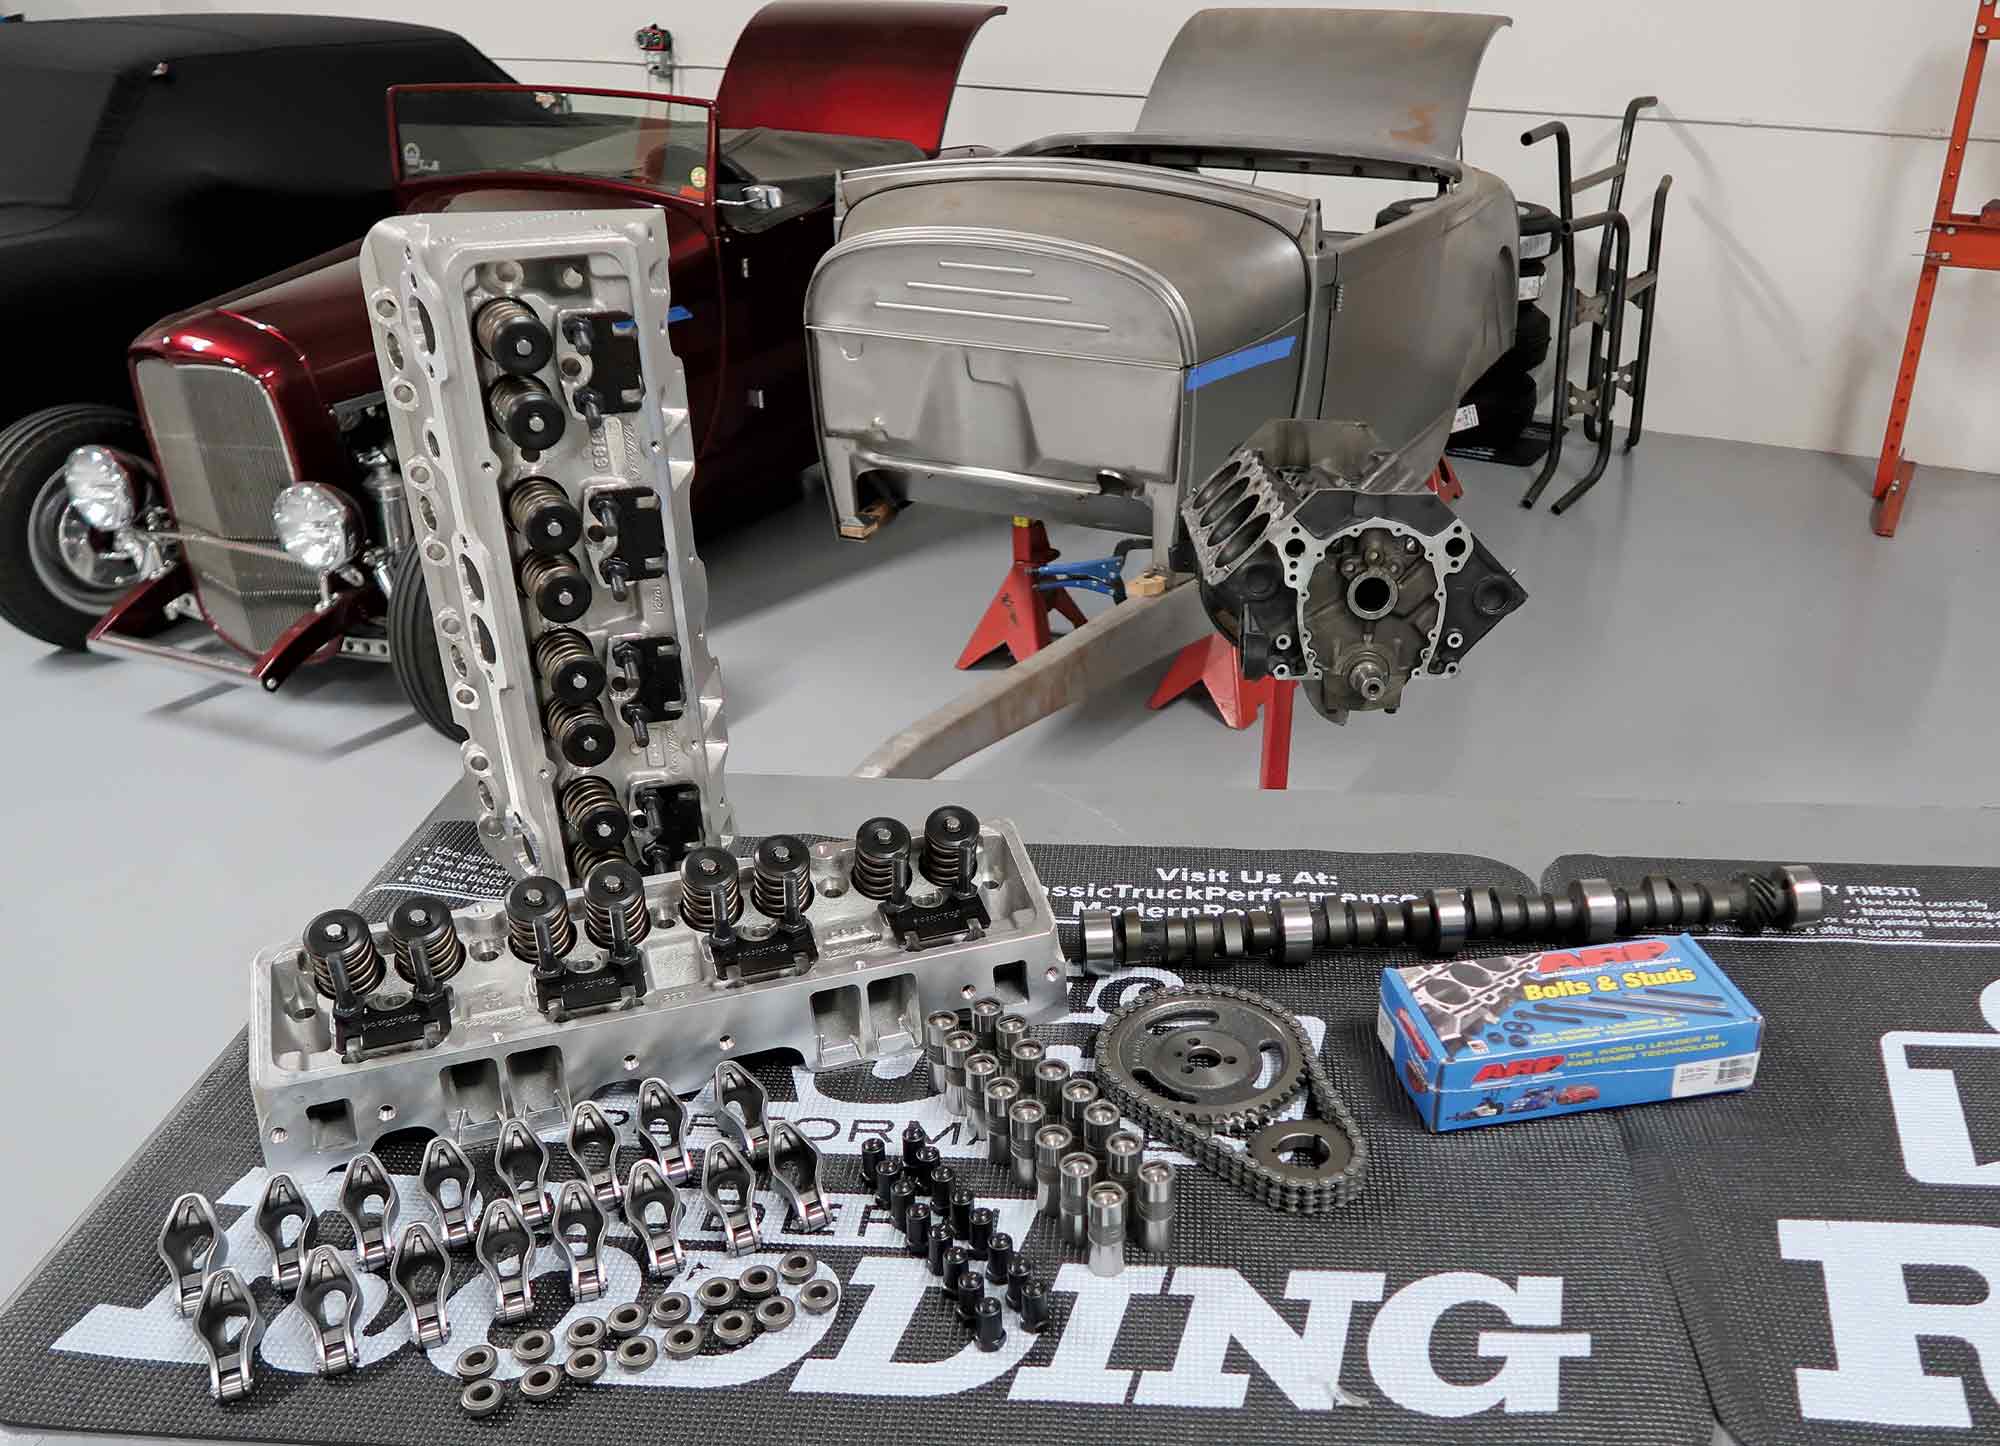
hen it comes to building a traditional-style highboy roadster, picking a time frame to build around sets the stage for what parts will be used and how. Everything from tires and wheels to powerplant decisions can be made once that era is decided upon. A build based on the ’40s will vary from one based on the ’50s. A build based on the ’60s will vary even more. It can create a hard line drawn in the sand or it can serve as a baseline that can be deviated from. When Jason Scudellari started laying out his plans for his ’29 Ford roadster, he knew he had to pick an era that would allow him to build what he had pictured in his head, while still allowing him the freedom to build a car that would be reliable, look good, and perform as he expected.

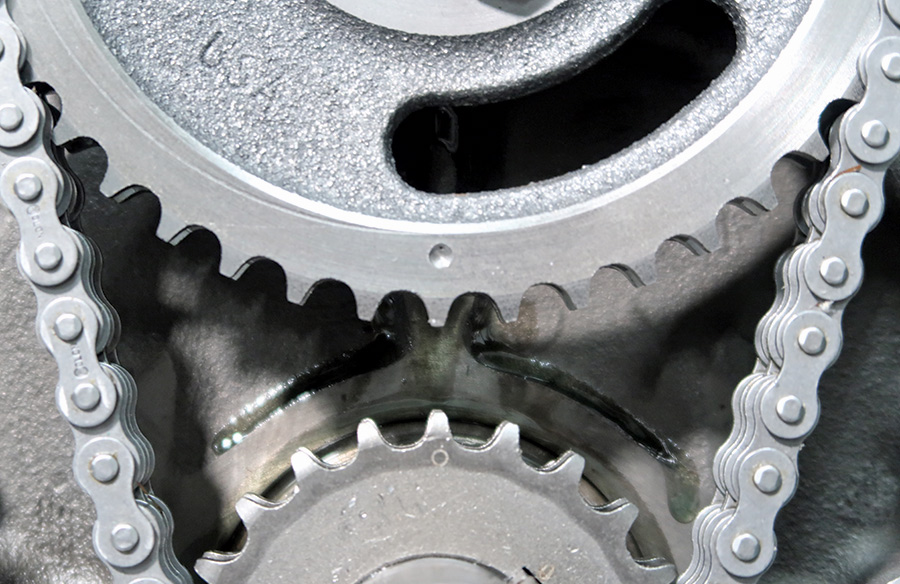
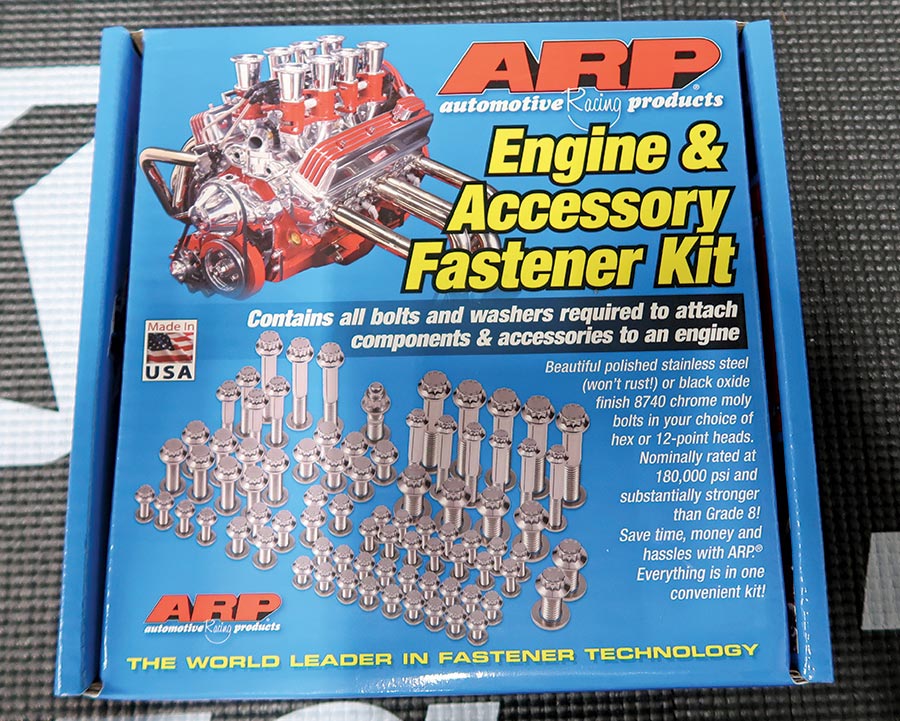
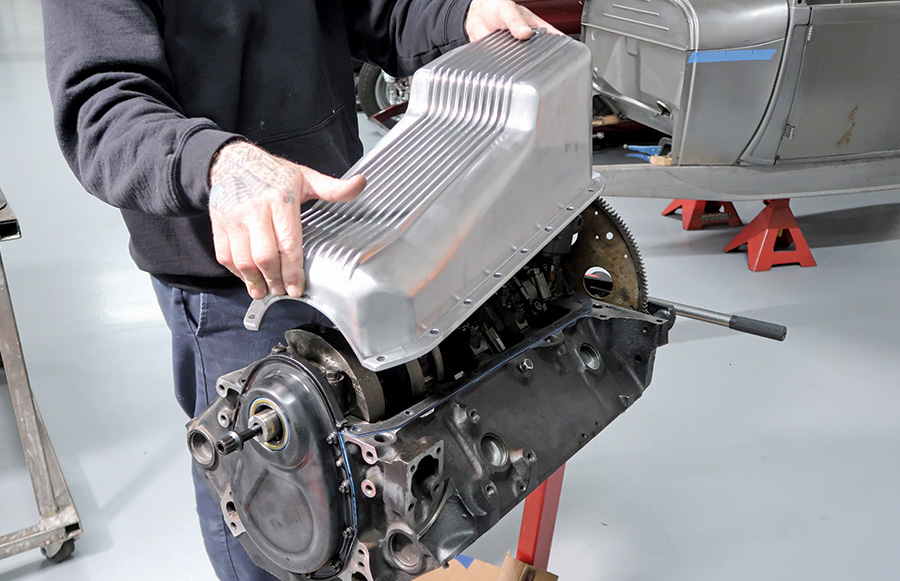
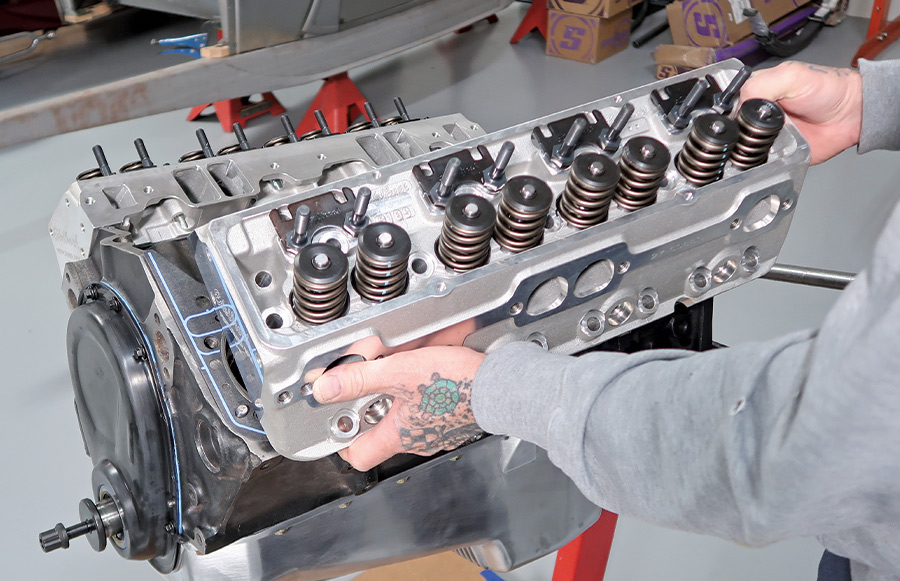
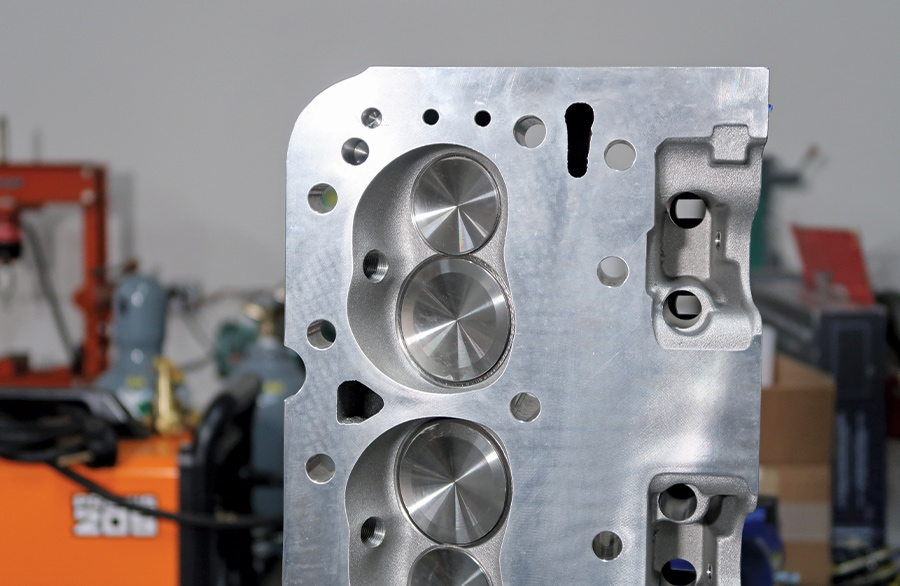
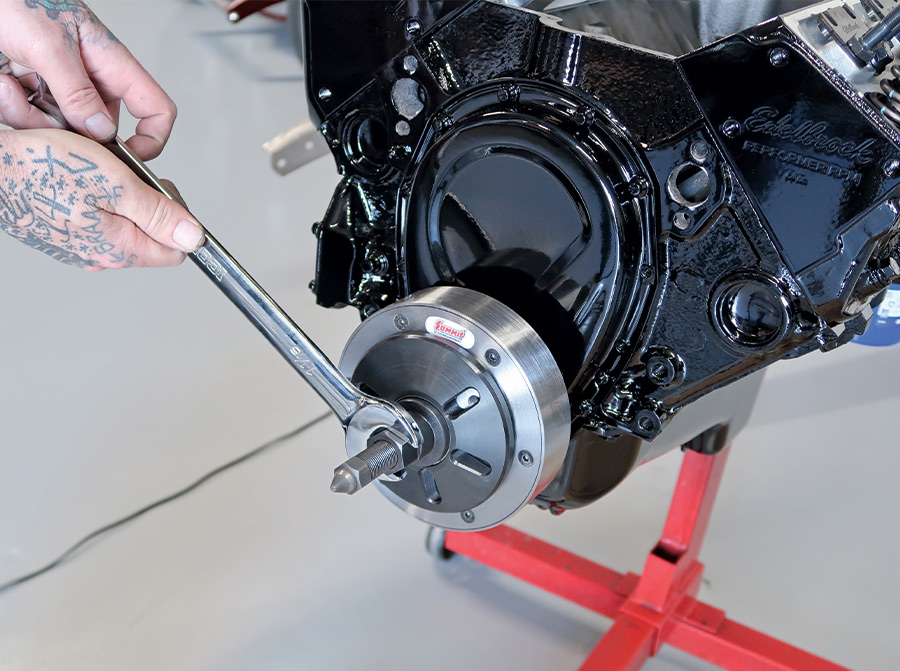
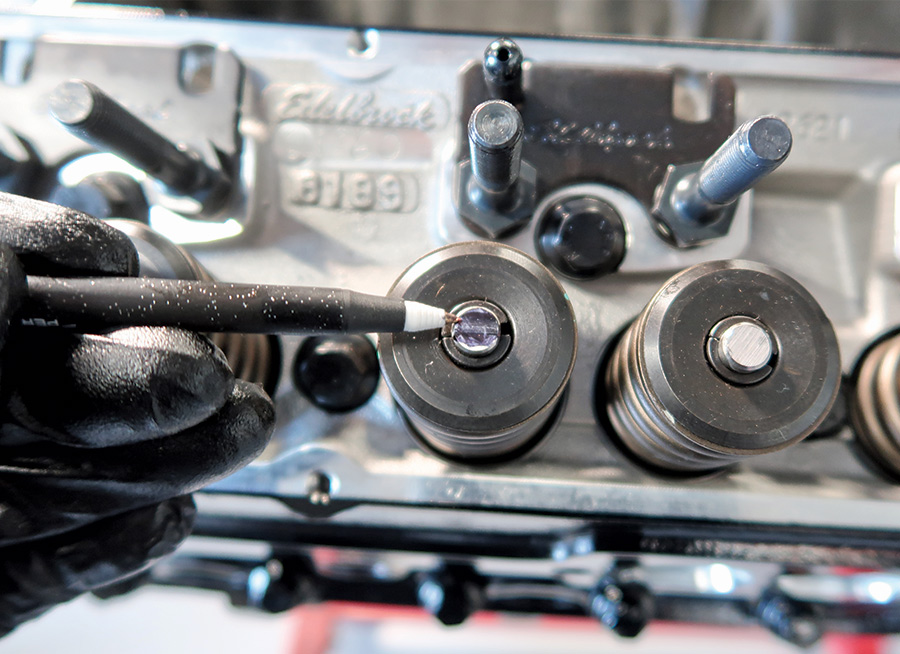
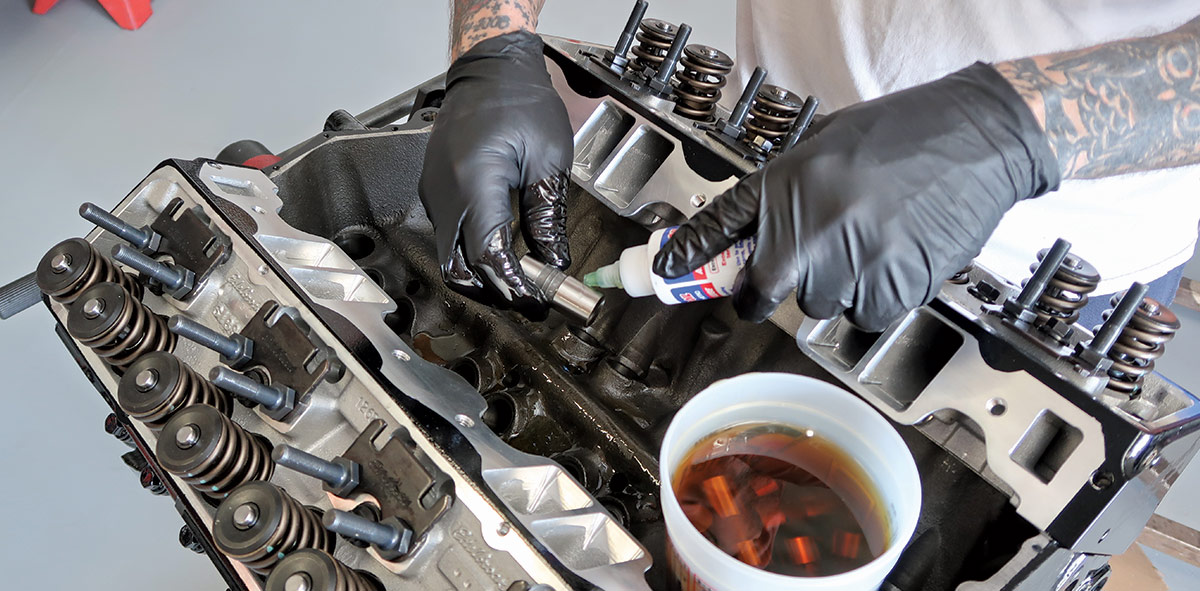
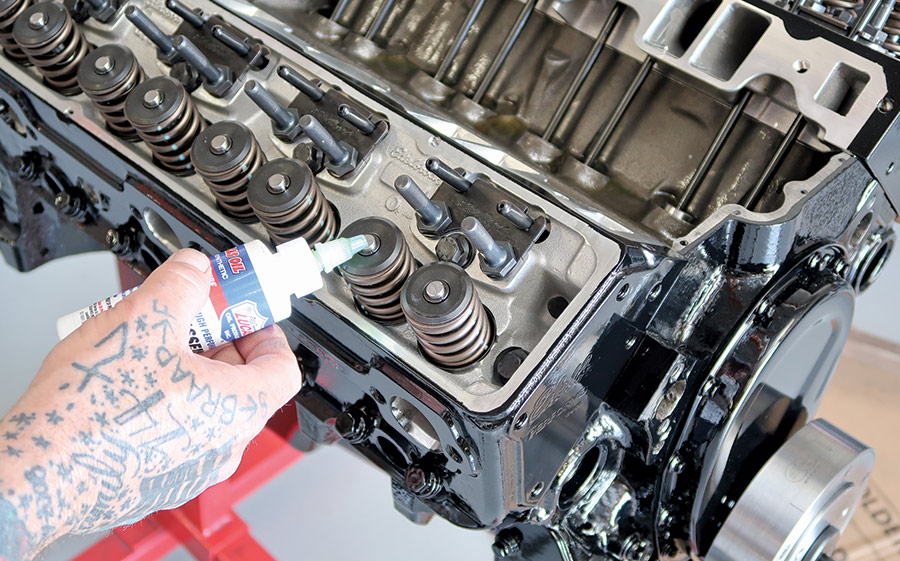
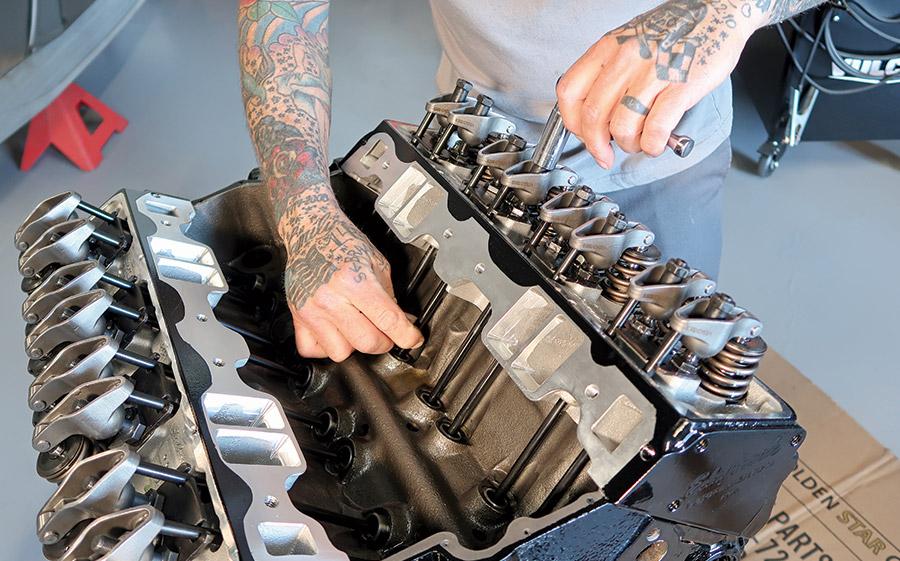
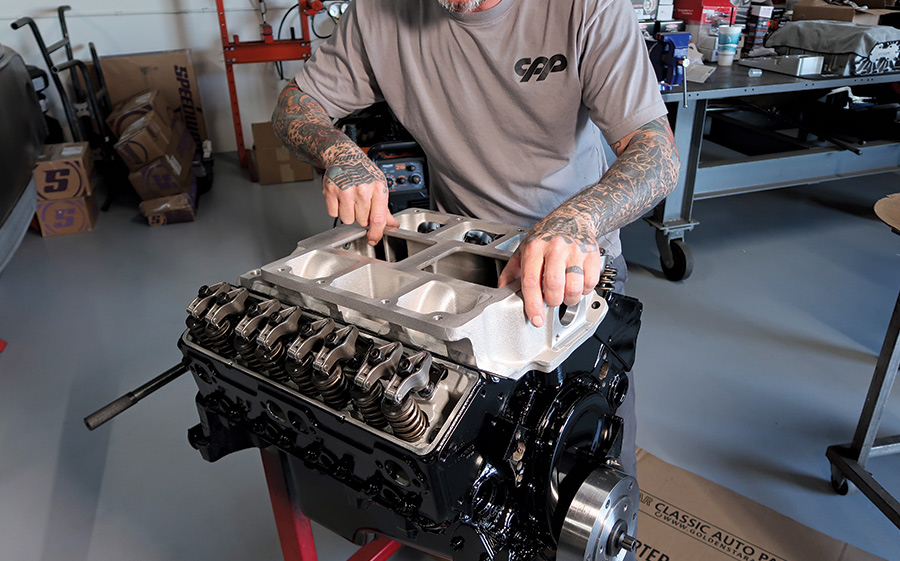
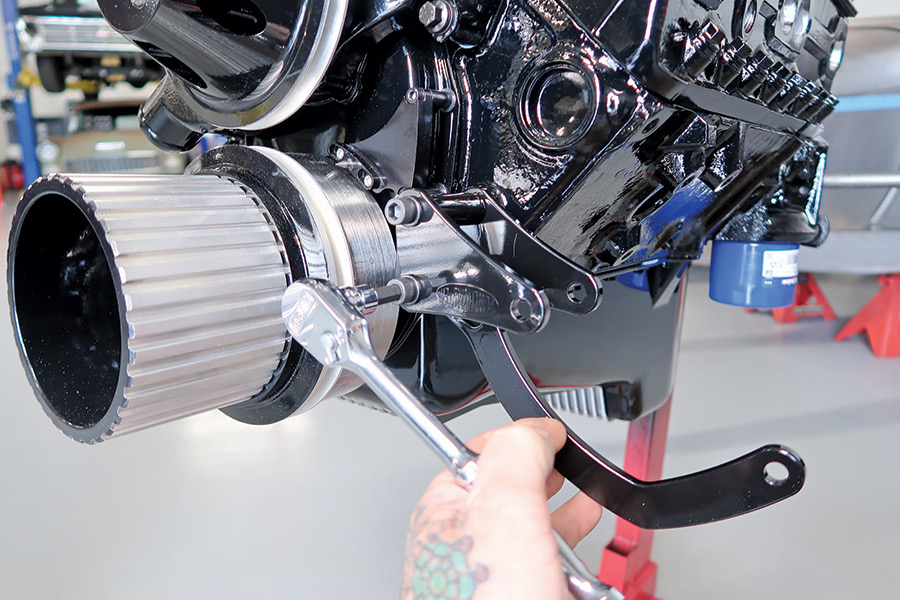
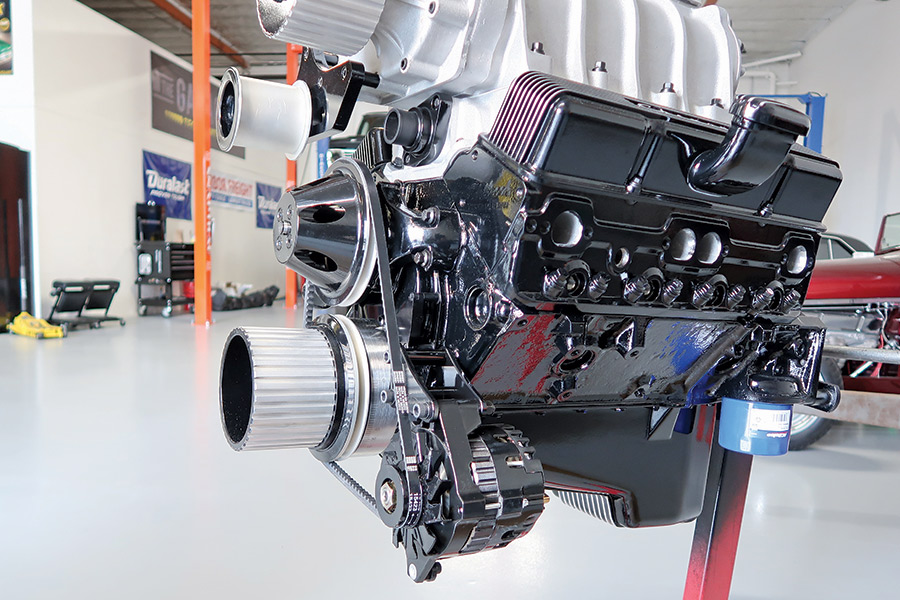
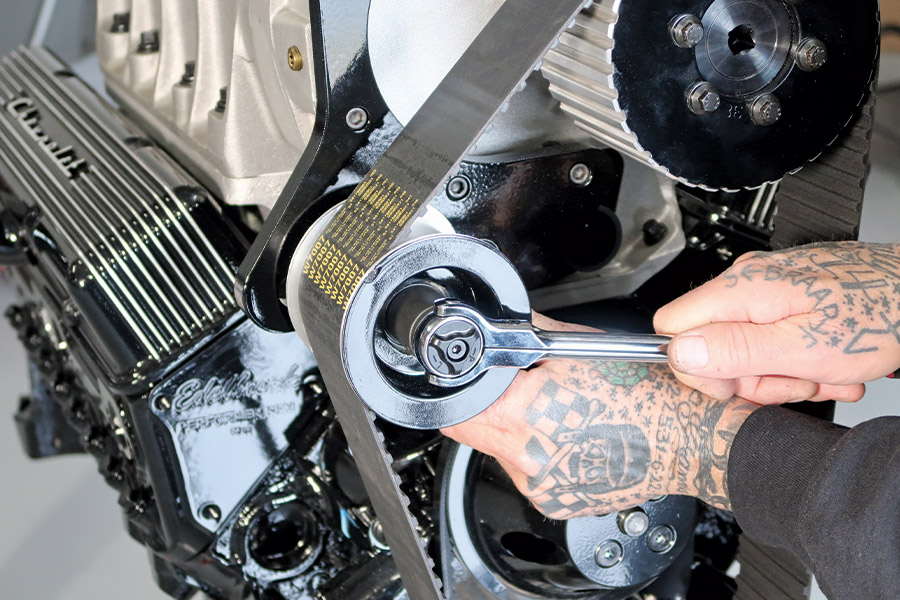
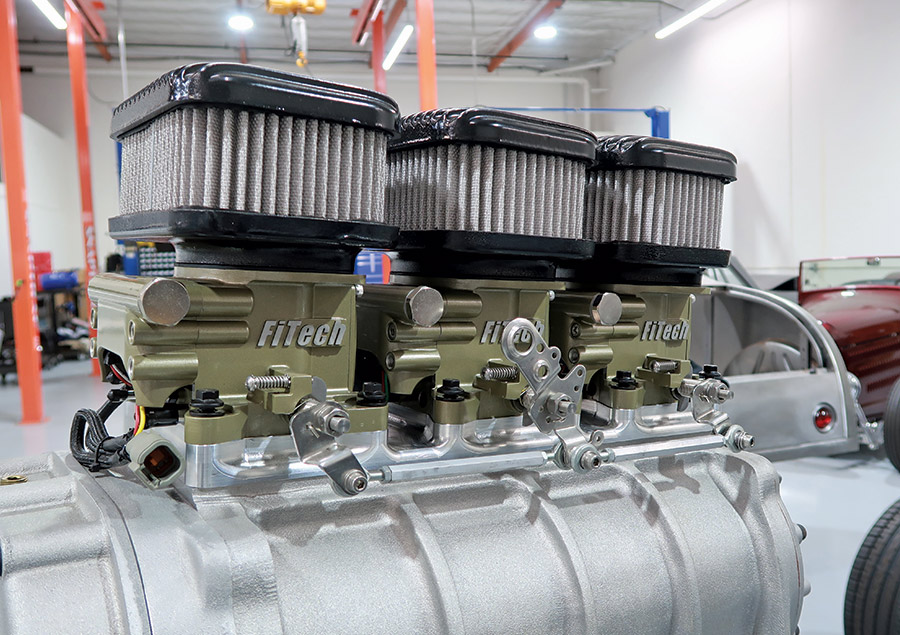
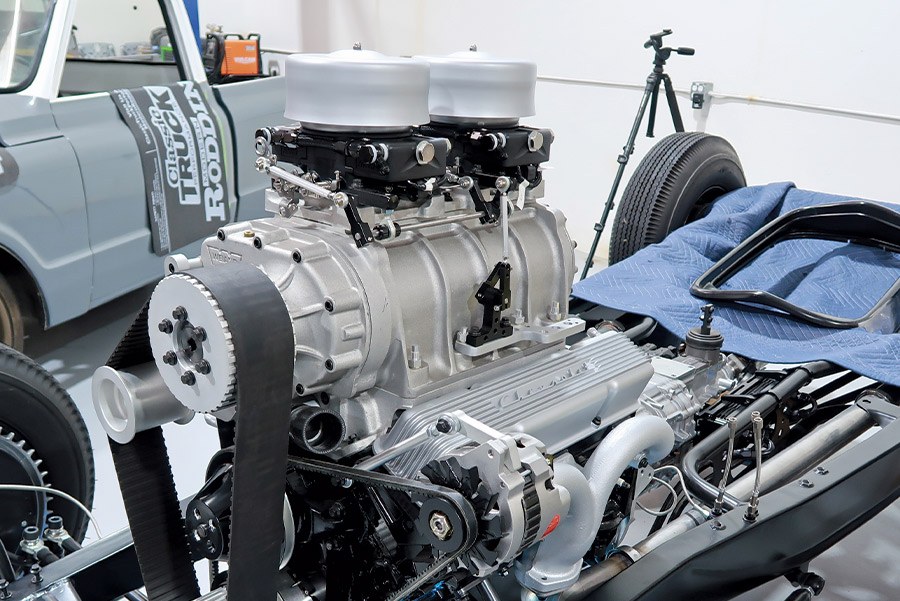
Not one unfamiliar with performance, Scudellari knew that whatever powerplant he decided on to motorvate his roadster, it would have to make decent power. That took the Flathead out of the running. He also wanted something that he was already familiar with that wouldn’t require a complete education on the goings-on of said engine. That put the venerable small-block Chevy at the forefront. About as simple and common as a V-8 comes, Scudellari was familiar enough with those motors to feel comfortable building one up to meet his performance expectations. But that time frame meant building one in a style that stayed true to the era he picked. So, it was decided that a mid-’60s time frame would serve to fit both the aesthetic of the roadster that he had built in his head as well as the performance aspect that he desired as it meant that he could build a high-powered small-block using a 6-71 blower; something that exudes ’60s hot rodding at its finest.

side view of a classic green car
With this plan in place, Scudellari set out to find a decent 350 to provide the foundation for his blower build. A short-block was located soon after—a crate engine originating from GM’s Mexico engine assembly plant. With a decent rotating assembly secured in a four-bolt main block, this short-block would be the perfect foundation for a high-performance build with the addition of heads, valvetrain, and induction. With a Summit Racing catalog in hand, Scudellari set out to procure the parts needed to put his plan in motion.

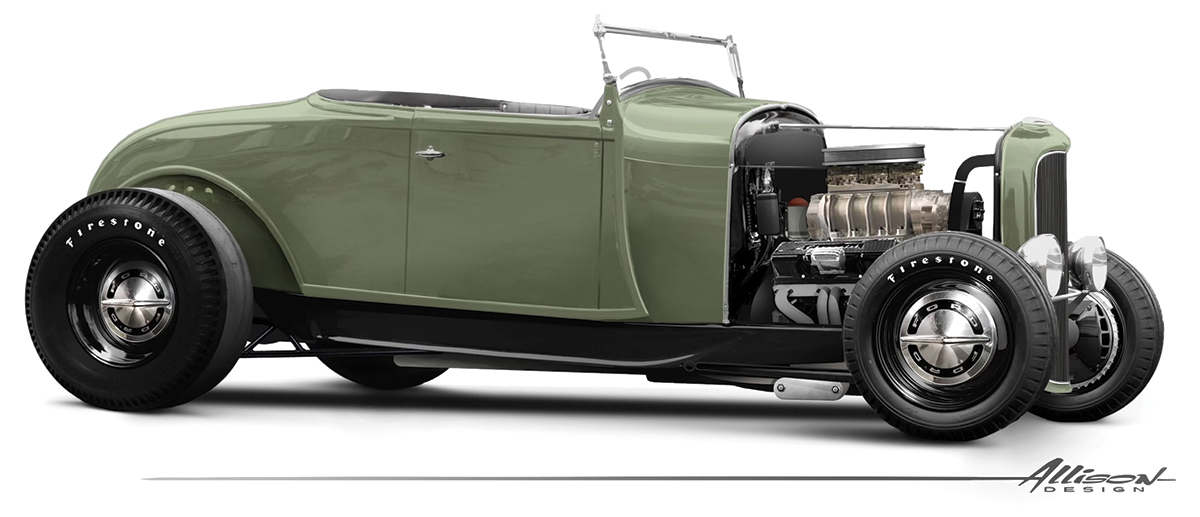
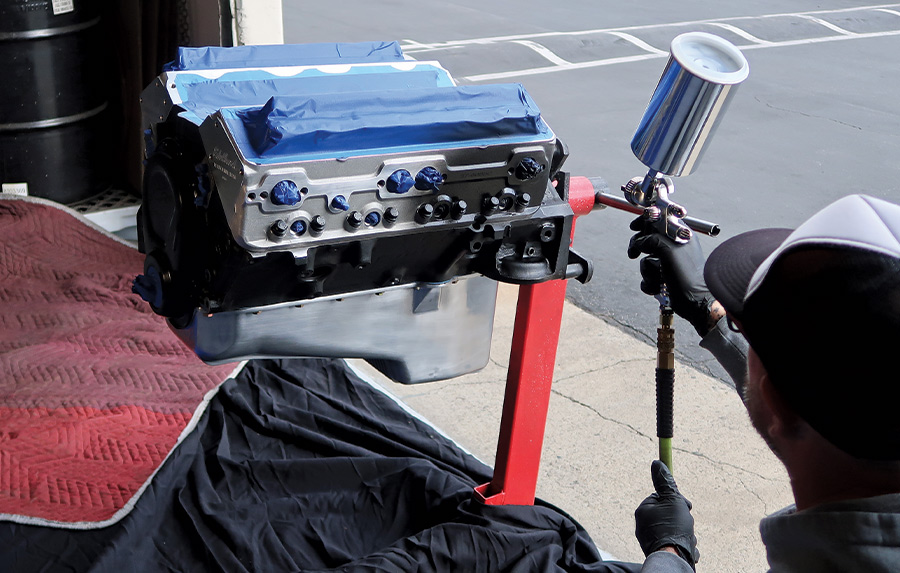
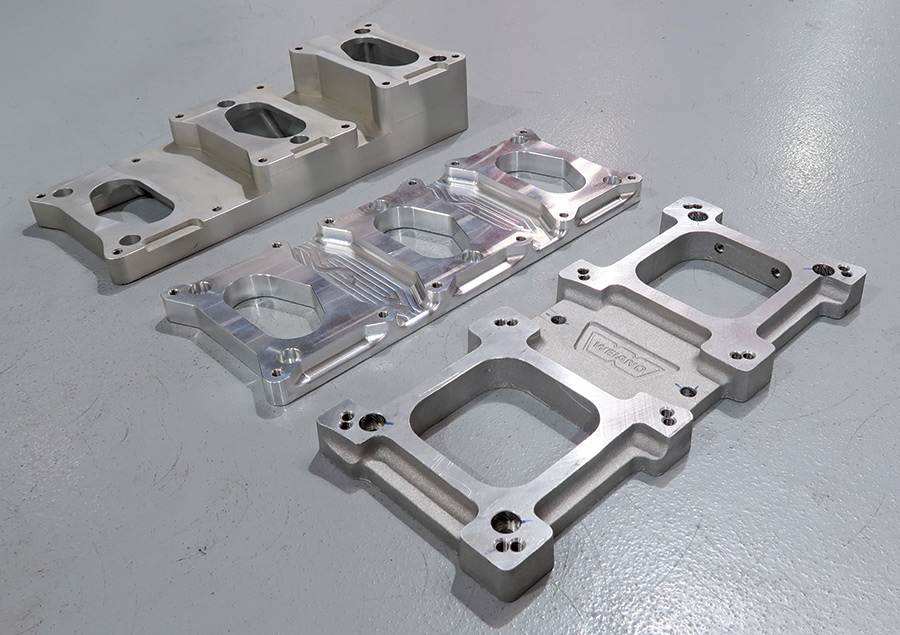
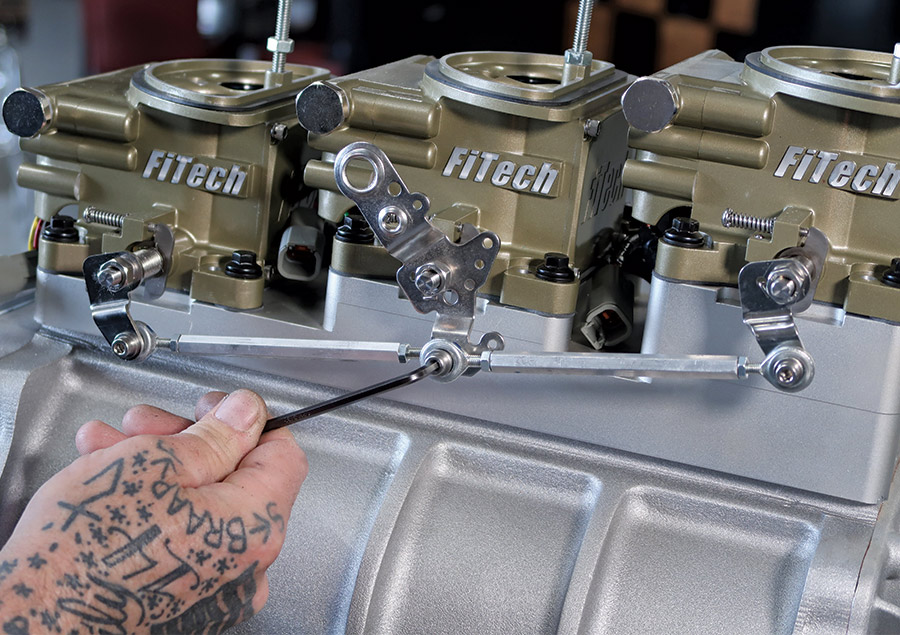
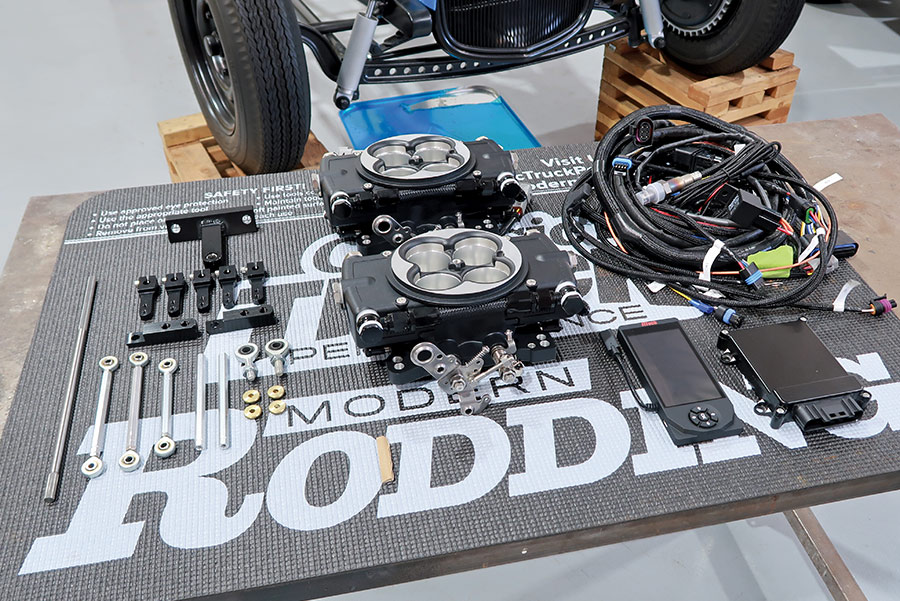
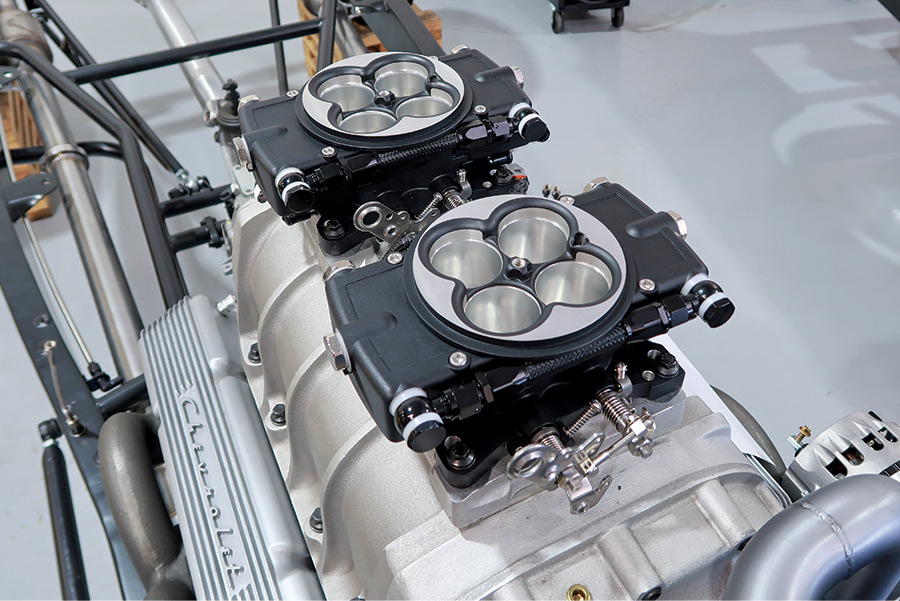
But while Scudellari chose a mid-’60s theme for his build, that baseline will be deviated from slightly as he’ll be opting to use a pair of EFI throttle bodies from FiTech Fuel Injection to feed the hungry beast. While modern in function, they’ll be treated the same as a pair of four-barrel carburetors and finished off as such. To the unassuming, Scudellari’s motor will look like a true ’60s-era dual quad, supercharged small-block while the Weiand-blown engine will have more in common with the 21st century than the Summer of Love.

short-block 350ci Chevy engine
2. A short-block 350ci Chevy engine will provide the foundation for Jason Scudellari’s blower motor. Rated at 260 hp, its four-bolt main construction and conservative compression ratio make it a good candidate for a little boost.
valvetrain-specific assembly lube being applied to all contact surfaces
3. To control the valvetrain, a Comp Cams Thumpr Hydraulic Flat Tappet Cam and Lifter Kit were ordered from Summit Racing (PN CCA-K12-600-4). With ratings of 227/241 lift at 0.050-inch and a lobe separation of 107 degrees, this cam combo should provide plenty of “lopey” attitude to Scudellari’s roadster. Before the cam is installed, valvetrain-specific assembly lube is applied to all the contact surfaces to prevent wiping out the cam lobes at initial start-up.
a Summit Racing True Roller Timing Set being used to mate the crank and cam
4. A Summit Racing True Roller Timing Set (PN SUM-G6770) is used to mate the crank and cam to ensure accurate timing control of the valvetrain.
closeup of the cam being set to 0 degrees advance/retard
5. The cam is set to 0 degrees advance/retard to keep everything within the manufacturer’s specs.
ARP engine and accessory fastener kit box
6. ARP fasteners will be used throughout the build, beginning with this accessory kit (PN 534-9801) that will serve to fasten most of the external components.
timing cover being attached to the block using ARP fasteners
7. Here, the timing cover is being attached to the block via ARP fasteners.
high pressure oil pump being used to ensure proper lubrication throughout the engine
8. A standard-volume, high-pressure oil pump from Summit Racing (PN SES-3-60-08-005) will ensure proper lubrication is provided throughout the engine.
5-quart rear sump die-cast aluminum oil pan from Summit being used on the engine
9. Scudellari chose to use Summit’s 5-quart rear sump die-cast aluminum oil pan (PN SUM-121010) for its stout construction and classic looks.
pair of 64cc chamber Edelbrock Performer RPM aluminum cylinder heads being used to raise the compression ratio
10. A pair of 64cc chamber Edelbrock Performer RPM aluminum cylinder heads (PN EDL-60899) will help raise the compression ratio a touch, but not so much that it will be beyond the scope of using pump gas if the blower’s boost is kept conservative.
closeup of 2.020-inch intake and 1.600-inch exhaust valves
11. These heads feature 2.020-inch intake and 1.600-inch exhaust valve sizing with an intake runner volume of 195 and 65 cc on the exhaust side.
closeup of a bolt from an ARP head bolt kit
12. An ARP head bolt kit (PN 134-3601) will be responsible for ensuring the cylinder heads remain in place. Where they intersect a water jacket, a sealing compound is used to prevent coolant leaks.
heads being torqued following the OE tightening sequence
13. The heads are torqued to ARP spec following the OE tightening sequence. A dab of assembly lube is applied to any contact surface of the bolt/washer combo to ensure a proper torque spec is read.
stock GM fuel pump block-off plate being used
14. A stock GM fuel pump block-off plate is utilized as Scudellari plans on equipping his engine with EFI.
closeup of person applying gloss paint
gloss black paint being applied
15-16. Next, the long-block is carefully prepped before it receives a couple of coats of gloss black Summit Racing Single-Stage Acrylic Urethane paint.
Summit Racing Harmonic Balancer
17. Keeping the internal components in balance will be aided by a Summit Racing Harmonic Balancer (PN SUM-C4265) for internally balanced engines. Constructed of Elastomer and steel, these balancers meet SFI 18.1 certification.
crank balancer being installed using a Summit Racing Harmonic Balancer and Installer Tool
18. Using the proper tools to install a crank balancer is key to ensure it goes on straight, is seated fully on the crankshaft, and the crank threads remain undamaged. A Summit Racing Harmonic Balancer Puller and Installer Tool (PN SUM-G1023-1) fits the bill perfectly and gets the job done with ease.
closeup of the engraved degree markings on a Summit Harmonic Balancer
19. Summit’s Harmonic Balancer features easy-to-read, engraved degree markings, which make timing the engine, or in this case, setting it at TDC on the first cylinder, a simple affair.
closeup of an ARP Balancer Bolt
20. An ARP Balancer Bolt (PN 134-2501) ensures the balancer will remain in place.
person using an adjustable pushrod length measuring tool to measure the proper pushrod length
21. With all the variables involved in the cylinder heads, block deck height, and valvetrain components, it’s necessary to measure proper pushrod length using an adjustable pushrod length measuring tool.
closeup of a valve on the engine
22. It’s not necessary to check every valve, but it’s best practice to check at least one intake and exhaust valve for length. It’s uncommon for them to be different, but stranger things have happened. With the components in place and the rocker tightened/adjusted to spec, the pushrod tool is adjusted until it contacts the rocker arm with the appropriate valve lash. The engine is then turned over so that the valvetrain goes through two or three cycles.
tip of the roller making contact with the tip of the valve
23. Proper length is realized when the tip of the rocker (or roller in this case) contacts the tip of the valve near the center of its diameter. Naturally, it’s going to deviate from the center as the rocker pushes down and the valve opens, so it’s imperative that the contact patch stays on the tip of the valve and doesn’t run off the edge. If the contact patch shows such a scenario, the pushrod is adjusted too long. The contact patch here looks pretty good, so the length that the tool has been adjusted to is noted and we go pushrod shopping.
closeup of a label from Summit Racing
24. The pushrod checking tool yielded a length of 7.750 inches, so a set of 5/16-inch-diameter pushrods with a corresponding length was ordered from Summit Racing (PN CCA-7970-16).
hydraulic lifters being soaked in a bath of break-in oil
25. Scudellari soaked the hydraulic lifters in a bath of break-in oil prior to installation to ensure they don’t run dry at start-up. A coating of engine assembly lube is also applied for good measure.
assembly lube being applied to anywhere two components come into contact
26. Like the camshaft, anywhere two components might contact is treated with a dab of assembly lube for good insurance. This includes both ends of the pushrods and the valve tips.
closeup of roller rockers equipped with Polyloks from Summit Racing
27. Cast chromoly steel 1.5 ratio roller rockers from Summit Racing (PN SUM-141706PL) are used and come equipped with Polyloks to prevent the rockers from coming loose.
Scudellari adjusting the valves
28. Here, Scudellari is adjusting the valves as per the manufacturer’s specs …
closeup of each Polylok being tightened
29. … before tightening each Polylok, effectively locking in the valve adjustment.
Weiand blower intake manifold being installed
30. Installation of the Weiand blower intake manifold gives a little insight into what’s to come.
Holley Vintage Series Valve Covers being used to cover the valvetrain
31. Covering and protecting the valvetrain will be handled by a pair of Holley Vintage Series Valve Covers (PN HLY-241-106) equipped with a pair of OTB Gear Breathers (PN OTT-6811), both sourced from Summit Racing.
valve covers painted with gloss black paint
32. Scudellari shot both the valve covers and the breather in the same glass black paint as the block before sanding the fins for a classic look. The breathers were mounted to the bottom of the valve covers due to clearance issues with the blower manifold.
6-71 Weiand Supercharger Kit being used to increase the incoming intake charge
33. A 6-71 Weiand Supercharger Kit (PN WND-7582) will be used to increase the incoming intake charge, helping the 350 raise its torque and power numbers to 50 percent by producing 10-12 pounds of boost. The two-lobe rotor blower itself as well as the intake manifold are part of this kit, as are the necessary pulleys, belts, gaskets, and pop-off valve.
alternator being mounted down low of the driver side using a Powermaster Performance bracket kit
34. The only other accessory that needs to be driven is the alternator, which will be mounted down low on the driver side using a Powermaster Performance bracket kit (PN 885).
closeup of a Powermaser CS130 alternator
35. Charging responsibilities will be handled by a Powermaster CS130 alternator (PN 578021) capable of providing up to 140 amps.
1/2-inch pitch belt being installed
36. Installation of the blower pulleys is finalized by the installation of the 1/2-inch pitch belt.
closeup of Summit Harmonic Balancer measurement engravings
37. The engine is once again brought to #1 TDC in preparation for the installation of the distributor.
PerTronix Plug-and-Play Electronic Billet Distributor equipped with an Ignitor III module
closeup of spark plug
38-39. A PerTronix Plug-and-Play Electronic Billet Distributor (PN PNX-D7100700) equipped with an Ignitor III module is dropped in place, with the rotor in line with the number one cylinder. This makes for easy routing of the spark plug wires when the time comes.
engine parts laid out on a table
40. Scudellari has a couple of options when it comes to the induction atop the 6-71 blower thanks to the various offerings of the aftermarket. From the top, this staggered 3×2 plate was machined by Evans CNC, while the flat adapter plate was created by Old Anvil Speed Shop. The 2×4 plate is a standard component of the Weiand #7582 supercharger kit.
staggered-height trio of FiTech two-barrel throttle bodies
41. A staggered-height trio of FiTech two-barrel throttle bodies was one option …
3x2 setup of FiTech two-barrel throttle bodies on a flat-plane manifold
42. … as was this similar 3×2 setup on a flat-plane manifold.
engine parts on a work table
overview of engine
43-44. Scudellari decided that a dual-quad setup would be more fitting to the mid-’60s time frame his build is based on, so a FiTech Go EFI 2×4 Power Adder system (PN 3006) was ordered. Capable of supporting up to 1,200 hp, this kit includes both throttle bodies, a handheld controller, an ECU, wiring harness, and all necessary sensors and linkage.
overview of engine
45. Set between the framerails of his ’29, Scudellari realized that the lower alternator position created a conflict between it and the Vega steering box. A bracket kit from Summit Racing (PN SME-2001) relocated the alternator to the upper, driver side position. A pair of Flowtech Cast Iron Exhaust Manifolds (PN BIG-11704-RFLT) were also added to the mix in addition to a pair of United Pacific air cleaners (PN UPD-S1103), both sourced from Summit Racing, that further help deliver the ’60s vibe.
SOURCES
Modern Rodding
VOLUME 5 • ISSUE 43 • 2024