Modern Rodding TECH

InTheGarageMedia.com

Man working on installing a new stereo under the dashboard
1. Bring back the oldies with a high-tech Custom Autosound stereo that looks at home in our ’63 Impala.
Sound Advice
Installing Custom Autosound Components in a ’63 Impala
By Tommy Lee Byrd Photography by THE AUTHOR
T

he old car experience is often an exercise in nostalgia, causing memories to flood in and take us back to a simpler time. Sometimes, it’s a visual trigger, while many times it’s a particular sound that takes us back. Music certainly creates those nostalgic moments, but one of the most sinful acts in the old car world is hacking out a car’s dash to install a modern head unit for a stereo system. Sure, there are tasteful ways to give your car high-tech audio, and there are even ways to hide it altogether, but in our case, we wanted something that looked close to the original and provided an update in technology.

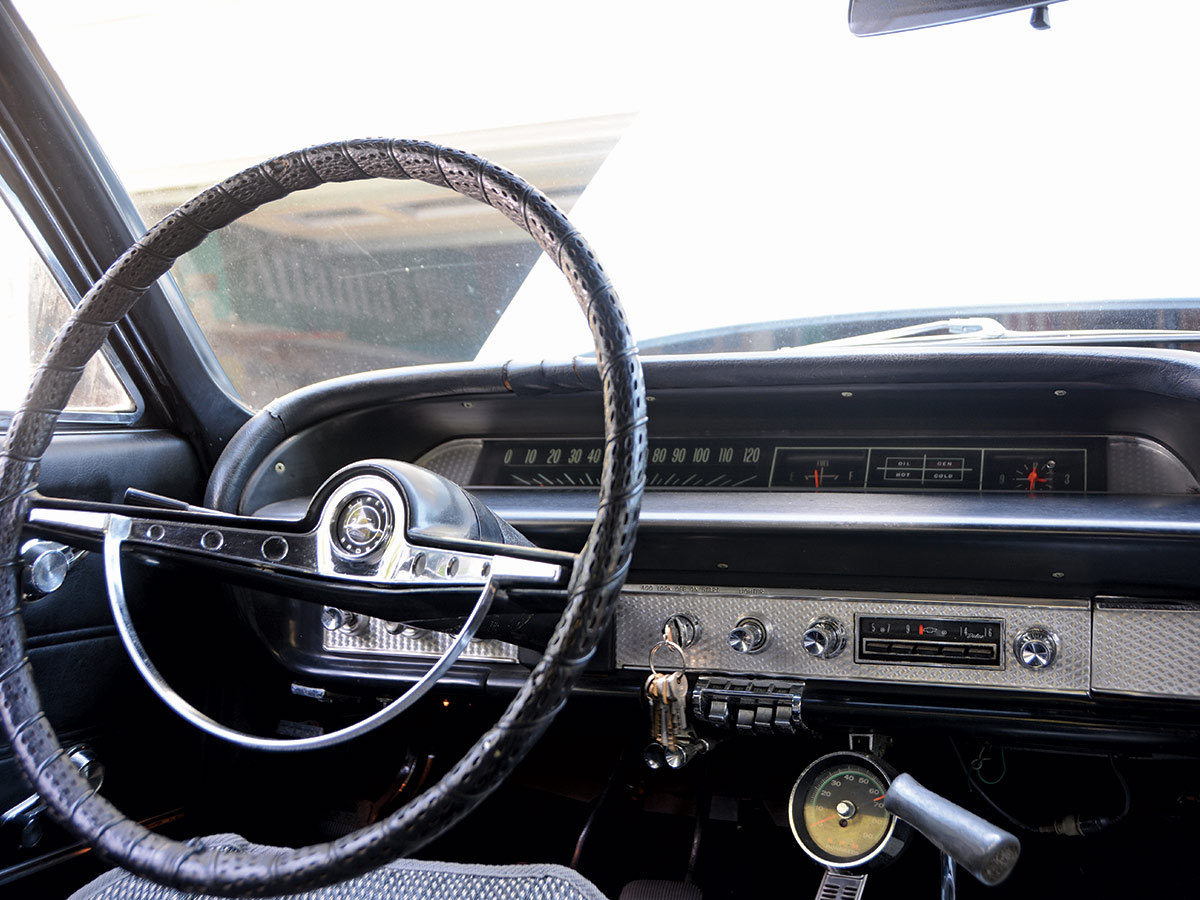
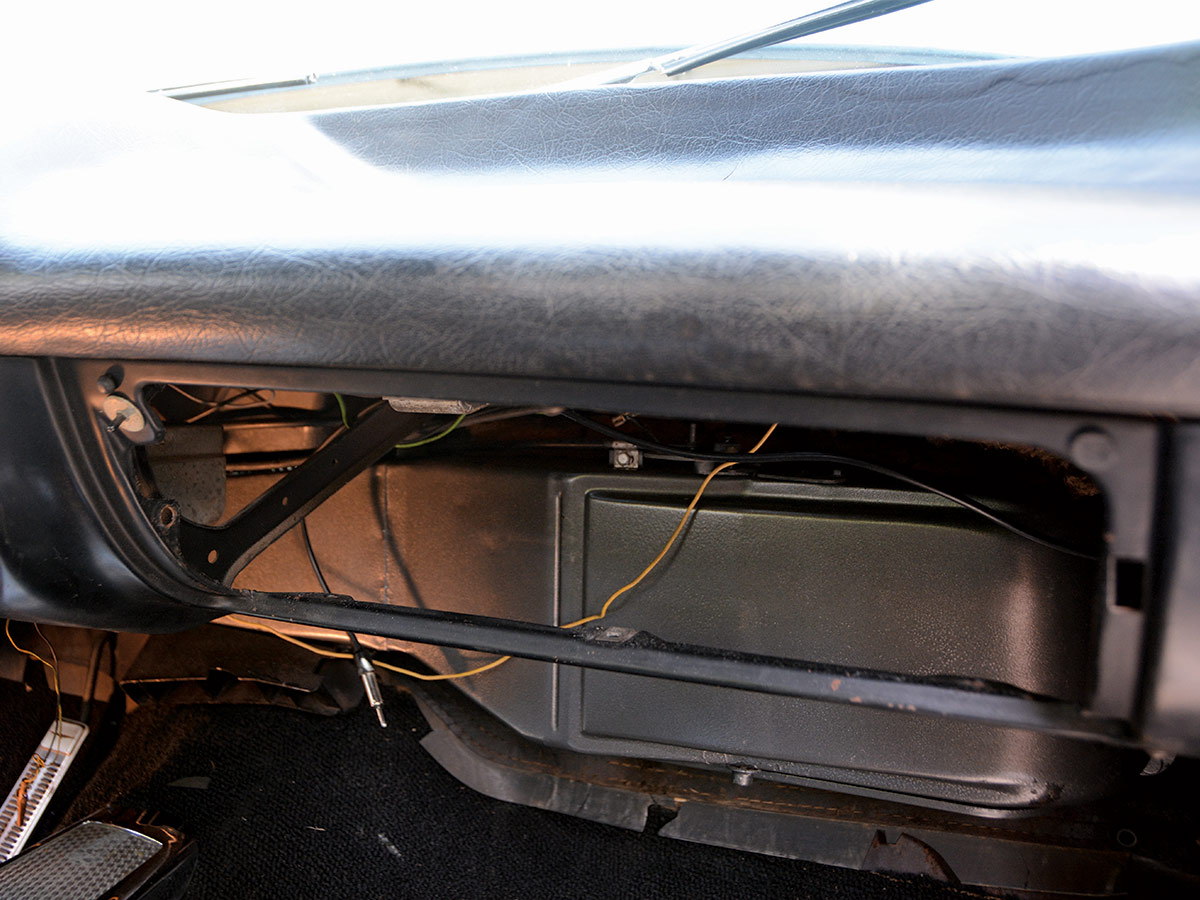
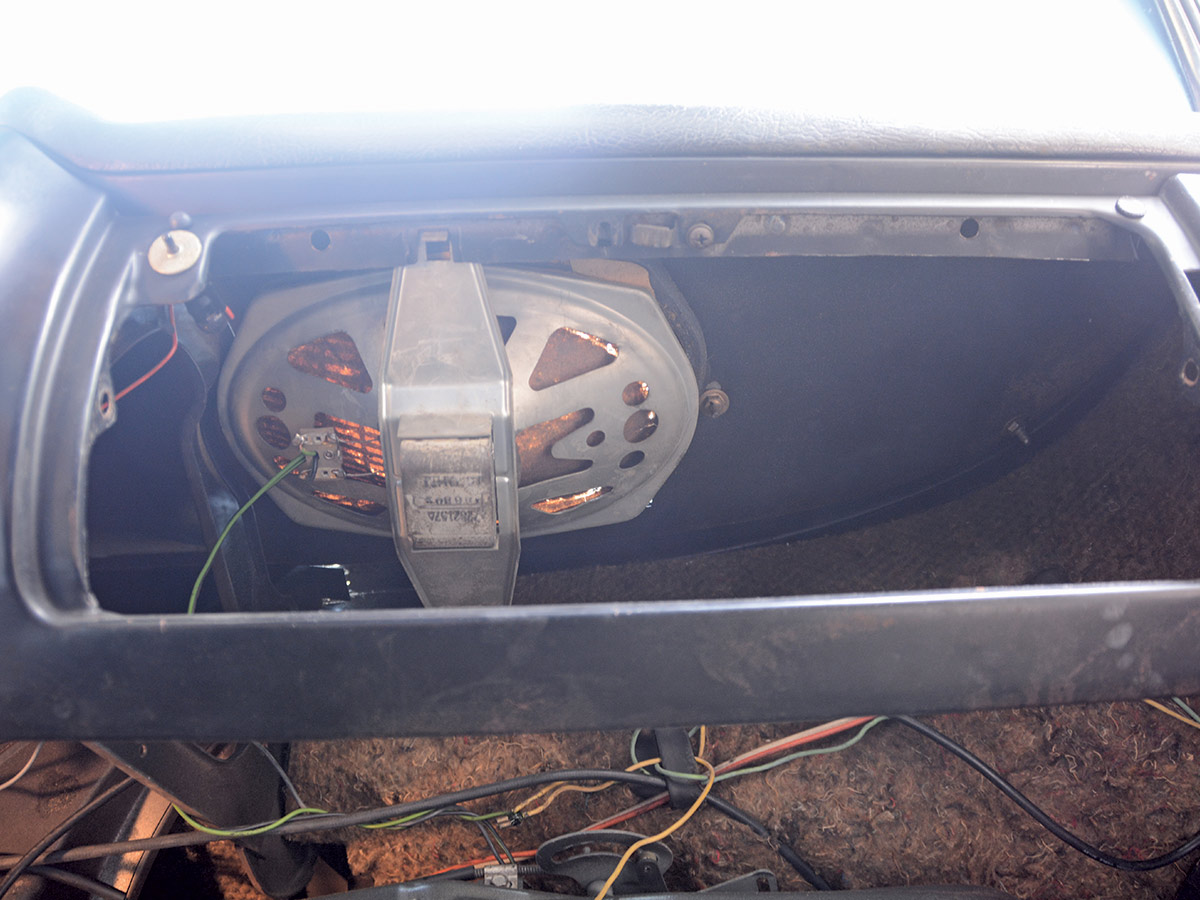
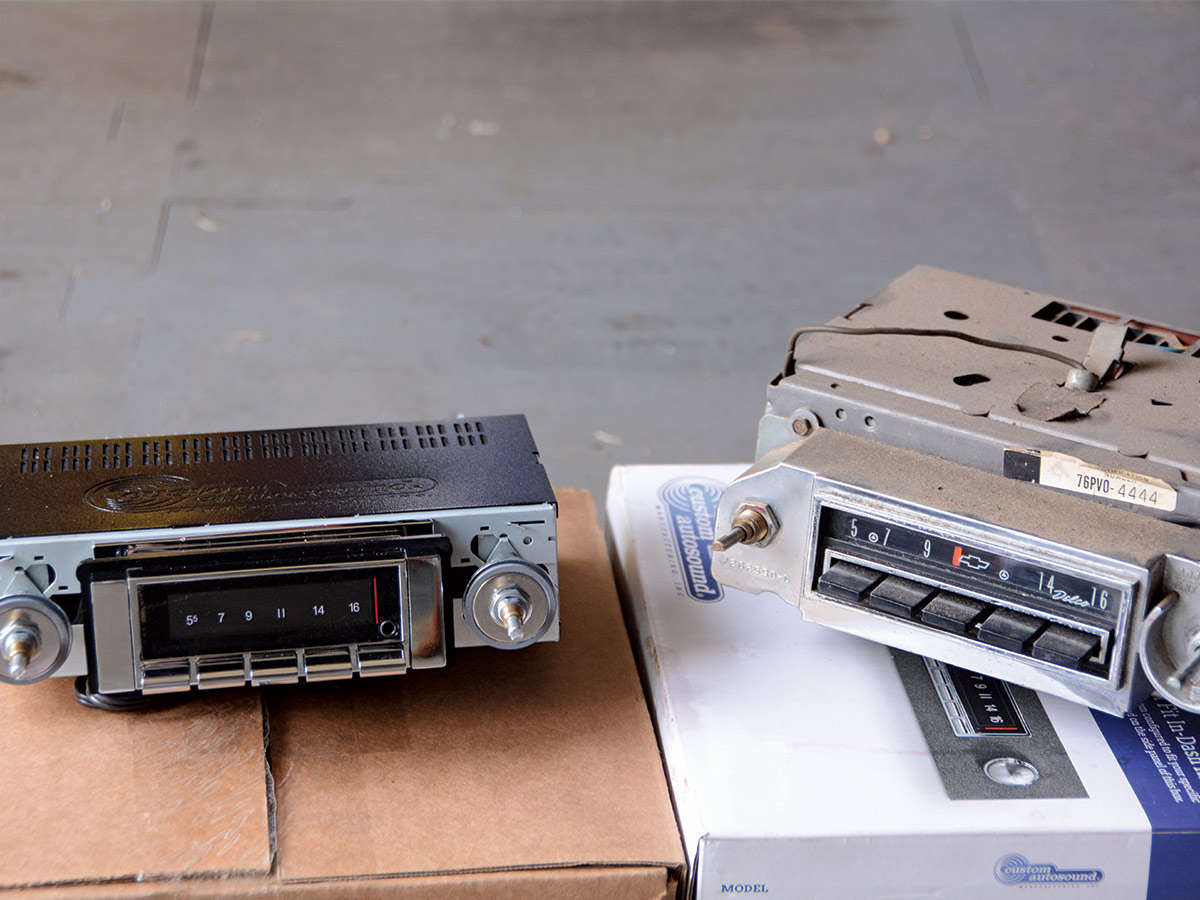
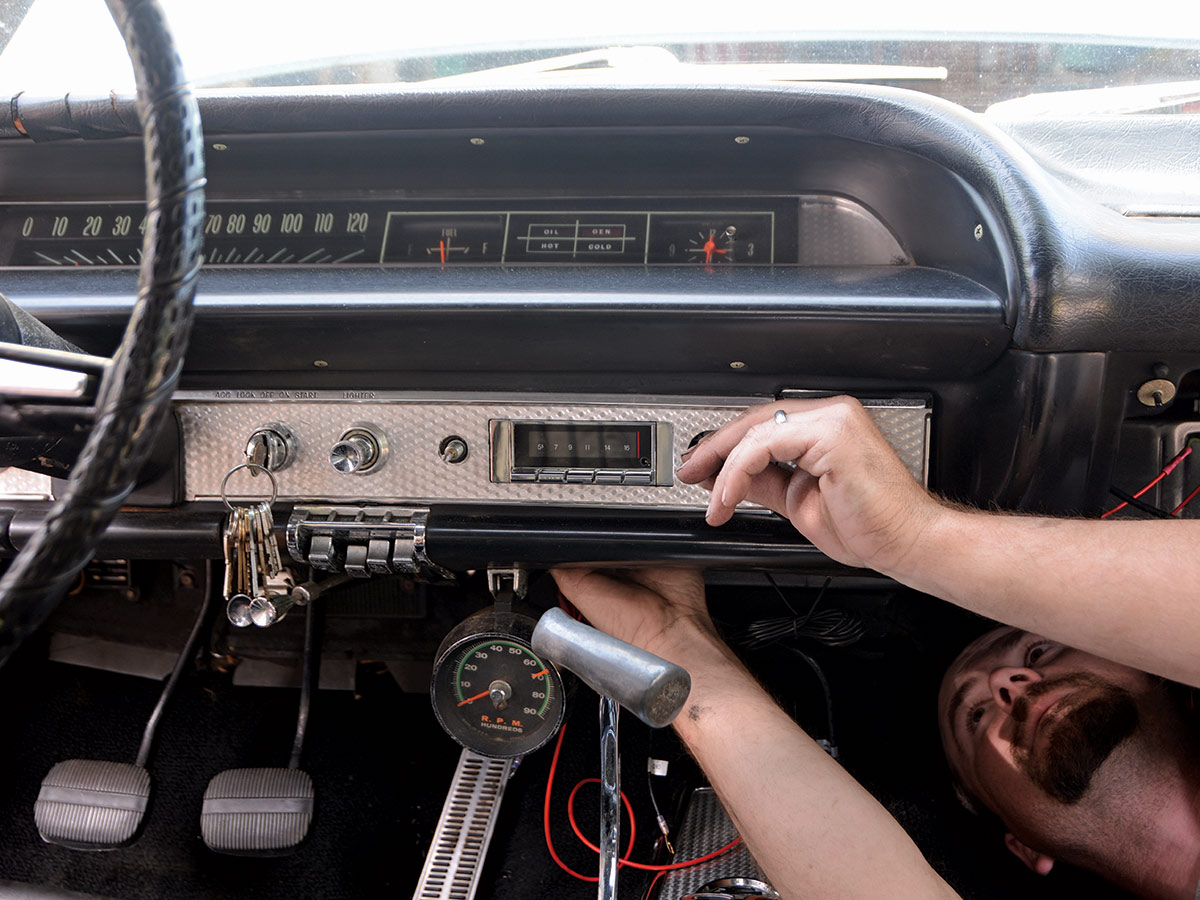
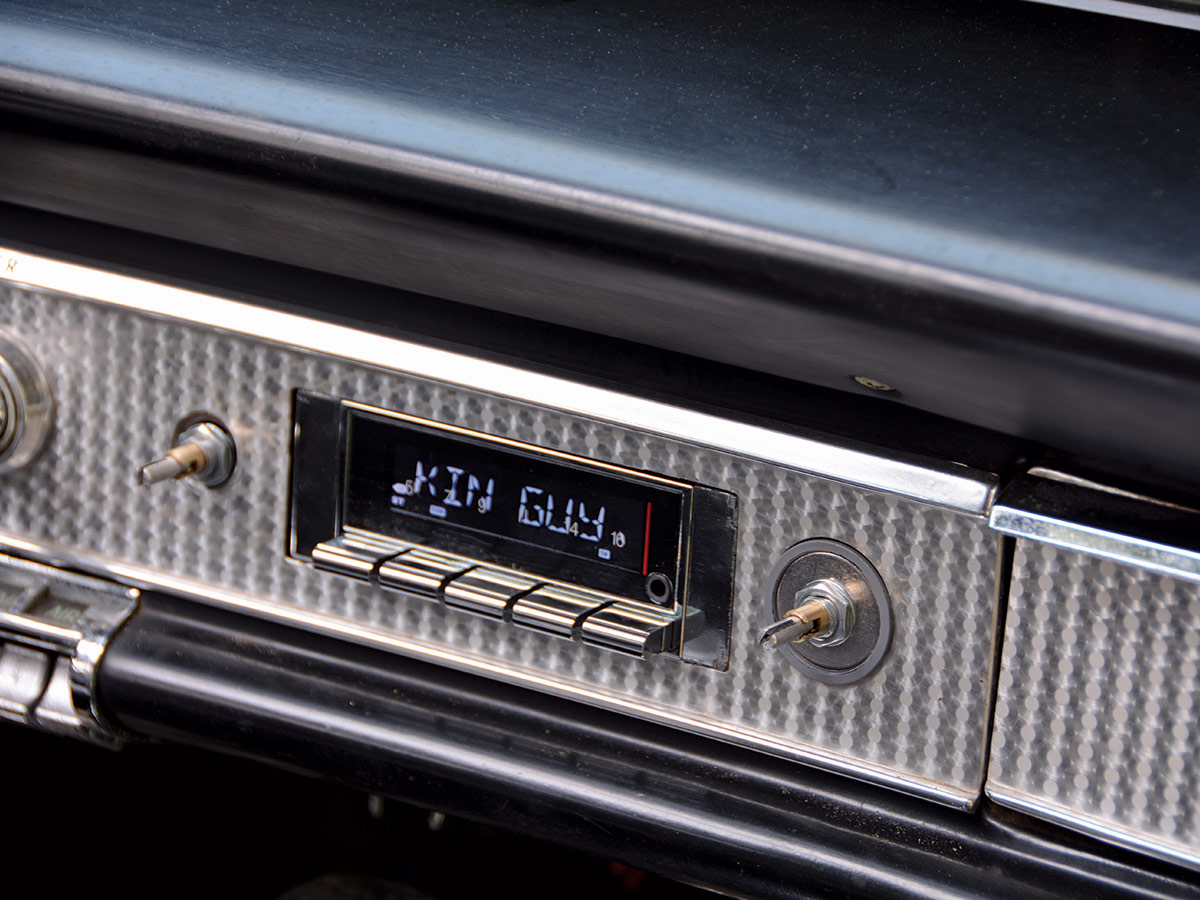
Our subject is a mostly original ’63 Chevy Impala Super Sport. The car is mechanically sound and has an aged paintjob with a little bit of character. Inside, it is mostly stock, including the original Delco AM radio and underdash speaker, a combination that hasn’t worked in many years. There are options to send the original radio off to be rebuilt or updated, but we wanted a simple bolt-in solution that would completely upgrade the listening experience.

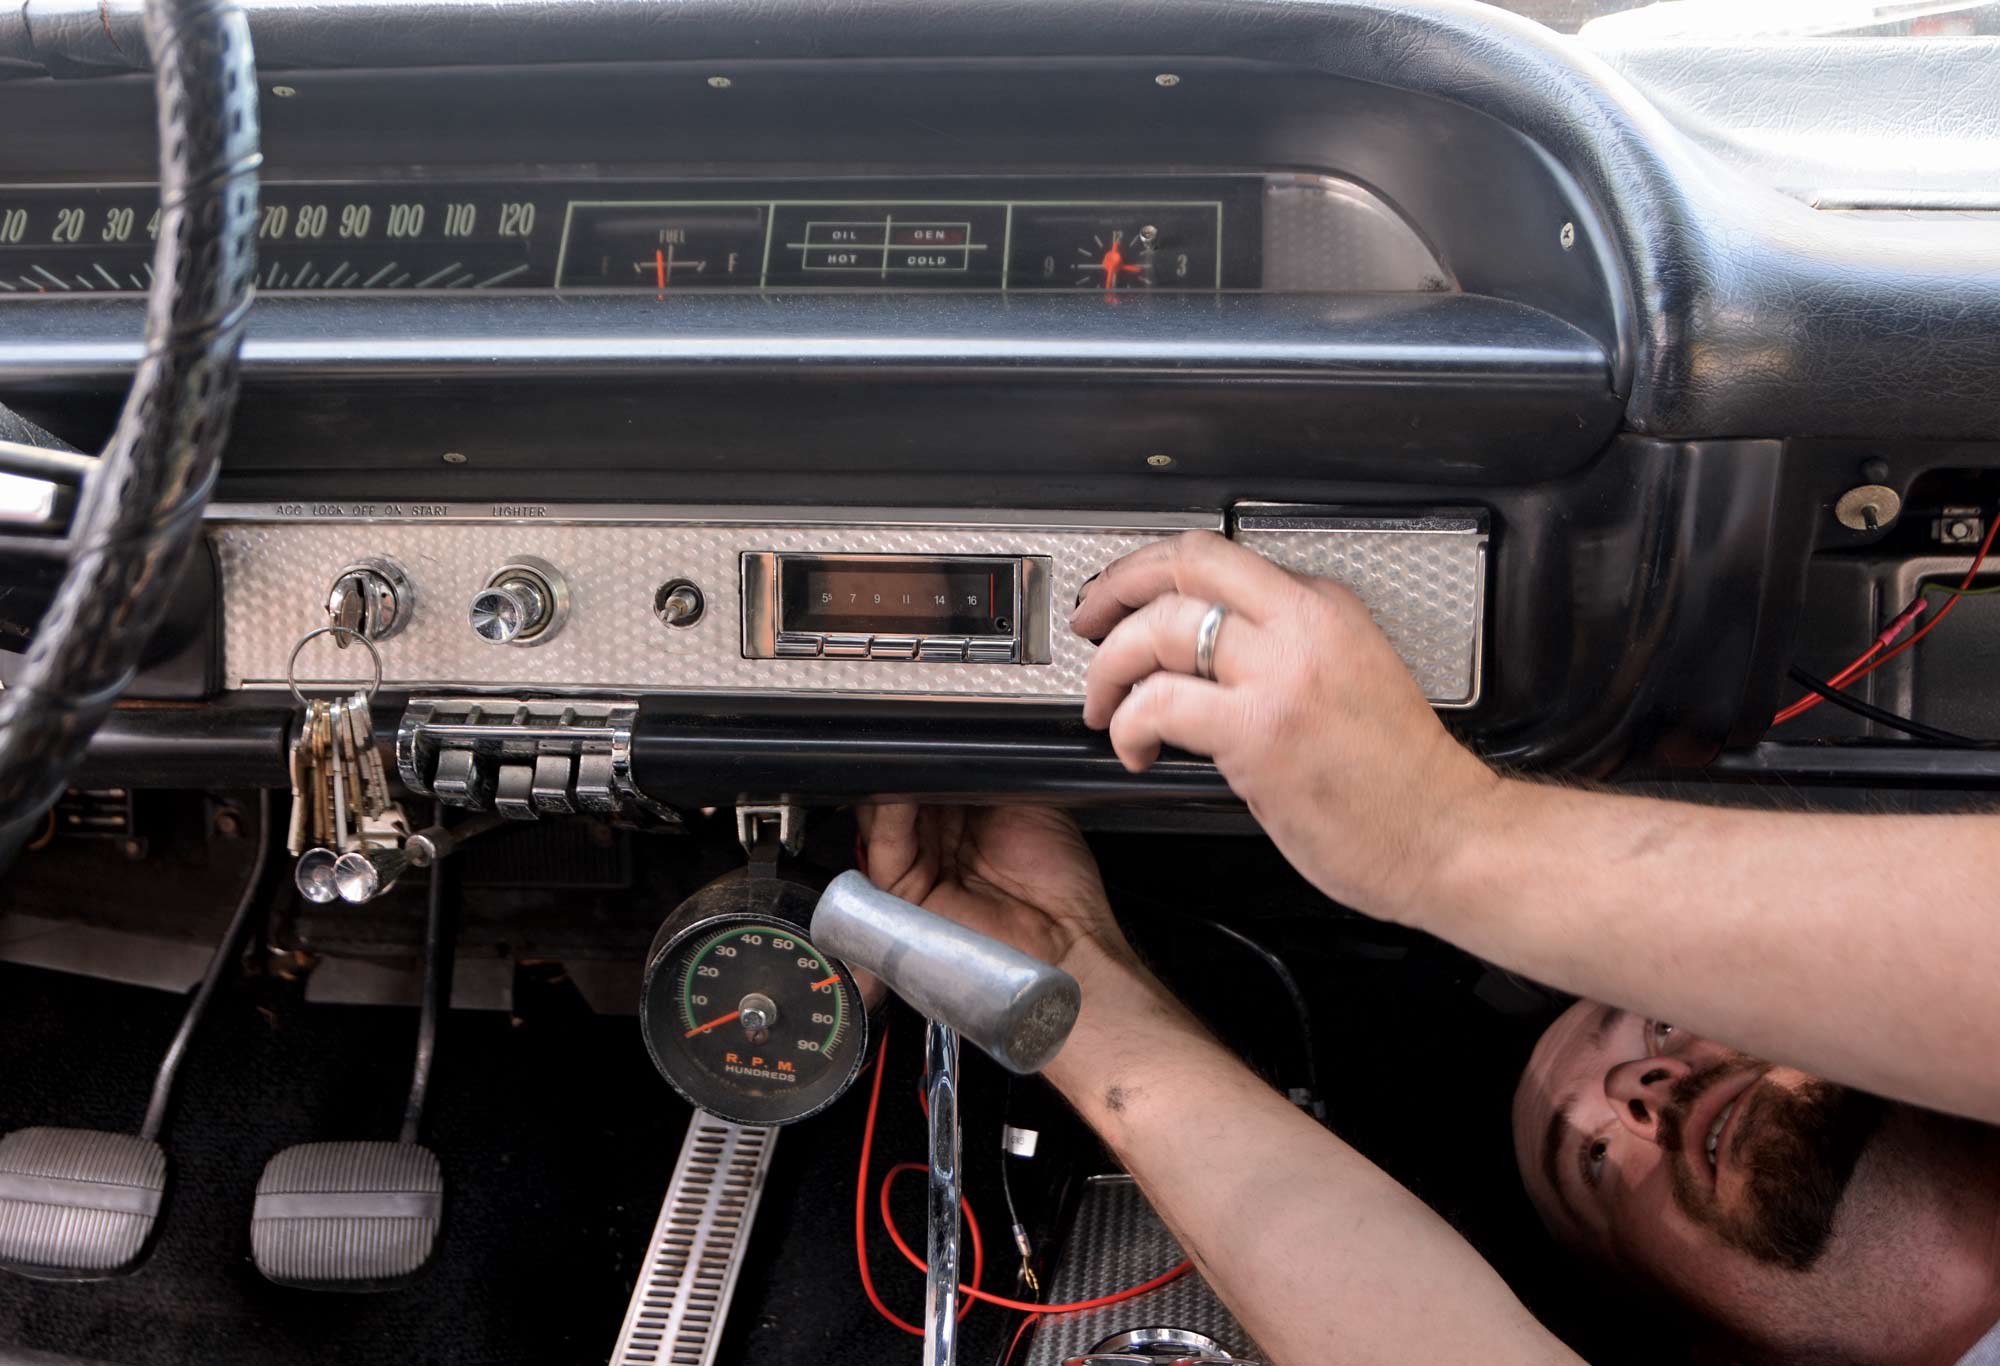
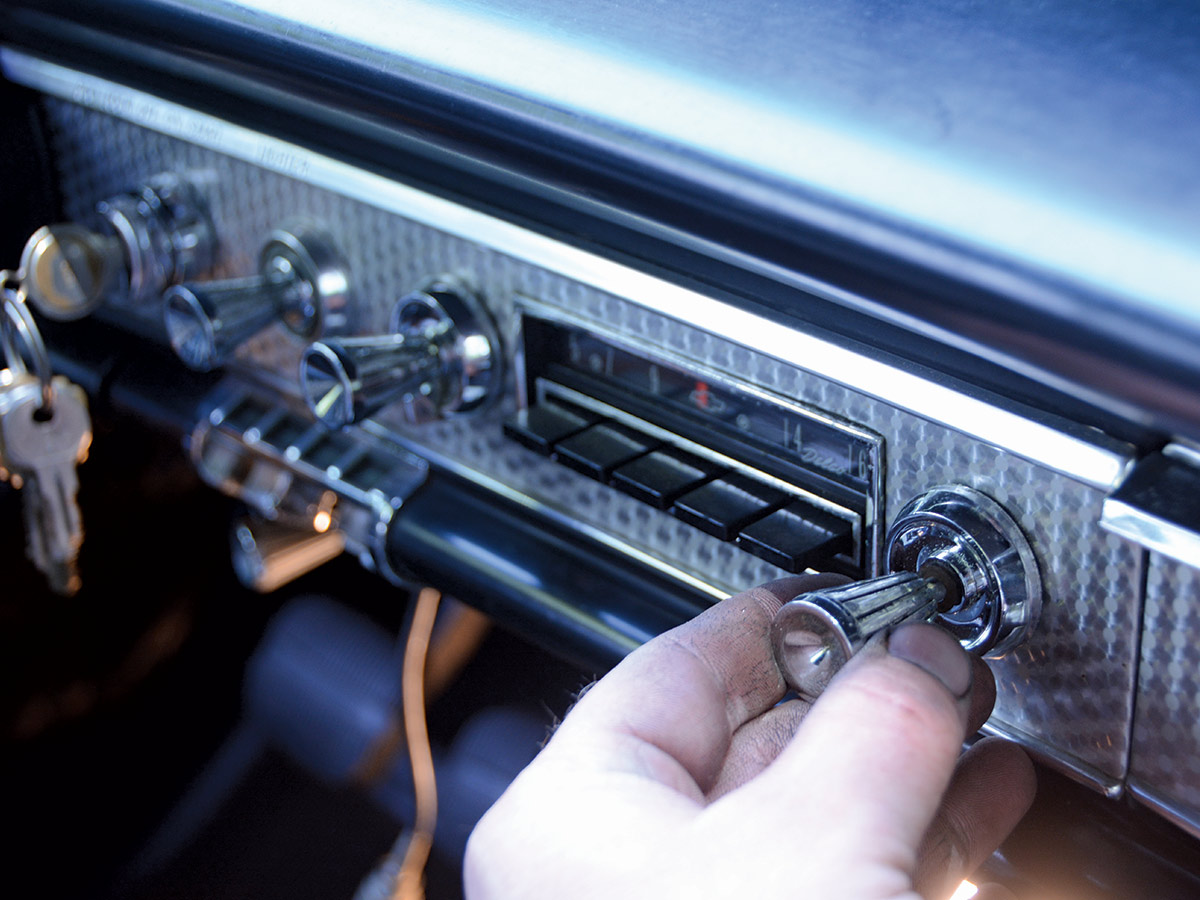
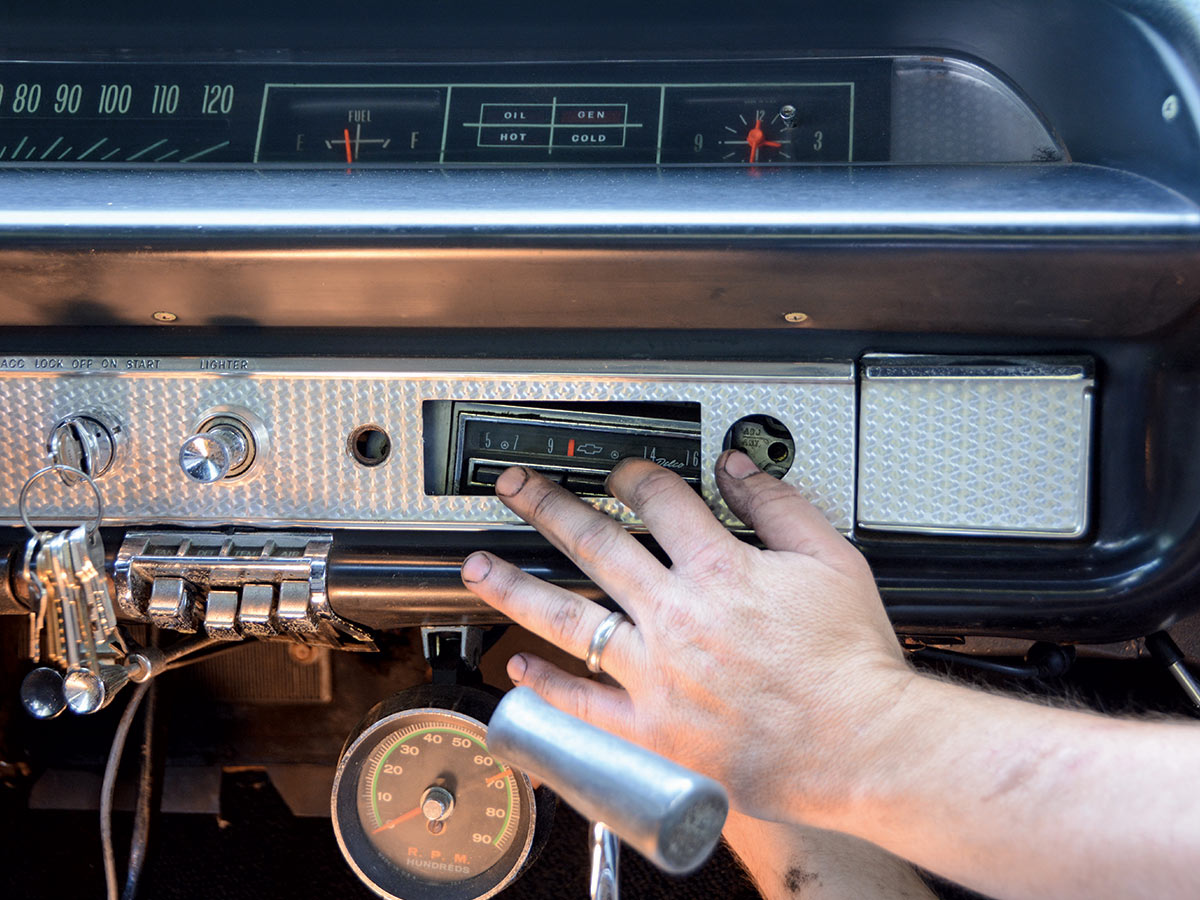
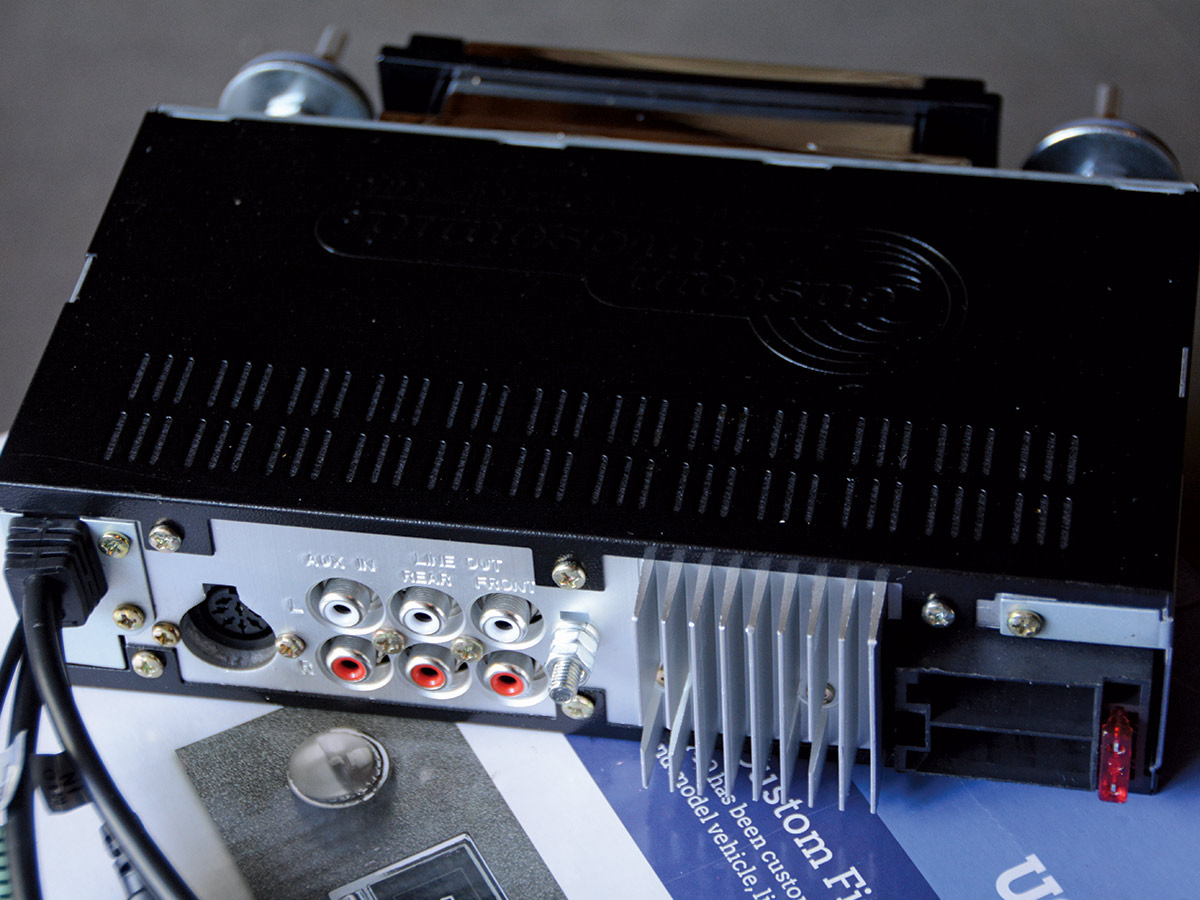
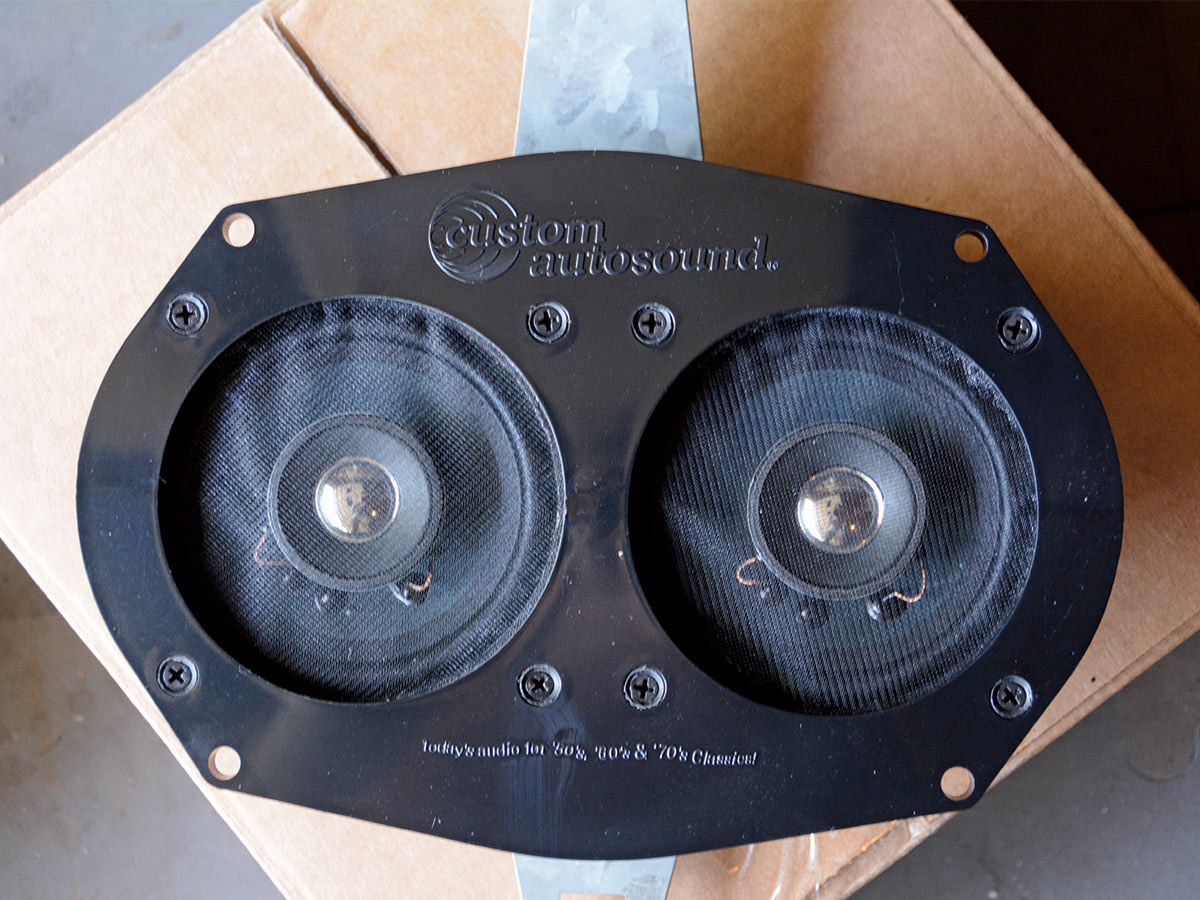
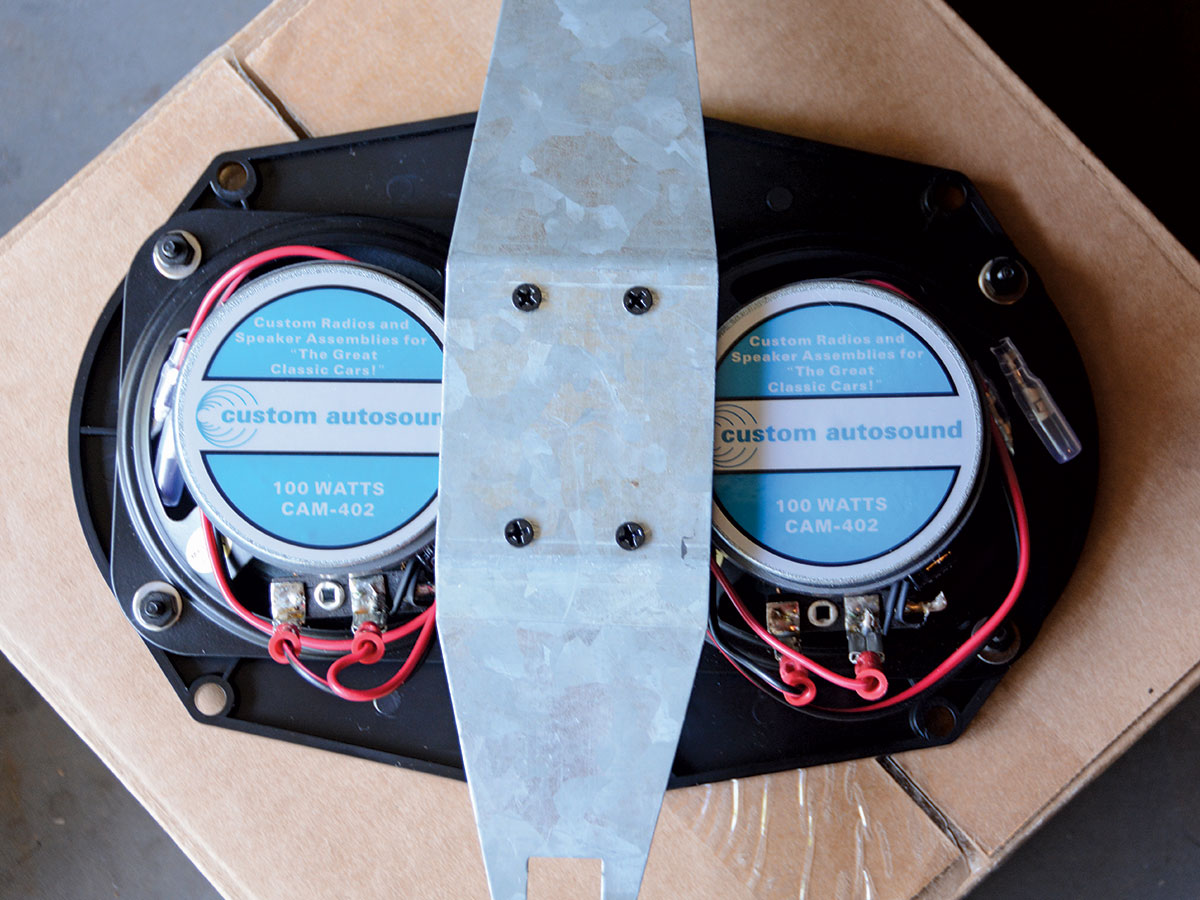
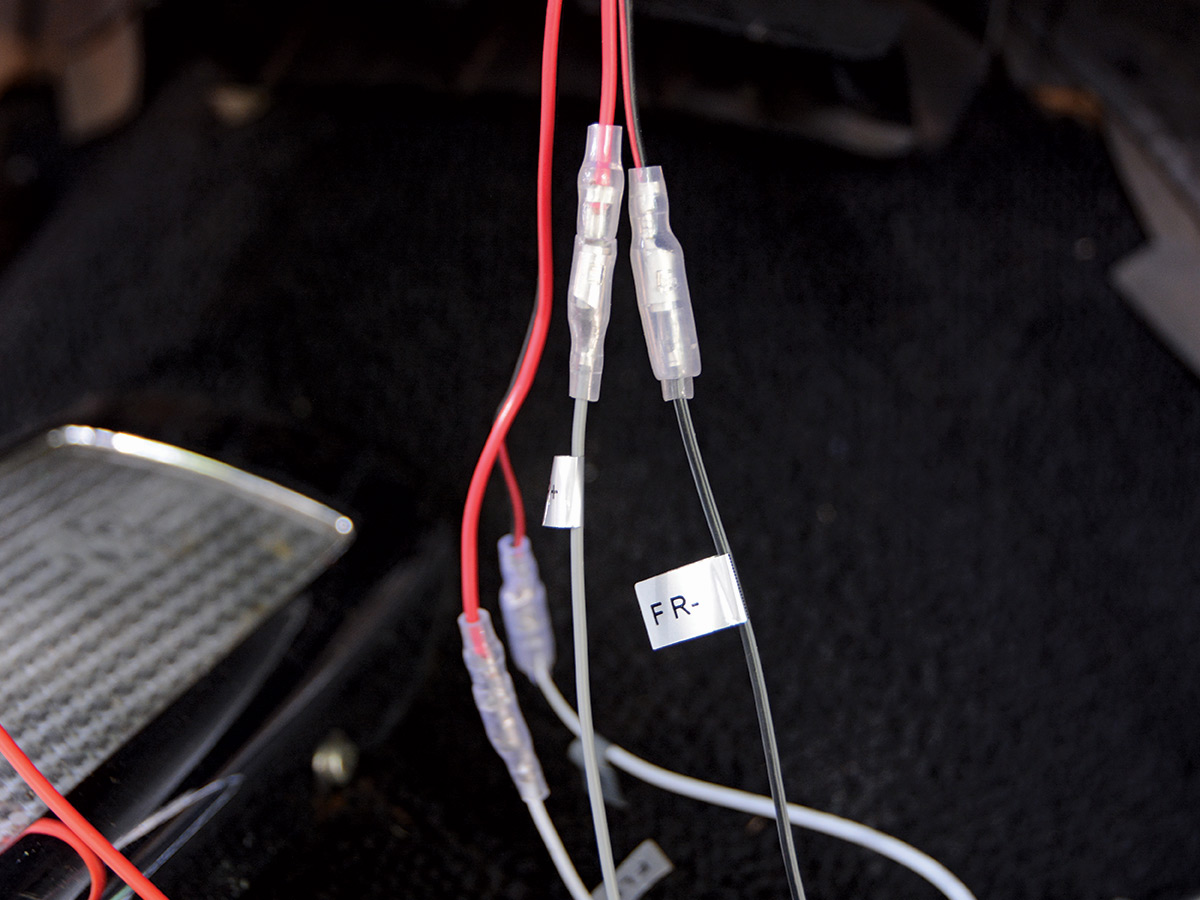
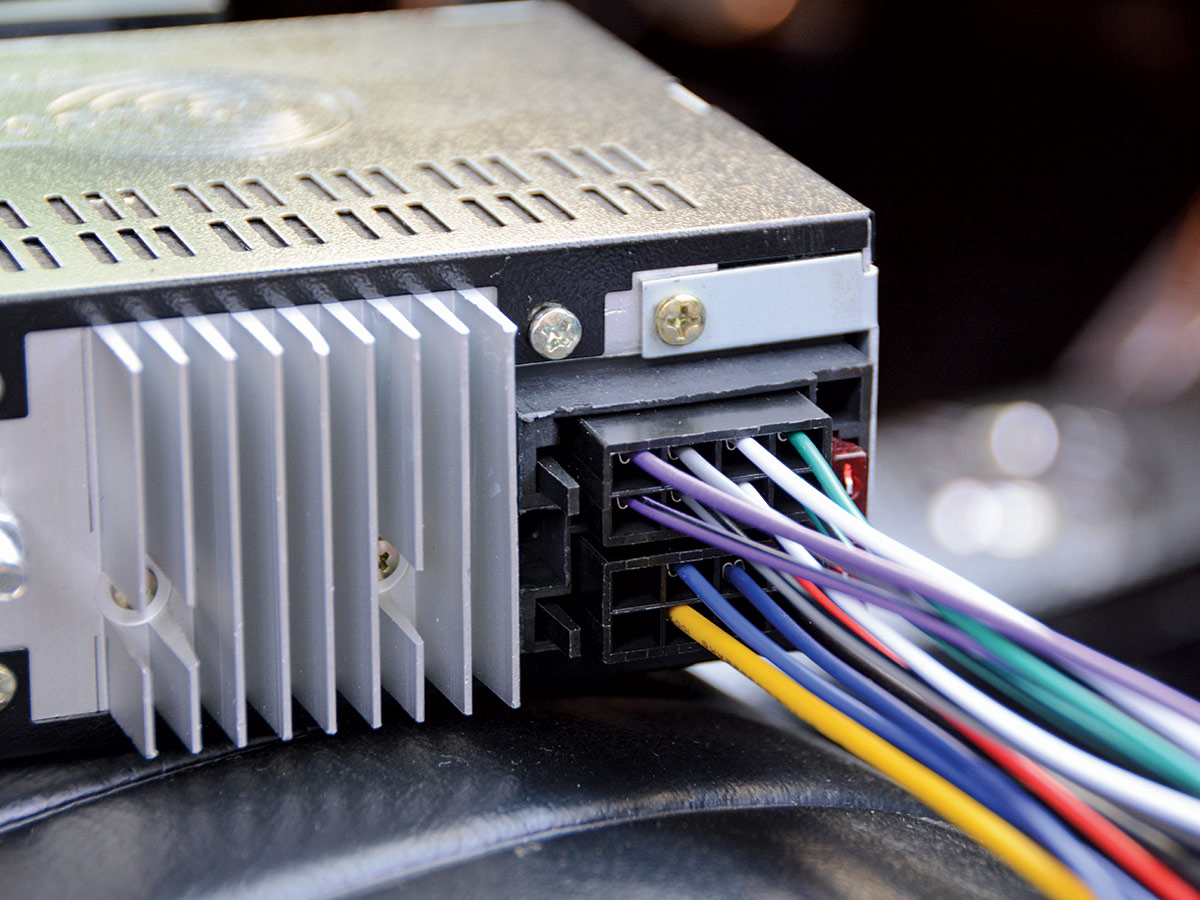
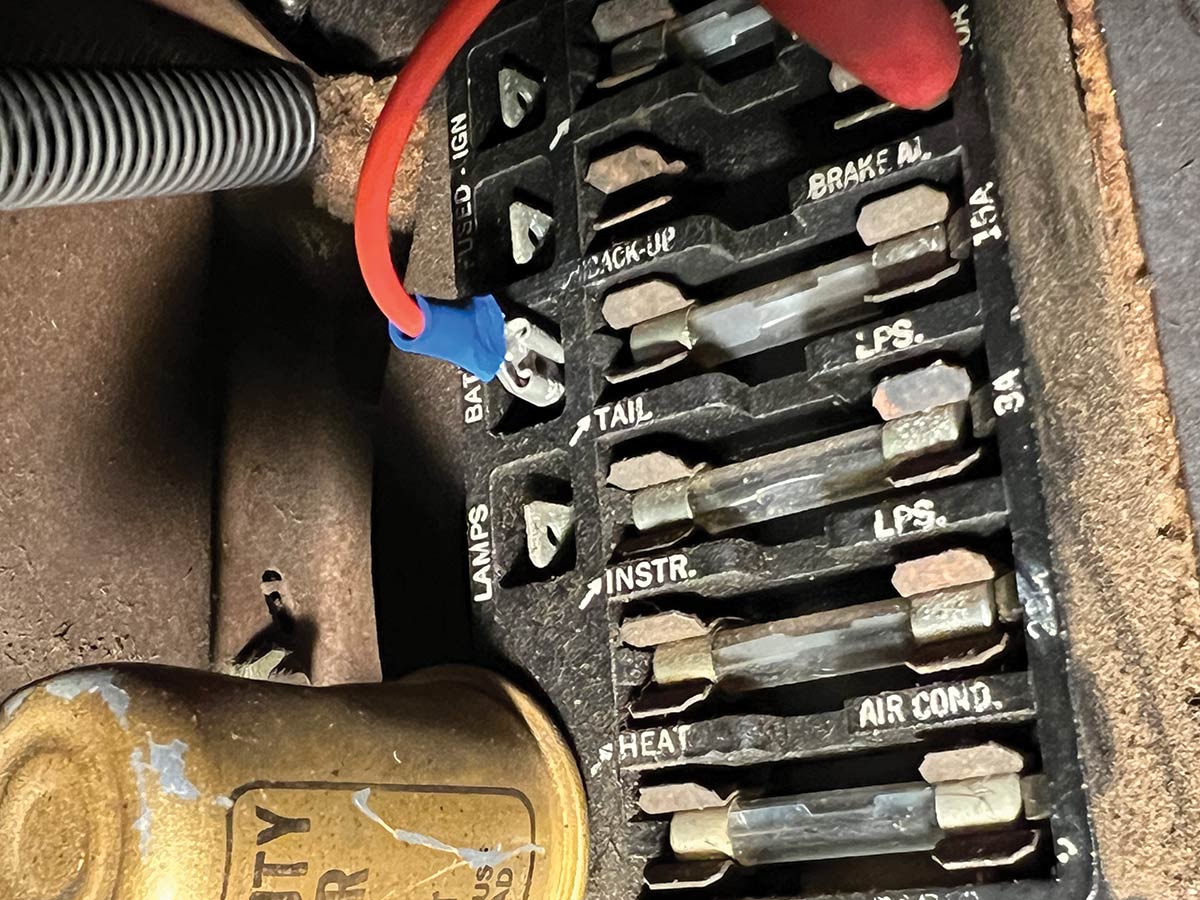
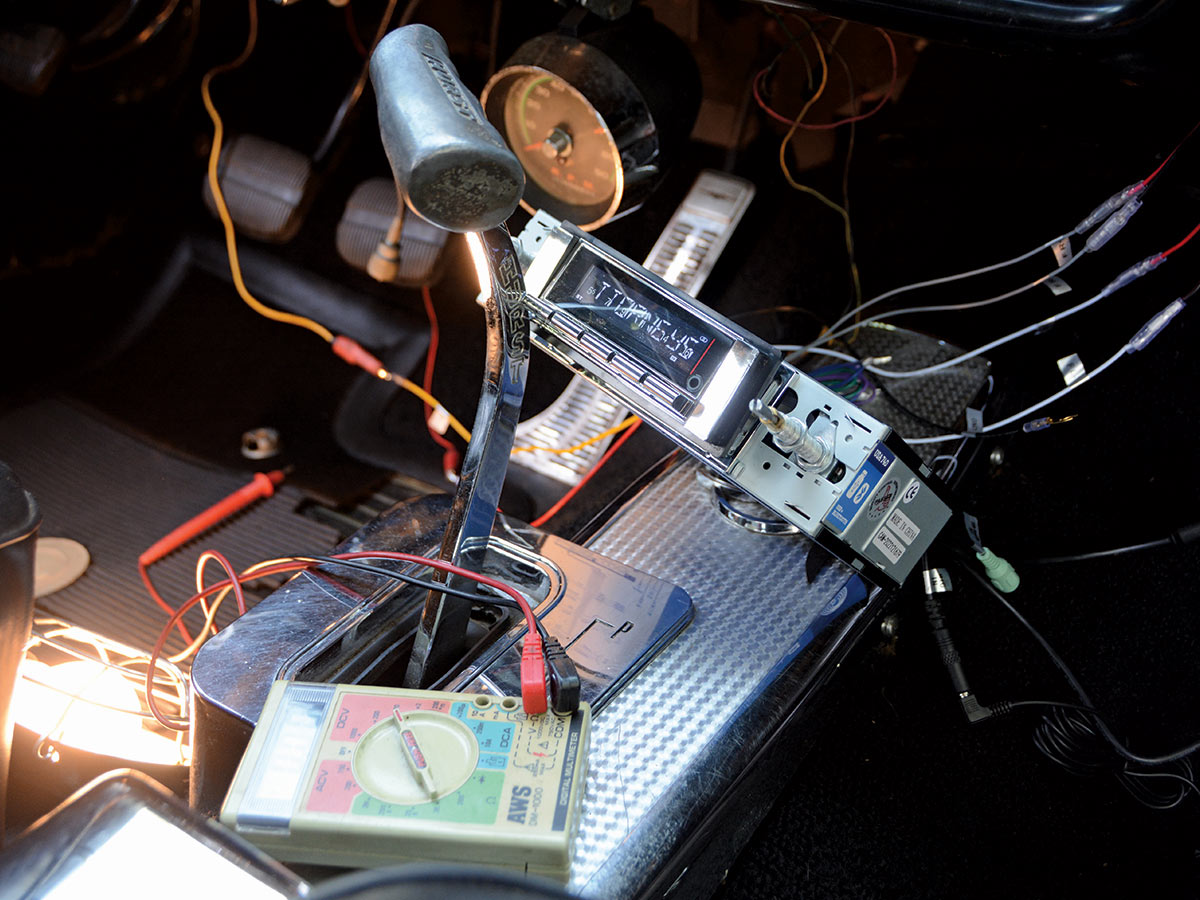
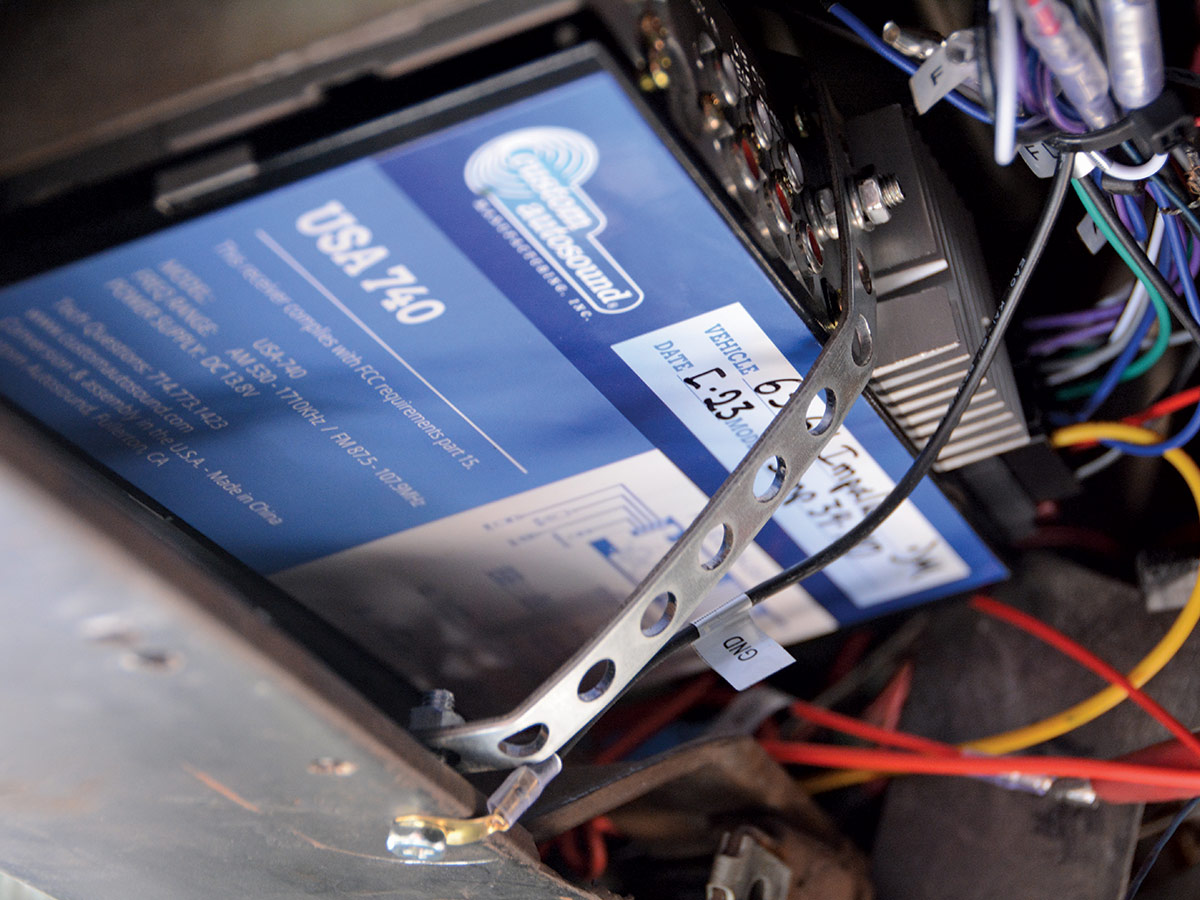
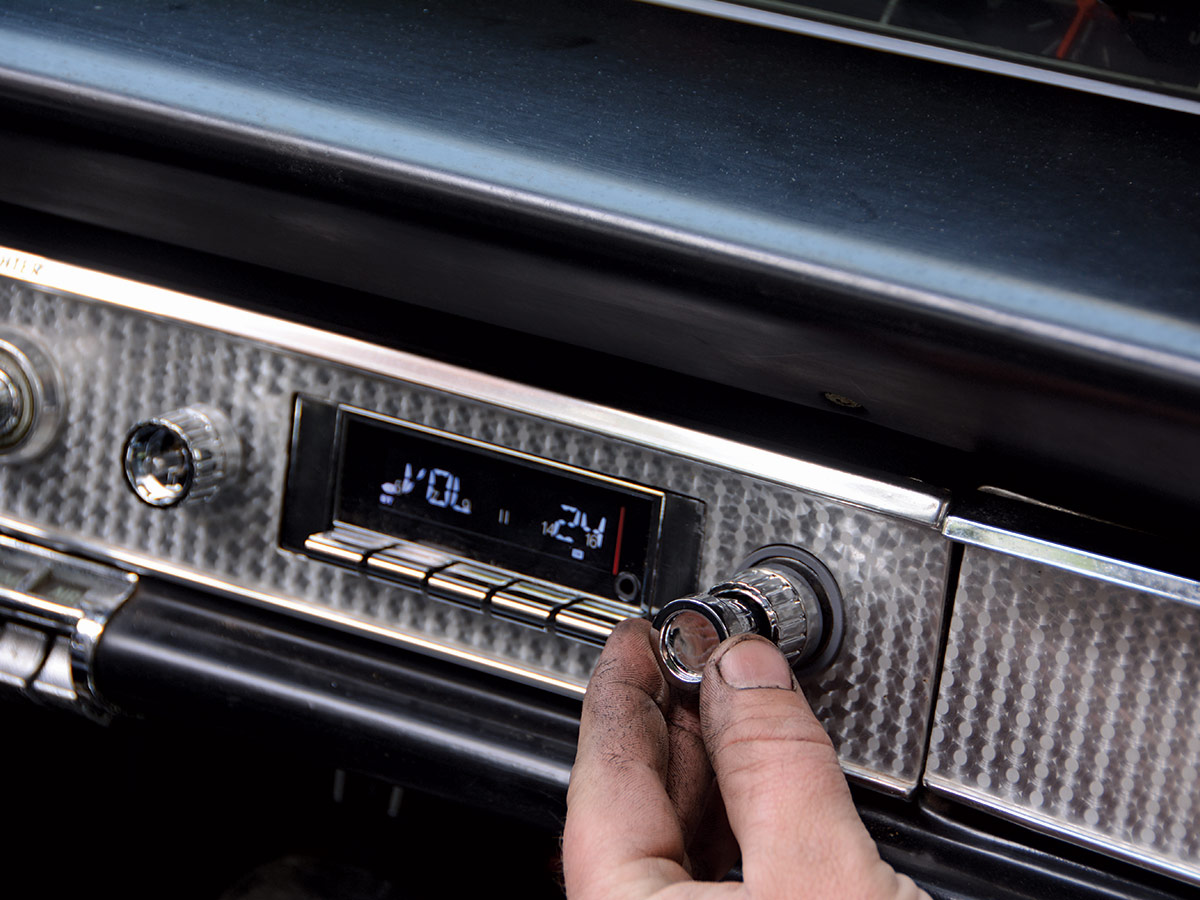
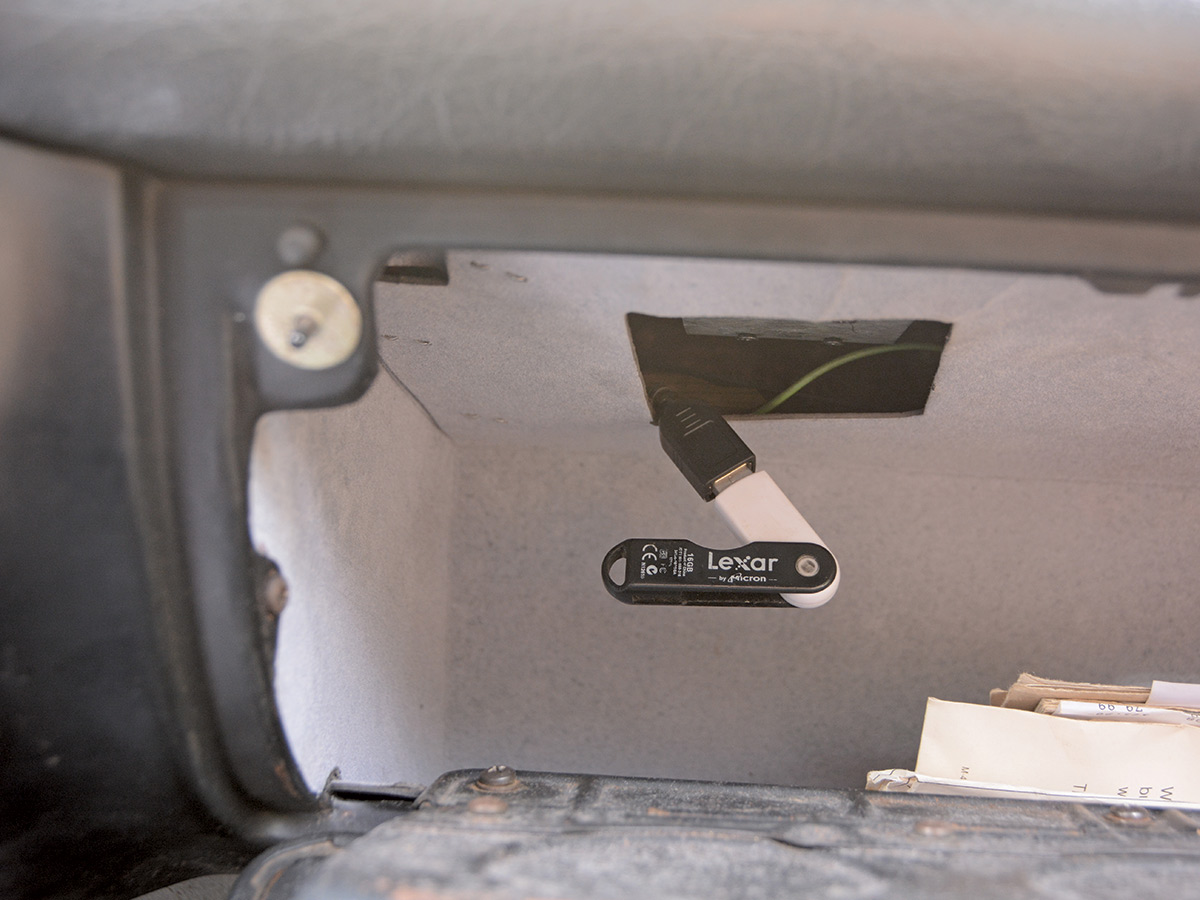
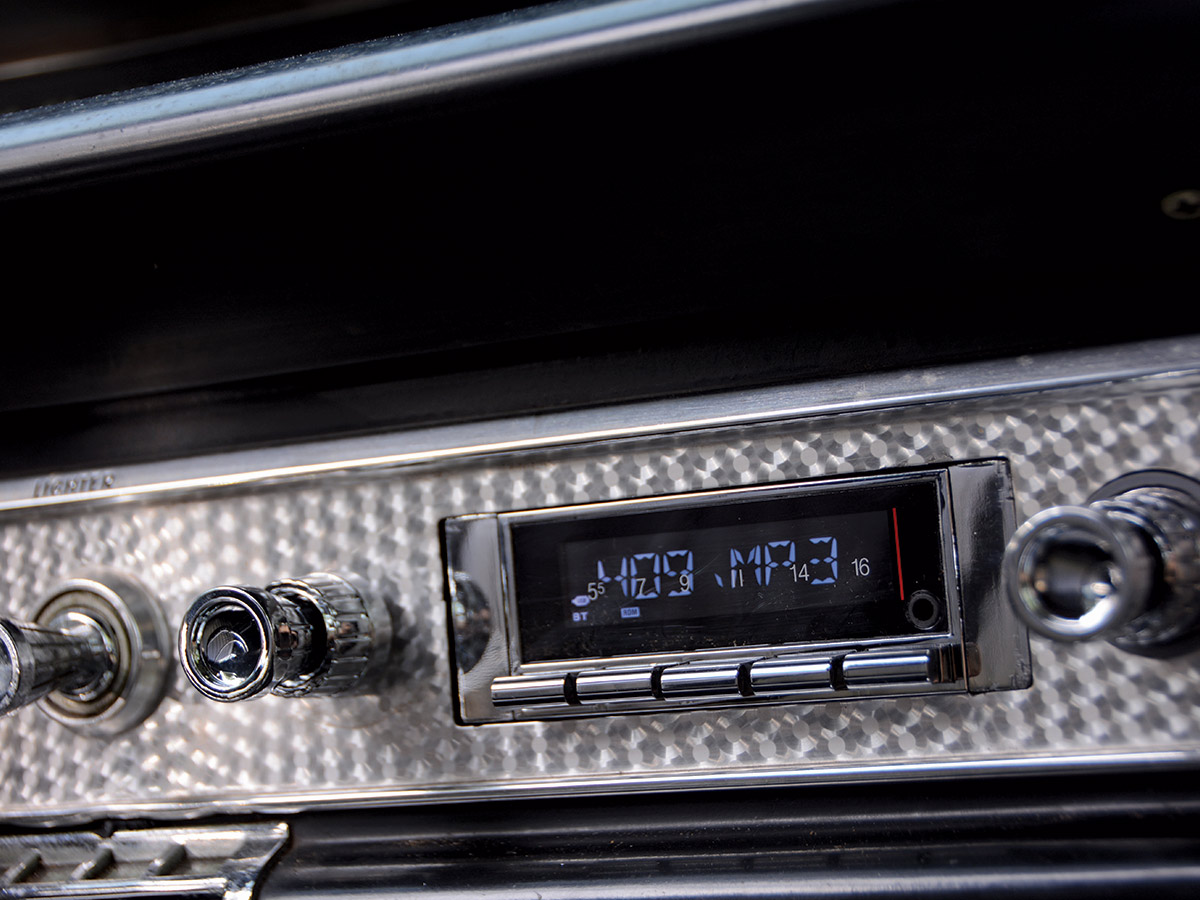
Custom Autosound manufactures replacement radios for hundreds of applications, with an intense focus on direct bolt-in units that increase the capability and sound quality of your audio system. We went with the CAM-IMP-63-64-740 unit, which is the highest-powered bolt-in unit that fits in the original ’63 (or ’64) Impala dash. The 740 unit offers modern conveniences like Bluetooth connection, USB connection, and a microphone for hands-free phone calls. It also features a simple wiring system that only requires three wiring connections. We spent the better part of the afternoon installing the new 740-series radio and a Custom Autosound 2020 dual speaker.

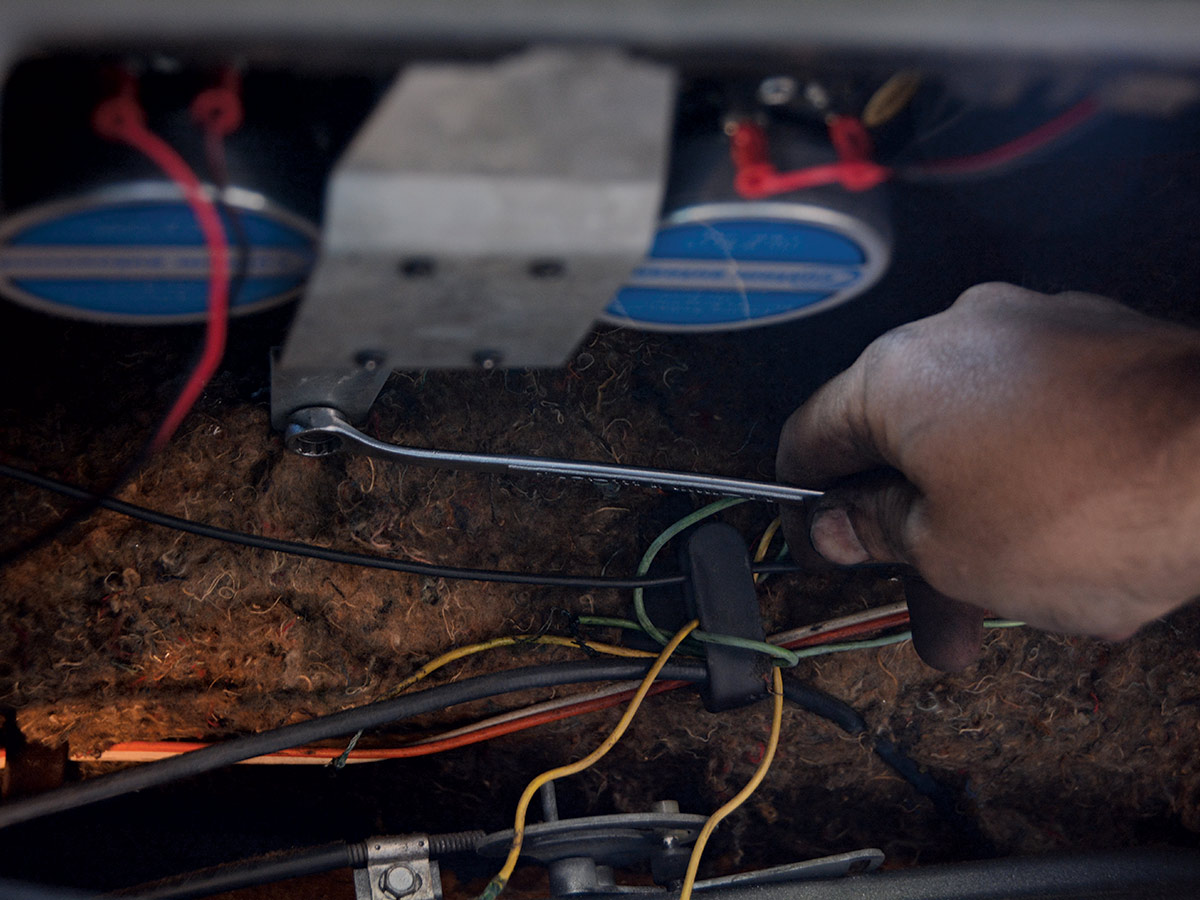
Simple hand tools and a few hours of work are all that’s needed to bring those nostalgic songs to life. Look at the process of installing the new Custom Autosound radio and speaker in this classic Impala and use the tips and tricks when it comes time to upgrade your car’s audio system.

steering wheel with silver stereo setup next to it
2. Our starting point is a well-seasoned ’63 Impala convertible. The interior is mostly original, including the old Delco AM radio that hasn’t worked in years.
closeup of radio
3. If you’re going for originality, these Delco radios can be rebuilt to stock configuration or updated, but a much more practical solution is replacing the original unit with an upgraded bolt-in radio from Custom Autosound.
different colored wires under dash
4. We start the project under the dash, where we loosen the original radio support bracket. While we were underneath, we scoped out the wiring and determined which wires could stay in the car or be removed with the radio.
hand adjusting turning knobs on radio
5. The original volume and tuning knobs are removed by pulling them off the D-shaped shafts. The Custom Autosound radio comes with new knobs.
close up of radio with turning knob removed
6. Behind the knobs are chrome bezels that are removed to reveal thin nuts that hold the front of the radio to the dash.
hand pushing radio back into the front of the car to remove it
7. When the nuts are removed, the radio is pushed toward the front of the car far enough to clear the volume and tuning shafts. Then, it can drop below the dash to remove the wires.
glovebox with door removed
8. Next, we removed the glovebox door and cardboard box to access the original speaker. This is a good time to tidy any underdash wiring in preparation for the new components.
area between glovebox and dash with speaker removed
9. The original speaker rides between the glovebox and the dash. The original speakers often deteriorate over time and produce poor audio quality, even in perfect working order.
hand removing the wiring and mounting bracket for the speaker under the glovebox
10. The speaker, associated wiring, and mounting bracket are removed as one unit and discarded.
old radio and new radio next to each other
11. Now it’s time to evaluate our new components and prepare them for installation. Check out this side-by-side comparison between the old Delco radio versus the new Custom Autosound 740 unit.
Rear view of custom autosound radio
12. The Custom Autosound radio (PN CAMIMP-63-64-740) features a simple wiring system. Built-in connections include an MIC connection and a subwoofer connection, a radio antenna, and a USB port. Auxiliary ports are available for additional accessories.
dual speaker setup
13. Custom Autosound offers many direct bolt-in speakers, including this dual speaker setup (PN 2020). For many ’60s cars, the entire audio system relies on one speaker, so this is a huge improvement in sound quality.
rear view of 2020 dual speaker setup
14. The 2020 dual speaker features two 100-watt speakers, which come out of the box with the wiring already connected. The mounting bracket allows fitment in many ’60s vehicles.
hand installing new dual speaker setup within glovebox
15. The new speaker goes into the original location and the low-profile design prevents interference with the glovebox.
hand using a small wrench to install the new dual speaker setup
16. We used the original hardware to connect the speaker bracket to the underside of the cowl and dash.
red and white speaker wiring
17. Speaker wiring is straightforward and marked on the radio harness as well as the speaker wires. Custom Autosound preinstalls bullet connectors to make easy work of the connections.
rear view of radio wiring harness with various colors of wire coming out of it
18. The radio wiring harness features an easy plug-in and requires minimal wiring work. You’ll need to make three wiring terminations and connections: constant 12V, switched 12V, and ground.
red wire attached to 12v source
19. The yellow wire in the radio harness requires constant 12V power, while the red wire goes to a switched 12V source. Using a voltmeter, we verify the connections at the fuse block.
wires connected to the new radio setup and fuse block
20. Custom Autosound suggests “bench testing” the radio unit before installing it. We ran wires from the designated posts on the fuse block and temporarily connected them to the unit. It worked, so we can proceed.
Man working on installing a new stereo under the dashboard
21. The 740 series radio fits perfectly in the original position. We test-fit it and then installed the retaining nuts on the front side to keep it in place.
view under the custom autosound with support strap in place
22. Custom Autosound provides a support strap that attaches to the rear of the unit. We bent it to fit the car and attached it to the bottom of the dash, using an existing hole.
closeup of radio with no turn knobs attached turned on
23. Up top, it’s time to turn on the ignition switch and ensure that our wiring is correct.
hand attaching new turn knobs
24. The final and easiest step is installing the new volume and tuning knobs. The radio shafts feature slots for positive engagement and the chrome knobs provide a vintage look.
glovebox reassembled
25. We reassembled the glovebox and routed the radio’s USB wire through an existing hole. Even though the radio features Bluetooth technology to connect to your phone, you can load a USB drive with songs as an alternative method.
closeup of newly installed custom autosound 740
26. The Custom Autosound 740 radio easily connects to our phone and even features a microphone for hands-free calls. The antenna allows for local radio tuning and we can easily toggle between AM, FM, and MP3.
SOURCE
Modern Rodding
VOLUME 5 • ISSUE 43 • 2024