Modern Rodding Tech

By Gerry Burger  Photography by THE AUTHOR
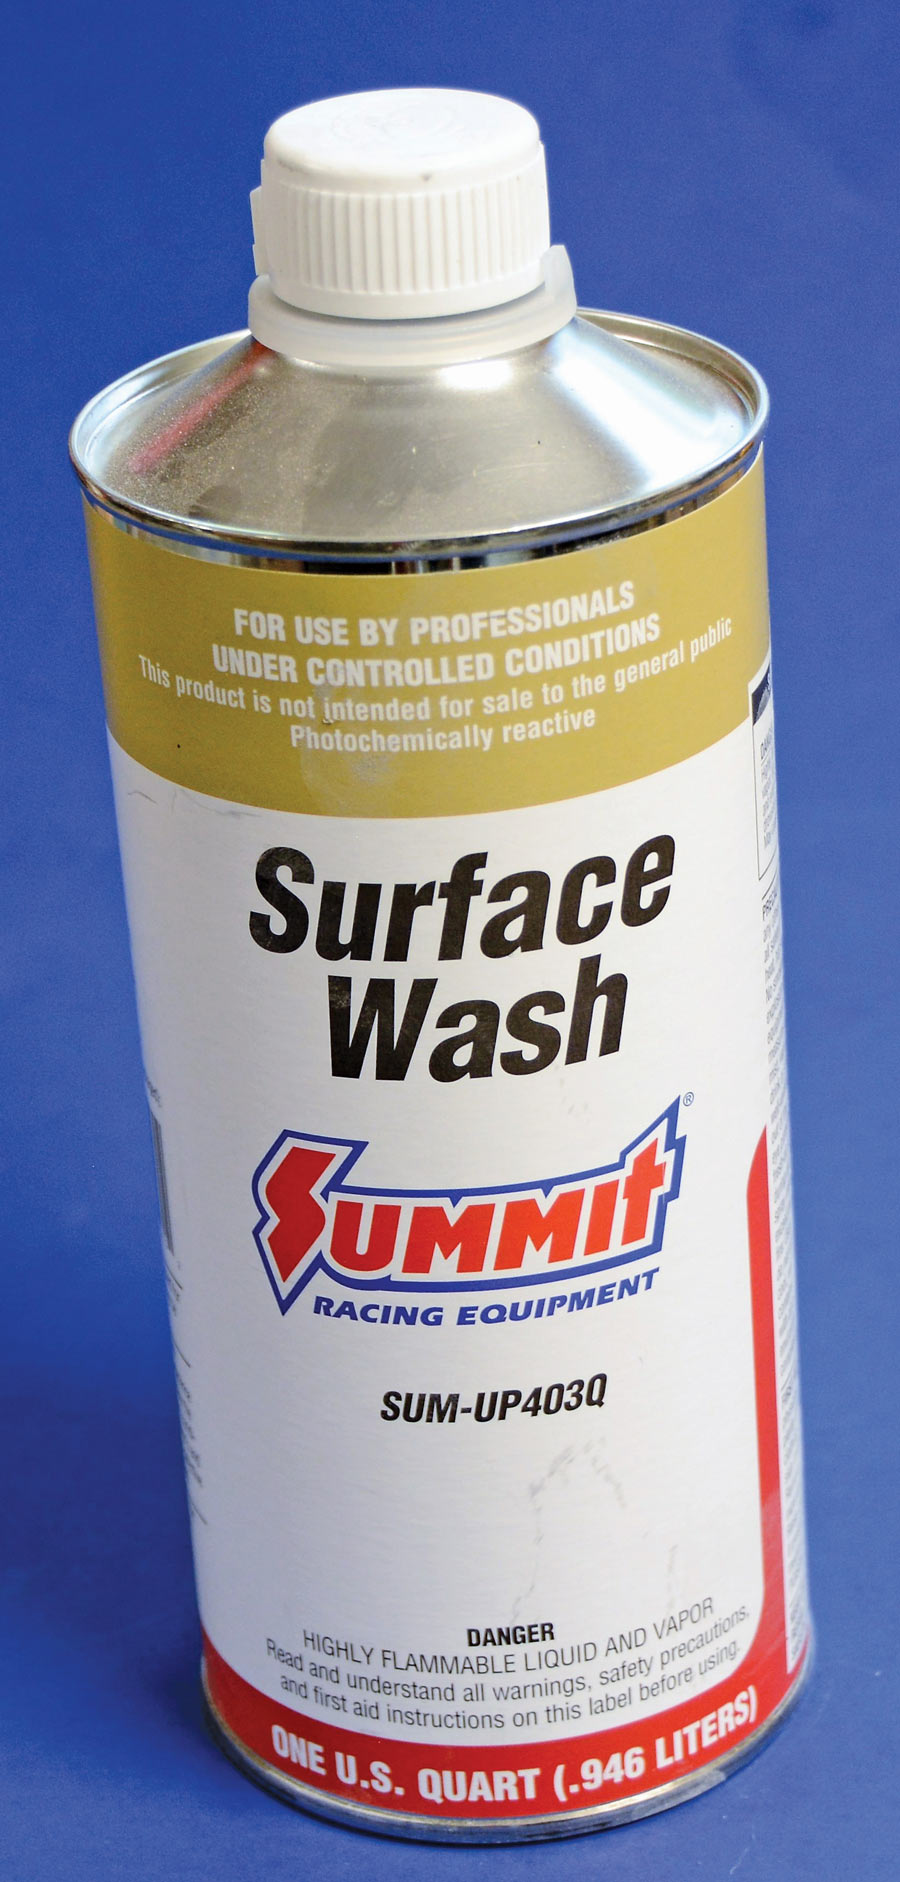
aint and bodywork, two of the most important aspects of building a hot rod. While these two words strike fear in the hearts of many, today there are new tools and materials that make the process more doable. Like most things, everything required to do bodywork is available on the Internet. When it came time to do the bodywork and paint on our ’36 Ford phaeton we used Summit Racing brand materials. The reasoning was simple: quality products, fast delivery, and the price is attractive, too. We used all Summit Racing materials, from the body filler to the finish primer. We also used their house brand dry sandpapers, while the finish wet sandpaper was 3M and USC brands. Over the years it has been our experience that using materials from the same manufacturer eliminates compatibility problems. Things that are not yet available via mail order include patience and desire. If you have a supply of those two things, you can produce a high-quality paintjob at home.
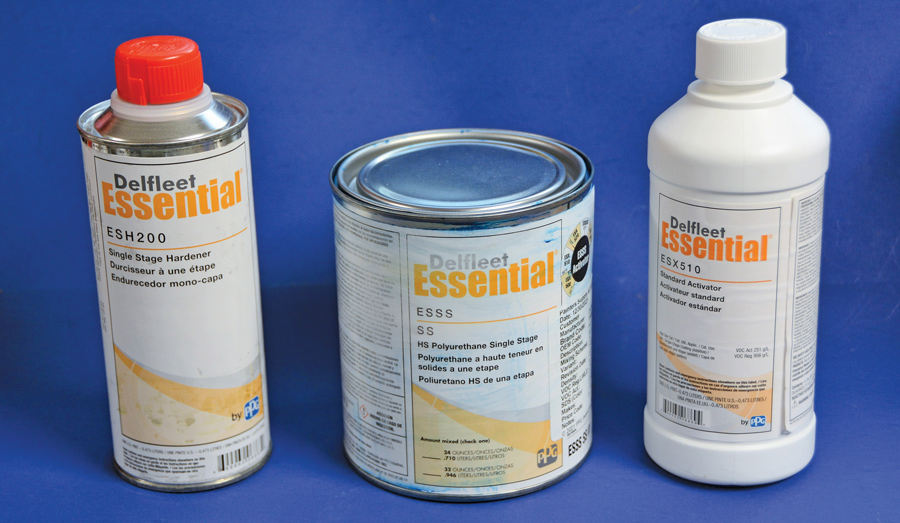
We touched on the fabricating, filling, and priming of our panels in previous tech pieces, now it’s time for the glory … we’re going to lay down the color in a basic, non-metallic, single-stage urethane paint. We simply picked the color from the fleet color samples at our local autobody supply store and had them mix up 1-1/2 gallons of the PPG Delfleet Essential Urethane. (The guy behind the counter told us, “You’re gonna love this stuff,” and he wasn’t kidding.)
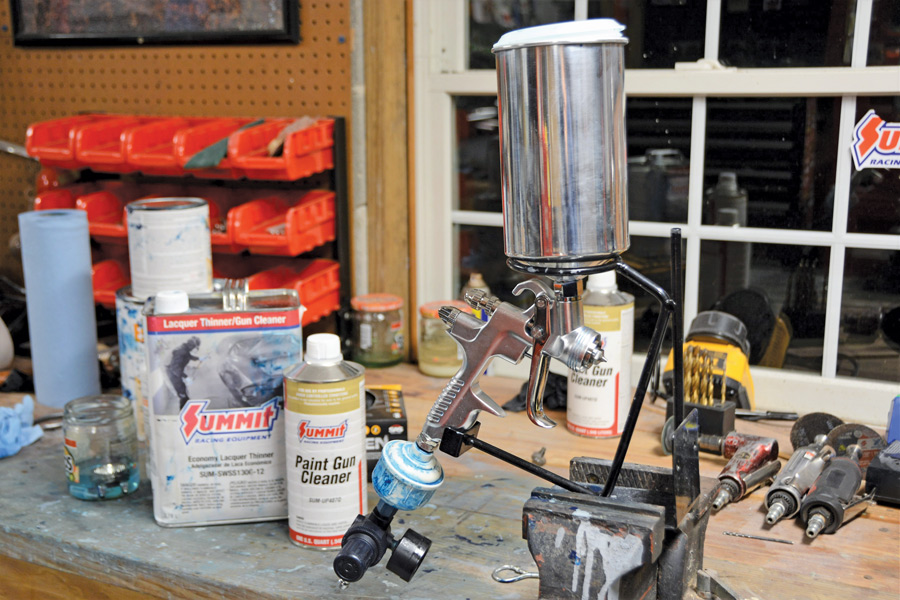
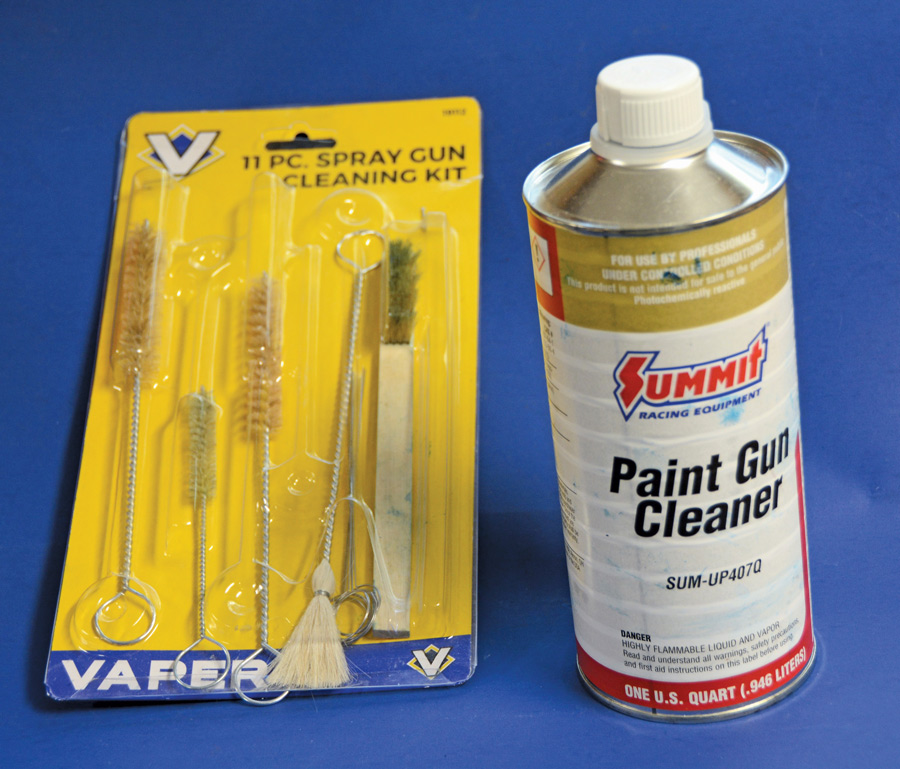
Our shop has a large air compressor suitable for painting an entire car with an inline filter and evaporator to keep the air clean and dry. I also have a well-maintained, 30-year-old Sharpe spray gun. However, the last time I used it there were some issues with it so I decided to step up to a new spray gun. Now, true confessions, time is catching up to me, so this will be my last full paintjob. Because of that, I didn’t want to spend a ton of money on a spray gun, but I also didn’t trust a super-cheap gun. After some research I opted for a Summit HVLP spray gun (PN SUM-02-40001) with the 1.4mm tip and an aluminum cup. I had my expensive but aged professional-grade gun on standby in case the new gun didn’t measure up. Well, I could not have been more pleased with the Summit Racing spray gun. I sprayed some reducer through the gun first and it took virtually no adjustment other than air pressure. With a thorough cleaning after each use, this gun performed flawlessly. We cannot stress how important it is to do a thorough cleaning immediately after spraying. Catalyzed paint will harden in all the wrong places, so clean the gun and cup thoroughly and change the small filter in the bottom of the cup. Using a dedicated spray gun cleaner and a cleaning kit will ensure good results.
In preparation for the finished paint, we did something odd—we followed the paint manufacturer’s directions. While some folks are finish sanding panels to 600-grit, the directions said sand to 320-grit. We were doubtful, so we first did the taillights and other small panels as a test and sure enough we had a perfect topcoat. No work scratches.
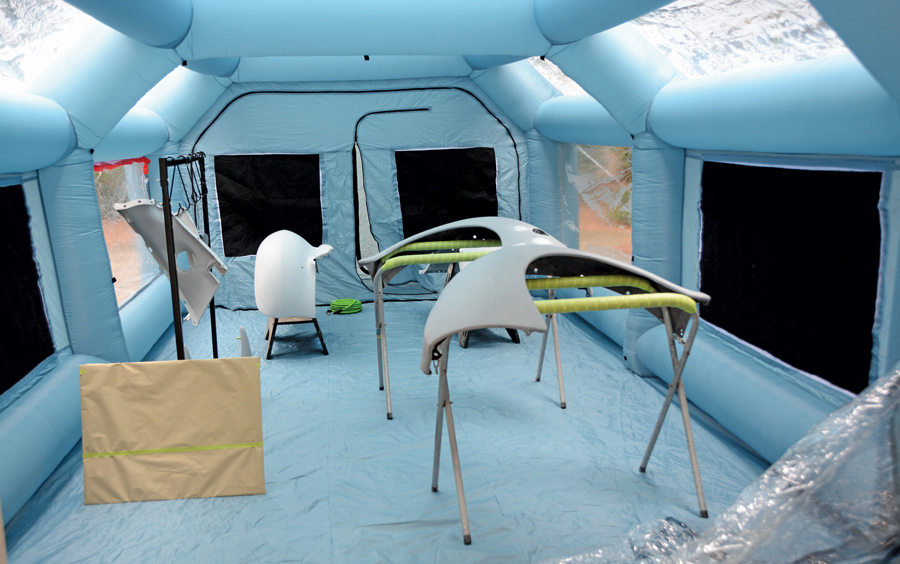
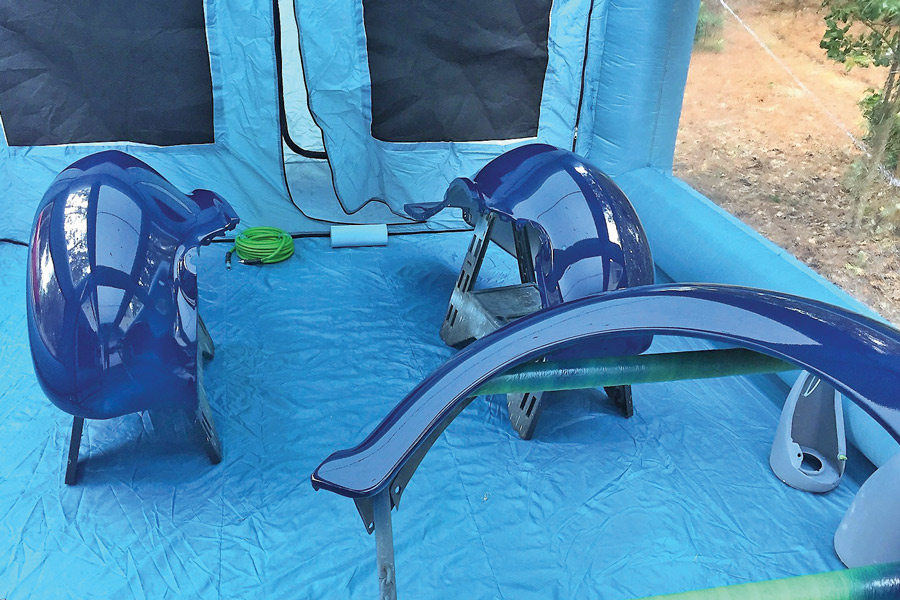
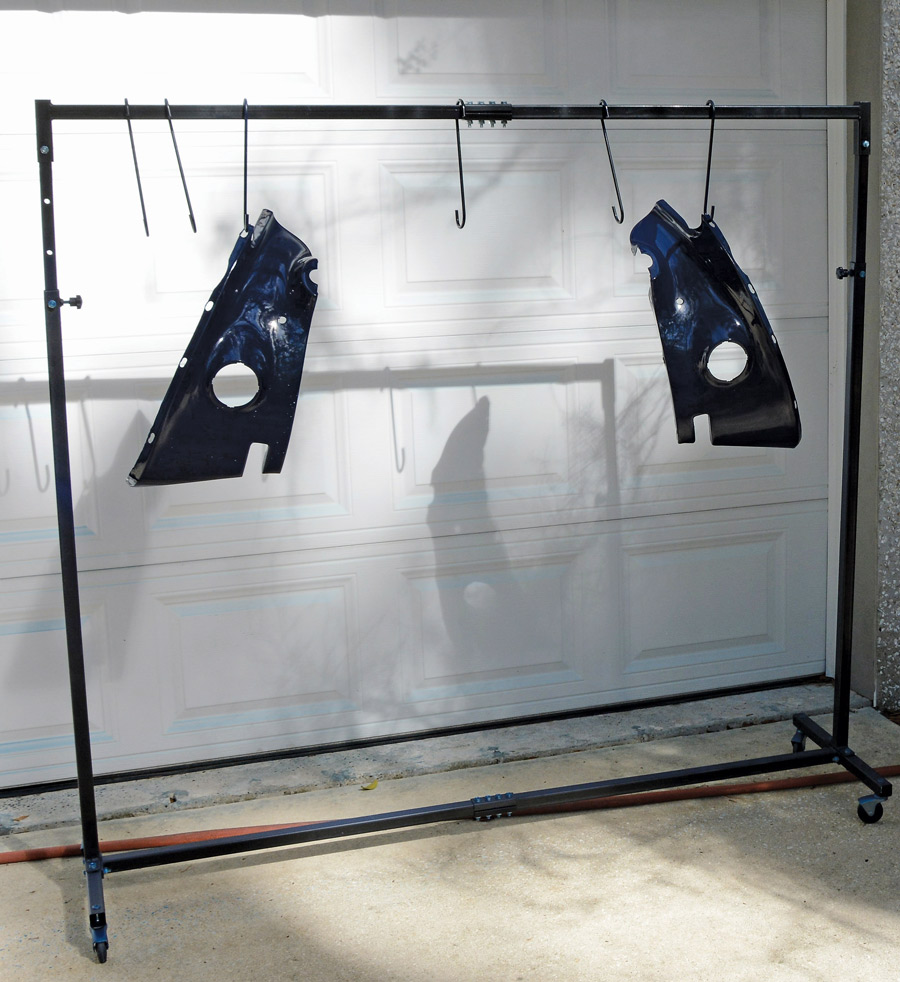
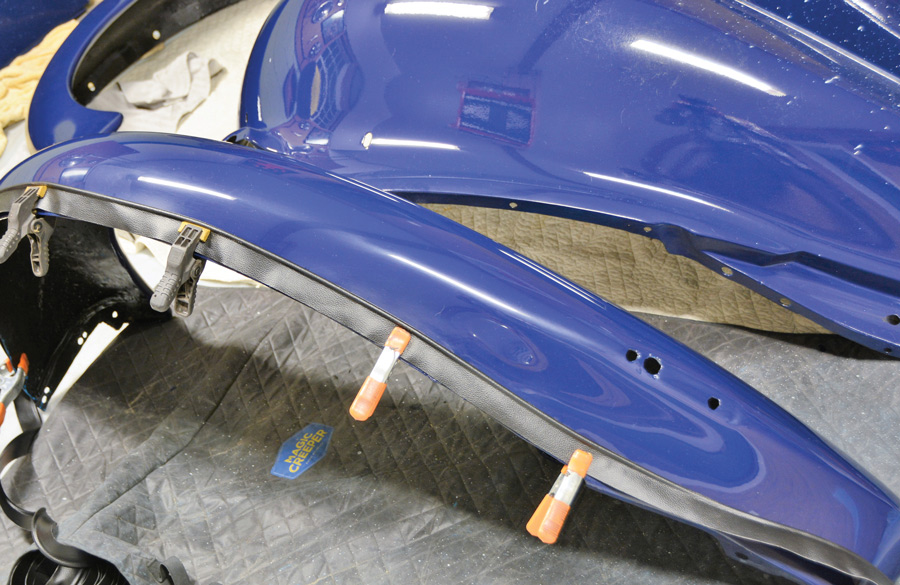
Today, mixing the final finish paint is a precise process, and once again following the paint manufacturer’s instructions is imperative. This involves using mixing cups, filtering the paint, and using reducers that are appropriate for the spraying temperatures. The Delfleet Essential Urethane paint is a three-part paint, the reducer is called a hardener, and the third ingredient is the catalyst. New urethane paints are incredibly durable and lay down nicely with the proper spray equipment, the proper clean air pressure, and a dust-free environment. It is important to spend time properly hanging parts and placing them on workhorses so you can apply a uniform coat to all sides of the pieces. We have a great parts rack from Summit (PN SUM-918069) that holds everything from our ’36 phaeton doors to small pieces like the headlights and taillights. Racks like these pay for themselves in one paintjob, and they make it easy to roll parts in and out of the spray booth; we even use it for spray can work, roll it outside and roll it back inside. It sure beats dropping a piece onto the floor from some makeshift rack.
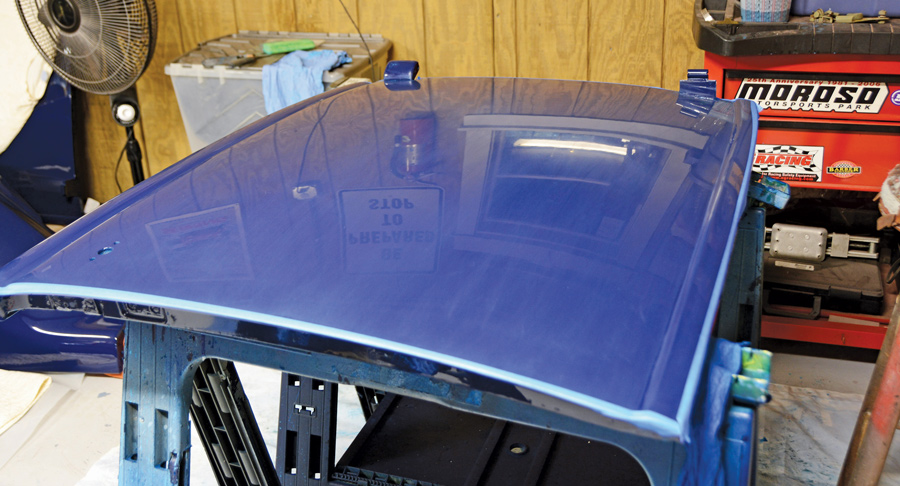
We prepared for the spray day with a high-quality respirator, rubber gloves, and full body covering. We laid down three full coats and were very pleased with the finish. We had a trace of orange peel, which is typical of most urethane finishes, but we were certain this would cut and buff to a great final finish.
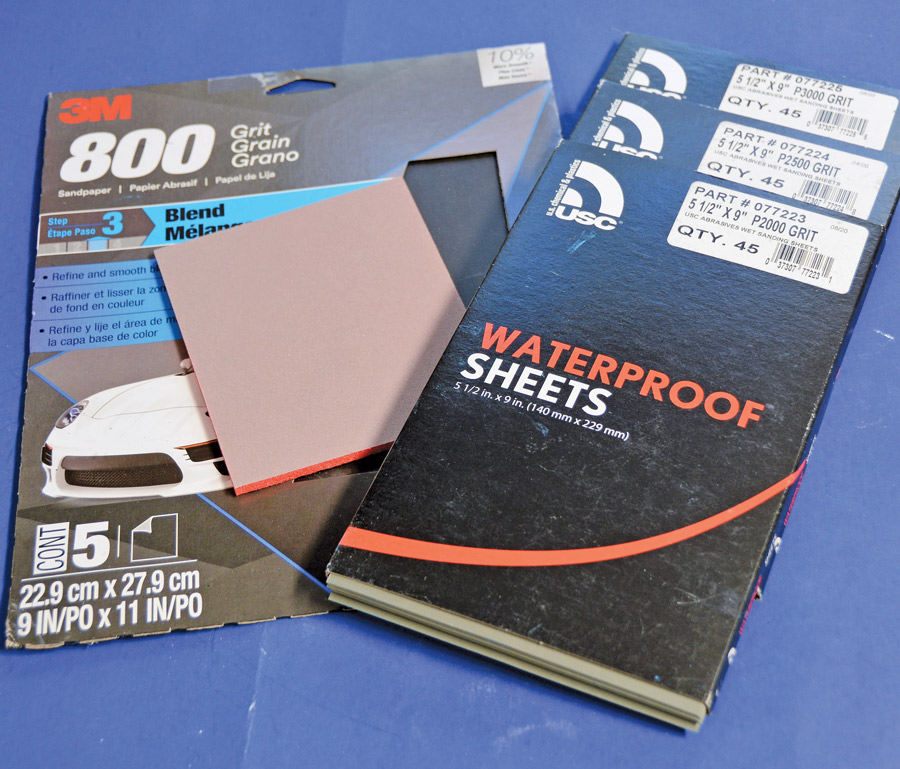
Now, I learned the secrets of cutting and buffing urethane paint from one of the best in the business, Joe Bailey at Alloway’s Hot Rod Shop. Anyone who has ever seen an Alloway paintjob knows there’s none finer. Of course, no autobody guy does things exactly the same, but I was pretty darn close to Bailey’s method. My first cut on the cured paint was 800-grit (wet) followed by 1,500-grit, then 2,000-grit, 2,500-grit, and finally 3,000-grit wet papers. (Bailey begins with 600-grit and finishes with 2,500-grit). We taped the edge of the doors until it was time for the 2,000-grit paper and even then we were extremely careful to not sand through the edges.
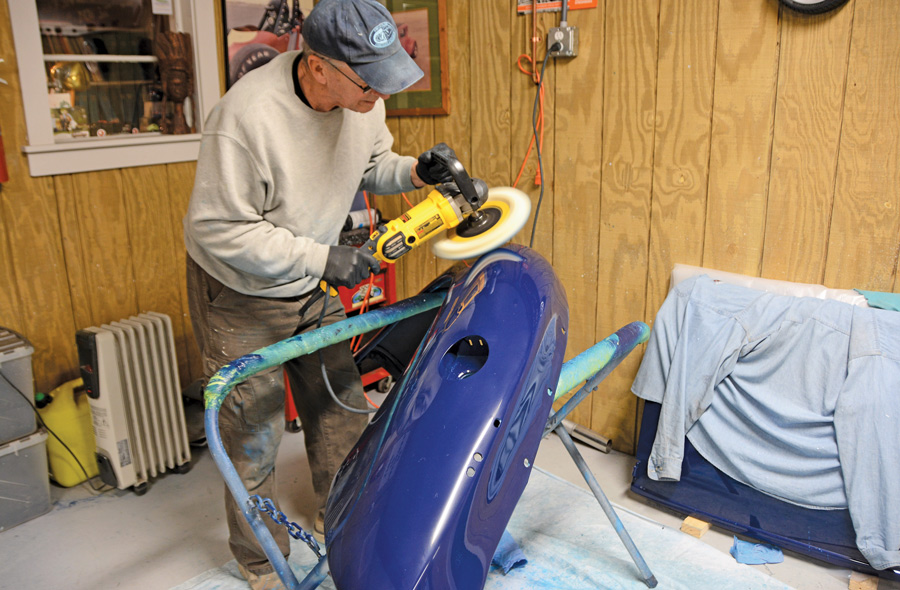
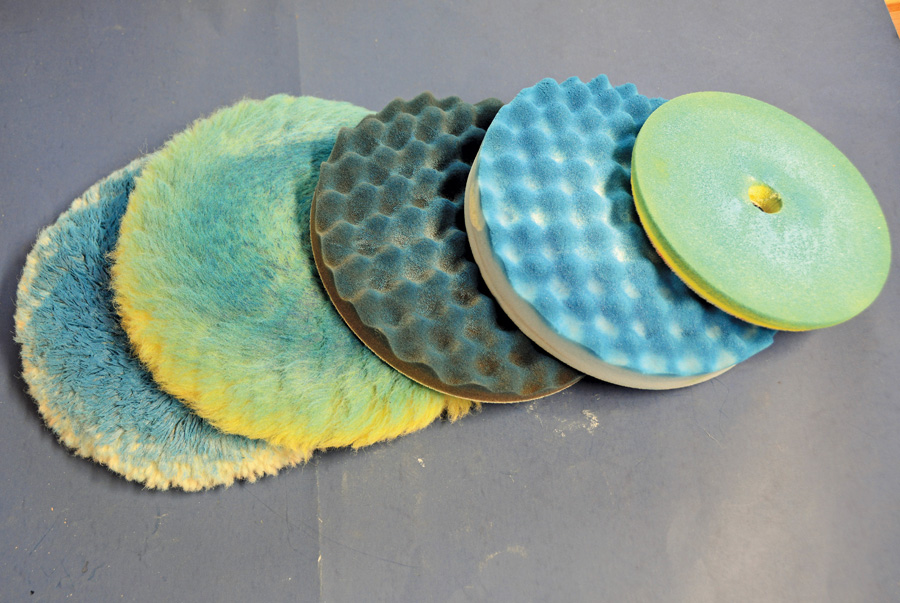
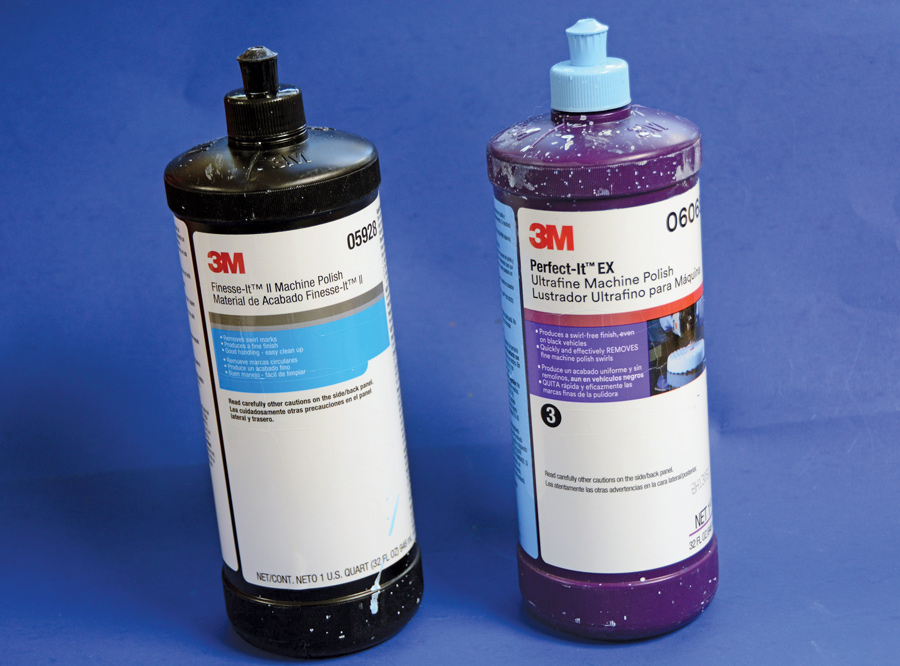
After the sanding, polishing begins with a Schlegel wool pad (PN SHL-175C) and 3M Finesse-it II (PN 05928) with our buffer set at about 1,000 rpm. It is best to work urethane paints at this slower speed to avoid potential burning of the paint. That brings up the basic shine. Next we polish using 3M Perfect-it EX (PN 06068) and a Synthetic Wool pad (PN SHL-275C), which takes the polishing haze off the finish and the depth is beginning to show. Then we go to a 3M black foam pad (PN TES-7000000484) still using the Perfect-it EX. The finishing touch is done with a 3M blue pad Perfect-it Ultrafine foam pad (PN TES-7100003841) still using the Perfect-it Ultrafine Machine Polish. Then wipe it all down with a micro-fiber cloth and some spray detailer, followed by a non-abrasive wax for protection and you should have an excellent finish.
By the time you finish painting and buffing your car the price of a custom paintjob begins to make sense. The hours involved in this final finish work is amazing, but in the end, you’ll have the satisfaction of saying you painted the car yourself.


VOLUME 3 • ISSUE 19 • 2022